Introduction
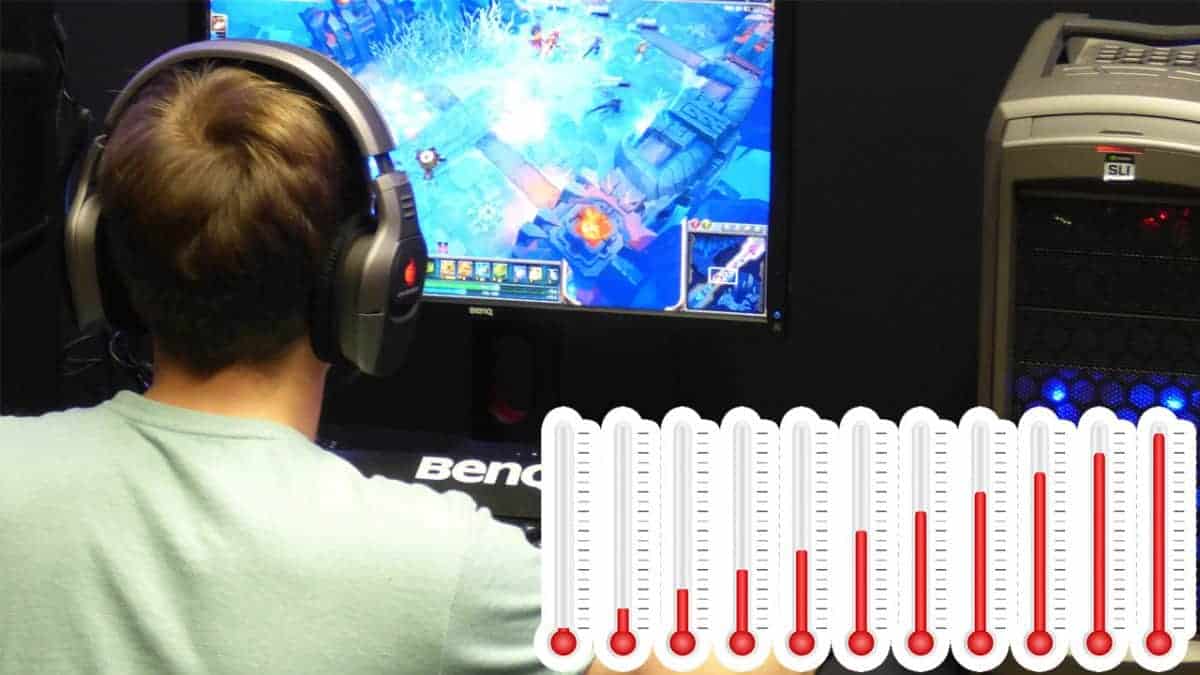
When it comes to keeping your computer running smoothly, the cooling system is a crucial component to consider. The CPU, or central processing unit, generates a significant amount of heat while it performs various tasks. To prevent overheating and ensure optimal performance, most computers are equipped with CPU coolers.
However, there may be instances where you need to remove the CPU cooler for maintenance purposes or to upgrade your system. This raises an important question: what happens to your PC after you remove the CPU cooler? It is crucial to understand the potential issues that may arise and how to address them.
In this article, we will discuss why your PC may stop working after removing the CPU cooler and explore the steps to fix the problem. We will also delve into the importance of CPU cooling and the potential consequences of inadequate cooling. By understanding these factors, you will be better equipped to handle any issues that may arise in your computer system.
The Importance of CPU Cooling
CPU cooling is essential for the proper functioning and longevity of your computer. The CPU is the brain of your system, responsible for executing instructions and processing data. As it performs these tasks, it generates a significant amount of heat. If not properly managed, this heat can damage the CPU and other components, leading to system instability and even permanent failure.
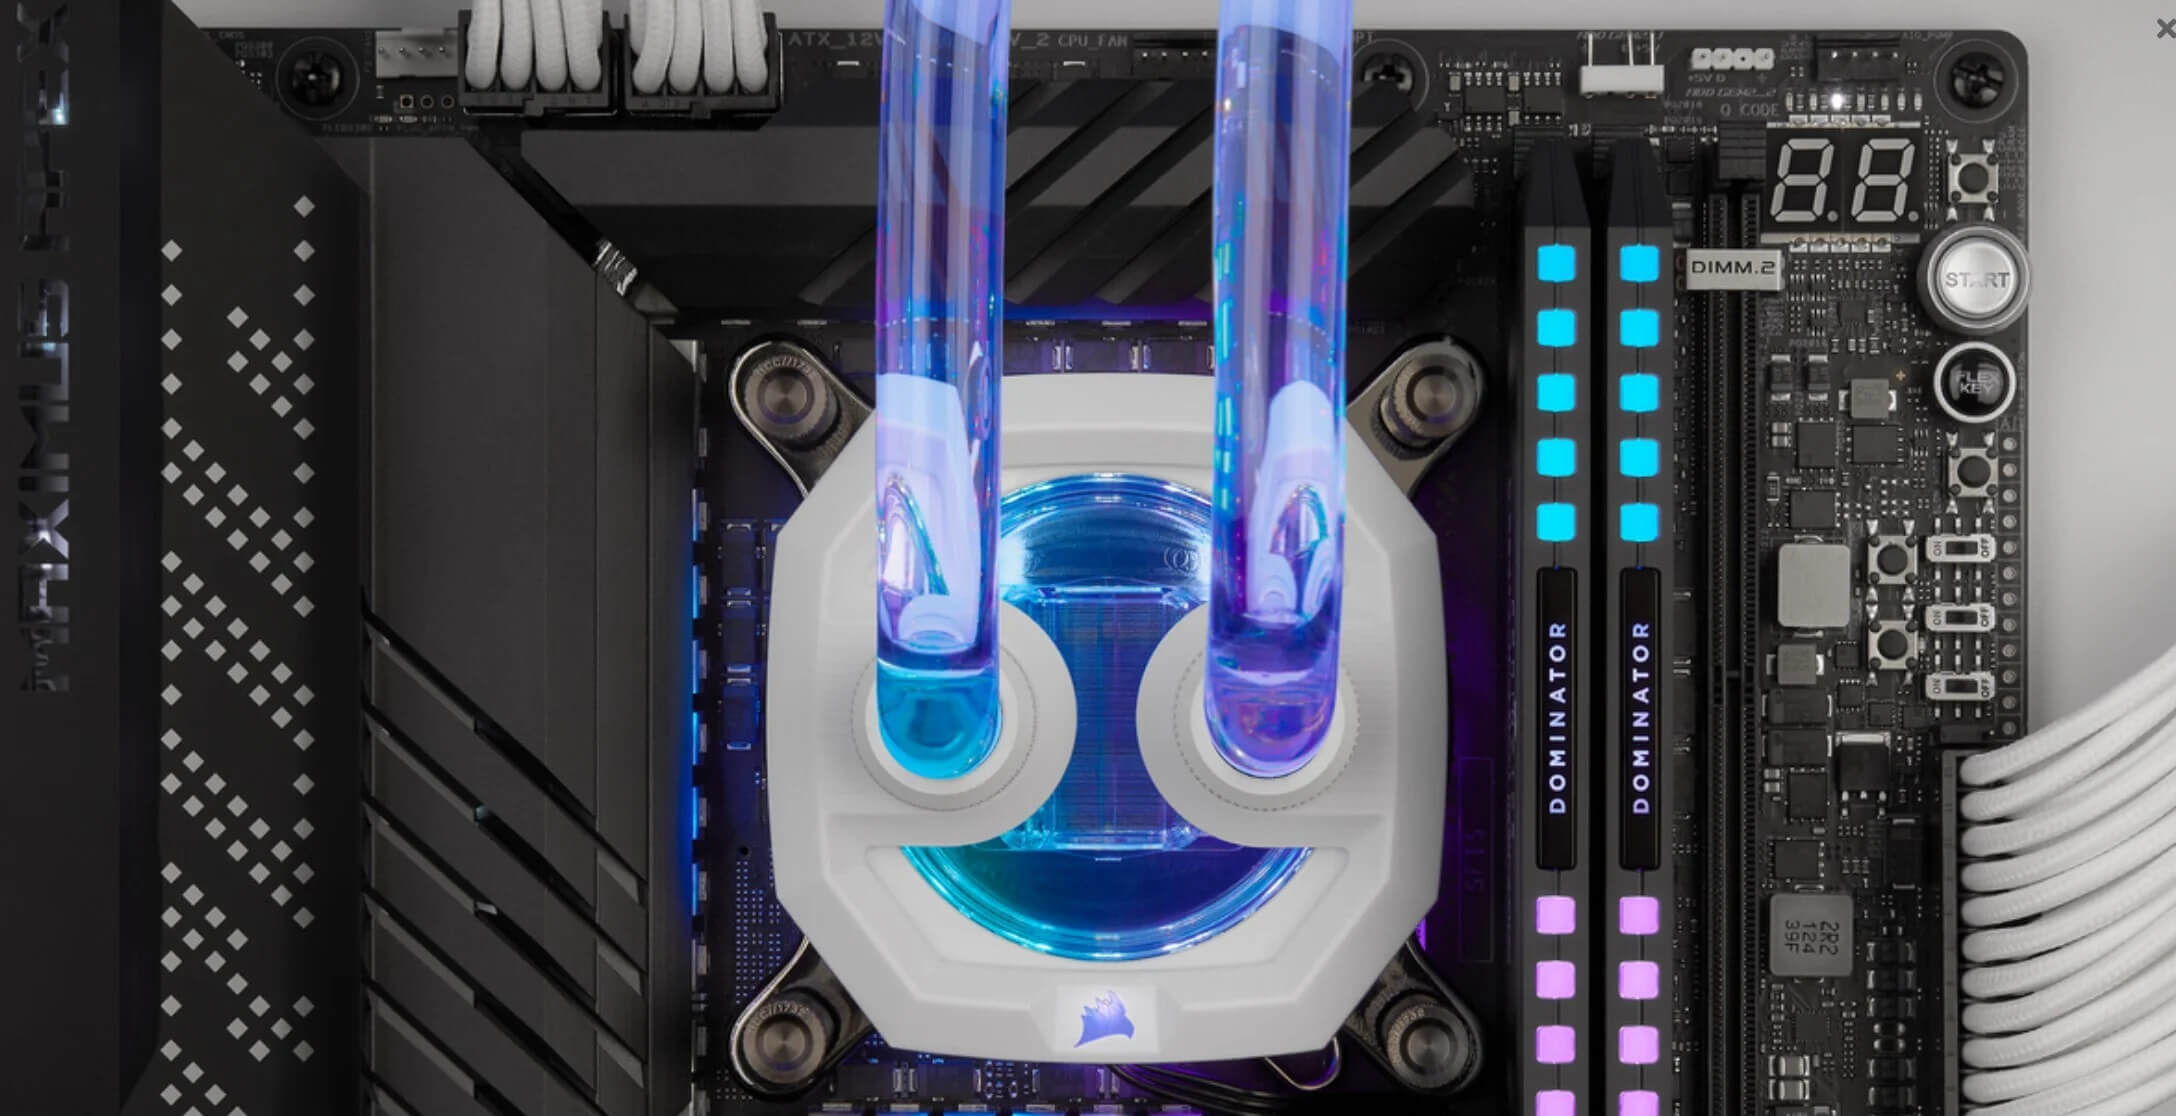
CPU coolers play a vital role in dissipating the heat generated by the CPU. They consist of heatsinks, fans or liquid cooling systems that work together to keep the temperature of the CPU within safe limits. By removing the excess heat, a CPU cooler helps prevent overheating and maintains optimal operating conditions for your computer.
There are several reasons why CPU cooling is crucial:
- Prevention of overheating: Overheating can cause the CPU to throttle its performance or shut down the computer entirely. Excessive heat can also lead to thermal expansion, damaging delicate components and solder joints.
- Extended lifespan: Adequate cooling prevents the CPU from operating at high temperatures for extended periods, which can degrade its lifespan. By keeping the CPU cooler, you can help ensure that your computer lasts longer and functions optimally.
- Improved performance: When a CPU runs at high temperatures, it may reduce its clock speed to avoid overheating. This can result in decreased performance and slower processing times. With effective cooling, the CPU can operate at its full potential, providing better performance.
- Stability and reliability: Overheating can introduce instability and random crashes in your computer system. By maintaining adequate cooling, you can ensure the stability and reliability of your PC, especially during resource-intensive tasks such as gaming or video editing.
In summary, CPU cooling is vital for maintaining the health and performance of your computer. By removing the excess heat generated by the CPU, a CPU cooler helps prevent overheating, extend the lifespan of your components, improve performance, and ensure system stability. Understanding the importance of CPU cooling will help you appreciate the significance of promptly addressing any issues that may arise after removing the CPU cooler.
Potential Issues After Removing the CPU Cooler
Removing the CPU cooler from your computer system without proper precautions can lead to a variety of issues. The CPU is a sensitive and crucial component, and any disruption to its cooling system can have adverse effects. Here are some potential problems that may arise after removing the CPU cooler:
- Overheating and Thermal Shutdown: One of the most immediate consequences of removing the CPU cooler is the risk of overheating. Without proper cooling, the CPU can quickly exceed its safe temperature limits, leading to thermal shutdown. In this scenario, the computer will automatically turn off to protect the CPU from damage.
- CPU Damage and Malfunctioning: Exposing the CPU to excessive heat can cause irreversible damage. Overheating can lead to the degradation of the CPU’s internal components, resulting in reduced performance or complete malfunctioning. In severe cases, it may even necessitate replacing the CPU altogether.
- Incorrect Installation and Improper Thermal Paste Application: When reinstalling the CPU cooler, improper installation or inadequate application of thermal paste can create issues. Inadequate contact between the CPU and cooler can impede heat transfer, reduce cooling efficiency, and lead to increased temperatures.
It is important to note that the severity of these issues can vary depending on several factors, including the duration of CPU operation without cooling, the workload on the CPU, and the ambient temperature.
Additionally, it is essential to be aware that different CPUs have varying thermal thresholds and cooling requirements. Some powerful CPUs, such as those used for gaming or workstation tasks, may generate more heat and be more susceptible to damage if not cooled adequately.
In the next sections, we will explore the steps you can take to address these issues and properly fix a PC that stops working after removing the CPU cooler. Understanding the potential problems that may arise will help you mitigate the risks and ensure the continued functionality of your computer system.
Overheating and Thermal Shutdown
One of the most immediate concerns after removing the CPU cooler is the potential for overheating and thermal shutdown. The CPU generates a significant amount of heat during operation, and the CPU cooler plays a crucial role in dissipating that heat. Without proper cooling, the temperature of the CPU can quickly rise to unsafe levels.
When the CPU temperature exceeds its thermal limit, it triggers a protective mechanism known as thermal shutdown. This mechanism is designed to prevent permanent damage to the CPU by shutting down the computer before the temperature becomes dangerously high.
Thermal shutdown can have several negative consequences:
- Data loss and unsaved work: When the computer shuts down unexpectedly due to thermal shutdown, any unsaved work will be lost. This can be frustrating, especially if you were working on important documents, projects, or creative endeavors.
- Potential damage to components: Overheating doesn’t just affect the CPU; it can also impact other sensitive components such as the motherboard, RAM, and GPU. Prolonged exposure to high temperatures can cause damage, leading to system instability or even permanent failure.
- Reduced system lifespan: Frequent thermal shutdowns can diminish the overall lifespan of your computer system. Excess heat can cause wear and tear on components, reducing their efficiency and longevity. This can result in the need for premature upgrades or repairs.
To prevent overheating and thermal shutdown, it is crucial to reinstall the CPU cooler correctly and ensure that it is functioning optimally. This includes using the proper amount of thermal paste, securely mounting the cooler, and ensuring adequate airflow within the computer case.
In the next sections, we will discuss the steps to fix a PC that stops working after removing the CPU cooler. By following these steps, you can effectively address the issue of overheating and prevent thermal shutdown, safeguarding the health and longevity of your computer system.
CPU Damage and Malfunctioning
Removing the CPU cooler without proper precautions can expose the CPU to excessive heat, leading to potential damage and malfunctioning. The CPU is a delicate electronic component that is designed to operate within a specific temperature range. When the CPU overheats, it can experience various issues that can negatively impact its performance and longevity.
Here are some potential consequences of CPU damage and malfunctioning:
- Reduced performance: Excessive heat can cause the CPU to throttle its performance to lower temperatures. This can result in a noticeable decrease in processing power, slower application launches, and overall sluggishness of the system.
- Frequent crashes and instability: Overheating can introduce instability into your computer system. This can lead to random crashes, freezes, and unexpected reboots, making it difficult to use the PC reliably.
- Permanent damage: Prolonged exposure to high temperatures can cause permanent damage to the CPU. The heat can degrade the internal components, such as the transistors and circuits, leading to irreversible malfunctioning. In severe cases, the CPU may become completely non-functional.
It is important to note that modern CPUs are equipped with built-in thermal protection mechanisms. These mechanisms monitor the temperature of the CPU and automatically reduce its speed or shut it down if the temperature exceeds a safe threshold. While these safeguards help prevent catastrophic damage, frequent exposure to high temperatures can still impact the CPU’s performance and lifespan over time.
Furthermore, some CPUs may have lower thermal thresholds than others. High-performance CPUs or those used for demanding tasks such as gaming or video editing tend to produce more heat and may be more susceptible to damage if not adequately cooled.
To mitigate the risks of CPU damage and malfunctioning, it is crucial to reinstall the CPU cooler correctly and ensure optimal cooling. This involves using the appropriate amount of thermal paste, securely mounting the cooler, and maintaining proper airflow within the computer case.
In the next sections, we will discuss the steps you can take to fix a PC that stops working after removing the CPU cooler. By following these steps, you can address any potential CPU damage and ensure the proper functioning of your computer system.
Incorrect Installation and Improper Thermal Paste Application
When reinstalling the CPU cooler after removing it, it is crucial to ensure correct installation and proper application of thermal paste. Incorrect installation or inadequate thermal paste application can result in poor contact between the CPU and the cooler, leading to inadequate heat transfer and increased temperatures.
Here are the potential issues that can arise from incorrect installation and improper thermal paste application:
- Inadequate cooling: If the CPU cooler is not securely mounted to the CPU, there may be gaps or insufficient contact between the two. This restricts the heat transfer and can result in inadequate cooling, causing the CPU to operate at higher temperatures.
- Inefficient heat dissipation: Thermal paste is applied between the CPU and the cooler to fill in microscopic gaps and improve heat transfer. Inadequate or improper application of thermal paste hinders its effectiveness, leading to inefficient heat dissipation and increased temperatures.
- Thermal throttling: When the CPU exceeds its thermal limits, it may engage in thermal throttling to protect itself from overheating. Thermal throttling reduces the clock speed of the CPU, resulting in decreased performance and slower processing times.
- Uneven temperature distribution: Incorrectly installed CPU coolers or improper thermal paste application can lead to an uneven distribution of temperature across the CPU. This can cause hotspots, where certain areas of the CPU become excessively hot, potentially causing damage to those specific regions.
To avoid these issues, it is important to carefully follow the manufacturer’s guidelines for installing the CPU cooler. Ensure that it is securely mounted and tightened according to the specified torque. Additionally, properly apply the right amount of thermal paste, usually a pea-sized dot in the center of the CPU, before placing the cooler.
It is worth noting that not all CPU coolers and CPUs require thermal paste. Some coolers come with pre-applied thermal material, such as thermal pads or pre-applied thermal paste. In such cases, it is essential to follow the instructions provided by the cooler manufacturer.
In the next sections, we will discuss the steps you can take to fix a PC that stops working after removing the CPU cooler, which includes reinstalling the cooler correctly and ensuring proper thermal paste application. By following these steps, you can address the issues related to incorrect installation and improper thermal paste application, ensuring effective cooling for your CPU.
Steps to Fix a PC That Stops Working After Removing the CPU Cooler
If your computer stops working or experiences issues after removing the CPU cooler, it is important to take the necessary steps to fix it. Here are the recommended steps to address the problem:
- Power off the computer: Firstly, turn off the computer completely before attempting any troubleshooting steps. This will prevent any potential damage or electrical hazards.
- Inspect the CPU cooler: Carefully examine the CPU cooler to ensure that it is in good condition. Check for any bent or damaged components, loose screws, or signs of wear. Address any visible issues before proceeding.
- Clean the CPU and cooler: If there is an excessive amount of dust or debris on the CPU and the cooler, use compressed air or a soft brush to remove it. Ensure that both surfaces are clean to facilitate proper contact.
- Apply thermal paste: If the existing thermal paste has been wiped away or if it was not applied correctly, it is crucial to reapply it. Use a small amount of high-quality thermal paste and spread it evenly on the surface of the CPU using a credit card or spatula.
- Mount the CPU cooler: Align the CPU cooler over the CPU and gently place it down. Make sure that it is correctly seated and aligned with the mounting brackets or screws on the motherboard. Secure the cooler in place according to the manufacturer’s instructions.
- Connect the CPU fan: Ensure that the CPU fan is properly connected to the CPU fan header on the motherboard. Double-check the connection to guarantee that it is secure.
- Power on the computer: After reinstalling the CPU cooler, power on the computer and observe its behavior. Check if the CPU fan spins up during the boot process and listen for any unusual noises. Monitor the CPU temperature to ensure that it remains within safe limits.
- Perform stability tests: To ensure that the PC is functioning properly, run stability tests such as stress tests or benchmarking software. These tests will put a load on the CPU and help determine if it is operating within acceptable temperatures and without any issues.
- Monitor system performance: Keep an eye on the CPU temperature and system performance over time. Use software utilities to monitor temperature readings and ensure that the CPU remains within safe operating temperatures during normal use.
If, after following these steps, the PC still experiences issues, such as overheating or instability, it is recommended to seek assistance from a professional or contact the manufacturer for further guidance.
By carefully reinstalling the CPU cooler, applying thermal paste correctly, and conducting necessary tests, you can effectively fix a PC that stops working after removing the CPU cooler. Ensuring proper cooling and maintaining optimal performance will help to prolong the lifespan and reliability of your computer system.
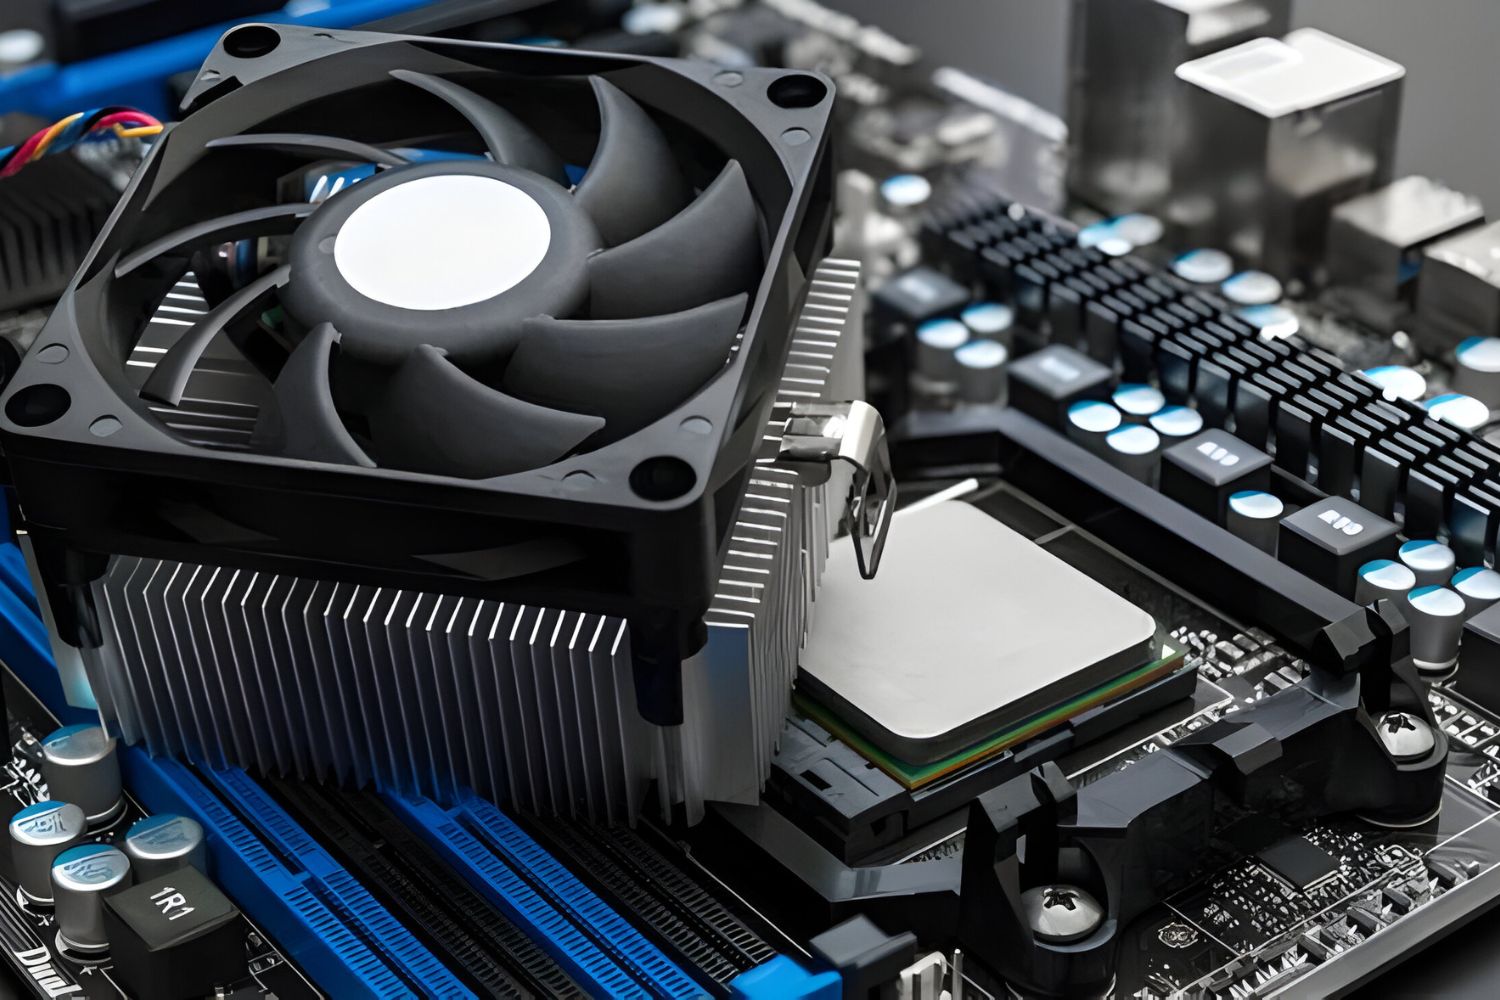
Reinstalling the CPU Cooler Correctly
Reinstalling the CPU cooler correctly is crucial for proper cooling and preventing issues that may arise after removing it. Follow these steps to ensure that you reinstall the CPU cooler correctly:
- Prepare the CPU and cooler: Ensure that the CPU and cooler surfaces are clean and free from any dust or debris. Use compressed air or a soft brush to remove any remnants.
- Prepare the thermal paste: Apply a pea-sized amount of thermal paste on the center of the CPU. Avoid applying too much paste, as it can lead to excessive heat buildup.
- Align the CPU cooler: Carefully align the CPU cooler over the CPU socket, ensuring that it aligns with the mounting brackets or screw holes on the motherboard.
- Secure the cooler: Depending on the type of CPU cooler you have, either attach it using the provided mounting screws or use the twist-lock mechanism. Tighten the screws in a diagonal pattern to achieve even pressure on the CPU and cooler.
- Connect the CPU fan: Make sure to connect the CPU fan to the CPU fan header on the motherboard. It is essential to ensure that the fan is spinning freely and not obstructed.
- Check for proper installation: Confirm that the CPU cooler is securely mounted and there is firm contact between the CPU and the cooler. Check for any excess thermal paste that may have squeezed out during installation.
Remember to consult the manufacturer’s instructions specific to your CPU cooler and motherboard to ensure proper installation. These steps will help guarantee that the CPU cooler is properly installed, allowing for effective heat dissipation and maintaining optimal temperatures for your CPU.
Once the CPU cooler is securely installed, proceed to the next section to learn about the appropriate application of thermal paste for optimal cooling efficiency.
Applying Thermal Paste and Properly Mounting the CPU Cooler
Properly applying thermal paste and mounting the CPU cooler is essential for optimal heat transfer and efficient cooling. Follow these steps to ensure that you apply thermal paste correctly and mount the CPU cooler properly:
- Clean the CPU surface: Use a lint-free cloth or alcohol wipe to clean the surface of the CPU. Make sure it is free from any dust, debris, or residual thermal paste.
- Apply the right amount of thermal paste: Apply a small, pea-sized dot of thermal paste on the center of the CPU. Avoid applying too much paste, as it can lead to excessive heat buildup and may cause issues.
- Spread the thermal paste: Gently spread the thermal paste using a plastic applicator, credit card, or a spatula. Make sure to create an even, thin layer that covers the entire surface of the CPU. Avoid smearing or applying too much pressure, as it can cause air bubbles or result in an inconsistent layer of thermal paste.
- Align the CPU cooler: Carefully align the CPU cooler over the CPU, ensuring that it matches the mounting holes or brackets on the motherboard. Be cautious not to disturb or smudge the applied thermal paste during this process.
- Secure the CPU cooler: Depending on the type of CPU cooler, secure it with the provided mounting screws or utilize the twist-lock mechanism. Tighten the screws in a diagonal pattern to ensure even pressure distribution and proper contact between the CPU cooler and the CPU.
- Double-check the mounting: Verify that the CPU cooler is securely mounted and there is firm contact between the cooler and the CPU. The pressure should evenly distribute the thermal paste, providing efficient heat transfer.
Remember to consult the instructions provided by the CPU cooler manufacturer for any specific guidelines regarding thermal paste application and mounting procedures.
Applying thermal paste properly and mounting the CPU cooler correctly will help create an effective thermal interface between the CPU and cooler. This ensures optimal heat dissipation and helps to maintain lower CPU temperatures, promoting stability and extending the lifespan of your system.
In the next section, we will discuss the importance of checking for any physical damages on the CPU when troubleshooting issues after removing the CPU cooler.
Checking for any Physical Damages on the CPU
After removing the CPU cooler and before reinstalling it, it is important to check for any physical damages on the CPU. Removing the cooler can expose the CPU to potential risks, such as accidental scratches, bent pins, or other visible damage. By conducting a thorough inspection, you can identify and address any issues that may impact the CPU’s performance and functionality.
Here are the steps to check for physical damages on the CPU:
- Examine the CPU: Carefully inspect the surface of the CPU for any scratches, cracks, or signs of physical damage. Pay close attention to the CPU pins or pads and ensure they are straight and undamaged.
- Check for thermal paste residue: Look for any residual thermal paste on the CPU. Excess or dried-up thermal paste can impede heat transfer and may indicate a previous installation issue or improper cooling.
- Inspect the CPU socket: Check the CPU socket on the motherboard for any bent or damaged pins. Bent pins can prevent proper CPU installation, leading to performance issues or system instability.
If you notice any physical damages on the CPU or motherboard, it is important to address them before proceeding with the reinstallation of the CPU cooler. Depending on the severity of the damage, you may need to seek professional assistance or consider replacing the affected component.
It is essential to handle the CPU with care during the inspection process, ensuring that no additional damage occurs. Avoid touching the gold contacts or the delicate surface of the CPU, as this can introduce static electricity or oil residue that may affect its functionality.
By checking for any physical damages on the CPU, you can identify potential issues that may have resulted from removing the CPU cooler and take appropriate action before reinstalling it. This step contributes to maintaining the stability and performance of your computer system.
Next, we will discuss the final step of testing the PC for normal functionality after reinstalling the CPU cooler.
Testing the PC for Normal Functionality
Once you have reinstalled the CPU cooler and addressed any potential issues, it is important to test the PC for normal functionality. Testing the PC ensures that the CPU is operating within acceptable parameters, the cooling system is functioning correctly, and the overall system stability is maintained.
Here are the steps to test the PC for normal functionality:
- Power on the computer: Turn on the computer and observe the startup process. Listen for any unusual noises coming from the CPU fan or other components.
- Check CPU fan operation: Make sure that the CPU fan is spinning up properly. Observe its speed and ensure that it is running at an appropriate RPM to provide adequate cooling for the CPU.
- Monitor CPU temperature: Use temperature monitoring software to monitor the CPU temperature. Ensure that it remains within safe operating ranges, even during demanding tasks or prolonged usage.
- Run stability tests: Use benchmarking or stress-testing software to put the CPU under heavy load and assess its performance. This will help identify any stability issues, overheating problems, or CPU throttling.
- Check system performance: Assess the system’s overall performance and responsiveness. Monitor its behavior during regular usage, such as opening applications, multitasking, or running resource-intensive tasks.
If any issues arise during the testing process, such as abnormal CPU temperatures, system crashes, or performance degradation, it is important to investigate and address the underlying causes. These issues could indicate problems with the CPU cooler installation, improper thermal paste application, or other hardware-related issues.
Regularly monitoring the CPU temperature and system performance even after the initial testing phase is crucial to ensure the long-term stability and reliability of your computer system.
By thoroughly testing the PC for normal functionality, you can confirm that the CPU cooler is properly installed, the thermal management is effective, and the CPU is operating as expected. This step provides confidence in the stability and optimal performance of your computer system.
After completing the testing process, you can proceed to use your computer with the reassurance that it is functioning correctly and protected from potential issues associated with removing the CPU cooler.
Conclusion
Removing the CPU cooler from your computer system can lead to a range of potential issues, including overheating, CPU damage, and improper cooling. In this article, we have explored the importance of CPU cooling and the consequences of inadequate cooling. We discussed the potential problems that may arise after removing the CPU cooler, such as overheating, thermal shutdown, CPU damage, and malfunctioning.
To fix a PC that stops working after removing the CPU cooler, we provided a step-by-step guide. This includes reinstalling the CPU cooler correctly, applying thermal paste properly, checking for physical damages on the CPU, and testing the PC for normal functionality.
By following these steps, you can address the issues that may arise and ensure the effective cooling and proper functioning of your computer system. Proper CPU cooling not only prevents overheating but also extends the lifespan of your components, improves performance, and ensures system stability.
If you encounter any difficulties during this process or if the issues persist, it is recommended to seek assistance from a professional or contact your computer manufacturer for further guidance.
Remember, regular maintenance and monitoring of your computer’s cooling system are essential to prevent future issues. Keep an eye on the CPU temperature, clean the CPU cooler regularly, and ensure proper airflow within the computer case.
By taking proper care of your CPU cooler and ensuring optimal cooling, you can enjoy a well-functioning and reliable computer system for years to come.