Introduction
A water CPU cooler is a crucial component of any high-performance computer system. It helps to maintain the temperature of the CPU by circulating liquid coolant and dissipating heat more effectively than air coolers. Over time, however, the cooling system may become less efficient due to the accumulation of dirt, dust, or debris. This can lead to increased CPU temperatures and, in turn, reduced system performance or even hardware damage.
To ensure optimum performance and longevity of your water CPU cooler, it’s essential to periodically reset and clean the system. This involves removing the cooler, draining and cleaning the cooling liquid, and reassembling the components correctly. While the idea of resetting a water CPU cooler may seem intimidating, following a few simple steps can help you accomplish this task safely and effectively.
In this guide, we will walk you through the step-by-step process of resetting your water CPU cooler. Whether you are experiencing high CPU temperatures, or it has been a while since you last cleaned the cooling system, this guide will provide you with the necessary instructions to get your cooler back in shape and your system running smoothly again.
By resetting your water CPU cooler, you can remove any impurities that might be affecting its performance. This will not only help to maintain ideal CPU temperatures but also ensure the longevity and reliability of your computer system. So, let’s get started with the reset process and bring your water CPU cooler back to its optimal working condition.
What is a Water CPU Cooler?
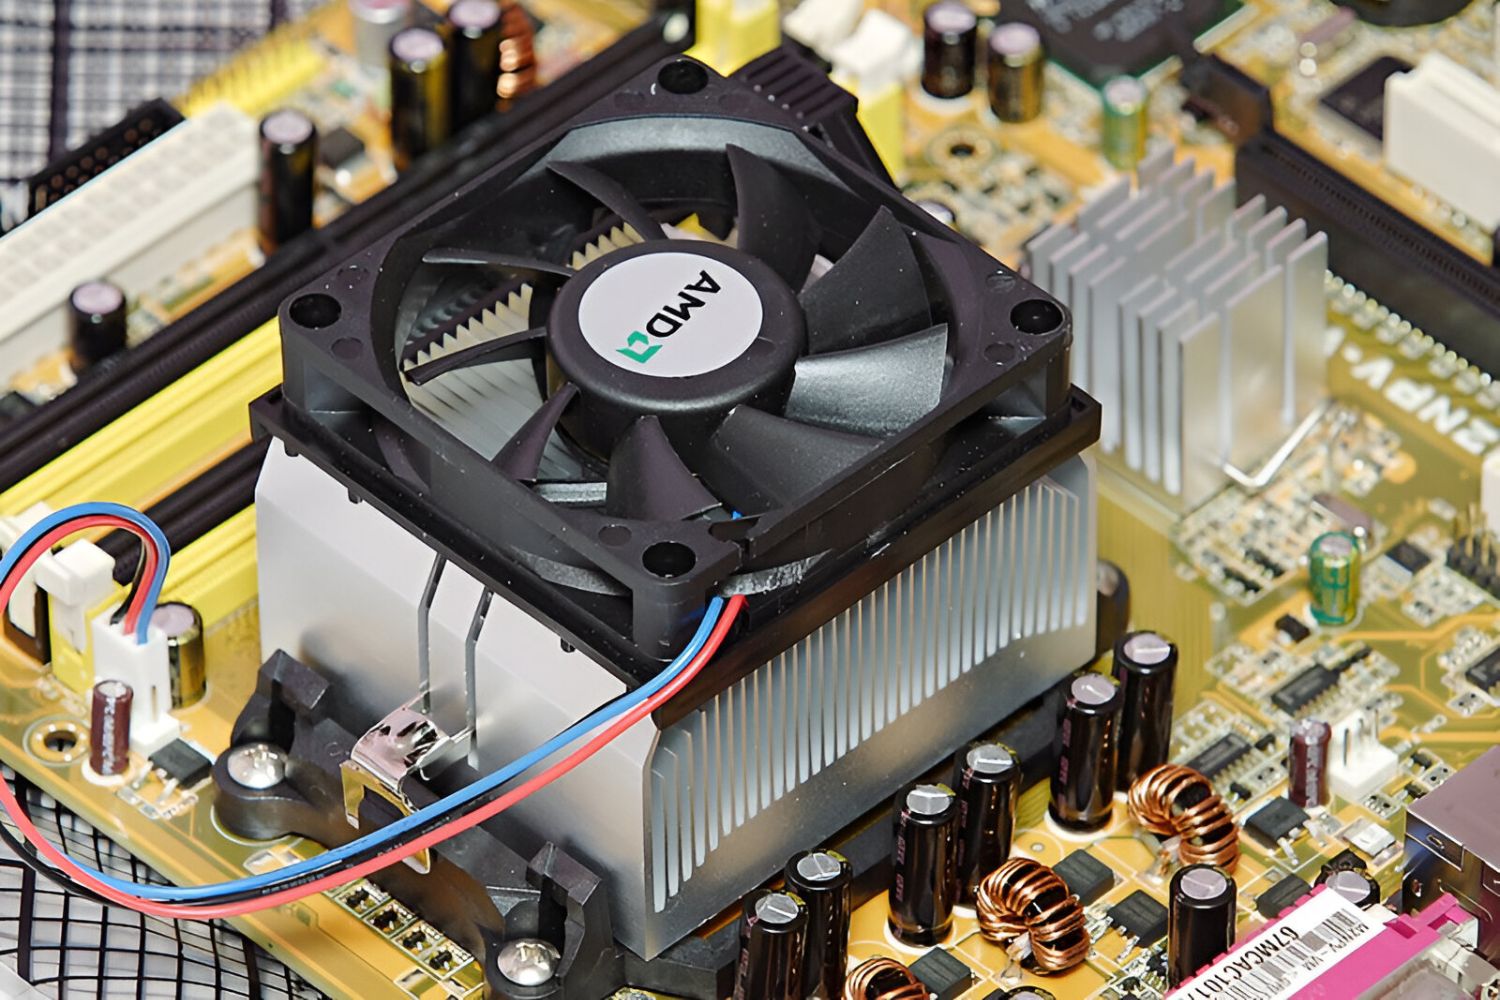
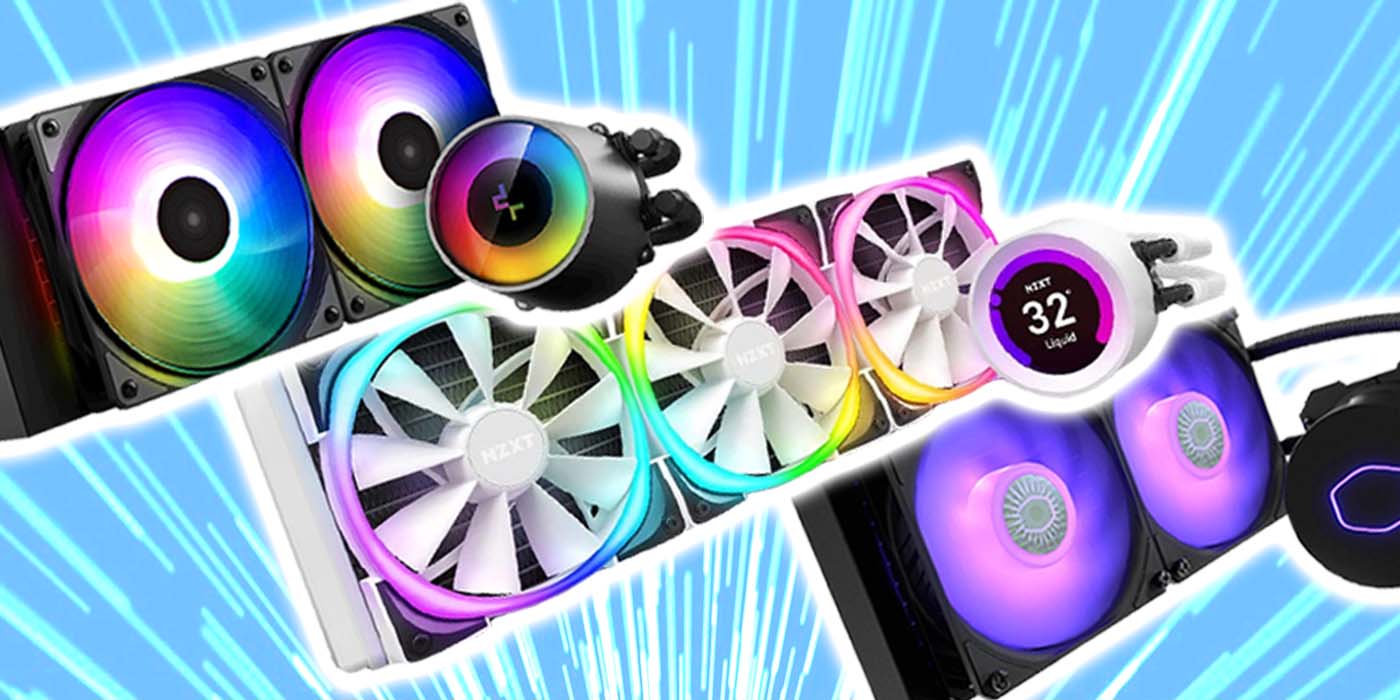
A water CPU cooler, also known as a liquid cooler or an all-in-one (AIO) cooler, is a cooling solution designed specifically for CPUs. It utilizes a closed-loop system with liquid coolant to efficiently dissipate heat generated by the CPU. Unlike traditional air coolers that use metal heatsinks and fans, water CPU coolers employ a radiator and a pump to achieve effective cooling.
The cooler comprises several key components, including a water block, radiator, pump, and fans. The water block is usually positioned directly above the CPU, where it makes contact with the CPU heat spreader. It transfers the heat from the CPU to the liquid coolant, which is then transported to the radiator. The radiator disperses the heat by utilizing the airflow generated by the fans. Finally, the pump circulates the coolant back to the water block, completing the cooling cycle.
Water CPU coolers offer several advantages over air coolers. Firstly, they have a higher cooling capacity, allowing for more efficient heat dissipation, especially during intensive tasks or overclocking. Additionally, they are usually quieter than traditional air coolers because the fans operate at lower speeds, reducing noise levels. Water coolers also have a more compact design, making them suitable for systems with limited space.
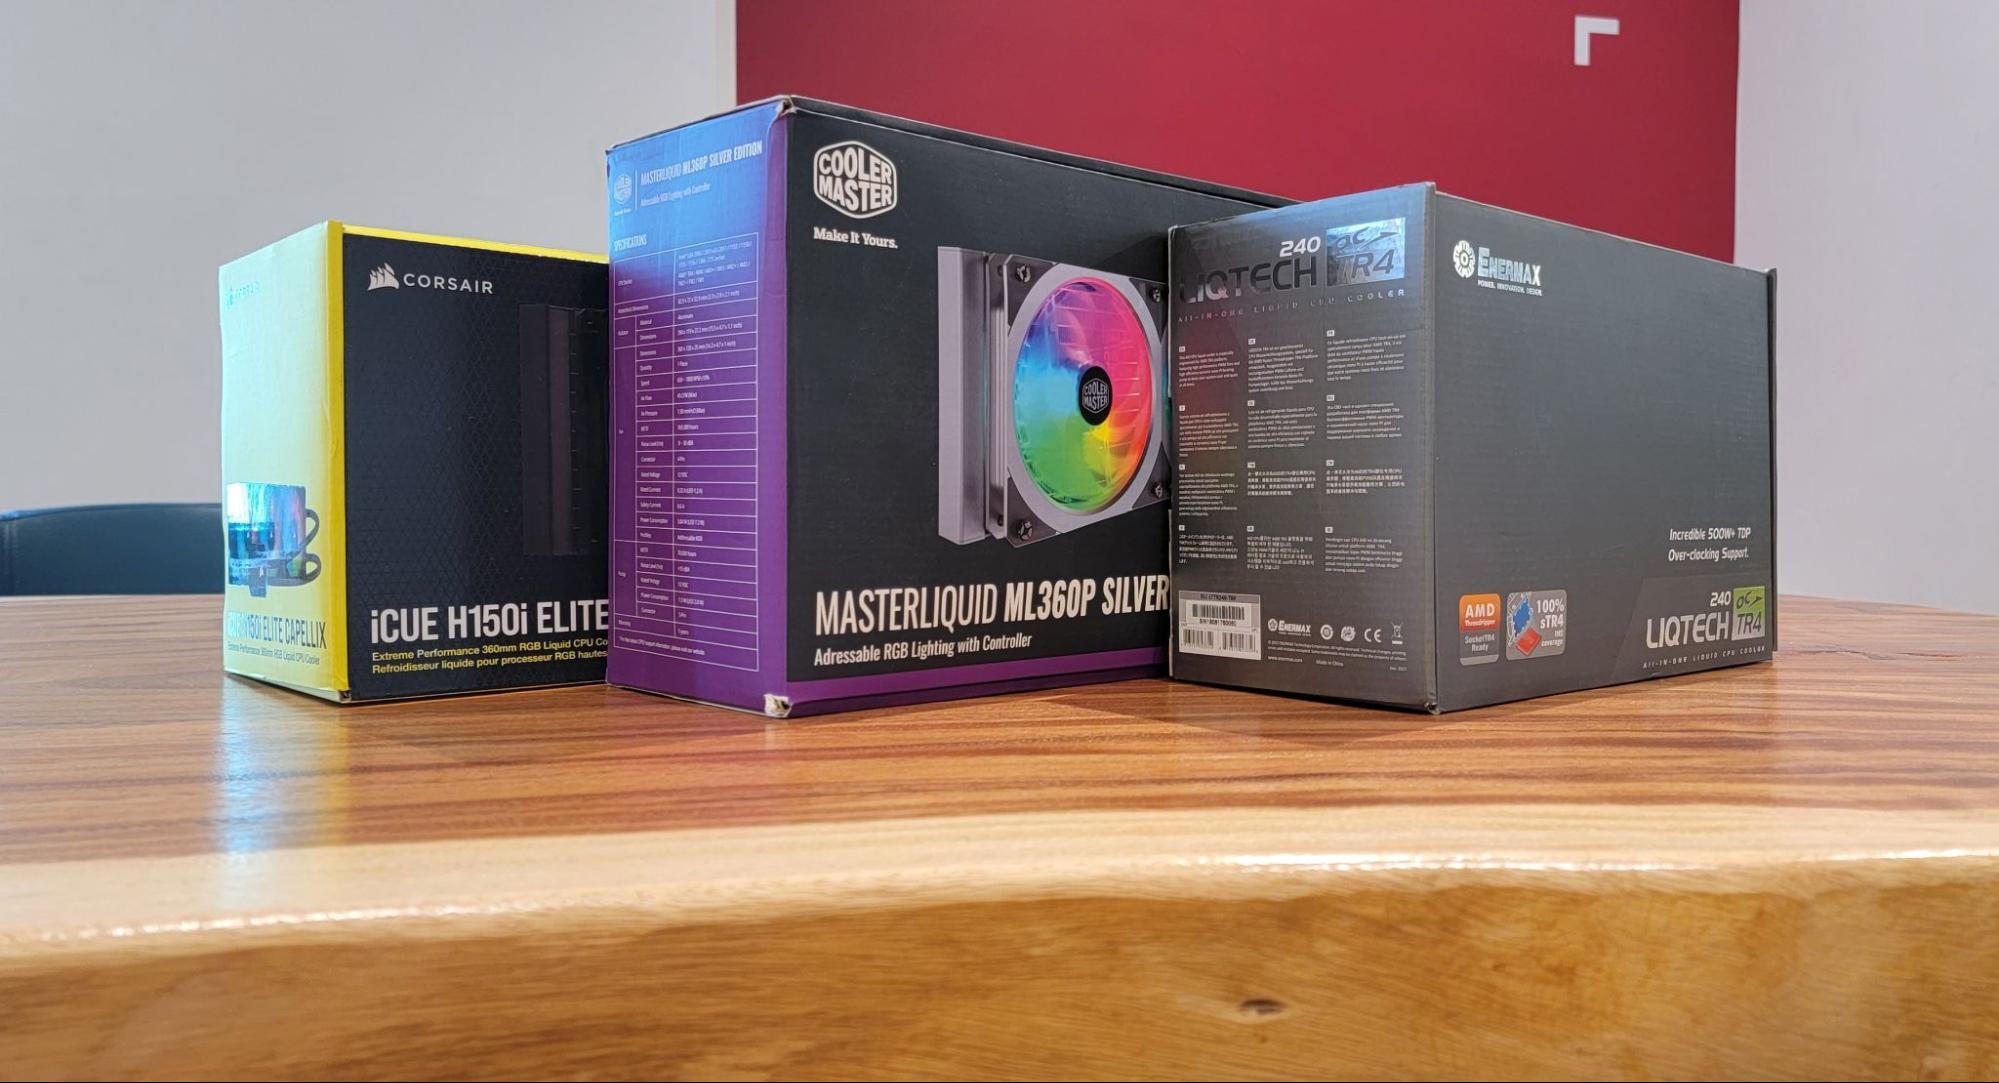
There are two types of water CPU coolers: all-in-one (AIO) coolers and custom loop cooling systems. AIO coolers come pre-assembled and are easy to install, typically requiring minimal maintenance. On the other hand, custom loop cooling systems offer more flexibility and customization options, but they require more expertise to install and maintain. Regardless of the type, water CPU coolers are widely used by gamers, content creators, and PC enthusiasts looking for superior cooling performance.
Now that we have a better understanding of what a water CPU cooler is and how it works, let’s explore why it is essential to reset your water CPU cooler on a regular basis to ensure optimal performance and longevity.
Why Resetting Your Water CPU Cooler is Important
Resetting your water CPU cooler regularly is crucial for maintaining its efficiency and ensuring the longevity of your computer system. Here are a few reasons why resetting your water CPU cooler is important:
- Preventing Dust and Debris Buildup: Over time, dust, dirt, and other debris can accumulate inside the water CPU cooler. This buildup can impede proper airflow and heat dissipation, leading to higher CPU temperatures. Resetting allows you to clean out any dirt or debris, enabling better cooling performance.
- Improving Cooling Performance: A clean and properly functioning water CPU cooler can effectively dissipate heat from the CPU, maintaining optimal temperatures even during intense computing tasks. By resetting the cooler and ensuring its components are free from obstructions, you can improve cooling performance and maximize the CPU’s potential.
- Extending Hardware Lifespan: Overheating can decrease the lifespan of computer components, including the CPU. By resetting your water CPU cooler and maintaining lower temperatures, you can help prolong the lifespan of your hardware, reducing the risk of premature failure or performance degradation.
- Preserving System Stability: High CPU temperatures can lead to system instability, causing crashes, freezes, or unexpected shutdowns. Resetting your water CPU cooler and optimizing its cooling efficiency contributes to a more stable system, ensuring smoother operation and minimizing the risk of data loss or interruptions during critical tasks.
- Enhancing Overall Performance: When the CPU runs at higher temperatures, it may throttle its performance to prevent damage. By resetting your water CPU cooler and maintaining lower temperatures, you can unlock the full potential of your CPU, allowing it to consistently perform at its best.
With these key benefits in mind, it’s evident that regularly resetting your water CPU cooler is a critical maintenance task for any computer system. Now, let’s move on to the step-by-step process of resetting your water CPU cooler and restoring its optimal cooling performance.
Step 1: Shut down your computer
Before you begin resetting your water CPU cooler, it’s important to shut down your computer properly. This ensures the safety of both you and your system throughout the process. Follow these steps to shut down your computer:
- Save your work: Make sure to save any open documents or files to prevent data loss.
- Close all applications: Close any running applications or programs on your computer.
- Click on the “Start” button: On Windows, click on the “Start” button located at the bottom left corner of your screen. On Mac, click on the Apple logo in the top menu bar.
- Select “Shut down” or “Turn off”: From the Start menu, choose the “Shut down” or “Turn off” option. This will initiate the shutdown process.
- Wait for the computer to fully shut down: Give your computer enough time to complete the shutdown process. Ensure that all lights and fans have stopped before proceeding to the next step.
It is essential to shut down your computer to avoid any accidental damage or potential electric shock while handling the water CPU cooler. Make sure to follow these steps properly to ensure a safe and smooth shutdown of your system.
Now that your computer is shut down, it’s time to move on to the next step in the process, which involves disconnecting the power from your system.
Step 2: Disconnect the power
Once your computer is shut down, the next step in resetting your water CPU cooler is to disconnect the power source. This is a crucial step to ensure your safety and prevent any potential damage to the hardware. Follow these steps to disconnect the power:
- Unplug the power cord: Locate the power cord connected to your computer’s power supply unit (PSU) at the back of the case. Gently unplug the cord from the power outlet.
- Turn off the PSU (optional): Some power supplies have an on/off switch located on the back. If your PSU has this switch, you can turn it off to completely cut off the power supply to your system.
- Disconnect any other power cables: Check for any additional power cables connected to your computer, such as those for peripherals or external devices. Disconnect them as well.
- Press the power button (optional): To ensure that any residual power is discharged, press and hold the power button on your computer for a few seconds. This helps to discharge any remaining electric charge in the system.
By disconnecting the power, you eliminate the risk of electrical shock and minimize the chances of damaging any components while working on your water CPU cooler.
Now that you have safely disconnected the power from your computer, you can proceed to the next step, which involves removing the CPU cooler from your system.
Step 3: Remove the CPU cooler from your computer
With the power disconnected, it’s time to remove the CPU cooler from your computer. This step will allow you to access the cooling system and clean or replace any necessary components. Follow these steps to remove the CPU cooler:
- Locate the CPU cooler: Identify the location of the CPU cooler on your motherboard. It is typically positioned on top of the CPU socket.
- Unplug any fan connectors: Check for any fan connectors attached to the CPU cooler. Gently unplug them from the motherboard, ensuring not to pull on the cables.
- Remove the mounting bracket: Depending on the type of CPU cooler you have, there may be a mounting bracket securing the cooler in place. Use a screwdriver or the provided tools to remove the screws or release the bracket.
- Gently lift the CPU cooler: Carefully lift the CPU cooler off the CPU socket. Rock it gently from side to side if necessary to loosen it from the thermal paste or the CPU.
- Place the CPU cooler in a safe location: Set the removed CPU cooler on a clean, static-free surface. It is important to avoid placing it on a carpet or other potential discharge sources.
Removing the CPU cooler allows you to have full access to the cooling system for cleaning, replacement, or maintenance. Take your time and handle the CPU cooler with care to avoid any damage. Once the CPU cooler has been successfully removed, you can proceed to the next step, which involves draining the cooling liquid from the system.
Step 4: Drain the cooling liquid
After removing the CPU cooler from your computer, it’s time to drain the cooling liquid from the system. Draining the liquid is necessary to clean out any impurities or contaminants that may have accumulated over time. Follow these steps to drain the cooling liquid:
- Prepare a container: Place a clean and empty container below the CPU cooler to catch the draining liquid. Make sure the container is large enough to hold the entire volume of the liquid.
- Locate the drain plug or fittings: Look for the drain plug or fittings on your CPU cooler. These are typically located on the radiator or the water block. Refer to the user manual or documentation for guidance if needed.
- Loosen the drain plug: Using a screwdriver or the appropriate tool, gently loosen the drain plug or fittings to allow the liquid to flow out. Do this slowly and carefully to avoid any spills.
- Let the liquid drain completely: Allow the cooling liquid to drain completely into the container. This may take a few minutes depending on the size of your cooling system.
- Tighten the drain plug: Once the liquid has drained, tighten the drain plug or fittings securely to prevent any leaks.
Draining the cooling liquid helps remove any buildup or contaminants inside the system, ensuring optimal performance and longevity of your water CPU cooler. Take your time during this step to avoid any spills or mishaps. Once the cooling liquid has been drained, you can proceed to the next step, which involves cleaning the inside of the CPU cooler.
Step 5: Clean the inside of the CPU cooler
With the cooling liquid drained, it’s time to clean the inside of the CPU cooler. This step is crucial to remove any dirt, dust, or debris that may have accumulated and could hinder the cooler’s performance. Follow these steps to clean the inside of the CPU cooler:
- Inspect for debris: Take a close look at the components inside the CPU cooler, including the water block, radiator, and fans. Check for any visible dirt, dust, or debris that needs to be cleaned.
- Clean the radiator fins: Use a can of compressed air to blow away any dust or debris from the radiator fins. Hold the can of compressed air upright and use short bursts of air. Be careful not to overspin the fans.
- Clean the water block: Use a soft, lint-free cloth or a soft-bristled brush to gently clean the water block. Wipe away any dust or debris that might be present. Avoid using excessive force or harsh chemicals that could damage the components.
- Clean the fans: Gently wipe the fan blades and surrounding areas to remove any dust or dirt buildup. Hold the fan blades in place with your finger to prevent them from spinning while cleaning.
- Inspect for blockages: Check the water block and tubing for any blockages or clogs. Ensure that the tubes are clear and free from any obstructions. Use a soft brush or cotton swab to remove any potential blockages if necessary.
By cleaning the inside of the CPU cooler, you remove any impurities that can hinder its performance. Make sure to handle the components with care and avoid using excessive force. Once the inside of the CPU cooler is clean, you can proceed to the next step, which involves refilling the cooling liquid.
Step 6: Refill the cooling liquid
After cleaning the inside of the CPU cooler, it’s time to refill the cooling liquid. This step is crucial to ensure that the cooler operates efficiently and maintains optimal cooling performance. Follow these steps to refill the cooling liquid:
- Choose the appropriate cooling liquid: Select a high-quality cooling liquid that is recommended for your specific water CPU cooler. Consult the manufacturer’s instructions or documentation for the recommended type of liquid.
- Prepare the cooling liquid: If the cooling liquid requires mixing or diluting, follow the instructions provided by the manufacturer. Ensure that the cooling liquid is prepared correctly before proceeding.
- Locate the fill port: Identify the fill port on your CPU cooler. This is usually located on the radiator or the water block. Refer to the user manual or documentation for the exact location if needed.
- Fill the cooling liquid: Slowly pour the cooling liquid into the fill port. Take care not to overfill or spill any liquid. Fill it to the recommended level specified by the manufacturer.
- Secure the fill port: Once the cooling liquid has been filled, securely close the fill port to prevent any leaks. Follow the instructions provided by the manufacturer to properly seal the port.
Refilling the cooling liquid ensures that the CPU cooler has an adequate supply to effectively dissipate heat. It is essential to use the recommended type of cooling liquid and follow the manufacturer’s instructions to avoid any compatibility or performance issues. Once the cooling liquid has been refilled, you can proceed to the next step, which involves reassembling the CPU cooler.
Step 7: Reassemble the CPU cooler
With the cooling liquid refilled, it’s time to reassemble the CPU cooler and prepare it for reinstallation in your computer. Follow these steps to reassemble the CPU cooler:
- Position the CPU cooler: Carefully align the CPU cooler over the CPU socket on your motherboard. Ensure that the water block makes full contact with the CPU while being mindful of the orientation.
- Attach the mounting bracket: If your CPU cooler requires a mounting bracket, securely attach it to the backplate of the motherboard using the appropriate screws or clips. Refer to the manufacturer’s instructions for guidance.
- Secure the CPU cooler: Gently press down on the CPU cooler, ensuring that it is seated properly. Use the provided screws or clips to secure the CPU cooler in place. Tighten them evenly in a diagonal pattern for the best results.
- Connect the fan connectors: Reconnect any fan connectors from the CPU cooler to the corresponding headers on the motherboard. Ensure that the connectors are securely plugged in.
- Double-check the connections: Take a moment to verify that all components and connections associated with the CPU cooler are secure. This includes checking the radiator, tubing, and any other necessary fittings.
Reassembling the CPU cooler is a crucial step in the reset process. Ensure that all components are properly aligned, secured, and connected before proceeding to the next step. Following the manufacturer’s instructions and adhering to proper installation techniques are essential to ensure optimal cooling performance and avoid any potential issues.
Now that the CPU cooler is reassembled, you can move on to the final step, which involves connecting the power and starting your computer.
Step 8: Connect the power and start your computer
With the CPU cooler reassembled, it’s time to connect the power and start your computer. Follow these steps to complete the reset process:
- Reconnect the power cables: Plug the power cord back into the power supply unit (PSU) and connect any other power cables for peripherals or external devices.
- Turn on the PSU: If your PSU has an on/off switch, turn it on to provide the power supply to your computer system.
- Press the power button: On your computer case, press the power button to start your computer.
- Monitor the CPU temperature: Once your computer has booted up, monitor the CPU temperature using appropriate monitoring software. Ensure that the temperature remains within safe operating limits.
- Check for proper CPU cooler functionality: Listen for the sound of the CPU cooler’s fans and check if they are spinning properly. Monitor the cooling performance and ensure that the CPU temperature remains stable during normal usage or when subjected to heavy workloads.
- Run stress tests (optional): If desired, you can run stress tests or benchmarking software to further evaluate the performance and stability of your CPU cooler and system as a whole.
By connecting the power and starting your computer, you can confirm whether the reset process has been successful. Monitor the CPU temperature and observe the cooling performance to ensure optimal operation. If you notice any abnormalities or issues, double-check the connections or consult the manufacturer’s documentation for troubleshooting steps.
With the reset process complete, you can now enjoy the benefits of a clean and properly functioning water CPU cooler, ensuring efficient cooling and the longevity of your computer system.
Conclusion
Resetting your water CPU cooler is an essential maintenance task that helps maintain optimal cooling performance and prolong the lifespan of your computer system. By following the step-by-step process outlined in this guide, you can ensure that your CPU cooler operates efficiently, effectively dissipating heat, and protecting your CPU from high temperatures.
Throughout the reset process, you learned how to shut down your computer, disconnect the power, remove the CPU cooler, drain the cooling liquid, clean the inside of the CPU cooler, refill the cooling liquid, reassemble the CPU cooler, and finally, connect the power and start your computer. These steps, when done correctly, will help you achieve the desired results.
Regularly resetting your water CPU cooler and cleaning its components will prevent dust, dirt, and debris buildup that can hinder performance. It will also help maintain stable CPU temperatures, enhance system stability, and extend the lifespan of your computer’s hardware.
Remember to consult the manufacturer’s instructions and documentation specific to your CPU cooler for detailed guidance. Following proper procedures and taking precautions when working with electronic components will ensure a successful reset process.
By prioritizing the resetting and maintenance of your water CPU cooler, you can enjoy the benefits of a high-performance and reliable computer system for years to come. So, roll up your sleeves and give your water CPU cooler the attention it deserves, and your computer will thank you with improved cooling and overall performance.