Introduction
Welcome to the world of liquid CPU cooling! If you’re looking to maximize the performance and longevity of your PC, a liquid CPU cooler is an excellent investment. Unlike traditional air coolers, liquid CPU coolers use a combination of water and coolants to efficiently dissipate heat from your CPU, resulting in lower temperatures and improved performance.
However, like any cooling system, liquid CPU coolers require regular maintenance to keep them running optimally. One essential maintenance task is refilling the coolant. Over time, evaporation and natural wear and tear can cause the coolant levels to deplete, resulting in reduced cooling efficiency. Thankfully, refilling your liquid CPU cooler is a relatively straightforward process that you can easily do yourself.
In this guide, we’ll walk you through the steps necessary to refill your liquid CPU cooler, ensuring that your PC stays cool and ready for intensive tasks. From preparing your workspace to draining the existing coolant and filling it with a fresh mixture, we’ve got you covered.
Whether you’re a seasoned PC enthusiast or a beginner looking to take your cooling system to the next level, this guide will provide you with the knowledge and confidence to successfully refill your liquid CPU cooler. So, let’s roll up our sleeves and get started!
What is a liquid CPU cooler?
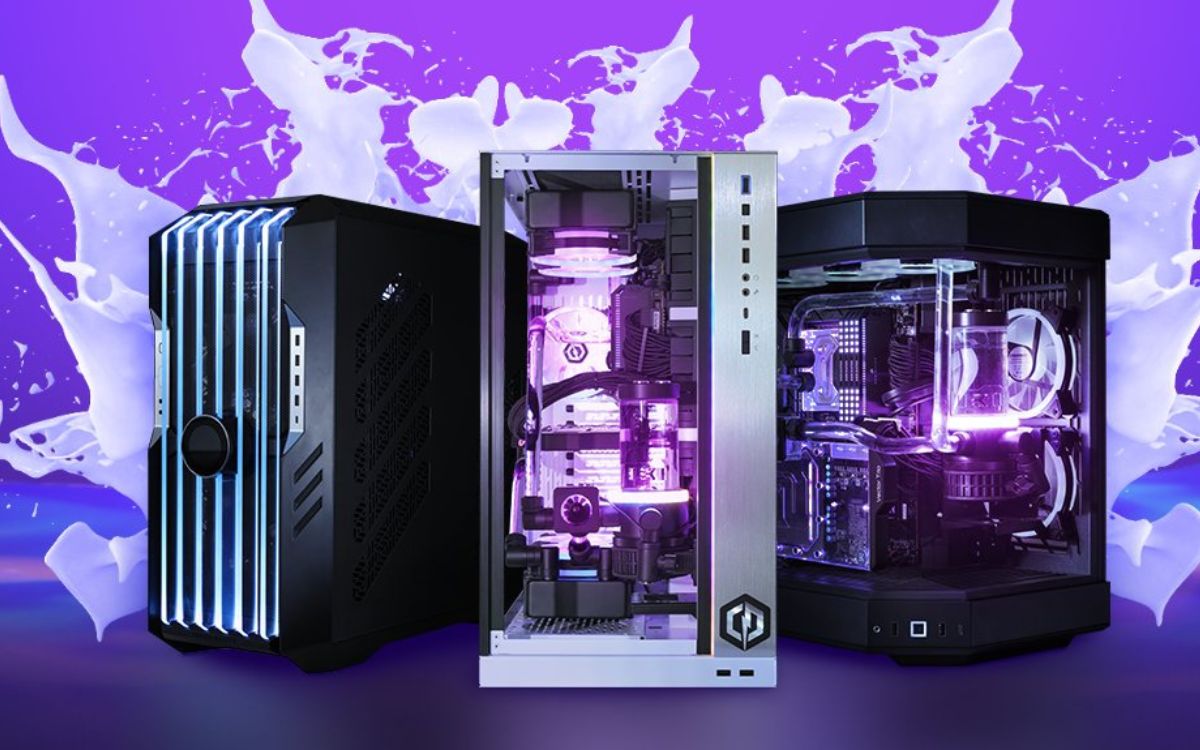
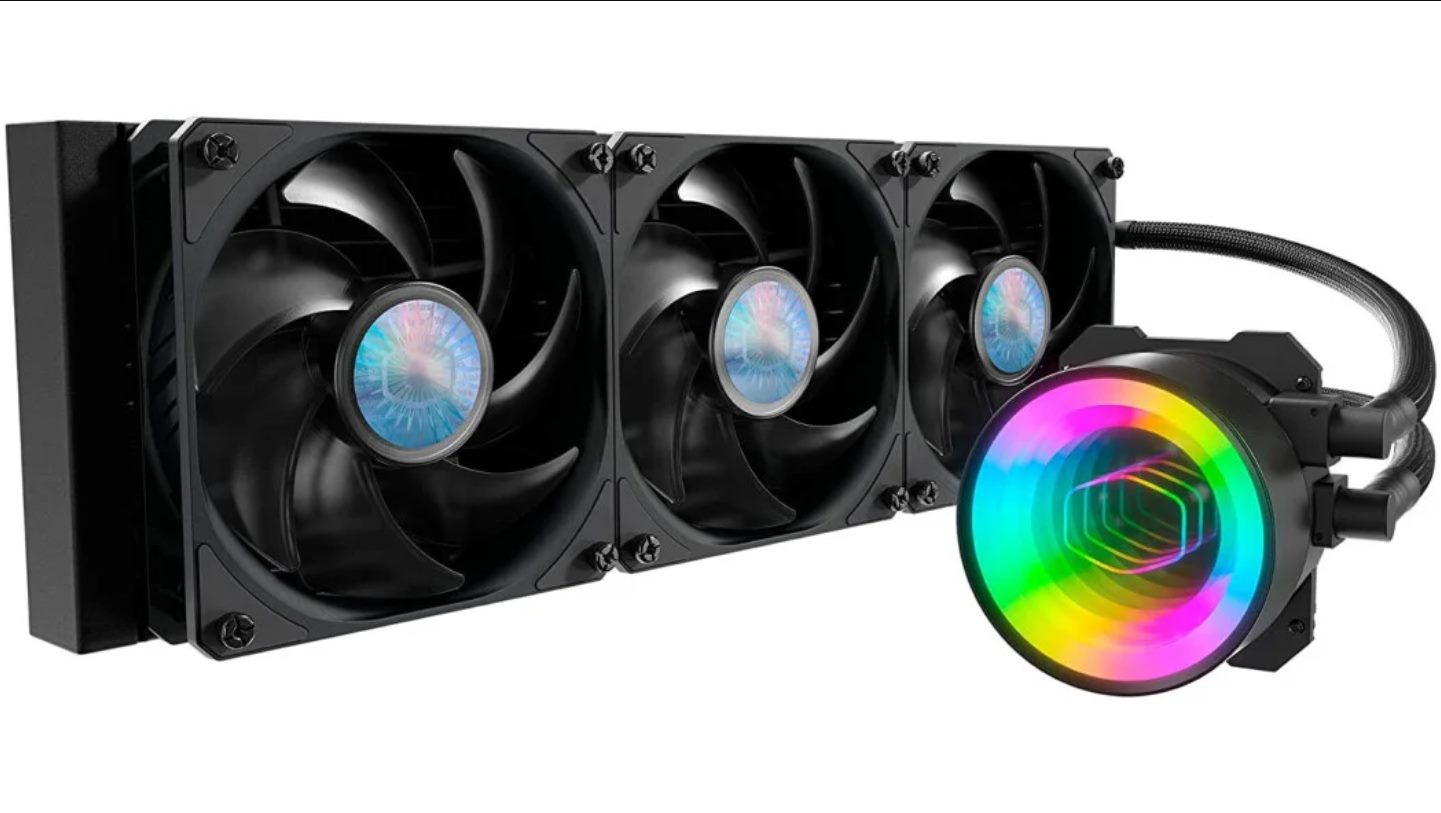
A liquid CPU cooler, also known as a liquid cooling system or AIO (All-in-One) cooler, is a type of cooling solution designed to keep the CPU (Central Processing Unit) of a computer at optimal temperatures. Unlike traditional air coolers, which rely on heat sinks and fans, liquid CPU coolers use a combination of water and coolant to transfer heat away from the CPU more efficiently.
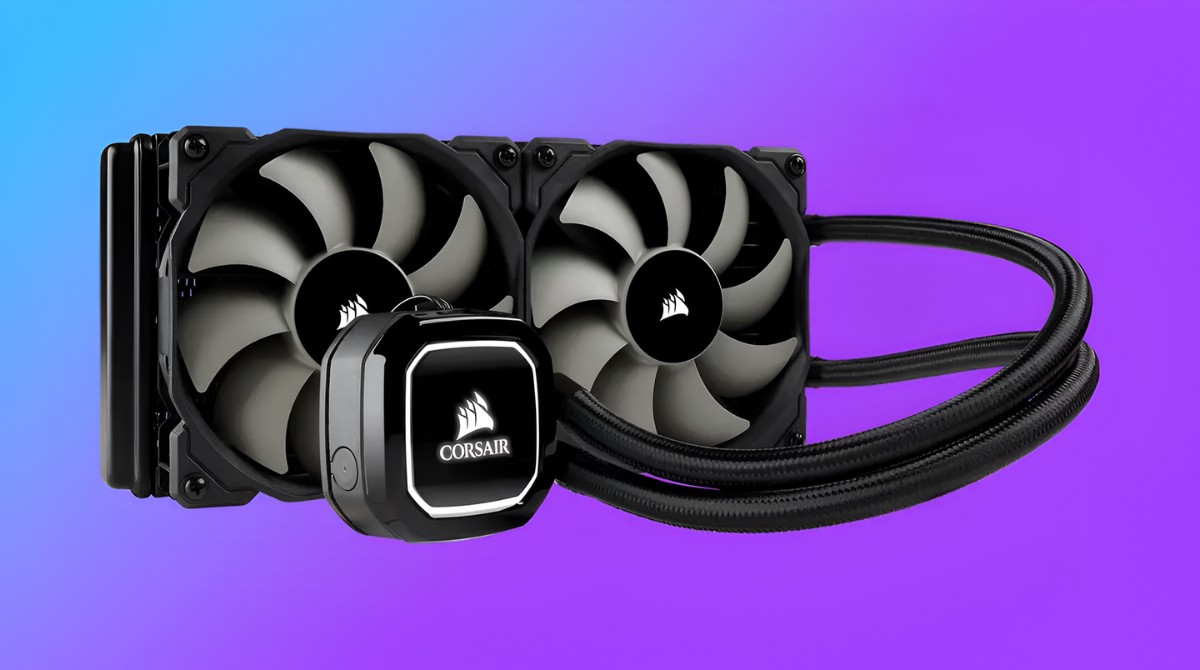
The cooling process in a liquid CPU cooler typically involves three key components: a pump, a radiator, and tubing. The pump circulates the liquid through the system, while the radiator dissipates the heat from the liquid into the surrounding air. The tubing connects these components and facilitates the flow of the coolant.
One of the primary advantages of liquid CPU coolers is their ability to provide superior cooling performance, especially in high-demand applications such as gaming, video rendering, and overclocking. The liquid coolant has a higher heat capacity than air, enabling it to absorb and dissipate heat more effectively. This results in lower CPU temperatures and a more stable system overall.
In addition to improved cooling performance, liquid CPU coolers often have a sleek and compact design, making them suitable for PCs with limited space. This design also eliminates the need for large heat sinks that can obstruct other components or hinder airflow in the PC case.
Another benefit of liquid CPU coolers is their relatively quiet operation. Since the fans are typically located on the radiator, they can operate at lower RPMs, reducing noise levels compared to traditional air coolers.
Overall, liquid CPU coolers provide a balance between performance, aesthetics, and noise reduction. By efficiently dissipating heat from the CPU, they help extend its lifespan, prevent thermal throttling, and enable users to achieve higher overclocking speeds if desired.
Now that we understand what a liquid CPU cooler is, let’s explore why it’s important to refill your liquid CPU cooler regularly.
Why should you refill your liquid CPU cooler?
Regularly refilling your liquid CPU cooler is crucial to maintaining its optimal performance and preventing potential issues. Over time, the coolant inside the CPU cooler can evaporate or become contaminated, leading to a decrease in cooling efficiency. Here are several reasons why you should prioritize refilling your liquid CPU cooler:
- Preserve cooling performance: The coolant in a liquid CPU cooler is responsible for absorbing and dissipating heat from the CPU. When the coolant level decreases, the cooling capacity of the system diminishes, leading to higher temperatures. By refilling the coolant, you ensure that the CPU cooler can continue effectively cooling your CPU, preventing overheating and potential thermal damage.
- Extend the lifespan of your CPU: Cooler temperatures play a significant role in prolonging the lifespan of your CPU. Excessive heat can cause the CPU to degrade over time and affect its performance. By maintaining proper cooling through regular refilling, you can help extend the lifespan of your CPU and prevent premature failure.
- Prevent thermal throttling: When a CPU reaches certain temperatures, it may start to throttle its performance to reduce heat output. This can result in a significant decrease in processing power and overall system performance. By ensuring your liquid CPU cooler is properly filled, you minimize the risk of your CPU reaching critical temperatures and experiencing thermal throttling.
- Avoid potential damage to other components: Overheating not only affects the CPU but can also impact other sensitive components of your PC. Heat can diminish the performance and lifespan of your RAM, storage drives, and even the motherboard. By maintaining proper cooling through regular coolant refilling, you protect these components and prevent potential damage caused by excessive heat.
- Optimize overclocking potential: Overclocking, the process of running a CPU at higher clock speeds than its stock frequency, can enhance system performance for demanding tasks. However, overclocking generates more heat, making proper cooling even more critical. By ensuring your liquid CPU cooler is filled with fresh coolant, you create optimal conditions for stable overclocking, providing better performance without compromising stability.
- Overall system stability: A well-cooled system leads to greater stability, especially during intensive tasks and extended usage periods. By refilling your liquid CPU cooler regularly, you can maintain stable temperatures and prevent temperature spikes that could lead to system crashes or instability.
As you can see, regular coolant refilling is essential for preserving the cooling performance, longevity, and overall stability of your liquid CPU cooler, as well as safeguarding the other components of your PC. Now, let’s take a look at the materials and tools you’ll need to successfully refill your liquid CPU cooler.
What you’ll need to refill your liquid CPU cooler
Before you begin the process of refilling your liquid CPU cooler, it’s important to gather the necessary materials and tools. Having everything prepared ahead of time will make the task more efficient and ensure you have everything you need. Here’s a list of items you’ll need:
- Coolant: First and foremost, you’ll need coolant specifically designed for liquid CPU coolers. It’s essential to use the recommended coolant for your particular cooler to ensure compatibility and optimal performance. You can typically find coolant at computer hardware stores or online retailers.
- Distilled water: In most cases, you’ll need distilled water to mix with the coolant. Distilled water is free from impurities that could potentially harm your cooling system. It’s important to use distilled water instead of tap water or other types of water to prevent mineral buildup or corrosion inside the CPU cooler.
- Injection syringe or funnel: To fill the coolant into the CPU cooler, you’ll need either an injection syringe or a funnel. The syringe allows for precise filling, while a funnel can make the process easier and help prevent spills. Choose the option that you find most comfortable and convenient to work with.
- Screwdriver or wrench: Depending on the design of your liquid CPU cooler, you may need a screwdriver or wrench to remove and reinstall the unit from your PC. Check the manufacturer’s instructions to determine the appropriate tool needed to detach and secure the cooler properly.
- Lint-free cloth or paper towels: It’s important to have a lint-free cloth or paper towels on hand to wipe any spills or clean any areas that come in contact with the coolant. This will help prevent any residue or debris from contaminating the CPU cooler or other components.
- Isopropyl alcohol: Isopropyl alcohol is useful for cleaning the CPU cooler or any components that may have residual coolant or dirt. It helps remove any contaminants and ensures a clean surface before reinstalling the cooler.
- Anti-static wrist strap (optional): While not absolutely necessary, an anti-static wrist strap is useful for grounding yourself and preventing any static discharge that could potentially damage your PC’s components. If you have one, it’s a good practice to use it during the process to minimize the risk of static electricity-related issues.
- User manual or manufacturer’s instructions: Finally, make sure you have access to the user manual or manufacturer’s instructions for your specific liquid CPU cooler. These documents will provide specific guidance and any additional steps or precautions you need to be aware of during the refilling process.
Having these materials and tools ready will make the process of refilling your liquid CPU cooler smoother and help ensure you have a positive experience. With everything prepared, let’s move on to the step-by-step guide on how to refill your liquid CPU cooler.
Step 1: Prepare your workspace
Before you start refilling your liquid CPU cooler, it’s crucial to set up a clean and organized workspace. This will help ensure a smooth and hassle-free process. Here are the steps to prepare your workspace:
- Choose a well-lit and well-ventilated area: Find a location with plenty of natural or artificial light, as it will aid visibility during the process. Additionally, make sure the area is well-ventilated to prevent any buildup of fumes from the coolant.
- Turn off your PC: As a safety precaution, it’s important to shut down your computer and unplug it from the power source before beginning any maintenance on your CPU cooler. This will ensure that you’re working on a completely powered-off system.
- Ground yourself and use an anti-static wrist strap: To prevent any static electricity from potentially damaging your PC’s sensitive components, it’s a good idea to ground yourself by touching a grounded metal surface or wearing an anti-static wrist strap.
- Clean your workspace: Clear the area of any debris or clutter that could obstruct your work or pose a risk of spills. Wipe down the surface with a clean cloth or paper towels to remove any dust or dirt.
- Gather your tools and materials: Collect all the tools and materials you’ll need for the process, such as the coolant, distilled water, injection syringe or funnel, screwdriver or wrench, lint-free cloth or paper towels, and isopropyl alcohol.
- Read the user manual or manufacturer’s instructions: Take some time to review the user manual or manufacturer’s instructions for your specific liquid CPU cooler. Familiarize yourself with any specific steps, precautions, or recommendations provided by the manufacturer.
- Organize your workspace: Lay out your tools and materials in an organized manner so that they’re easily accessible during the refilling process. This will help ensure an efficient workflow and minimize the risk of misplacing or knocking over any items.
By following these steps to prepare your workspace, you establish an environment that promotes safety, efficiency, and cleanliness during the process of refilling your liquid CPU cooler. Now that you’ve set up your workspace, it’s time to move on to the next step: removing the liquid CPU cooler from your PC.
Step 2: Remove the liquid CPU cooler from your PC
Now that you have prepared your workspace, it’s time to remove the liquid CPU cooler from your PC. This step will allow you to gain access to the cooler and perform the necessary maintenance. Follow these steps to safely remove the liquid CPU cooler:
- Refer to the user manual or manufacturer’s instructions: Consult the user manual or manufacturer’s instructions specific to your liquid CPU cooler model. These documents will provide guidance on the removal process and any precautions to be aware of.
- Locate the cooler and identify the mounting mechanism: Identify the position of the liquid CPU cooler in your PC case. It is typically mounted on top of the CPU socket. Take note of the mounting mechanism, whether it is secured by screws, brackets, or a retention mechanism.
- Unplug any fan connectors: If your liquid CPU cooler has any fan connectors attached to the motherboard, disconnect them. This will ensure that the cooler can be safely removed without any interference.
- Remove the securing screws or brackets: If your liquid CPU cooler is secured by screws or brackets, carefully unscrew or release them. Use the appropriate screwdriver or wrench according to the manufacturer’s instructions.
- Gently detach the liquid CPU cooler from the CPU socket: Once the screws or brackets are removed, gently detach the liquid CPU cooler from the CPU socket. Be cautious and avoid any sudden movements to prevent any damage to the CPU or surrounding components.
- Detach the cooler from the radiator (if applicable): In some liquid CPU cooler setups, the cooler may be attached to a radiator situated outside the case. If this is the case for your cooler, carefully detach the cooler from the radiator by removing any securing screws or brackets.
- Place the cooler in a clean and safe location: Once the liquid CPU cooler is detached, place it in a clean and safe location. Avoid placing it on any surface that could potentially scratch or damage the cooler. This will ensure that the cooler remains in good condition during the refilling process.
By following these steps, you can safely remove the liquid CPU cooler from your PC, allowing you to proceed with the next steps of the refilling process. Make sure to handle the cooler with care and refer to the manufacturer’s instructions for any specific requirements or recommendations. In the next step, we will cover how to drain the liquid from the CPU cooler.
Step 3: Drain the liquid from the CPU cooler
With the liquid CPU cooler safely removed from your PC, it’s time to drain the existing coolant from the system. Draining the old coolant is an essential step to ensure a complete refresh of the liquid inside the CPU cooler. Follow these steps to drain the liquid from the CPU cooler:
- Prepare a suitable container: Find a suitable container that can hold the volume of liquid from the cooler. Ensure that the container is clean, large enough, and won’t spill or tip over during the draining process.
- Identify the drain valve or plug: Locate the drain valve or plug on the CPU cooler. This valve or plug is designed specifically for releasing the liquid from the cooling system. Consult the user manual or manufacturer’s instructions to identify the location of the drain valve or plug.
- Position the container beneath the drain valve: Place the container beneath the drain valve to catch the coolant as it is released from the CPU cooler. Make sure the container is properly positioned to prevent any spills or mess.
- Open the drain valve or plug: Carefully open the drain valve or remove the plug to initiate the flow of coolant from the CPU cooler. Allow the coolant to drain completely into the container. This process may take a few minutes, depending on the size and capacity of the CPU cooler.
- Dispose of the drained coolant: Once the coolant is fully drained, dispose of it according to local regulations and guidelines. Coolants may contain hazardous materials, so it’s important to handle and dispose of them correctly to minimize environmental impact.
- Rinse the CPU cooler (optional): If you want to thoroughly clean the CPU cooler, you can rinse it with distilled water. This will help remove any residue or contaminants left from the old coolant. Gently rinse the cooler and allow it to dry completely before proceeding to the next step.
By following these steps, you can successfully drain the existing coolant from your liquid CPU cooler. This ensures that the cooler is ready for the next step of the refilling process, which involves preparing the coolant mixture. Proceed to the next step to begin preparing the new coolant mixture for your CPU cooler.
Step 4: Prepare the coolant mixture
With the existing coolant drained from your CPU cooler, it’s time to prepare a fresh coolant mixture. The coolant mixture is essential for efficient heat transfer and maintaining the optimal performance of your liquid CPU cooler. Follow these steps to prepare the coolant mixture:
- Refer to the manufacturer’s instructions: Consult the manufacturer’s instructions or user manual for your specific CPU cooler model. It will provide specific guidance on the type of coolant to use and the recommended coolant-to-water ratio.
- Check the coolant requirements: Determine the type of coolant recommended for your liquid CPU cooler. It’s crucial to use a coolant specifically designed for PC cooling systems to ensure compatibility and optimal performance. Different coolants may have varying formulations and properties.
- Gather the required materials: Collect the necessary materials to prepare the coolant mixture, which typically include the recommended coolant and distilled water. Ensure that you have a sufficient amount of each to achieve the desired ratio.
- Follow the recommended coolant-to-water ratio: Use a measuring cup or other measuring tools to ensure the correct coolant-to-water ratio. Typically, the recommended ratio is mentioned in the manufacturer’s instructions. It’s important to follow this ratio precisely to maintain the right balance for cooling efficiency.
- Mix the coolant and distilled water: In a clean container, combine the coolant and distilled water according to the recommended ratio. Gently stir or shake the mixture to ensure proper mixing. Remember to use distilled water to prevent mineral buildup or corrosion inside the CPU cooler.
- Check for any additional additives: Some coolants may require the addition of specific additives or dyes for enhanced performance or aesthetic purposes. Check the manufacturer’s instructions to see if any additional additives are recommended or required.
- Cap the container and label it: Once the coolant mixture is prepared, securely cap the container to prevent any contamination or evaporation. It’s also a good idea to label the container with the date and coolant type for future reference.
By following these steps, you can confidently prepare a fresh coolant mixture for your liquid CPU cooler. It’s crucial to adhere to the recommended coolant-to-water ratio and any additional instructions provided by the manufacturer. With the coolant mixture ready, it’s time to move on to the next step: filling the CPU cooler with the coolant mixture.
Step 5: Fill the CPU cooler with coolant
Now that you have prepared the coolant mixture, it’s time to fill your liquid CPU cooler with the fresh coolant. This step ensures proper cooling efficiency and helps maintain optimal performance. Follow these steps to fill the CPU cooler with coolant:
- Refer to the user manual or manufacturer’s instructions: Consult the user manual or manufacturer’s instructions specific to your liquid CPU cooler model. These documents will provide guidance on the filling process and any specific instructions or precautions to be aware of.
- Locate the fill port on the CPU cooler: Identify the fill port on your CPU cooler. The fill port is a designated opening where you’ll inject the coolant into the system. Refer to the user manual or manufacturer’s instructions to locate this port.
- If using a funnel: If you’re using a funnel, insert it into the fill port to make the process of pouring the coolant easier and cleaner. Ensure that the funnel is securely in place to prevent any spills.
- If using an injection syringe: If you’re using an injection syringe, fill it with the coolant mixture. Insert the syringe into the fill port and slowly inject the coolant into the CPU cooler. Take your time and avoid any sudden movements to prevent spills.
- Add coolant until the desired level is reached: Slowly pour or inject the coolant into the CPU cooler until it reaches the desired level. Refer to the manufacturer’s instructions to determine the appropriate fill level for your specific cooler.
- Clean up any spills: If there are any spills or drips during the filling process, use a lint-free cloth or paper towels to clean them up immediately. It’s important to keep the CPU cooler and surrounding components clean and free from any residue or coolant splash.
- Cap the fill port: Once the CPU cooler is filled with coolant, securely cap the fill port to prevent any leaks or evaporation. Double-check that the cap is tightly closed and properly sealed.
- If using an injection syringe: If you used an injection syringe, remove it carefully from the fill port once you have finished filling the CPU cooler. Be cautious to avoid any spills or splashes.
By following these steps, you can successfully fill your liquid CPU cooler with the fresh coolant mixture. Take your time during the process to ensure accuracy and minimize the risk of spills or leaks. With the CPU cooler filled, it’s time to move on to the next step: reinstalling the liquid CPU cooler into your PC.
Step 6: Reinstall the liquid CPU cooler
With the CPU cooler filled with fresh coolant, the next step is to reinstall it back into your PC. Proper installation is crucial for optimal cooling performance and the safe operation of your system. Follow these steps to reinstall the liquid CPU cooler:
- Refer to the user manual or manufacturer’s instructions: Consult the user manual or manufacturer’s instructions specific to your liquid CPU cooler model. These documents will provide guidance on the installation process and any specific instructions or precautions to be aware of.
- Clean the CPU surface: Use a lint-free cloth or paper towel and a small amount of isopropyl alcohol to clean the surface of the CPU. This will remove any residue or old thermal paste, ensuring optimal contact between the CPU and the cooler.
- Apply thermal paste (if necessary): If your CPU cooler requires thermal paste for proper heat transfer, apply a small amount onto the center of the CPU surface. Spread it evenly using a plastic card or any provided applicator, following the manufacturer’s instructions.
- Align the CPU cooler over the CPU socket: Carefully position the liquid CPU cooler over the CPU socket, aligning the mounting holes or brackets with the corresponding holes on the motherboard. Ensure that the cooler is properly oriented and seated evenly.
- Secure the CPU cooler: Depending on your specific cooler model, use the appropriate screws, brackets, or retention mechanism to secure the CPU cooler in place. Tighten the screws or engage the retention mechanism according to the manufacturer’s instructions, ensuring a secure but not overtightened connection.
- Connect any fan cables: If your CPU cooler has fans attached, ensure that you connect the fan cables to the appropriate headers on the motherboard. Refer to the user manual or manufacturer’s instructions for proper fan connection.
- If using an external radiator (if applicable): If your liquid CPU cooler has an external radiator, reattach it to the case using the provided screws or brackets. Ensure that the radiator is securely mounted and aligned with the CPU cooler.
- Double-check connections and clearance: Before powering on your PC, double-check all connections, including the cooler’s power cables and any other components that may have been moved or disconnected during the process. Ensure that there is enough clearance between the CPU cooler and other components to allow proper airflow.
By following these steps, you can successfully reinstall the liquid CPU cooler back into your PC. Take your time during the installation process to ensure a secure and proper fit. With the CPU cooler reinstalled, it’s time to move on to the final step: testing the CPU cooler and monitoring the temperature.
Step 7: Test the CPU cooler and monitor the temperature
After reinstalling the liquid CPU cooler, the final step is to test its functionality and monitor the temperature to ensure everything is working properly. This step allows you to verify that the cooler is effectively cooling your CPU and maintaining stable temperatures. Follow these steps to test the CPU cooler and monitor the temperature:
- Power on your PC: Once the CPU cooler is securely installed, power on your PC and allow it to boot up normally. Make sure all fans, including those on the CPU cooler, are spinning properly.
- Enter the BIOS/UEFI: During the boot process, enter the BIOS/UEFI settings by pressing the appropriate key (usually Del, F2, or F10) as prompted on the screen. Different motherboards may have different key combinations, so refer to the motherboard manual if needed.
- Navigate to the hardware monitoring section: Within the BIOS/UEFI settings, navigate to the hardware monitoring section, where you can monitor various system temperatures, including the CPU temperature.
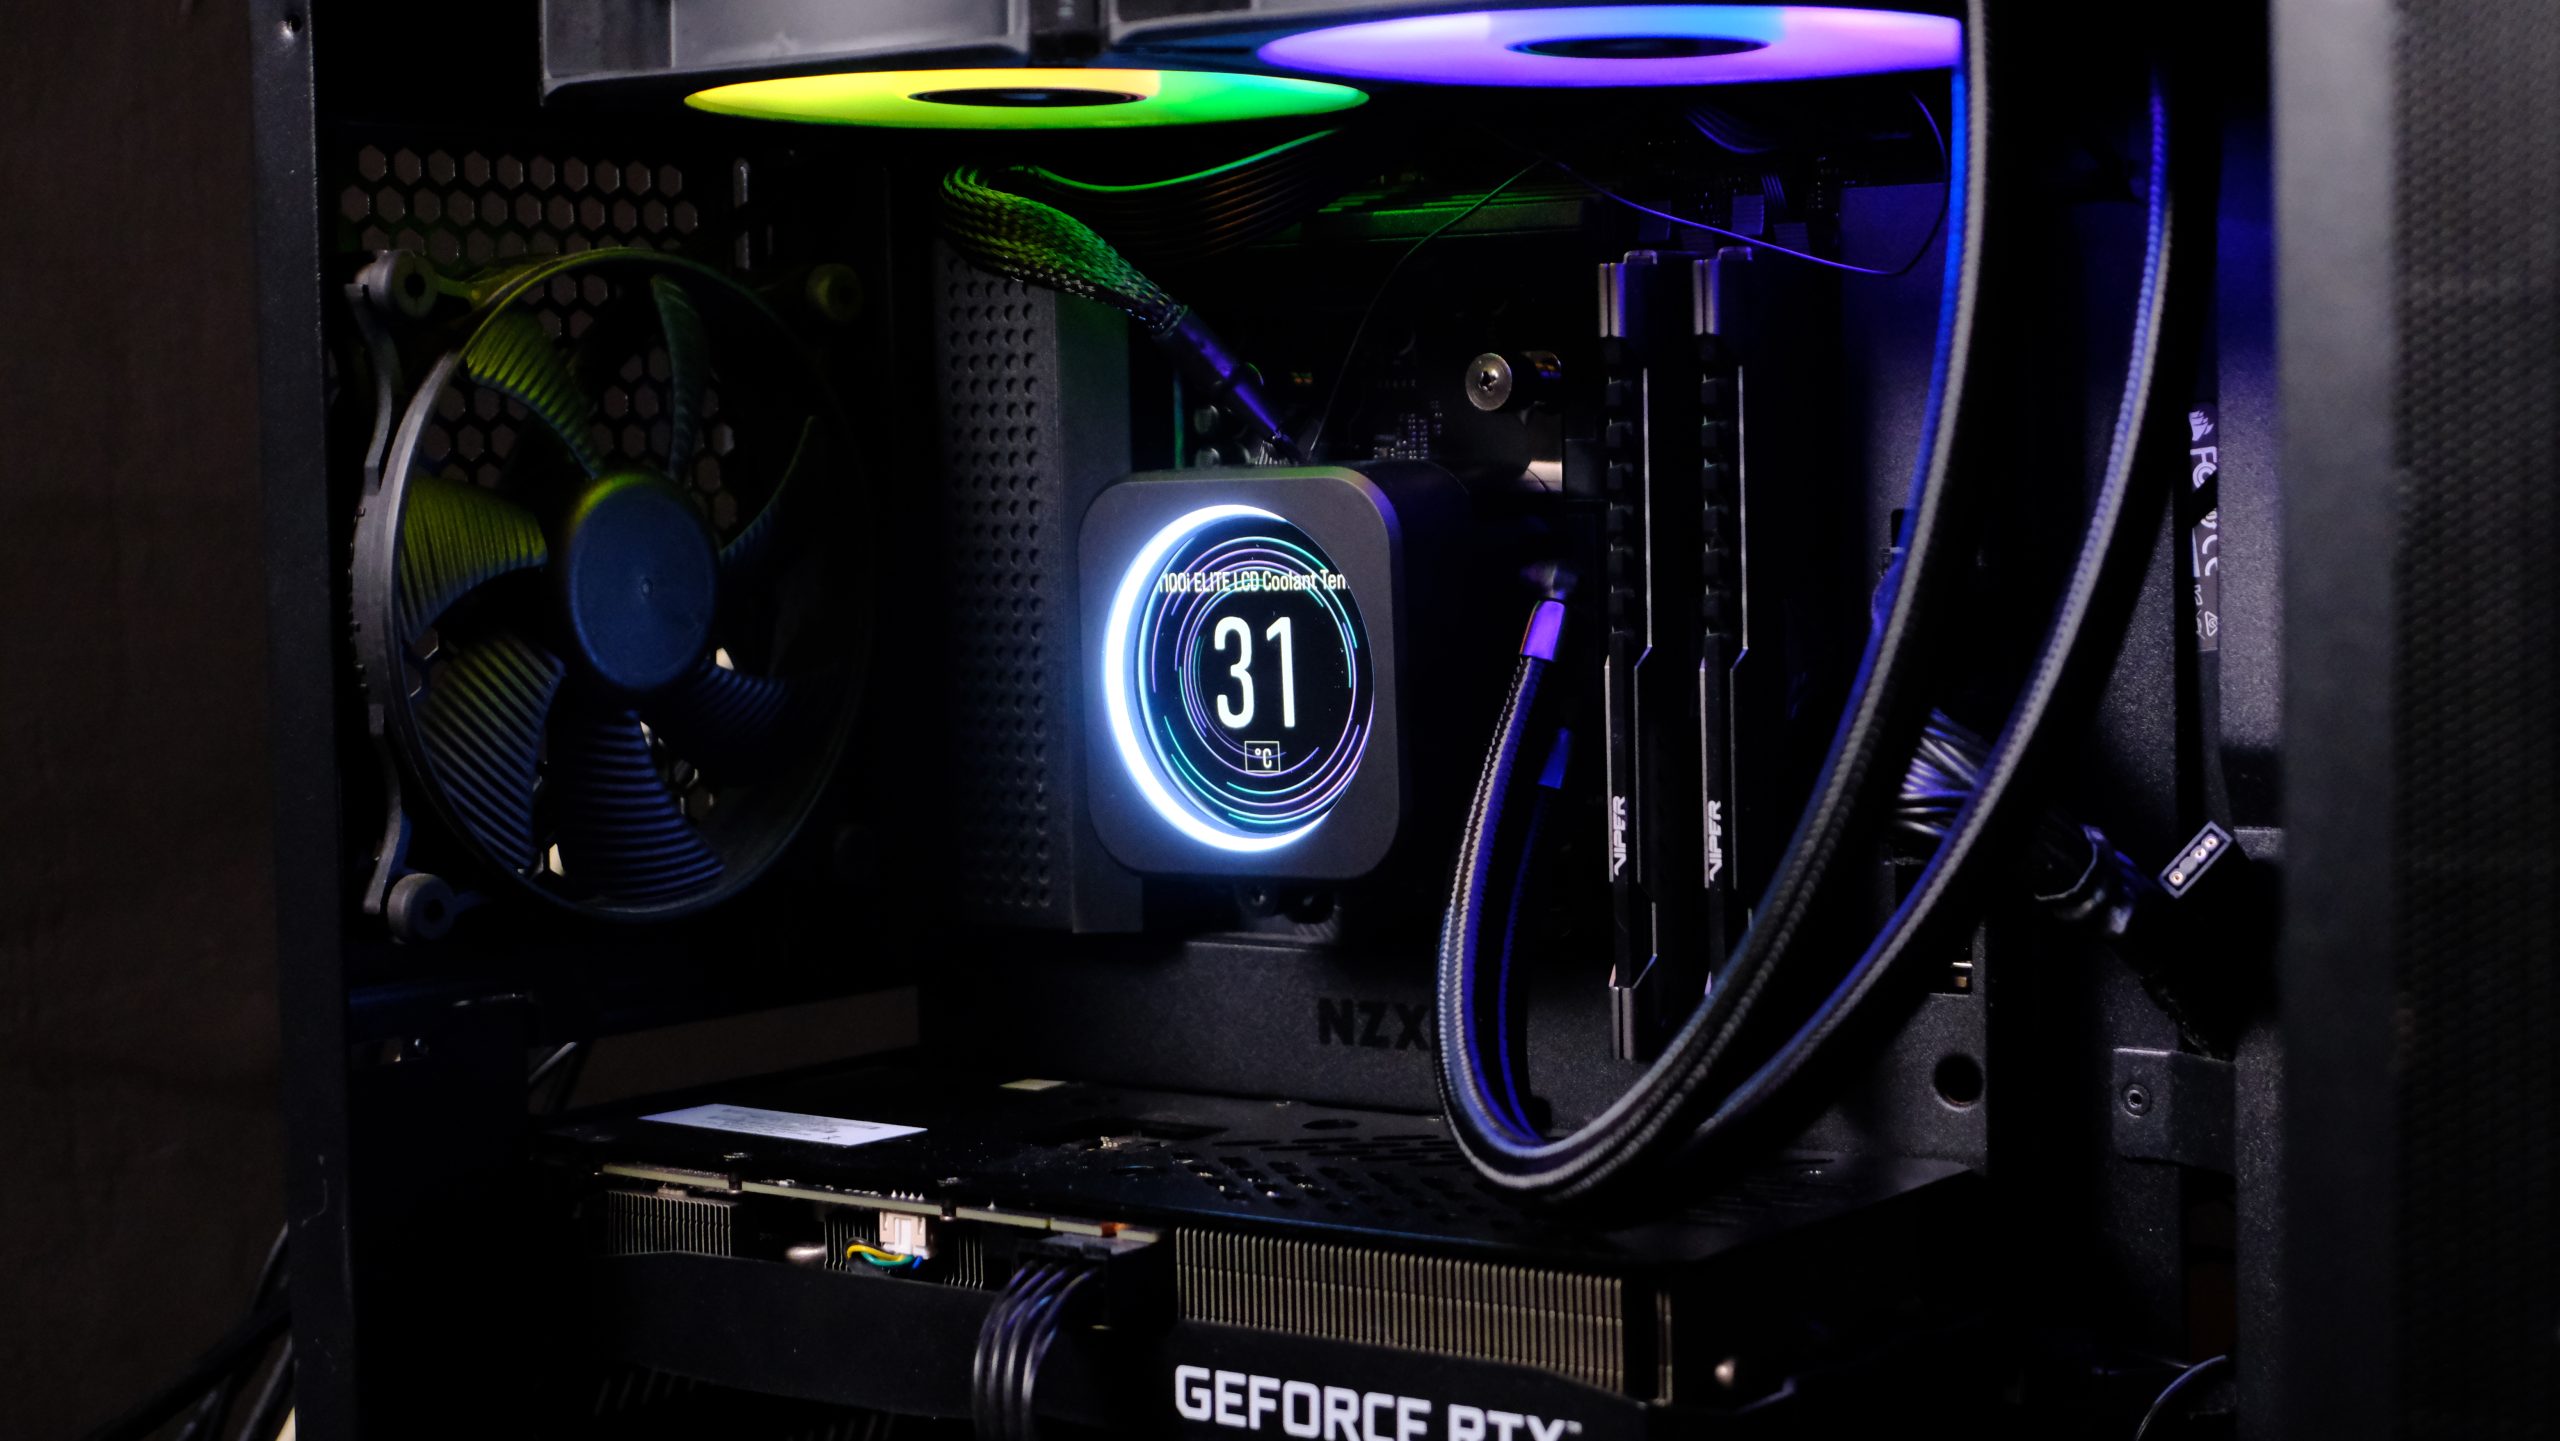
- Observe the CPU temperature: Monitor the CPU temperature displayed in the hardware monitoring section. Idle temperatures will typically range between 30°C to 50°C, depending on various factors such as ambient temperature and CPU load. Verify that the CPU temperature remains stable and within safe limits.
- Perform stress tests: To further test the CPU cooler’s capability, consider running stress tests or intensive tasks that put a high load on the CPU. Monitor the CPU temperature during these tests and ensure that it doesn’t exceed the recommended maximum temperature for your processor model.
- Monitor temperature under different workloads: As you use your PC for different tasks, such as gaming or video editing, pay attention to the CPU temperature. Ensure that the CPU cooler is effectively keeping the temperature at a safe and stable level to prevent any potential thermal issues.
- Monitor the CPU cooler performance over time: Keep an eye on the CPU cooler’s performance over time. Monitor the temperature regularly, especially after long periods of usage, and be alert for any significant changes or sudden temperature spikes that could indicate a potential issue.
By following these steps, you can effectively test the CPU cooler and monitor the temperature to ensure that it is functioning optimally. This step is crucial for maintaining a cool and stable operating environment for your CPU.
If you notice any abnormal temperature readings or if the CPU temperature exceeds safe limits consistently, it may be necessary to revisit the previous steps to ensure that the CPU cooler is installed correctly and the coolant mixture is adequate. If issues persist, professional assistance may be required.
Congratulations! You have successfully refilled your liquid CPU cooler and tested its functionality. Regularly monitoring the temperature and maintaining the coolant levels will ensure the long-term performance and reliability of your liquid CPU cooler.
Conclusion
Refilling your liquid CPU cooler is a vital maintenance task that helps preserve cooling performance, extend CPU lifespan, prevent thermal throttling, and optimize overall system stability. By following the step-by-step guide outlined in this article, you can successfully refill your liquid CPU cooler and ensure your PC remains cool even during demanding tasks.
We started by introducing the concept of liquid CPU coolers and why they are beneficial for keeping your processor cool. Then, we discussed the importance of regularly refilling your CPU cooler to maintain optimal performance and prevent issues.
We covered the materials and tools you’ll need, such as the appropriate coolant, distilled water, injection syringe or funnel, screwdriver or wrench, lint-free cloth or paper towels, isopropyl alcohol, and user manual or manufacturer’s instructions.
Each step of the refilling process was explained in detail, from preparing your workspace and removing the CPU cooler to draining the old coolant, preparing the coolant mixture, filling the CPU cooler, and reinstalling it. Finally, we emphasized the significance of testing the CPU cooler and monitoring the temperature for optimal performance and stability.
Remember, regular coolant refilling and monitoring temperature are essential for maintaining the efficiency and longevity of your liquid CPU cooler. Be sure to follow the manufacturer’s instructions and recommended maintenance intervals for your specific cooler model.
By taking the time to properly refill your liquid CPU cooler, you can ensure that your system runs at optimal temperatures, improving overall performance and helping to safeguard your PC components. So go ahead, confidently refill your liquid CPU cooler and enjoy a cooler and more efficient computing experience!