Introduction
Welcome to this guide on how to maintain the Corsair Hydro Series H100I GTX 240mm Liquid CPU Cooler. If you are an avid gamer or computer enthusiast, you likely understand the importance of keeping your CPU cool to optimize performance and prevent overheating. The Corsair Hydro Series H100I GTX 240mm Liquid CPU Cooler is a popular choice for many, offering efficient cooling capabilities and excellent performance.
Proper maintenance of your CPU cooler is essential to ensure its longevity and optimal functionality. Regular cleaning and upkeep will help prevent dust buildup, which can hinder cooling performance, and keep your cooler running smoothly. In this guide, we will walk you through the steps involved in maintaining your Corsair Hydro Series H100I GTX 240mm Liquid CPU Cooler, from cleaning the radiator and fans to checking and replacing the coolant.
Whether you are a seasoned computer enthusiast or new to the world of liquid cooling, this guide will provide you with the necessary steps to keep your CPU cooler in top shape. Maintaining your cooler not only improves its efficiency but also extends its lifespan, saving you from potential costly repairs or replacements.
Before we dive into the specific maintenance procedures, it is crucial to familiarize yourself with some safety precautions to ensure your well-being and protect your hardware during the maintenance process. By following these precautions, you can have a smooth and safe maintenance experience.
Safety Precautions
Before performing any maintenance tasks on your Corsair Hydro Series H100I GTX 240mm Liquid CPU Cooler, it is important to prioritize your safety and protect your hardware from potential damage. Here are some essential safety precautions to keep in mind:
- Turn off your computer: Before starting any maintenance procedures, make sure to shut down your computer and unplug it from the power source. This will prevent any electrical mishaps or damage to your system.
- Allow your CPU to cool down: It is crucial to let your CPU cool down before beginning any maintenance tasks. This prevents you from accidentally touching hot components and minimizes the risk of burns or other injuries. Wait for at least 15-20 minutes to ensure the CPU has cooled down sufficiently.
- Use anti-static precautions: Static electricity can damage sensitive computer components. To prevent this, use an anti-static wrist strap or touch a grounded metal surface before handling any internal parts of your system.
- Have a clean and organized workspace: Before starting the maintenance process, ensure you have a clean and clutter-free workspace. This will minimize the chances of losing small screws, damaging components, or causing accidental spills.
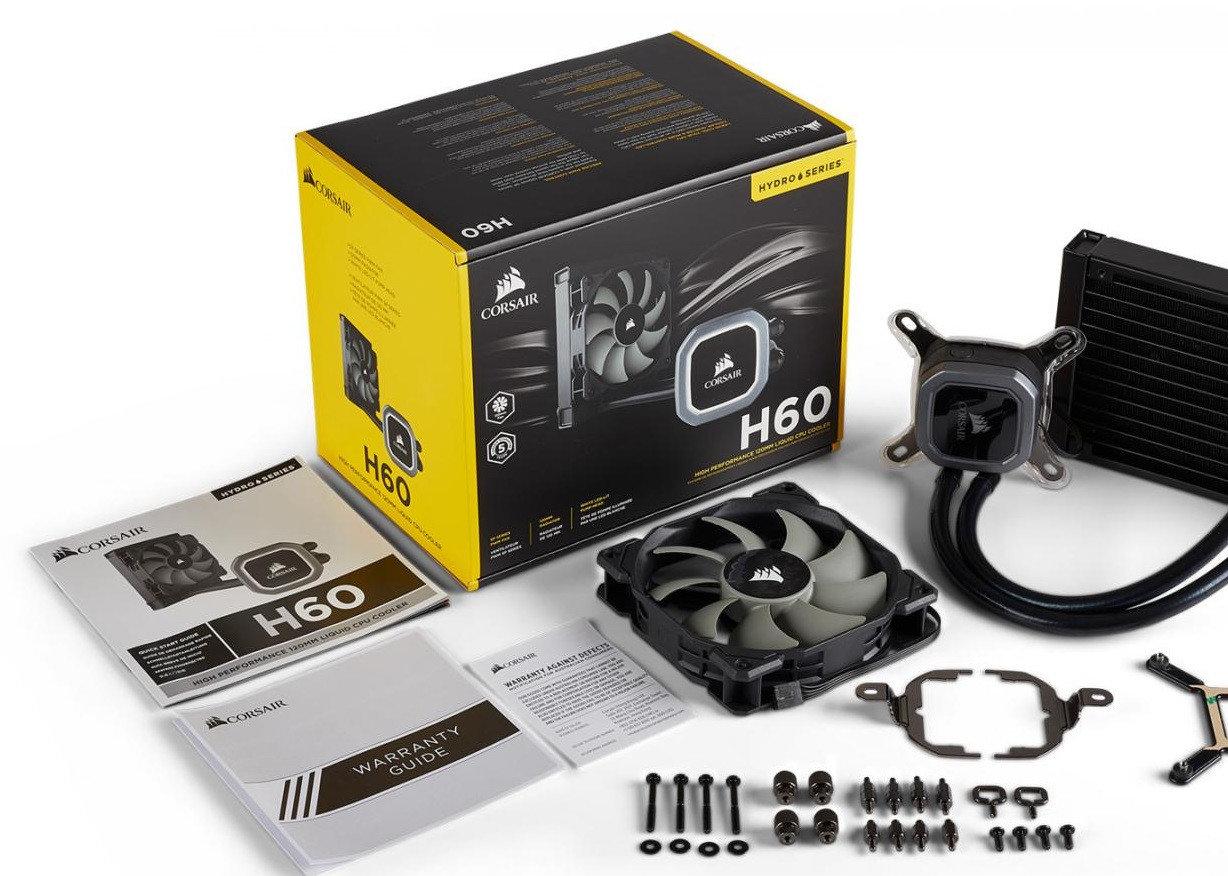
- Refer to the user manual: To have a comprehensive understanding of your Corsair Hydro Series H100I GTX 240mm Liquid CPU Cooler and its specific maintenance requirements, refer to the user manual provided by Corsair. This will guide you through the recommended steps for cleaning and maintenance.
- Be gentle and careful: When handling the cooler, radiator, fans, or any other components, be gentle and cautious to avoid any unnecessary force or pressure. Mishandling can lead to damage to the parts or connectors.
- Take note of warranties: Before performing any maintenance tasks, be aware of any warranty conditions provided by Corsair. Opening or tampering with the cooler may void the warranty, so it’s important to assess the potential impact on your warranty before proceeding.
By adhering to these safety precautions, you can ensure a smooth and safe maintenance process for your Corsair Hydro Series H100I GTX 240mm Liquid CPU Cooler. Taking the necessary precautions will protect both you and your computer hardware, allowing you to maintain your cooler without any unnecessary risks or accidents.
Understanding the Corsair Hydro Series H100I GTX 240mm Liquid CPU Cooler
Before we dive into the maintenance process, it is essential to have a solid understanding of the Corsair Hydro Series H100I GTX 240mm Liquid CPU Cooler. This will help you navigate through the maintenance procedures more effectively and make informed decisions when it comes to optimizing its performance.
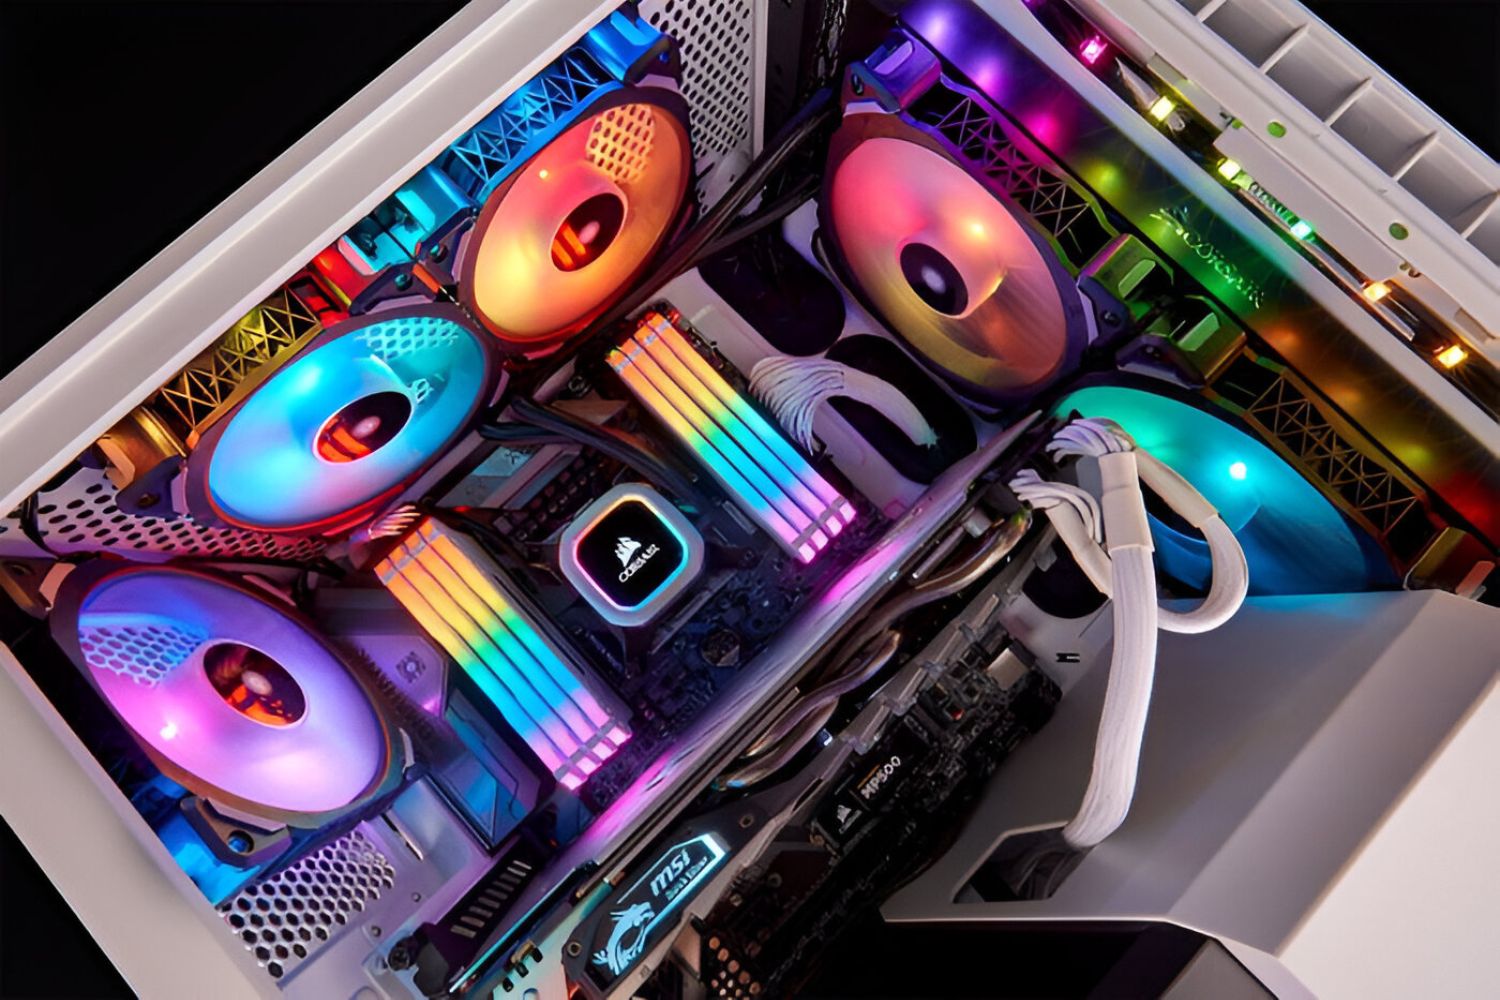
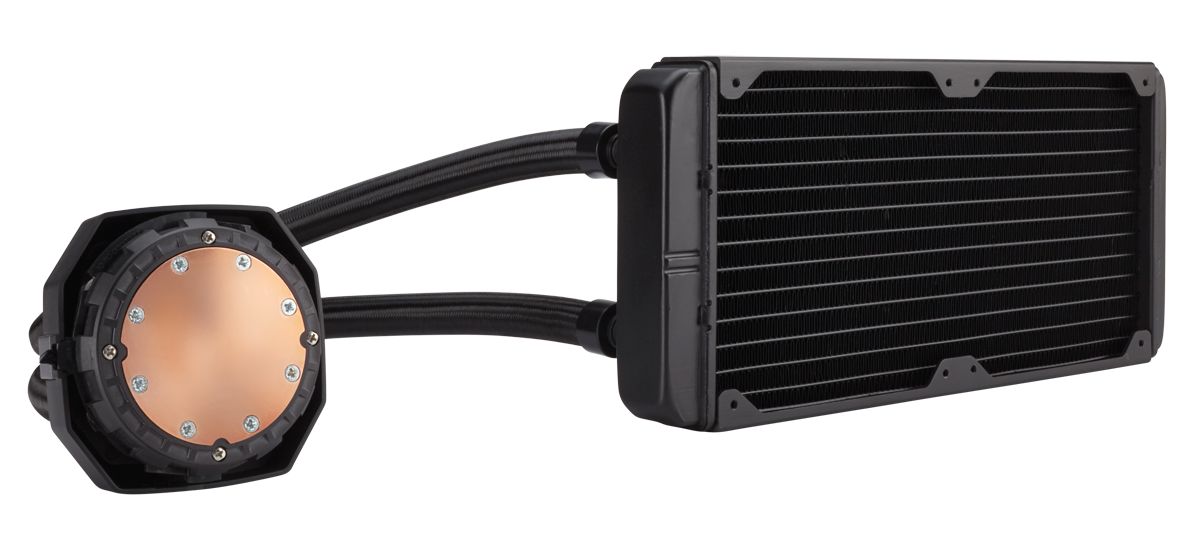
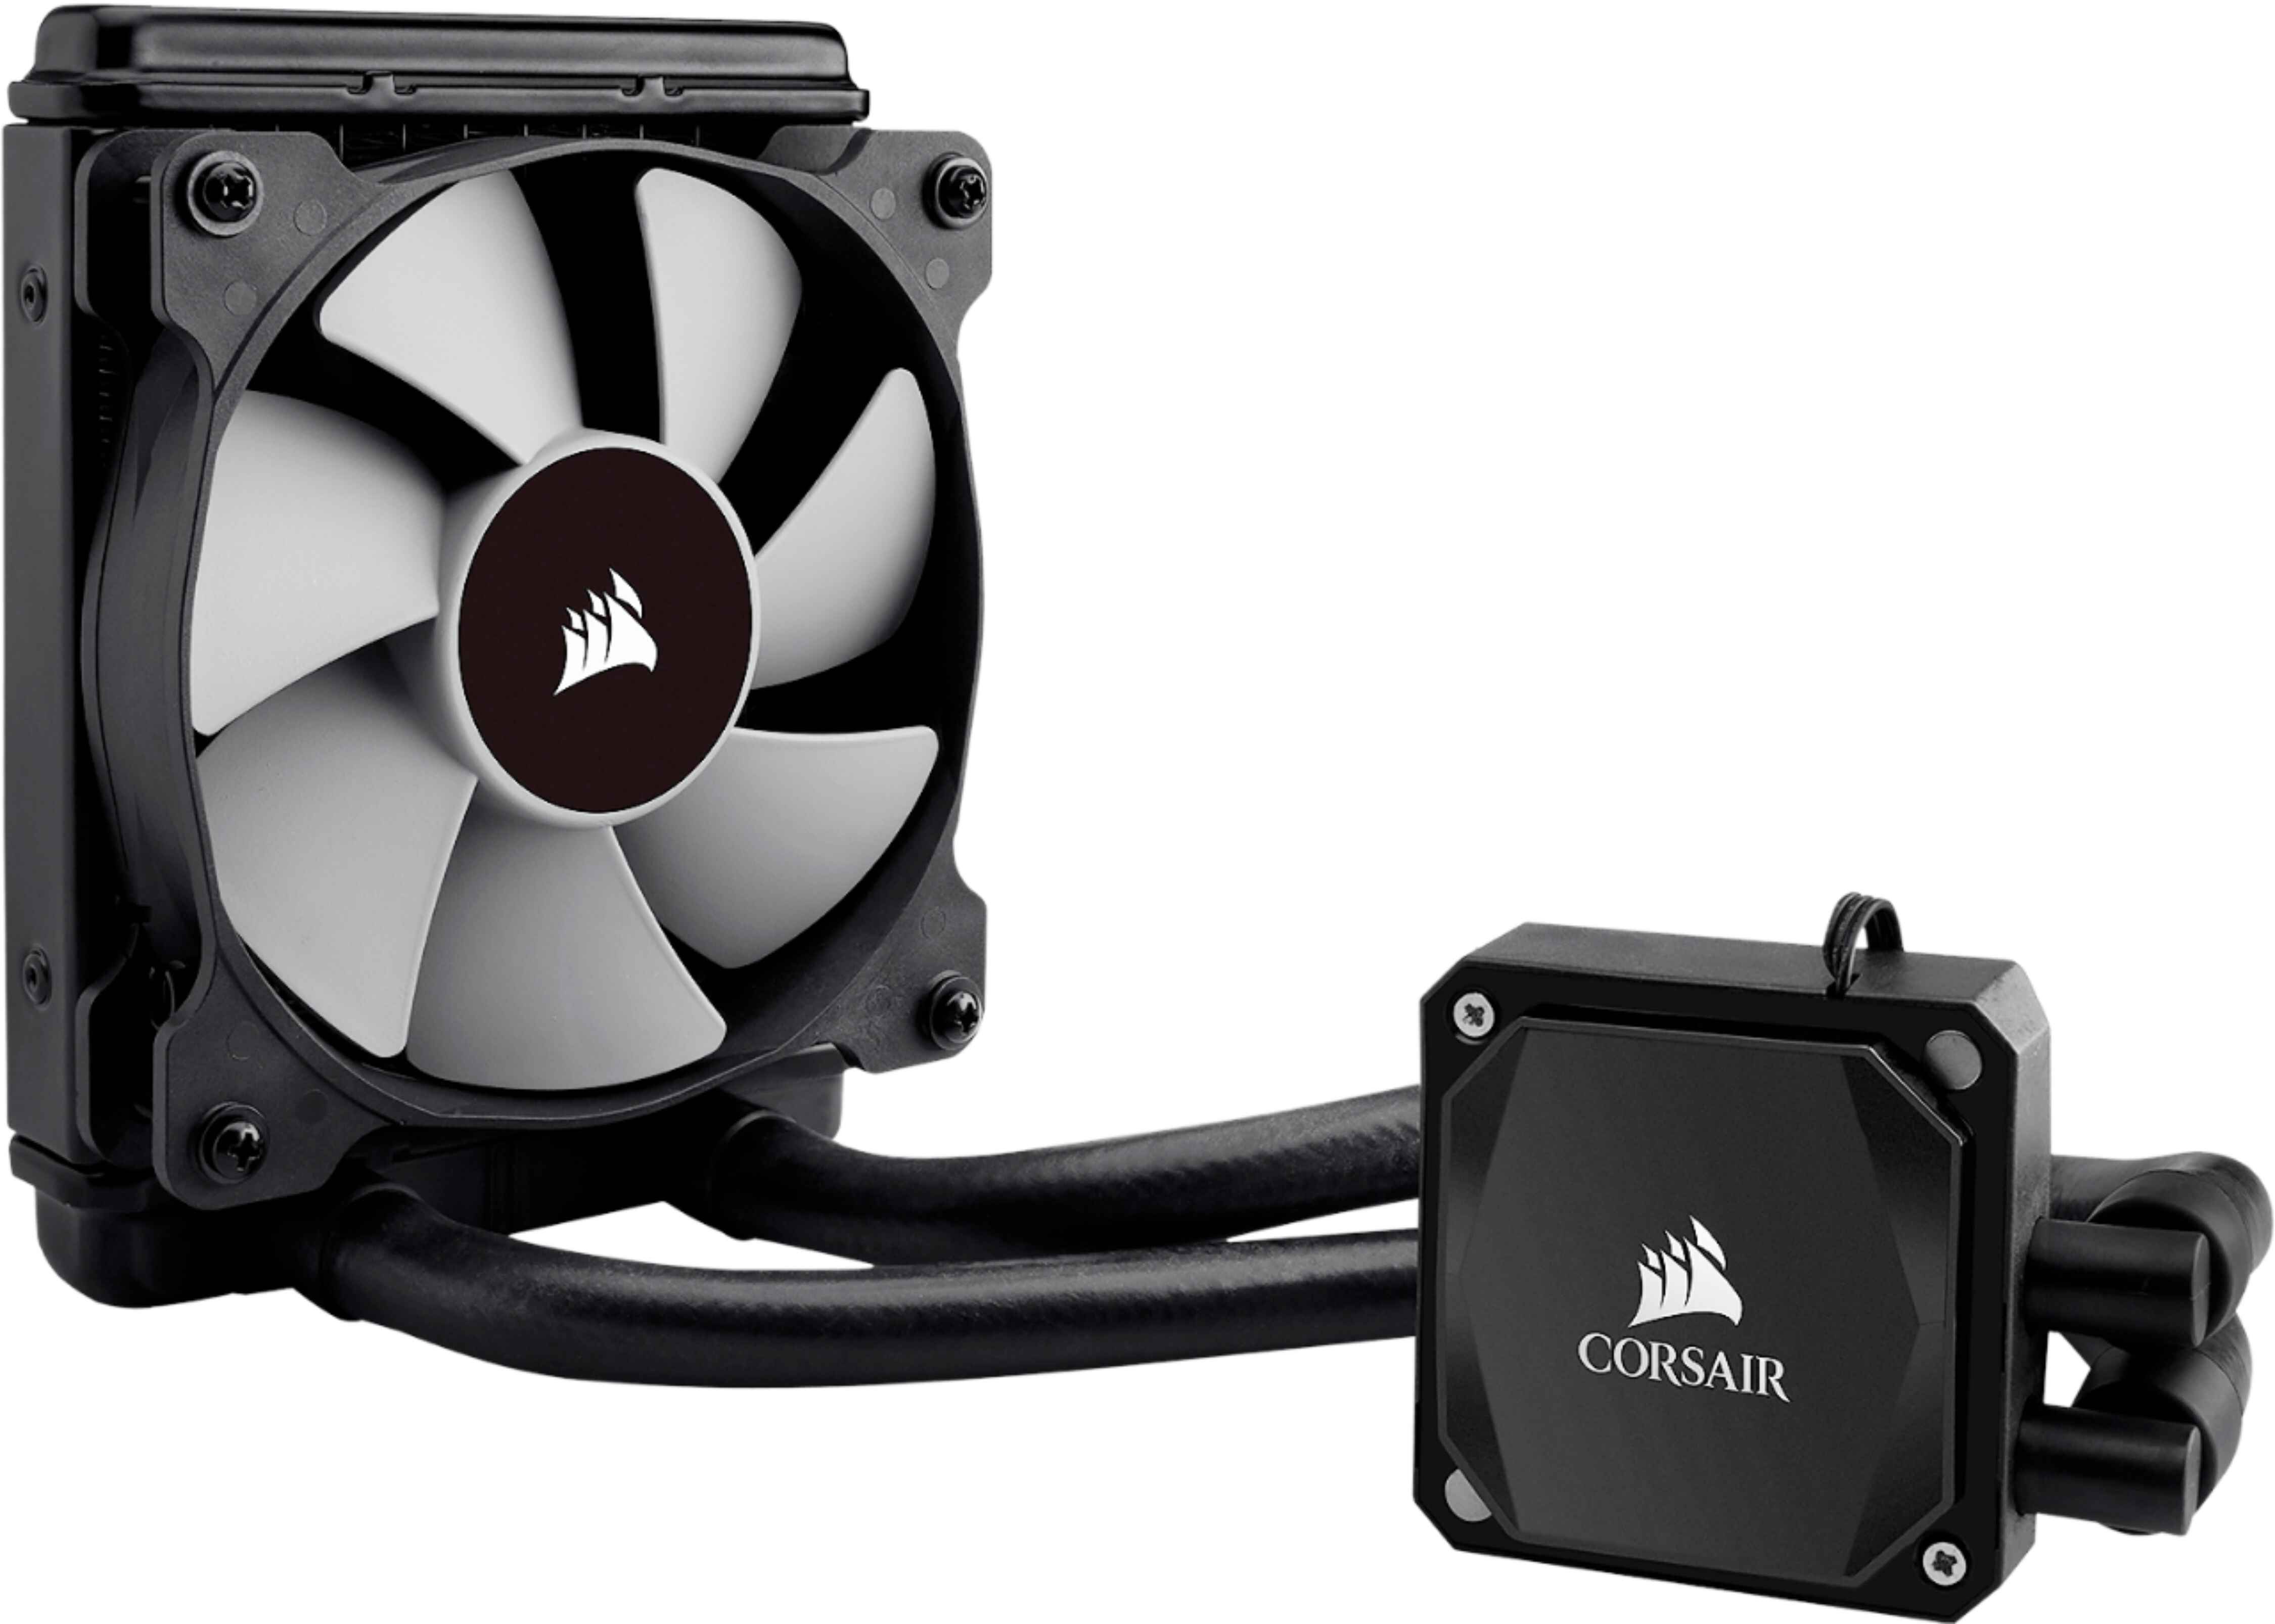
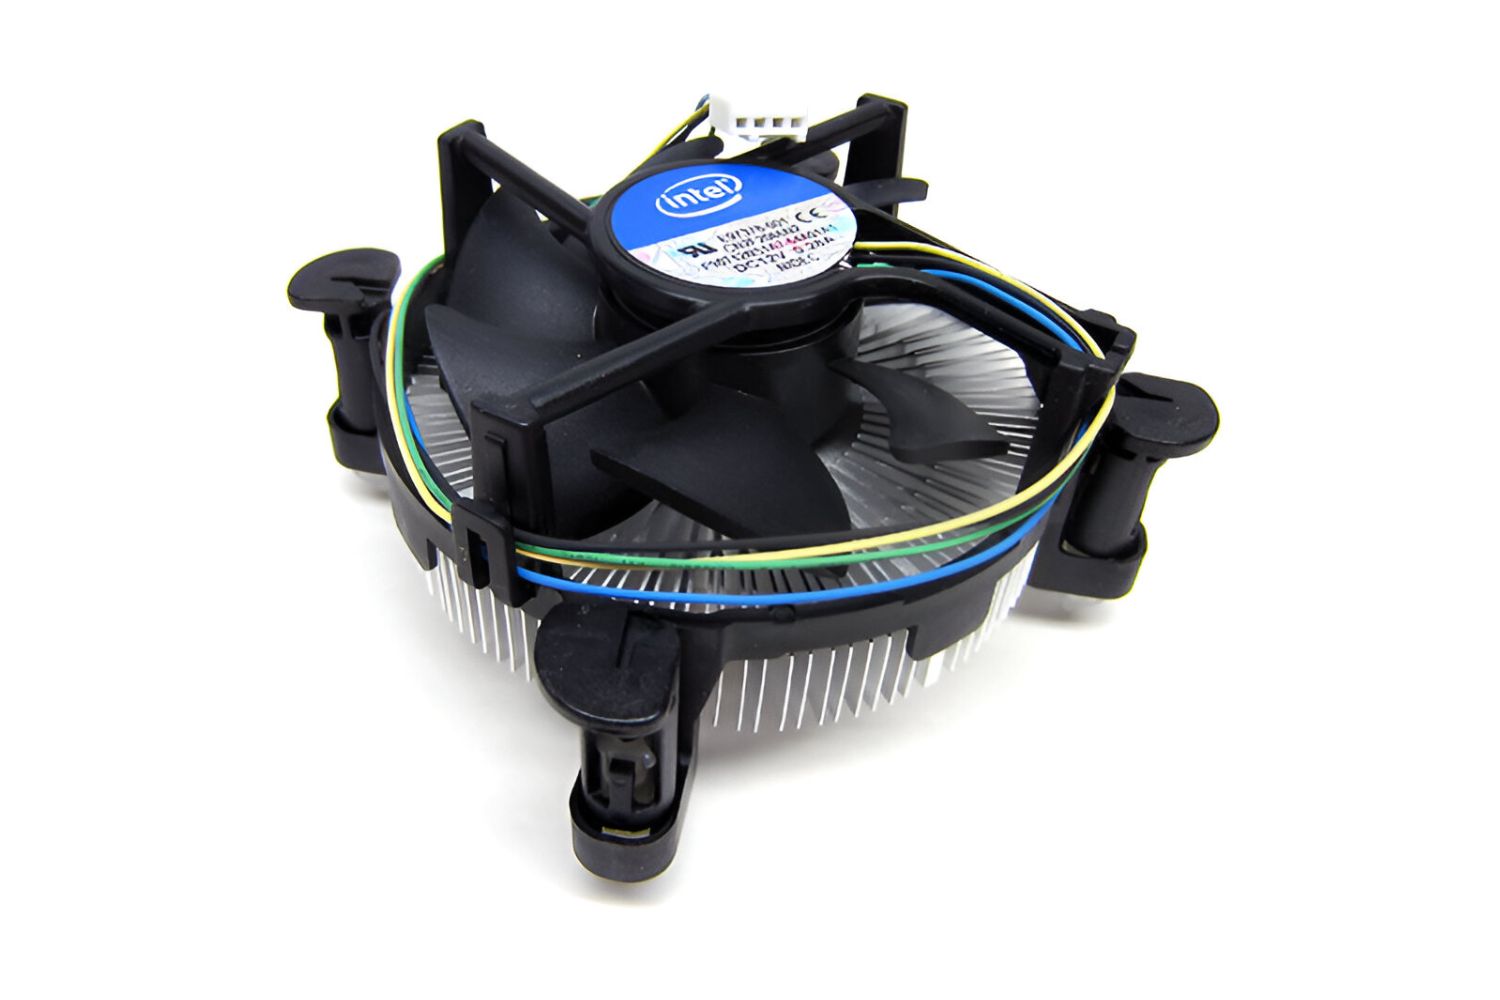
The Corsair Hydro Series H100I GTX 240mm Liquid CPU Cooler is a high-performance cooling solution designed for overclocked CPUs and demanding gaming rigs. It utilizes a closed-loop liquid cooling system, which offers superior cooling efficiency compared to traditional air coolers. The cooler consists of several key components, including the radiator, fans, pump, and coolant.
The radiator is responsible for dissipating heat from the liquid coolant, transferring it to the surrounding air. It is essential to keep the radiator clean and free from dust and debris to maximize its cooling capabilities. The fans attached to the radiator help in dissipating heat quickly and efficiently. Regular cleaning of the fans ensures that they operate effectively, minimizing any potential airflow restrictions.
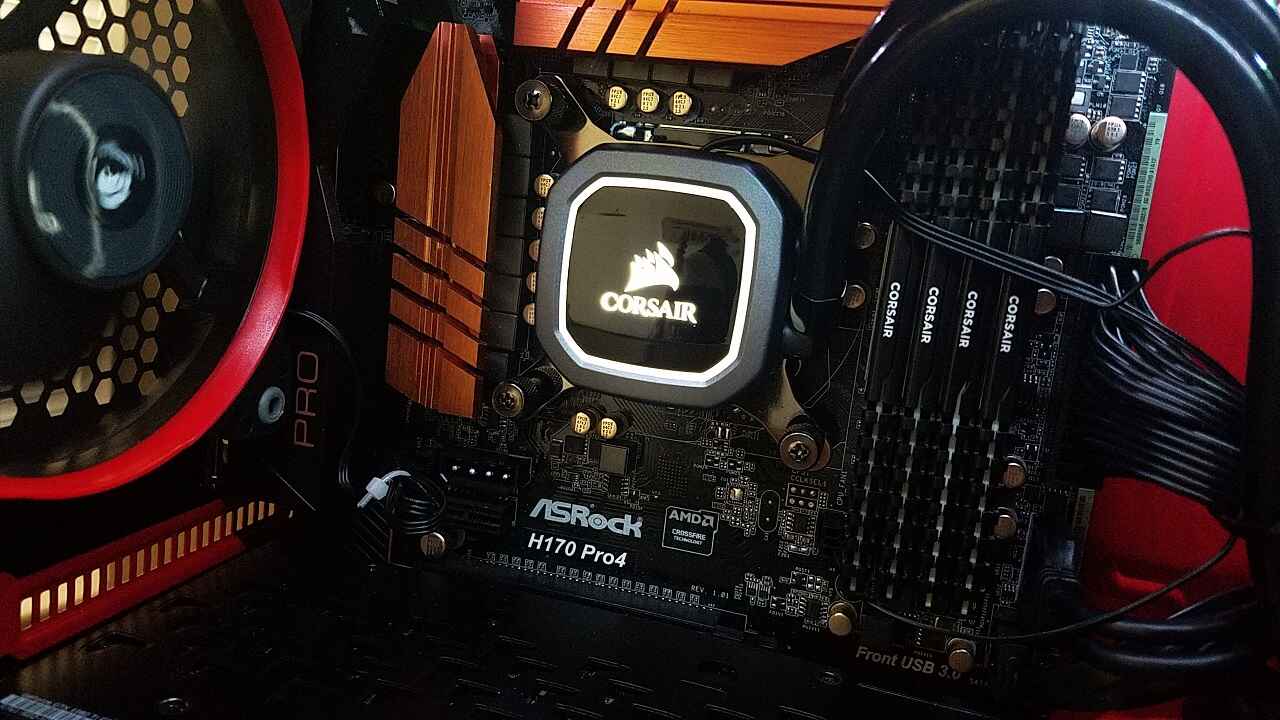
The pump is the heart of the liquid cooling system, circulating the coolant through the CPU block and the radiator. It is crucial to maintain its functionality and remove any dust or debris that may hinder its performance. Additionally, regularly checking and replacing the coolant is vital to prevent any blockages or degradation in cooling efficiency.
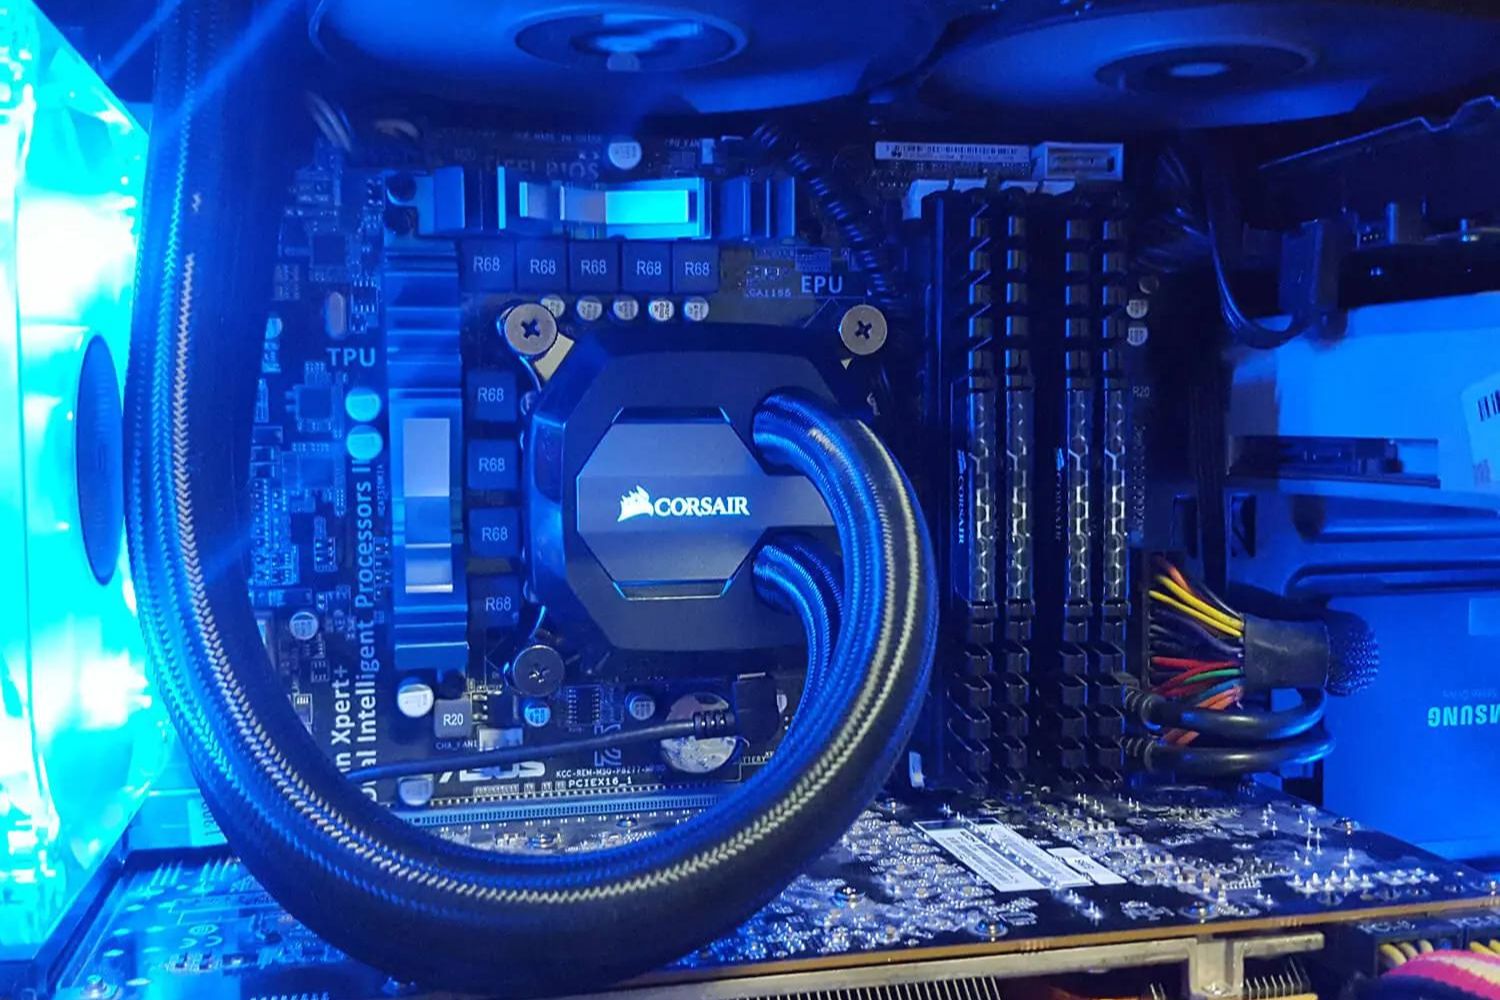
It is worth mentioning that the Corsair Hydro Series H100I GTX 240mm Liquid CPU Cooler often comes with additional features such as RGB lighting, customizable fan speeds, and software control. Familiarize yourself with these features and understand how to utilize them to enhance the performance and aesthetics of your cooling system.
Understanding the components and features of your Corsair Hydro Series H100I GTX 240mm Liquid CPU Cooler will facilitate the maintenance process and enable you to make informed decisions when optimizing its performance. Now that you have a basic understanding of the cooler, let’s move on to the cleaning and maintenance procedures to ensure your CPU stays cool and efficient.
Cleaning the Radiator
The radiator of the Corsair Hydro Series H100I GTX 240mm Liquid CPU Cooler plays a crucial role in dissipating heat from the liquid coolant. Over time, dust and debris can accumulate on the radiator fins, restricting airflow and reducing its cooling efficiency. Regular cleaning of the radiator is essential to maintain optimal cooling performance. Here’s how you can clean the radiator:
- Turn off your computer: Before you start cleaning the radiator, shut down your computer and unplug it from the power source. This ensures your safety and prevents any damage to the hardware.
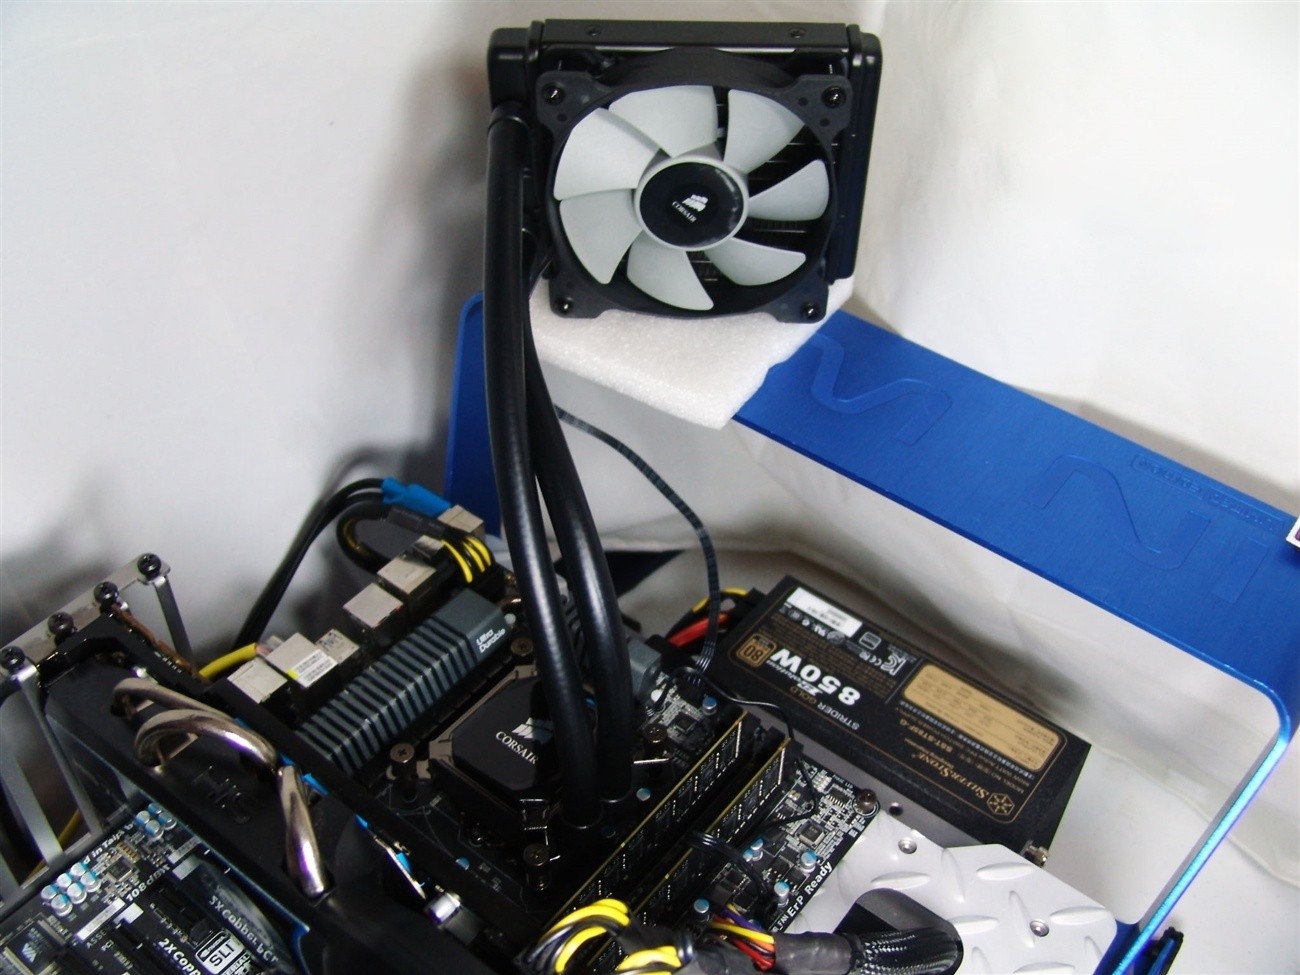
- Remove the radiator from the case: Depending on the mounting configuration of your cooler, you may need to remove the radiator from the case to access it easily. Refer to the user manual for instructions on how to remove the radiator safely.
- Blow compressed air through the radiator fins: Use a can of compressed air to blow air through the fins of the radiator. Make sure to hold the can upright and use short bursts of air to avoid damaging the fins. This will dislodge any dust or debris stuck between the fins.
- Use a soft-bristled brush or toothbrush: Gently brush the surface of the radiator fins using a soft-bristled brush or a clean toothbrush. This will help remove any remaining dust or debris that the compressed air might have missed. Be careful not to apply too much pressure to prevent bending or damaging the fins.
- Check for stubborn debris: If there are stubborn debris or build-up on the radiator fins that cannot be removed with compressed air or brushing, you can use isopropyl alcohol and a lint-free cloth. Dampen the cloth with a small amount of isopropyl alcohol and carefully wipe the affected areas.
- Reinstall the radiator: Once you have cleaned the radiator fins, reinsert the radiator into your computer case, following the instructions in the user manual. Ensure that it is securely attached and all connections are properly reconnected.
Regularly cleaning the radiator of your Corsair Hydro Series H100I GTX 240mm Liquid CPU Cooler will help maintain optimal cooling performance. This will ensure that heat is efficiently dissipated, preventing any potential overheating issues and allowing your CPU to operate at its best.
Cleaning the Fans
The fans attached to the radiator of the Corsair Hydro Series H100I GTX 240mm Liquid CPU Cooler play a vital role in dissipating heat effectively. Over time, dust and debris can accumulate on the fan blades and hinder their performance, leading to reduced airflow and compromised cooling efficiency. Cleaning the fans regularly is essential to ensure optimal cooling performance. Here’s how you can clean the fans:
- Turn off your computer: Before you start cleaning the fans, ensure that your computer is turned off and unplugged from the power source. This is necessary for both your safety and to avoid any damage to the hardware.
- Identify the fans: Locate the fans attached to the radiator. Depending on your specific Corsair Hydro Series H100I GTX 240mm configuration, you may have two or more fans. Take note of the orientation and the number of fans for easier reinstallation later.
- Hold the fans in place: To prevent the fans from spinning and potentially damaging the internal components, it’s recommended to use a small piece of tape, a cable tie, or your finger to hold the fans in place while cleaning.
- Use compressed air: With the fans held in place, use a can of compressed air to blow away the dust and debris from the fan blades, motor, and surrounding areas. Make sure to direct the air into the fan’s intake side and avoid spraying excessively close to the motor.
- Clean hard-to-reach areas: If there are any stubborn debris or hard-to-reach areas, you can use a soft-bristled brush or a clean toothbrush to gently loosen and remove them. Be careful not to apply too much pressure or bend the fan blades.
- Check and clean the fan housing: While cleaning the fans, it’s also a good opportunity to inspect and clean the fan housing. Use the compressed air and a clean cloth to remove any dust or debris from the fan housing. Ensure that the fan housing is free from any obstructions that may hinder airflow.
- Remove the holding mechanism: Once you’ve finished cleaning the fans, carefully remove the tape, cable tie, or finger that was holding them in place.
- Reinstall the fans: Align the fans properly and reinstall them onto the radiator, following the original orientation. Make sure the fans are securely attached and all connections are properly reconnected.
Regularly cleaning the fans of your Corsair Hydro Series H100I GTX 240mm Liquid CPU Cooler will help maintain optimal cooling performance. By removing dust and debris, you allow the fans to generate maximum airflow and maintain efficient heat dissipation, ensuring that your CPU stays cool even during intense gaming or demanding tasks.
Removing Dust and Debris from the Pump
The pump is a crucial component of the Corsair Hydro Series H100I GTX 240mm Liquid CPU Cooler, responsible for circulating the coolant and ensuring efficient heat transfer. Over time, dust and debris can accumulate on the pump, impeding its performance and potentially causing overheating issues. Cleaning the pump regularly is essential to maintain optimal functionality. Here’s how you can remove dust and debris from the pump:
- Turn off your computer: Before starting the cleaning process, turn off your computer and unplug it from the power source. This is important to ensure your safety and prevent any potential damage to the hardware.
- Locate the pump: Identify the location of the pump in your Corsair Hydro Series H100I GTX 240mm Liquid CPU Cooler. The pump is typically located near the CPU block or attached to the radiator. Refer to the user manual if you’re unsure about the exact location.
- Use compressed air: With the pump identified, use a can of compressed air to blow away any dust or debris that may have accumulated on the pump. Hold the can upright and use short bursts of air to avoid damaging the pump or pushing the debris into other areas of the cooler.
- Check the pump housing: After blowing away the dust and debris, inspect the pump housing for any remaining residue or stubborn buildup. If needed, use a soft, lint-free cloth or cotton swab lightly dampened with isopropyl alcohol to gently wipe the pump housing and remove any remaining residue.
- Be cautious with the pump connectors: While cleaning the pump, be cautious around the connectors and cables connected to it. Avoid putting excess pressure on these components to prevent any accidental damage.
- Recheck and reassemble: Once you have cleaned the pump, double-check for any missed debris or residue. Ensure that the pump is securely connected and all cables and connectors are properly reassembled and tightened.
Regularly removing dust and debris from the pump of your Corsair Hydro Series H100I GTX 240mm Liquid CPU Cooler is essential for maintaining optimal cooling performance. By keeping the pump clean, you allow for efficient circulation of the coolant, enhancing heat transfer and ensuring that your CPU stays cool under heavy workloads or intense gaming sessions.
Checking and Replacing Coolant
The coolant in your Corsair Hydro Series H100I GTX 240mm Liquid CPU Cooler plays a vital role in maintaining optimal cooling performance. Over time, the coolant may degrade or develop impurities, leading to reduced cooling efficiency. Checking and replacing the coolant at regular intervals is essential to ensure the longevity and effectiveness of your cooling system. Here’s how you can check and replace the coolant:
- Turn off your computer: Before you begin any maintenance tasks, make sure to turn off your computer and unplug it from the power source. This is important for both your safety and to prevent any damage to the hardware.
- Locate the coolant reservoir: The coolant reservoir is typically located near the radiator or pump of your Corsair Hydro Series H100I GTX 240mm Liquid CPU Cooler. Refer to the user manual for precise instructions on locating the reservoir.
- Check the coolant level: Carefully inspect the coolant reservoir to check the coolant level. The coolant should be filled between the minimum and maximum marks indicated on the reservoir. If the coolant level is below the minimum mark or appears to be significantly degraded or discolored, it’s time to replace the coolant.
- Prepare the replacement coolant: Corsair recommends using their specified coolant for optimal compatibility and performance. Follow the instructions provided by Corsair for preparing and using their coolant product. Make sure to have the necessary tools and equipment for draining and refilling the coolant.
- Drain the old coolant: To drain the old coolant, carefully remove the coolant hoses or the plug from the radiator or pump, following the instructions provided in the user manual. Drain the old coolant into a suitable container, ensuring proper disposal according to local regulations.
- Flush the system: After draining the old coolant, it is advisable to flush the system with distilled water. This helps remove any residue or impurities that may have accumulated. Flush the system by gently pouring distilled water through the coolant hoses and emptying it out.
- Refill with new coolant: Once the system is flushed, refill it with the replacement coolant according to the instructions provided by Corsair. Take note of the recommended coolant level and be careful not to overfill it. Ensure that all connections are secure and tight.
- Check for leaks: After refilling with the new coolant, carefully inspect all connections for any signs of leakage. Run your computer for a brief period and monitor the coolant reservoir to ensure that the coolant level remains stable and there are no leaks.
Regularly checking and replacing the coolant in your Corsair Hydro Series H100I GTX 240mm Liquid CPU Cooler is essential for maintaining optimal cooling performance and prolonging the lifespan of your cooling system. By ensuring a clean and adequate coolant supply, you can effectively dissipate heat, keeping your CPU cool and performing at its best.
Updating the Firmware
Updating the firmware of your Corsair Hydro Series H100I GTX 240mm Liquid CPU Cooler is an essential maintenance task that ensures your cooler is running with the latest features and improvements. Firmware updates can address compatibility issues, enhance performance, and provide additional functionality. Here’s how you can update the firmware of your cooler:
- Check for firmware updates: Visit the official Corsair website or use their proprietary software, such as iCUE, to check for available firmware updates for your specific cooler model. Follow the instructions provided to download the latest firmware version.
- Prepare for the update: Before updating the firmware, close any unnecessary applications and ensure that your computer is connected to a stable power source. Interrupting the firmware update process can lead to potential issues.
- Run the firmware update utility: Locate and run the firmware update utility provided by Corsair. Follow the on-screen instructions to initiate the firmware update process.
- Keep the cooler connected: During the firmware update process, it is important to keep your Corsair Hydro Series H100I GTX 240mm Liquid CPU Cooler connected to your computer. Do not disconnect or turn off your computer until the update process is complete.
- Follow the firmware update instructions: Follow the instructions provided by the firmware update utility. This may involve confirming the update, waiting for the process to complete, and restarting your computer if necessary. Be patient and do not interrupt the update.
- Verify the firmware update: After the firmware update process is complete, verify that the update was successful. Check the firmware version displayed in the Corsair software or the BIOS/UEFI settings to ensure that it matches the latest version.
- Test the cooler’s functionality: After updating the firmware, test the functionality of your Corsair Hydro Series H100I GTX 240mm Liquid CPU Cooler. Monitor the temperatures, check for any abnormal behavior, and ensure that the cooler is operating as expected.
Regularly updating the firmware of your Corsair Hydro Series H100I GTX 240mm Liquid CPU Cooler is essential for ensuring optimal performance and compatibility. By keeping your cooler’s firmware up to date, you can take advantage of the latest features and improvements, providing you with a seamless and enhanced cooling experience for your CPU.
Troubleshooting Common Issues
While the Corsair Hydro Series H100I GTX 240mm Liquid CPU Cooler is designed for reliable performance, it’s possible to encounter some common issues along the way. Understanding how to troubleshoot these issues can help you resolve them quickly and ensure the optimal functioning of your cooler. Here are some common issues and troubleshooting steps:
- Pump noise: If you notice any unusual noises coming from the pump, such as rattling or grinding sounds, it may indicate a problem. Check if the pump is properly secured and there are no loose connections. If the noise persists, contact Corsair customer support for further assistance.
- High CPU temperatures: If you’re experiencing higher CPU temperatures than usual, it could be due to a couple of reasons. First, ensure that the radiator and fans are clean and free from dust and debris. If the issue persists, check the fan speeds and ensure they’re configured correctly in the BIOS or Corsair software. Additionally, make sure the pump is functioning correctly and there are no coolant flow obstructions.
- Coolant leakage: If you detect any coolant leakage around the pump or radiator, immediately turn off your computer and disconnect the power source. Check for loose connections and ensure that all fittings are properly tightened. If the leakage persists, contact Corsair customer support for guidance on resolving the issue.
- Software-related issues: If you’re experiencing difficulties with the Corsair software (e.g., iCUE), ensure that you have the latest version installed. Try restarting the software or reinstalling it to resolve any software-related glitches. If the problem persists, consult the Corsair support resources or reach out to their customer support.
- Fan or pump failure: In case your fans or pump fail to operate, check the connections to ensure they’re secure. Verify that the cables are properly connected to the appropriate headers on your motherboard. If the issue continues, contact Corsair customer support to discuss potential solutions or arrange for a replacement if necessary.
- Compatibility issues: If you encounter compatibility issues with your Corsair Hydro Series H100I GTX 240mm Liquid CPU Cooler, such as mounting difficulties or motherboard incompatibility, consult the user manual and Corsair’s online resources for compatibility guidelines. If needed, contact Corsair customer support for further assistance.
By following these troubleshooting steps, you can address common issues that may arise with your Corsair Hydro Series H100I GTX 240mm Liquid CPU Cooler. If you encounter persistent problems or require further assistance, it is always recommended to reach out to Corsair customer support for specialized guidance and solutions tailored to your specific situation.
Conclusion
Congratulations! You have now learned how to effectively maintain your Corsair Hydro Series H100I GTX 240mm Liquid CPU Cooler. Regular maintenance ensures optimal cooling performance, extends the lifespan of your cooler, and keeps your CPU running smoothly even under heavy loads.
We started by understanding the components of the cooler and the importance of safety precautions. By familiarizing ourselves with the radiator, fans, pump, and coolant, we gained a comprehensive understanding of how the cooler operates and the maintenance requirements for each component.
We then delved into the step-by-step processes of cleaning the radiator and fans. By removing dust and debris from these components, we enable effective heat dissipation and prevent any potential airflow restrictions that could hinder cooling performance.
Next, we learned how to remove dust and debris from the pump, ensuring its optimal functionality. By keeping the pump clean and free from obstructions, we can maintain efficient coolant circulation and prevent potential issues related to overheating.
Checking and replacing the coolant is another vital maintenance task we covered. By regularly monitoring the coolant level and quality, as well as following the proper procedures for draining and refilling, we can ensure that our cooling system operates at its best.
We also learned about updating the firmware, an essential task to benefit from the latest features, improvements, and bug fixes. By keeping our firmware up to date, we enhance compatibility, optimize performance, and ensure a seamless cooling experience.
Lastly, we explored troubleshooting common issues that may arise. By identifying and resolving problems such as pump noise, high CPU temperatures, coolant leakage, software-related glitches, fan or pump failure, and compatibility issues, we can overcome obstacles and maintain the optimal functioning of our Corsair Hydro Series H100I GTX 240mm Liquid CPU Cooler.
Remember, proper maintenance is key to maximizing the performance and lifespan of your cooler. By following the guidelines provided in this guide and referring to the user manual and Corsair’s resources, you can keep your CPU cool, extend the longevity of your cooler, and enjoy high-performance computing for years to come.