Introduction
Welcome to our step-by-step guide on how to install the Hydro Series™ H100i RGB Platinum SE 240mm Liquid CPU Cooler. If you’re looking to upgrade your computer’s cooling system and maximize its performance, this is the perfect solution for you.
The Hydro Series™ H100i RGB Platinum SE 240mm Liquid CPU Cooler is a premium and high-performance cooling solution designed to keep your CPU running at optimal temperatures, even during intense gaming sessions or resource-intensive tasks. With its sleek design and customizable RGB lighting, it not only delivers excellent cooling performance but also adds a touch of style to your computer setup.
Before diving into the installation process, it’s essential to understand the benefits of a liquid CPU cooler. Compared to traditional air coolers, liquid cooling systems offer several advantages, such as improved heat dissipation, reduced noise levels, and the ability to maintain lower CPU temperatures. This results in better overall performance and longevity for your CPU.
It’s worth mentioning that installing a liquid CPU cooler may seem daunting, especially for less experienced users. However, with our comprehensive guide, you’ll be able to navigate through each step with ease. We’ll walk you through the entire installation process, providing detailed instructions and tips to ensure a successful setup.
So whether you’re a seasoned PC enthusiast or a novice looking to upgrade your cooling system, this guide will assist you in installing the Hydro Series™ H100i RGB Platinum SE 240mm Liquid CPU Cooler. Let’s get started!
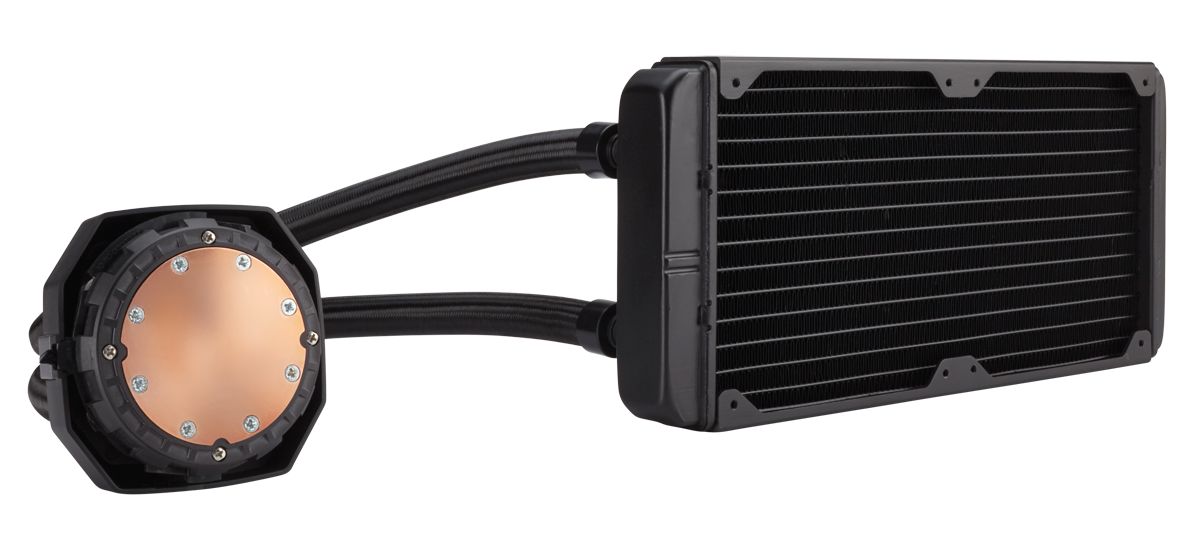
What Is the Hydro Series™ H100i RGB Platinum SE 240mm Liquid CPU Cooler?
The Hydro Series™ H100i RGB Platinum SE 240mm Liquid CPU Cooler is a cutting-edge cooling solution designed to keep your CPU running efficiently and effectively. It is a part of Corsair’s renowned Hydro Series™, which is known for its exceptional cooling performance and sleek design.
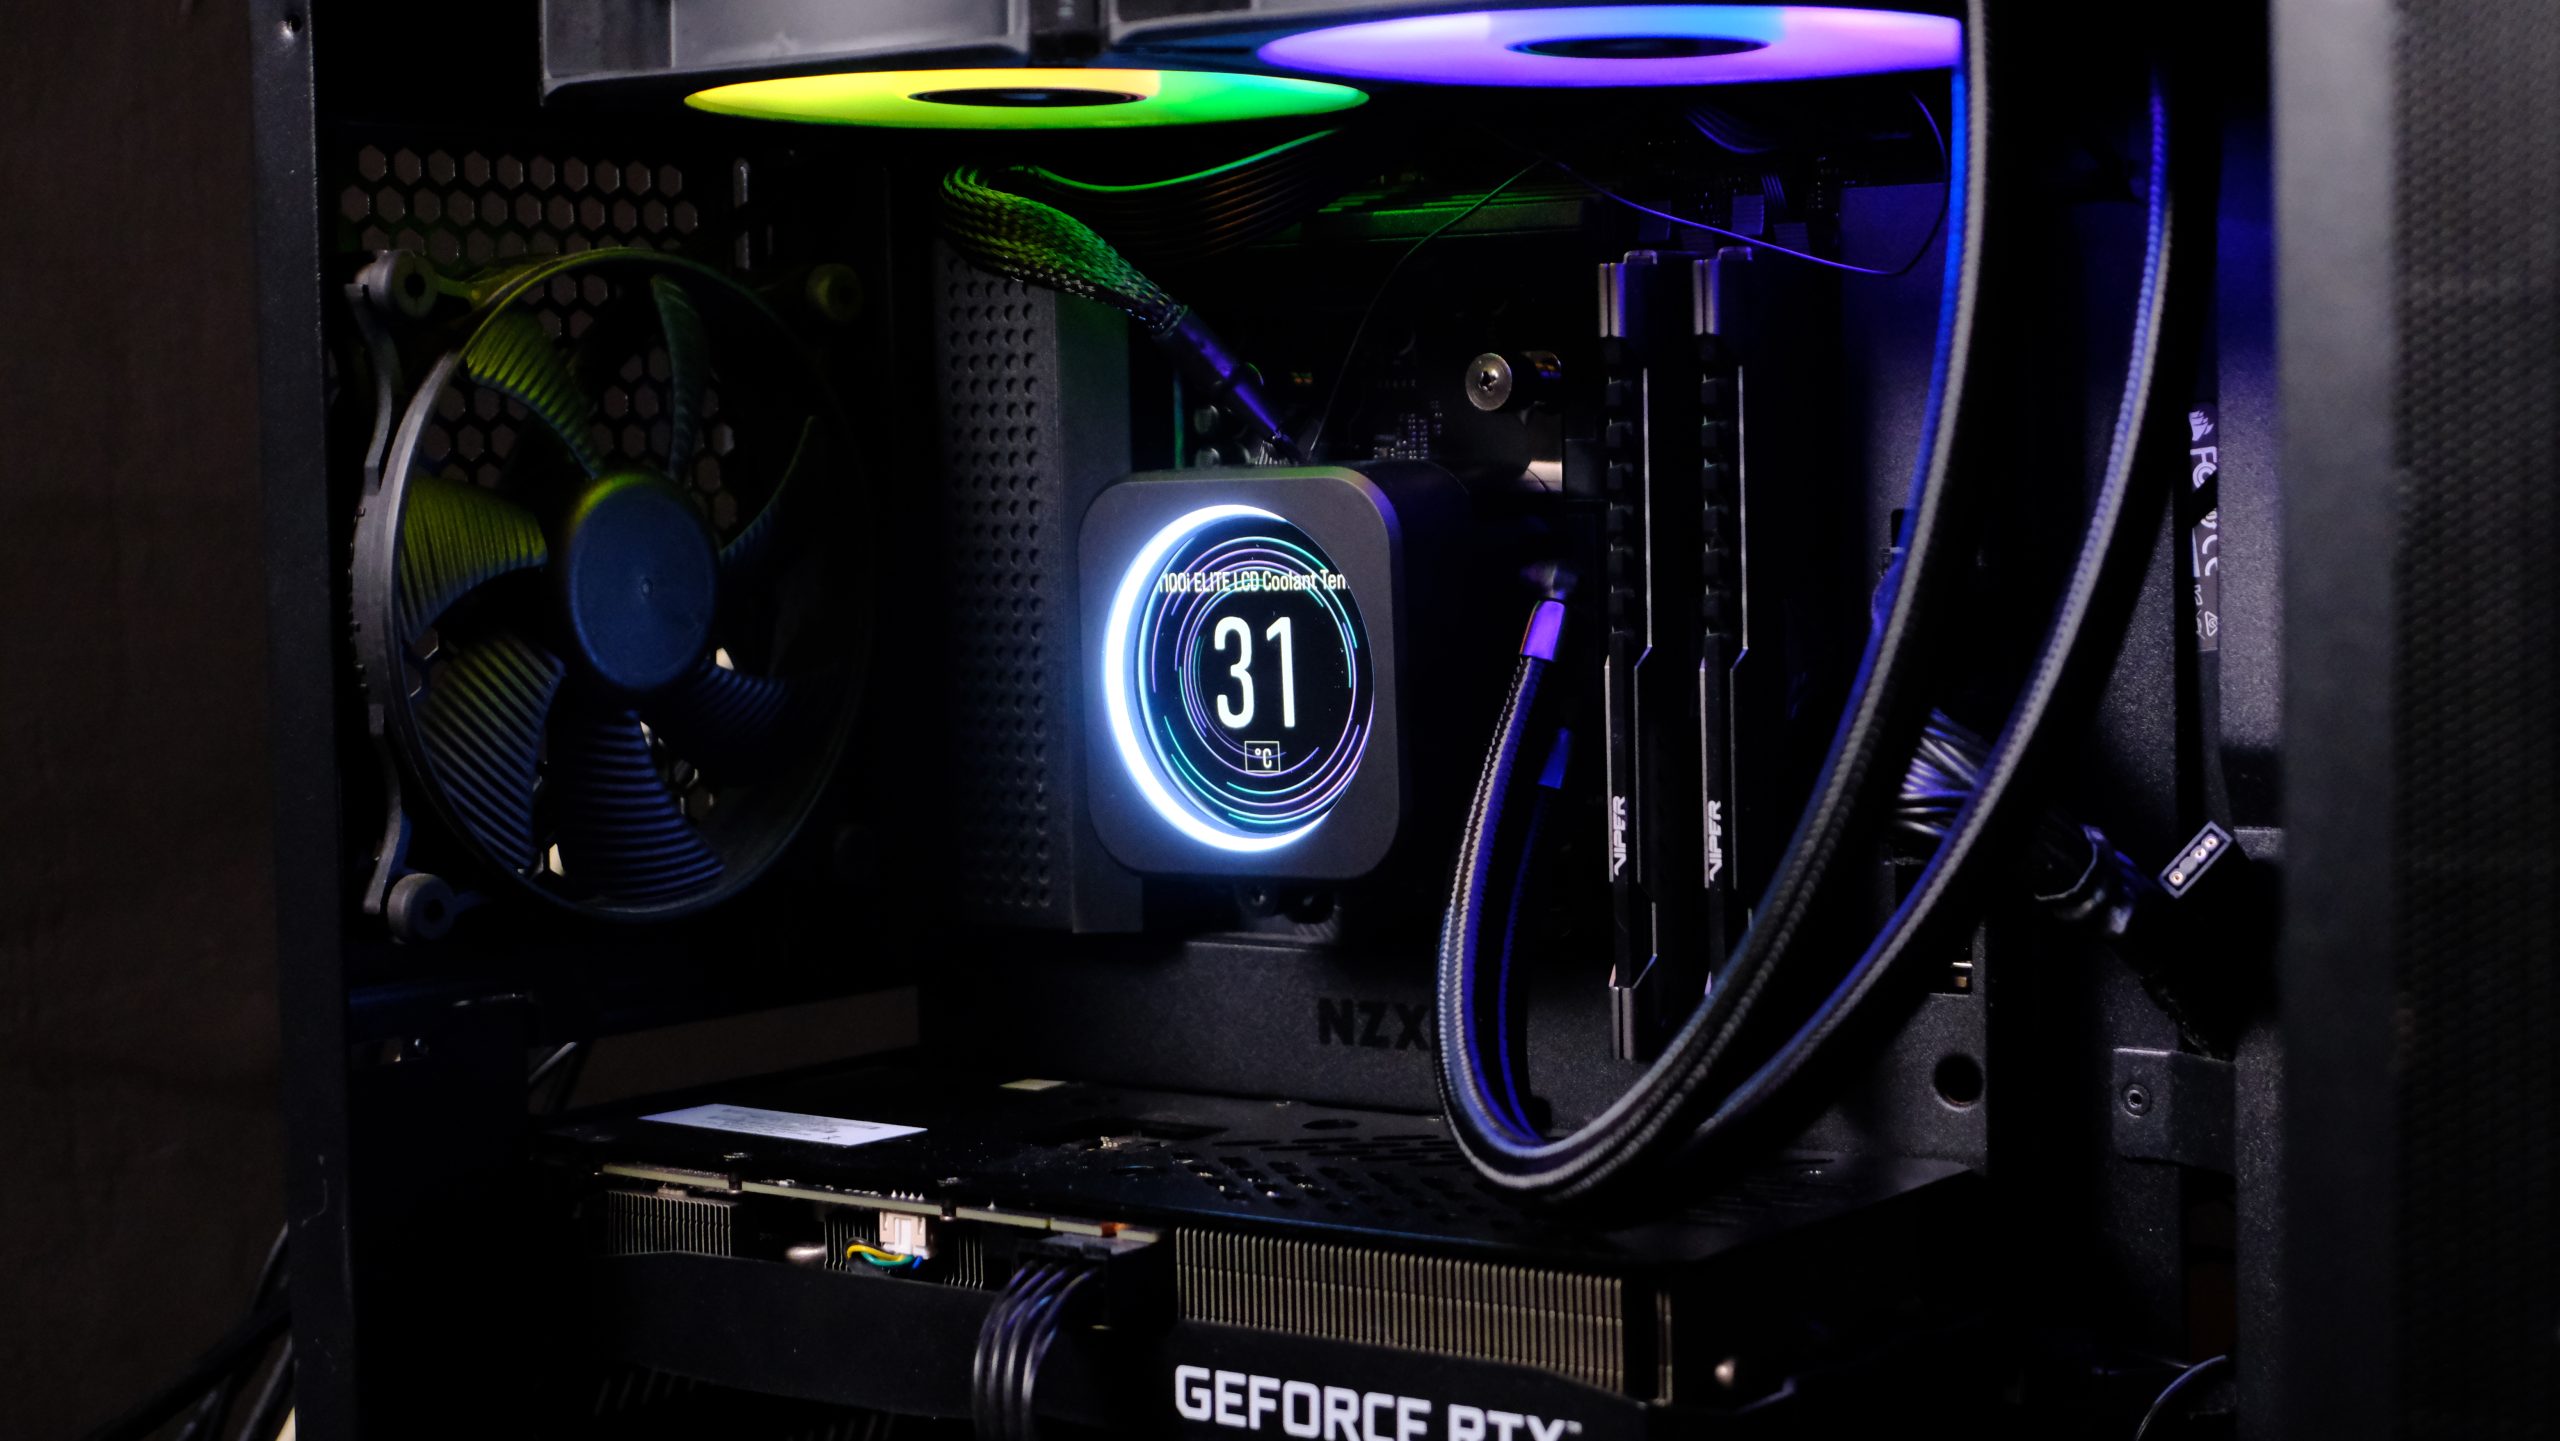
This specific model, the H100i RGB Platinum SE, features a 240mm radiator and two 120mm RGB fans. It utilizes a liquid cooling system, which consists of a pump, tubing, and a radiator, to dissipate heat more efficiently than traditional air coolers. By circulating coolant through the CPU block and radiator, the heat generated by the CPU is quickly transferred away, resulting in lower temperatures and improved performance.
The Hydro Series™ H100i RGB Platinum SE offers several notable features that set it apart from other cooling solutions. First, it features Corsair’s advanced RGB lighting technology, allowing you to customize the lighting effects to match your setup’s aesthetics. With the included Corsair iCUE software, you can choose from a wide range of colors and lighting patterns, creating a visually stunning system that stands out from the crowd.
In terms of performance, the H100i RGB Platinum SE boasts a high-quality pump that delivers efficient and reliable cooling. The two included 120mm RGB fans are optimized for airflow and static pressure, ensuring excellent cooling performance even for overclocked CPUs. Additionally, the radiator is made of high-density aluminum, which enables better heat transfer, resulting in lower temperatures and increased CPU lifespan.
Installation and compatibility are also key considerations when choosing a CPU cooler. The H100i RGB Platinum SE is compatible with a wide range of Intel and AMD sockets, making it versatile and suitable for most mainstream CPU configurations. Corsair provides detailed installation instructions and includes all the necessary hardware, ensuring a hassle-free installation process.
In summary, the Hydro Series™ H100i RGB Platinum SE 240mm Liquid CPU Cooler is a top-of-the-line cooling solution for your CPU. With its impressive performance, customizable RGB lighting, and easy installation process, it’s an excellent choice for gamers, content creators, and PC enthusiasts who demand high-quality cooling for their systems.
Preparing for Installation
Before diving into the installation process of the Hydro Series™ H100i RGB Platinum SE 240mm Liquid CPU Cooler, it’s important to take a few preparatory steps to ensure a smooth and successful installation.
First, gather all the necessary tools and equipment. You will need a Phillips screwdriver, thermal paste, rubbing alcohol, cotton swabs or a lint-free cloth, and an anti-static wrist strap (optional but recommended). Having these tools on hand will make the installation process much easier and more efficient.
Next, make sure you have a clear and well-lit workspace. Start by shutting down your computer and disconnecting it from the power source. This will prevent any accidental damage or electrical hazards during the installation process.
Once you’ve gathered your tools and prepared your workspace, now is a good time to familiarize yourself with the specific instructions for your CPU socket type. The installation process may slightly differ depending on whether you have an Intel or AMD processor, so it’s crucial to understand the requirements and compatibility of your system.
It’s also important to check the compatibility of the Hydro Series™ H100i RGB Platinum SE with your computer case. Ensure that you have enough space in your case to accommodate the radiator and fans. Measure the available clearance and make sure it meets the specifications of the cooler.
Before proceeding, take a moment to review any documentation provided by Corsair. This may include an installation guide or specific instructions tailored to your CPU cooler model. Familiarize yourself with the components, their placement, and the overall layout of the cooler.
Lastly, it’s a good idea to clean the CPU and the surrounding area before installation. Gently remove any dust or debris using a can of compressed air or a soft brush. If necessary, use a small amount of rubbing alcohol and a cotton swab or lint-free cloth to clean the thermal paste residue from the previous cooler installation. This will ensure proper thermal conductivity and optimal cooling performance for your new CPU cooler.
By following these preparatory steps, you’ll be well-equipped and ready to proceed with the installation of the Hydro Series™ H100i RGB Platinum SE 240mm Liquid CPU Cooler. Let’s move on to the next step: gathering the necessary tools.
Step 1: Gather the Necessary Tools
Before you begin the installation process of the Hydro Series™ H100i RGB Platinum SE 240mm Liquid CPU Cooler, it’s important to gather all the necessary tools and equipment. By having everything prepared, you’ll be able to smoothly progress through the installation without any interruptions.
Here are the tools and materials you will need for the installation:
- Phillips screwdriver: This will be used to remove the screws holding the CPU cooler in place and install the new cooler.
- Thermal paste: It is essential for ensuring optimal heat transfer between the CPU and the cooler. If your CPU cooler doesn’t come with pre-applied thermal paste, make sure to have a high-quality thermal paste ready.
- Rubbing alcohol: This is needed to clean the CPU and remove any old thermal paste residue. Use at least 90% isopropyl alcohol for best results.
- Cotton swabs or a lint-free cloth: These items will be used with the rubbing alcohol to clean the CPU and remove any residue from the previous cooler.
- Anti-static wrist strap (optional but recommended): If you have one, using an anti-static wrist strap can help protect your CPU and other components from static electricity discharge during the installation process.
Make sure you have all these tools and materials ready and easily accessible. It’s a good idea to have them organized in a neat and tidy manner, so you can easily grab what you need as you move through the installation steps.
Having all the necessary tools and materials at hand will make the installation process more efficient and ensure that you can complete the installation without any delays or frustrations. With everything prepared, you’re now ready to move on to the next step: removing the old CPU cooler.
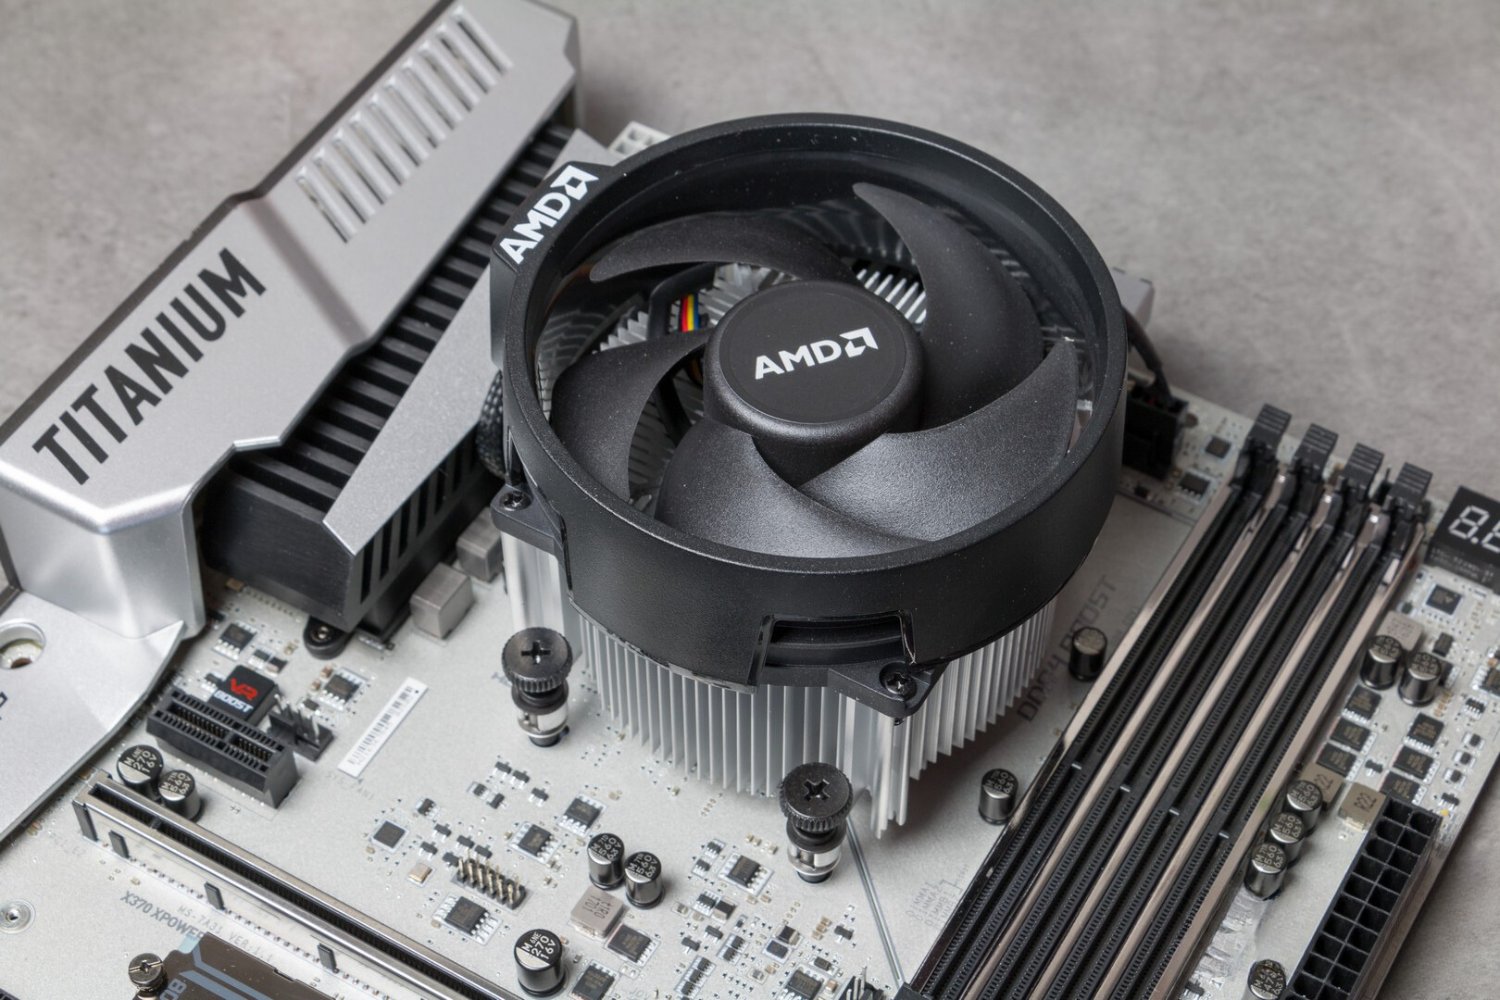
Step 2: Remove the Old CPU Cooler
Now that you have gathered all the necessary tools, it’s time to remove the old CPU cooler before installing the Hydro Series™ H100i RGB Platinum SE 240mm Liquid CPU Cooler. Removing the old cooler is a crucial step to ensure a clean installation and proper functioning of the new cooler.
Here’s how to remove the old CPU cooler:
- Start by shutting down your computer and disconnecting it from the power source. This will prevent any accidental damage or electrical hazards during the removal process.
- Once the computer is powered off, locate the CPU cooler on the motherboard. It is typically secured by screws or fasteners.
- Using a Phillips screwdriver, carefully remove the screws or fasteners that are holding the CPU cooler in place. Loosen them in a diagonal pattern to ensure even pressure release.
- Once the screws or fasteners are removed, gently lift the CPU cooler off the CPU. Be cautious not to apply any force or damage the CPU or motherboard.
- If the CPU cooler is attached to the CPU using thermal paste, you may need to gently twist the cooler to break the bond before lifting it off. However, avoid excessive twisting, as it could cause damage to the CPU or motherboard.
- Place the old cooler aside or discard it if it’s no longer needed.
With the old CPU cooler removed, take a moment to inspect the CPU and surrounding area. Ensure that there is no dust, debris, or thermal paste residue remaining on the CPU or motherboard. If necessary, use rubbing alcohol and a cotton swab or lint-free cloth to clean the CPU and remove any residue. This will ensure proper contact and heat transfer for the new CPU cooler.
Once you have removed the old CPU cooler and cleaned the CPU, you are now ready to proceed to the next step: preparing the CPU for installation of the new cooler.
Step 3: Prepare the CPU for Installation
With the old CPU cooler removed, it’s important to prepare the CPU for the installation of the Hydro Series™ H100i RGB Platinum SE 240mm Liquid CPU Cooler. Proper preparation will ensure a secure and efficient installation, allowing for optimal cooling performance.
Here are the steps to prepare the CPU for installation:
- Carefully inspect the CPU socket on the motherboard. Make sure there is no dust or debris present. Use a can of compressed air or a soft brush to clean any contaminants that may be lodged in the socket.
- Before applying thermal paste, ensure that the CPU and the bottom plate of the CPU cooler are clean and free from any residue or old thermal paste. If necessary, use rubbing alcohol and a lint-free cloth or cotton swab to clean both surfaces.
- Next, take a small amount of thermal paste and apply it to the center of the CPU. The thermal paste helps to fill any microscopic gaps between the CPU and the cooler, facilitating better heat transfer. It’s important not to apply too much paste as it can lead to excessive heat buildup. A small pea-sized dot in the center of the CPU is typically sufficient.
- Once the thermal paste is applied, use a plastic card or your finger (covered with a plastic sandwich bag) to spread the paste evenly and thinly across the surface of the CPU. This ensures a uniform layer and proper coverage for optimal heat transfer.
- Double-check that the thermal paste is spread evenly, covering the entire surface of the CPU but not extending beyond the edges. Excess thermal paste can cause messy installation and interfere with proper operation.
By carefully preparing the CPU and applying the thermal paste correctly, you ensure that heat is efficiently transferred from the CPU to the cooler, maximizing cooling performance and preventing potential overheating issues. With the CPU now prepared, it’s time to move on to the next step: mounting the radiator and fans of the Hydro Series™ H100i RGB Platinum SE 240mm Liquid CPU Cooler.
Step 4: Apply Thermal Paste
Applying thermal paste is an essential step in the installation process of the Hydro Series™ H100i RGB Platinum SE 240mm Liquid CPU Cooler. Thermal paste ensures optimal heat transfer between the CPU and the cooler, improving cooling efficiency and overall performance.
Follow these steps to apply thermal paste correctly:
- Start by ensuring that the CPU and the bottom plate of the CPU cooler are clean and free from any residue or old thermal paste. Use rubbing alcohol and a lint-free cloth or cotton swab to clean both surfaces if necessary.
- Take a small amount of thermal paste, roughly equivalent to a pea-sized dot, and place it in the center of the CPU. It’s crucial not to apply too much paste as it can cause excessive heat buildup.
- Once the paste is applied, use a plastic card or your finger (covered with a plastic sandwich bag) to spread the paste evenly and thinly across the surface of the CPU. The goal is to achieve a uniform layer that covers the entire surface.
- Apply gentle pressure and make smooth spreading motions to ensure proper coverage. Be careful not to apply too much pressure, as it can cause the paste to ooze out from the sides of the CPU.
- Double-check that the thermal paste is spread evenly and does not extend beyond the edges of the CPU. Excess paste can cause messy installation and interfere with the cooler’s operation.
Applying thermal paste ensures proper heat conductivity between the CPU and the cooler, promoting efficient heat dissipation. With this step completed, you are now ready to move on to mounting the radiator and fans of the Hydro Series™ H100i RGB Platinum SE 240mm Liquid CPU Cooler.
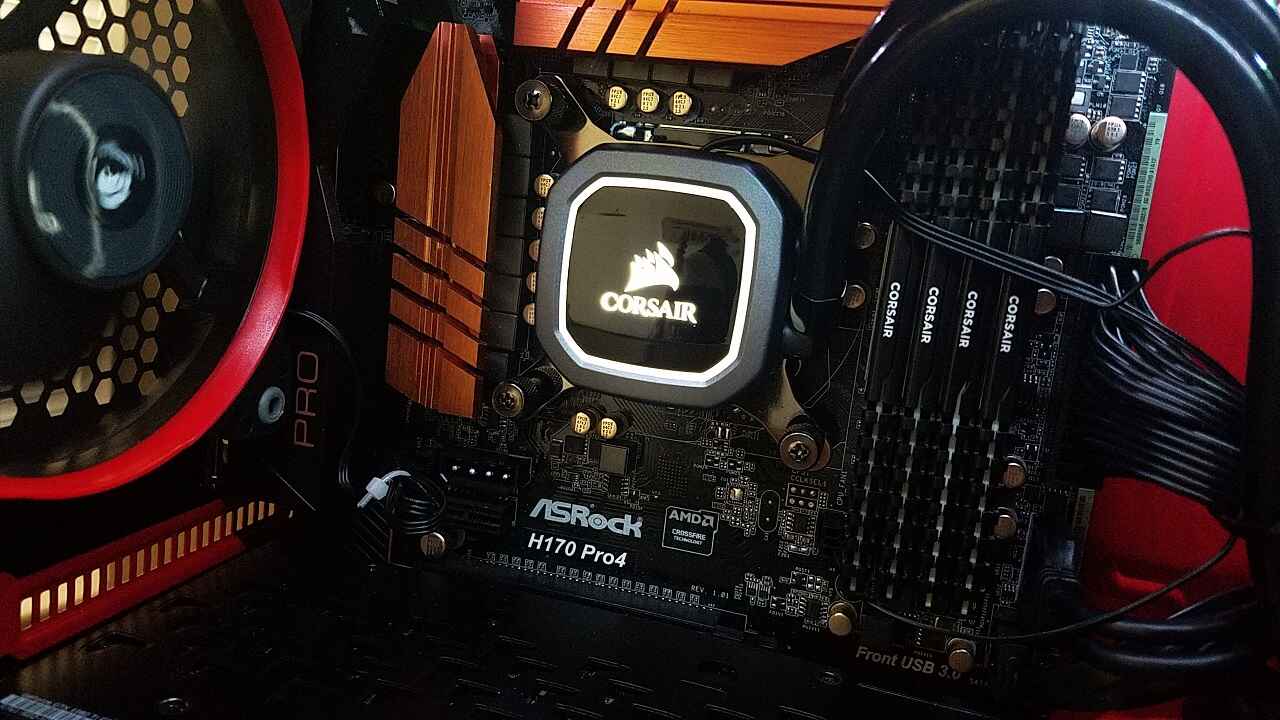
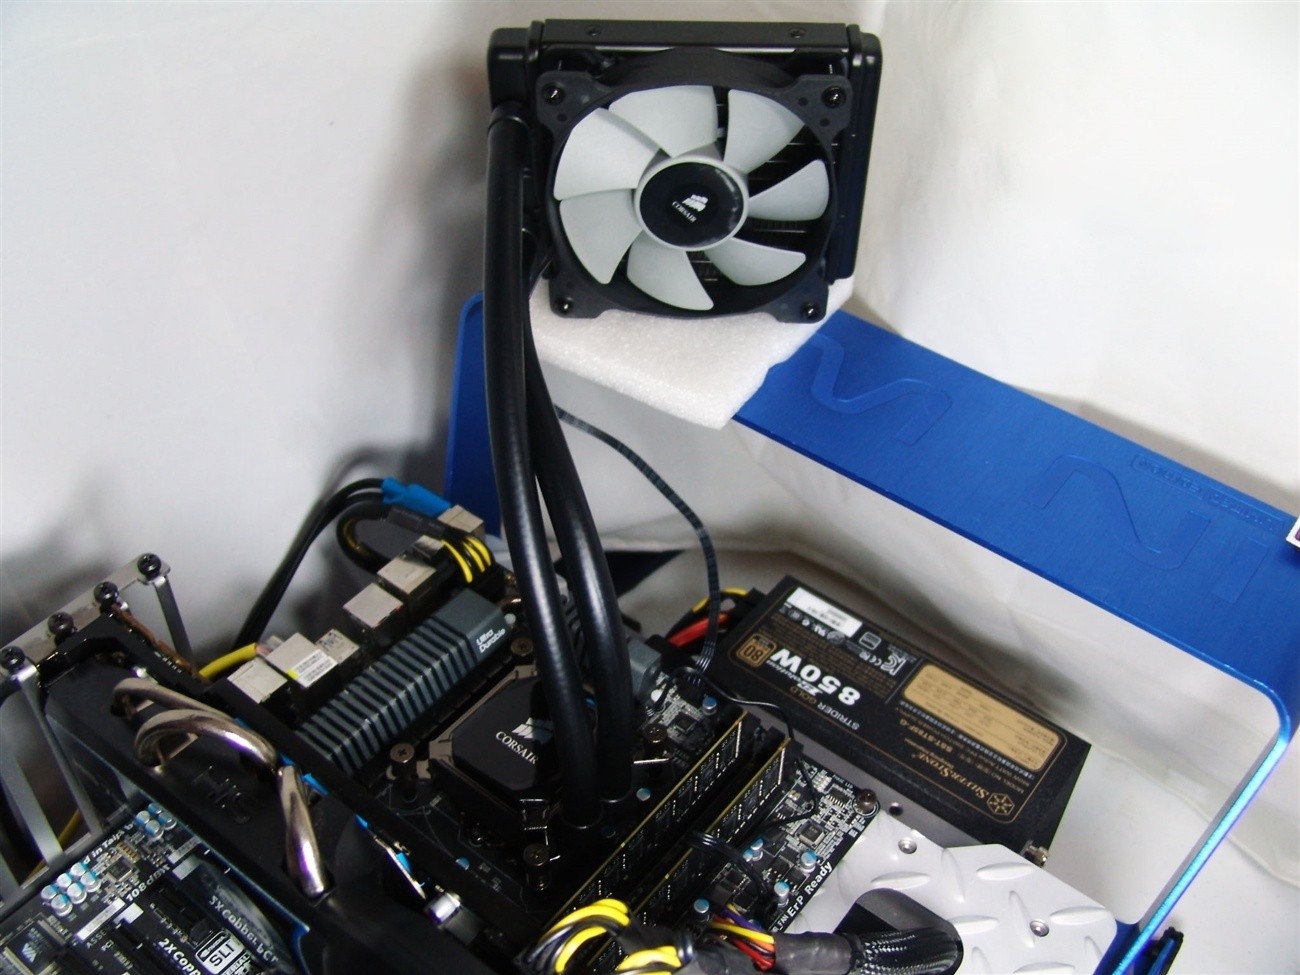
Step 5: Mounting the Radiator and Fans
Now that the thermal paste is applied, it’s time to mount the radiator and fans of the Hydro Series™ H100i RGB Platinum SE 240mm Liquid CPU Cooler. This step is crucial for ensuring proper heat dissipation and optimal cooling performance.
Here’s how to mount the radiator and fans:
- First, locate the mounting brackets that came with the CPU cooler. These brackets are designed to secure the radiator to the case. Refer to the installation guide provided by Corsair to identify the correct brackets for your specific case and CPU socket type.
- Next, position the brackets onto the radiator. Align the holes on the brackets with the corresponding holes on the radiator. Use the provided screws to secure the brackets in place. It’s important to ensure a tight and secure fit, as this will prevent any vibrations or movement during operation.
- Once the brackets are securely attached to the radiator, locate the designated mounting points in your computer case. These points are typically found on the top or rear side of the case. Consult the case manual or the manufacturer’s website to identify the proper mounting locations.
- Carefully position the radiator in the desired location, aligning the mounting holes on the brackets with the corresponding holes in the case. Use the provided screws to secure the radiator to the case. Ensure that the radiator is level and tightly secured to prevent any movement or vibrations.
- After the radiator is mounted, it’s time to attach the fans. Depending on your specific cooler model, the fans may be already pre-attached to the radiator. If not, locate the fan mounting points on the radiator, and use the provided screws to secure the fans onto the radiator. Be sure to align the fans in the correct direction to ensure proper airflow.
- Once the fans are attached, connect their power cables to the fan headers on the motherboard or the fan controller. Consult your motherboard manual or the manufacturer’s website for proper fan header locations and connections.
By securely mounting the radiator and fans, you ensure that heat generated by the CPU is effectively dissipated, maintaining lower temperatures and improving overall system performance. Now that the radiator and fans are mounted, it’s time to move on to the next step: connecting the pump and fans to the motherboard.
Step 6: Connect the Pump and Fans to the Motherboard
With the radiator and fans securely mounted, the next step in installing the Hydro Series™ H100i RGB Platinum SE 240mm Liquid CPU Cooler is to connect the pump and fans to the motherboard. This step is essential for controlling the cooling system and ensuring proper operation.
Here’s how to connect the pump and fans to the motherboard:
- Locate the pump header on your motherboard. It’s usually labeled as “CPU_FAN” or “PUMP”. Consult your motherboard manual or the manufacturer’s website for the exact location.
- Take the cable from the pump and connect it to the pump header on the motherboard. Ensure that it is firmly and securely connected, as this is how the pump will receive power and be controlled.
- Next, locate the fan headers on your motherboard. These headers are designated for connecting the fans and controlling their speed. You may need to consult your motherboard manual or the manufacturer’s website for the specific locations and labels of the fan headers.
- Take the cables from the fans and connect them to the available fan headers on the motherboard. Ensure that each fan cable is properly aligned with the corresponding header pin and securely connected.
- Once all the connections are made, double-check that the pump and fan cables are neatly routed and not obstructing any other components. Use cable ties or clips to secure the cables and ensure a clean and organized installation.
- Finally, consult your motherboard’s BIOS or UEFI settings to adjust the fan speed and pump control settings. This will vary depending on your motherboard model. Refer to your motherboard manual or the manufacturer’s website for detailed instructions on configuring fan and pump settings.
By connecting the pump and fans to the motherboard, you enable the control and monitoring of the cooling system, ensuring optimal performance and temperature management. With this step completed, you’re now ready to move on to the next step: cable management.
Step 7: Cable Management
After connecting the pump and fans to the motherboard, it’s time to tackle cable management. Proper cable management is crucial not only for aesthetics but also for optimal airflow and system maintenance. Organizing and securing cables helps improve airflow, reduces the risk of tangling or damaging cables, and makes future upgrades or maintenance easier.
Here are some tips for effective cable management:
- Start by identifying the cables connected to your CPU cooler, such as the pump cable and fan cables. Keep these cables neatly routed and separate from other cables to avoid tangling and interference.
- Use cable ties, Velcro straps, or cable management clips to bundle and secure the cables together. This will help maintain a clean and organized look inside the case.
- Route the cables alongside the case’s cable routing channels or behind the motherboard tray whenever possible. This helps keep the cables out of the way and improves airflow.
- Ensure that the cables are not blocking any crucial airflow paths, such as ventilation holes or fan intakes. Proper airflow is essential for cooling efficiency.
- Consider using cable extensions or custom-length cables if needed. This can help reduce cable clutter and create a neater appearance.
- Take care to avoid any excessive bending or stretching of the cables. This can lead to cable strain and potential damage over time.
- Double-check all cable connections to ensure they are secure. Loose connections can cause malfunctions or interruptions in power supply.
By investing time in proper cable management, you’ll not only improve the overall appearance of your system but also enhance its functionality. Neat and organized cables promote better airflow, reduce clutter, and make future maintenance or upgrades more convenient. With cable management complete, you are now ready to power on the system and enjoy the benefits of the Hydro Series™ H100i RGB Platinum SE 240mm Liquid CPU Cooler.
Step 8: Powering on the System
With the installation and cable management complete, it’s time to power on the system and ensure that the Hydro Series™ H100i RGB Platinum SE 240mm Liquid CPU Cooler is functioning properly. This final step will verify that all connections are secure and that the cooling system is ready to keep your CPU running at optimal temperatures.
Here’s what you need to do to power on the system:
- Double-check that all power connections are secure, including the motherboard and CPU power cables. Ensure that the power supply is plugged in and turned on.
- Press the power button on your computer to start the system. You should hear the fans spinning up, including the fans on the CPU cooler.
- Enter the BIOS or UEFI setup utility by pressing the designated key during startup (often Delete, F2, or F12). Check the temperature readings to ensure that the CPU is within a safe operating range. This will vary depending on your specific CPU model.
- If the system powers on and the fans are working correctly, you have successfully installed and connected the Hydro Series™ H100i RGB Platinum SE 240mm Liquid CPU Cooler.
- Monitor your CPU temperatures during regular usage and strenuous tasks to ensure the cooler is effectively cooling your CPU. If you notice unusually high temperatures or any issues, consult the manufacturer’s troubleshooting guide or seek professional assistance.
Once you have verified that the system is functioning properly, you can enjoy the benefits of improved cooling with the Hydro Series™ H100i RGB Platinum SE 240mm Liquid CPU Cooler. Sit back and relax while your CPU operates at optimal temperatures, ensuring better overall performance and longevity of your system.
Remember to periodically check the fan operation and cleanliness of the radiator to maintain optimal cooling performance. Regular system maintenance will help extend the lifespan of your CPU cooler and keep your system running smoothly.
Conclusion
Congratulations! You have successfully completed the installation of the Hydro Series™ H100i RGB Platinum SE 240mm Liquid CPU Cooler. By following the steps outlined in this guide, you have improved the cooling efficiency of your CPU, allowing for better performance and temperature management.
The Hydro Series™ H100i RGB Platinum SE offers not only excellent cooling performance but also customizable RGB lighting, adding a touch of style to your computer setup. With its sleek design and high-quality components, you can enjoy both functionality and aesthetics.
Throughout the installation process, you have learned how to prepare for installation, remove the old CPU cooler, apply thermal paste, mount the radiator and fans, connect the pump and fans to the motherboard, and manage cables effectively. These steps ensure a clean, organized and efficient installation, guaranteeing optimal cooling performance.
Remember to periodically check the fan operation and cleanliness of the radiator to maintain optimal cooling function. This will help extend the lifespan of your CPU cooler and keep your system running smoothly.
We hope this guide has been informative and helpful in guiding you through the installation process. By installing the Hydro Series™ H100i RGB Platinum SE 240mm Liquid CPU Cooler, you have taken a crucial step towards achieving better cooling performance for your system.
Now, sit back, power on your system, and enjoy the benefits of improved cooling with the Hydro Series™ H100i RGB Platinum SE 240mm Liquid CPU Cooler. From enhanced performance to a visually stunning setup, this cooler will undoubtedly elevate your computing experience.
Should you have any further questions or encounter any issues, refer to the documentation provided by Corsair or seek professional assistance. Happy computing!