Reasons to Consider Getting a CPU Cooler
If you’re a computer enthusiast or someone who demands high performance from your system, you may want to consider investing in a CPU cooler. The CPU (Central Processing Unit) is the brain of your computer, and it generates a significant amount of heat when running intensive tasks. Without proper cooling, the CPU can overheat, leading to a decrease in performance and potential damage to the hardware.
Here are some compelling reasons why you should consider getting a CPU cooler:
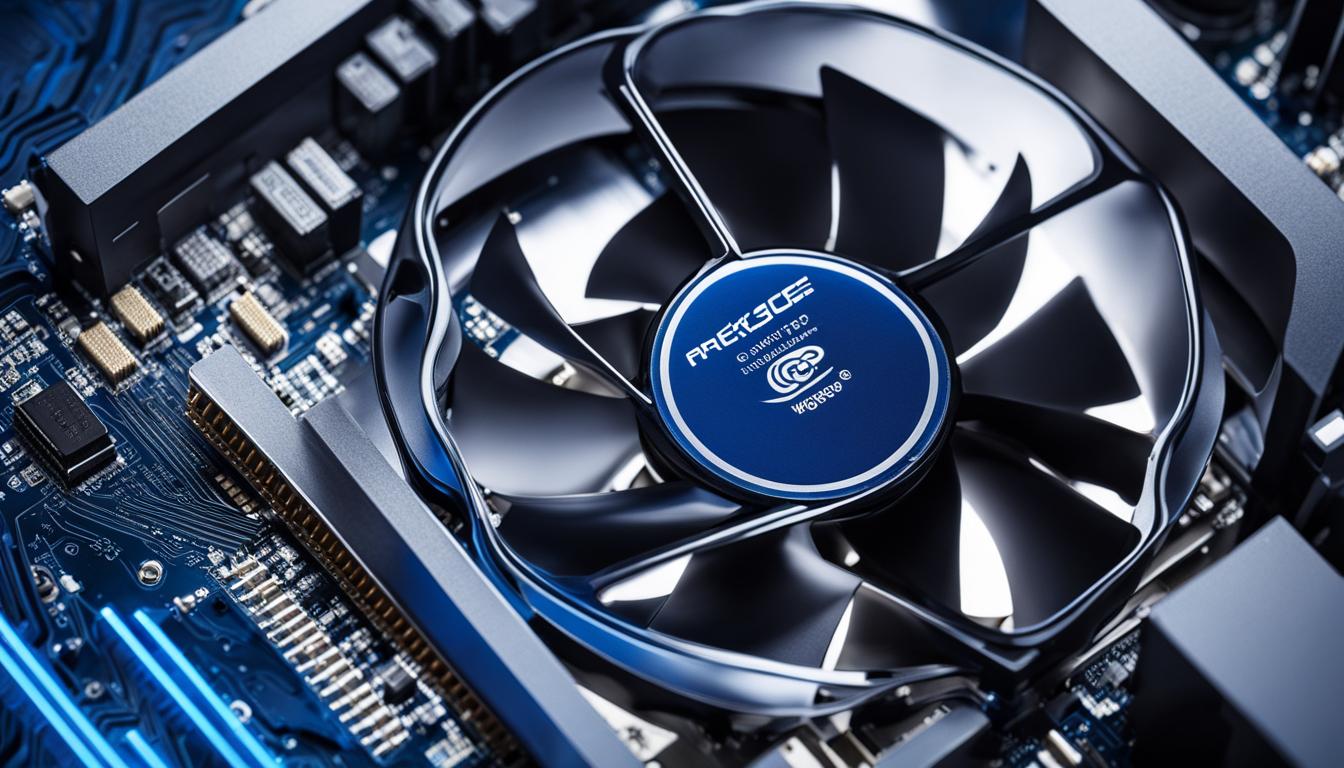
- Improved Heat Dissipation: A CPU cooler helps dissipate the heat generated by the processor. It consists of a heatsink, which absorbs the heat, and a fan, which blows cool air onto the heatsink, facilitating efficient heat transfer. This ensures that the CPU operates within a safe temperature range, preventing overheating issues.
- Enhanced Performance: Overheating can cause the CPU to throttle its performance, slowing down your computer. By keeping the processor cool, a CPU cooler allows it to maintain optimal clock speeds, resulting in smoother multitasking, faster program execution, and improved overall performance.
- Extended Lifespan: Continuous exposure to high temperatures can significantly reduce the lifespan of your CPU. Installing a CPU cooler helps prolong the longevity of your processor by preventing excessive heat buildup, which can cause internal components to degrade or fail prematurely.
- Overclocking Capability: Overclocking is the process of increasing the clock speed of your CPU to achieve higher performance. However, overclocking also generates more heat. A CPU cooler is essential for managing the increased heat output during overclocking, allowing you to push your processor to its limits without risking instability or damage.
- Reduced Noise Levels: Stock CPU coolers that come bundled with processors are often loud and ineffective. Upgrading to a high-quality aftermarket CPU cooler can not only improve heat dissipation but also reduce the noise generated by the cooling system. This is especially important for those who prefer a quieter computing experience.
Overall, investing in a CPU cooler is a wise decision if you want to ensure stable performance, safeguard your hardware, and potentially unlock the full potential of your processor. Whether you’re a hardcore gamer, a content creator, or simply a power user, a reliable CPU cooler is an essential component for maintaining the health and efficiency of your computer system.
Signs Your Current CPU Cooling Solution May Not Be Sufficient
Proper cooling is crucial for the optimal functioning of your CPU. If your current cooling solution isn’t up to the task, it can lead to various performance issues and potentially damage your hardware. Here are some signs that indicate your current CPU cooling solution may not be sufficient:
- High CPU Temperatures: One of the most evident signs of inadequate cooling is consistently high CPU temperatures. If your CPU is running at temperatures above the recommended range, it may indicate that your current cooling solution is struggling to dissipate the heat effectively. You can monitor CPU temperatures using software utilities or BIOS settings.
- Frequent System Freezing or Crashing: Insufficient cooling can result in system instability, leading to frequent freezing or crashing of your computer. When the CPU overheats, it can cause the system to become unstable, resulting in unexpected shutdowns or blue screen errors. If you experience these issues regularly, it’s a clear indication that your cooling solution needs improvement.
- Loud Fan Noise: If you notice that your CPU fan is running at high speeds and producing excessive noise even during normal usage, it could imply that your current cooling solution is struggling to keep the temperatures in check. The fan may be constantly running at high RPM to compensate for inadequate cooling, leading to an annoying and disruptive noise level.
- Sluggish Performance: When your CPU gets too hot, it can throttle its performance to protect itself from damage. This can result in decreased performance and slow overall system operation. If you find that your computer is noticeably slower, especially during demanding tasks, it might be a sign that cooling is insufficient.
- Visible Heat Damage: In extreme cases, inadequate cooling can cause visible heat damage to the CPU or surrounding components. Look for signs such as discoloration, warping, or melted plastic. If you observe any of these signs, it’s crucial to address the cooling issue promptly to prevent further damage.
If you’re experiencing any of these symptoms, it’s essential to upgrade your CPU cooling solution to ensure reliable performance and protect your valuable hardware. Upgrading to a more efficient aftermarket CPU cooler can help prevent overheating, maintain system stability, and prolong the lifespan of your CPU.
Understanding the Importance of a CPU Cooler
A CPU cooler is an essential component of any computer system, and its importance cannot be overstated. The CPU, being the central processing unit, is responsible for executing instructions and performing calculations for all tasks. However, this process generates a considerable amount of heat, which, if not managed properly, can lead to detrimental effects on the CPU and overall system performance.
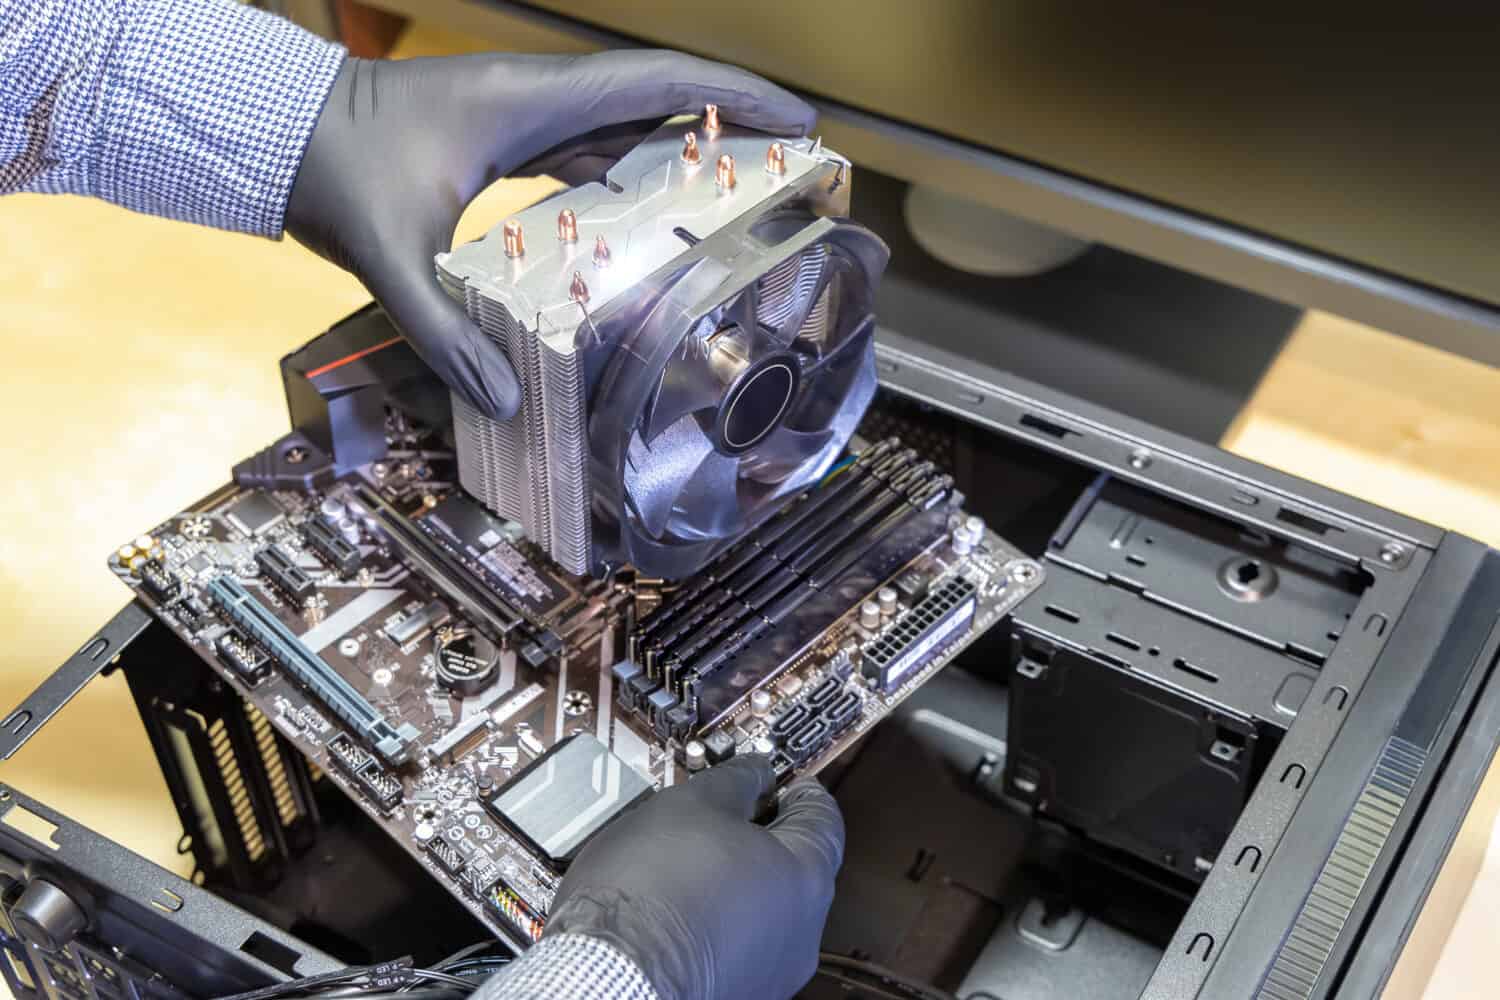
The primary function of a CPU cooler is to dissipate the heat generated by the processor. It consists of a heatsink and a fan or a combination of fans. The heatsink is typically made of metal, which efficiently absorbs and spreads out the heat, while the fan(s) blow cool air onto the heatsink to facilitate heat transfer.
Here are a few reasons highlighting the importance of a CPU cooler:
- Temperature Regulation: The CPU operates optimally within a specific temperature range. If the temperature exceeds the recommended threshold, it can lead to thermal throttling, where the CPU automatically reduces its clock speed to prevent overheating. This results in decreased performance, slower operation, and potential stability issues. A CPU cooler helps regulate temperatures and prevents the CPU from reaching critical levels.
- Preventing Heat Damage: Excessive heat can damage the internal components of the CPU, causing malfunctions or permanent failure. Heat can cause solder joints to weaken or melt, capacitors to fail, and other microelectronic components to degrade. A CPU cooler helps dissipate heat and prevents the CPU from reaching dangerous temperature levels, safeguarding it from potential long-term damage.
- Enhanced Stability: Overheating can lead to system instability, resulting in crashes, freezes, or unexpected shutdowns. By maintaining optimal temperatures, a CPU cooler ensures the stability of the system, allowing for uninterrupted usage and smooth operation, especially during resource-intensive tasks.
- Longevity and Reliability: Constant exposure to high temperatures can significantly reduce the lifespan of the CPU. A properly functioning CPU cooler helps prolong the lifespan of the processor by keeping temperatures in check, reducing wear and tear on internal components, and maintaining overall system reliability.
- Flexibility for Overclocking: Overclocking is the process of increasing the clock speed of the CPU to achieve higher performance. However, overclocking generates more heat, which requires an efficient cooling solution to handle the increased thermal output. A CPU cooler designed for overclocking ensures stable operation and prevents the processor from overheating under increased performance demands.
In summary, a CPU cooler is vital for maintaining the performance, stability, longevity, and reliability of your computer system. By effectively dissipating heat and regulating temperatures, a CPU cooler ensures optimal CPU operation and prevents potential damage from overheating. Whether you are a casual user or a power user, investing in a high-quality CPU cooler is a wise decision to protect and maximize the potential of your CPU.
Factors to Consider When Choosing a CPU Cooler
When it comes to choosing a CPU cooler, there are several factors you should consider to ensure the best cooling performance and compatibility with your system. Here are some key factors to keep in mind:
- CPU Socket Compatibility: The first and most crucial factor to consider is the compatibility of the CPU cooler with your CPU socket. Different CPUs require different socket types, such as Intel’s LGA or AMD’s AM4. Make sure to check the specifications of the CPU cooler to ensure it is compatible with your specific CPU socket.
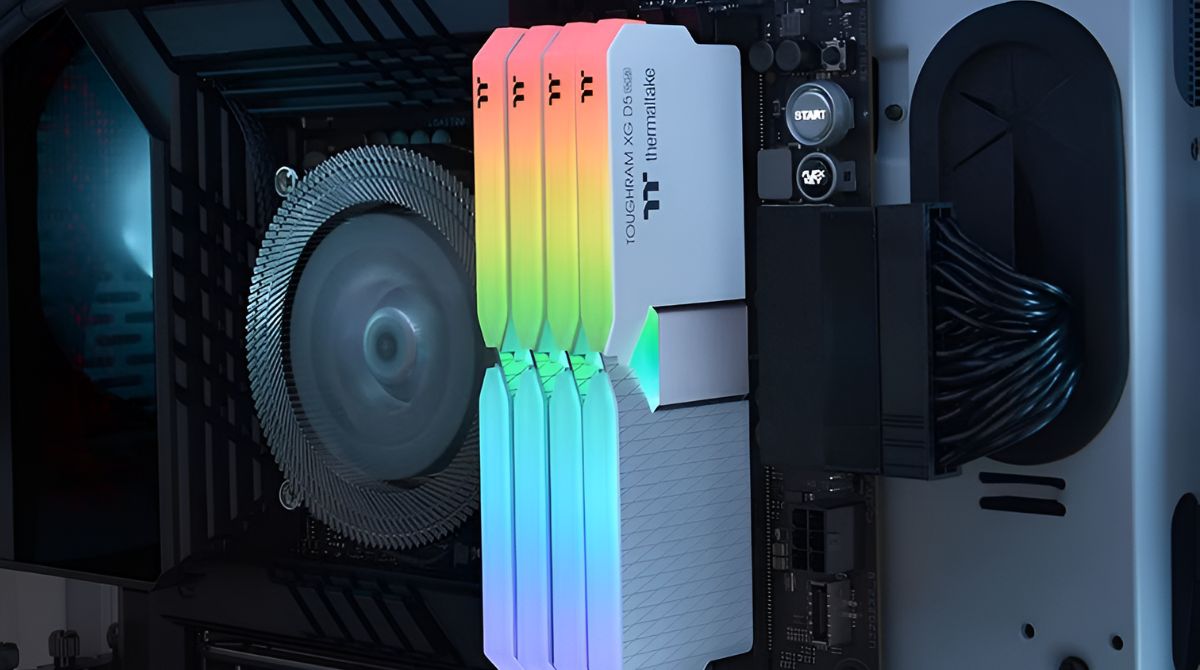
- Cooler Height and Clearance: Another important consideration is the physical dimensions of the CPU cooler and its clearance in your system. Ensure that the cooler’s height and size will fit within your computer case without interfering with other components such as RAM modules or graphics cards. Measure the available space and cross-reference it with the cooler’s dimensions to avoid any compatibility issues.
- Cooling Performance: Assess the cooling performance of the CPU cooler. This can be determined by factors such as the size of the heatsink, the number and size of fans, and the airflow design. Larger heatsinks and multiple fans generally provide better cooling efficiency. Additionally, consider the noise levels generated by the cooler, as high-performance cooling solutions can sometimes produce excessive noise.
- Air or Liquid Cooling: Choose between air cooling and liquid cooling based on your preferences and requirements. Air coolers are generally more affordable and easier to install, while liquid cooling can provide more effective cooling, especially for overclocking purposes. However, liquid cooling solutions can be more complex to install and require additional components such as radiators and pumps.
- Build Quality and Durability: Consider the build quality of the CPU cooler. Look for coolers made of high-quality materials that ensure durability and longevity. Check customer reviews and ratings for insights into the reliability and performance of the cooler.
- Budget: Set a budget for your CPU cooler purchase. CPU coolers come in a wide range of prices, from budget-friendly options to high-end, premium models. Determine your budget and find a cooler that offers a good balance between performance, features, and price.
- Brand Reputation and Warranty: Research reputable brands known for producing reliable and high-quality CPU coolers. Check if the manufacturer offers a warranty for the cooler, as this can provide added peace of mind in case any issues arise.
By considering these factors, you can make an informed decision and choose a CPU cooler that best suits your needs, ensuring efficient and effective cooling for your CPU, and ultimately enhancing the performance and longevity of your computer system.
Different Types of CPU Coolers and Their Pros/Cons
When it comes to CPU cooling solutions, there are various types available, each with its own advantages and disadvantages. Understanding the differences between these types can help you choose the most suitable cooler for your needs. Here are some of the main types of CPU coolers:
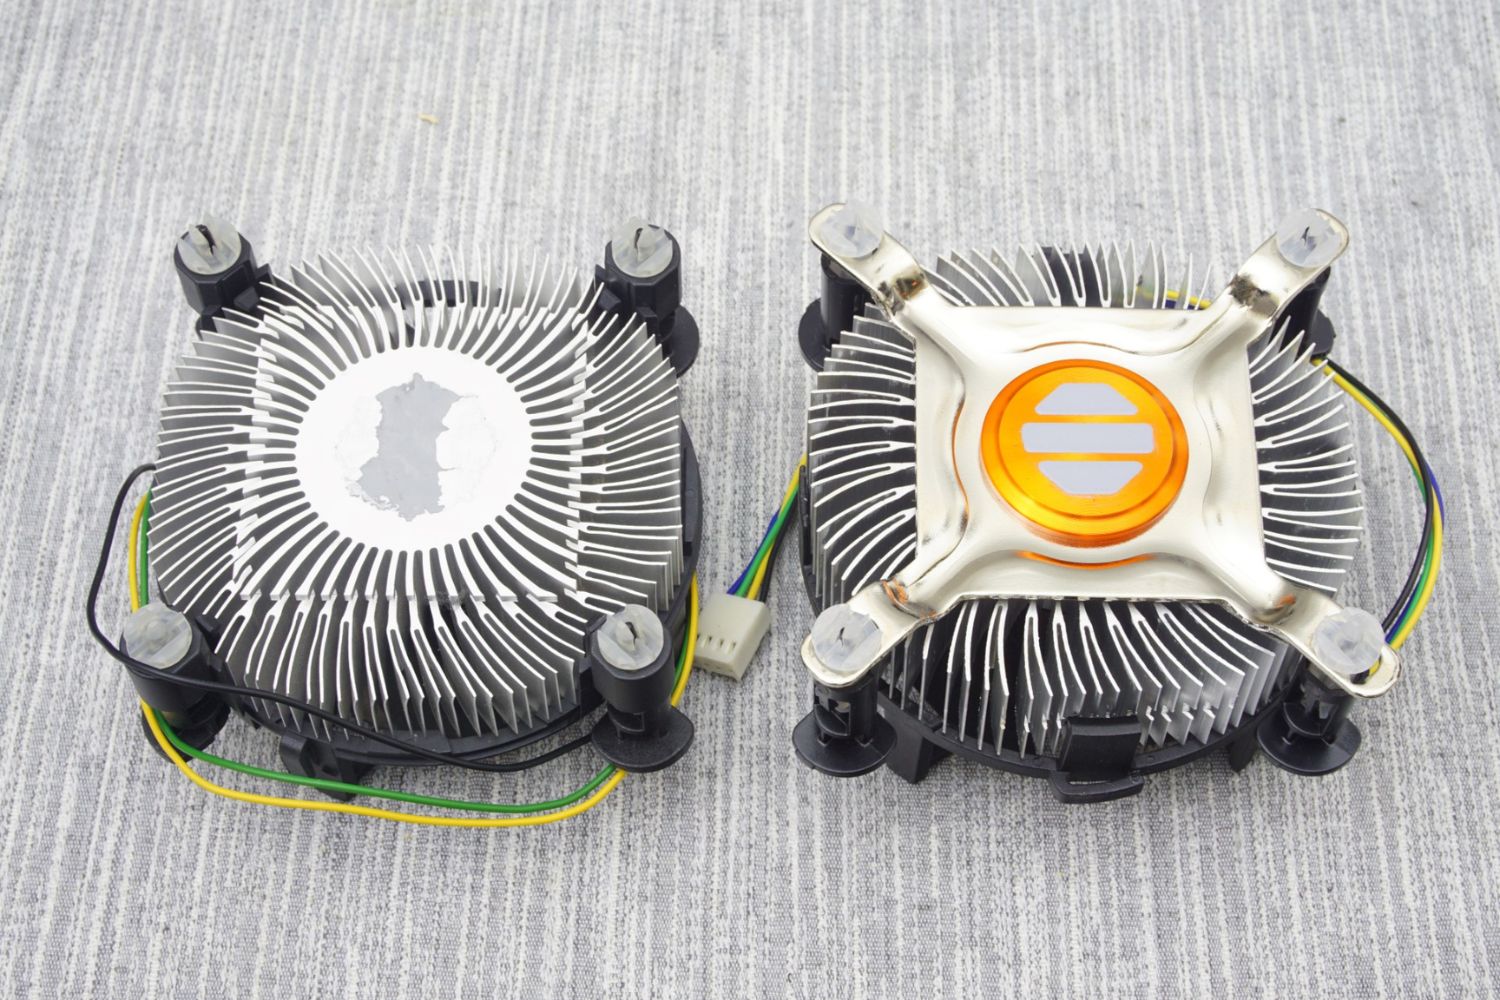
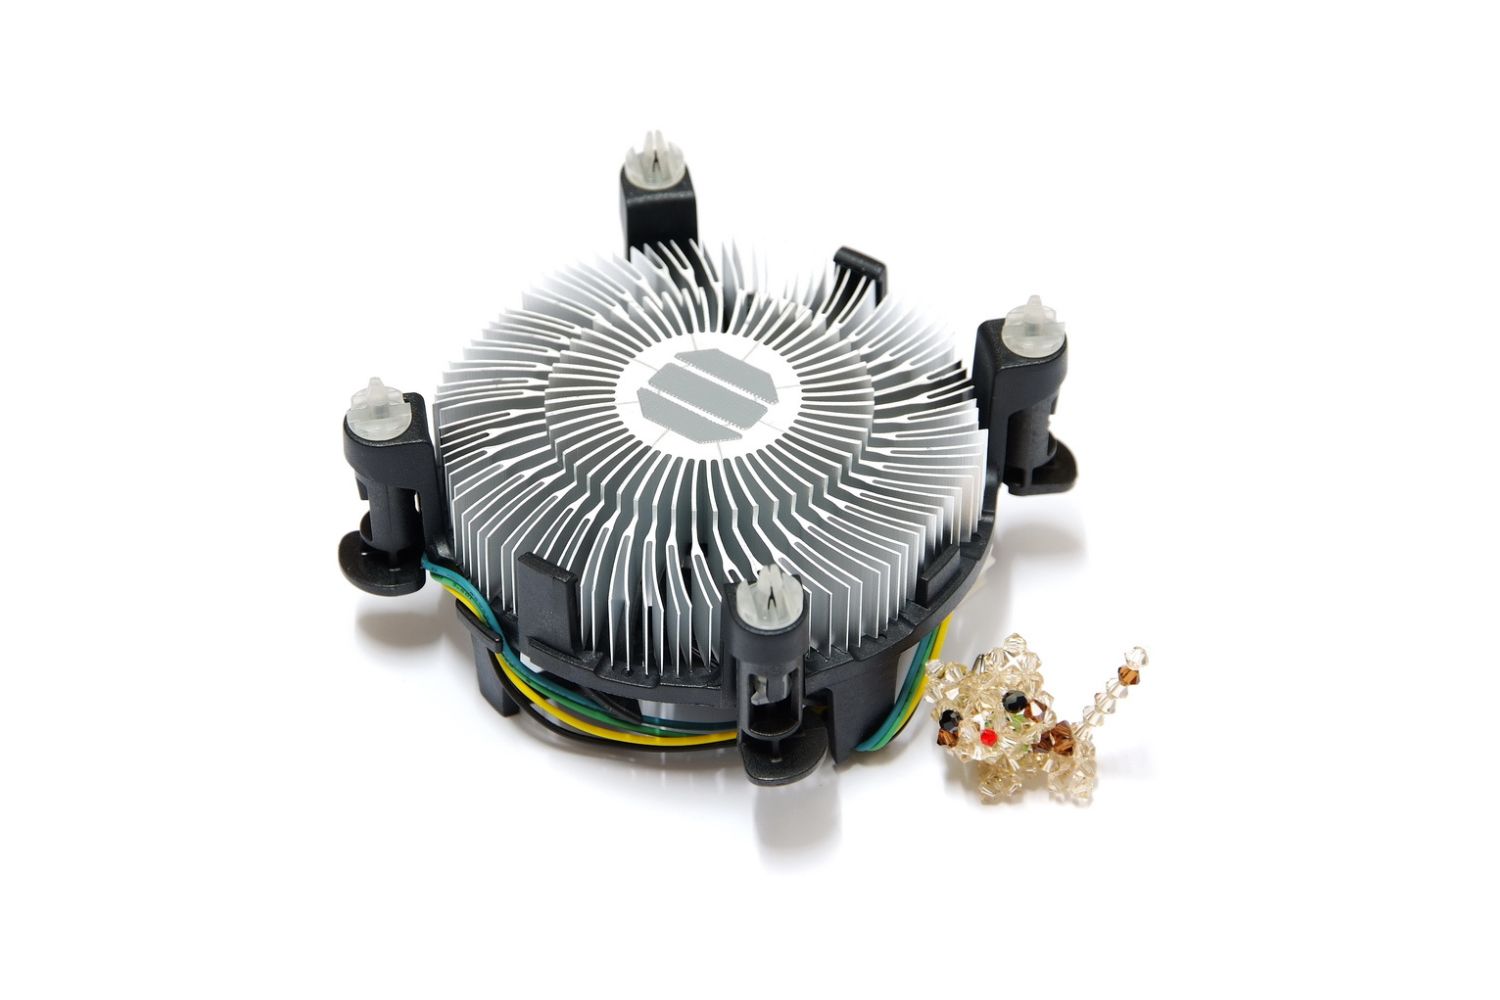
- Air Coolers: Air coolers are the most common and affordable cooling solutions. They consist of a heatsink made of metal fins that absorb heat from the CPU and a fan that blows air over the fins to dissipate the heat. Pros of air coolers are their affordability, ease of installation, and low maintenance. However, they can be bulky, which may limit compatibility with smaller cases, and they may not provide the same level of cooling performance as other options.
- All-in-One (AIO) Liquid Coolers: AIO liquid coolers use a combination of liquid and a radiator to dissipate heat. They typically consist of a CPU water block, tubes, a pump, and a radiator with one or more fans. These coolers offer excellent cooling performance, especially for overclocking, while being easier to install than custom loop liquid coolers. However, AIO coolers are more expensive than air coolers, may have compatibility issues with certain cases, and can have a higher risk of leaks compared to air coolers.
- Custom Loop Liquid Coolers: Custom loop liquid coolers provide the highest cooling performance and are often used by enthusiasts and overclockers. They involve a custom setup with specialized components, such as water blocks, pumps, reservoirs, radiators, and tubes. Custom loop coolers offer excellent cooling capabilities, allowing for precise temperature control, but they are complex to set up and require regular maintenance. They are also more expensive than other cooling options.
- Low-Profile Coolers: Low-profile coolers are designed for compact cases or systems with height restrictions. They have a smaller form factor and are typically less powerful compared to larger coolers. Pros of low-profile coolers include their compatibility with small form factor cases and quieter operation. However, they may not provide as much cooling performance as larger coolers with bigger fans and heatsinks.
When choosing a CPU cooler, consider the following factors:
- – Cooling performance requirements for your specific CPU and usage
- – Compatibility with your case and other components
- – Budget constraints
- – Noise level preferences
- – Overclocking capabilities and intentions
By evaluating these factors and understanding the pros and cons of different types of CPU coolers, you can make an informed decision to select the most suitable cooling solution for your system.
How to Monitor CPU Temperatures and Identify Overheating Issues
Monitoring CPU temperatures is essential to ensure that your processor is running within a safe temperature range and to identify any potential overheating issues. By monitoring temperatures, you can take appropriate action to prevent damage to your CPU and maintain optimal system performance. Here are some methods to monitor CPU temperatures:
- BIOS/UEFI Settings: Many computer motherboards allow you to access the BIOS or UEFI settings, where you can find temperature readings for your CPU. Restart your computer and enter the BIOS/UEFI by pressing the designated key during startup (usually displayed on the screen). Navigate to the hardware monitoring section to view CPU temperatures.
- Software Utilities: There are several software utilities available that can monitor CPU temperatures in real-time. These utilities provide detailed information about CPU temperatures, load percentages, and other vital statistics. Examples of popular CPU monitoring software include Core Temp, HWMonitor, and SpeedFan. Install one of these utilities and run it in the background to keep an eye on your CPU temperatures.
- Operating System Utilities: Some operating systems such as Windows 10 have built-in monitoring tools that display CPU temperatures. In Windows 10, you can use the Task Manager to monitor CPU usage and temperatures. Open the Task Manager by right-clicking on the taskbar and selecting “Task Manager.” Go to the “Performance” tab and select “CPU” to see real-time temperature readings.
- Hardware Monitoring Tools: Some CPU coolers come with their own hardware monitoring tools. These tools provide more accurate temperature readings and additional features such as fan control and overclocking options. Check the documentation or the manufacturer’s website for your CPU cooler to see if it includes any dedicated monitoring software.
When monitoring CPU temperatures, it’s important to be aware of the recommended temperature range for your specific CPU model. Typically, most CPUs should operate between 40 to 80 degrees Celsius (104 to 176 degrees Fahrenheit) under normal or moderate load conditions. If you notice that your CPU temperatures consistently exceed these ranges or reach dangerously high levels, it’s a sign of overheating. Here are some indicators of overheating issues:
- Frequent System Crashes: If your computer freezes, crashes, or shuts down unexpectedly, it may be due to overheating. When CPU temperatures exceed safe limits, the system will automatically shut down to prevent damage.
- Sluggish Performance: Overheating can cause the CPU to throttle its performance to reduce heat. As a result, your computer may experience significant slowdowns, especially during demanding tasks.
- Unusual Fan Noise: If you notice that your CPU fan is running at high speeds consistently or producing excessive noise, it can be an indication of overheating. The fan may be spinning faster to compensate for inadequate cooling.
If you identify overheating issues, there are several steps you can take to address them. These include cleaning the CPU cooler, reapplying thermal paste, improving airflow within the case, or upgrading the CPU cooler to a more efficient model.
By monitoring CPU temperatures regularly and being attentive to signs of overheating, you can take necessary measures to protect your CPU and keep your computer running optimally.
Common Symptoms of CPU Overheating
Overheating is a common problem that can affect the performance and longevity of a CPU. It occurs when the processor generates excessive heat and is unable to dissipate it effectively. Recognizing the symptoms of CPU overheating is crucial in order to take prompt action and prevent potential damage. Here are some common symptoms to watch out for:
- Frequent System Crashes: Overheating CPUs can cause the computer to freeze, crash, or shut down unexpectedly. When the CPU temperature exceeds safe limits, the system’s built-in protection mechanisms activate and force a shutdown to prevent damage to the CPU and other components.
- Slow Performance: Overheating can significantly impact the performance of the CPU. When the processor reaches high temperatures, it may throttle its clock speed to reduce heat generation. This results in reduced performance and slower execution of tasks, even in simple operations.
- Blue Screen of Death (BSOD) Errors: Excessive heat can cause the system to encounter Blue Screen of Death errors. These errors often occur when the CPU temperature surpasses critical limits and triggers system instability.
- Unusual Fan Noises: When the CPU is overheating, the cooling fan may run at high speeds in an attempt to dissipate the excessive heat. This can result in noticeable and continuous fan noise, indicating that the cooling system is working overtime to combat the heat buildup.
- System Freezing or Hanging: Inadequate cooling can lead to system freezing or hanging, where the computer becomes unresponsive and fails to execute commands. This can happen when the CPU temperature reaches critical levels, causing the system to become unstable and unresponsive.
- High CPU Temperature Readings: Monitoring the CPU temperature is crucial in identifying overheating issues. If you consistently observe CPU temperature readings above the recommended limits for your specific CPU model, it is an indication of overheating. CPU monitoring software or BIOS settings can provide temperature readings.
If you experience any of these symptoms, it is vital to take immediate action to address the overheating problem. Ignoring the issue can lead to permanent damage to the CPU and other components of the computer system.
To prevent or resolve CPU overheating, you can try the following steps:
- Clean the CPU Cooler: Dust and debris can accumulate on the heatsink and fan, hindering heat dissipation. Cleaning the CPU cooler can help improve airflow and cooling performance.
- Ensure Proper Ventilation and Airflow: Ensure that the computer case has proper ventilation and that the cooling fans are correctly installed to provide adequate airflow and circulation of cool air.
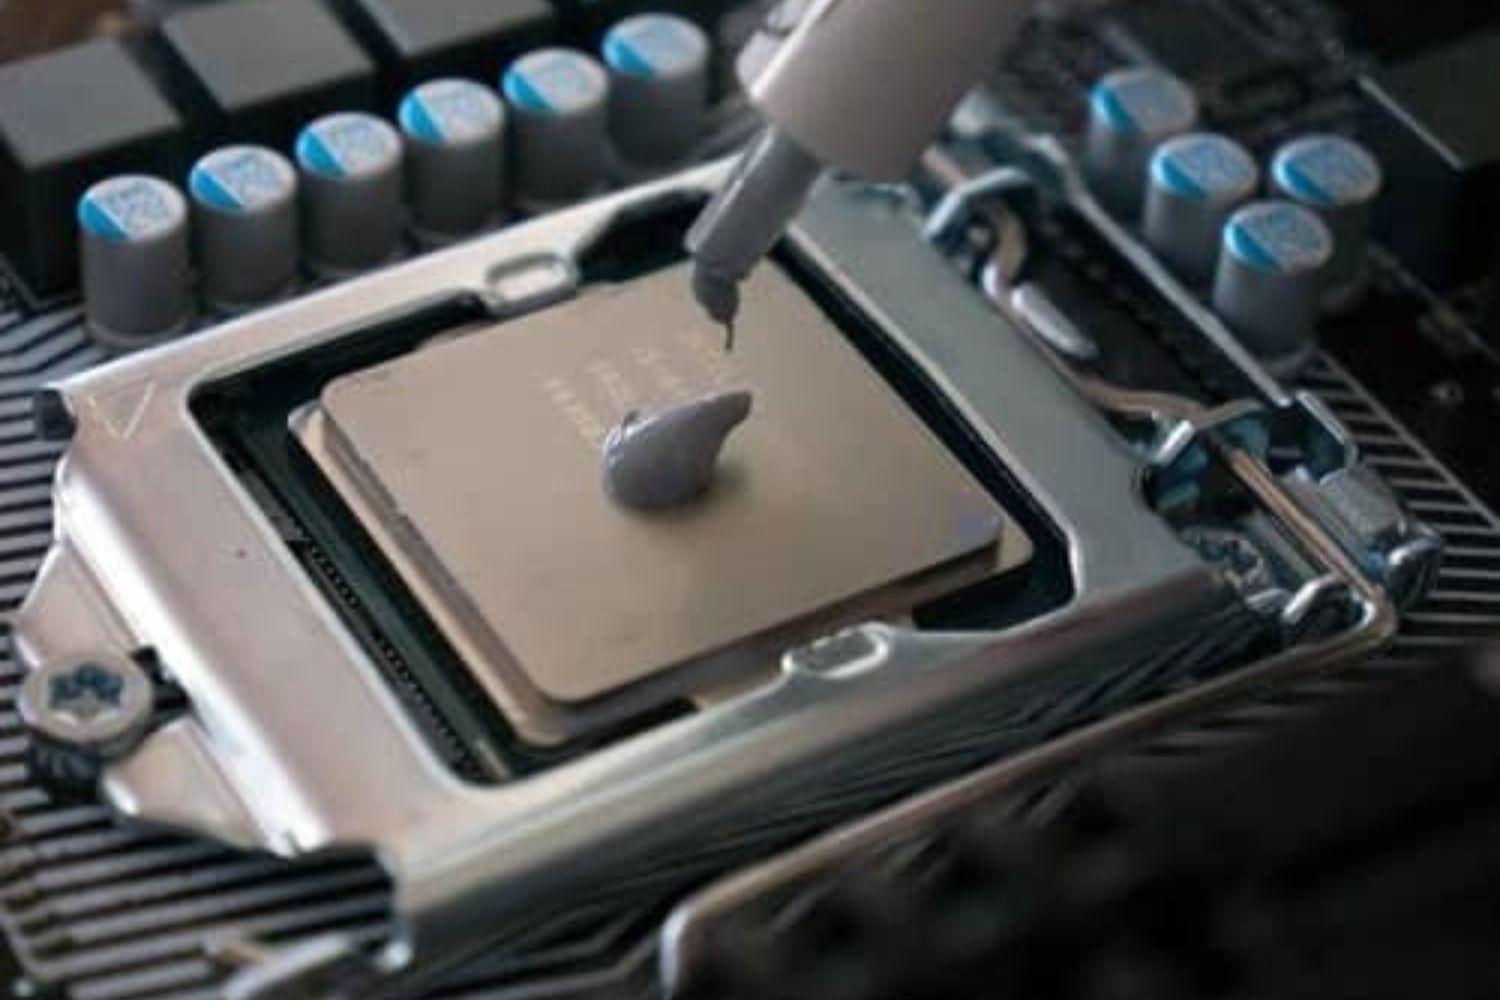
- Reapply Thermal Paste: The thermal paste between the CPU and the heatsink helps to transfer heat efficiently. Over time, thermal paste can degrade or dry out, leading to reduced heat transfer. Reapplying high-quality thermal paste can improve cooling effectiveness.
- Upgrade the CPU Cooler: If the existing CPU cooler is unable to handle the heat generated by the CPU, consider upgrading to a more efficient cooling solution. This could involve installing a better air cooler or even transitioning to liquid cooling, depending on your specific needs and system requirements.
By recognizing the symptoms of CPU overheating and taking appropriate measures to address the issue, you can ensure the optimal performance and lifespan of your CPU and maintain a stable and reliable computer system.
Benefits of Upgrading to a Better CPU Cooler
Investing in a better CPU cooler can have numerous benefits for your computer system’s performance, longevity, and overall user experience. Here are some advantages of upgrading to a better CPU cooler:
- Improved Cooling Performance: Upgrading to a better CPU cooler provides enhanced cooling performance, allowing your processor to operate at lower temperatures. Lower temperatures result in improved stability and longevity of your CPU, maximizing its performance potential.
- Effective Heat Dissipation: Better CPU coolers employ advanced heat dissipation technology such as larger heatsinks, heat pipes, and more efficient fans. These features help effectively dissipate heat from the CPU, preventing it from reaching damaging levels and improving overall system reliability.
- Reduced Noise Levels: Many stock CPU coolers that come bundled with processors tend to be louder due to their smaller size and limited cooling capabilities. Upgrading to a better CPU cooler, especially one with larger fans and better airflow design, can noticeably reduce noise levels, providing a quieter and more pleasant computing experience.
- Enhanced Overclocking Potential: Overclocking involves pushing your CPU beyond its stock clock speed to achieve higher performance. However, it also generates more heat. Upgrading to a better CPU cooler enables more efficient heat dissipation, allowing for higher overclocking potential without compromising stability and risking damage to your CPU.
- Improved Longevity: Excessive heat can significantly reduce the lifespan of your CPU, leading to potential hardware failure. By upgrading to a better CPU cooler, you can effectively manage temperatures, preventing overheating-related damage and increasing the longevity of your processor.
- Compatibility with Higher-Performance CPUs: If you plan to upgrade your CPU to a more powerful model in the future, it’s essential to have a compatible and efficient cooling solution. Better CPU coolers are designed to handle the heat generated by high-performance CPUs, ensuring stable operation and preventing throttling that may occur with inadequate cooling.
- Flexibility for System Upgrades: Upgrading to a better CPU cooler not only improves cooling for the CPU but also enhances the overall thermal performance of your system. This can be particularly beneficial if you plan to upgrade other components, such as graphics cards or RAM modules, which may generate additional heat.
Overall, upgrading to a better CPU cooler offers improved cooling performance, reduced noise levels, enhanced overclocking potential, increased longevity, and compatibility with more powerful CPUs. By investing in a high-quality CPU cooler, you can ensure the optimal performance, stability, and lifespan of your computer system.
Steps to Install a CPU Cooler
Installing a CPU cooler is a straightforward process that requires basic technical skills. Here are the general steps to follow when installing a CPU cooler:
- Gather the necessary tools: Before you begin, ensure you have all the necessary tools and components, including the new CPU cooler, thermal paste, screwdriver, and any additional mounting brackets or accessories that came with the cooler.
- Prepare your workspace: Clear a clean, flat surface to work on. It is advisable to work on a non-conductive surface to avoid electrical damage to your components.
- Power down and unplug your computer: Shut down your computer and disconnect the power cord from the wall outlet. It’s also a good idea to ground yourself by touching a metal object to discharge any static electricity.
- Access the CPU socket: In most cases, you’ll need to remove the computer case’s side panel to access the CPU socket area on the motherboard. Follow the manufacturer’s instructions for accessing the CPU socket area.
- Remove the existing CPU cooler: If you have an existing cooler, carefully disconnect the fan and heatsink from the CPU. Depending on the type of cooler, you may need to release tension clips, unscrew screws, or detach mounting brackets to remove the cooler from the motherboard.
- Clean the CPU and heatsink: Use isopropyl alcohol and a lint-free cloth or cotton swab to clean off the old thermal paste from the CPU surface. Similarly, clean the base of the new CPU cooler to remove any dirt or debris.
- Apply thermal paste: Put a small amount of thermal paste, typically a pea-sized drop, onto the center of the CPU. Ensure the paste is evenly spread and covers the entire CPU surface when the cooler is installed.
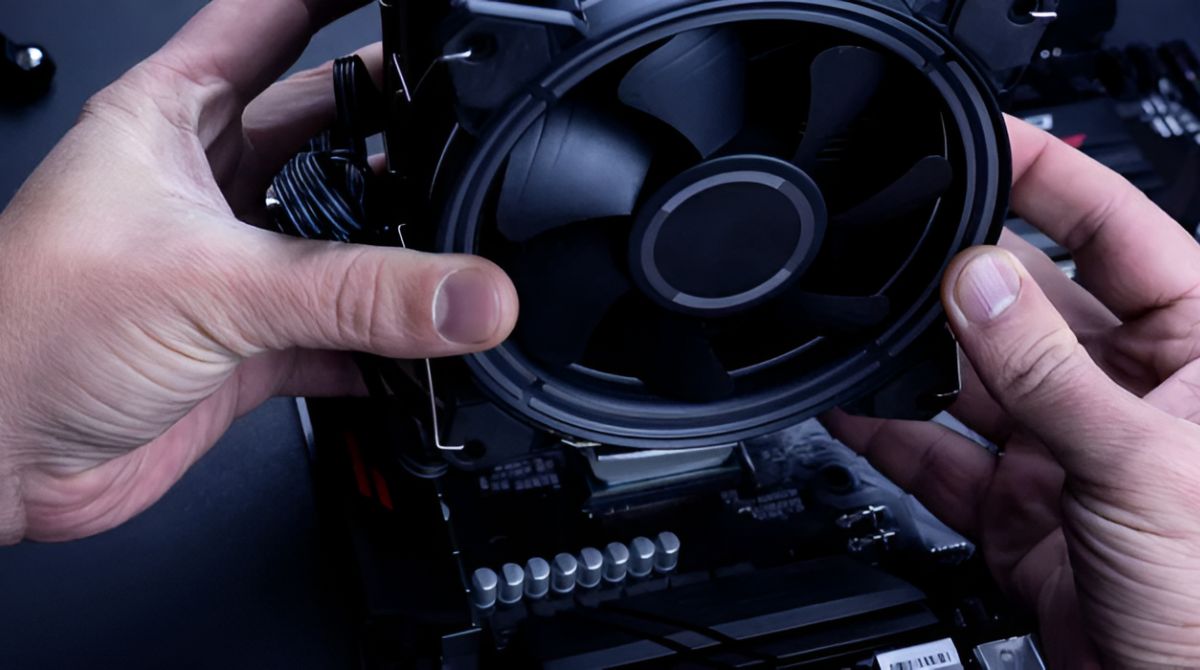
- Mount the new CPU cooler: Carefully align the screw holes or mounting brackets of the new cooler with the corresponding holes on the motherboard. Gently press the cooler onto the CPU, applying an even and firm pressure. Secure the cooler in place using screws or tension clips.
- Connect the CPU fan: Attach the CPU fan’s power connector to the appropriate CPU fan header on the motherboard. Refer to the motherboard manual for the correct header.
- Reassemble and test: Double-check that all connections are secure and that there are no loose components. Reattach the computer case’s side panel and reconnect all the necessary cables. Finally, switch on the computer and observe the fan spinning to ensure proper installation.
Note that these steps are a general guide, and specific instructions may vary depending on the CPU cooler and motherboard you are using. Always refer to the manufacturer’s instructions for your specific CPU cooler model and motherboard for the most accurate and up-to-date instructions.
If you are uncertain about any steps or lack experience, it is recommended to consult a professional or seek assistance to ensure a proper and safe installation of the CPU cooler.
Frequently Asked Questions About CPU Coolers
Here are some frequently asked questions about CPU coolers:
- Do I need a CPU cooler? Yes, a CPU cooler is essential for maintaining optimal temperatures and preventing overheating of the processor. Whether you’re using a stock CPU cooler or upgrading to an aftermarket one, having a cooling solution is crucial.
- What is the difference between an air cooler and a liquid cooler? Air coolers use a heatsink and fans to dissipate heat, while liquid coolers rely on liquid coolant and a radiator to remove heat from the CPU. Liquid coolers are generally more efficient and suitable for overclocking, while air coolers are more affordable and easier to install.
- How do I know which CPU cooler is compatible with my motherboard? CPU cooler compatibility depends on the socket type of your motherboard. Check the specifications of your motherboard and the CPU cooler to ensure they have the same socket compatibility. Most CPU coolers support a range of sockets indicated in their specifications.
- What is the best CPU cooler for overclocking? Liquid coolers, particularly all-in-one (AIO) liquid coolers or custom loop liquid cooling setups, are often the preferred choice for overclocking due to their efficient heat dissipation capabilities. However, high-end air coolers can also provide sufficient cooling for moderate overclocking.
- How do I determine the right size of CPU cooler for my case? To ensure compatibility, measure the available space inside your case, paying attention to factors such as CPU cooler height and clearance. Most CPU cooler specifications indicate their height and provide information on compatibility with different case sizes.
- Can I reuse my CPU cooler if I upgrade my CPU? It depends on the compatibility of your existing CPU cooler with the new CPU’s socket. If the socket type is the same, you may be able to reuse the cooler. However, ensure that the cooler can handle the heat output of the new CPU, especially if it is a high-performance model.
- How often should I clean my CPU cooler? It is recommended to clean your CPU cooler at least once every six months or more frequently if you notice a buildup of dust and debris. Regular cleaning helps maintain optimal cooling performance and prevents heat-related issues.
If you have other questions or specific concerns about CPU coolers, it is best to refer to the manufacturer’s documentation, reach out to their customer support, or consult with computer hardware professionals who can provide tailored advice based on your specific requirements.