Introduction
Installing a stock 775 CPU cooler is a relatively simple and cost-effective way to ensure that your processor stays cool and performs optimally. Whether you’re building a new computer or upgrading an existing one, a capable CPU cooler is crucial for maintaining low temperatures and avoiding thermal throttling. In this guide, we will walk you through the steps of installing a stock 775 CPU cooler, which is compatible with many Intel processors from the LGA 775 socket generation.
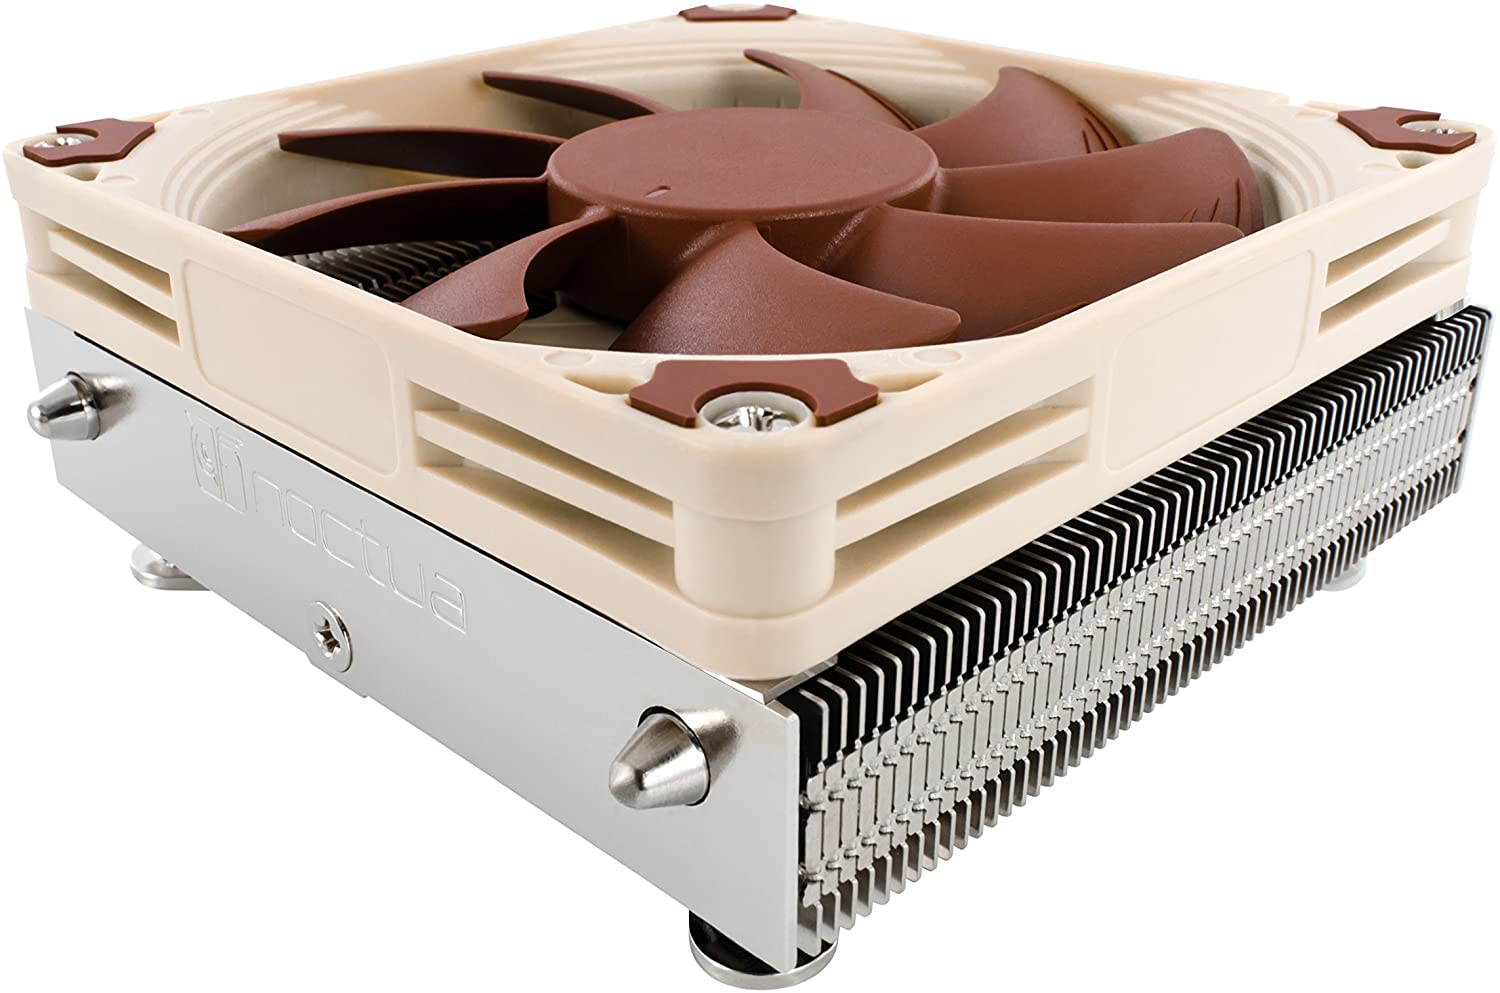
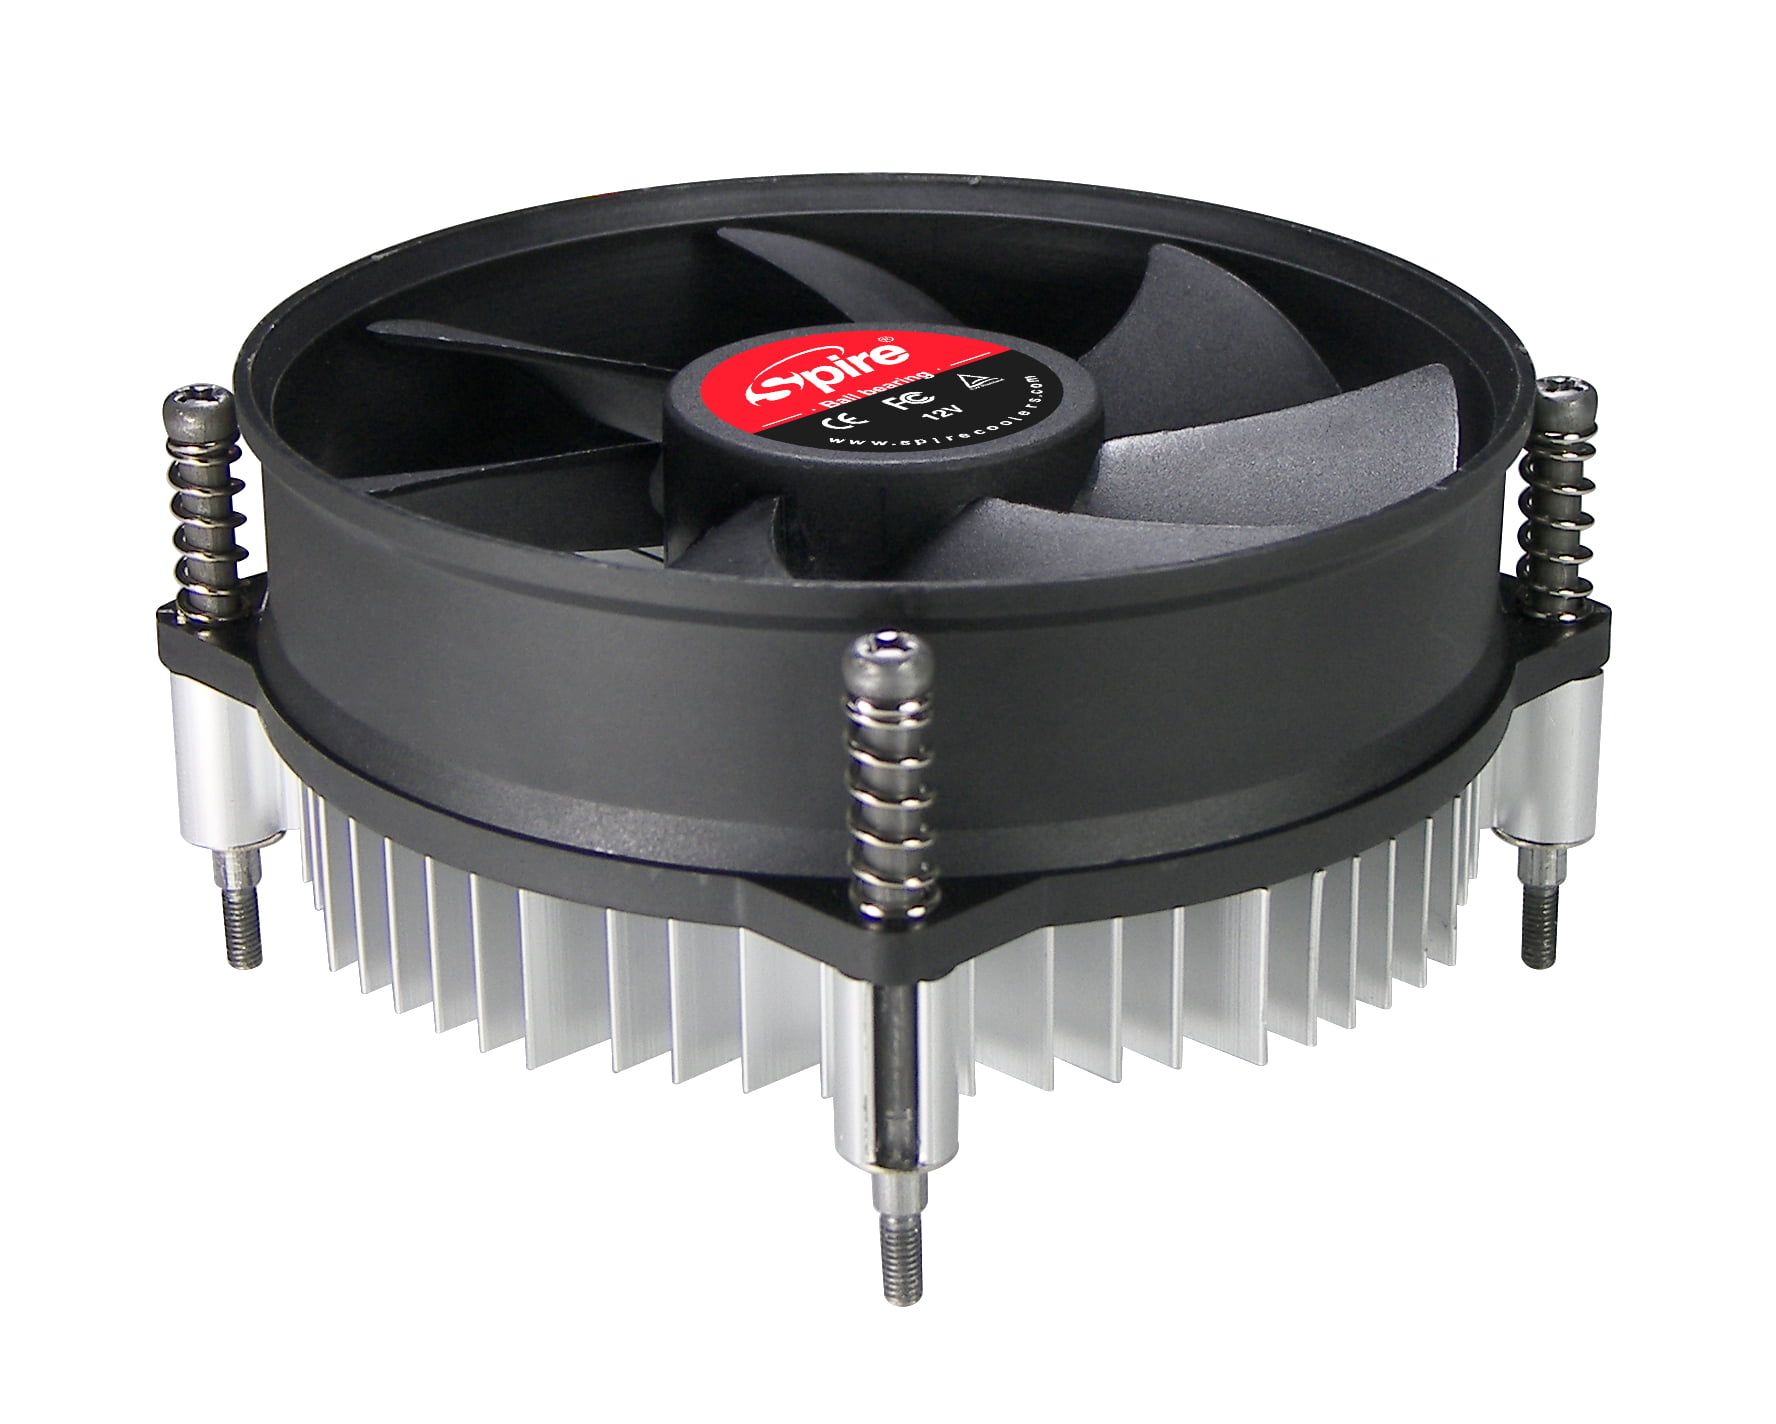
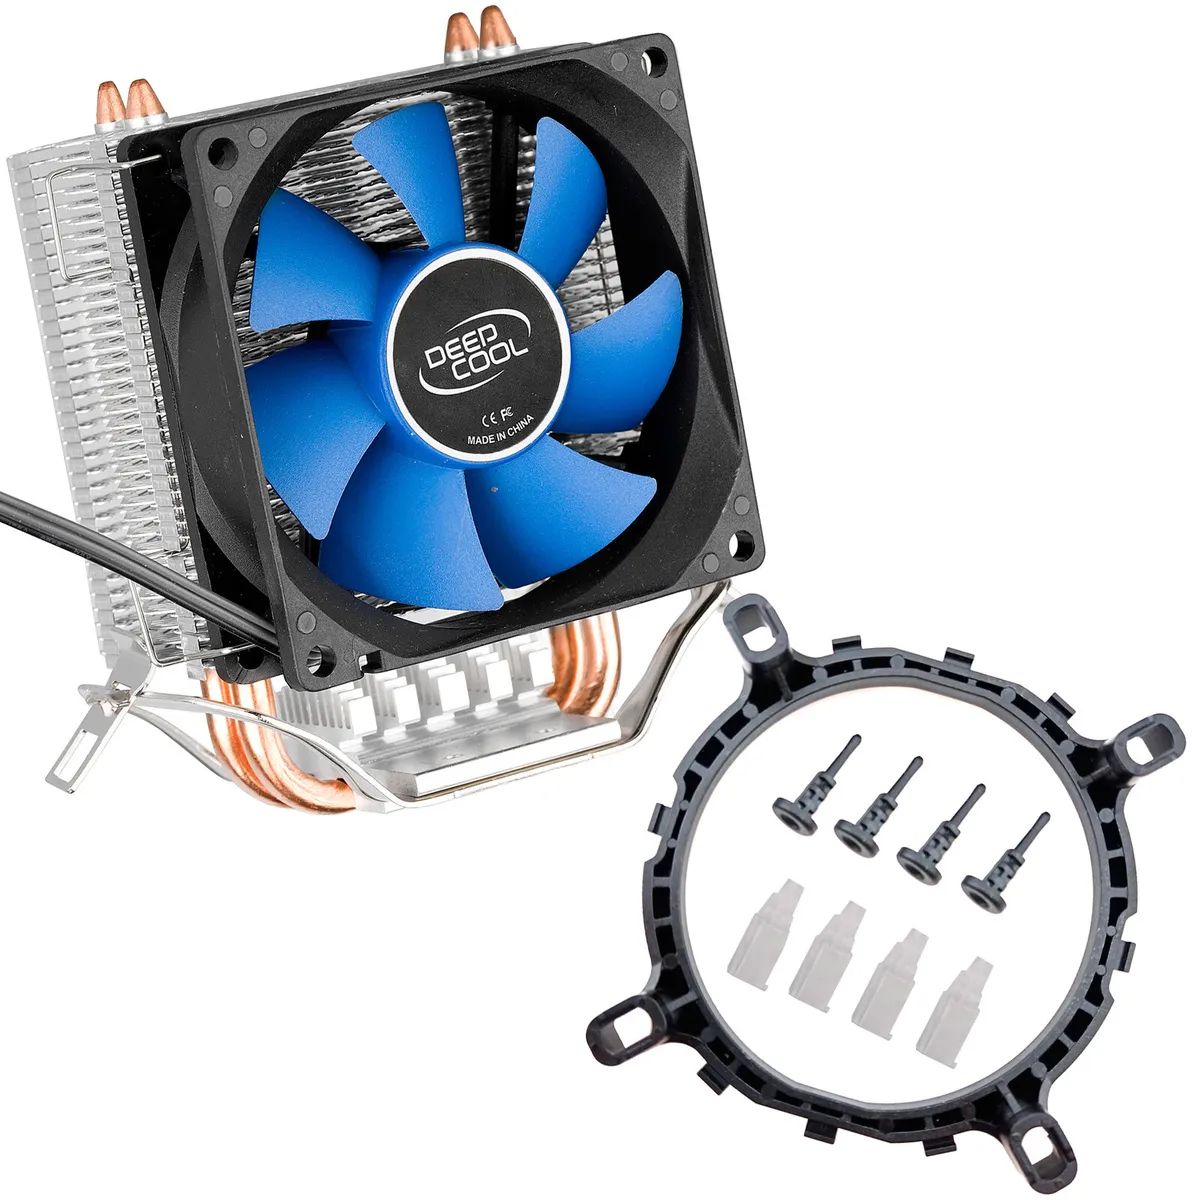
A stock 775 CPU cooler is a compact and efficient cooling solution that typically comes bundled with the processor itself. It consists of an aluminum or copper heatsink, a fan, and a mounting mechanism to attach it to the motherboard securely. While it may not offer advanced features or overclocking capabilities like aftermarket coolers, a stock cooler is sufficient for most casual users and budget-oriented builds.
Before we begin, it’s important to note that handling computer components requires care and precaution. Ensure that you are working in a clean and static-free environment and follow all safety guidelines. Also, keep in mind that the installation process may vary slightly depending on the specific model of your CPU cooler, so be sure to consult the manufacturer’s instructions if needed.
Throughout this guide, we will discuss the step-by-step process of installing a stock 775 CPU cooler, from gathering the necessary tools and materials to testing the installation. By the end, you’ll have a functional and properly cooled CPU, allowing you to enjoy improved performance and stability during your computing tasks.
Gather the Necessary Tools and Materials
Before you begin the installation process, it’s important to gather all the necessary tools and materials to ensure a smooth and efficient experience. Here’s a list of items you’ll need:
- Screwdriver (usually Phillips-head or flathead)
- Thermal paste
- Lint-free cloth or alcohol wipes for cleaning
- An anti-static wristband (optional but recommended)
The screwdriver will be used to secure the CPU cooler in place, so make sure you have the appropriate type and size based on the screws included with your cooler. Additionally, thermal paste is crucial for facilitating heat transfer between the CPU and the cooler’s heatsink. If you don’t have any thermal paste, you can easily find it online or at your local computer hardware store.
Cleaning the CPU and heatsink before installation is essential to ensure proper contact and heat dissipation. A lint-free cloth or alcohol wipes can be used to remove any dust, debris, or old thermal paste residue from the surfaces. It’s recommended to wipe gently and avoid using excessive force to prevent any damage to the components.
While not mandatory, an anti-static wristband is a great precautionary measure to prevent any electrostatic discharge from damaging sensitive components. It keeps you grounded while handling the CPU and motherboard, minimizing the risk of static electricity causing harm.
Taking the time to gather these tools and materials beforehand will save you the hassle of searching for them during the installation process. With everything ready, you can proceed with confidence, knowing that you have all the necessary items at hand.
Prepare Your Workstation
Before diving into the installation process, it’s essential to create an organized and safe workspace to work on your computer. Here are some steps to help you prepare your workstation:
- Clear your workspace: Remove any unnecessary clutter or objects from your working area. This will give you ample space to maneuver and work comfortably with your computer components.
- Clean your hands: It’s important to have clean hands before handling any computer hardware. Wash your hands thoroughly with soap and water to remove any dirt, oils, or contaminants that may transfer to the components.
- Ensure proper lighting: Work in a well-lit area to ensure that you can clearly see the components and any small details during the installation process.
- Ground yourself: Static electricity can damage sensitive computer components. To prevent this, connect an anti-static wristband to a grounded object or touch a metal surface (like the computer case) to discharge any static buildup.
- Prepare a soft surface: Find a soft and clean surface to place your computer case on during the installation. A soft towel or an anti-static mat is ideal for preventing scratches or accidental damage to the case.
Taking the time to prepare your workstation will help create a conducive environment for working on your computer safely. By employing these simple steps, you can minimize the risk of accidents or damage to your components, ensuring a smooth and successful installation process.
Remove the Old CPU Cooler
Before installing the new CPU cooler, it’s necessary to remove the old one. Follow these steps to safely remove the existing CPU cooler from your motherboard:
- Turn off your computer: Ensure that your computer is completely powered off before proceeding with any hardware removal. Unplug the power cord and switch off the power supply if applicable.
- Access the CPU cooler: Open your computer case by removing the side panel. Depending on your case model, you may need to use a screwdriver to remove the screws or simply slide off the panel.
- Identify the CPU cooler: Locate the CPU cooler on the motherboard. It is usually positioned directly above the CPU socket.
- Disconnect the fan cable: Carefully unplug the fan cable from the motherboard. Gently tug on the connector to detach it, ensuring you do not damage the cable or the motherboard.
- Remove the heatsink: The heatsink is secured to the motherboard using screws or clips. Use a screwdriver or unclip the mounting mechanism (depending on the cooler design) to release the heatsink from the retention bracket.
- Detach the heatsink from the CPU: After removing the screws or clips, lift the old heatsink off the CPU. Gently wiggle it if necessary to break any adhesion created by the thermal paste.
During the removal process, be cautious not to apply excessive force that may cause damage to the CPU or motherboard. Take your time and handle the components with care to ensure a smooth and successful removal.
Once you have removed the old CPU cooler, set it aside for disposal or cleaning if you plan to reuse it. Now that you’ve cleared the way, you’re ready to proceed to the next step – cleaning the CPU and heatsink.
Clean the CPU and Heatsink
Before installing the new CPU cooler, it’s crucial to ensure that both the CPU and heatsink are free from dust, debris, and old thermal paste. Follow these steps to clean the CPU and heatsink properly:
- Prepare the cleaning materials: Grab a lint-free cloth or alcohol wipes. These will help in removing any residue or contaminants from the surfaces.
- Wipe the CPU: Gently wipe the top of the CPU with the lint-free cloth or an alcohol wipe. Be delicate to avoid scratching the surface. This ensures a clean and even contact for the new thermal paste.
- Clean the heatsink: Inspect the heatsink for any dust or debris. Use the cloth or alcohol wipe to gently remove any accumulated particles. Pay attention to the grooves and fins, as these areas are prone to trapping debris.
- Remove old thermal paste: If there is any leftover thermal paste on either the CPU or heatsink, it needs to be cleaned off. Moisten the cloth or a new alcohol wipe with a small amount of isopropyl alcohol and carefully wipe away the old thermal paste. Ensure you remove all traces of the old paste for optimal performance.
- Allow to dry: After cleaning, give the surfaces some time to air dry completely. This ensures that there is no moisture remaining, which could potentially interfere with the performance of the new thermal paste.
Cleaning the CPU and heatsink is a crucial step to ensure proper heat transfer and optimal performance of the new CPU cooler. By removing any dust, debris, and old thermal paste, you can achieve better thermal conductivity and prolong the lifespan of your components.
Once you’ve thoroughly cleaned the CPU and heatsink, you’re ready to move on to the next step – applying the thermal paste.
Apply Thermal Paste
Applying thermal paste is a crucial step in the CPU cooler installation process. Thermal paste helps to fill in microscopic imperfections between the CPU and the cooler’s heatsink, ensuring efficient heat transfer. Follow these steps to apply thermal paste properly:
- Prepare the thermal paste: Squeeze a small pea-sized amount of thermal paste onto the center of the CPU. It’s important not to use too much paste, as excessive amounts can actually hinder heat transfer.
- Spread the paste: Use a credit card or a plastic spatula to evenly spread the thermal paste across the surface of the CPU. Apply gentle pressure and make smooth, sweeping motions to create a thin and even layer. The aim is to cover the entire CPU surface without exceeding its boundaries.
- Double-check the coverage: Take a moment to confirm that the thermal paste has spread evenly across the CPU. Ensure that there are no gaps or air bubbles in the paste layer, as these can impede proper heat transfer.
Remember, the goal of applying thermal paste is to create a thin, uniform layer that provides optimal thermal conductivity. Using too much paste can lead to overheating, while using too little can result in poor heat transfer. Take your time during this step to ensure a proper application.
Once you have applied the thermal paste, you’re ready to move on to the next step – installing the new CPU cooler.
Install the New CPU Cooler
Now that you’ve prepared the CPU and applied thermal paste, it’s time to install the new CPU cooler. Follow these steps to ensure a secure and effective installation:
- Align the cooler: Position the new CPU cooler over the CPU, aligning it with the mounting holes on the motherboard. Take care to ensure that the cooler’s screws or clips match up with the appropriate mounting points.
- Secure the cooler: Gently press down on the cooler to establish contact with the thermal paste. Depending on the cooler design, use the screws or clips provided to fasten the cooler onto the motherboard. Tighten them in a diagonal pattern to ensure even pressure distribution. Be careful not to overtighten, as this can damage the CPU or motherboard.
- Check for stability: Once the cooler is securely attached, give it a gentle wiggle to ensure it is firmly seated. It should not move or come loose easily.
Make sure that the CPU cooler is properly mounted and securely fastened to the motherboard. This will ensure optimal cooling performance and prevent any vibrations or movement that could potentially cause damage.
With the new CPU cooler installed, you’re ready to proceed to the next step – connecting the cooler to the motherboard.
Connect the Cooler to the Motherboard
Once the new CPU cooler is securely installed, the next step is to connect it to the motherboard. Follow these steps to properly connect the cooler and ensure proper functioning:
- Locate the CPU fan header: Find the CPU fan header on the motherboard. It is usually labeled “CPU_FAN” or “CPU_FAN1” and is located near the CPU socket.
- Connect the fan cable: Take the fan cable from the CPU cooler and carefully plug it into the CPU fan header on the motherboard. Ensure that the connection is secure and the plug is inserted in the correct orientation.
- Route the cables: After connecting the fan cable, make sure to route it neatly and away from any other components. This will help with cable management and prevent any potential interference or obstruction.
- Secure loose cables: If there are any excess cables or loose connectors, use zip ties or cable management solutions to secure them in place. This will help maintain a clean and organized setup.
Connecting the CPU cooler to the motherboard ensures that the fan is powered and controlled correctly. It enables the motherboard to monitor the CPU temperature and adjust the fan speed accordingly, providing efficient cooling performance.
Once you’ve connected the cooler to the motherboard, you’re almost done! The final step is to test the installation.
Test the Installation
After successfully installing the new CPU cooler and connecting it to the motherboard, it’s crucial to test the installation to ensure everything is functioning properly. Here are some steps to follow for testing:
- Reassemble your computer: Carefully replace the side panel of your computer case and secure it with the screws. Ensure that all connections, cables, and components are properly in place.
- Power on your computer: Plug in the power cord and turn on your computer. Listen for any unusual noises or vibrations coming from the CPU cooler.
- Monitor CPU temperature: Use monitoring software to keep an eye on the CPU temperature. You can utilize programs such as Core Temp or HWMonitor to check the temperature readings. Ensure that the temperature remains within acceptable limits, usually below 80°C under load.
- Run stress tests: If you want to further validate the CPU cooler’s performance, you can run stress tests or demanding applications to put a heavy load on the CPU. Monitor the temperature closely during this process to ensure that it remains stable and does not exceed safe limits.
During the testing phase, it’s essential to make sure that the CPU cooler is effectively cooling the processor and maintaining optimal temperatures. If you notice any overheating issues, abnormal noises, or high temperatures, it may indicate a potential problem with the installation or the cooler’s performance. In such cases, double-check the cooler’s installation, ensure proper contact with the thermal paste, and consider seeking professional assistance if needed.
By performing these tests, you can have peace of mind knowing that your CPU is properly cooled, reducing the risk of performance issues or potential damage caused by overheating.
Conclusion
Installing a stock 775 CPU cooler is a straightforward process that can greatly benefit your computer’s performance and longevity. By following the steps outlined in this guide, you can successfully install a new CPU cooler, ensuring proper cooling and optimal temperatures for your processor.
Throughout this guide, we discussed the importance of gathering the necessary tools and materials, preparing your workstation, removing the old CPU cooler, cleaning the CPU and heatsink, applying thermal paste, installing the new CPU cooler, connecting it to the motherboard, and testing the installation. Each step was carefully explained to help you carry out the installation with ease and confidence.
Properly installed and functional CPU cooling is essential for preventing thermal throttling, prolonging the lifespan of your CPU, and ensuring stable and optimal performance for your computer. With a stock 775 CPU cooler, you can achieve reliable and efficient cooling that suits most everyday computing needs.
Remember, take your time during the installation process, follow safety precautions, and consult the manufacturer’s instructions if needed. If you encounter any issues or are unsure about any step, don’t hesitate to seek assistance from a professional or consult online resources.
By understanding how to install a stock 775 CPU cooler, you have acquired valuable knowledge to effectively manage the cooling needs of your computer. Enjoy an optimized computing experience with a properly cooled CPU.