Introduction
Keeping your AIO (All-in-One) CPU cooler clean is essential for maintaining optimal performance and preventing overheating. Over time, the radiator of your AIO CPU cooler can accumulate dust, debris, and other particles that obstruct airflow, leading to higher temperatures and decreased efficiency.
In this guide, we will walk you through the step-by-step process of cleaning the radiator of an AIO CPU cooler. By following these instructions and dedicating some time to regular maintenance, you can ensure that your CPU stays cool, extending its lifespan and preventing potential hardware issues.
Before we get started, it is important to mention that cleaning an AIO CPU cooler should only be done by those who are comfortable and confident in handling computer components. If you are unsure or uncomfortable with this process, it is best to seek professional assistance.
We will provide you with a detailed list of tools and materials needed to complete the cleaning process. Additionally, we will guide you through the proper steps for shutting down your computer, disassembling the AIO CPU cooler, cleaning the radiator, removing dust and debris, cleaning the fins, using compressed air, cleaning the fans, reassembling the AIO CPU cooler, and testing its functionality.
By following these instructions carefully, you can effectively clean your AIO CPU cooler and maintain optimal performance for your computer system. So, let’s dive in and learn how to clean the radiator of an AIO CPU cooler.
Tools and Materials Needed
Before you begin cleaning the radiator of your AIO CPU cooler, gather the following tools and materials:
- Phillips screwdriver
- Cotton swabs
- Isopropyl alcohol
- Lint-free cloth or microfiber cloth
- Compressed air canister
- Plastic gloves
- Anti-static wristband (optional but recommended)
The Phillips screwdriver is essential for disassembling the AIO CPU cooler and accessing the radiator. Choose the appropriate size according to the screws on your cooler.
Cotton swabs will help you clean hard-to-reach areas and remove stubborn dust particles from the radiator fins.
Isopropyl alcohol is ideal for cleaning and disinfecting the radiator. Ensure that it is a high percentage (90% or higher) to effectively eliminate any residue or grime that may have accumulated.
A lint-free cloth or microfiber cloth is necessary to wipe down the radiator and remove any remaining dust or alcohol after cleaning.
A compressed air canister is incredibly useful for blowing away dust, debris, and loose particles from the radiator, fins, and fans.
Plastic gloves will protect your hands from any sharp edges or dirt during the cleaning process. They will also prevent any oils or contaminants from transferring from your hands onto the cooler.
An anti-static wristband is optional but recommended, especially if you are working in a dry environment. It helps to discharge any static electricity buildup in your body, minimizing the risk of damaging sensitive electronic components.
Having these tools and materials ready before you start the cleaning process will ensure that you have everything you need to complete the task efficiently and effectively.
Shutting Down the Computer
Before you can start cleaning the radiator of your AIO CPU cooler, you must first shut down your computer properly. This is an essential step to ensure your safety and prevent any damage to your hardware.
Here are the steps to shut down your computer:
- Save your work and close any open programs or applications.
- Click on the “Start” button in the bottom left corner of your screen.
- Select “Power” or the power icon from the menu that appears.
- Choose “Shut down” from the options presented.
- Wait for your computer to fully shut down and power off.
- Once the computer is completely powered off, unplug the power cord from the wall outlet or power strip.
It is important to unplug the power cord to ensure that there is no electrical current running through the system while you handle the AIO CPU cooler. This will reduce the risk of electric shock and protect both you and your hardware.
Remember, always follow proper shutdown procedures to avoid any potential data loss or damage to your computer. Taking the time to shut down your computer correctly will set the stage for a safe and successful cleaning process.
Disassembling the AIO CPU Cooler
Before you can clean the radiator of your AIO CPU cooler, you need to disassemble the cooler itself. Here is a step-by-step guide on how to do it:
- Remove the side panel of your computer case. This will give you access to the inside of the computer where the AIO CPU cooler is installed.
- Locate the AIO CPU cooler, which is typically mounted on the front, top, or rear of the case.
- Identify the screws or brackets holding the CPU cooler in place.
- Using a Phillips screwdriver, carefully remove the screws or brackets that secure the CPU cooler to the mounting bracket or motherboard.
- Gently detach the CPU cooler from the mounting bracket or motherboard.
- Disconnect the power cables and fan cables from the CPU cooler. Make sure to remember how they are connected so that you can reassemble them correctly later.
- Set aside the CPU cooler in a safe and clean location.
It is important to handle the CPU cooler with care during the disassembly process. Be mindful of any delicate components and avoid applying excessive force that could cause damage.
By following these steps, you can easily disassemble your AIO CPU cooler and prepare it for the cleaning process. Remember to keep track of all the screws and brackets you remove, as they will be needed when you reassemble the cooler later.
Cleaning the Radiator
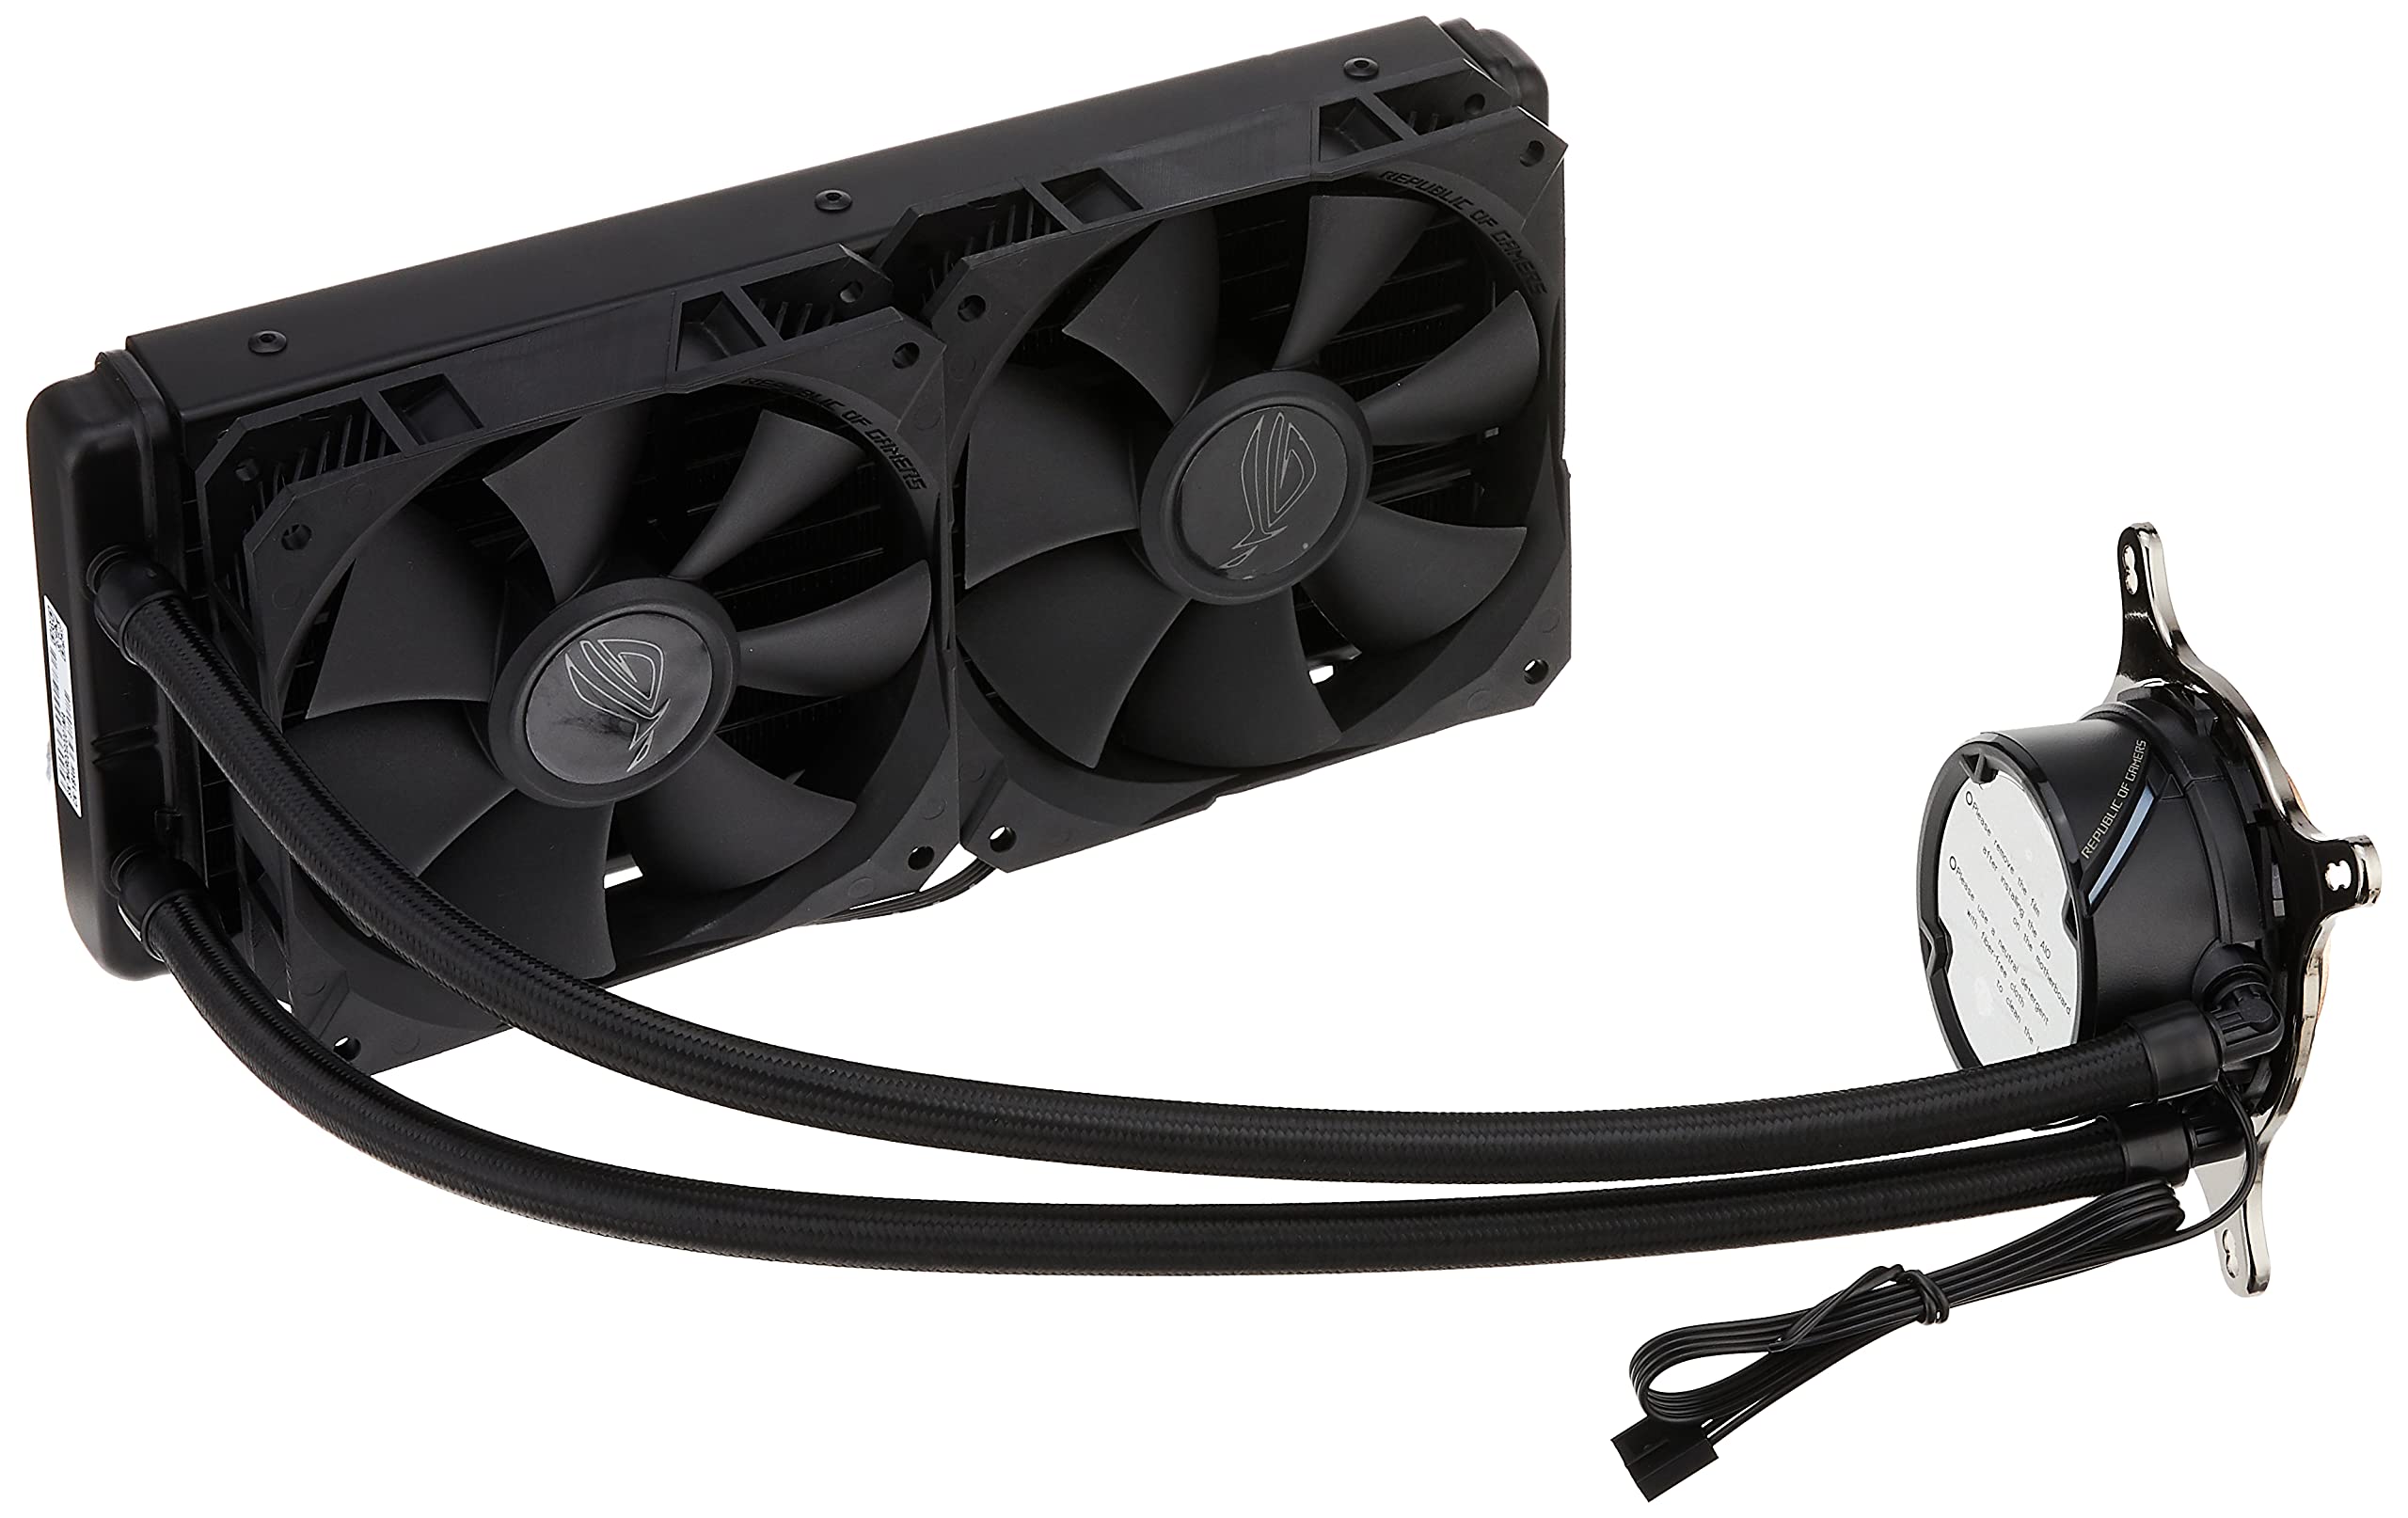
Once you have successfully disassembled the AIO CPU cooler, it’s time to clean the radiator. The radiator is the component responsible for dissipating heat from the liquid that circulates through the cooler. Over time, it can accumulate dust, debris, and other particles that hinder its performance. Here’s how to clean the radiator:
- Prepare a mixture of isopropyl alcohol and water. It is recommended to use a ratio of 1:1, but you can adjust it based on the level of grime or build-up on the radiator.
- Dip a cotton swab or a lint-free cloth in the mixture. Make sure it is damp, not dripping wet.
- Gently wipe down the surface of the radiator, paying attention to the area between the fins. This will help remove any visible dust or dirt.
- For stubborn dirt or grime, you can use a soft-bristle brush or toothbrush to gently scrub the radiator’s surface, being cautious not to bend the fins. Avoid using excessive force to prevent damage to the cooler.
- After cleaning, use compressed air to blow away any remaining dust and particles from the radiator. Start from one end and move to the other in a sweeping motion. This will help dislodge any debris stuck between the fins.
- Inspect the radiator closely for any remaining dirt or residue. If needed, repeat the cleaning process until the radiator is visibly clean.
- Once you are satisfied with the cleanliness of the radiator, use a dry lint-free cloth or microfiber cloth to wipe away any excess moisture or cleaning solution.
Remember to be gentle and take your time when cleaning the radiator. The fins are delicate and can be easily damaged or bent. Additionally, be cautious to avoid contact with any electronic components or connectors.
By following these steps, you can effectively clean the radiator of your AIO CPU cooler and ensure optimal heat dissipation, prolonging the lifespan of your computer system.
Removing Dust and Debris
One of the primary reasons for cleaning the radiator of an AIO CPU cooler is to remove dust and debris that can accumulate over time. These particles can hinder airflow, leading to higher temperatures and decreased cooling performance. Here’s how you can effectively remove dust and debris:
- Before you begin, put on plastic gloves to protect your hands from sharp edges and dirt.
- Start by using compressed air to blow away dust and loose particles from the radiator. Hold the canister upright and use short bursts of air.
- Direct the airflow towards the radiator, focusing on the areas between the fins. This will help dislodge any trapped dust or debris.
- For stubborn dust or debris, use a cotton swab or a soft-bristle brush to carefully loosen and remove it. Be gentle to avoid damaging the radiator or bending the fins.
- If necessary, you can also vacuum the radiator using a soft brush attachment. Ensure that the vacuum is set to low suction to prevent any accidental damage.
- Continue blowing and brushing until no visible dust or debris remains on the radiator’s surface.
- Inspect the surrounding areas of the AIO CPU cooler for any loose dust or debris. Use a lint-free cloth or compressed air to clean these areas as well.
Regularly removing dust and debris from the radiator and other components of the CPU cooler helps to maintain optimal airflow and cooling efficiency. This not only improves the overall performance of your computer system but also extends the lifespan of your hardware.
Remember to be cautious when cleaning and not to apply excessive force. It is crucial to handle the components with care to avoid any unnecessary damage.
Cleaning the Fins
The fins of the radiator play a crucial role in heat dissipation. To ensure optimal performance, it is important to clean the fins regularly. Here’s how to effectively clean the fins of your AIO CPU cooler:
- Start by using compressed air to blow away any loose dust and debris from the fins. Hold the canister upright and direct the airflow along the fins, moving from one end to the other.
- If there are stubborn particles stuck between the fins, use a soft brush or toothbrush to gently brush along the fins. Be careful not to apply too much pressure, as the fins are delicate and prone to bending.
- Alternatively, you can use a cotton swab dampened with a mixture of isopropyl alcohol and water to clean the fins individually. Gently wipe along the surface of each fin to remove any dirt or grime.
- For tougher stains or residues, you can use a specialized radiator cleaner or radiator flush solution. Follow the manufacturer’s instructions carefully and make sure the solution is safe to use on your specific AIO CPU cooler.
- Once you have cleaned the fins, use compressed air again to blow away any remaining dust or debris. Pay close attention to the spaces between the fins to ensure they are clear.
- Inspect the fins closely to ensure that they are clean and free of any obstructions. If needed, repeat the cleaning process until the fins are visibly clean.
Cleaning the fins of your AIO CPU cooler is essential for maintaining efficient heat dissipation. The accumulation of dust and debris can obstruct airflow and lead to overheating. Regular cleaning of the fins will help ensure optimal cooling performance and extend the longevity of your computer system.
Remember to be gentle when cleaning the fins to avoid bending or damaging them. Take your time and pay attention to detail to achieve the best results.
Using Compressed Air
Compressed air is a valuable tool for cleaning the radiator and fins of your AIO CPU cooler. It provides a powerful burst of air that helps dislodge dust and debris, ensuring optimal airflow and cooling performance. Here’s how to effectively use compressed air:
- Ensure that you have a canister of compressed air specifically designed for cleaning electronics. It should be free of moisture and non-flammable.
- Before using the compressed air, carefully read the instructions on the canister to familiarize yourself with any safety precautions and usage recommendations.
- Hold the canister upright and shake it gently. This helps to ensure that the compressed air is evenly distributed and ready for use.
- Position yourself and the AIO CPU cooler in a well-ventilated area. This will prevent the blown dust and particles from settling back onto your components.
- Blow the compressed air in short bursts onto the radiator and fins of the AIO CPU cooler. Start from one end and move to the other, ensuring that you cover all areas.
- Keep the canister at a safe distance from the components to avoid causing any damage. Typically, a distance of around 6-8 inches is recommended.
- While blowing the compressed air, pay close attention to the spaces between the fins, as this is where dust and debris tend to accumulate.
- Continue blowing the compressed air until you no longer see any visible dust or debris coming out from the radiator and fins.
- Be cautious not to tilt the canister or shake it vigorously, as this can cause the compressed air to be released in a liquid form, potentially damaging your components.
Using compressed air is an effective method for removing dust and debris from the radiator and fins of your AIO CPU cooler. Regularly incorporating this step into your maintenance routine will help maintain optimal cooling performance and prevent overheating issues.
Always follow the safety guidelines provided by the manufacturer of the compressed air canister and use it responsibly to ensure a successful cleaning process.
Cleaning the Fans
The fans in your AIO CPU cooler play a crucial role in cooling the radiator and ensuring proper airflow. Over time, dust and debris can accumulate on the fan blades, affecting their performance. Cleaning the fans is essential for maintaining optimal cooling efficiency. Here’s how to clean the fans of your AIO CPU cooler:
- Start by using compressed air to blow away any loose dust or debris from the fan blades. Hold the canister upright and direct the airflow towards the fans.
- Ensure that you cover both sides of the fan blades, as dust can accumulate on both surfaces. Pay special attention to the areas where the blades meet the fan frame.
- If there are stubborn residues or sticky grime on the fan blades, dampen a cotton swab or lint-free cloth with isopropyl alcohol. Gently wipe the blades to remove the dirt.
- Be mindful not to apply too much pressure or let any liquid come into contact with the fan motor or any electronic components.
- Inspect the fans closely to ensure that they are clean and free from any obstructions. If needed, repeat the cleaning process until the fans are visibly clean.
- Once you are satisfied with the cleanliness of the fans, use compressed air again to blow away any remaining dust or lint.
Cleaning the fans of your AIO CPU cooler is crucial for maintaining proper airflow and preventing overheating. Regularly maintaining the fans will help ensure efficient cooling and prolong the lifespan of your system.
Remember to handle the fans with care and avoid applying excessive pressure or immersing them in liquids. Gentle cleaning and regular maintenance will help keep your fans in optimal condition.
Reassembling the AIO CPU Cooler
After cleaning the radiator, fins, and fans of your AIO CPU cooler, it’s time to reassemble the components. Follow these steps to ensure a proper reassembly:
- Retrieve the AIO CPU cooler that you set aside during the cleaning process.
- Take note of the power cables and fan cables that were disconnected earlier. Reconnect them to their respective ports on the CPU cooler, ensuring they are securely attached.
- Align the mounting bracket or screws on the AIO CPU cooler with the appropriate holes or brackets on the motherboard.
- Using a Phillips screwdriver, carefully secure the CPU cooler in place by tightening the screws or reattaching the brackets.
- Double-check that all connections are secure and nothing is loose.
- If your AIO CPU cooler has additional features such as RGB lighting or software control, follow the manufacturer’s instructions to reconnect and set them up accordingly.
- Once everything is properly reassembled, close the side panel of your computer case.
It is crucial to ensure that all connections are correctly reattached to prevent any potential issues with cooling or system functionality. Take your time and refer to the manuals or instructions provided by the manufacturer, if necessary, to guarantee a successful reassembly.
Now that your AIO CPU cooler is securely reassembled, you are ready to power on your computer and test its functionality.
Testing the Cooler
After reassembling your AIO CPU cooler, it is essential to test its functionality to ensure that everything is working as expected. Here are the steps to test the cooler:
- Plug the power cord back into the wall outlet or power strip.
- Power on your computer by pressing the power button.
- Monitor the temperatures of your CPU using software or BIOS monitoring tools. Ideally, the temperatures should remain within a safe range under normal usage.
- Observe the operation of the CPU cooler’s fans. They should be spinning smoothly and maintaining a consistent speed.
- Listen for any unusual noises coming from the cooler, such as rattling or grinding sounds. If you hear any abnormal noises, it may indicate an issue that needs further investigation.
- Run stress tests or high-demand applications to put a heavier load on your CPU. This will help verify that the cooler can effectively dissipate heat even under intense usage.
- Monitor the temperatures again during the stress test to ensure that the cooler is keeping the CPU within a safe temperature range.
If you notice any abnormal temperatures or issues with the cooler’s performance during the testing process, it may be necessary to recheck the connections, verify the installation, or seek professional assistance if needed.
Regularly monitoring the temperatures and performance of your CPU cooler will help prevent overheating and ensure that your system is running optimally.
Once you are satisfied with the performance and functionality of your cooler, you can confidently resume using your computer for your regular tasks and activities.
Conclusion
Properly cleaning the radiator of an AIO CPU cooler is crucial for maintaining optimal cooling performance and preventing overheating issues. By following the steps outlined in this guide, you can effectively clean the radiator, fins, and fans of your AIO CPU cooler and ensure its continued efficiency.
Remember to gather the necessary tools and materials before starting the process, and always shut down your computer properly before disassembling any components. Take your time and be gentle when cleaning each part, ensuring that you don’t bend any fins or damage any electronic components.
Throughout the cleaning process, remember to use compressed air for removing dust, cotton swabs or lint-free cloth dampened with isopropyl alcohol for wiping down surfaces, and brushes for gently scrubbing stubborn dirt or grime. Regularly monitor the temperatures and performance of your AIO CPU cooler to ensure it is functioning as expected.
By periodically cleaning your AIO CPU cooler, you can prolong its lifespan, maintain optimal cooling performance, and prevent potential hardware issues. A clean and efficiently functioning cooler not only ensures that your CPU operates smoothly, but it also contributes to a quieter and more reliable computing experience.
Maintain your computer, keep it cool, and enjoy an optimal computing experience with a clean AIO CPU cooler. Happy cleaning!