Introduction
Welcome to the world of custom PC building! One of the joys of building your own gaming rig is the ability to personalize it to your heart’s content. From choosing the perfect case to selecting powerful components, every detail can be tailored to match your style. And that includes something as seemingly mundane as the colors of your AMD CPU cooler.
Why go through the trouble of changing the colors of your CPU cooler, you may ask? Well, for one, it can transform the look of your entire system. Whether you prefer a sleek and understated aesthetic or a vibrant and eye-catching design, customizing the colors of your CPU cooler allows you to create a unique visual masterpiece that reflects your personality and gaming preferences. It adds that extra touch of personalization to your gaming experience.
In this article, we’ll guide you through the process of changing the colors of your AMD CPU cooler. Don’t worry; you don’t need to be an experienced PC builder to do this. With a few simple tools and a bit of patience, you can give your CPU cooler a fresh look that will make your gaming setup stand out from the crowd.
Before we dive into the step-by-step process, let’s go over the tools and materials you’ll need to complete this customization project. Having these ready will ensure a smooth and hassle-free experience.
Why Change the Colors of an AMD CPU Cooler?
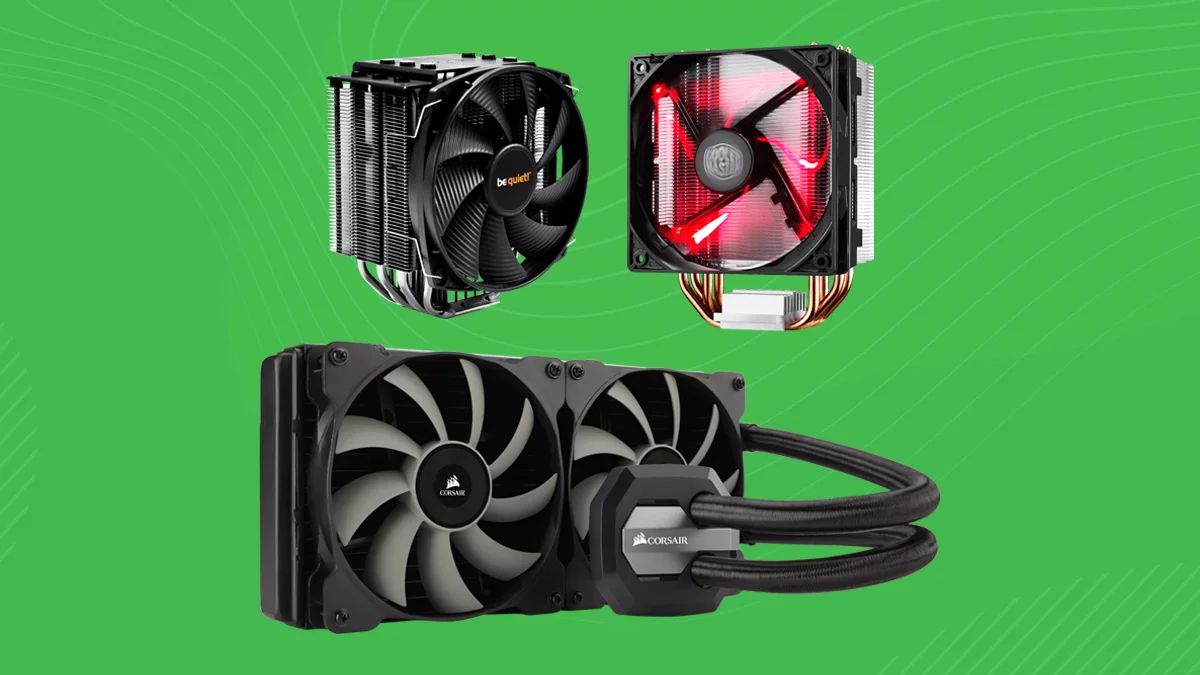
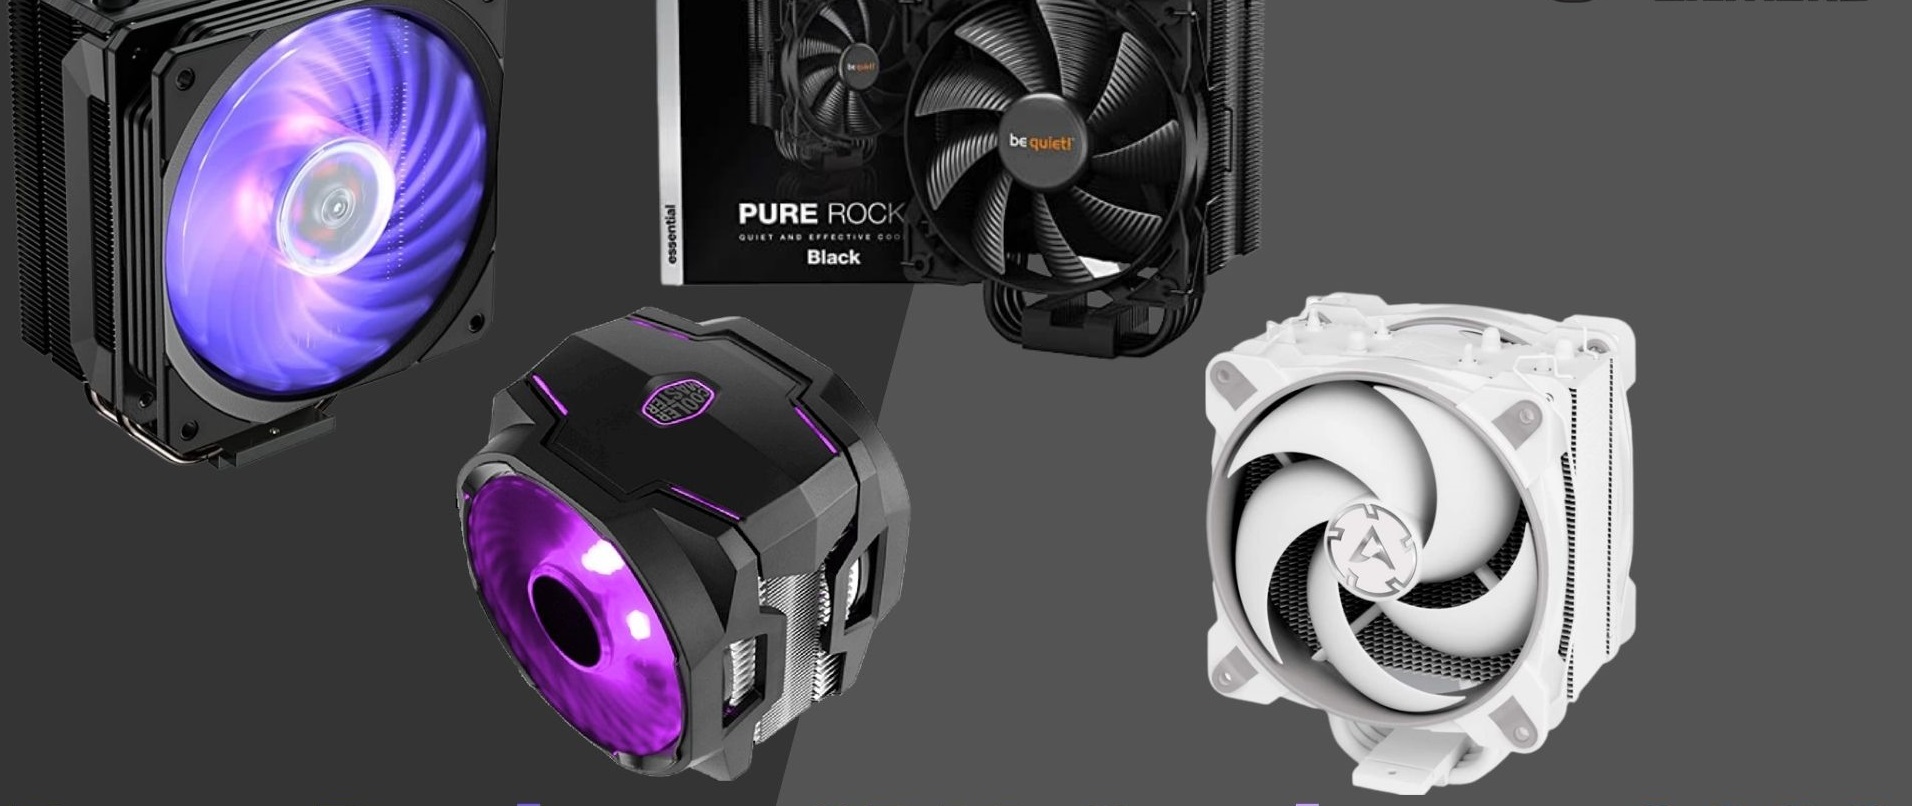
When it comes to customizing your PC, every little detail counts. The colors of your hardware play a significant role in creating a visually appealing and cohesive aesthetic. While AMD CPU coolers come in a variety of color options, you may find yourself wanting to change it for several reasons.
Firstly, personalization is key. Your gaming rig is an extension of your own style and personality. Changing the colors of your AMD CPU cooler allows you to express your individuality and showcase your unique taste. Whether you prefer a sleek and minimalistic design or a bold and vibrant look, customizing the colors of your CPU cooler allows you to make your system truly yours.
Secondly, matching your CPU cooler’s colors with the rest of your components can create a visually pleasing and cohesive design. RGB lighting has become increasingly popular in PC builds, and by changing the colors of your AMD CPU cooler, you can synchronize the lighting effects with other RGB-enabled components in your system. This creates a stunning light show that enhances your gaming experience and adds that extra wow factor to your setup.
Furthermore, changing the colors of your CPU cooler can also be a way to refresh the look of your gaming rig without investing in new hardware. If you’re itching for a change but don’t want to go through the hassle and expense of buying a new CPU cooler, simply updating its colors can give your system a whole new look and feel.
Lastly, changing the colors of your AMD CPU cooler is a fun and rewarding DIY project. It allows you to learn more about your PC’s components and gain hands-on experience in customizing and modifying your hardware. It adds a sense of accomplishment and satisfaction knowing that you’ve created a unique and personalized look for your gaming rig.
In the following sections, we’ll walk you through the step-by-step process of changing the colors of your AMD CPU cooler. So, grab your tools and get ready to embark on a colorful journey of customization!
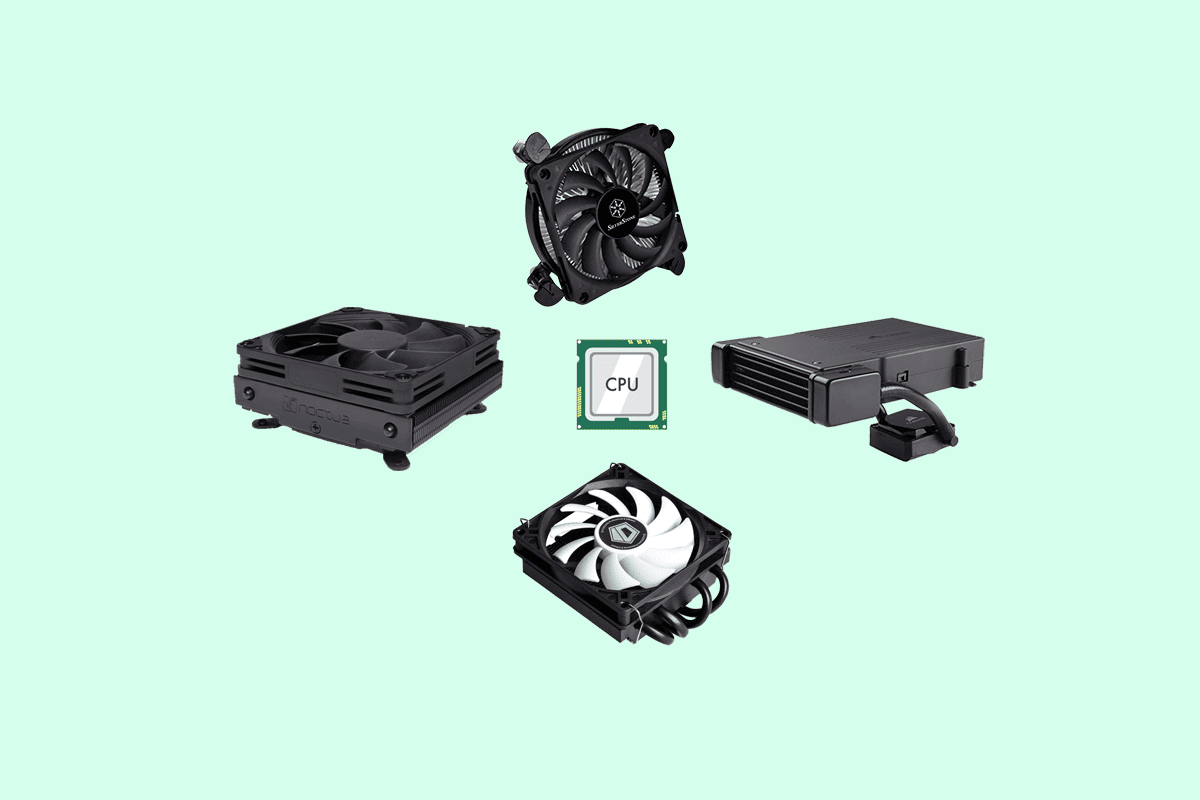
Tools and Materials Needed
Before you start customizing the colors of your AMD CPU cooler, it’s essential to gather all the necessary tools and materials. Having everything on hand will ensure a smooth and efficient process. Here’s a list of what you’ll need:
- Screwdriver Set: To remove and disassemble the CPU cooler, you’ll need a screwdriver set with various sized bits. Make sure the set includes both Phillips and flathead screwdrivers.
- Thermal Paste: When reassembling the CPU cooler, you’ll need thermal paste to ensure proper heat transfer between the cooler and CPU. Choose a high-quality thermal paste for optimal performance.
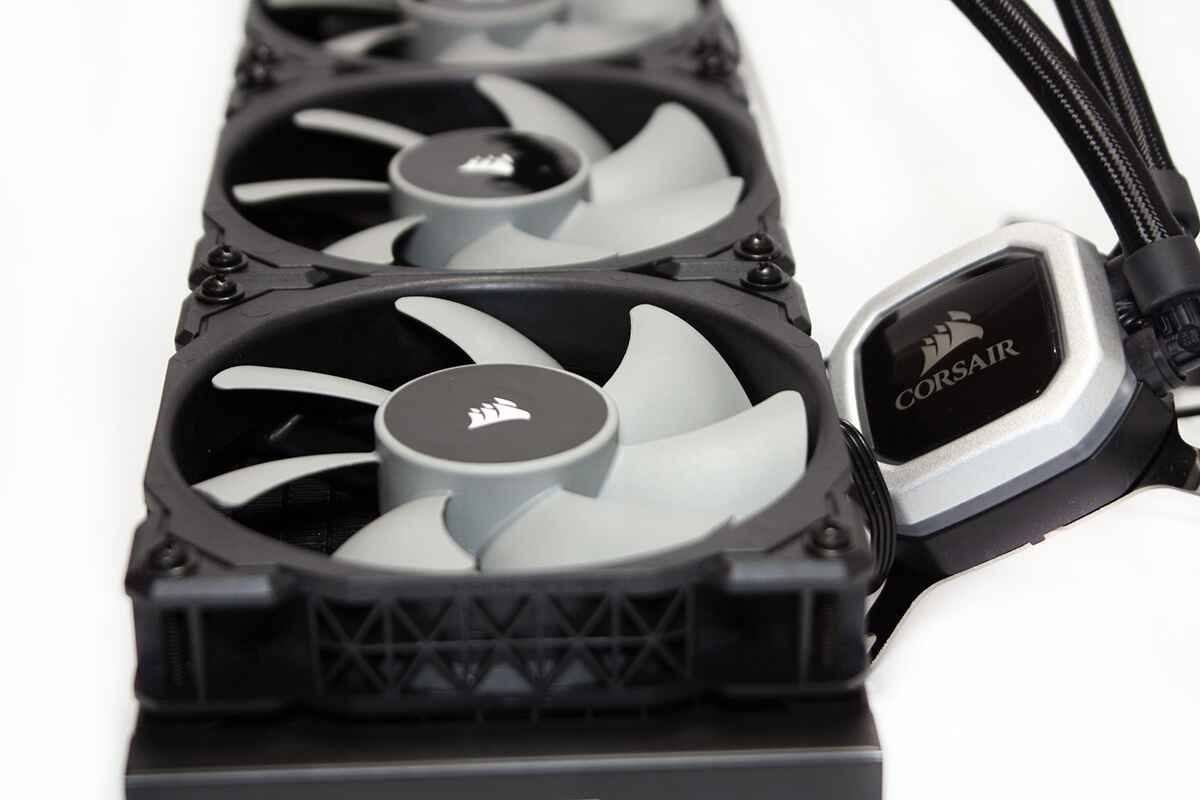
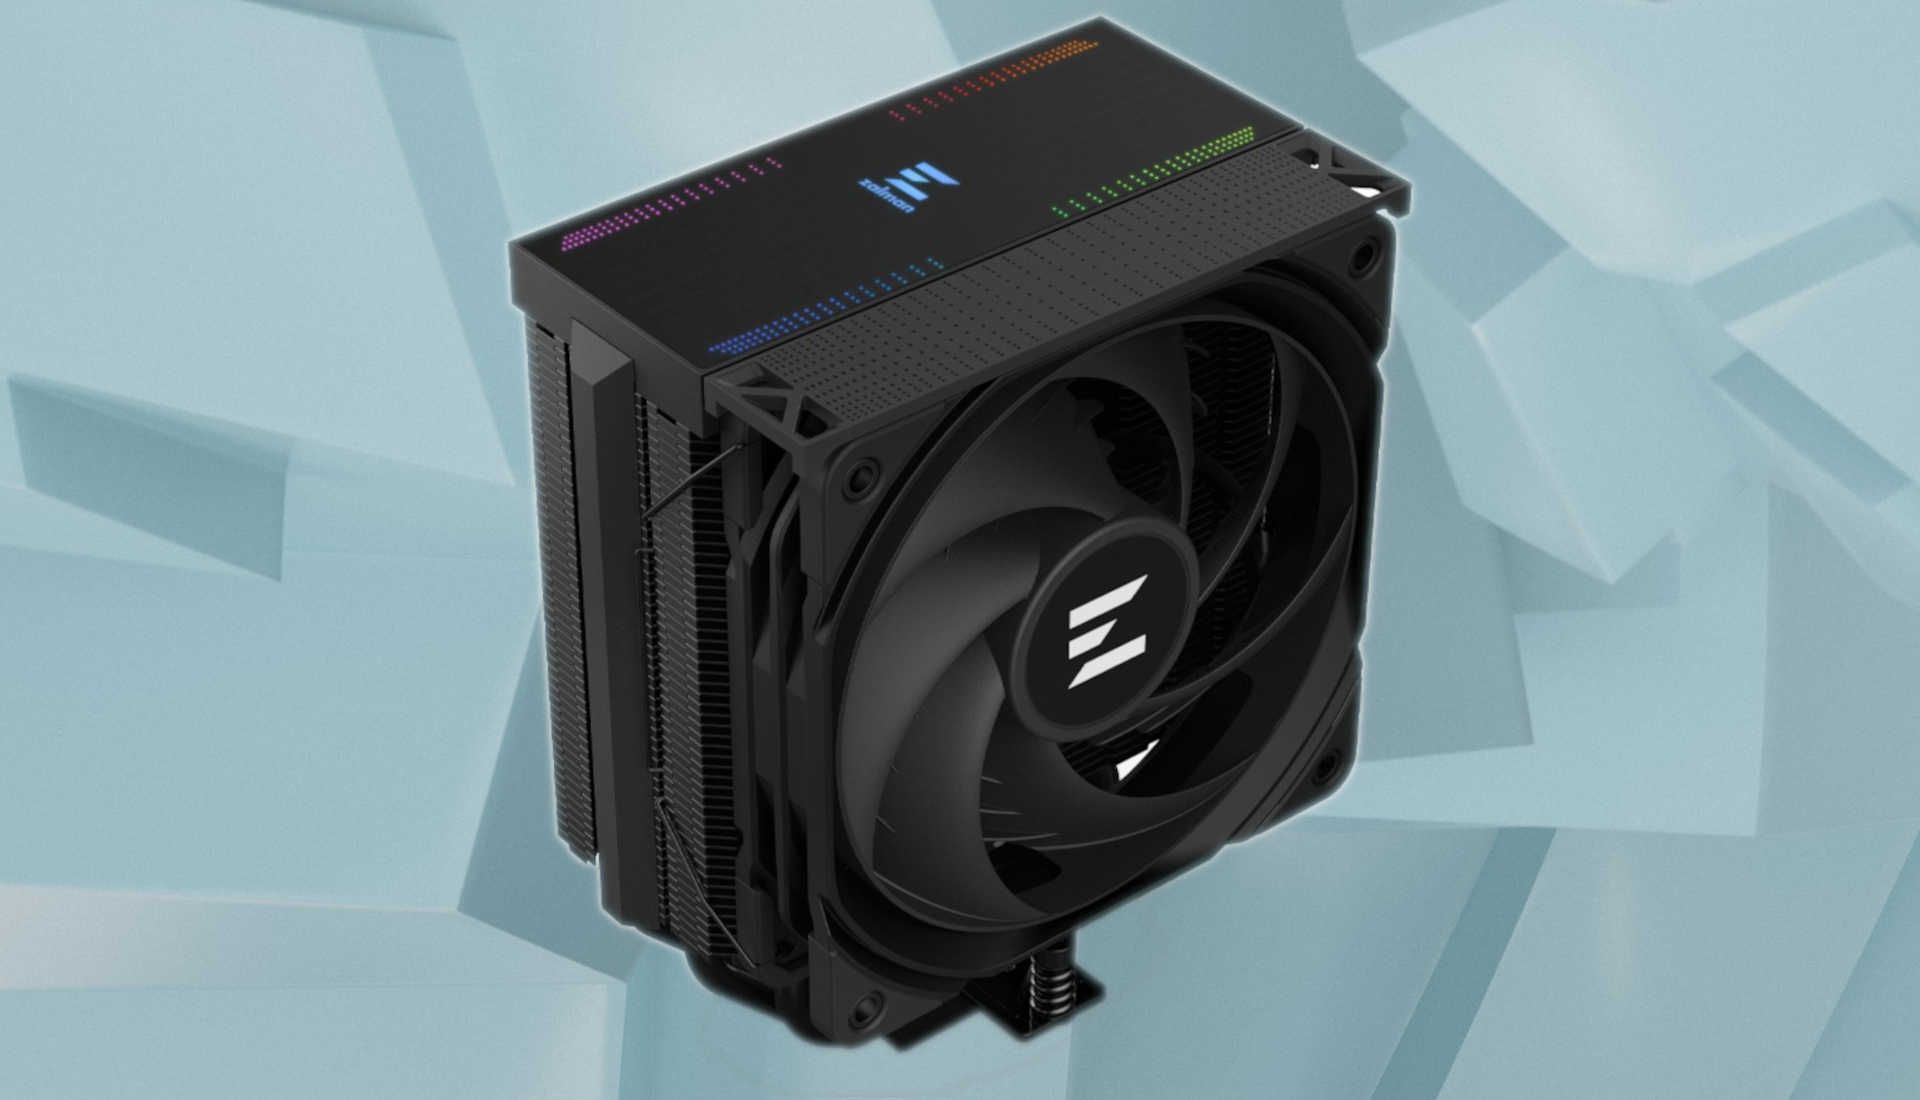
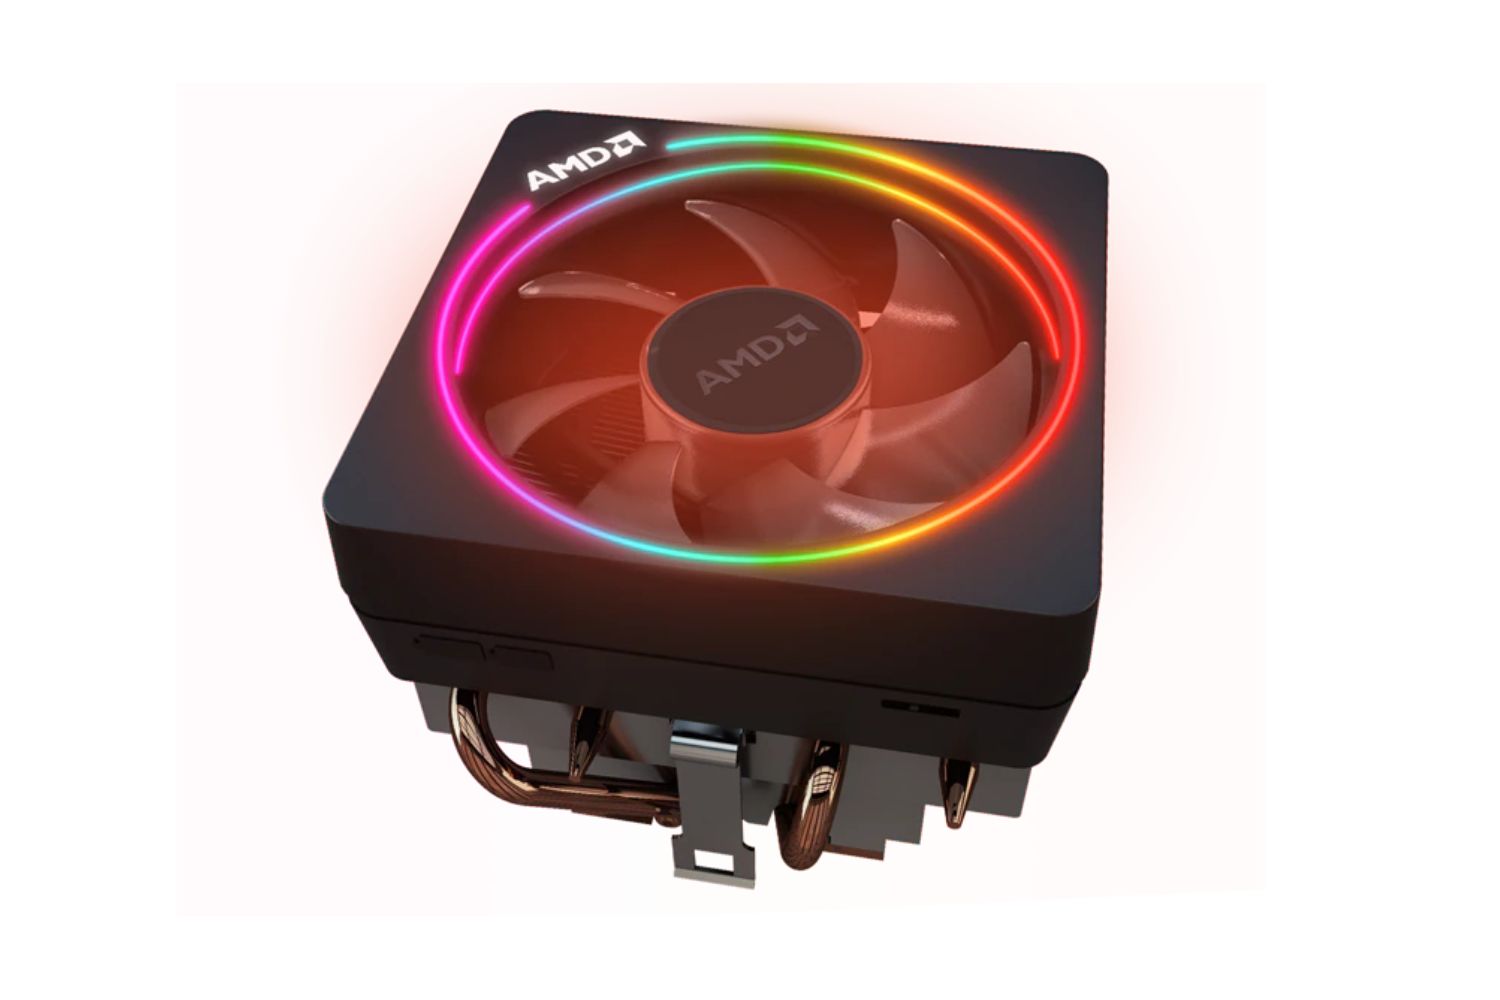
- New Fan and RGB Lighting: Depending on your color preferences, you may want to purchase a new fan and RGB lighting kit. Look for ones that are compatible with your AMD CPU cooler.
- Cable Ties: To manage and organize cables, cable ties will come in handy. They will help keep your system tidy and improve airflow.
- Cotton Swabs and Isopropyl Alcohol: Cleaning the CPU cooler and removing any residual thermal paste requires cotton swabs and isopropyl alcohol. These will effectively clean the surfaces without leaving behind any residue.
- Anti-static Wrist Strap: As a precautionary measure, an anti-static wrist strap is recommended to prevent any static discharge that could potentially damage your components.
It’s worth noting that the specific tools and materials needed may vary depending on the design of your CPU cooler and personal preferences. Make sure to check the manufacturer’s instructions to ensure compatibility and gather any additional items required.
Now that you have all the necessary tools and materials, you’re ready to begin the process of changing the colors of your AMD CPU cooler. In the next section, we’ll guide you through the first step: removing the CPU cooler.
Step 1: Removing the CPU Cooler
Before you can start changing the colors of your AMD CPU cooler, you’ll need to remove it from your motherboard. Follow the steps below to safely remove the CPU cooler:
- Ensure the PC is powered off: Before you begin any hardware modifications, always make sure to shut down your PC and disconnect the power cord from the wall outlet.
- Ground yourself: To prevent any static electricity from damaging your components, it’s important to ground yourself. You can do this by touching a grounded metal object or by wearing an anti-static wrist strap.
- Locate the CPU cooler: The CPU cooler is typically positioned on top of the CPU socket. It’s secured in place by a mounting bracket and screws.
- Unplug the fan connector: Locate the fan connector attached to the CPU cooler and gently unplug it from the motherboard. Take note of any clips or tabs that may be holding the connector in place.
- Remove the mounting screws: Using a screwdriver, carefully remove the mounting screws that secure the CPU cooler in place. Keep track of the screws as you’ll need them for reassembly later.
- Gently lift the CPU cooler: After removing the mounting screws, gently lift the CPU cooler off the CPU socket. Be cautious not to apply any excessive force or tilt it abruptly.
With the CPU cooler removed, you can now proceed to the next step of disassembling the CPU cooler. Remember to handle all components with care and take your time to ensure a smooth removal process. By following these steps, you’ll have the CPU cooler ready for customization in no time!
Step 2: Disassembling the CPU Cooler
Now that you have successfully removed the CPU cooler from your motherboard, it’s time to disassemble it in order to access the fan and RGB lighting components. The disassembly process may vary depending on the specific model of your AMD CPU cooler, so be sure to consult the manufacturer’s instructions if available. Follow the general steps below as a guide:
- Identify the different components: Take a moment to familiarize yourself with the various parts of the CPU cooler. This typically includes the heatsink, fan, and any additional RGB lighting elements.
- Remove the fan: Most CPU coolers have clips or screws holding the fan in place. Carefully detach the fan from the heatsink, ensuring not to disturb or damage the surrounding components.
- Detach the RGB lighting component: If your CPU cooler has built-in RGB lighting, locate the connector or cables that connect it to the fan or another module. Gently detach the RGB lighting component from the unit.
- Separate the heatsink from the base: In some cases, the heatsink may be attached to the base of the CPU cooler. Unscrew any fasteners or clips to separate the heatsink from the base, allowing better access to the RGB components.
- Set aside the disassembled components: As you remove each component, place them in a safe and organized manner to prevent loss or damage. Consider using a tray or small container to keep track of the small screws or clips.
When disassembling the CPU cooler, it’s crucial to handle the components with care, as they can be delicate and prone to damage. Take your time and be mindful of any connectors, clips, or screws that may hold the components in place. By following these steps, you’ll soon be ready to replace the fan and RGB lighting elements with new ones in the next step.
Step 3: Removing the Original Fan and RGB Lighting
Now that you have disassembled the CPU cooler, it’s time to remove the original fan and RGB lighting components. By doing so, you’ll make way for the new ones that will bring your desired colors to life. Follow the steps below to remove the original fan and RGB lighting:
- Inspect the fan and lighting connections: Take a close look at how the original fan and RGB lighting are connected to the CPU cooler. Look for any connectors, cables, or clips that may be securing them in place.
- Disconnect the fan: Depending on the design, the fan may be connected to the CPU cooler through clips or screws. Carefully detach the fan from the cooler, ensuring not to damage any surrounding components.
- Detach the RGB lighting: If your CPU cooler has integrated RGB lighting, locate the connector or cables that connect it to the CPU cooler or fan. Gently disconnect the RGB lighting components, taking note of any clips or tabs that may be holding them in place.
- Set aside the original fan and RGB lighting: Once removed, keep the original fan and RGB lighting components in a safe place. Properly organize them so that you can easily refer to them later, especially if you plan on restoring the CPU cooler to its original state in the future.
During this step, it’s crucial to handle the original fan and RGB lighting components with care to avoid any damage. Pay close attention to the connectors and clips, as they may vary depending on the specific model of your CPU cooler. By carefully removing the original fan and RGB lighting, you’ll be ready to move on to the exciting step of selecting and installing new ones in the next section.
Step 4: Choosing and Installing New Fan and RGB Lighting
With the original fan and RGB lighting components removed, it’s time to select new ones that will add a fresh burst of color to your AMD CPU cooler. This step allows you to unleash your creativity and personalize your gaming rig even further. Follow the steps below to choose and install the new fan and RGB lighting:
- Research and choose compatible components: Take some time to research and find a new fan and RGB lighting kit that is compatible with your AMD CPU cooler. Look for options that offer the colors and effects you desire to achieve the desired aesthetic for your system.
- Prepare the new fan and RGB lighting components: Unpack the new fan and RGB lighting kit and ensure that all necessary components are included. Pay attention to any instructions or additional tools that may be required for installation.
- Install the new fan: Depending on the design of your CPU cooler and the new fan, follow the manufacturer’s instructions for proper installation. This typically involves attaching the fan securely to the cooler using clips or screws.
- Connect the new RGB lighting: For CPU coolers with integrated RGB lighting, connect the new lighting components according to the manufacturer’s instructions. This may involve plugging in cables, connecting connectors, or securing them with clips.
- Test the new fan and RGB lighting: Before proceeding to the next steps, power on your PC and test the new fan and RGB lighting to ensure they are functioning correctly. Make any necessary adjustments or configurations to achieve the desired colors and effects.
When selecting and installing new fan and RGB lighting components, it’s important to ensure compatibility with your CPU cooler and follow the manufacturer’s instructions. This will help to prevent any damage and ensure optimal performance. Take your time during the installation process, and don’t hesitate to consult resources or seek assistance if needed.
With the new fan and RGB lighting successfully installed, your AMD CPU cooler will now exude the colors and effects that elevate your gaming rig to the next level. In the next step, we’ll guide you through the process of reassembling the CPU cooler.
Step 5: Reassembling the CPU Cooler
Now that you have chosen and installed the new fan and RGB lighting components, it’s time to reassemble the CPU cooler. This step involves putting all the disassembled parts back together and ensuring that everything is securely fastened. Follow the steps below to reassemble your AMD CPU cooler:
- Attach the heatsink: If you had separated the heatsink from the CPU cooler’s base during the disassembly process, it’s now time to reattach it. Align the heatsink with the base and fasten it securely using the provided hardware.
- Connect the new fan: Place the new fan in position, aligning it with the heatsink or base. Use the appropriate clips or screws to secure the fan in place, ensuring a firm connection.
- Connect the new RGB lighting: If your new fan or CPU cooler features integrated RGB lighting, connect the lighting components according to the manufacturer’s instructions. Make sure all cables and connectors are properly connected to ensure the desired lighting effects.
- Apply thermal paste: Before reattaching the CPU cooler to the motherboard, apply a small amount of thermal paste to the CPU. This helps facilitate heat transfer between the CPU and the cooler, ensuring efficient cooling.
- Reattach the CPU cooler: Carefully place the CPU cooler back onto the CPU socket on the motherboard. Align it with the mounting holes and reattach the mounting screws, securing the cooler in place.
During the reassembling process, it’s important to handle all components with care to prevent any damage. Take your time and ensure that everything is properly aligned and securely fastened. Double-check that all cables and connectors are connected as specified by the manufacturer’s instructions.
Once you have successfully reassembled the CPU cooler, you’re now one step closer to showcasing your customized AMD CPU cooler. In the next step, we’ll guide you through the process of installing the customized CPU cooler back into your PC.
Step 6: Installing the Customized CPU Cooler
With the CPU cooler reassembled, it’s time to install it back into your PC and complete the customization process. Follow the steps below to install the customized CPU cooler:
- Prepare the motherboard: Ensure that your PC is powered off and unplugged from the wall outlet. Take a moment to inspect the CPU socket on the motherboard and ensure it is clean and free from any debris.
- Apply thermal paste (if necessary): If you had removed the CPU cooler from the CPU socket completely during the customization process, you’ll need to apply a new layer of thermal paste. Follow the manufacturer’s instructions for applying the thermal paste properly.
- Align the CPU cooler: Carefully align the CPU cooler over the CPU socket, ensuring that the mounting holes on the cooler align with the mounting brackets on the motherboard.
- Secure the CPU cooler: Using the appropriate screws or clips, fasten the CPU cooler securely to the motherboard. Tighten each screw or clip gradually in a diagonal pattern to ensure even pressure is applied.
- Connect the fan: Locate the fan connector on the CPU cooler and connect it to the appropriate motherboard header. Ensure that the fan cable is not obstructing any other components and is neatly routed for proper cable management.
- Cable management: Tidy up the cables around the CPU cooler to ensure good airflow and a clean look. Use cable ties or other cable management solutions to secure and organize the cables.
As you install the customized CPU cooler, remember to handle the components with care to prevent any damage. Take your time to ensure that the cooler is properly aligned and securely fastened to the motherboard. Double-check all connections and ensure that the fan is connected to the appropriate header for proper control.
With the customized CPU cooler successfully installed, you have completed the process of changing the colors of your AMD CPU cooler. Your gaming rig now bears your personal touch, reflecting your style and preferences. Enjoy the enhanced aesthetic and improved cooling performance that your customized CPU cooler brings to your PC.
Conclusion
Congratulations! You have successfully changed the colors of your AMD CPU cooler and transformed your gaming rig into a customized work of art. By following the step-by-step process outlined in this guide, you have taken your PC customization skills to new heights.
Customizing the colors of your CPU cooler not only adds a personal touch to your gaming setup but also allows you to create a visually stunning and cohesive aesthetic. Whether you opted for a sleek monochromatic look or a vibrant RGB light show, the customized CPU cooler enhances the overall visual appeal of your system.
Throughout this journey, you learned the importance of gathering the necessary tools and materials, removing and disassembling the CPU cooler, selecting and installing new fan and RGB lighting components, reassembling the cooler, and installing it back into your PC. These skills will prove valuable for future hardware modifications and DIY projects.
Remember, patience and attention to detail are key when working with delicate components like the CPU cooler. Take your time, follow the manufacturer’s instructions, and handle everything with care to prevent any damage.
Now that you’ve successfully customized your CPU cooler, take a moment to admire your handiwork and bask in the satisfaction of personalizing your gaming rig. Your customized AMD CPU cooler not only adds a touch of uniqueness but also enhances the cooling performance of your system, ensuring your CPU stays at optimal temperatures during intense gaming sessions.
Enjoy the vibrant colors, mesmerizing lighting effects, and improved aesthetics that your customized CPU cooler brings to your PC. Show off your rig to friends and fellow gamers, and take pride in the fact that you did it yourself.
Remember, PC customization is a continuous journey, and there are endless possibilities to explore. So, let your creativity run wild and continue to transform your gaming rig into a masterpiece that truly represents your style and personality.