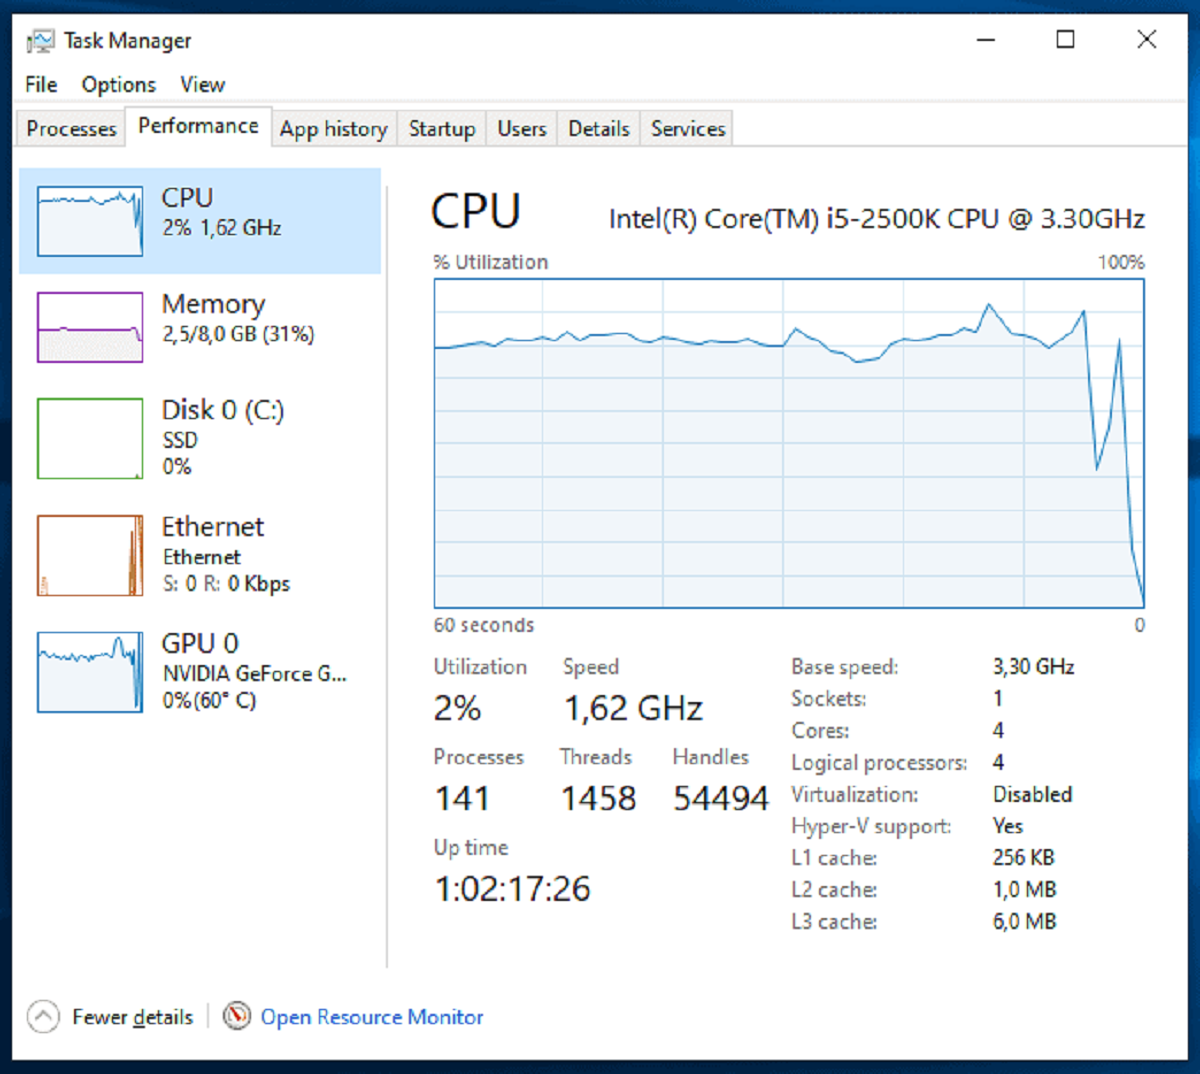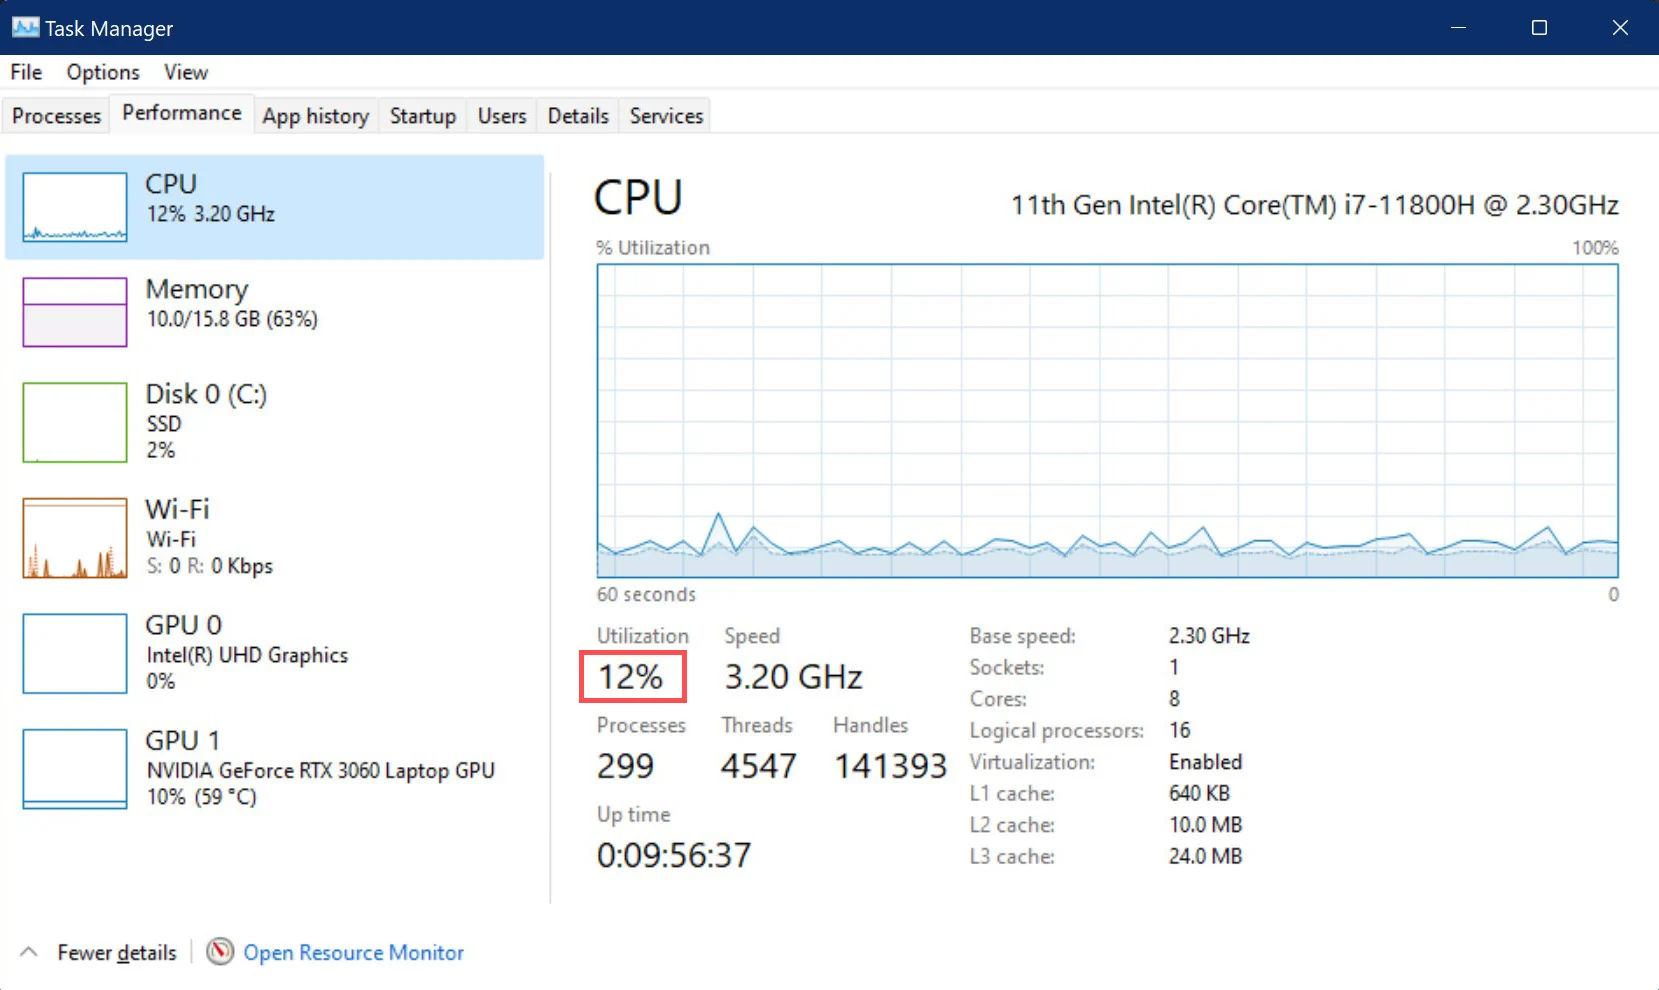
If your CPU usage is high with nothing running, the cause is almost always a hidden background process, not a lack of running apps. The first step is to open Task Manager and sort by the CPU column to see exactly which process is consuming your processor's resources, and don't be fooled by the "System Idle Process" which actually represents the percentage of CPU that is not being used.
Why is my CPU usage so high with nothing running?
High CPU usage with "nothing running" typically indicates that background processes or services are consuming system resources. These hidden tasks operate without visible windows or icons, so they don't appear on your desktop or taskbar. The most common culprits include Windows system services, antivirus scans, update routines, and third-party utilities that launch at startup and continue running silently. The misconception about "System Idle Process" often confuses users: this process does not consume CPU; it displays the percentage of CPU that is idle. A high number next to "System Idle Process" means your CPU is mostly free, not busy.
How to find the hidden process using your CPU
Press Ctrl+Shift+Esc to open Task Manager directly. If it opens in compact mode, click "More details" at the bottom. Navigate to the Processes tab and click the CPU column header to sort all processes from highest to lowest CPU usage. Common hidden culprits include "Antimalware Service Executable", "SysMain", "WUDFHost.exe", "Service Host: Local System", or any unfamiliar process name. Right-click the offending process to see its file location or search online for its name to confirm it's legitimate.
Check for multiple instances
Sometimes a hidden process spawns multiple instances. Look for the same process name appearing several times in the list. Add up their combined CPU usage. If you see "Service Host" entries, expand them by clicking the arrow next to the name to see which specific Windows service is causing the load.
Stop Antimalware Service Executable from hogging CPU
The Antimalware Service Executable (MsMpEng.exe) is the core process for Microsoft Defender and often causes high CPU during full scans, real-time protection, after Windows updates, or due to conflicts with other security software. To reduce its impact, open Windows Security → Virus & threat protection → Manage settings → turn off "Real-time protection" temporarily to test if CPU drops. Better yet, schedule scans during idle hours: go to Windows Security → Virus & threat protection → Scan options → Custom scan → choose a folder, then set a scheduled time via Task Scheduler. Also check for conflicts with third-party antivirus tools, running two security suites causes constant background scanning and CPU spikes. If you have another antivirus installed, disable Defender's real-time protection permanently via Group Policy or registry.
Disable the SysMain service to reduce CPU load
SysMain (formerly Superfetch) preloads frequently used application data into memory, which can cause high CPU usage, especially on systems with slow storage, low RAM, or corrupted system files. To disable it, press Win+R, type services.msc, press Enter. Scroll down to SysMain, right-click it, select Properties. Set "Startup type" to Disabled, click Stop, then click OK. Restart your computer. This service is safe to disable on most systems, it only improves app launch speeds by preloading data, but the performance gain is minimal on modern SSDs. If you have an HDD, disabling SysMain can significantly reduce constant disk and CPU activity.
Check for Windows Driver Foundation issues
Windows Driver Foundation (WUDFHost.exe) is an essential system service that hosts user-mode drivers. It can cause high CPU if drivers are outdated or corrupted. The fix is to update all device drivers via Windows Update: go to Settings → Windows Update → Advanced options → Optional updates and install any driver updates listed. Alternatively, open Device Manager (right-click Start → Device Manager), expand each category, right-click devices, and select "Update driver" → "Search automatically". If WUDFHost.exe still spikes CPU, check for specific problematic drivers, often related to chipset, USB controllers, or network adapters. Download the latest drivers from your motherboard or laptop manufacturer's website.
Scan for malware and viruses
Malware can run hidden in the background, consuming significant CPU resources without showing any visible signs. Run a full system scan with Microsoft Defender: open Windows Security → Virus & threat protection → Scan options → select Full scan → click "Scan now". This thorough scan checks all files and running processes. For deeper detection, use a reputable third-party tool like Malwarebytes (free version) to perform a second opinion scan. If malware is found, quarantine it immediately. Also check for suspicious processes in Task Manager that have no publisher information or that are located in temp folders or AppData directories. After removing malware, restart your computer and re-check CPU usage.
Install pending Windows Updates
Windows Updates running in the background or getting stuck can lead to high CPU usage. To resolve this, go to Settings → Windows Update and click "Check for updates". If updates are pending, install them immediately. If an update is stuck (shows "downloading" or "installing" for hours), restart your computer and try again. You can also use the Windows Update Troubleshooter: Settings → System → Troubleshoot → Other troubleshooters → Windows Update → Run. For persistent issues, stop the Windows Update service temporarily: run services.msc, right-click "Windows Update", select "Stop", then restart the service after a few minutes. Also clear the update cache by deleting files in C:\Windows\SoftwareDistribution\Download (after stopping the service).
Perform a clean boot to find the conflict
Performing a clean boot (disabling non-Microsoft services and startup items) can help isolate if a third-party application or service is the cause of high CPU. To do this, press Win+R, type msconfig, press Enter. In the System Configuration window, go to the Services tab, check "Hide all Microsoft services", then click "Disable all". Go to the Startup tab and click "Open Task Manager". Disable all startup items. Click OK and restart your computer. If CPU usage drops to normal, gradually re-enable services and startup items one by one, restarting after each enable, until you find the culprit. Once identified, update, uninstall, or disable that specific software permanently.
How to check CPU temp in task manager
While you're troubleshooting high CPU usage, you might want to check CPU temp in task manager to rule out thermal throttling. However, Task Manager does not display CPU temperature natively. Instead, use third-party tools like HWMonitor, Core Temp, or Open Hardware Monitor. If you notice high temps, clean dust from fans, ensure proper ventilation, and consider reapplying thermal paste.
Additional verification steps
Open Task Manager and observe if usage stays below 5-10%. If high usage persists, check for resource-heavy startup programs via Task Manager → Startup tab and disable unnecessary items. Finally, run the System File Checker (SFC) by opening Command Prompt as administrator and typing sfc /scannow to repair corrupted system files that might be causing background processes to malfunction.
Related reading: How To Allocate More CPU To A Game and How To Check Number Of Cores In Virtual Machine.