Introduction
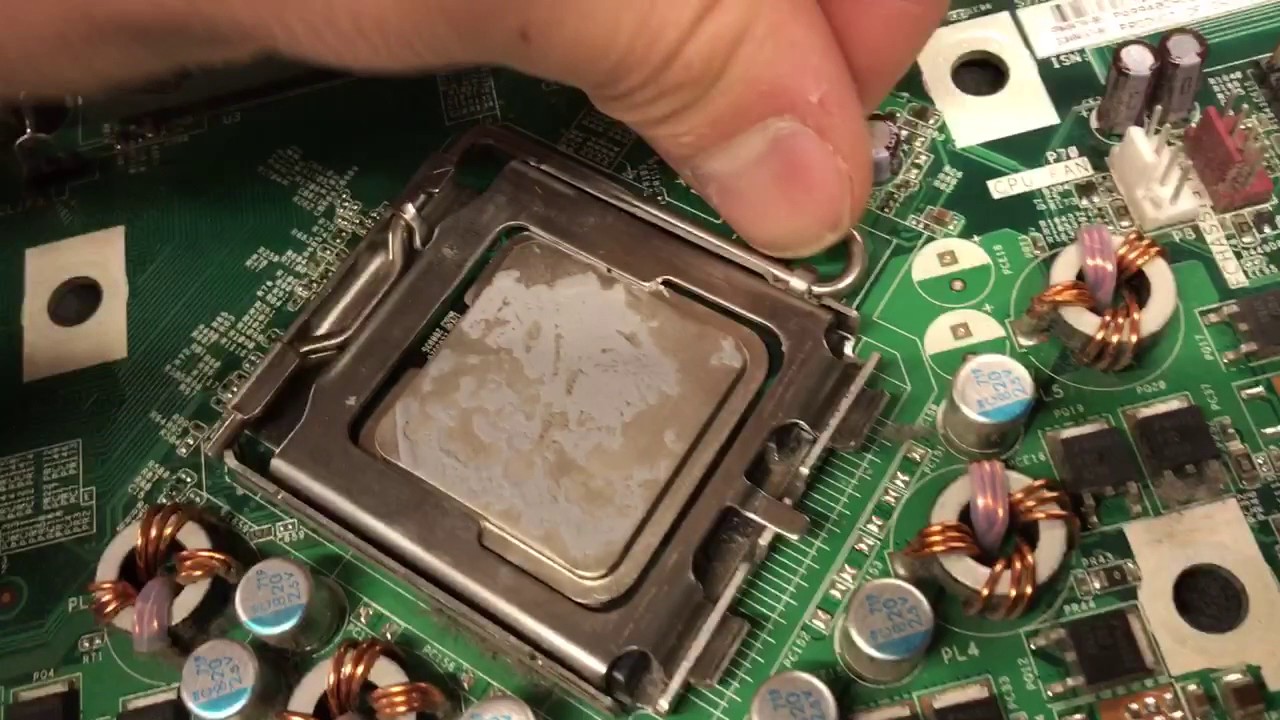
When it comes to computer maintenance, one crucial task that often gets overlooked is removing thermal paste from CPU pins. Thermal paste, also known as thermal compound, is a substance that is applied between the CPU and the heat sink to improve thermal conductivity and ensure efficient heat transfer. Over time, however, the paste can dry out, become hardened, or spread to unwanted areas, including the delicate pins of the CPU.
Removing thermal paste from the CPU pins is essential to maintain optimal performance and prevent potential damage. If the paste is left to build up on the pins, it can hinder proper contact between the CPU and the socket, leading to overheating, system instability, and even permanent damage to the processor.
While the task may seem daunting, with the right tools and techniques, removing thermal paste from CPU pins can be a relatively straightforward process. In this guide, we will outline the steps involved in safely and effectively cleaning the thermal paste off CPU pins, as well as provide some helpful tips to tackle stubborn residue.
By following this guide, you will be able to ensure the longevity and functionality of your CPU, allowing your computer to continue running smoothly and efficiently.
Why is it important to remove thermal paste from CPU pins?
Removing thermal paste from CPU pins is crucial for several reasons. First and foremost, it promotes proper heat dissipation. The thermal paste is designed to fill in the microscopic imperfections between the CPU and the heat sink, ensuring efficient transfer of heat. However, if the paste spreads onto the pins, it can create a barrier and impede thermal conductivity. This can lead to increased temperatures and potential performance issues, as the CPU may struggle to dissipate heat effectively.
Furthermore, leaving thermal paste on the CPU pins can result in poor electrical conductivity. The pins of the CPU are responsible for establishing a connection with the motherboard’s socket. When thermal paste gets in between the pins, it can interfere with the electrical signal transmission, compromising the stability and reliability of the CPU. This can lead to system crashes, intermittent failures, and other undesirable consequences.
In addition, any excess or dried-up thermal paste can increase the risk of damage during CPU installation or removal. The pins are delicate and can be easily bent or damaged if the paste is not properly cleaned. By ensuring that the CPU pins are free from any residue, you minimize the risk of accidental damage and prolong the lifespan of your CPU.
Lastly, removing thermal paste from CPU pins is important for future upgrades or replacements. If you plan to upgrade or change your CPU in the future, it is vital to have clean and functioning pins. By regularly cleaning the thermal paste, you make the process of installing a new CPU much smoother. This helps to avoid any complications and ensures a successful transition to the new processor without any unnecessary hassles or risks.
Overall, it is essential to remove thermal paste from CPU pins to maintain optimal performance, prevent electrical issues, reduce the risk of damage, and enable seamless upgrades or replacements in the future.
Tools needed to remove thermal paste from CPU pins
Before getting started, it’s important to gather the necessary tools to safely and effectively remove thermal paste from CPU pins. Having the right tools will make the process easier and help minimize the risk of damaging the delicate pins or other components of the CPU. Here are the essential tools you will need:
- Isopropyl alcohol (preferably 90% or higher concentration): Isopropyl alcohol is a highly effective solvent that can dissolve thermal paste without leaving any residue behind. Ensure that you have a sufficient amount of isopropyl alcohol to thoroughly clean the pins.
- Lint-free microfiber cloth or coffee filters: These materials are ideal for wiping away the thermal paste. Ensure that they are lint-free to avoid leaving any debris behind on the pins.
- Cotton swabs or Q-tips: These will help you access and clean hard-to-reach areas between the pins.
- Plastic or non-conductive scraper: A plastic scraper or an old credit card can be used to gently remove the bulk of the dried thermal paste from the CPU pins. Make sure to use a non-conductive material to prevent any accidental short circuits.
- Anti-static wrist strap (optional): While not mandatory, using an anti-static wrist strap can help prevent any static electricity discharge that could potentially damage the CPU or other components. If you have one available, it’s recommended to use it as an extra precaution.
Having these tools at your disposal will ensure that you can safely and effectively remove thermal paste from CPU pins without causing any damage to the sensitive components of the CPU.
Step-by-step guide to remove thermal paste from CPU pins
Follow these step-by-step instructions to safely and effectively remove thermal paste from CPU pins:
- Prepare your workspace: Ensure that you are working in a clean and well-lit area. It’s also a good idea to ground yourself by touching a grounded metal object or wearing an anti-static wrist strap.
- Power off and disconnect the computer: Shut down your computer and disconnect it from the power source. This is necessary to prevent any electrical damage to the components.
- Remove the CPU from the motherboard: Carefully unlock the CPU socket and gently lift the CPU out. Be extremely cautious with the pins to prevent bending or damage.
- Use a plastic scraper to remove excess thermal paste: With a plastic or non-conductive scraper, gently scrape off any excess or dried thermal paste from the surface of the CPU. Avoid applying too much pressure to prevent any harm to the pins.
- Dampen the lint-free cloth or coffee filter: Moisten a lint-free microfiber cloth or coffee filter with isopropyl alcohol. Ensure it is damp, not dripping wet.
- Gently wipe the CPU pins: Holding the CPU delicately, lightly dab the damp cloth or filter onto the pins. Be extra careful to avoid bending or damaging the pins. Repeat this process until the pins are clean and free from any residue.
- Use cotton swabs for hard-to-reach areas: For stubborn thermal paste in tight spaces between the pins, use cotton swabs or Q-tips dipped in isopropyl alcohol to carefully clean them.
- Allow the CPU to dry: Leave the CPU in a well-ventilated area and allow it to air dry completely. Ensure that there is no moisture remaining before reinstalling the CPU.
- Reinstall the CPU: Once the CPU is fully dry, align it properly with the socket and gently lower it into place. Make sure it is seated securely, and lock the CPU socket.
- Reconnect and power on the computer: Reconnect the power source and start up your computer. Monitor the temperatures and performance to ensure that the removal of thermal paste has not adversely affected the CPU’s functionality.
By following these steps carefully, you will successfully remove thermal paste from CPU pins, ensuring optimal heat dissipation and electrical conductivity for your CPU.
Precautions to take while removing thermal paste from CPU pins
While removing thermal paste from CPU pins, it is important to take certain precautions to ensure the safety and integrity of the CPU and other components. Here are some precautions to keep in mind:
- Handle the CPU with care: The CPU pins are delicate and can be easily bent or damaged. When removing the CPU from the motherboard and cleaning the thermal paste, always handle it with extreme care and avoid applying unnecessary force.
- Wear an anti-static wrist strap: To prevent any static electricity discharge that could potentially damage the CPU or other components, consider wearing an anti-static wrist strap. This will help to ground any static charges and minimize the risk of electrostatic damage.
- Use non-conductive tools: When scraping off excess thermal paste, make sure to use a plastic or non-conductive scraper. This will help avoid accidental short circuits and potential damage to the CPU pins.
- Do not use excessive force: Be gentle when wiping the thermal paste off the CPU pins. Excessive pressure can bend or break the pins, causing irreversible damage. Use light dabbing motions and avoid scrubbing or scraping too vigorously.
- Ensure proper ventilation and drying: Once you have cleaned the CPU pins, ensure that the CPU is thoroughly dry before reinstalling it. Place it in a well-ventilated area and allow it to air dry completely to avoid any moisture buildup, which can lead to corrosion or electrical issues.
- Double-check alignment during reinstallation: When reinserting the CPU into the socket, double-check the alignment to ensure that the pins are properly lined up. Misalignment can result in bent or damaged pins and can prevent the CPU from functioning correctly.
- Monitor temperatures and performance: After you have reinstalled the CPU and powered on your computer, monitor temperatures and performance to ensure that the removal of thermal paste has not adversely affected the CPU’s functionality. Keep an eye on temperature levels and run stress tests if necessary.
By taking these precautions into account, you can protect your CPU and other components from potential damage during the process of removing thermal paste from the CPU pins.
Tips for removing stubborn thermal paste from CPU pins
Removing stubborn thermal paste from CPU pins can be a challenging task. However, with these helpful tips, you can effectively tackle persistent residue and ensure a thorough cleaning process:
- Use isopropyl alcohol with a higher concentration: If the thermal paste proves to be challenging to remove, try using isopropyl alcohol with a higher concentration, such as 90% or higher. The higher concentration can provide better solvent properties to dissolve the stubborn paste.
- Let the isopropyl alcohol soak: Apply a generous amount of isopropyl alcohol to the pins and let it soak for a few minutes. This can help loosen the thermal paste, making it easier to wipe away.
- Be patient and persistent: Removing stubborn thermal paste may require gentle and repetitive cleaning. Use cotton swabs or Q-tips dipped in isopropyl alcohol to carefully scrub the remaining residue between the pins. Be patient and persistent, ensuring each pin is thoroughly cleaned.
- Apply gentle heat: In some cases, applying gentle heat to the CPU for a short period can help soften the thermal paste, making it easier to remove. Avoid excessive heat that can damage the CPU. A hairdryer on the lowest setting or warm airflow from a heat gun can be used with caution.
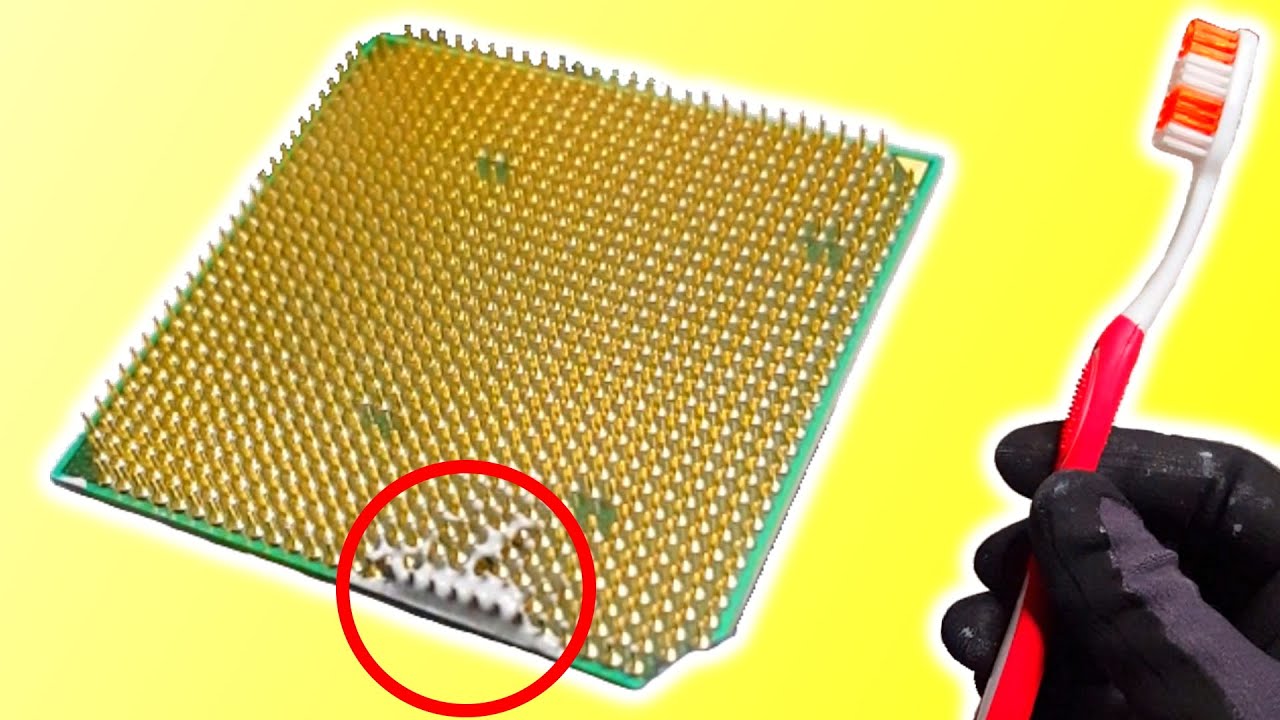
- Use a toothbrush or soft-bristle brush: If the thermal paste has hardened on the CPU pins, gently scrubbing it with a clean toothbrush or soft-bristle brush can help remove the residue. Dip the brush in isopropyl alcohol and gently scrub the pins, ensuring not to apply excessive pressure.
- Inspect with a magnifying glass: To ensure a thorough cleaning, inspect the pins with a magnifying glass or a zoomed-in camera. This will help identify any remaining residue that may be hidden within the tiny gaps between the pins.
- Seek professional assistance if needed: If you are unsure or uncomfortable with removing stubborn thermal paste from CPU pins, consider seeking professional assistance from a technician. They have the expertise and experience to handle delicate components and can ensure a safe and effective cleaning process.
By following these tips, you can overcome the challenges of removing stubborn thermal paste from CPU pins and achieve a clean and pristine surface for optimal performance.
Conclusion
Removing thermal paste from CPU pins is a vital maintenance task that should not be overlooked. By properly cleaning and ensuring that the CPU pins are free from any residue, you can maintain optimal heat dissipation, electrical conductivity, and overall performance of your CPU.
Throughout this guide, we’ve discussed the importance of removing thermal paste from CPU pins, the tools needed for the task, a step-by-step guide to safely remove the paste, precautions to take, and tips for tackling stubborn residue. Following these guidelines will help you achieve a thorough and effective cleaning process, avoiding potential damage to the delicate pins or other components of the CPU.
Remember to handle the CPU with care, use non-conductive tools, wear an anti-static wrist strap if available, and monitor temperatures and performance after reinstalling the CPU to ensure everything is functioning optimally.
Regularly cleaning the thermal paste from CPU pins not only enhances heat dissipation and electrical conductivity but also simplifies future CPU upgrades or replacements. With clean and functioning pins, you’ll be able to smoothly transition to a new processor without any unnecessary complications or risks.
By dedicating a small amount of time to maintaining your CPU and following the proper procedures outlined in this guide, you can prolong the lifespan of your CPU, improve system stability, and ensure a smooth computing experience.
So, don’t neglect the task of removing thermal paste from CPU pins. Take the necessary steps to maintain the health and performance of your CPU, and enjoy a more efficient and reliable computing experience.