Introduction
Welcome to the guide on how to clean off CPU thermal paste. If you’re a computer enthusiast or a professional in the field, you know how important it is to keep your computer’s CPU cool. To achieve optimal cooling performance, thermal paste is used as a medium to transfer heat away from the CPU to the cooler. Over time, the thermal paste can become dry, brittle, or contaminated, reducing its effectiveness. This can lead to overheating issues and decreased performance.
Fortunately, cleaning off old thermal paste and applying a fresh layer is a relatively simple process that can be done at home. In this article, we will provide you with a step-by-step guide on how to clean off CPU thermal paste, as well as the precautions you need to take to avoid damaging your hardware.
By following our instructions and using the right tools, you can ensure that your CPU is operating at its best and prolong the lifespan of your computer. So, let’s dive right in and learn how to clean off that old thermal paste!
Why do you need to clean CPU thermal paste?
One might wonder why it is necessary to clean off CPU thermal paste. After all, if the computer is functioning properly, why go through the hassle of removing the old paste? However, there are several compelling reasons why cleaning off CPU thermal paste is important:
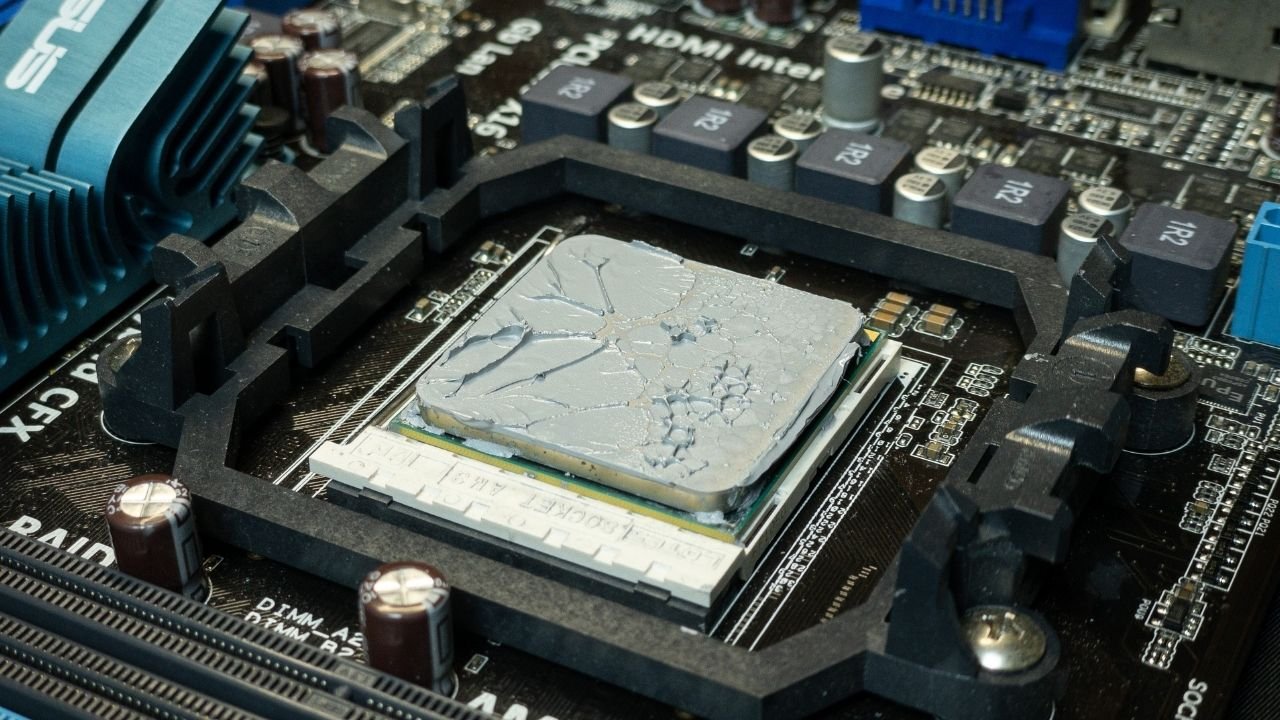
- Optimal Heat Transfer: Over time, thermal paste can dry out or become contaminated with dust and debris. This can hinder its ability to efficiently transfer heat from the CPU to the cooler. Cleaning off the old paste and applying a fresh layer ensures optimal heat transfer, preventing overheating and improving the overall performance of your computer.
- Preventing Overheating: Overheating can be detrimental to your computer’s hardware. Excessive heat can damage sensitive components and lead to system instability or even permanent failure. By regularly cleaning off the thermal paste, you can prevent heat buildup and keep your CPU operating within safe temperature ranges.
- Maintaining CPU Lifespan: The longevity of your CPU is directly related to how well it is cooled. When the CPU runs hot for extended periods, it undergoes thermal stress that can degrade its performance and reduce its lifespan. By properly cleaning off the thermal paste and ensuring efficient heat dissipation, you can extend the lifespan of your CPU.
- Improving System Performance: CPU thermal management plays a crucial role in the overall performance of your computer. When the CPU is cooled effectively, it can maintain higher clock speeds for longer durations, resulting in improved performance during demanding tasks such as gaming or video editing. Cleaning off the old thermal paste and reapplying a fresh layer helps optimize the CPU’s cooling ability and boosts system performance.
Considering the importance of heat management in computer systems, it becomes clear why regular maintenance of CPU thermal paste is essential. Neglecting this simple task could lead to significant performance issues and potential hardware damage. So, let’s move on to the next section and learn what tools you will need for the cleaning process.
What you will need to clean off CPU thermal paste
Before you begin the process of cleaning off CPU thermal paste, it’s essential to gather all the necessary tools and materials. Having the right equipment will make the task much easier and ensure a successful outcome. Here’s a list of what you’ll need:
- Isopropyl alcohol (90% or higher): This is the most crucial component for cleaning off thermal paste. Isopropyl alcohol helps dissolve the paste and remove it from the CPU surface. Make sure to use a high percentage alcohol (90% or higher) for more effective cleaning.
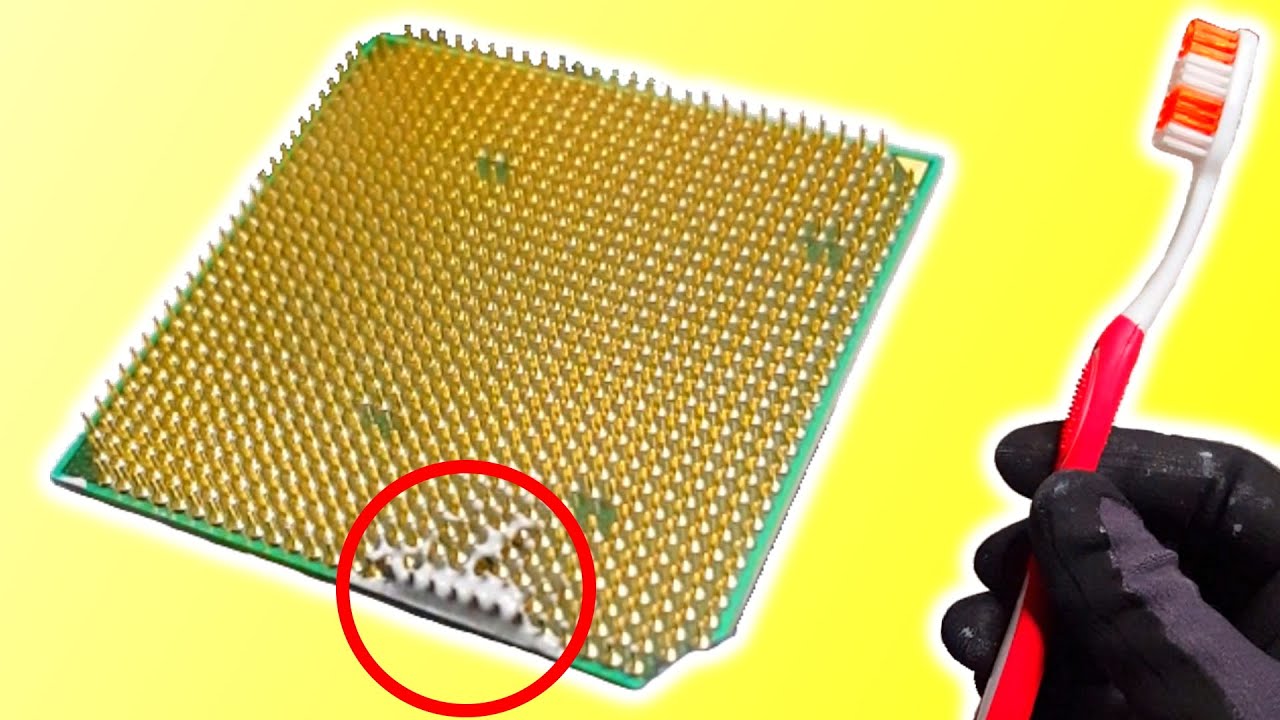
- Cotton swabs: Cotton swabs are perfect for applying the isopropyl alcohol to the CPU surface and gently scrubbing away the thermal paste. They are inexpensive and readily available from any pharmacy or convenience store.
- Lint-free cloth or coffee filters: These are used to wipe away the thermal paste and any residue left after cleaning. Make sure to use a lint-free cloth or coffee filter to avoid leaving fibers behind, which could interfere with the new layer of thermal paste.
- Plastic scraper or credit card: A plastic scraper or an old credit card can be used to scrape off the majority of the old thermal paste from the CPU surface. Avoid using metal objects to prevent scratching the CPU or damaging the delicate components.
- Latex gloves: While not mandatory, it’s a good idea to wear latex gloves to protect your hands from the isopropyl alcohol and to avoid leaving fingerprints or oils on the CPU surface.
With these essential tools in hand, you are well-prepared to clean off CPU thermal paste. Once you have them ready, it’s time to move on to the step-by-step guide on how to clean off the thermal paste effectively. So, let’s proceed to the next section!
Step-by-step guide to cleaning off CPU thermal paste
Now that you have all the necessary tools, it’s time to walk through the process of cleaning off CPU thermal paste. Follow these step-by-step instructions to ensure a thorough and successful cleaning:
- Prepare your workspace: Start by turning off your computer and unplugging it from the power source. Place your computer on a stable surface, preferably on an anti-static mat or a non-conductive material like wood or cardboard. This will prevent any accidental damage from static electricity.
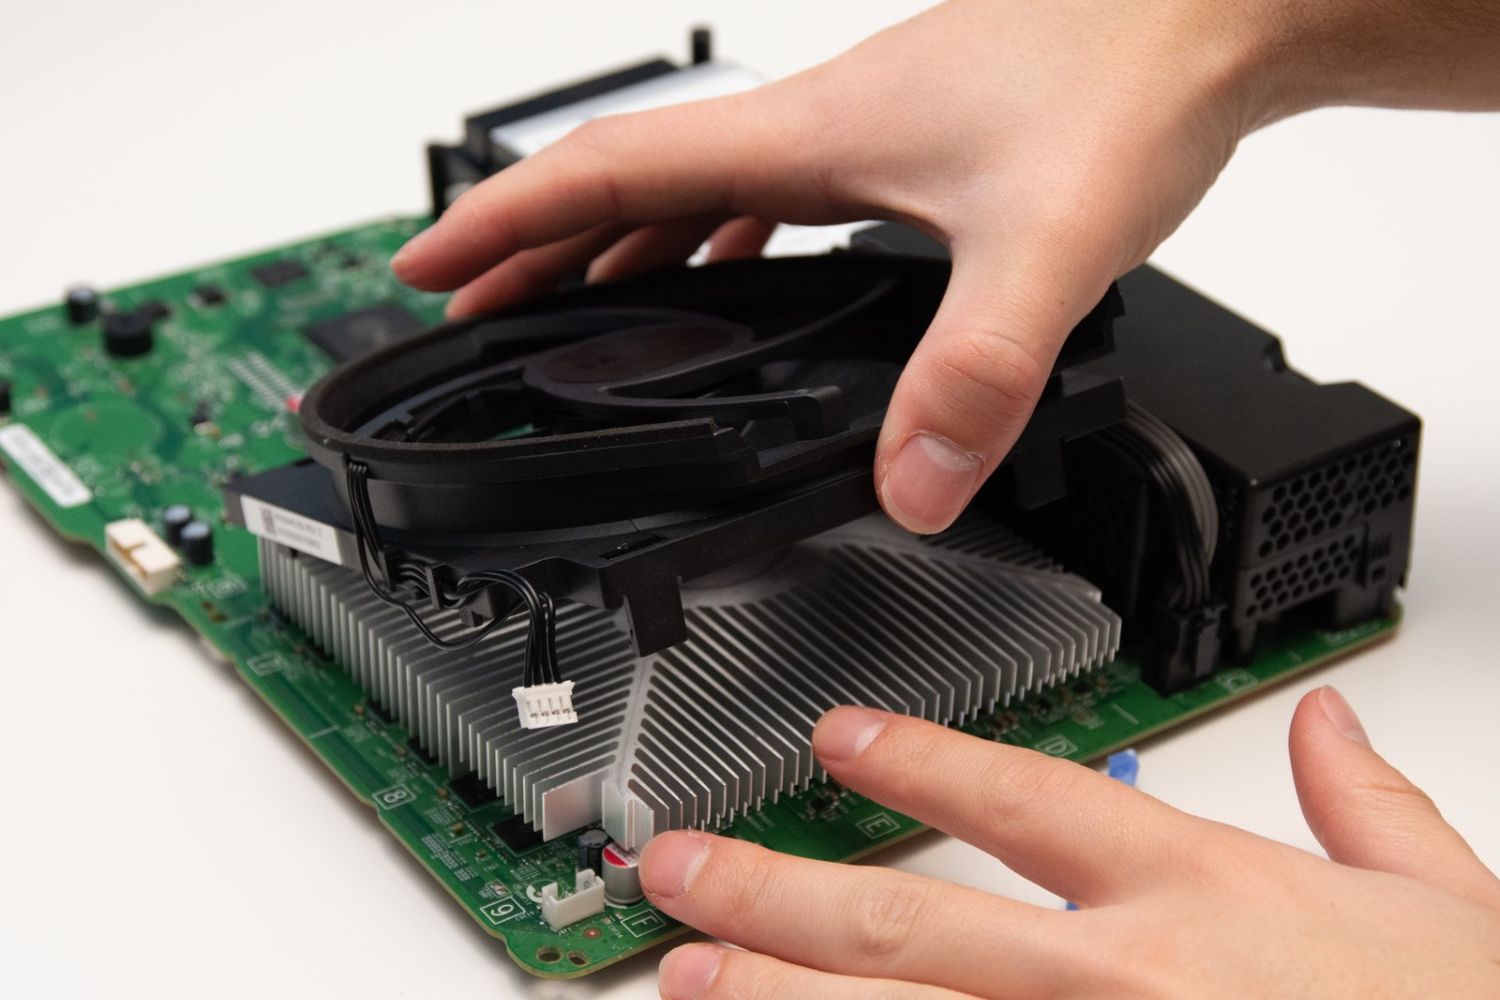
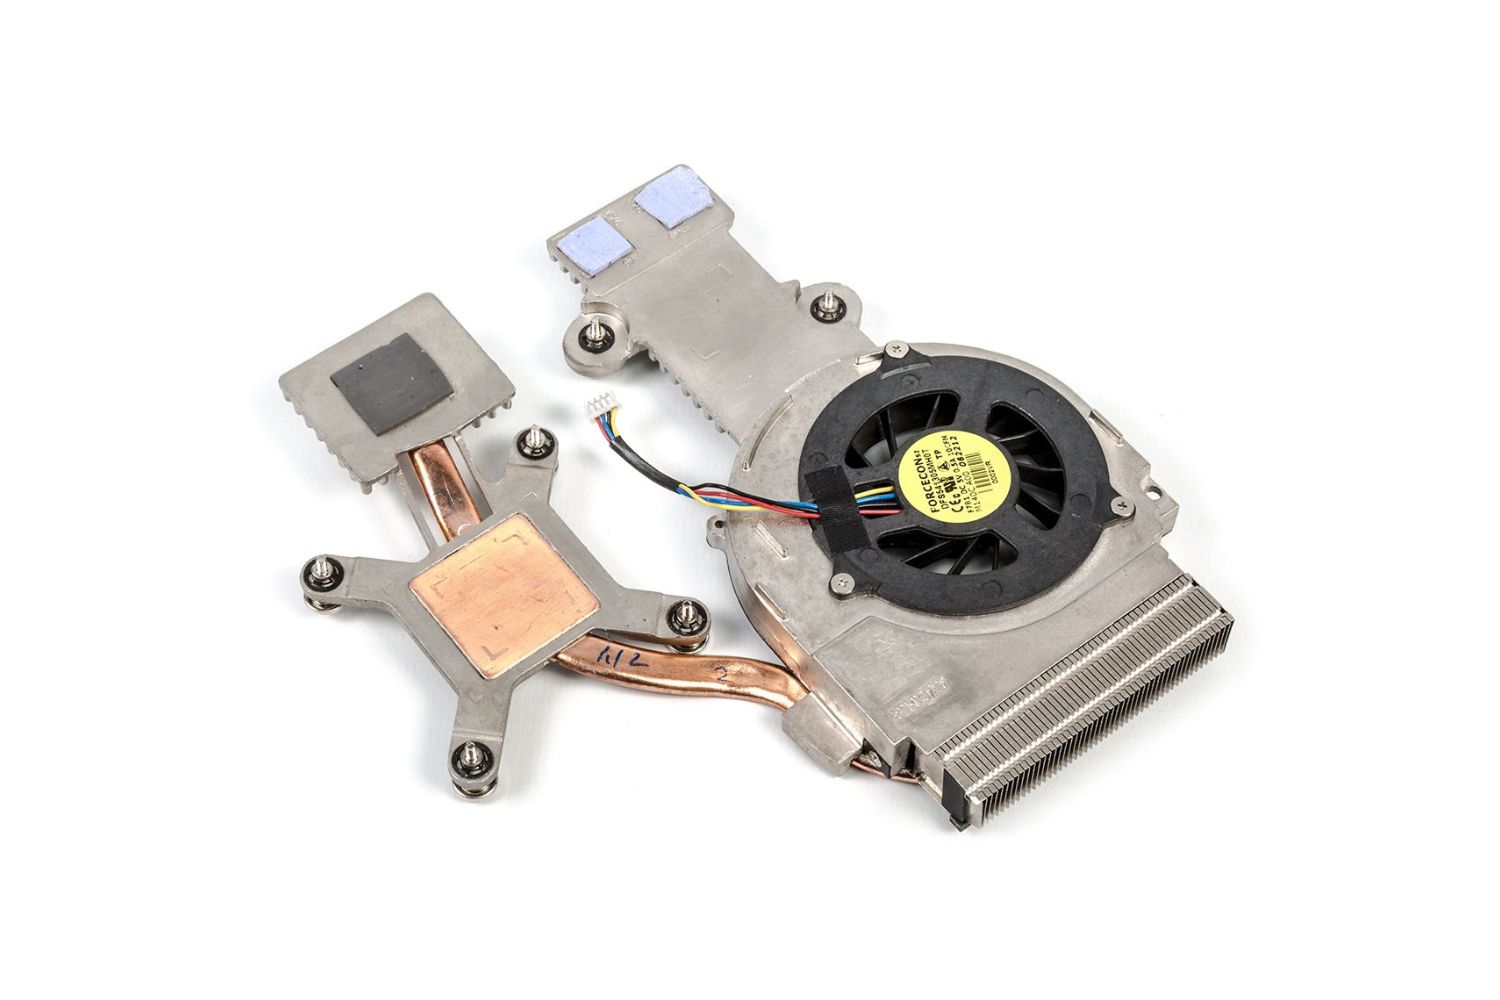
- Remove the CPU cooler: Carefully unscrew and remove the CPU cooler from your motherboard. This may involve detaching any clips or brackets that hold the cooler in place. Be cautious not to apply excessive force or twist the cooler as it can potentially damage the CPU or the motherboard.
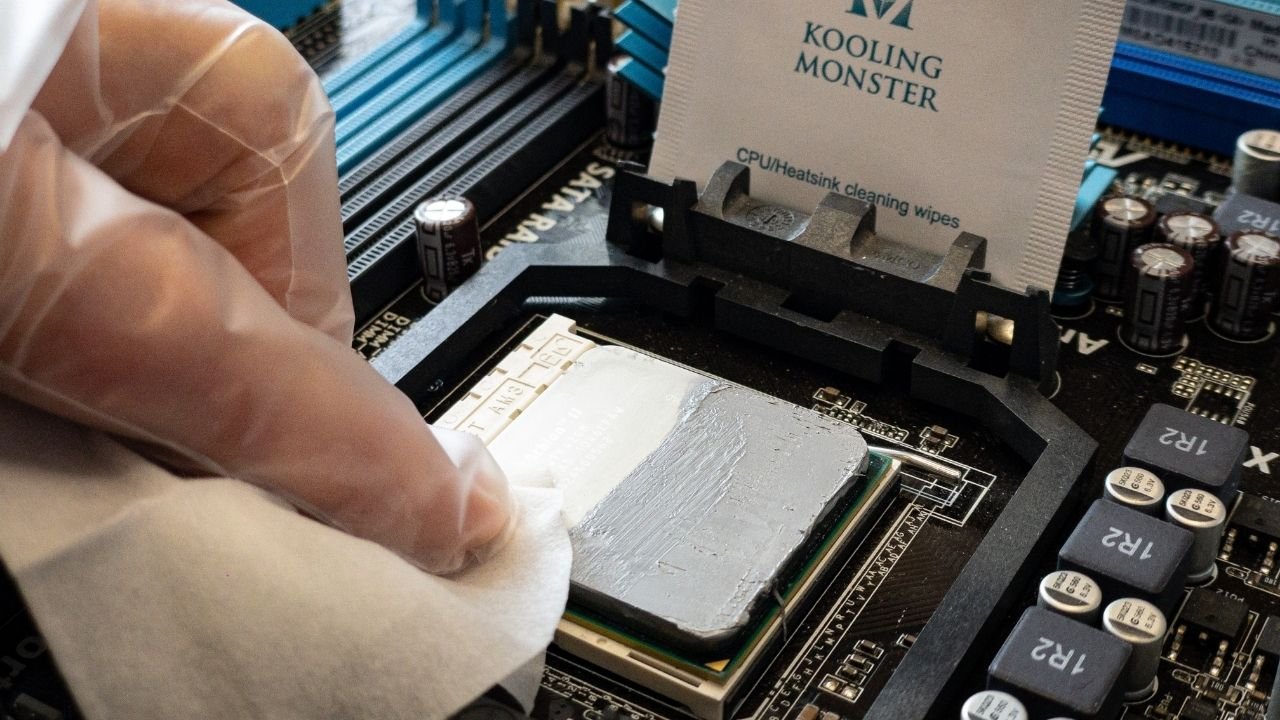
- Remove the old thermal paste: Using a plastic scraper or an old credit card, gently scrape off the old thermal paste from the surface of the CPU. Be careful not to scratch the CPU or other components. Use short, light strokes to remove as much paste as possible.
- Apply isopropyl alcohol: Dampen a cotton swab with isopropyl alcohol (90% or higher) and gently scrub the CPU surface to remove any remaining thermal paste. Avoid applying excessive pressure to prevent any damage to the CPU pins or circuits. Continue this process until the CPU surface is clean and free of residue.
- Clean with a lint-free cloth: Once the thermal paste is removed, use a lint-free cloth or coffee filter to wipe the CPU surface clean. Ensure that there are no fibers or particles left behind, as they can interfere with the new thermal paste’s application.
- Let it dry: Allow the CPU surface to air-dry for a few minutes to ensure that all traces of alcohol have evaporated fully.
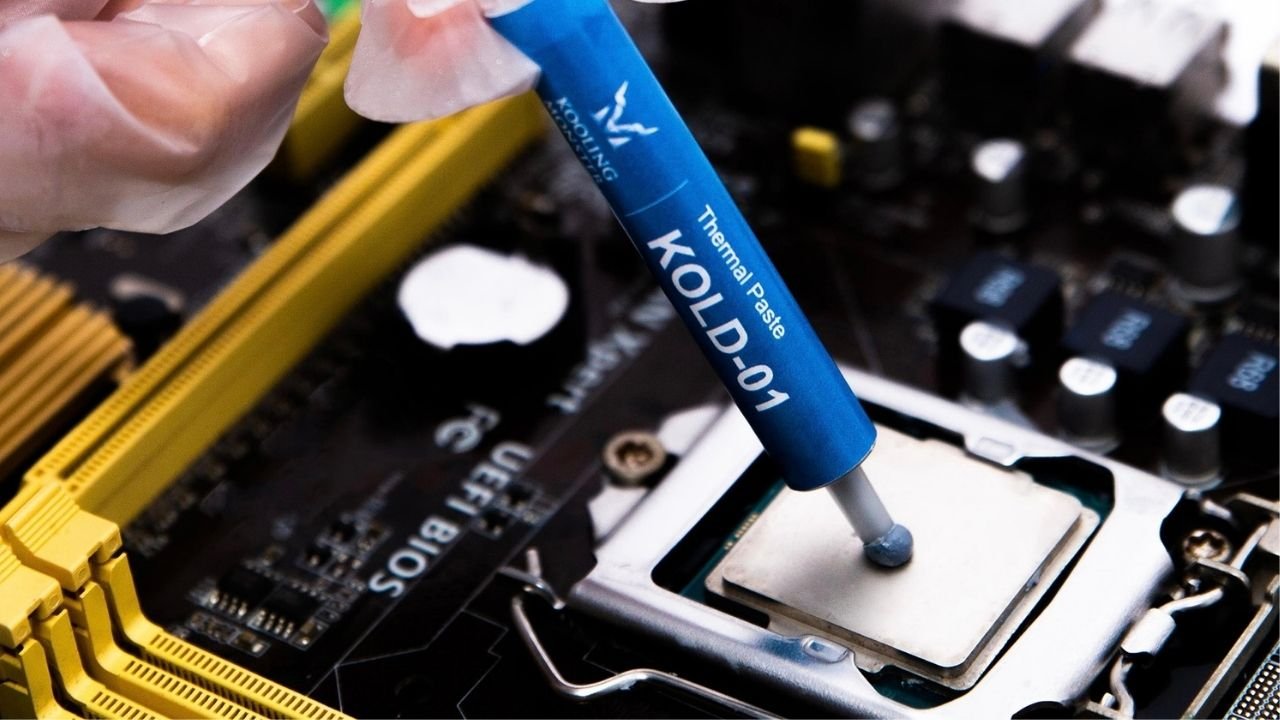
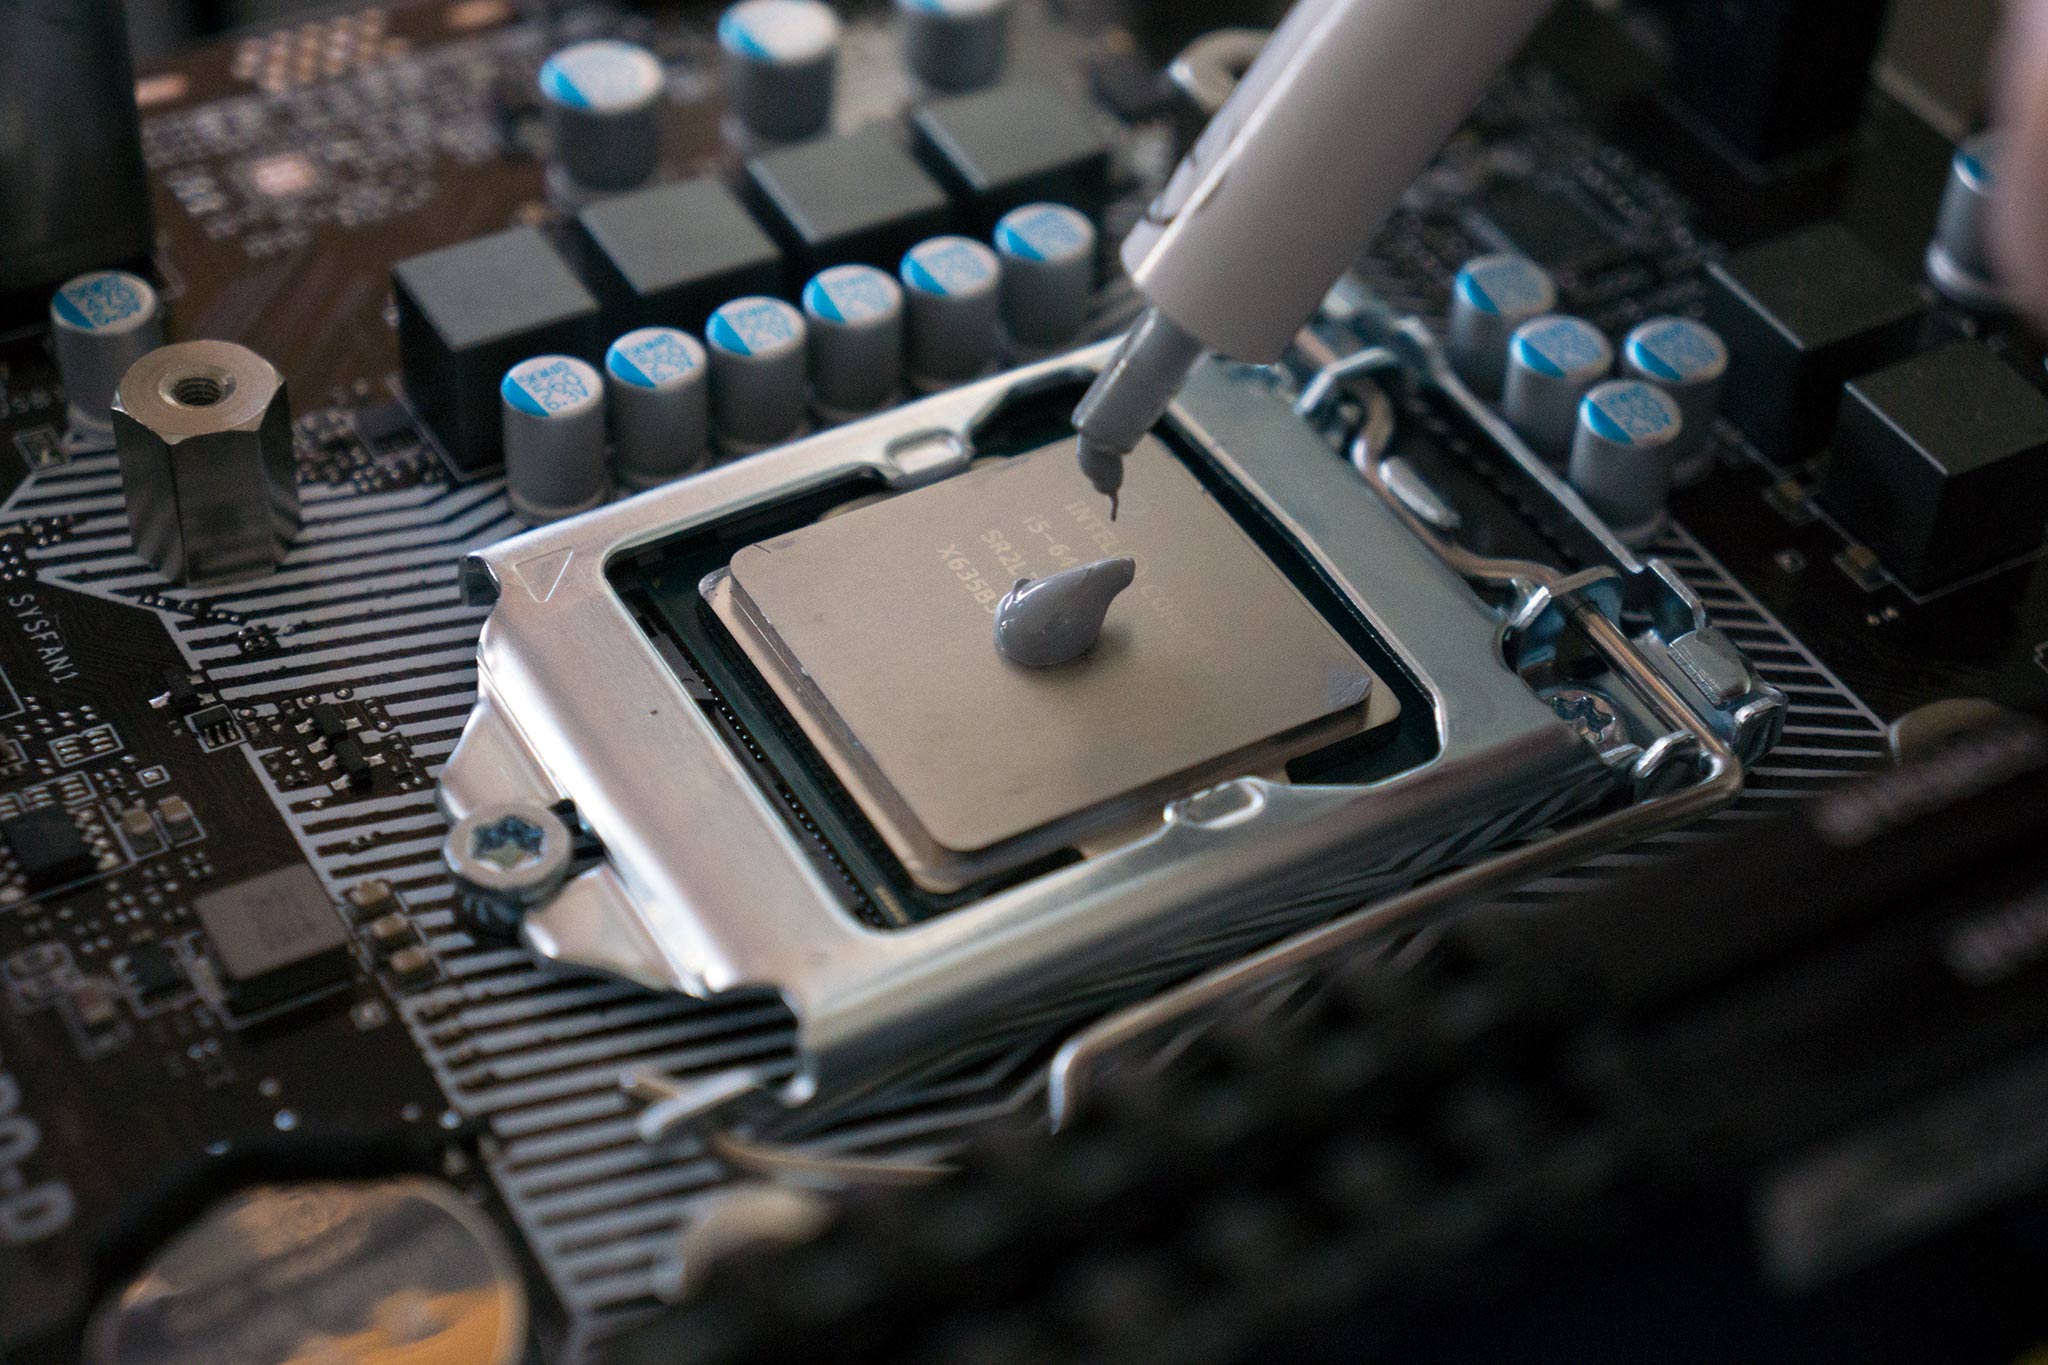
- Apply new thermal paste: Following the manufacturer’s instructions, apply a small amount of new thermal paste to the center of the CPU surface. Use a spreading card or a plastic bag to spread the paste evenly, creating a thin and uniform layer. Be cautious not to use too much paste as it can cause overheating.
- Reinstall the CPU cooler: Carefully place the CPU cooler back onto the CPU, aligning it with the mounting brackets or clips. Secure the cooler in place by screwing it down firmly, ensuring even pressure is applied to achieve proper contact with the CPU.
- Power on your computer: Once the CPU cooler is securely installed, plug in your computer and power it on. Monitor the CPU temperatures to ensure that the new thermal paste is providing effective cooling performance.
Congratulations! You have successfully cleaned off the old thermal paste from your CPU and applied a fresh layer. By following these steps and taking the necessary precautions, you have optimized your CPU’s cooling performance and safeguarded your computer against overheating. Now, let’s move on to the next section where we will discuss essential precautions to take while cleaning off the CPU thermal paste.
Precautions to take while cleaning off CPU thermal paste
While cleaning off CPU thermal paste is a relatively straightforward process, it’s essential to take certain precautions to avoid damaging your hardware. Here are some important precautions to keep in mind:
- Power off your computer: Before starting the cleaning process, make sure to turn off your computer and unplug it from the power source. This will prevent any electrical accidents and protect you from potential harm.
- Handle the CPU and cooler with care: The CPU is a delicate component, and the cooler can be heavy and bulky. Handle them with care to avoid dropping or mishandling, which can result in damage to the CPU, cooler, or motherboard.
- Wear latex gloves: While not mandatory, it’s recommended to wear latex gloves when handling the CPU or applying isopropyl alcohol. This helps prevent any fingerprints or oils from transferring to the CPU surface and ensures a clean working environment.
- Avoid using sharp or metallic tools: When scraping off the old thermal paste, use a plastic scraper or an old credit card. Avoid using sharp or metallic tools, as they can scratch the CPU or other components and cause irreparable damage.
- Use isopropyl alcohol in a well-ventilated area: Isopropyl alcohol has a strong odor, so it’s crucial to work in a well-ventilated area. Open windows or use a fan to ensure proper air circulation. Avoid breathing in the fumes directly and keep the alcohol away from open flames or sources of ignition.
- Do not overuse isopropyl alcohol: While isopropyl alcohol is effective for cleaning thermal paste, avoid excessively applying it. Use a small amount on the cotton swab and ensure that it doesn’t drip or pool on the CPU surface. Excessive use of alcohol can potentially damage the CPU or other components.
- Apply the right amount of thermal paste: When applying the new thermal paste, ensure that you use the correct amount. Applying too little can result in inadequate heat transfer, while using too much can cause excess thermal paste to ooze out and potentially damage the surrounding components.
- Monitor CPU temperatures after installation: After reinstalling the CPU cooler, monitor the CPU temperatures to ensure that the new thermal paste is providing efficient cooling. High temperatures or unusual behavior may indicate improper application of thermal paste or an issue with the cooler installation.
By following these precautions, you can safely and effectively clean off CPU thermal paste without causing any harm to your computer. Taking the time to handle the components carefully and applying the thermal paste correctly will ensure optimal cooling performance and enhance the longevity of your CPU. Now, let’s move on to the next section where we will provide you with some helpful tips and tricks for cleaning off CPU thermal paste.
Tips and tricks for cleaning off CPU thermal paste
When it comes to cleaning off CPU thermal paste, there are some tips and tricks that can help make the process even smoother and more effective. Take a look at these helpful suggestions:
- Use thermal paste remover: If the thermal paste is stubborn or difficult to remove, you can consider using a thermal paste remover solution. These solutions are specifically designed to dissolve thermal paste quickly and make the cleaning process easier.
- Heat the CPU before cleaning: Heating the CPU slightly before cleaning can help soften the thermal paste, making it easier to remove. One way to do this is by running a CPU-intensive task for a few minutes and then allowing the CPU to cool down before proceeding with the cleaning process.
- Apply a pea-sized amount of thermal paste: When applying the new thermal paste, a small pea-sized amount is generally sufficient. This ensures an even distribution and prevents excess paste from oozing out and interfering with the CPU cooler’s contact.
- Consider using a thermal paste applicator: To achieve an even and consistent layer of thermal paste, you can use a thermal paste applicator tool. These tools help spread the paste evenly, eliminating the need for a spreading card or plastic bag method.
- Check CPU cooling system regularly: Cleaning off CPU thermal paste is just one aspect of maintaining optimal cooling performance. Regularly check your CPU cooling system, including fans and heatsinks, to ensure they are clean and functioning properly. Dust and debris buildup can hinder cooling efficiency.
- Reapply thermal paste periodically: Over time, thermal paste can dry out or degrade, and its effectiveness can diminish. It is recommended to clean off and reapply the thermal paste every couple of years or if you notice an increase in CPU temperatures.
- Perform a stress test after applying new thermal paste: To ensure that the new thermal paste is providing effective cooling, consider running a stress test or CPU benchmark to put the system under heavy load. Monitor the CPU temperatures and ensure they remain within safe limits.
These tips and tricks will help you optimize the cleaning process and ensure that your CPU thermal paste is applied and maintained correctly. By following these suggestions, you can maximize the cooling performance of your CPU and keep your computer running smoothly. Now, let’s conclude this guide with a brief recap of the key points discussed.
Conclusion
In conclusion, cleaning off CPU thermal paste is a crucial maintenance task that can significantly improve the cooling performance and longevity of your computer. By following the step-by-step guide provided, you can safely remove old thermal paste, apply a fresh layer, and ensure efficient heat transfer from the CPU to the cooler.
We discussed the importance of cleaning off CPU thermal paste to achieve optimal heat transfer, prevent overheating, and improve system performance. Additionally, we highlighted the tools and materials you will need for the cleaning process, such as isopropyl alcohol, cotton swabs, and a plastic scraper.
Throughout the guide, we emphasized the precautions to take while cleaning off CPU thermal paste, including turning off the computer, handling the components with care, and using the right amount of thermal paste. We also provided tips and tricks to enhance the cleaning process, such as using thermal paste remover and applying a pea-sized amount of thermal paste.
Remember to regularly monitor the CPU temperatures and perform system checks to ensure optimal cooling performance. Reapplying thermal paste every couple of years or as needed will help maintain optimal heat management and extend the lifespan of your CPU.
Cleaning off CPU thermal paste may seem like a small task, but it can have a significant impact on your computer’s performance and stability. By dedicating some time and attention to this process, you are taking proactive steps to ensure a cooler and more efficient computing experience.
So, don’t hesitate to follow this guide and clean off that old thermal paste. Your CPU will thank you, and you’ll enjoy smoother operation and improved performance from your computer in return.