Introduction
Welcome to our comprehensive guide on how to take out a CPU from your computer. Whether you are upgrading your CPU, troubleshooting hardware issues, or simply curious about the inner workings of your computer, understanding how to properly remove a CPU is a valuable skill for any computer enthusiast.
The CPU, or Central Processing Unit, is the brain of your computer and is responsible for executing instructions and performing calculations. It is crucial to handle the CPU with care to avoid any damage during the removal process. By following the step-by-step instructions in this guide, you will be able to safely and confidently remove your CPU.
Before we dive into the details, it is important to note that removing a CPU requires some technical knowledge and experience with computer hardware. If you are not comfortable working inside your computer or are unsure of your abilities, it is best to seek assistance from a professional.
Throughout this guide, we will provide clear instructions and tips to help you successfully take out your CPU. We will also discuss the tools you will need, precautions to take, and troubleshooting tips in case you encounter any issues.
So, without further ado, let’s get started on taking out your CPU and unlocking a world of possibilities for your computer!
Required Tools
Before you begin the process of taking out your CPU, it is important to gather the necessary tools to ensure a smooth and successful removal. Here are the tools you will need:
- Screwdriver: You will need a screwdriver, typically a Phillips-head or flat-head, to remove any screws securing the computer case or CPU cooler.
- Thermal Paste and Isopropyl Alcohol: If you plan on reinstalling the CPU or replacing it with a new one, you will need thermal paste to ensure proper heat transfer. Isopropyl alcohol is also needed to clean off the old thermal paste from the CPU and cooler.
- Anti-static Wrist Strap: To protect sensitive electronic components from damage caused by static electricity, it is recommended to wear an anti-static wrist strap during the entire CPU removal process.
- CPU Removal Tool (optional): Some computer cases or CPU coolers come with a specialized CPU removal tool that makes the process easier and safer. Check your computer’s manual or the manufacturer’s website to see if your case or cooler includes this tool.
- Clean and Dry Surface: Prepare a clean and dry surface where you can place the CPU and other components during the removal process. This will help prevent any dirt or debris from getting onto the sensitive parts.
Having these tools at hand will ensure that you are equipped to safely and effectively remove your CPU. It is always a good idea to gather all the necessary tools and have them within reach before you start working on your computer.
Remember, proper preparation is key to avoid any damage or mishaps during the CPU removal process. Once you have all the tools ready, you are now ready to move on to the next step: powering off and unplugging your computer.
Step 1: Power Off and Unplug
Before you begin the process of removing your CPU, it is crucial to power off your computer and unplug it from the electrical outlet. This ensures your safety and prevents any potential damage to your hardware.
To properly power off your computer, follow these steps:
- Save and close all open files and programs: Make sure you save any important documents or files and close any running applications. This will help prevent any data loss or corruption.
- Shut down your operating system: Depending on your operating system, you can shut down your computer by either clicking on the Start menu and selecting “Shutdown” or using the keyboard shortcut (e.g., Windows key + X, then U, then Enter for Windows operating systems).
- Unplug the power cord from the electrical outlet: Once your computer is fully shut down, locate the power cord connected to the back of your computer. Carefully unplug it from the electrical outlet.
- Press the power button to discharge any remaining power: To ensure there is no residual electrical charge, press and hold the power button on your computer for a few seconds. This will discharge any remaining power.
By following these steps, you have successfully powered off your computer and disconnected it from the power source. This is an essential first step in ensuring your safety and the integrity of your computer components.
It is important to remember that handling computer components while the computer is powered on or connected to a power source can result in electrical shock or damage to the hardware. Always take the necessary precautions and follow these steps to ensure a safe working environment.
Now that your computer is powered off and unplugged, you can move on to the next step: opening the computer case.
Step 2: Open the Computer Case
Now that your computer is powered off and unplugged, it’s time to open the computer case to access the internal components, including the CPU. Opening the case may vary depending on the type of computer you have, so be sure to consult your computer’s manual for specific instructions. However, the general steps below will guide you through the process:
- Locate the screws: Most computer cases have screws securing the side panels. Look for the screws at the back or side of the case that hold the panels in place.
- Use the appropriate screwdriver: Use the appropriate screwdriver, typically a Phillips-head or flat-head, to unscrew and remove the screws holding the side panel(s) in place.
- Slide off the side panel: Once the screws are removed, gently slide off the side panel to expose the internal components of your computer.
It’s important to handle the side panel(s) with care and store them in a safe place where they won’t get damaged. This will make it easier to reassemble your computer later.
Some computer cases may have different opening mechanisms, such as latches or levers. Refer to your computer’s manual or manufacturer’s website for specific instructions on how to open your particular case.
Once you have successfully opened your computer case, take a moment to familiarize yourself with the internal layout. Locate the CPU socket, which is where the CPU is seated. Take note of any cables or connectors that may be in the way and plan your steps accordingly.
With the computer case open and ready, you can now proceed to the next step: identifying the CPU.
Step 3: Identify the CPU
Now that you have opened your computer case, it’s time to identify the CPU. The CPU, or Central Processing Unit, is a small chip located on the motherboard and is often covered by a heatsink or CPU cooler.
To identify the CPU, follow these steps:
- Locate the CPU socket: Look for a square or rectangular socket on the motherboard that is specifically designed to accommodate the CPU. The socket may be labeled with the CPU socket type, such as LGA1151 or AM4.
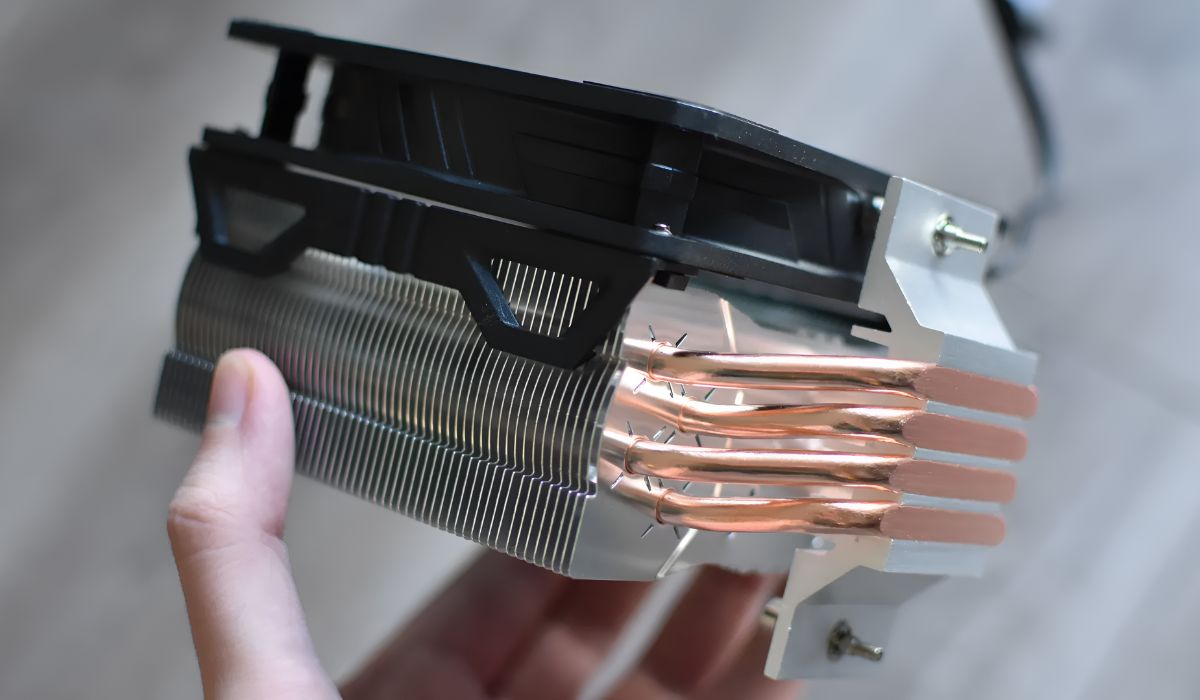
- Identify the CPU cooler: Take note of the large heatsink and fan assembly attached to the CPU socket. This is the CPU cooler, which helps dissipate heat generated by the CPU during operation.
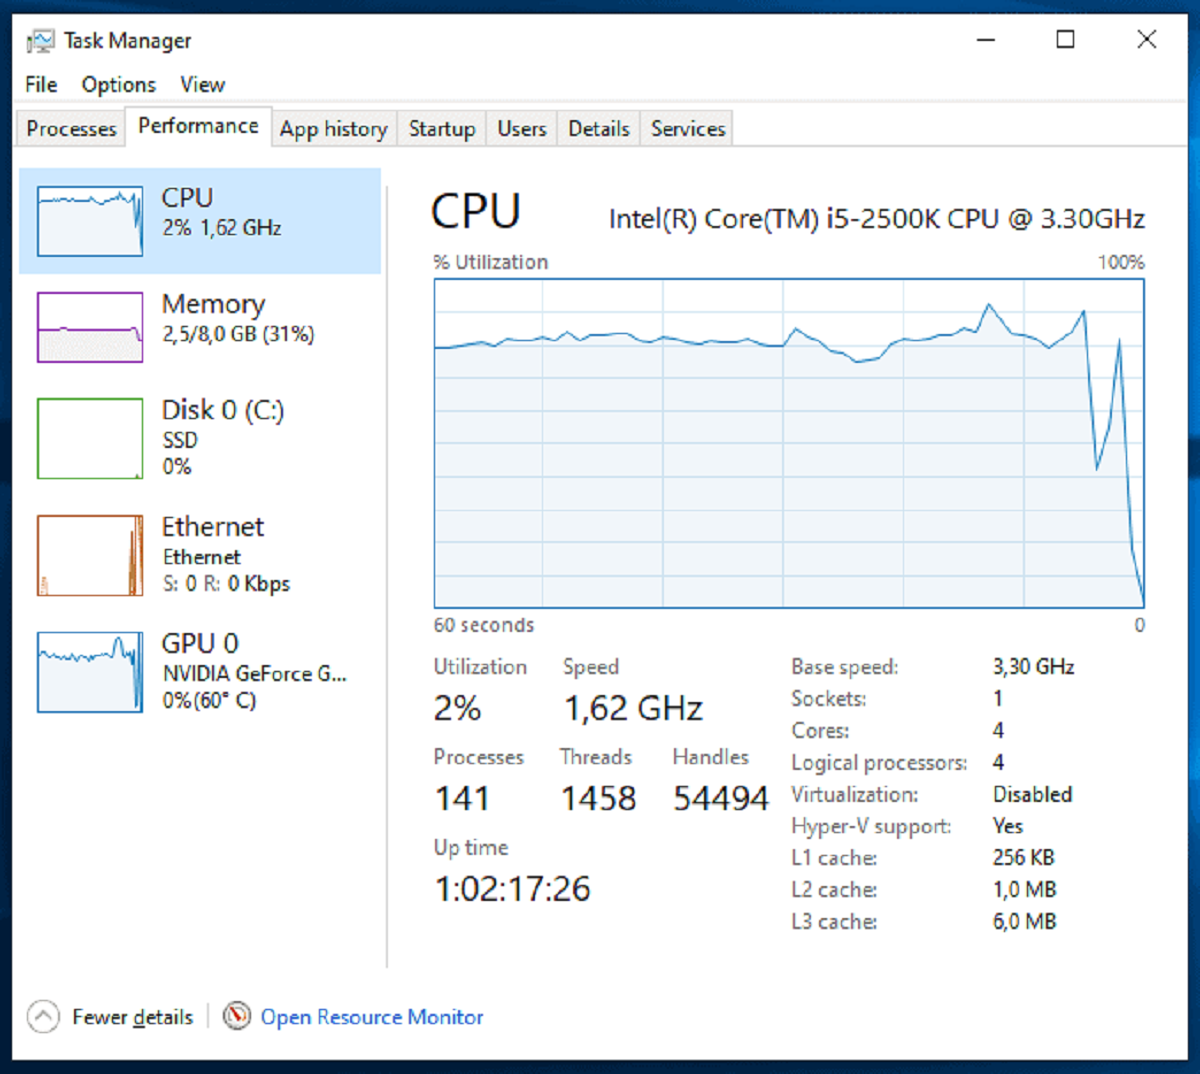
- Observe the CPU logo or branding: On the surface of the CPU, you should see a logo or branding that indicates the manufacturer and model of the CPU. This can help you identify the specific CPU you have installed.
It’s important to be cautious and avoid touching any exposed pins or delicate components on the CPU. Handle the CPU and cooler with care to prevent any damage.
By identifying the CPU, you will have a clearer understanding of the type and specifications of your processor. This information can be useful when upgrading or troubleshooting your computer in the future.
Once you have identified the CPU, you can proceed to the next step: disconnecting the CPU cooler.
Step 4: Disconnect CPU Cooler
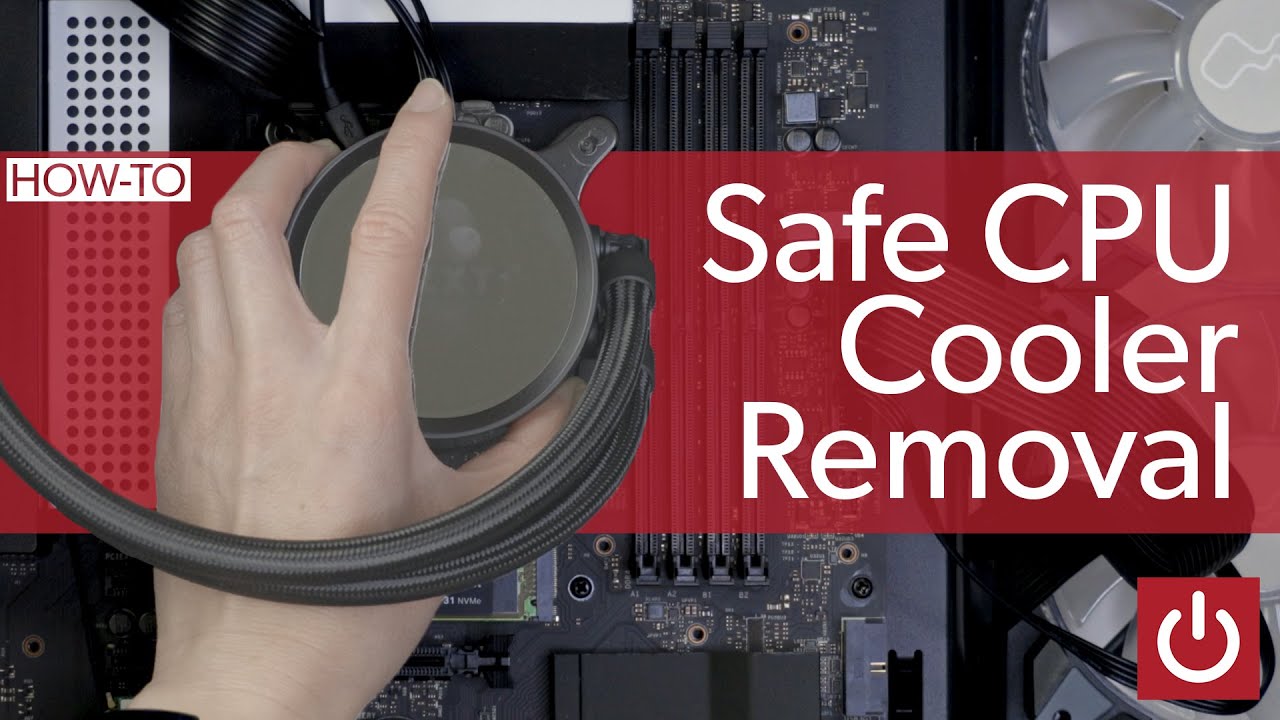
Now that you have identified the CPU, it’s time to disconnect the CPU cooler. The CPU cooler is responsible for keeping the CPU temperature in check by dissipating heat. Disconnecting the CPU cooler requires careful maneuvering and attention to detail. Follow these steps to safely disconnect the CPU cooler:
- Locate the CPU cooler: The CPU cooler is usually attached to the CPU socket with screws or clips. It may also be connected to the motherboard with a fan connector.
- Unplug the fan connector (if applicable): If your CPU cooler has a fan connector, unplug it from the motherboard. Gently pull on the connector while holding onto the plug, being careful not to tug too hard or bend any pins.
- Remove the screws or clips: If your CPU cooler is secured with screws, use a screwdriver to carefully unscrew them in a diagonal pattern. If it is secured with clips, gently push down or unclip them to release the cooler.
- Detach the CPU cooler: Once the screws or clips are removed, slowly and gently lift the CPU cooler away from the CPU. Be cautious as there might be some residual thermal paste sticking the cooler to the CPU. Wiggle the cooler slightly if needed, but avoid excessive force.
When detaching the CPU cooler, it’s important to handle it by the edges and avoid touching any delicate components or surfaces. Place the CPU cooler on a clean and static-free surface, ensuring it is stable and won’t accidentally fall or get damaged.
With the CPU cooler successfully disconnected, you can move on to the next step: unlocking the CPU socket.
Step 5: Unlock the CPU Socket
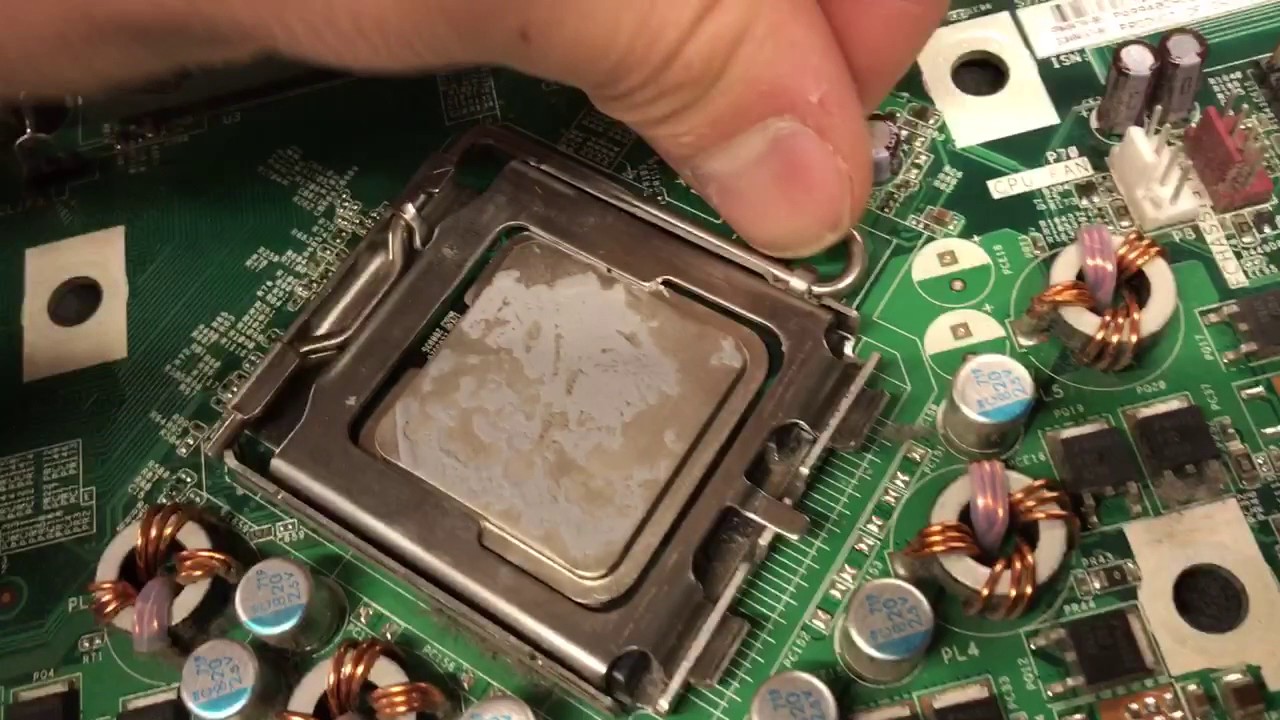
With the CPU cooler safely removed, it’s time to unlock the CPU socket. The CPU socket holds the CPU in place and ensures proper alignment and contact with the motherboard. By unlocking the CPU socket, you can prepare to remove the CPU from its seating. Follow these steps to unlock the CPU socket:
- Locate the CPU socket latch: On the side of the CPU socket, you’ll find a latch or lever mechanism that secures the CPU in place. It is typically labeled or color-coded for easy identification.
- Create clearance space: Depending on the type of latch, you may need to rotate it counterclockwise or lift it up. This action creates clearance space for safely removing the CPU.
- Apply gentle pressure: With the latch released, apply gentle pressure to the CPU to ensure it is not stuck or adhered to the socket. Use your fingertips on the sides of the CPU, avoiding contact with any delicate components or pins.
It’s important to note that every CPU socket may have a slightly different unlocking mechanism. Refer to your motherboard’s manual or manufacturer’s website for specific instructions on unlocking your CPU socket.
While unlocking the CPU socket, make sure to handle the CPU and socket with care to avoid any damage. Avoid excessive pressure or pulling on the CPU, as this could result in bent pins or other issues.
Once you have safely unlocked the CPU socket, you are ready to move on to the next step: removing the CPU itself.
Step 6: Remove the CPU
Now that the CPU socket is unlocked, it’s time to carefully remove the CPU from its seating. Removing the CPU requires precision and caution to avoid any damage. Follow these steps to safely remove the CPU:
- Gently lift the CPU: Using your fingertips, gently lift the CPU straight up from the socket. Avoid any twisting or tilting motions, as this could damage the pins or socket.
- Inspect the CPU: Once the CPU is removed, take a moment to inspect it for any signs of damage or bent pins. Handle it by the edges and avoid touching the delicate components or pins.
- Place the CPU in a protective container: To keep the CPU safe and protected, carefully place it in an anti-static bag or a plastic container designed for CPU storage. This will prevent any dust, dirt, or static electricity from damaging the CPU.
It’s important to note that the bottom of the CPU, which contains the pins or pads, is delicate and can be easily damaged. Avoid touching this area and handle the CPU with extreme care throughout the removal process, as well as during storage.
If you plan on reusing the CPU or installing a new one, be sure to keep it in a safe location where it won’t be exposed to physical damage or static electricity until you are ready to proceed.
Now that the CPU has been successfully removed, you can set it aside and move on to the next step: handling the CPU with care.
Step 7: Handling the CPU
With the CPU removed from its socket, it’s crucial to handle it with care to prevent any damage. The CPU is a delicate component with sensitive pins or pads on the bottom, so proper handling is essential. Follow these guidelines when handling the CPU:
- Avoid touching the pins or pads: The pins or pads on the bottom of the CPU are fragile and can be easily bent or damaged. It’s essential to avoid touching this area to maintain its integrity.
- Hold the CPU by the edges: When handling the CPU, hold it gently by the edges. This ensures that you have a secure grip while minimizing the risk of accidental contact with the pins or pads.
- Keep the CPU clean: Avoid touching any exposed surfaces of the CPU, as fingerprints or smudges can interfere with proper contact when reinstalled. If necessary, use an anti-static cloth to clean the CPU before reinstallation.
- Store the CPU properly: To protect the CPU from physical damage and static electricity, store it in a safe place, preferably in an anti-static bag or a plastic container designed for CPU storage.
Remember, even the tiniest bit of damage to the CPU pins or pads can impact its functionality. Therefore, it’s essential to exercise caution and handle the CPU with precision.
If you plan on reinstalling the same CPU or upgrading to a new one, make sure to follow proper installation instructions and apply new thermal paste if necessary. If you are replacing the CPU, keep the old CPU in a secure location for safekeeping or disposal, according to your preference.
Now that you have successfully handled the CPU, you are ready to move on to the next step: reinstalling the CPU or troubleshooting, if needed.
Step 8: Reinstalling and Troubleshooting
After handling the CPU with care, you may proceed to reinstall it or troubleshoot any issues you are experiencing. The following steps will guide you through the process:
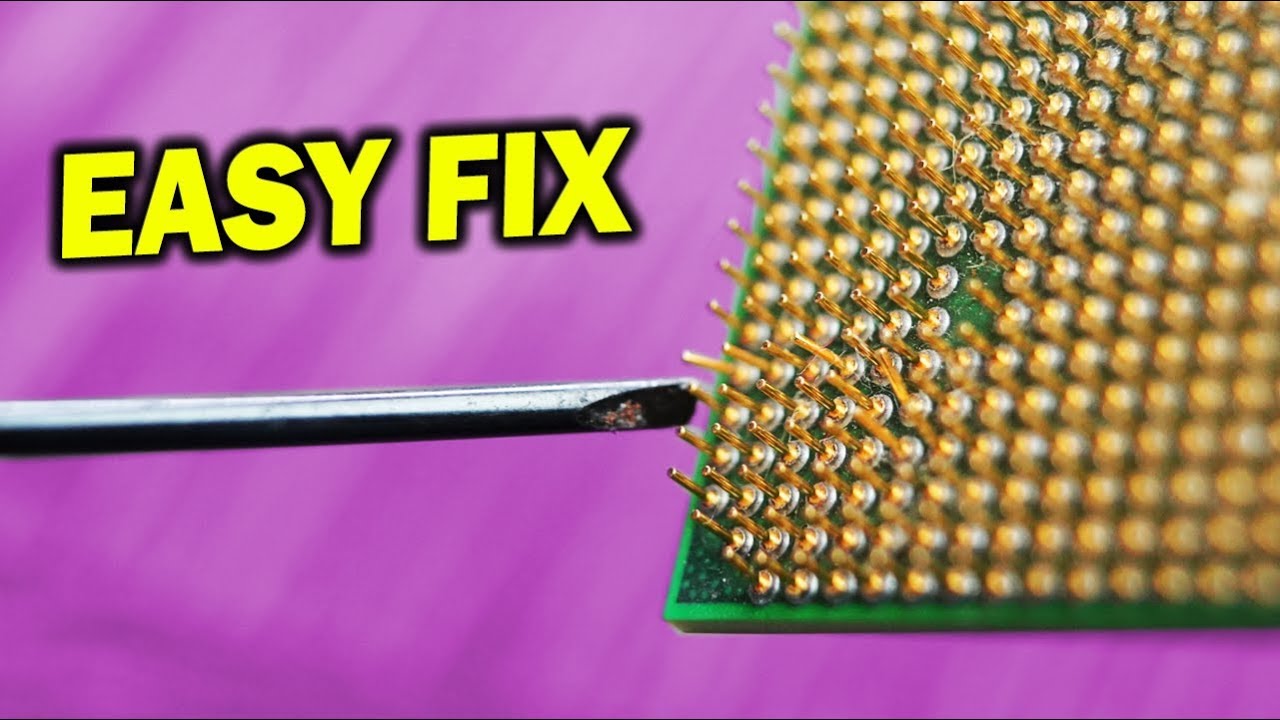
- Inspect the CPU socket: Before reinstalling the CPU, inspect the CPU socket for any bent pins or debris that may have accumulated. Use a magnifying glass or bright light to get a clear view of the socket. If you encounter bent pins, carefully straighten them using a small tool, such as a mechanical pencil, being cautious not to break or damage the pins.
- Reinstall the CPU: Line up the CPU with the socket, ensuring that it is correctly aligned with the notches or corner markings. Gently lower the CPU onto the socket, being careful not to apply excessive force. Once in place, press down evenly on the CPU to seat it properly.
- Apply thermal paste (if necessary): If you are reinstalling the same CPU or replacing it with a new one, you may need to apply a fresh layer of thermal paste. Consult the CPU and cooler manufacturer’s instructions for guidance on applying the thermal paste correctly.
- Reattach the CPU cooler: Carefully position the CPU cooler over the CPU, aligning the screw holes or clips with the mounting points on the motherboard. Secure the CPU cooler in place using the appropriate screws or clips. If applicable, reconnect the fan connector to the motherboard.
- Power on and test: Once everything is securely reinstalled, reconnect the power cable, close the computer case, and power on your computer. Monitor the system for any abnormal behavior, such as overheating, unusual fan noises, or error messages. If any issues arise, refer to your computer or CPU manual for troubleshooting tips or seek assistance from a professional if needed.
Remember to always follow proper safety precautions and refer to the specific instructions provided by your CPU and motherboard manufacturer. If you encounter any difficulties or are unsure about any step, don’t hesitate to seek assistance from a knowledgeable individual or professional.
By following these steps, you have successfully taken out the CPU, handled it with care, and reinstalled it or troubleshooted any issues. Congratulations on completing this process and enhancing your computer knowledge and skills!