Introduction
Welcome to this comprehensive guide on how to install an AM4 CPU cooler. Whether you’re upgrading your current cooler, building a new system, or simply looking to improve your CPU’s cooling performance, this step-by-step tutorial will help you through the process. Installing an AM4 CPU cooler is a crucial step in ensuring the longevity and optimal performance of your processor. Improper installation can lead to high temperatures, reduced performance, and even potential damage to your CPU.
Before we dive into the installation process, it’s important to understand why proper cooling is essential. A CPU generates a significant amount of heat when it’s under load, and without an efficient cooling solution, this heat can accumulate and cause the CPU to throttle or even shut down to prevent damage. A high-quality CPU cooler helps to dissipate this heat, keeping the processor at safe operating temperatures and allowing it to perform at its best.
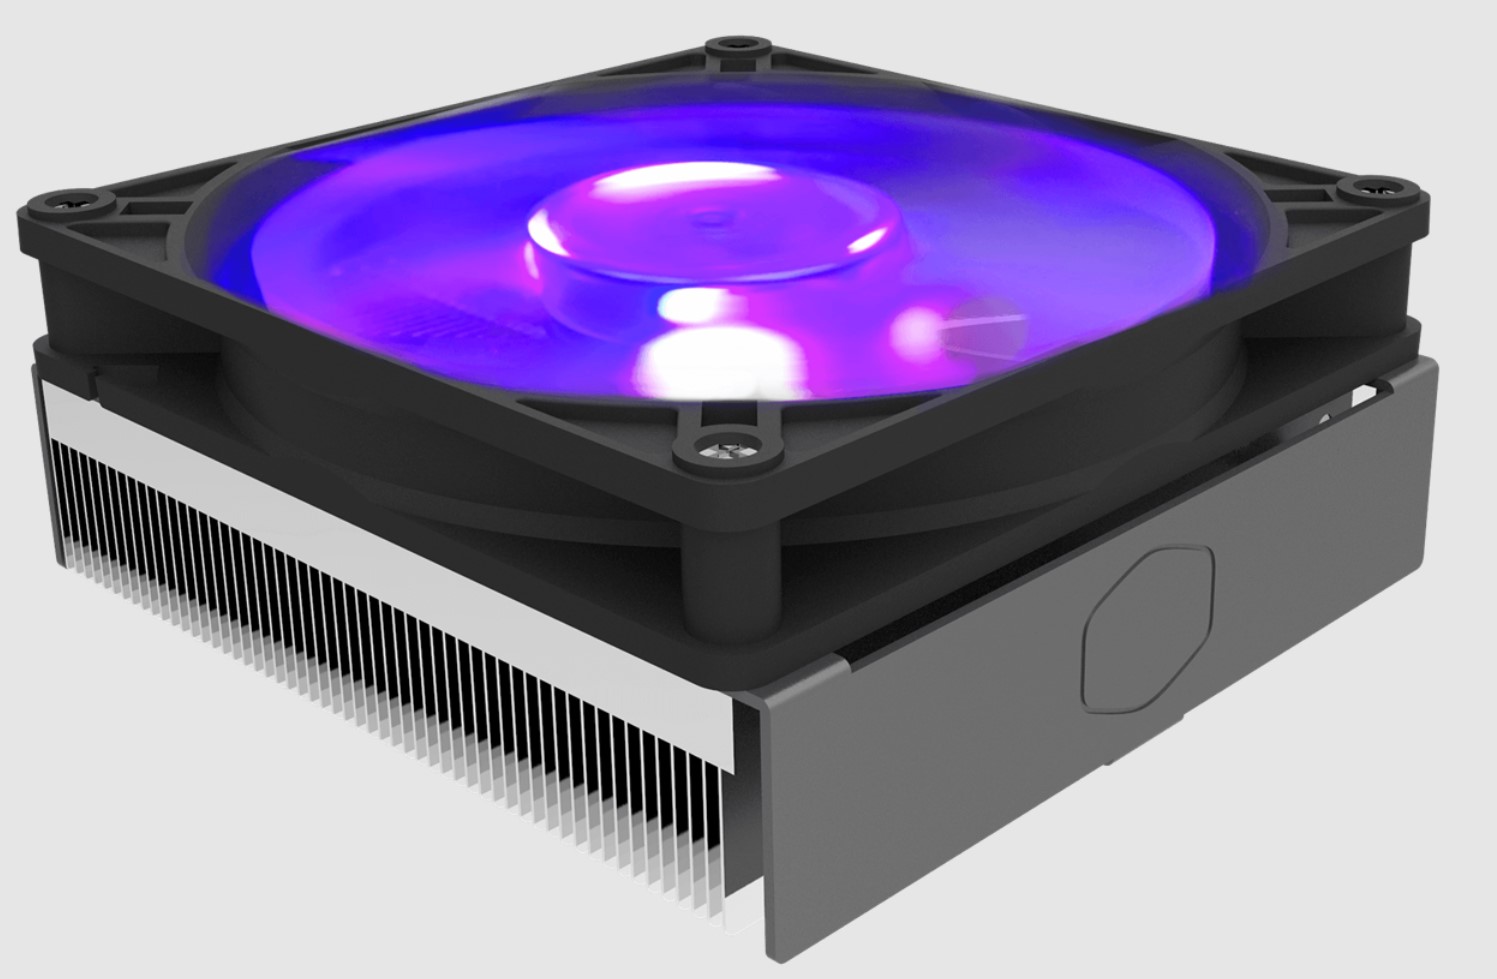
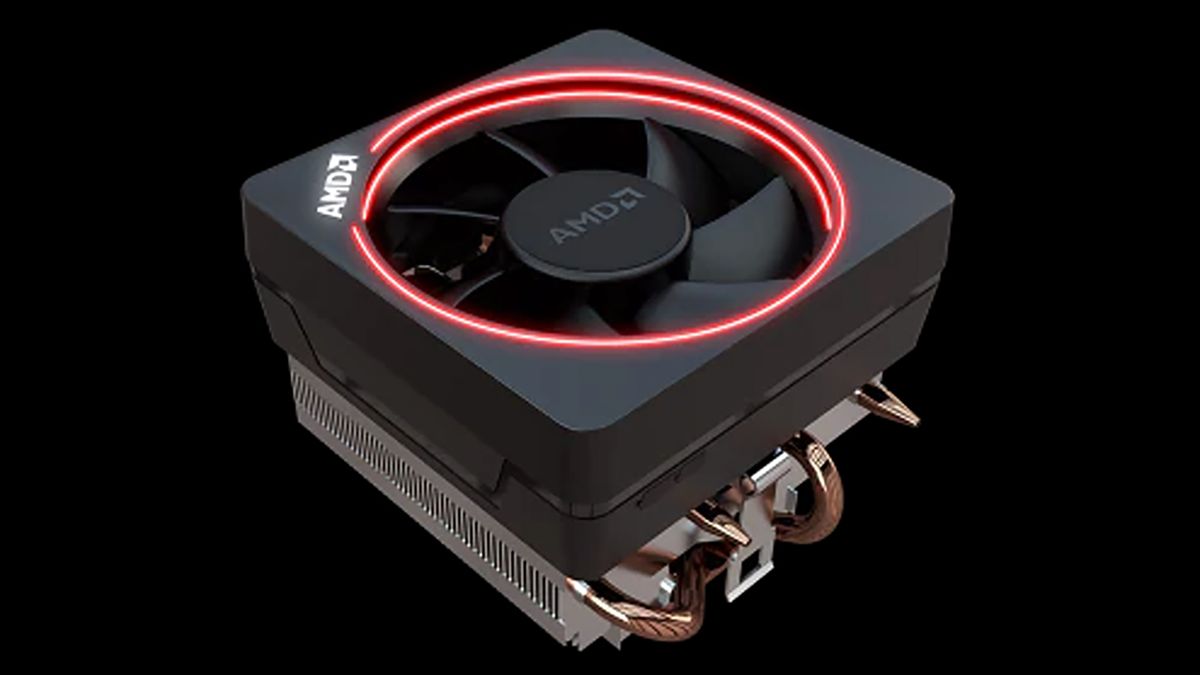
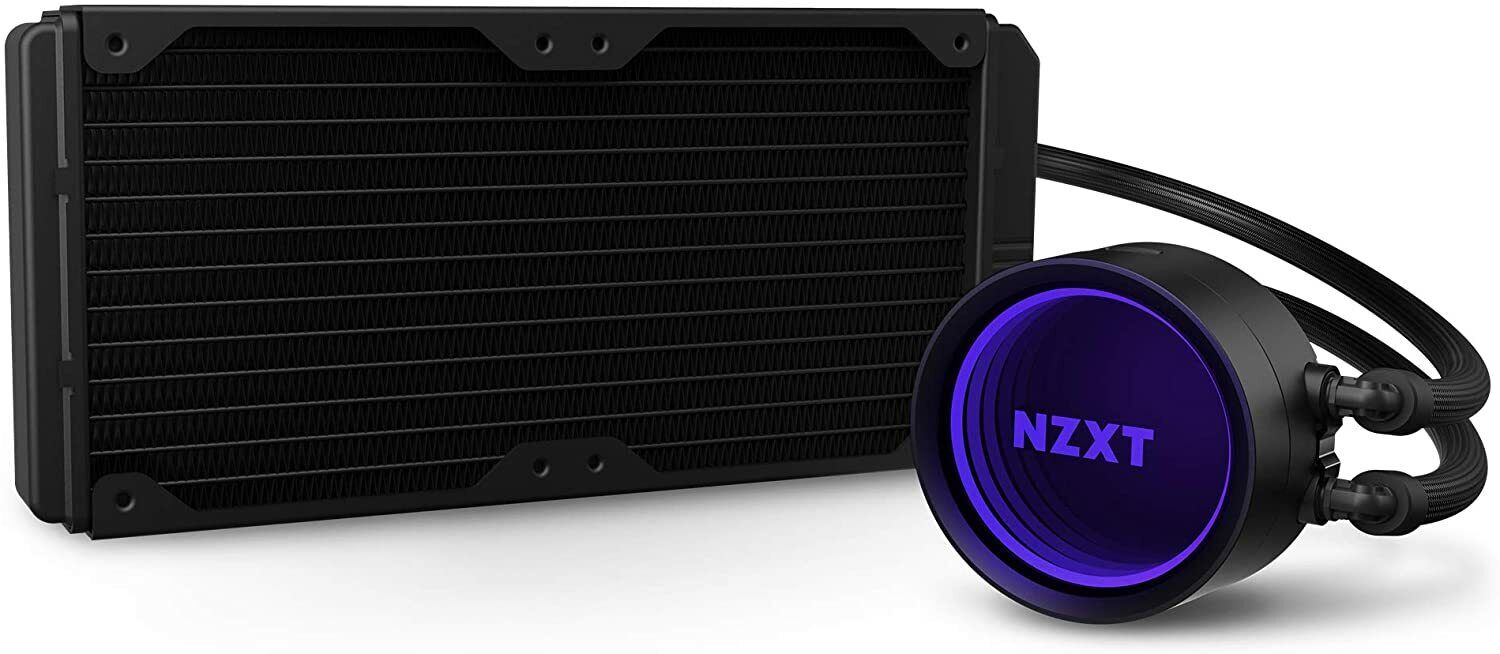
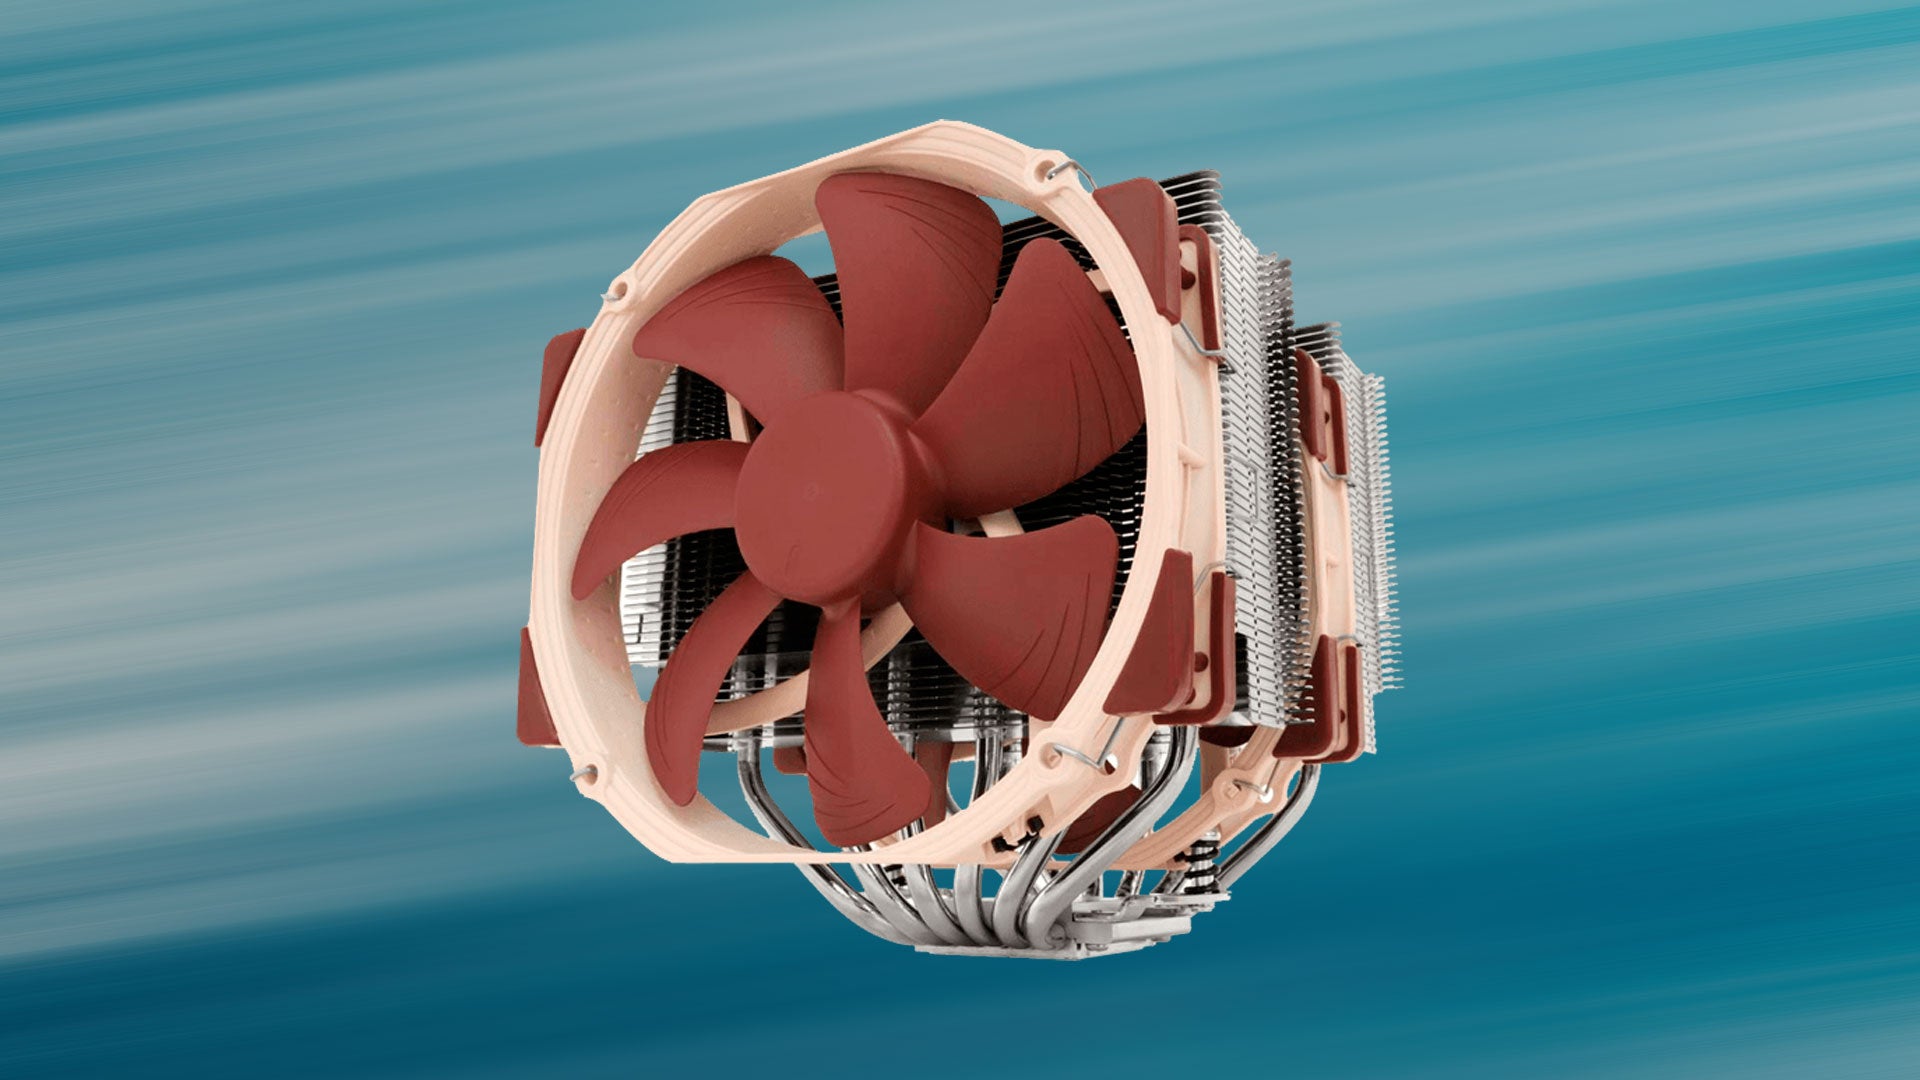
When it comes to AM4 CPU coolers, you have a variety of options to choose from, including air coolers and liquid coolers. Both types have their own advantages and considerations, such as price, cooling performance, noise levels, and space requirements. Regardless of the type you choose, the installation process remains relatively similar.
In this guide, we will walk you through the step-by-step process of installing an AM4 CPU cooler. We will cover everything from gathering the necessary tools to securing the cooler in place. By following this guide carefully, you’ll have your AM4 CPU cooler up and running in no time, ensuring optimal cooling for your processor.
Before we begin, it’s important to note that while we will provide general instructions, it’s always recommended to consult your CPU cooler’s specific installation manual for any manufacturer-specific guidelines. Now, let’s dive in and get started with the installation process!
Getting Started
Before you begin the installation process, it’s essential to gather the necessary tools and ensure that you have a clean and well-lit workspace. Here’s what you’ll need:
- CPU cooler of your choice (compatible with AM4 socket)
- Thermal paste
- Screwdriver (typically Phillips head)
- Clean cloth or paper towel
- Isopropyl alcohol (70% or higher) for cleaning (optional)
Once you have these tools ready, make sure to read the manual that comes with your specific CPU cooler. This will provide precise instructions and details specific to the model you’re installing. Additionally, it’s crucial to work in an uncluttered and static-free environment. Static discharge can potentially damage sensitive computer components, so it’s best to work on an anti-static mat or wear an anti-static wrist strap.
Now that you’re prepared, you can proceed to the next steps in the installation process. Remember, take your time, follow the instructions carefully, and if you encounter any difficulties or have questions, don’t hesitate to consult the manufacturer’s guide or seek assistance from an experienced individual.
Step 1: Gather the Necessary Tools
Before you begin the CPU cooler installation process, it’s essential to gather all the necessary tools and materials. Having everything prepared beforehand will ensure a smooth installation experience. Here’s a list of the tools you’ll need:
- CPU cooler (compatible with the AM4 socket)
- Thermal paste
- Screwdriver (usually a Phillips-head)
- Clean cloth or paper towel
- Isopropyl alcohol (70% or higher) for cleaning (optional)
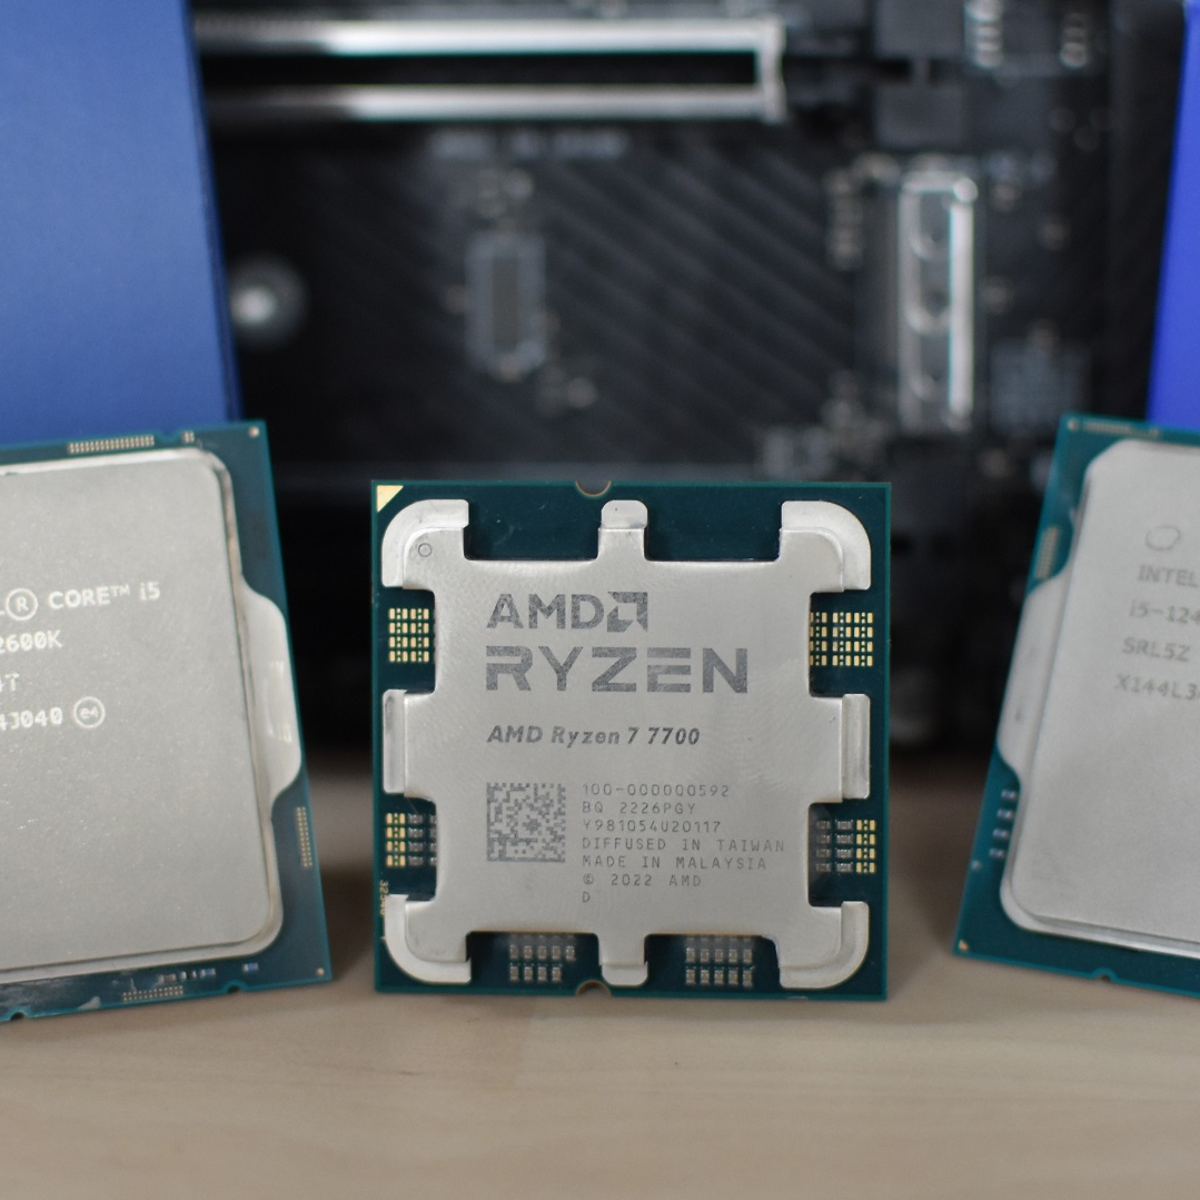
Make sure to choose a CPU cooler that is specifically designed for the AM4 socket to ensure compatibility. Read the product specifications and user reviews to determine the cooling performance and noise levels of the cooler.
Thermal paste is crucial for ensuring proper heat transfer between the CPU and the cooler. If your CPU cooler doesn’t come with pre-applied thermal paste, you’ll need to apply a small amount onto the processor before installing the cooler.
A screwdriver, typically a Phillips-head, will be needed to secure the CPU cooler in place. Make sure it’s the appropriate size for the screws or fasteners used in your specific cooler model.
A clean cloth or paper towel is useful for wiping away any old thermal paste residue or cleaning the CPU surface. If needed, you can use isopropyl alcohol to clean the CPU and cooler bottom for optimal thermal contact.
Gather all these tools and materials before proceeding to the next installation steps. Having everything ready will save you time and ensure a successful and hassle-free installation process.
Step 2: Remove the Old CPU Cooler
Before installing a new AM4 CPU cooler, you need to remove the old one from your system. Here’s how to do it:
- Power off your computer: Before you start working on your CPU cooler, make sure to shut down your computer and unplug it from the power source. This will prevent any accidental damage and ensure your safety during the installation process.
- Access the CPU socket: Depending on your computer case and motherboard, you may need to remove the side panel or open the access panel to reach the CPU area. Consult your computer’s manual or look for any latches or screws that secure the case.
- Disconnect the fan and power cables: Carefully unplug the fan cable and any additional power cables connected to the old CPU cooler. Take note of how the cables are routed for easier reconnection later.
- Remove the cooler screws or clips: Locate the screws or clips that secure the CPU cooler to the motherboard. The number and configuration may vary depending on your cooler type. Use a screwdriver to loosen and remove the screws or unclip the cooler from the motherboard.
- Detach the cooler from the CPU: Gently twist or wiggle the CPU cooler to break the thermal paste seal. Be cautious not to damage any other components on the motherboard. Lift the cooler straight up to remove it from the CPU.
- Clean the CPU and cooler: Use a clean cloth or paper towel to wipe away any old thermal paste residue from the CPU surface. If needed, you can use isopropyl alcohol to clean the CPU and cooler bottom for a pristine contact surface.
Removing the old CPU cooler is crucial to ensure a clean and secure installation of the new AM4 cooler. Take your time and handle the components with care. Once the old cooler is safely removed, you can proceed to the next steps of the installation process.
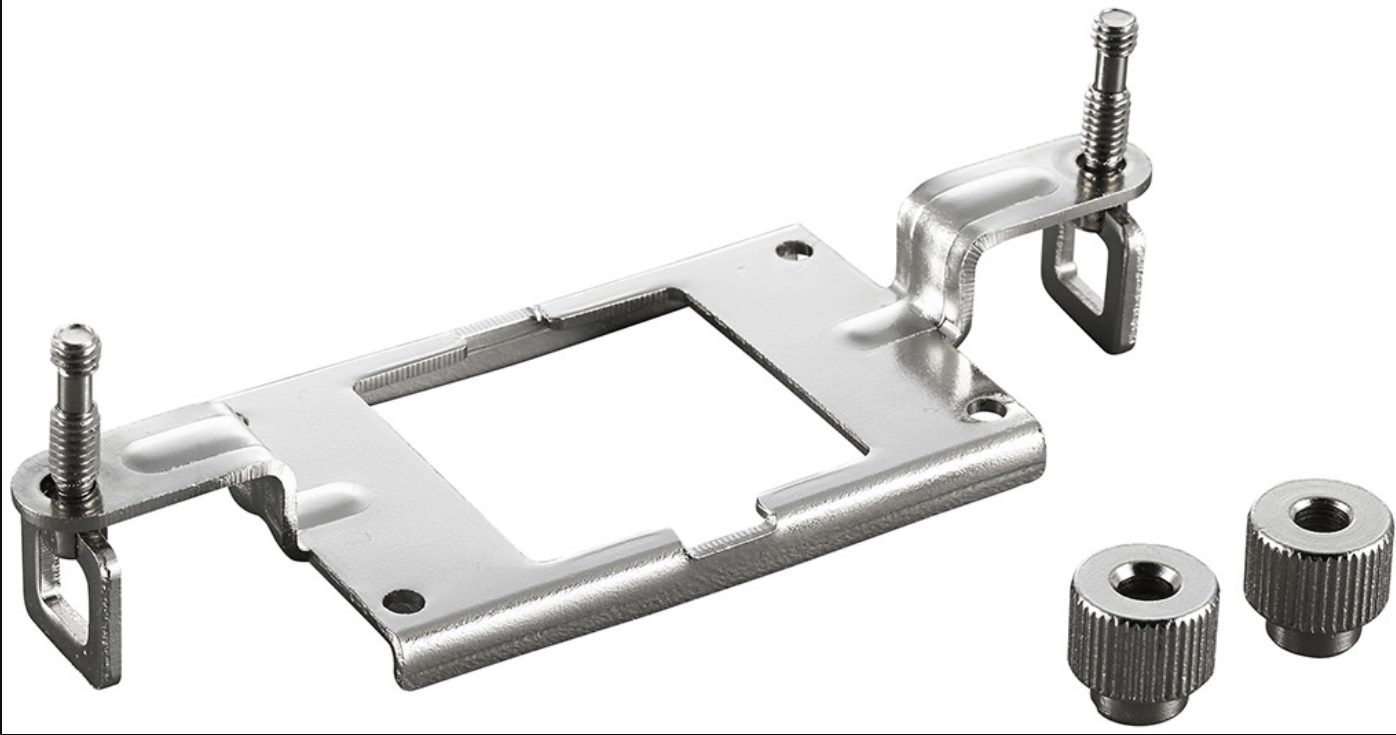
Step 3: Prepare the AM4 Mounting Bracket
Before you can install the new AM4 CPU cooler, you’ll need to prepare the AM4 mounting bracket. Follow these steps to ensure a proper installation:
- Identify the AM4 mounting bracket: Most AM4 CPU coolers come with a specific mounting bracket designed for the AM4 socket. Locate the bracket that matches your cooler and ensure it’s compatible with your motherboard.
- Remove the existing mounting bracket (if applicable): If your motherboard has a pre-installed mounting bracket or backplate, check if it’s compatible with the AM4 bracket. If not, you’ll need to remove it following the instructions in your motherboard’s manual.
- Attach the AM4 mounting bracket: Align the AM4 bracket with the holes at the back of the motherboard. Make sure the bracket lines up with the CPU socket. Insert the screws or clips provided with the cooler into the motherboard’s mounting holes and tighten them securely. Double-check that the bracket is firmly attached and doesn’t wiggle.
- Ensure proper orientation: Some brackets have specific orientations, so make sure you align them correctly with the CPU socket. Refer to the manual of your specific cooler for the correct positioning.
Once you’ve prepared the AM4 mounting bracket, your motherboard is ready to receive the new CPU cooler. Make sure the bracket is securely attached before proceeding to the next installation steps. It’s important to note that different CPU cooler models may have variations in their mounting mechanisms, so always refer to the manufacturer’s instructions for precise installation steps.
Step 4: Apply Thermal Paste
Thermal paste is a crucial component in ensuring optimal heat transfer between the CPU and the cooler. Applying thermal paste correctly will help improve the efficiency of your CPU cooler. Follow these steps to apply thermal paste:
- Clean the CPU surface: Use a clean cloth or paper towel to remove any thermal paste residue or dirt from the CPU surface. If necessary, you can lightly dampen the cloth with isopropyl alcohol (70% or higher) to ensure a clean surface for proper adhesion.
- Locate the thermal paste: Some CPU coolers come with pre-applied thermal paste, while others require you to apply it separately. If your CPU cooler doesn’t have pre-applied thermal paste, check the package for a small tube or syringe of thermal paste.
- Apply a small amount of thermal paste: For most CPUs, a pea-sized dot or a thin line of thermal paste running horizontally across the CPU is sufficient. Avoid applying too much or too little thermal paste, as it can affect the heat transfer and cooling efficiency.
- Spread the thermal paste: Gently place the CPU cooler on top of the thermal paste, applying even pressure. The mounting mechanism of your cooler will help spread the thermal paste evenly across the CPU surface. Avoid excessive pressure, as it may cause air bubbles or uneven distribution.
Remember, the goal is to create a thin, uniform layer of thermal paste between the CPU and the cooler. This will ensure optimal heat transfer and help prevent any air gaps that can compromise cooling performance. If you’re unsure about the amount of thermal paste to use or the recommended application method, consult the manual provided with your CPU cooler.
Note: If you accidentally apply too much thermal paste or make a mistake during the application process, you can carefully clean it off with isopropyl alcohol and start again. It’s better to take the time to get it right than to risk ineffective cooling.
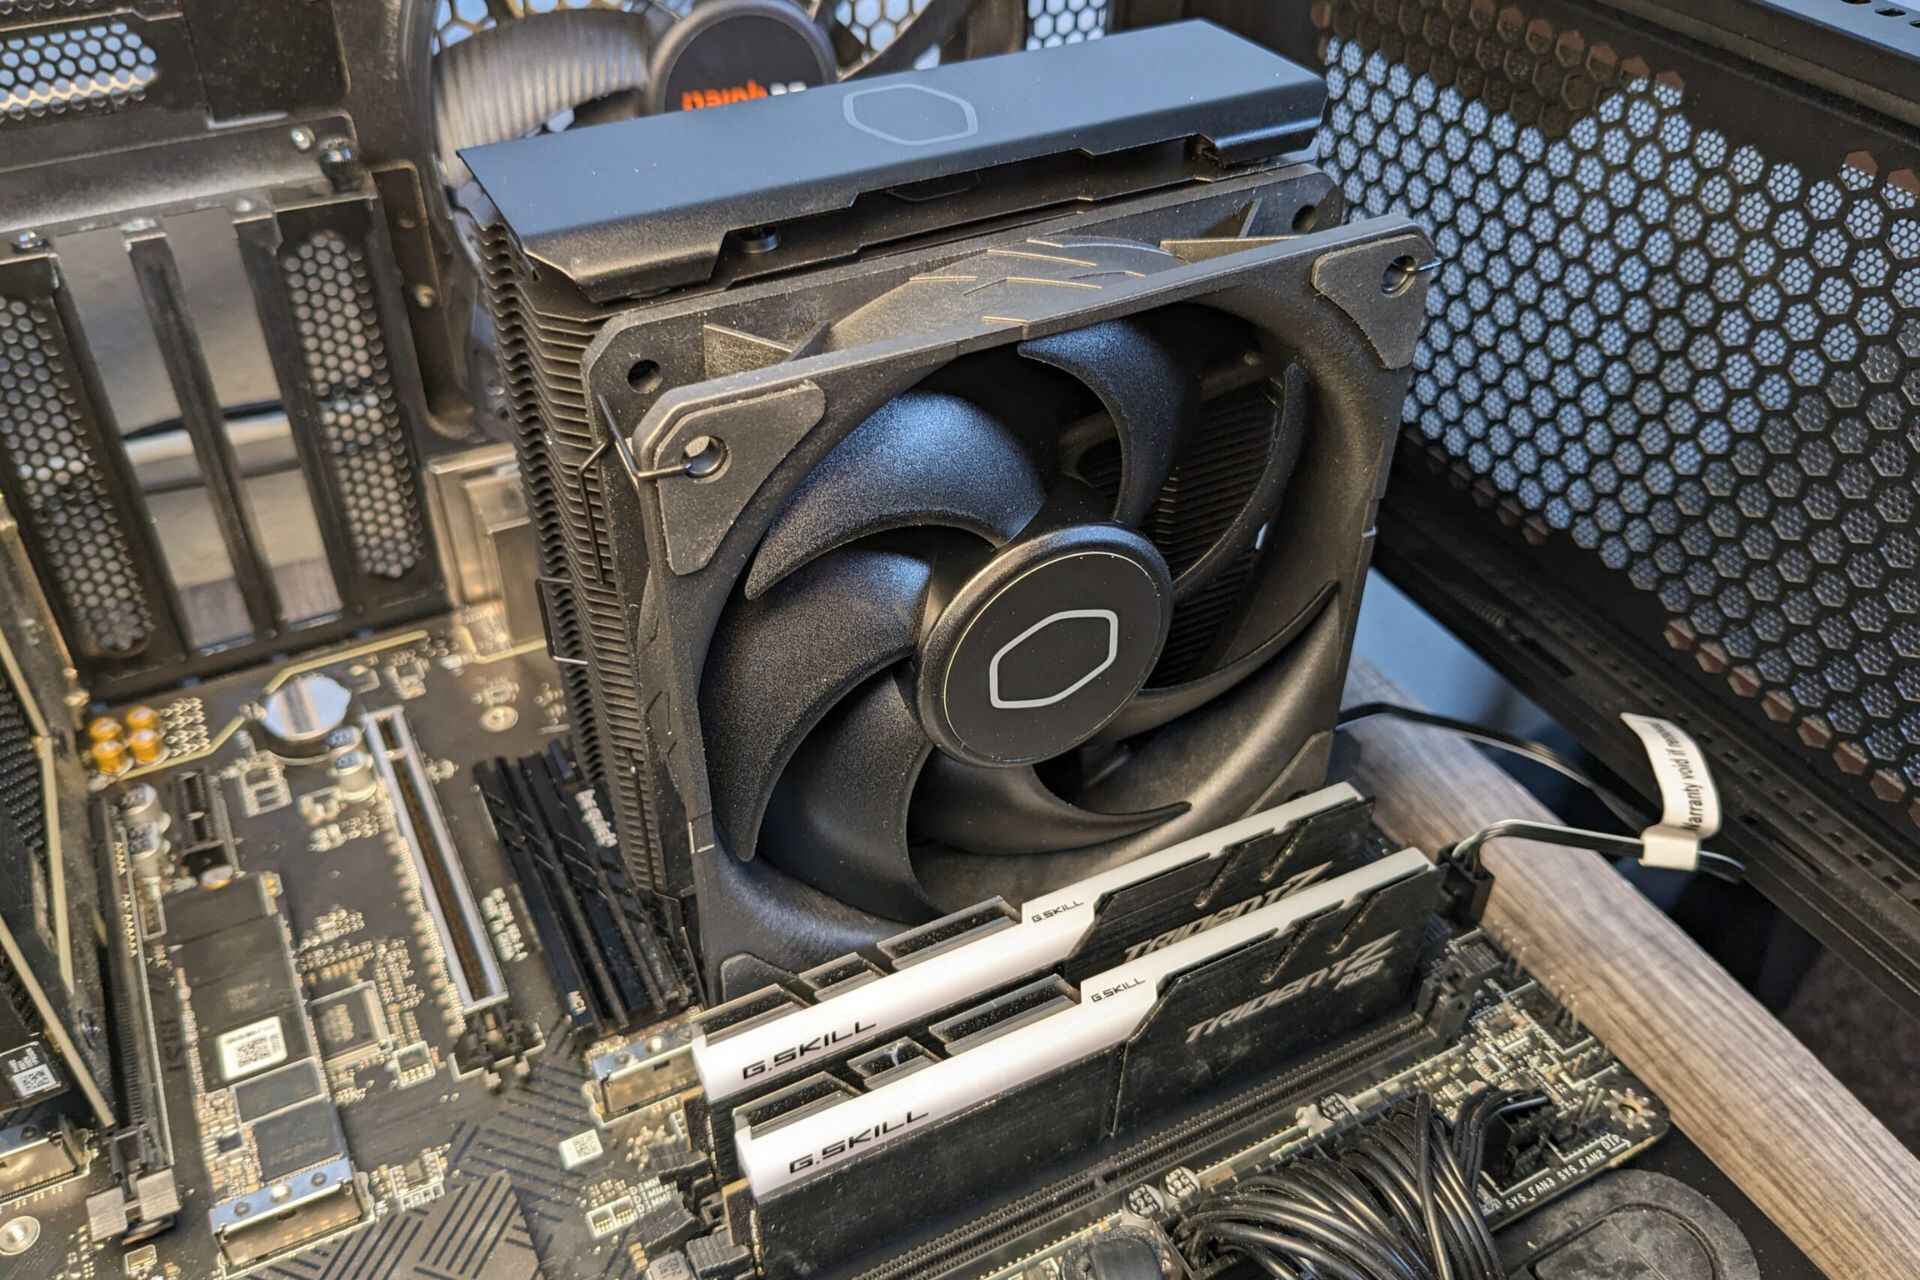
Step 5: Install the AM4 CPU Cooler
Now that you have prepared the AM4 mounting bracket and applied thermal paste, it’s time to install the AM4 CPU cooler onto your motherboard. Follow these steps for a successful installation:
- Align the cooler with the mounting bracket: Carefully position the CPU cooler over the CPU, making sure the mounting holes or screws on the cooler align with the corresponding holes or screws on the mounting bracket. Take care not to disturb the thermal paste too much.
- Lower the cooler onto the CPU: Gently lower the cooler onto the CPU, ensuring that the base of the cooler makes even contact with the thermal paste and doesn’t slide or shift during installation.
- Secure the CPU cooler in place: Check the mounting mechanism of your CPU cooler to determine how to secure it. This may involve using screws, latches, or other fasteners. Follow the manufacturer’s instructions to properly secure the cooler to the mounting bracket. Tighten the screws gently and evenly, alternating between screws if applicable, until the cooler is firmly in place.
It’s important to note that different CPU cooler models may have variations in their installation processes. Always refer to the manufacturer’s instructions for precise steps and any additional considerations specific to your cooler. Take your time during the installation process to ensure everything is secured correctly and evenly.
Once the AM4 CPU cooler is properly installed, you’re one step closer to optimal cooling for your CPU. Before moving on, double-check that the cooler is firmly attached and that there are no wobbling or loose parts. This step ensures that your cooler will provide effective heat dissipation and maintain a stable temperature for your CPU.
Step 6: Secure the CPU Cooler
After installing the AM4 CPU cooler onto your motherboard, the next step is to ensure that it is securely fastened for reliable and effective cooling. Follow these steps to securely lock down your CPU cooler:
- Check the mounting mechanism: Depending on your CPU cooler model, it may use screws, brackets, or other mechanisms for securing the cooler to the mounting bracket. Familiarize yourself with the specific mounting mechanism and ensure that all components are properly aligned and engaged.
- Tighten the screws evenly: If your CPU cooler is secured with screws, start by gently tightening them in a diagonal pattern. This helps ensure even pressure distribution and prevents the cooler from tilting or being unevenly mounted. Gradually tighten each screw in a crosswise fashion until they are snug, without applying excessive force.
- Verify firm attachment: Once all screws are tightened, double-check that the cooler is securely attached to the mounting bracket. Give it a gentle yet firm wiggle to ensure there is no movement or looseness. An improperly secured cooler can lead to heat dissipation issues and compromised performance.
Throughout the tightening process, take care not to overtighten the screws, as this can cause damage to the motherboard or cooler. Follow the manufacturer’s recommended torque specifications to ensure optimal mounting pressure without risking any harm to the components.
Remember that a securely fastened CPU cooler is crucial for maintaining proper thermal contact between the CPU and the cooler. It helps ensure efficient heat transfer and prevents any potential instability or vibration during operation.
By double-checking the mounting mechanism and confirming a firm attachment, you can have the peace of mind that your CPU cooler is securely in place and ready to keep your CPU cool under heavy workloads and demanding tasks.
Step 7: Connect Fan and Power Cables
With the CPU cooler securely installed, the next step is to connect the fan and power cables to ensure proper operation and cooling performance. Follow these steps to connect the necessary cables:
- Locate the fan header: Identify the fan header on your motherboard where you will connect the CPU cooler fan. It is usually labeled as “CPU_FAN” or something similar.
- Connect the fan cable: Take the fan cable from the CPU cooler and plug it into the designated fan header on the motherboard. Align the pins and make sure the connection is secure.
- Additional power cables (if applicable): Some high-performance CPU coolers may come with additional power cables, such as a USB or SATA cable, to provide extra power for advanced features. Refer to the manufacturer’s instructions to determine if any additional cables need to be connected.
Connecting the fan and power cables is crucial to ensure proper cooling and control over the CPU cooler. The fan cable connection allows the motherboard to monitor and control the fan speed, while any additional power cables provide the necessary power for advanced cooler functionalities.
During the connection process, make sure to handle the cables with care to avoid bending or damaging any pins. Take note of how the cables are routed to ensure they are neatly organized and do not obstruct any other components.
Once all the necessary cables are connected, you can move on to the next step and power on your computer to test the CPU cooler’s functionality.
It’s important to note that every motherboard manufacturer may have slightly different instructions for connecting the fan and power cables. Refer to your motherboard’s manual for specific details and any unique requirements.
Step 8: Test and Monitor CPU Temperatures
After installing the AM4 CPU cooler and connecting all the necessary cables, it’s time to test the cooler’s performance and monitor the CPU temperatures to ensure optimal cooling. Here are the steps to follow:
- Power on your computer: Once all connections are secure, plug in your computer and power it on. Enter the BIOS or access your operating system to check the CPU temperatures.
- Monitor CPU temperatures: Use a reliable monitoring software or the built-in monitoring tools in your operating system to monitor the CPU temperatures. Keep an eye on the temperatures to ensure they stay within a safe and acceptable range.
- Run stress tests: To put the CPU cooler to the test, consider running CPU-intensive tasks or benchmarking applications to push your CPU’s performance. This will help you gauge how well the cooler handles heat dissipation under heavy loads.
- Check fan speed: Monitor the fan speed as well to ensure it is running at an appropriate level. The fan speed can be adjusted in the BIOS or using dedicated fan control software.
When monitoring CPU temperatures, it’s important to understand the normal operating range for your specific CPU model. Each CPU has different temperature thresholds, and exceeding those limits can lead to thermal throttling or potential damage to the CPU.
If you notice abnormally high temperatures or inconsistent cooling performance, double-check the installation of your CPU cooler. Ensure it is properly seated, the thermal paste is applied correctly, and the fan is functioning as intended.
Regularly monitoring your CPU temperatures is essential for maintaining optimal performance and preventing overheating. If you encounter any issues or have concerns about the cooling performance, consult the manufacturer’s support or seek assistance from knowledgeable professionals.
By following these steps and actively monitoring your CPU temperatures, you can ensure that your CPU cooler is functioning effectively and keeping your CPU cool during demanding tasks.
Conclusion
Congratulations! You have successfully installed an AM4 CPU cooler onto your motherboard. Properly installing and securing a CPU cooler is essential for maintaining optimal CPU temperatures and ensuring that your processor operates at its best. By following the step-by-step process outlined in this guide, you have taken an important step towards improving the cooling performance of your system.
Remember, it’s crucial to gather all the necessary tools before starting the installation process. Take your time during each step and refer to the manufacturer’s instructions for your specific CPU cooler model. Applying thermal paste correctly and securely fastening the CPU cooler are key elements in achieving efficient heat dissipation and preventing overheating.
Once the CPU cooler is installed, make sure to connect the fan and power cables properly to ensure optimal cooling and functionality. Testing and monitoring the CPU temperatures will allow you to verify that the cooler is functioning as intended and can handle demanding tasks.
If you encounter any difficulties or have concerns during the installation, don’t hesitate to consult the manufacturer’s support or seek assistance from experienced individuals. Remember, proper cooling is vital for the longevity and performance of your CPU, so it’s worth investing time and effort into ensuring a successful installation.
Now that your AM4 CPU cooler is installed and your system is running smoothly, you can enjoy improved cooling performance and better overall stability. Whether you’re an avid gamer, a content creator, or using your computer for everyday tasks, having a properly functioning CPU cooler is essential for keeping your system cool and running optimally.
Thank you for following this guide, and we hope you found it helpful in your AM4 CPU cooler installation journey. Enjoy your enhanced cooling capabilities and the improved performance of your system!