Introduction
Welcome to this guide on how to install the Dynatron CPU cooler. If you’re looking to upgrade or replace your current CPU cooler, or if you’re building a new computer and need to install a CPU cooler for the first time, you’ve come to the right place. A reliable and effective CPU cooler is crucial for maintaining optimal temperature levels and ensuring the longevity and performance of your CPU.
The Dynatron CPU cooler is a popular choice among PC enthusiasts and gamers due to its exceptional cooling capabilities and quiet operation. Whether you’re a seasoned tech enthusiast or a novice computer builder, this step-by-step guide will walk you through the installation process, ensuring a successful and hassle-free experience.
Before we dive into the installation process, it’s important to note that installing a CPU cooler requires a basic understanding of computer hardware and some essential tools. Make sure you have the necessary tools and materials ready before you start the installation. Additionally, ensure that you are working in a clean and static-free environment to avoid any damage to your components.
Throughout this guide, we will provide clear instructions and handy tips to simplify the installation process. So, let’s get started!
Required Tools and Materials
Before you begin installing the Dynatron CPU cooler, it’s important to gather all the necessary tools and materials. Having everything in place will ensure a smooth and efficient installation process. Here are the items you’ll need:
- Screwdriver – Depending on the CPU cooler model, you may need a Phillips or a flathead screwdriver to secure the cooler in place.
- Thermal Paste – Thermal paste is crucial for efficient heat transfer between the CPU and the CPU cooler. Make sure you have high-quality thermal paste for optimal performance.
- CPU Cooler Bracket – Some CPU cooler models may require a specific bracket for installation. Check the manufacturer’s instructions to determine if you need a bracket and ensure you have it on hand.
- Cleaning Solution and Lint-Free Cloth – Before installing the new CPU cooler, it’s essential to thoroughly clean the CPU and the surface of the cooler. Use a cleaning solution and a lint-free cloth to remove any dust, debris, or old thermal paste.
- Anti-static Wrist Strap – While not strictly necessary, using an anti-static wrist strap can help prevent electrostatic discharge that could potentially damage your computer components. It’s a good precaution to take, especially if you’re working on a carpeted surface or during dry weather conditions.
- User Manual – Each CPU cooler model may have specific installation instructions. Make sure to have the user manual or installation guide provided by the manufacturer for reference.
By having all these tools and materials ready, you’ll be fully prepared to undertake the installation process and ensure a successful outcome. Now, let’s move on to the next steps: preparing the motherboard and CPU.
Preparing the Motherboard and CPU
Before installing the Dynatron CPU cooler, it’s important to prepare your motherboard and CPU to ensure a proper and secure installation. Follow these steps to get started:
- Ensure that your computer is powered off and disconnected from any power source. This will prevent any accidental damage to your components during the installation process.
- Carefully remove the side panel of your computer case to gain access to the motherboard. Take note of any cables or obstructions that may need to be temporarily moved aside for easier access.
- Locate the CPU socket on your motherboard. The CPU socket is typically a square or rectangular socket with delicate pins or contacts.
- Gently release the socket latch or locking mechanism by pushing it to the side or lifting it, depending on your motherboard model. This will open the socket and allow you to install the CPU.
- Take the CPU out of its protective package. Handle the CPU by its edges and avoid touching the pins or contacts to prevent any damage or static discharge.
- Carefully align the CPU with the socket, ensuring that the notches or markings on the CPU match the corresponding ones on the socket.
- Once aligned, gently lower the CPU into the socket. Apply even and gentle pressure to ensure that the CPU is properly seated in the socket.
- After inserting the CPU, close the socket latch or locking mechanism to secure the CPU in place. The latch should click into place, indicating a proper installation.
With the CPU installed and securely locked in place, you have successfully prepared the motherboard and CPU for the installation of the Dynatron CPU cooler. Now it’s time to move on to the next step: removing the old CPU cooler (if applicable).
Removing the Old CPU Cooler (if applicable)
If you are upgrading or replacing an existing CPU cooler, it’s essential to properly remove the old cooler before installing the Dynatron CPU cooler. Here are the steps to remove the old CPU cooler:
- Power off your computer and disconnect it from any power source before proceeding.
- Locate the fastening mechanism that secures the CPU cooler to the motherboard. This can vary depending on the cooler model but is typically held in place by screws or clips.
- Using a screwdriver or your fingers, carefully detach the fastening mechanism to release the CPU cooler from the motherboard.
- If the CPU cooler has a fan attached, unplug the fan from the motherboard or disconnect it from any fan headers.
- Gently lift the old CPU cooler off the processor and set it aside. Be cautious not to apply excessive force or tilt the cooler to prevent any damage to the CPU or motherboard.
- Once the old CPU cooler is removed, use a lint-free cloth and a cleaning solution to wipe away any thermal paste residue from the CPU and the area surrounding it on the motherboard.
- Ensure that the CPU socket and the mounting surface on the motherboard are clean and free from any debris or contaminants.
By following these steps, you will successfully remove the old CPU cooler and prepare the CPU and motherboard for the installation of the new Dynatron CPU cooler. Removing the old cooler properly will ensure a clean and secure installation of the new cooler, maximizing its efficiency and performance.
Applying Thermal Paste
Thermal paste is a crucial component in the installation of a CPU cooler. It helps to ensure optimal heat transfer between the CPU and the cooler, improving cooling performance. Follow these steps to apply thermal paste correctly:
- Ensure that the CPU and surrounding area on the motherboard are clean and free from any debris or residue from the old thermal paste.
- Take a small amount of thermal paste, roughly the size of a pea, and place it in the center of the CPU.
- Using a plastic spreader, a clean finger, or a credit card, spread the thermal paste evenly over the surface of the CPU. The goal is to create a thin and uniform layer that covers the entire CPU surface.
- Avoid applying excessive pressure or using too much thermal paste, as this can cause the paste to overflow or create air bubbles, negatively affecting heat transfer.
- Ensure that there are no gaps or uneven spots in the thermal paste layer. A smooth and even application will facilitate better heat transfer.
Applying the thermal paste correctly is vital for efficient heat dissipation and optimal cooling performance. It helps to prevent air gaps between the CPU and the CPU cooler, ensuring that heat is effectively transferred away from the CPU.
Once the thermal paste is applied, you are ready to proceed to the next step: attaching the CPU cooler bracket.
Attaching the CPU Cooler Bracket
Before installing the Dynatron CPU cooler, you may need to attach a CPU cooler bracket to your motherboard. The bracket provides a secure mounting point for the cooler and ensures stable and effective cooling. Follow these steps to attach the CPU cooler bracket:
- Refer to your CPU cooler’s user manual to determine if a bracket is required for installation.
- If a bracket is needed, locate the appropriate bracket and ensure it is compatible with your motherboard socket.
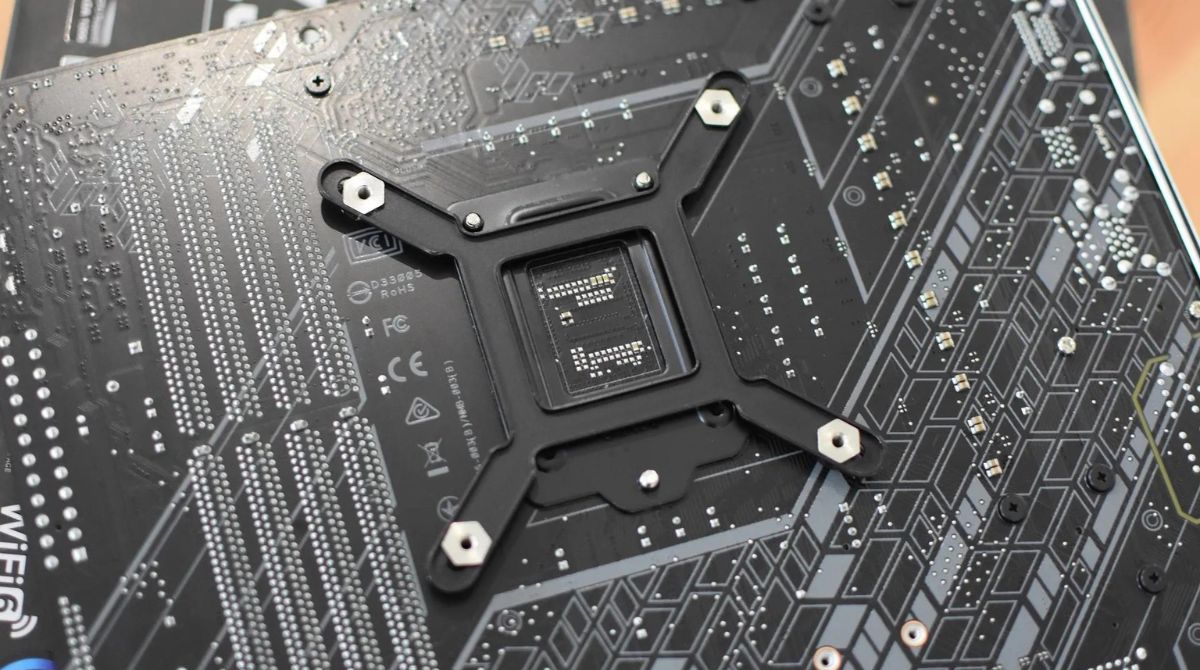
- Position the CPU cooler bracket over the back of the motherboard, aligning it with the mounting holes around the CPU socket.
- Insert the screws or fasteners provided with the bracket through the mounting holes on the bracket and into the corresponding holes on the motherboard.
- Tighten the screws or fasteners using a screwdriver until the bracket is secure. Be cautious not to overtighten, as it may damage the motherboard.
- Double-check the alignment and stability of the bracket to ensure that it is securely attached to the motherboard.
Attaching the CPU cooler bracket is an important step in the installation process. It provides the foundation for proper mounting of the CPU cooler and ensures a stable connection between the cooler and the motherboard.
With the CPU cooler bracket securely attached, you are ready to move on to the next step: installing the CPU cooler itself.
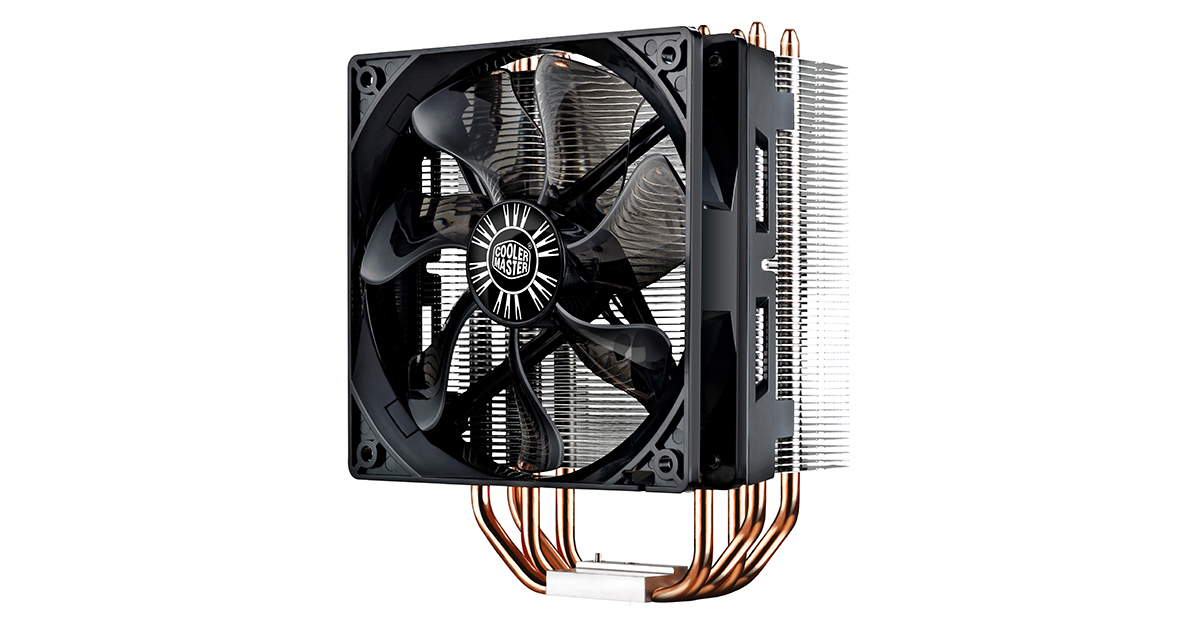
Installing the CPU Cooler
Now that you have prepared the motherboard and attached the CPU cooler bracket, it’s time to install the Dynatron CPU cooler. The installation process will vary depending on the specific model of your CPU cooler, so be sure to consult the user manual for detailed instructions. Follow these general steps as a guide:
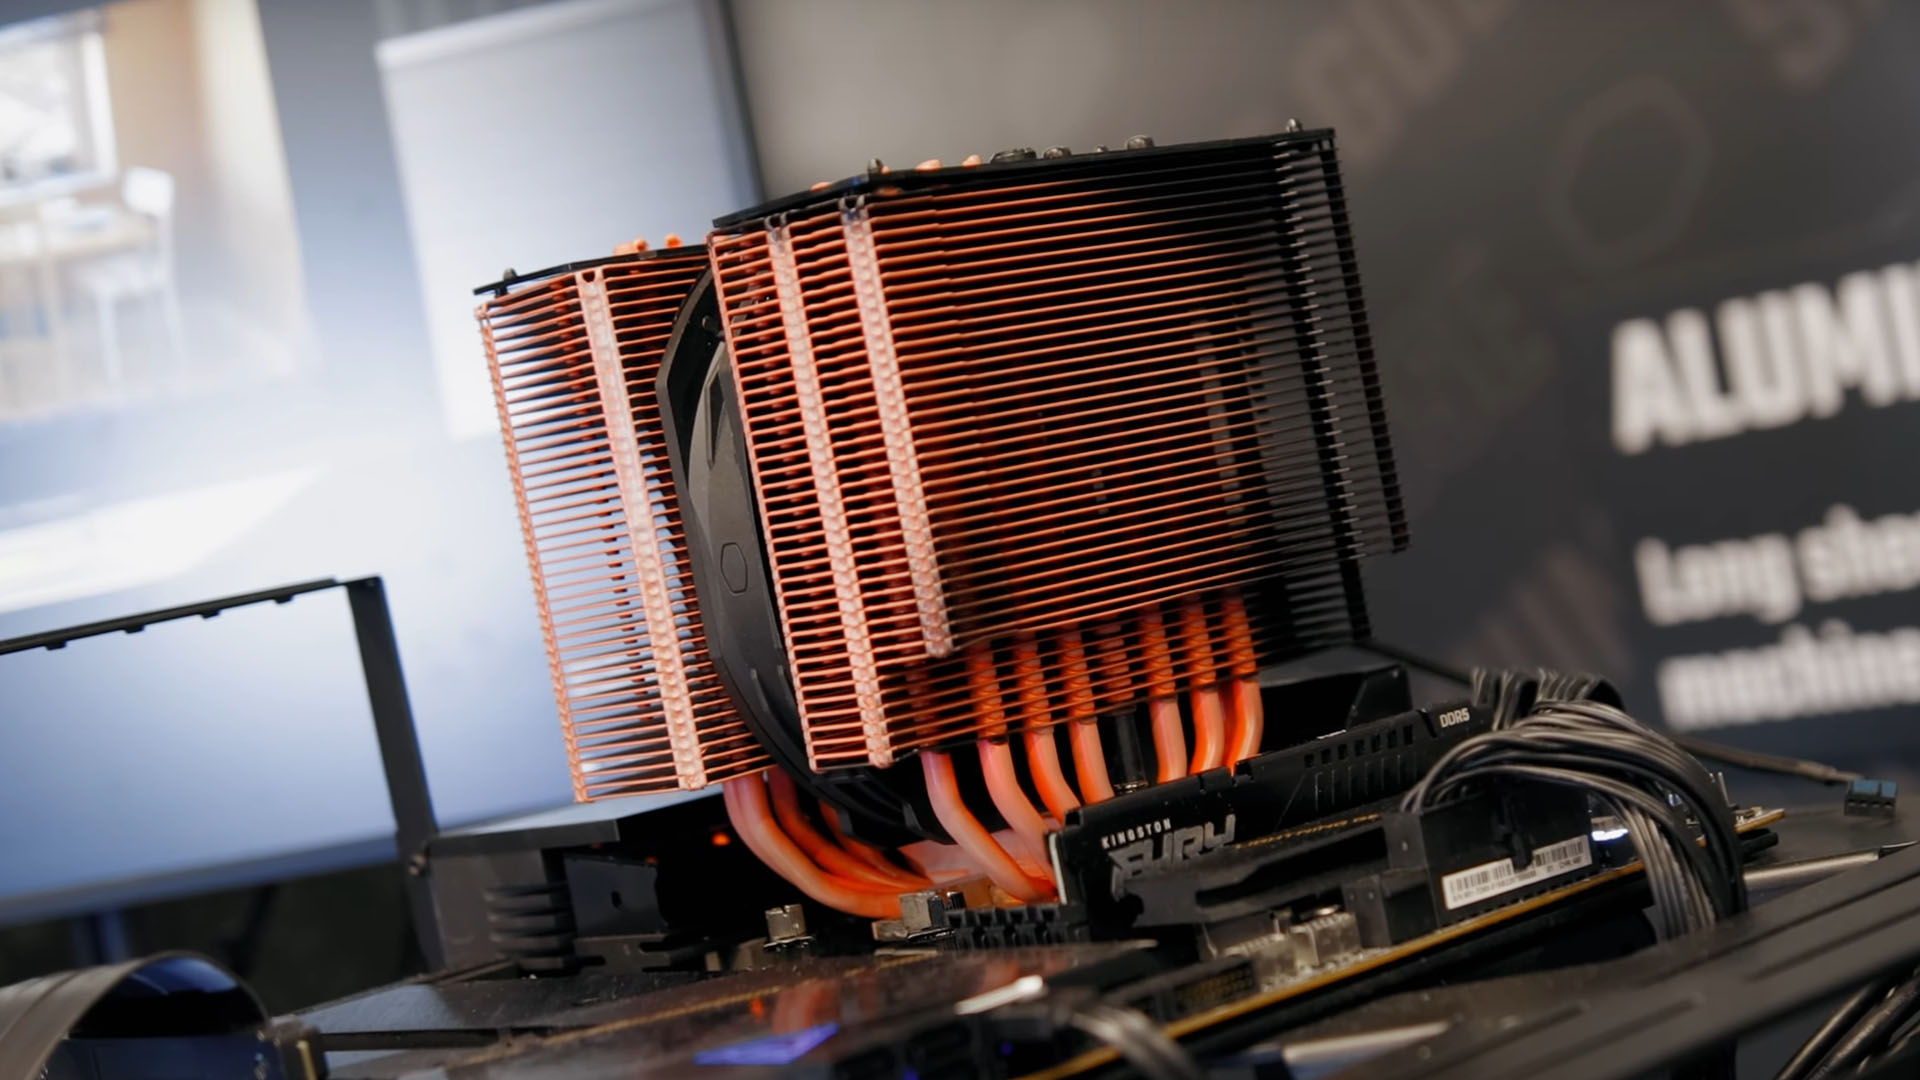
- Place the CPU cooler on top of the CPU, aligning the mounting holes on the cooler with the corresponding holes on the bracket or motherboard.
- Ensure that the CPU cooler is oriented correctly, with the fan or heat sink facing the proper direction for optimal air flow and cooling efficiency.
- Start attaching the CPU cooler by inserting the mounting screws through the holes in the cooler and into the bracket or motherboard.
- Using a screwdriver or the included tool, secure the screws in a diagonal pattern, gradually tightening them until the CPU cooler is firmly in place. This helps to ensure even pressure distribution.
- Be cautious not to overtighten the screws, as it may damage the motherboard or cause an uneven contact between the CPU and the cooler.
It’s also important to note that some CPU coolers may require additional steps, such as attaching a retention bracket or adjusting tension screws. Follow the manufacturer’s instructions carefully to ensure a proper and secure installation.
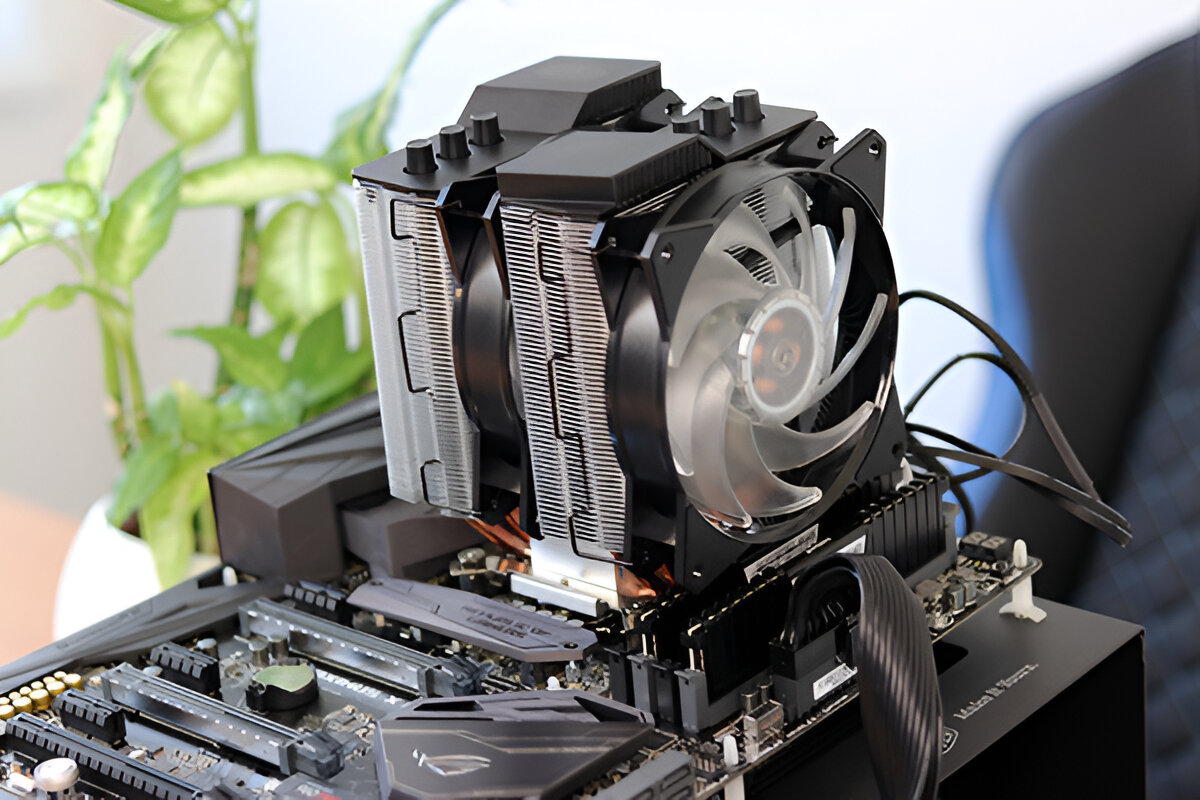
Once the CPU cooler is installed, give it a slight wiggle to ensure that it is firmly attached and there is no movement. Properly mounting the CPU cooler is crucial for efficient heat dissipation and overall system stability.
With the CPU cooler successfully installed, you can now move on to the next step: connecting the fan.
Connecting the Fan
After installing the CPU cooler, the next step is to connect the fan. The fan plays a vital role in providing proper airflow and cooling to the CPU. Follow these steps to connect the fan:
- Locate the CPU fan header on your motherboard. It is typically labeled “CPU_FAN” or something similar.
- Take the cable attached to the fan and carefully route it towards the CPU fan header.
- Align the pins/connectors on the fan cable with the corresponding pins on the CPU fan header.
- Gently press the connector onto the pins, ensuring a secure and proper connection.
- Once connected, make sure the fan cable is neatly tucked away, avoiding any obstructions or interference with other components.
It’s important to connect the fan to the correct header on the motherboard to ensure proper control and monitoring of the fan speed. This allows the motherboard to adjust the fan speed based on the CPU temperature, providing efficient cooling when necessary.
After connecting the fan, double-check the connection to ensure that it is secure and there are no loose wires. Making sure the fan is properly connected will ensure optimal cooling performance and minimize the risk of overheating.
With the fan connected, you can now proceed to the next step: securing the CPU cooler.
Securing the CPU Cooler
Securing the CPU cooler is the final step in the installation process. By properly securing the cooler, you ensure that it remains stable and firmly attached to the motherboard. Follow these steps to secure the CPU cooler:
- Gently press down on the CPU cooler to spread the thermal paste evenly and create a secure bond between the cooler and the CPU.
- Refer to the specific instructions provided by the CPU cooler manufacturer to determine the appropriate method for securing the cooler.
- Most CPU coolers use screws, clips, or a retention mechanism to secure the cooler in place. Follow the instructions carefully to ensure proper installation.
- Tighten the screws or clips gradually using a screwdriver or the provided tool. Start with a diagonal pattern to evenly distribute the pressure, then work your way around the cooler until all screws or clips are securely tightened.
- Be cautious not to overtighten the screws or clips, as this can damage the motherboard or cause an improper contact between the cooler and the CPU.
Once the CPU cooler is securely in place, give it a gentle shake or wiggle to check for any movement. A properly secured cooler should have little to no movement.
Securing the CPU cooler ensures that it stays firmly attached, allowing for efficient heat transfer from the CPU to the cooler. This promotes effective cooling and helps maintain stable temperature levels for optimal performance.
After securing the CPU cooler, you’ve completed the installation process. However, before you conclude, it’s important to perform necessary tests and troubleshoot any potential issues, which we will cover in the next section.
Testing and Troubleshooting
Once you have successfully installed the Dynatron CPU cooler, it’s important to perform some tests and troubleshoot any potential issues to ensure everything is functioning properly. Follow these steps to test and troubleshoot the CPU cooler installation:
- Reconnect the power cable to your computer and turn it on.
- Enter the BIOS or UEFI settings by pressing the designated key (usually Del, F2, or Esc) during the startup process.
- Navigate to the hardware or PC health section of the BIOS/UEFI settings to check the CPU temperature. This will give you an idea of whether the CPU cooler is working effectively in keeping the temperature within the acceptable range.
- Listen for any unusual noises coming from the CPU cooler. Excessive noise may indicate a problem with the fan or improper installation. In such cases, double-check the fan connection and the mounting of the cooler.
- If the CPU temperature is within the acceptable range and there are no unusual noises, proceed to stress-testing. Run CPU-intensive tasks or use stress-testing software to put a heavy load on the CPU and monitor the temperature. This will help ensure that the CPU cooler can handle high workloads and effectively dissipate heat.
- If you experience unusually high CPU temperatures, make sure the CPU cooler is properly installed and tightened. Check for any obstructions or blockages that may hinder the airflow around the cooler.
- If you encounter any issues or are unsure about the installation, consult the user manual or reach out to the CPU cooler manufacturer’s support for further assistance.
By testing and troubleshooting the CPU cooler installation, you can address any potential issues early on and make necessary adjustments. This will help you ensure the longevity and optimal performance of your CPU while maintaining stable temperature levels.
Once you have completed the testing and troubleshooting process, you can be confident that your Dynatron CPU cooler is installed correctly and ready to keep your CPU cool even during demanding tasks.
Conclusion
Congratulations! You have successfully completed the installation of the Dynatron CPU cooler. Properly installing a CPU cooler is crucial for maintaining optimal temperature levels and maximizing the performance and lifespan of your CPU.
Throughout this guide, we discussed the necessary tools and materials, prepared the motherboard and CPU, removed the old CPU cooler (if applicable), applied thermal paste, attached the CPU cooler bracket, installed the CPU cooler itself, connected the fan, and secured the CPU cooler.
Remember to perform tests and troubleshoot any potential issues to ensure that the CPU cooler is functioning effectively. Monitor the CPU temperature and listen for any unusual noises, and if necessary, seek further assistance from the manufacturer’s support.
Installing a reliable CPU cooler, such as the Dynatron CPU cooler, ensures that your CPU operates at a safe temperature, preventing overheating and potential damage. With proper cooling, you can enjoy smoother performance, improved stability, and peace of mind while pushing your computer to its limits.
Thank you for following this guide, and we hope it has been helpful in your CPU cooler installation journey. Enjoy your enhanced cooling and optimized computing experience!