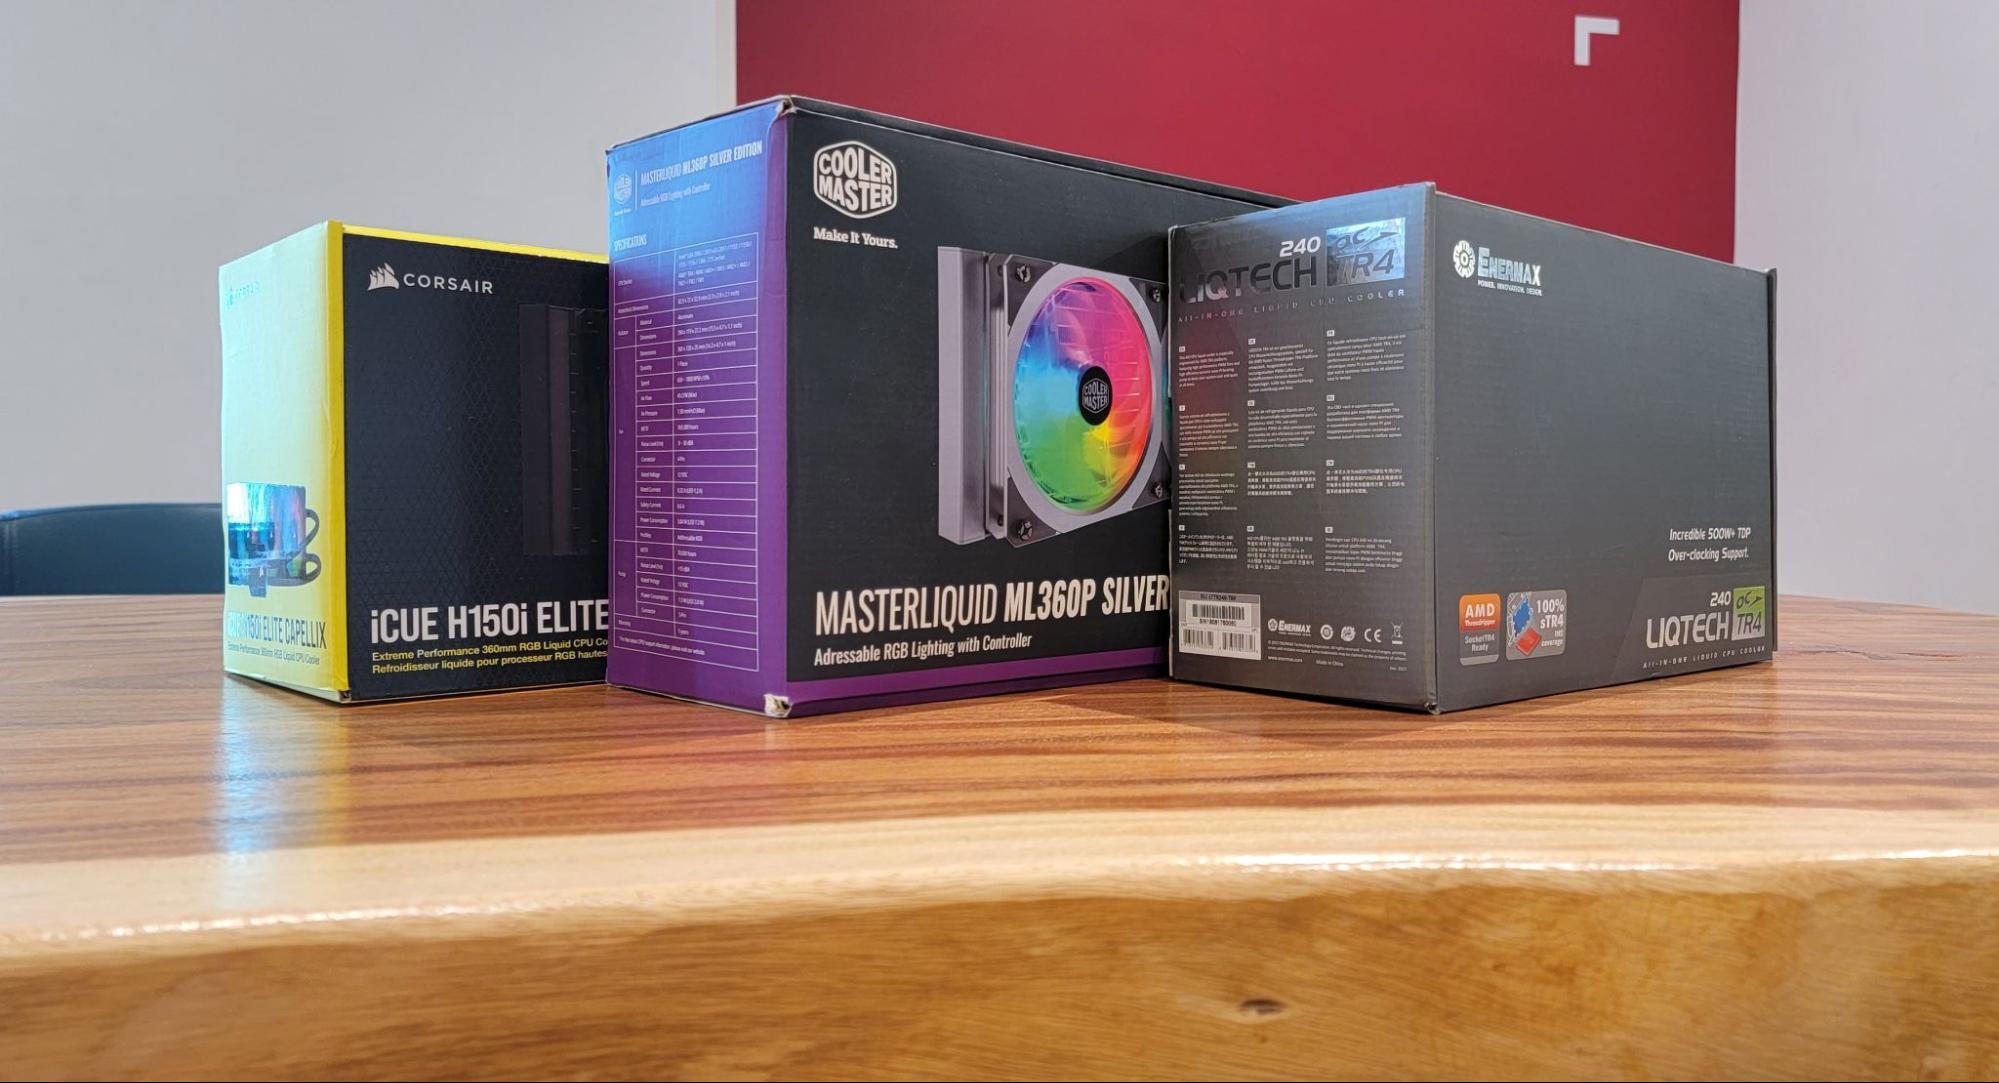
Introduction
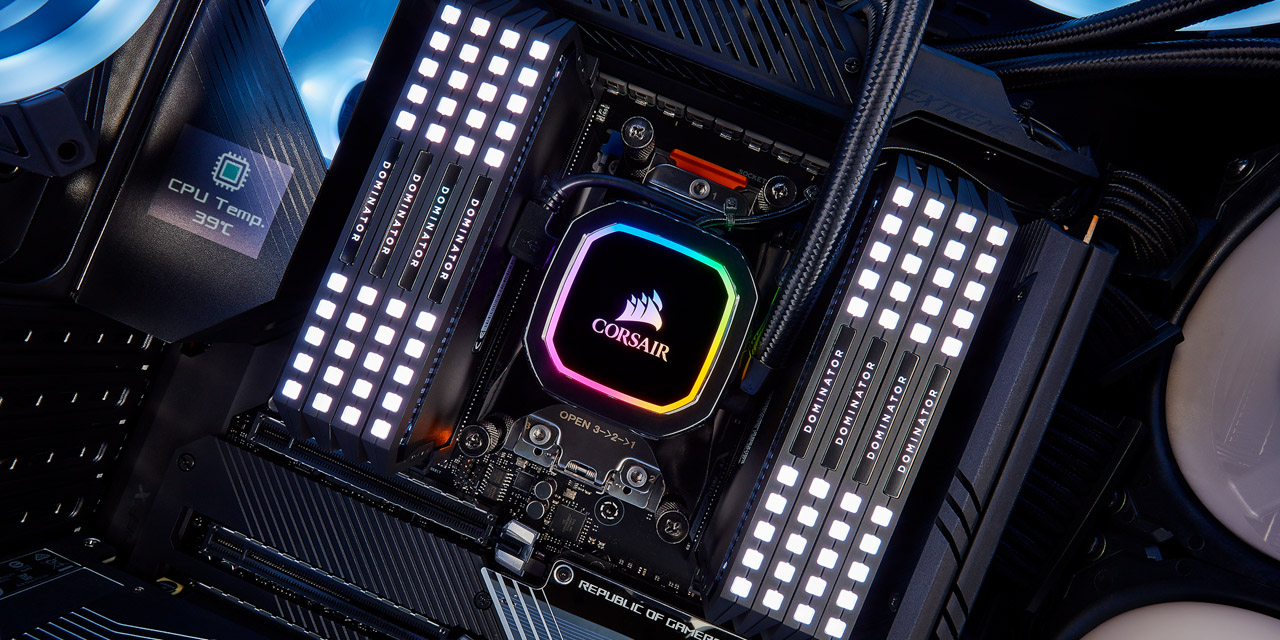
Water cooling is a popular choice among computer enthusiasts for keeping their CPU temperatures in check. The use of water as a cooling medium provides efficient heat dissipation, resulting in improved performance and reduced noise levels. However, one crucial aspect often overlooked is the maintenance of the water in the CPU cooler.
Regularly changing the water in your CPU cooler is essential to ensure its optimal functioning. Over time, the water can become contaminated with particles, dust, and residue, which can hinder heat transfer and potentially damage your system. But how often should you change the water in your CPU cooler?
In this article, we will explore the importance of changing water in a CPU cooler, discuss the factors that determine how often you need to do it, and provide a step-by-step guide on how to effectively change the water. Whether you are a beginner or an experienced computer enthusiast, this article will help you understand the significance of maintaining a clean and efficient water cooling system.
By regularly changing the water in your CPU cooler, you can prevent the accumulation of debris and ensure that the cooling performance of your system remains at its best. So, let’s dive in and explore the world of CPU cooler maintenance and the importance of changing the water.
The Importance of Changing Water in CPU Cooler
Regularly changing the water in your CPU cooler is crucial for maintaining the optimal performance and longevity of your system. Let’s explore the key reasons why this aspect of maintenance should not be overlooked:
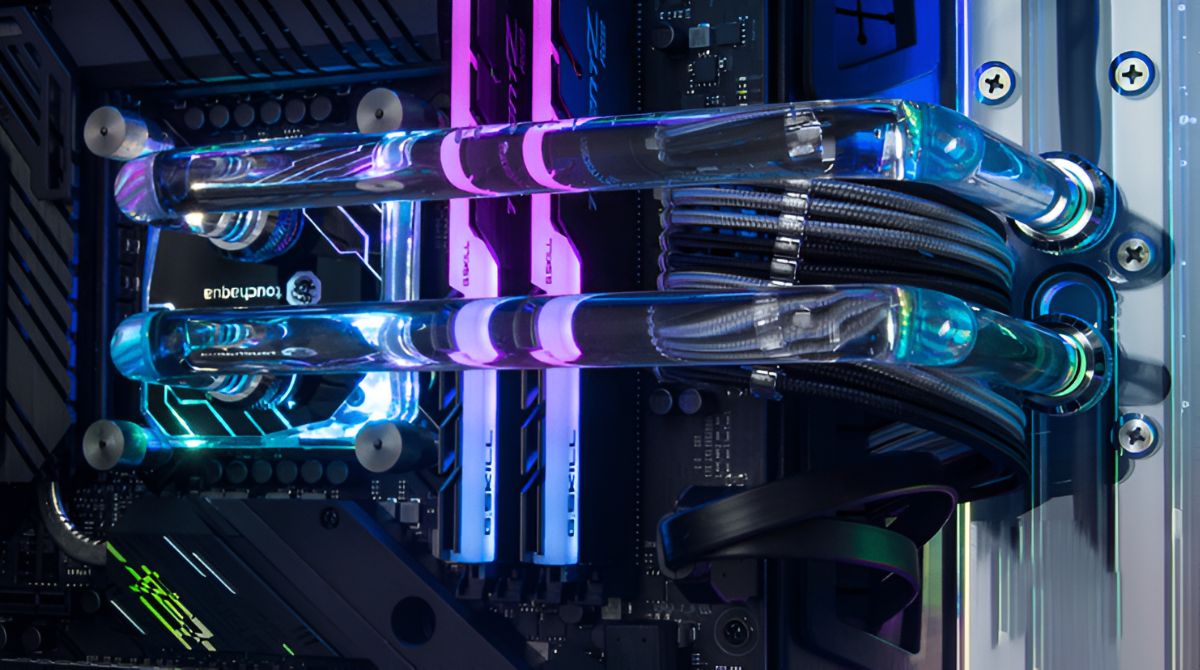
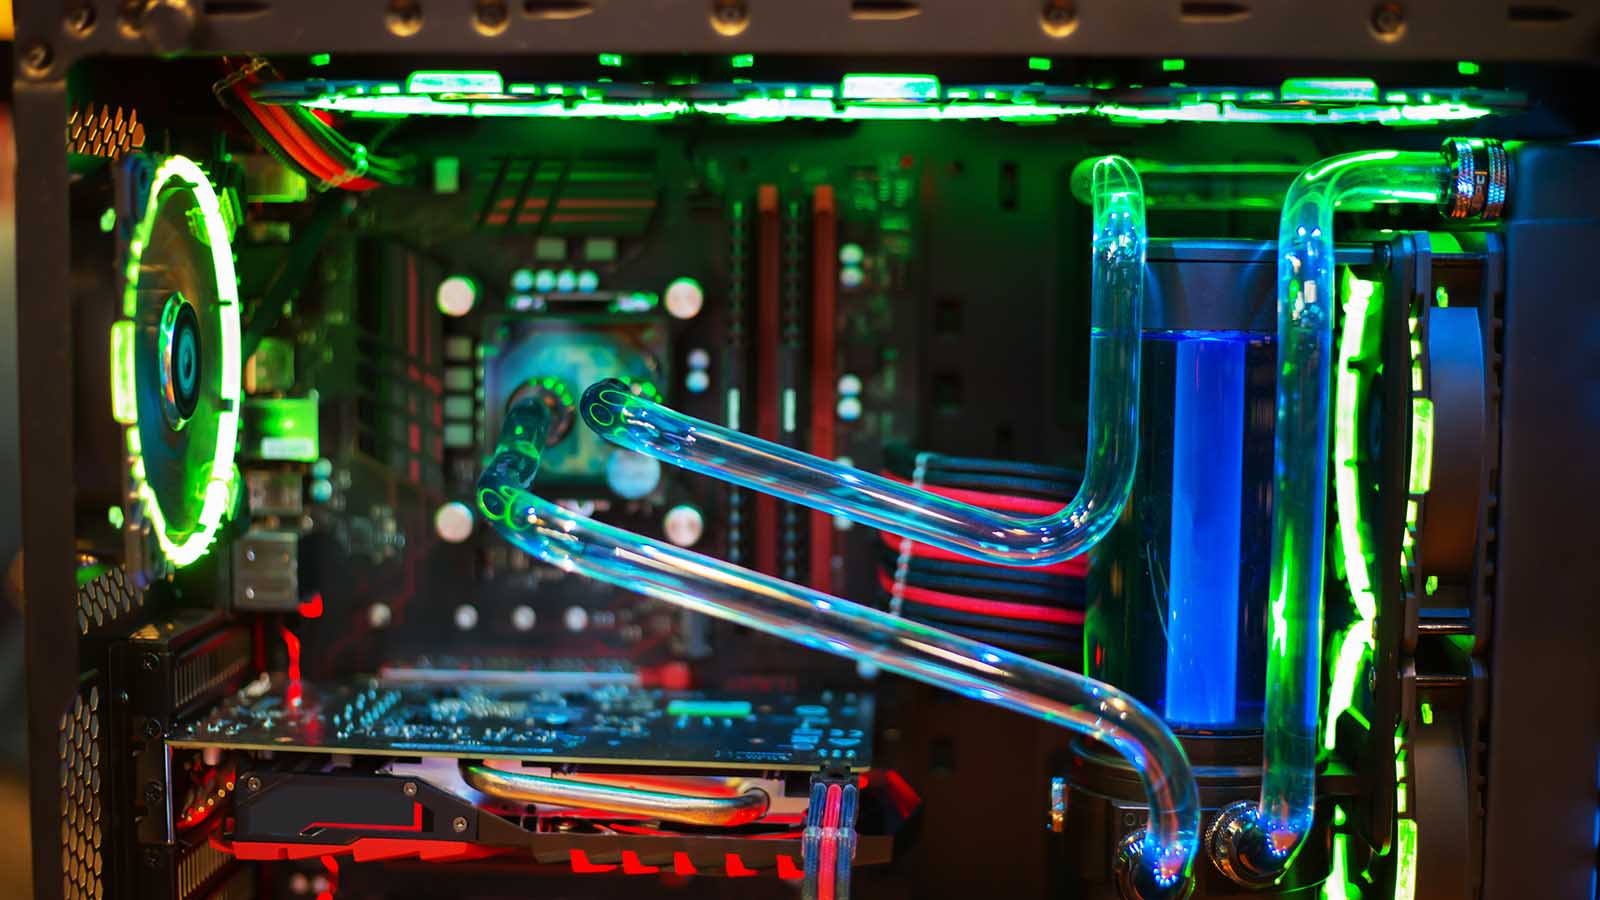
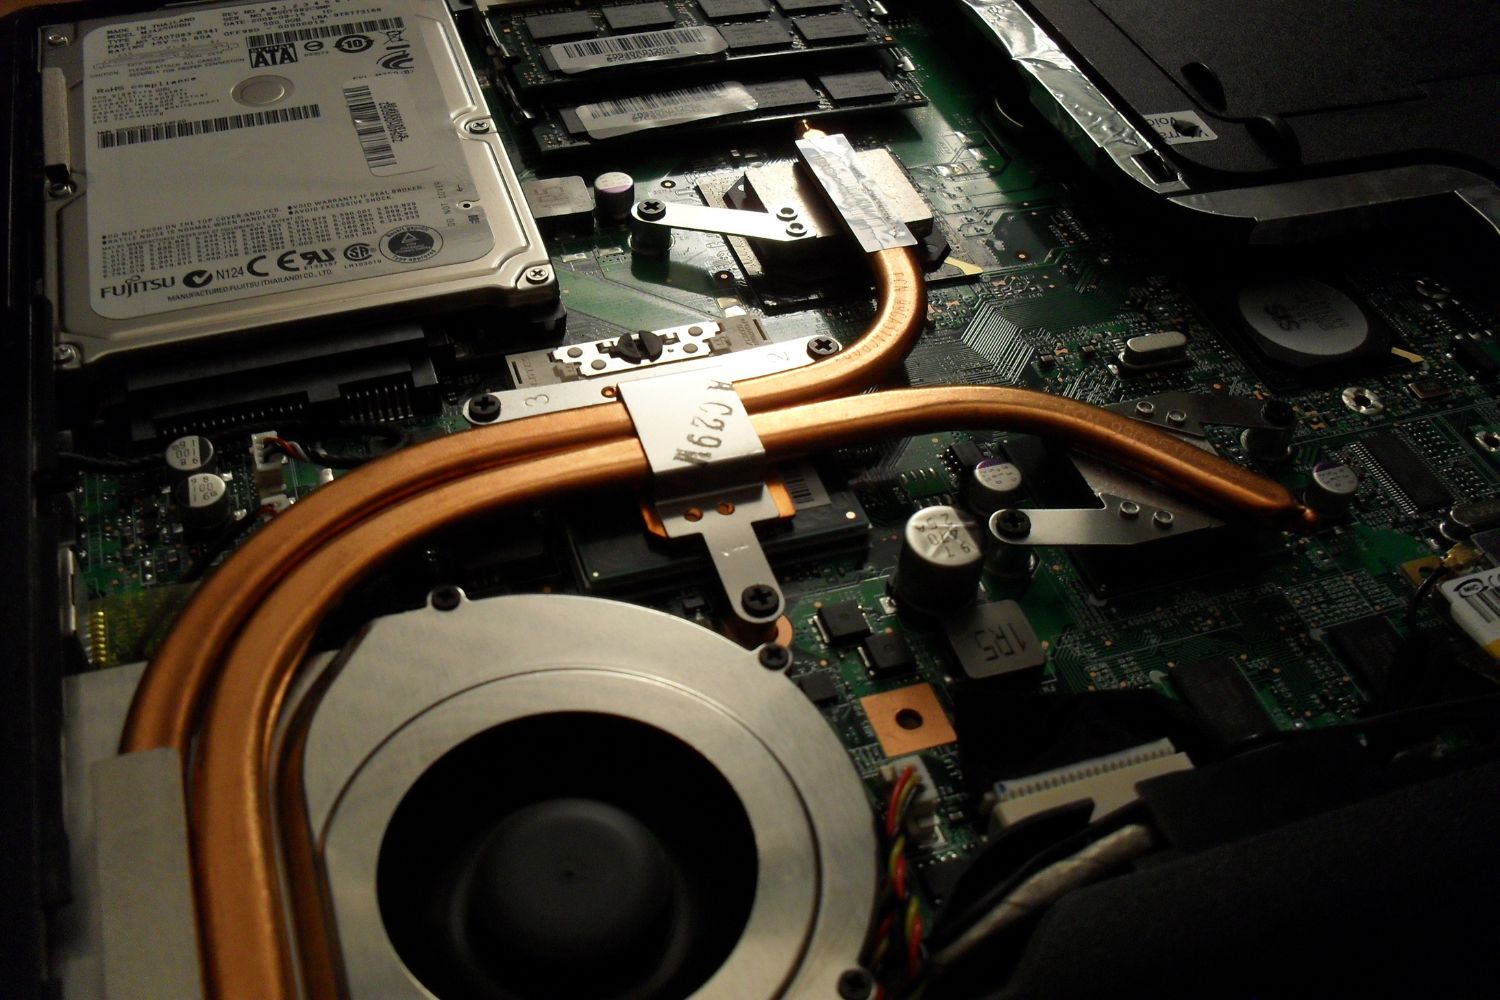
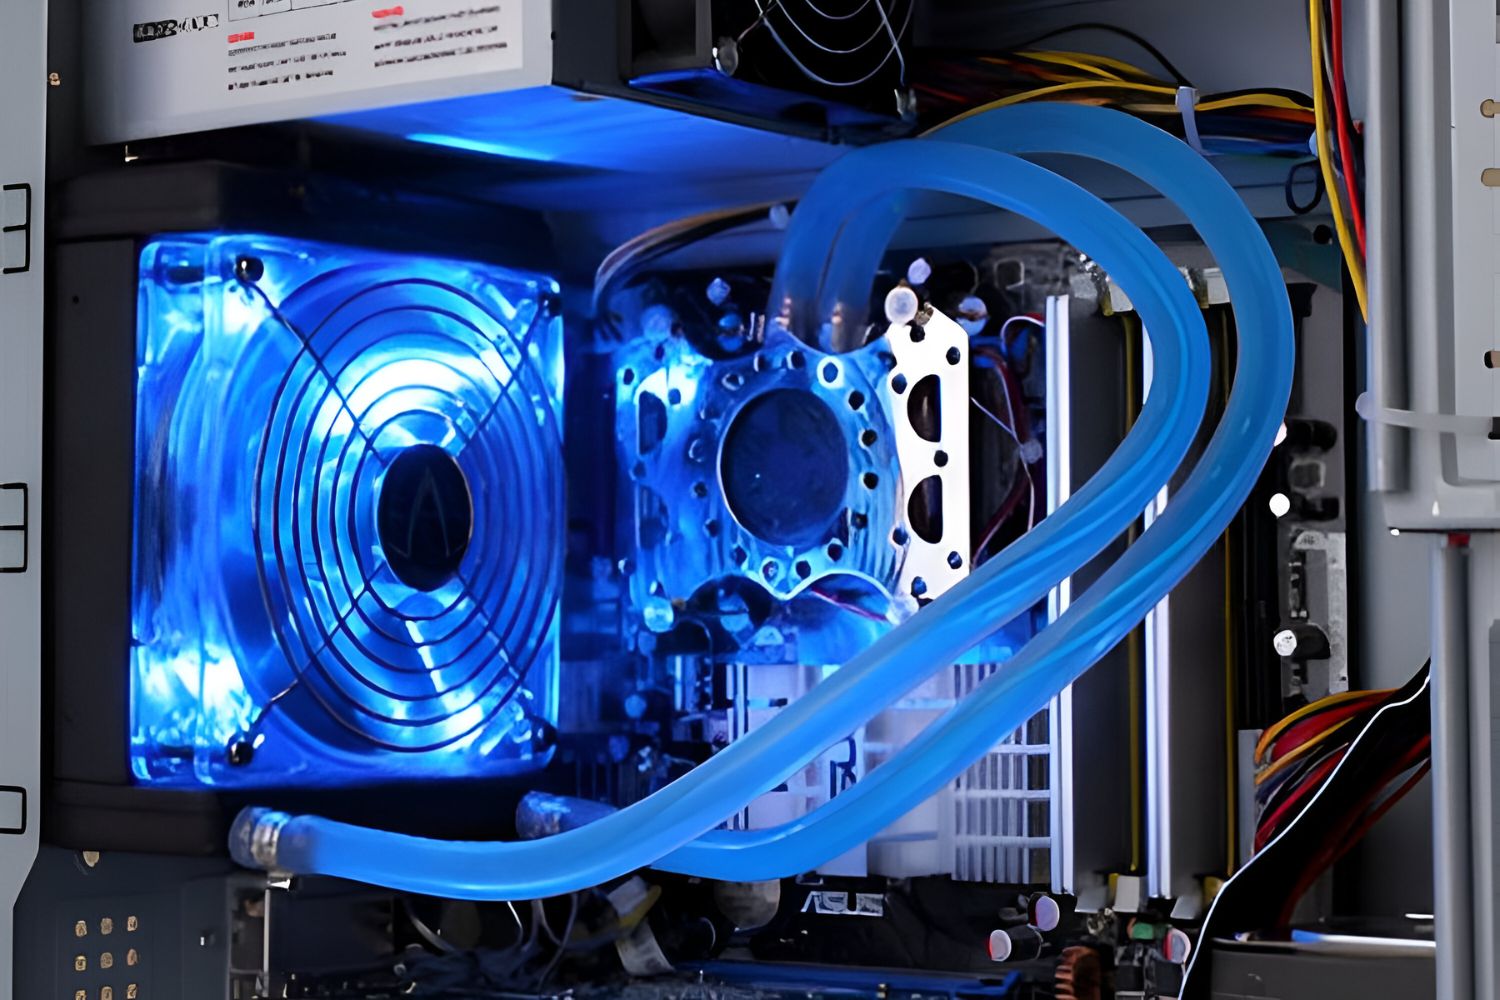
- Effective Heat Dissipation: The primary function of a CPU cooler is to dissipate the heat generated by the processor. By using water as a cooling medium, heat can be efficiently transferred away from the CPU. Over time, however, the water can become contaminated with particles, dust, and residue, reducing its ability to effectively cool the system. Regularly changing the water ensures that your CPU cooler operates at its full capacity, efficiently dissipating heat and preventing thermal throttling.
- Prevention of Corrosion and Algae Growth: Water acts as a conductor, and if left stagnant for prolonged periods, it can facilitate the corrosion of metal components within the CPU cooler. Additionally, when exposed to air and various environmental factors, the water can become a breeding ground for algae growth. Changing the water on a regular basis prevents these issues, ensuring the longevity of your CPU cooler.
- Optimized Performance: A clean and well-maintained CPU cooler results in optimal performance. By changing the water regularly, you remove any build-up of dirt and debris that might hinder heat transfer. This ensures that your CPU operates at lower temperatures, preventing overheating and potential damage to the components.
Overall, regularly changing the water in your CPU cooler is integral to ensuring the efficient functioning of your system. By doing so, you can maintain low temperatures, prevent system slowdowns or crashes, and extend the lifespan of your components.
Now that we understand the importance of changing the water in a CPU cooler, let’s delve into the factors that determine how often this maintenance task should be performed.
Factors that Determine How Often to Change Water
The frequency at which you should change the water in your CPU cooler depends on a few key factors. Let’s take a look at these factors to determine the optimal timeframe for replacing the water:
- Environmental Conditions: The environment in which your computer operates plays a significant role in determining how quickly the water in your CPU cooler becomes dirty or contaminated. If your computer is in a dusty or high-humidity environment, the water may require more frequent changes. On the other hand, if you keep your computer in a clean and controlled environment, you may be able to prolong the interval between water changes.
- Usage and Workload: The workload and usage patterns of your computer also impact the frequency of water changes. If you use your computer for resource-intensive tasks such as gaming or video editing, the CPU cooler will likely accumulate more heat and contaminants. This may necessitate more frequent water changes to maintain optimal cooling performance. Conversely, if you primarily engage in light computing tasks, the water may stay cleaner for a longer period.
- Coolant Type: The type of coolant used in your CPU cooler can also influence how often the water should be changed. Some coolants are designed to have a longer lifespan and can maintain their effectiveness for an extended period. However, others may require more frequent changes to prevent degradation or buildup of residue. Consult the manufacturer’s recommendations for guidance on the ideal interval for changing the water based on the coolant type.
It is worth noting that there is no one-size-fits-all answer to how often you should change the water in your CPU cooler. The best approach is to monitor the performance and temperatures of your system regularly. If you notice an increase in temperatures or a decline in performance, it may be a sign that the water needs to be changed.
Next, we will explore the telltale signs that indicate it’s time to change the water in your CPU cooler. By being aware of these signs, you can proactively maintain the cooling efficiency of your system.
Signs that Indicate it’s Time to Change the Water in CPU Cooler
Regularly monitoring the condition of the water in your CPU cooler is essential to ensure optimal performance. Here are some signs that indicate it’s time to change the water:
- Increased CPU Temperatures: If you notice a gradual increase in CPU temperatures during regular usage, it may be a clear indication that the water in your CPU cooler needs to be changed. Higher temperatures can affect the overall performance of your system and potentially lead to thermal throttling or system instability.
- Visible Contamination: Inspect the water visually to check for any visible contamination. Particles, dust, or residue floating in the water are indications that it has become dirty and could impede proper heat transfer. If you notice such contamination, it’s a good idea to change the water in your CPU cooler.
- Unusual Noise or Vibration: A CPU cooler operating with contaminated or deteriorated water may produce unusual noises or vibrations. These could be caused by air bubbles, blockages, or reduced efficiency in heat dissipation. If you experience such symptoms, it’s worth considering a water change to restore the optimal functioning of the CPU cooler.
- System Performance Decline: If you notice a decline in overall system performance, such as slower application load times or system freezes, it could be a result of your CPU running at higher temperatures due to degraded water. Changing the water can help restore proper cooling, thus improving the performance of your computer.
By keeping an eye out for these signs, you can proactively detect when it’s time to change the water in your CPU cooler. Performing regular maintenance checks and addressing these issues promptly will help ensure that your system remains cool, efficient, and reliable.
Now that we understand the signs that indicate the need for a water change, let’s move on to the step-by-step guide on how to effectively change the water in your CPU cooler.
Step-by-Step Guide on Changing the Water in CPU Cooler
Changing the water in your CPU cooler may seem daunting, but with the right approach, it can be a straightforward process. Follow these step-by-step instructions to effectively change the water in your CPU cooler:
- Gather the necessary tools: Before starting, ensure you have the necessary tools, such as a screwdriver, thermal compound, a clean cloth, and distilled water or coolant suitable for your CPU cooler model.
- Power off and disconnect: Shut down your computer and disconnect the power cable. This will ensure your safety during the process.
- Open the CPU cooler: Remove the side panel of your computer case and locate the CPU cooler. Depending on the model, you may need to unscrew or unlatch the cooler to access the water compartment.
- Drain the old water: Place a container underneath the CPU cooler to catch the old water. Open the drain valve or remove any plugs to allow the water to pour out completely.
- Clean the water block: While the cooler is open, take the opportunity to clean the water block using a clean cloth or soft brush. This will ensure any residual debris or buildup is removed.
- Refill with clean water or coolant: Fill the water reservoir with either distilled water or the appropriate coolant for your CPU cooler. Be sure to follow the manufacturer’s instructions on the acceptable level or capacity.
- Apply thermal compound: If you have removed the CPU from the water block, clean off the old thermal compound from the CPU and reapply a fresh layer. This step ensures optimal heat transfer between the CPU and water block.
- Secure the CPU cooler: Once the water is filled and the thermal compound is applied, reassemble and secure the CPU cooler in place, following the manufacturer’s instructions.
- Power up and monitor: Reconnect the power cable and turn on your computer. Monitor the CPU temperatures and ensure they are within normal operating range.
Following these steps will enable you to safely and effectively change the water in your CPU cooler. Remember to take your time, be patient, and double-check each step to avoid any potential mishaps.
In the final section, we will provide some tips for maintaining the water in your CPU cooler to maximize its efficiency and longevity.
Tips for Maintaining the Water in CPU Cooler
Maintaining the water in your CPU cooler is essential to ensure its long-term performance and reliability. Here are some helpful tips to keep in mind:
- Use distilled water or appropriate coolant: When refilling or topping off the water in your CPU cooler, always use distilled water or the recommended coolant specified by the manufacturer. Using tap water or other types of fluids can introduce impurities that may clog the system or cause corrosion.
- Monitor coolant levels regularly: Keep an eye on the coolant levels in your CPU cooler. If the levels are low or diminishing over time, it may indicate a leak or evaporation. Address any issues promptly to avoid damage to the components or compromised cooling performance.
- Clean the water block periodically: Along with changing the water, it’s important to periodically clean the water block using a soft brush or cloth. This will prevent the accumulation of debris and ensure optimal heat transfer between the CPU and the water block.
- Check for leaks: Inspect the CPU cooler and the surrounding area for any signs of leaks. Look for water stains, dampness, or corrosion on the components. If you identify a leak, discontinue use and address the issue immediately to prevent damage to your system.
- Keep the system clean: Dust and debris can accumulate on the radiator and fans of your CPU cooler, impacting its cooling efficiency. Regularly clean these components using compressed air or a soft brush to remove any build-up and maintain optimal airflow.
- Follow manufacturer’s instructions: Always refer to the manufacturer’s instructions for specific maintenance guidelines and recommendations. Different CPU coolers may have specific requirements or additional steps for maintenance, so it’s important to follow their guidelines accordingly.
By following these tips and incorporating regular maintenance practices, you can ensure the longevity and optimal performance of your CPU cooler. Paying attention to the water in your CPU cooler is a vital aspect of your computer’s overall cooling system, and proper maintenance will help maintain lower temperatures and prevent potential issues.
Now that we’ve covered the importance of changing the water, how to identify when it needs to be changed, and the steps to change it effectively, let’s wrap up this article.
Conclusion
Regularly changing the water in your CPU cooler is vital for maintaining optimal cooling performance and protecting your system from potential damage. By doing so, you can ensure effective heat dissipation, prevent corrosion, and prolong the lifespan of your components.
The frequency at which you should change the water depends on various factors, including environmental conditions, usage patterns, and the type of coolant used. It’s important to monitor your system for signs indicating the need for a water change, such as increased CPU temperatures, visible contamination, unusual noise or vibration, and declining system performance.
When it’s time to change the water, follow a step-by-step guide to ensure a safe and effective process. Remember to gather the necessary tools, power off and disconnect your computer, open the CPU cooler, drain the old water, clean the water block, refill with clean water or coolant, apply thermal compound if necessary, secure the CPU cooler, and power up and monitor the system.
Additionally, it’s crucial to maintain the water in your CPU cooler regularly. Use distilled water or the recommended coolant, monitor coolant levels, clean the water block periodically, check for leaks, keep the system clean, and always follow the manufacturer’s instructions for maintenance.
By taking these measures, you can optimize the cooling efficiency of your CPU cooler, improve system performance, and extend the lifespan of your components.
So, don’t overlook the importance of changing the water in your CPU cooler. Make it a regular part of your system maintenance routine and enjoy a cool and reliable computing experience!