Introduction
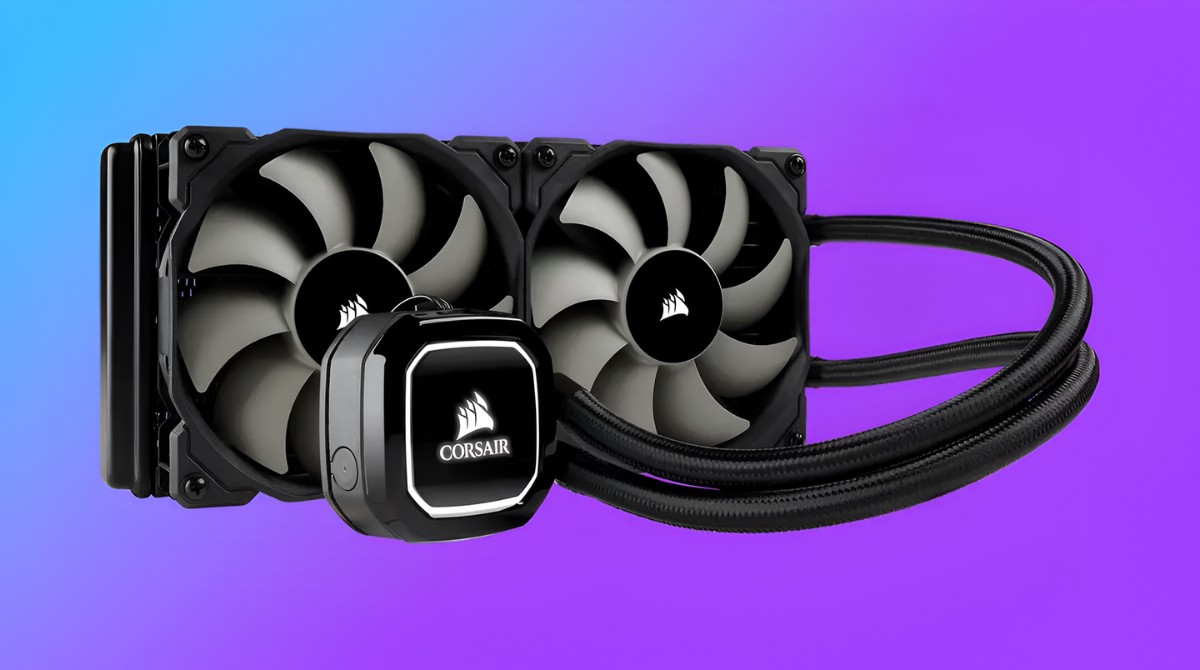
Welcome to our guide on how to attach the Corsair Hydro Series H55 Quiet Edition Water / Liquid CPU Cooler 120mm. If you’re looking for an efficient and high-performance cooling solution for your CPU, then the Corsair Hydro Series H55 is a great choice. This liquid cooler offers excellent heat dissipation, quiet operation, and easy installation. Whether you’re a novice or an experienced PC builder, this guide will walk you through the steps to successfully attach the cooler to your CPU.
Before we begin, it’s essential to note that installing a liquid CPU cooler involves handling delicate components. It’s crucial to follow the instructions carefully and exercise caution throughout the process. Taking the time to properly install the cooler will ensure optimal cooling performance and prevent any damage to your hardware.
In this guide, we’ll provide detailed step-by-step instructions, accompanied by images, to make the installation process as straightforward as possible. We’ll start by gathering the necessary tools and materials, then move on to preparing the motherboard and CPU. Next, we’ll guide you through mounting the backplate, installing the radiator and fan, and attaching the pump block. Finally, we’ll cover connecting the power cables, testing the cooler, and monitoring its performance.
Whether you’re an avid gamer, a content creator, or just someone who values cooler and quieter computing, the Corsair Hydro Series H55 is a fantastic addition to your system. So let’s get started with this installation guide and get your CPU running cool and quiet!
Step 1: Gather the necessary tools and materials
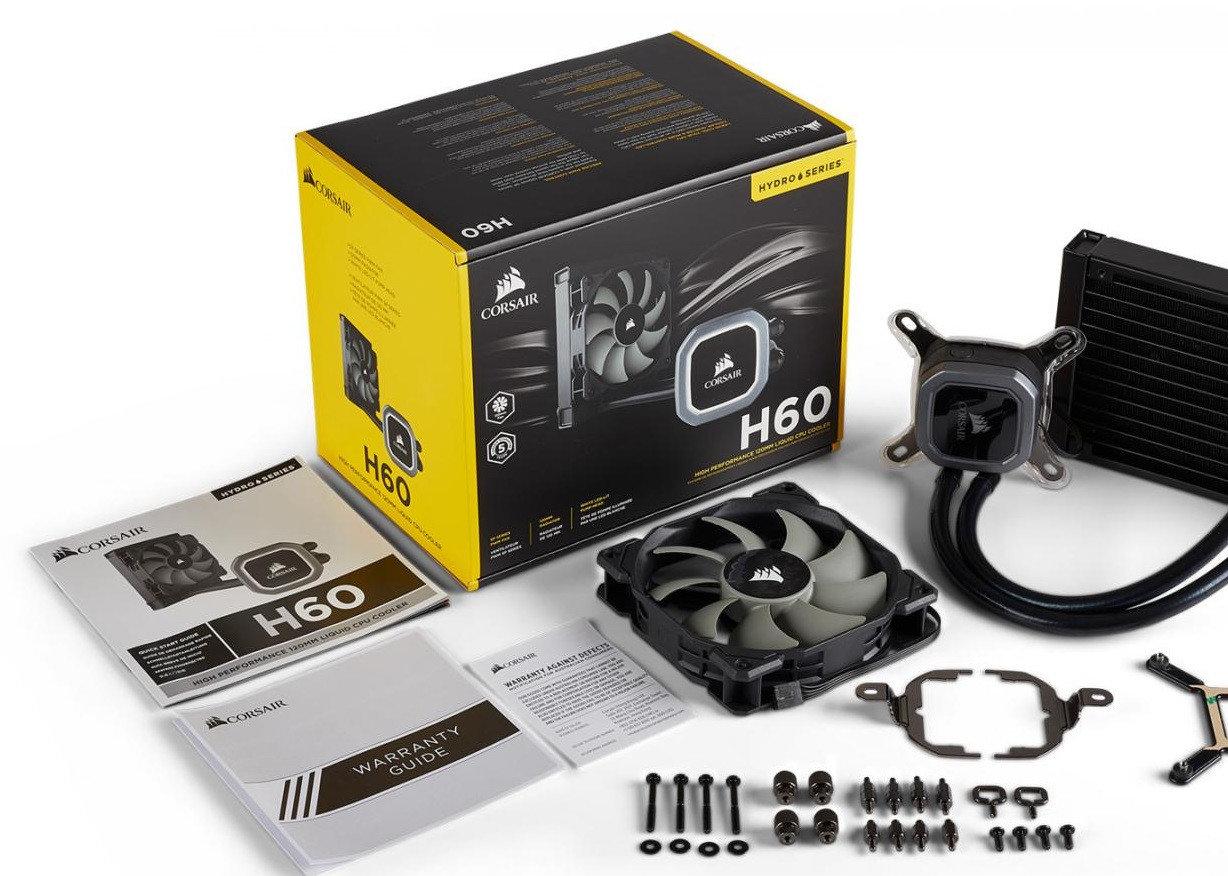
Before diving into the installation process, it’s essential to gather all the necessary tools and materials for a smooth and successful installation of the Corsair Hydro Series H55 Quiet Edition Water / Liquid CPU Cooler 120mm. Here’s a checklist of what you’ll need:
- A Philips head screwdriver
- Thermal paste
- Isopropyl alcohol and a lint-free cloth
- The Corsair Hydro Series H55 CPU cooler (including the radiator, fan, and pump block)
- The mounting kit included with the H55
- Your CPU and motherboard manuals
Make sure you have these items within reach to avoid any interruptions during the installation process. It’s also a good idea to read through the manuals of your CPU and motherboard beforehand, as they may contain specific instructions or precautions regarding the installation of CPU coolers.
Once you have gathered all the tools and materials, find a clean and well-lit workspace to carry out the installation. Having ample space and good lighting will make the process much more comfortable and reduce the risk of accidental damage to your hardware.
With all the necessary tools and materials in hand, you’re now ready to proceed to the next step: preparing the motherboard and CPU for cooler installation.
Step 2: Prepare the motherboard and CPU
Before attaching the Corsair Hydro Series H55 CPU cooler, it’s important to properly prepare your motherboard and CPU. Follow these steps to ensure a smooth installation:
- Start by powering off your computer and disconnecting it from the power source. This will ensure your safety and prevent any potential damage to your hardware.
- Next, locate the CPU socket on your motherboard. Refer to your motherboard manual if you’re unsure about its location. Gently lift the socket cover to reveal the CPU socket.
- Check if there is any thermal paste residue on the CPU socket. If there is, use a lint-free cloth and isopropyl alcohol to clean it off. Ensure that no lint or residue is left behind.
- Now, it’s time to prepare the CPU. Carefully remove your CPU from its protective packaging and hold it by the edges to avoid touching the delicate pins or contacts.
- If your CPU doesn’t come with pre-applied thermal paste, apply a small amount of high-quality thermal paste to the center of the CPU. Be sure not to use too much, as it can cause overheating.
- Align the notches on the CPU with the corresponding tabs on the CPU socket and gently place it into the socket. Do not force it or apply excessive pressure.
- Once the CPU is properly seated, carefully lower the socket cover back into place. Ensure that it locks securely.
By properly preparing your motherboard and CPU, you’ve set the stage for a successful installation of the Corsair Hydro Series H55 CPU cooler. In the next step, we’ll guide you through mounting the backplate onto your motherboard.
Step 3: Mounting the backplate
Mounting the backplate is an important step in securing the Corsair Hydro Series H55 CPU cooler to your motherboard. Follow these detailed instructions to ensure a proper installation:
- Locate the backplate included with your Corsair H55 cooler. It is typically a metal or plastic plate with holes and slots.
- Place the backplate on the rear side of your motherboard, aligning the screw holes with the corresponding CPU socket holes.
- Ensure that the backplate is sitting flush against the motherboard. Some motherboards may require the use of adapters or standoffs, so refer to your motherboard’s manual for specific instructions.
- Now, insert the mounting screws through the appropriate holes on the backplate and into the screw holes on the motherboard. Use a screwdriver to tighten the screws securely, but be careful not to overtighten, as it can cause damage.
- Double-check that the backplate is correctly aligned and firmly attached to the motherboard. A stable and secure backplate is crucial for the overall stability and performance of the cooler.
With the backplate securely mounted, you’re one step closer to a successful installation of the Corsair Hydro Series H55 CPU cooler. In the next step, we’ll guide you through installing the radiator and fan to achieve optimal heat dissipation.
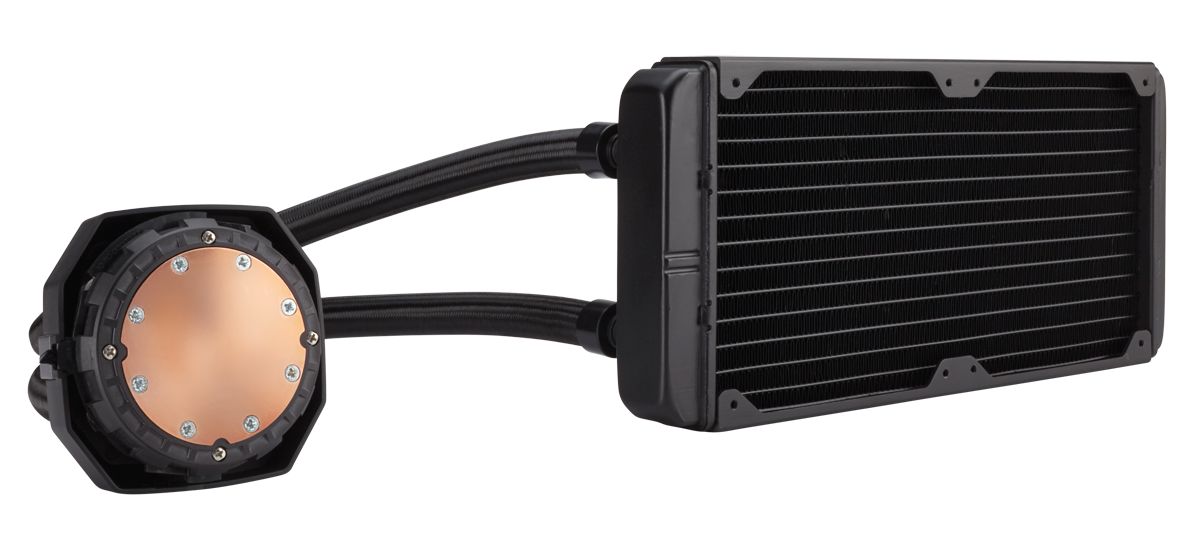
Step 4: Install the radiator and fan
Installing the radiator and fan is a crucial step in achieving effective heat dissipation with the Corsair Hydro Series H55 CPU cooler. Follow these steps to ensure a proper installation:
- Take the radiator and fan out of the packaging, ensuring you have both components ready for installation.
- Locate the mounting holes on your computer case where the radiator will be installed. These are usually located on the top or rear of the case, but it may vary depending on your specific case model.
- Position the radiator onto the mounting holes, aligning it properly with the screws or mounting brackets provided with your case.
- Once aligned, insert the screws or secure the mounting brackets to hold the radiator firmly in place. Use a screwdriver or the appropriate tool recommended by your case manufacturer to tighten the screws.
- Next, attach the fan to the radiator. The fan will help in cooling the radiator efficiently. Line up the screw holes on the fan with the corresponding holes on the radiator and use the screws provided to secure the fan in place.
- Make sure the fan is properly connected to the fan header on your motherboard or any available fan controller.
- Double-check that both the radiator and fan are securely mounted in your case. Any loose connections or improperly installed components can affect the cooling performance of your CPU.
With the radiator and fan securely installed, you have completed another crucial step in the installation process. In the next step, we’ll guide you through attaching the pump block to ensure proper cooling of your CPU.
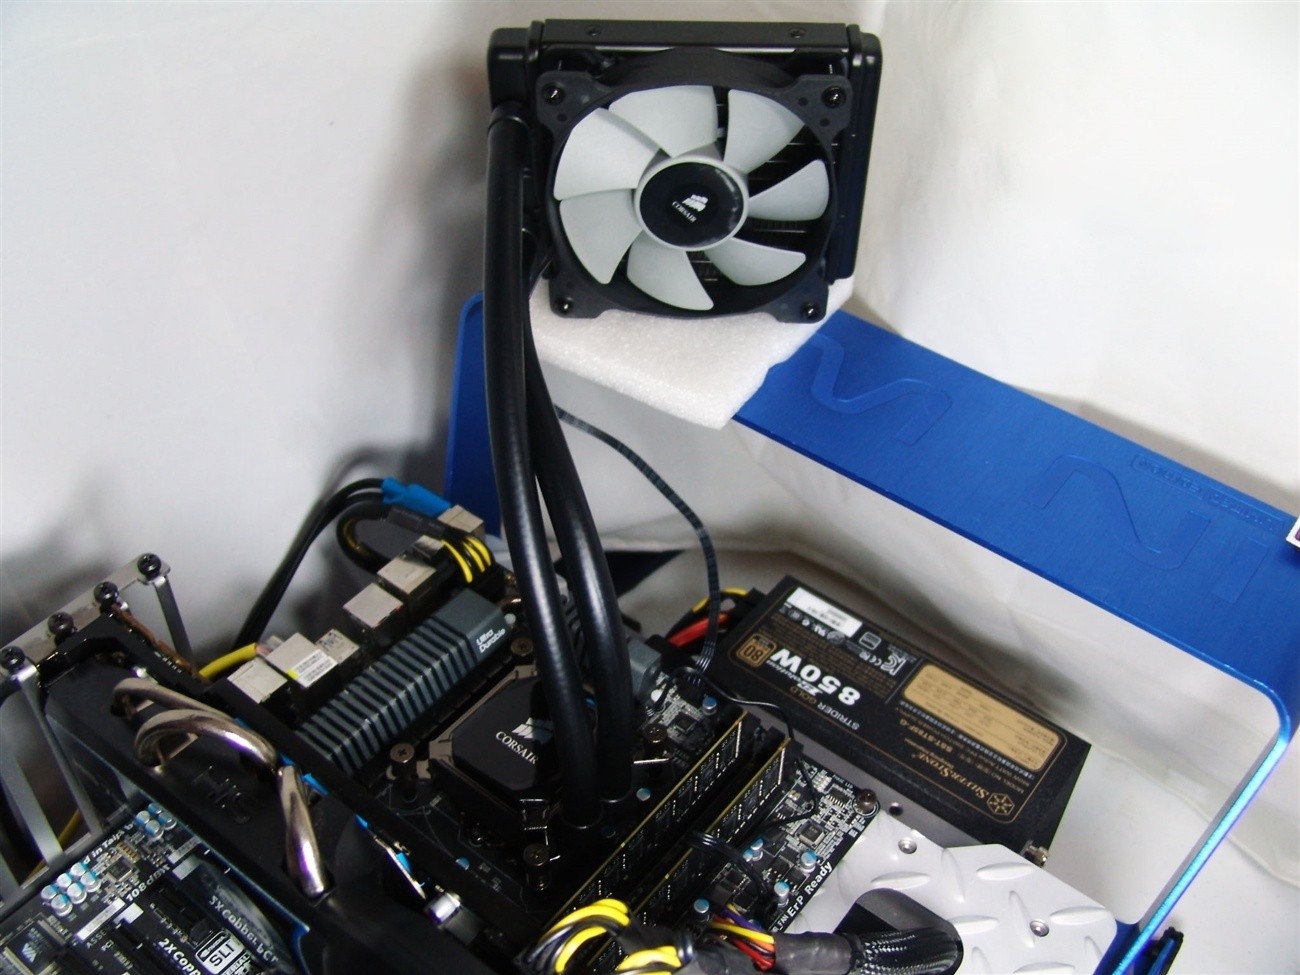
Step 5: Attach the pump block
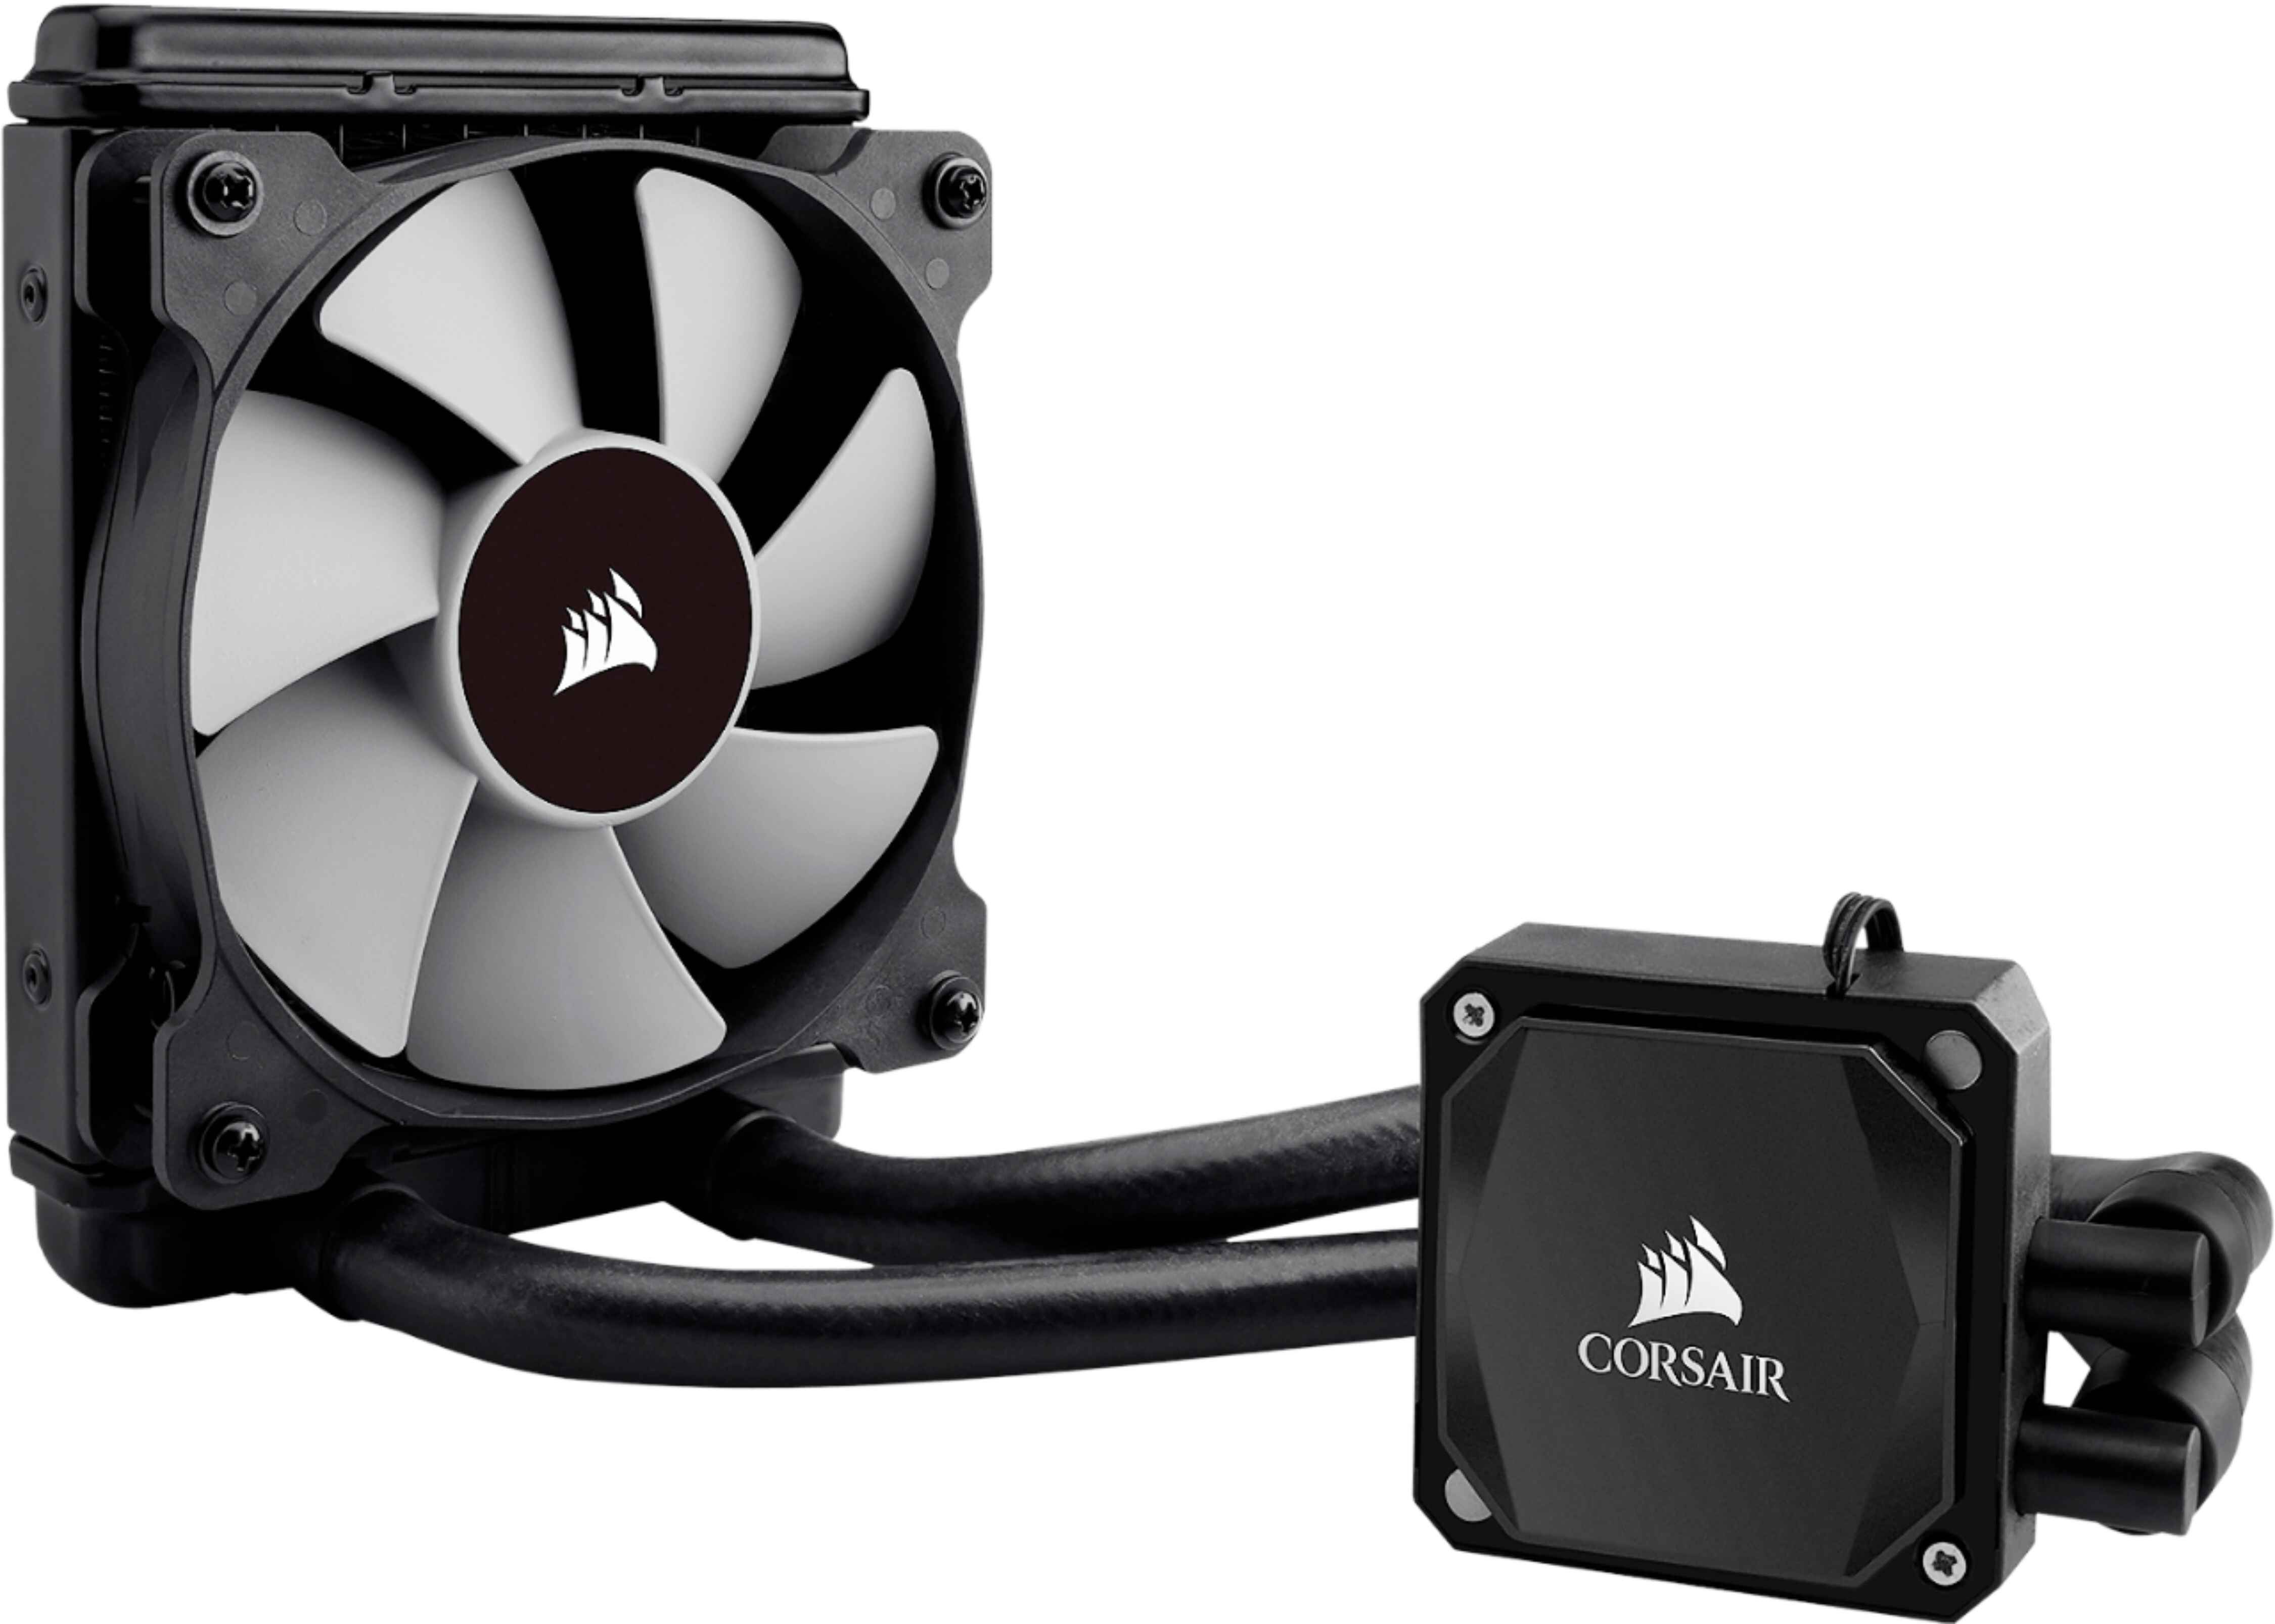
Attaching the pump block is a critical step in the installation process of the Corsair Hydro Series H55 CPU cooler. The pump block is responsible for circulating the liquid coolant and transferring heat away from your CPU. Follow these steps to ensure a proper installation:
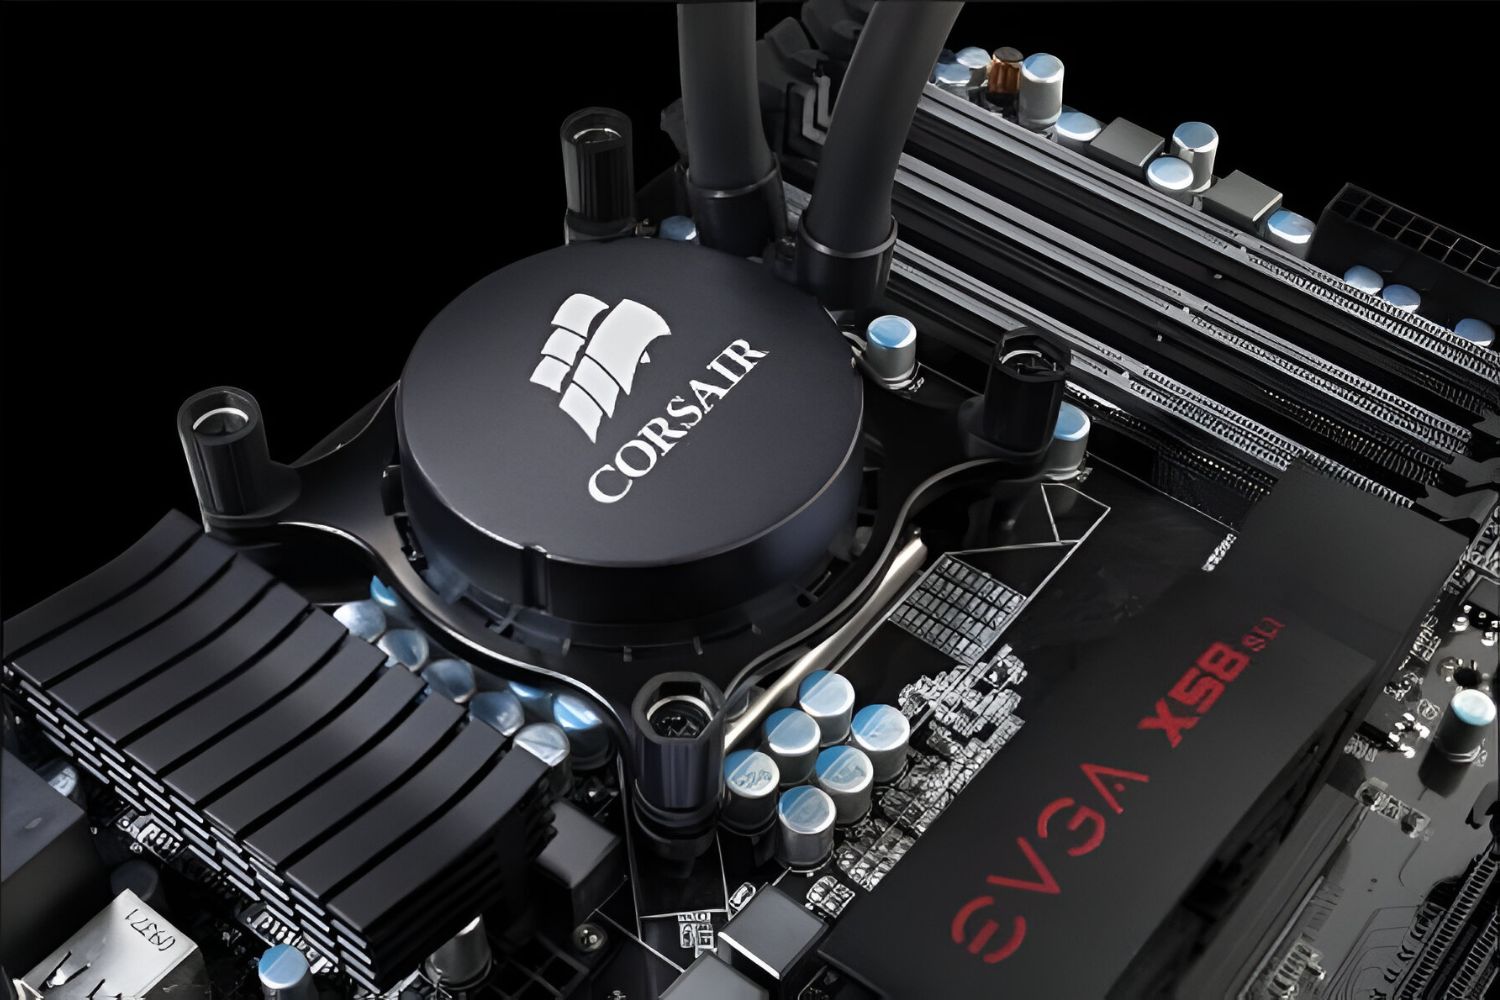
- Take the pump block out of its packaging. It is the component with the Corsair logo and the tubes attached to it.
- Locate the thermal paste application area on the pump block. This area should have a plastic cover or protective film that needs to be removed before installation.
- Carefully clean the CPU surface using isopropyl alcohol and a lint-free cloth. Ensure that no thermal paste residue or debris remains on the CPU surface.
- Apply a small pea-sized amount of thermal paste to the center of the CPU surface. This will ensure proper heat transfer between the CPU and the pump block.
- Carefully align the pump block with the CPU, ensuring the tubes are positioned correctly and not obstructing other components on the motherboard.
- Lower the pump block onto the CPU, ensuring that the thermal paste makes contact with the CPU surface.
- Gently apply even pressure to the pump block to secure it in place. Some pump blocks may have screws or brackets that need to be tightened to ensure a secure fit. Refer to the instructions provided with your cooler for specific details.
Once the pump block is securely attached, you have completed a crucial step in the installation of the Corsair Hydro Series H55 CPU cooler. In the next step, we’ll guide you through connecting the power cables for proper operation.
Step 6: Connect the power cables
Connecting the power cables is the next step in the installation process of the Corsair Hydro Series H55 CPU cooler. Properly connecting the cables ensures that the cooler functions correctly and efficiently. Follow these steps to complete this important task:
- Locate the power connectors on the pump block and the fan. The power connector for the pump block is typically a 3-pin or 4-pin connector, while the fan’s power connector is usually a 4-pin or 3-pin connector.
- Identify the appropriate power headers on your motherboard to connect the pump block and fan. These headers are usually labeled “CPU_FAN” and “PUMP” on the motherboard.
- Connect the pump block’s power connector to the “PUMP” header on your motherboard. Make sure to align the pins correctly and firmly attach the connector.
- Next, connect the fan’s power connector to the “CPU_FAN” header on your motherboard. Again, ensure proper alignment and a secure connection.
- Double-check that both the pump block and fan are securely connected to their respective power headers. Loose connections may result in the cooler not functioning optimally.
- With the power cables connected, you can proceed to the next step to test and monitor the performance of the Corsair Hydro Series H55 CPU cooler.
By connecting the power cables correctly, you have ensured that the Corsair Hydro Series H55 CPU cooler is ready to function effectively. In the next step, we’ll guide you through testing and monitoring the cooler to ensure proper operation.
Step 7: Test and monitor the cooler
After completing the installation of the Corsair Hydro Series H55 CPU cooler, it’s crucial to test and monitor its performance to ensure that it is functioning optimally. Follow these steps to test and monitor the cooler:
- Power on your computer and enter the BIOS or UEFI setup by pressing the appropriate key during startup (typically Del, F2, or F12).
- Navigate to the hardware monitoring section in the BIOS or UEFI setup. Check if the CPU temperature is being detected and displayed accurately.
- If the CPU temperature is not displayed or is unusually high, double-check the cooler’s connections and mounting to ensure they are secure and properly installed.
- Boot into your operating system and install a reliable CPU monitoring software. This software will provide real-time information about the CPU temperature and other relevant metrics.
- Open the CPU monitoring software and keep an eye on the temperature readings. Running intensive tasks or stress tests can help you gauge the cooler’s performance under heavy load.
- Ensure that the CPU temperatures remain within acceptable ranges during normal operation and under stress. Different CPUs have different temperature limits, so consult your CPU manufacturer’s specifications for recommended temperatures.
- If you notice unusually high temperatures or any cooling issues, check that the pump is functioning correctly and that the fans are spinning at the appropriate speeds. Make any necessary adjustments or contact customer support for further assistance.
Testing and monitoring the cooler’s performance is crucial to ensure that your CPU remains cool and properly cooled under various conditions. By following these steps, you’ll be able to identify any issues and make necessary adjustments for optimal performance.
Conclusion
Congratulations! You have successfully completed the installation of the Corsair Hydro Series H55 Quiet Edition Water / Liquid CPU Cooler 120mm. By following this step-by-step guide, you have ensured efficient cooling and optimal performance for your CPU.
Throughout the installation process, we covered gathering the necessary tools and materials, preparing the motherboard and CPU, mounting the backplate, installing the radiator and fan, attaching the pump block, connecting the power cables, and testing and monitoring the cooler’s performance. Each step is critical in achieving proper cooling and maintaining the longevity of your CPU.
Remember, proper installation and adequate cooling are essential for maintaining the stability and performance of your system. Regularly monitoring the temperatures and ensuring that all components are functioning correctly will help prevent overheating and potential damage to your hardware.
If you encountered any difficulties during the installation process or have any concerns about the cooler’s performance, be sure to consult the official documentation or reach out to Corsair’s customer support for further assistance. They will be able to provide specific guidance and address any issues you may be facing.
Now, with the Corsair Hydro Series H55 in place, you can enjoy quieter computing and optimal cooling performance, whether you are gaming, content creation, or performing intensive tasks. Sit back, relax, and experience the benefits of a well-cooled CPU with the Corsair Hydro Series H55 Cooler!