Introduction
Replacing a CPU cooler is a common task for computer enthusiasts and professionals alike. Whether you’re looking to upgrade to a more efficient cooling solution or simply need to replace a faulty cooler, knowing how to properly replace a CPU cooler is essential. This guide will take you through the step-by-step process of replacing a CPU cooler, ensuring that you can safely and effectively complete the task.
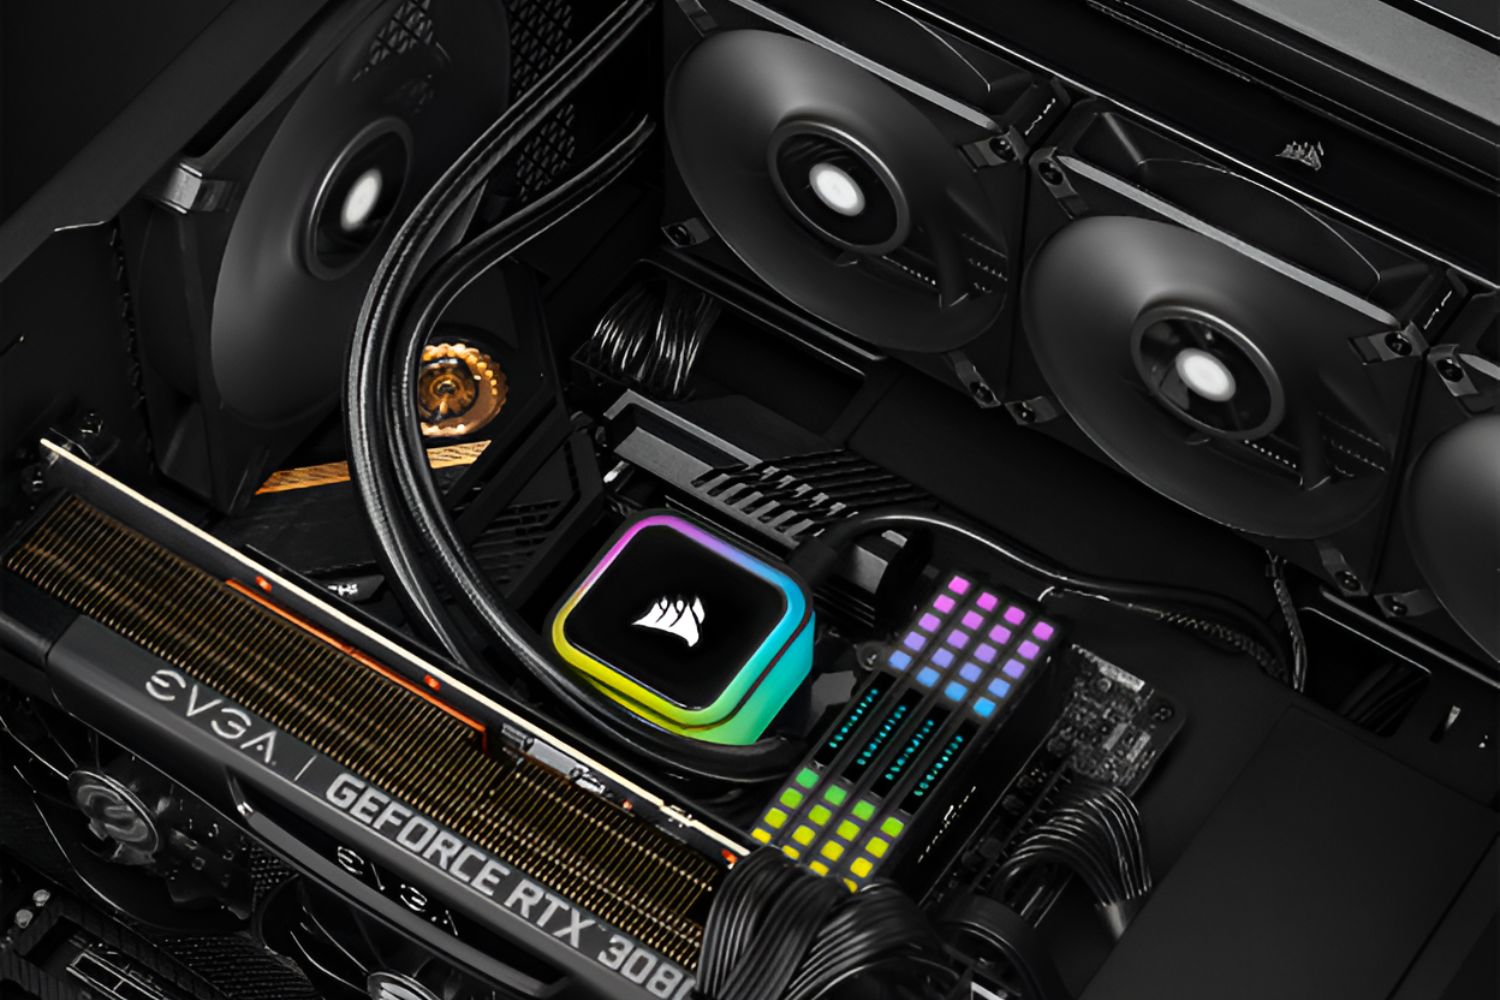
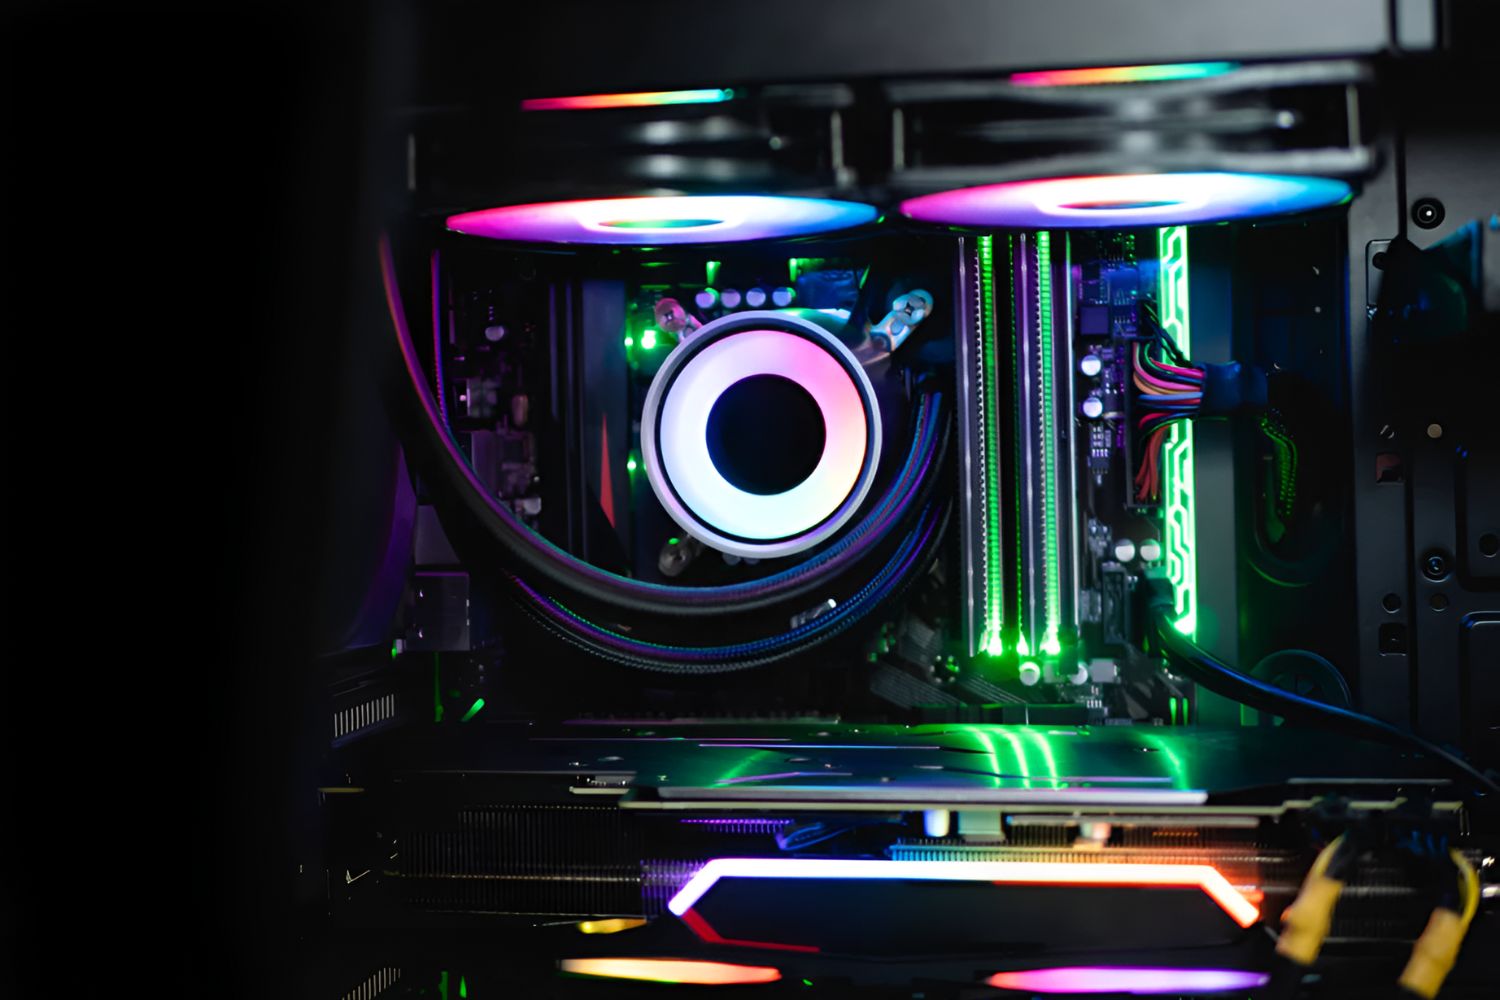
The CPU cooler plays a crucial role in maintaining the temperature of your computer’s processor. As the CPU generates heat during operation, the cooler dissipates that heat, preventing it from reaching critical levels that could cause instability or component damage. Over time, the cooler may degrade, or you might want to upgrade to a more advanced model to enhance performance and reliability.
Before diving into the replacement process, it’s important to take precautions and understand the safety measures involved. Working inside a computer requires delicacy and attention to avoid damaging other components. Additionally, it’s essential to have the necessary tools and materials ready to ensure a smooth and efficient replacement process.
In this guide, we will outline the required tools, provide step-by-step instructions for removing the old CPU cooler, preparing the CPU and motherboard, installing the new CPU cooler, and connecting power and testing. By following these instructions carefully and taking precautionary measures, you’ll be able to successfully replace your CPU cooler and have your computer running smoothly in no time.
Precautions and Safety Measures
Before diving into the process of replacing a CPU cooler, it’s crucial to take the necessary precautions to ensure your safety and the integrity of your computer components. Working inside a computer requires care, as any mishandling can result in damage to delicate parts or even personal injury. Here are some important precautions and safety measures to keep in mind:
- Power off and unplug the computer: Before starting any work on your computer, make sure it is completely powered off and unplugged from the electrical outlet. This will prevent any accidental electrical shocks or damage to the components.
- Ground yourself: Static electricity can be harmful to computer components. To prevent this, it’s recommended to ground yourself by touching a grounded object, such as a metal doorknob, before touching any internal components. You can also use an antistatic wrist strap to discharge any static electricity from your body.
- Use a clean and static-free workspace: Ensure your work area is clean, well-lit, and free from static build-up. Avoid working on carpets, as they can generate static electricity. Use an antistatic mat or a non-conductive surface to protect your components.
- Handle components with care: CPUs and coolers are delicate components and can be easily damaged if mishandled. Avoid touching the pins or connectors, and hold the cooler by its edges or designated handles.
- Properly clean and apply thermal paste: Before installing a new CPU cooler, make sure to thoroughly clean the surface of the CPU and apply a fresh layer of thermal paste. This will ensure optimal heat transfer between the CPU and the cooler.
- Refer to the manufacturer’s instructions: Different CPU coolers may have specific installation instructions provided by the manufacturer. It’s important to refer to these instructions to ensure proper installation and avoid any potential issues.
By taking these precautions and following the proper safety measures, you can minimize the risk of damage to your computer components and ensure a smooth and successful CPU cooler replacement process.
Step 1: Gathering the Necessary Tools and Materials
Before you begin the process of replacing a CPU cooler, it’s crucial to gather all the necessary tools and materials. Having everything prepared beforehand will ensure a smooth and efficient replacement process. Here are the essential tools and materials you’ll need:
- Screwdriver: You’ll need a screwdriver that matches the size and type of screws used on your CPU cooler. Typically, a Phillips head screwdriver will suffice, but it’s best to check the cooler’s documentation or visually inspect the screws beforehand.
- Thermal paste: Thermal paste is essential for ensuring optimal heat transfer between the CPU and the cooler. Make sure you have a high-quality thermal paste ready for application during the installation process.
- Isopropyl alcohol and lint-free cloth: Before installing the new CPU cooler, you’ll need to clean the surface of the CPU to remove any residual thermal paste. Isopropyl alcohol (at least 70%) and a lint-free cloth are ideal for this task.
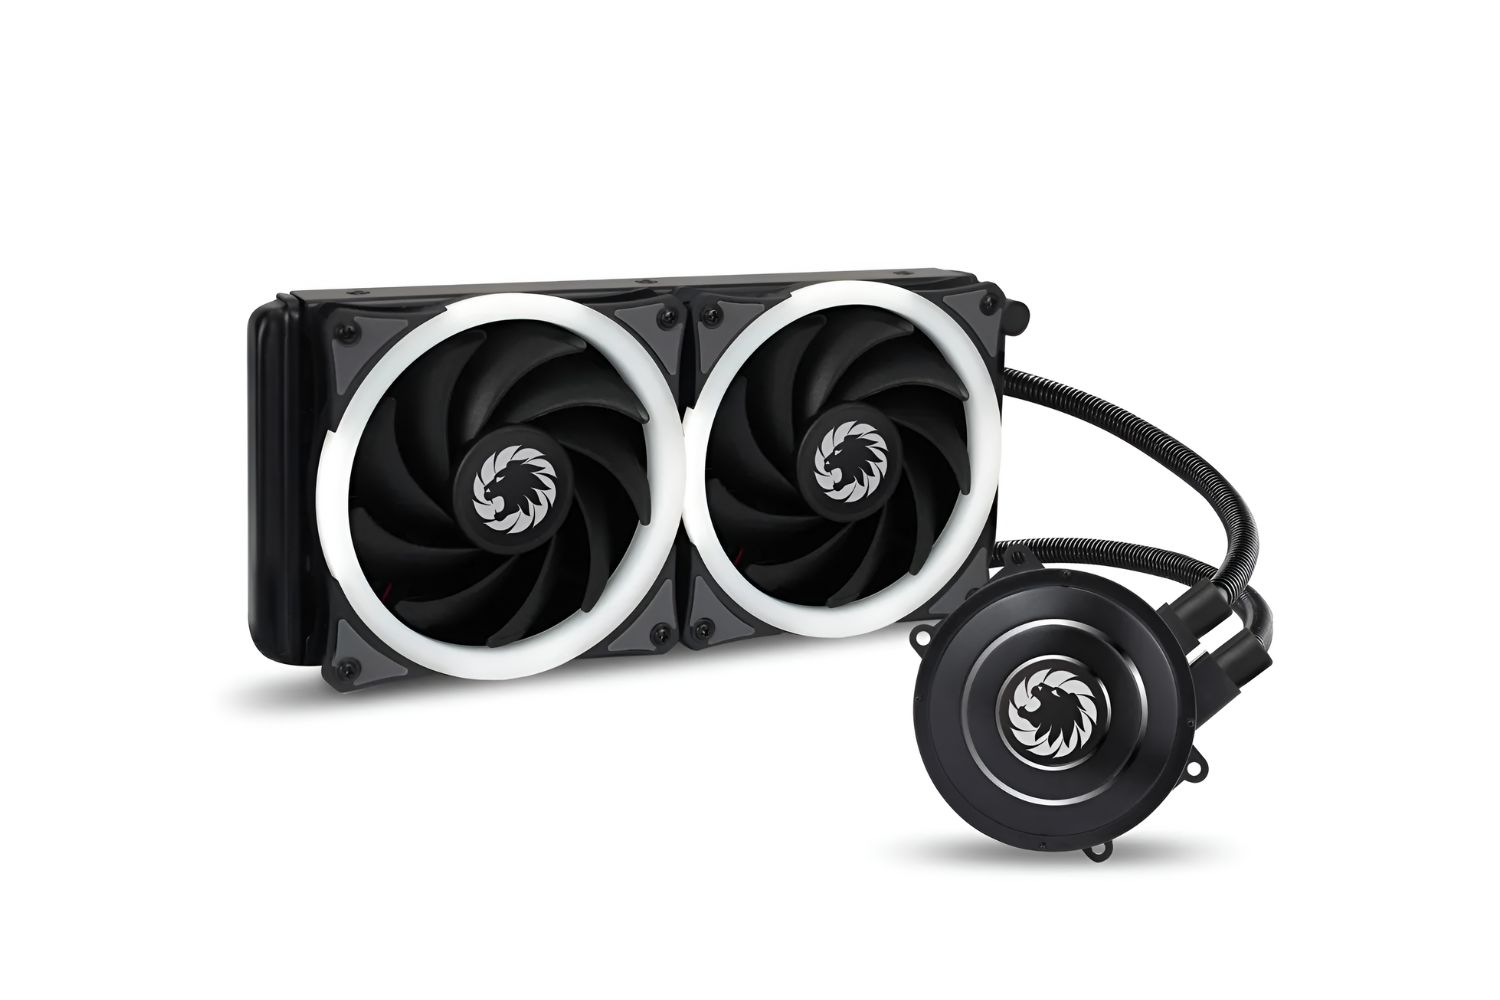
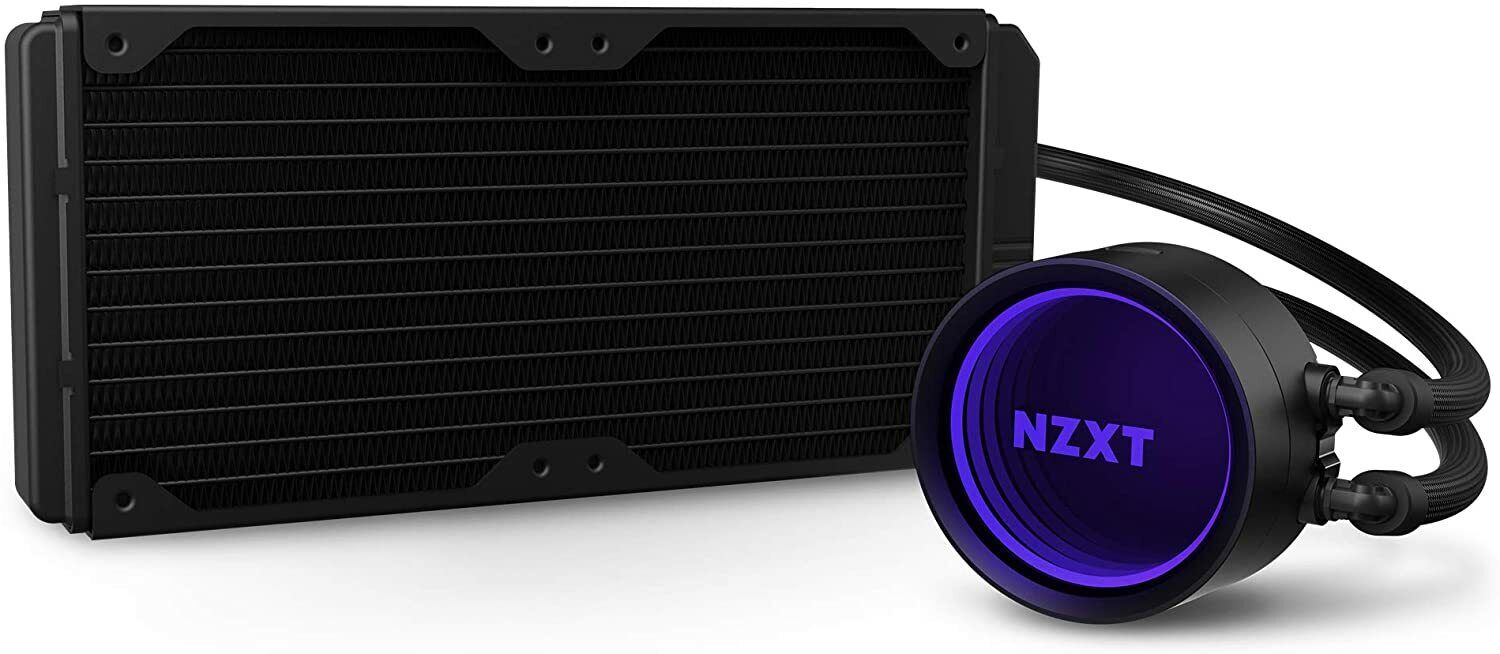
- CPU cooler: Of course, you’ll need a new CPU cooler to replace the existing one. Make sure you choose a cooler that is compatible with your motherboard socket and meets your cooling needs.
- Motherboard manual: It’s always helpful to have the motherboard manual on hand for reference. It will provide specific instructions for removing the old cooler and installing the new one, as well as information about the motherboard’s CPU socket.
- Anti-static wrist strap (optional): While not mandatory, an anti-static wrist strap can provide an additional layer of protection against static electricity. This can be particularly useful if you frequently work with computer components.
Make sure you have all these tools and materials ready before proceeding to the next steps. This will help streamline the process and minimize any potential disruptions or delays. Once you’ve gathered everything, you’re ready to move on to the next step of removing the old CPU cooler.
Step 2: Removing the Old CPU Cooler
Now that you have gathered all the necessary tools and materials, it’s time to remove the old CPU cooler. Follow these step-by-step instructions to ensure a proper removal process:
- Power off and unplug the computer: Before proceeding, make sure your computer is powered off and unplugged from the electrical outlet to avoid any risk of electric shock or component damage.
- Remove the side panel: Most cases have a removable side panel that provides access to the internal components. Use a screwdriver to remove the screws holding the panel in place, then gently slide or lift the panel off.
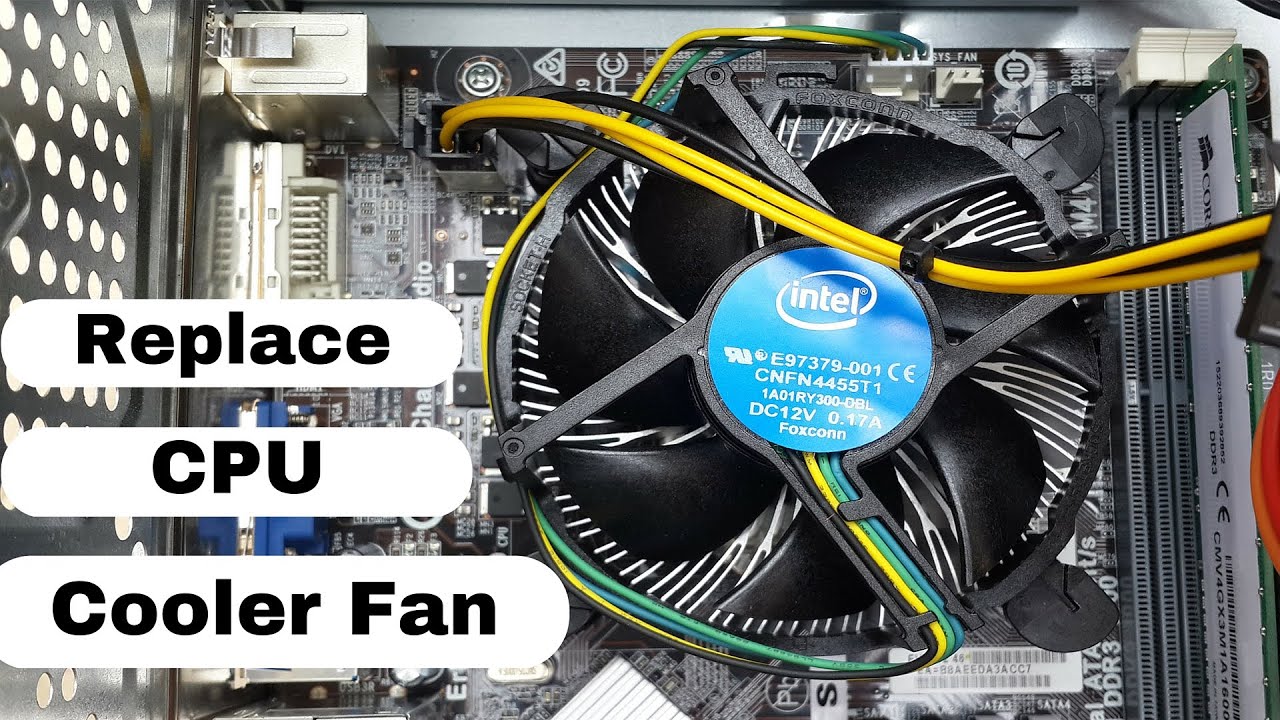
- Locate the CPU cooler: The CPU cooler is usually located near the top of the motherboard, directly above the CPU. It consists of a heatsink and a fan or fans.
- Disconnect the fan: The CPU cooler fan is connected to the motherboard or a fan header. Locate the fan connector and carefully unplug it. Some connectors may have a latch or clip that needs to be released before disconnecting.
- Remove the heatsink: The heatsink is secured to the motherboard using screws or brackets. Use a screwdriver to remove the screws or release the brackets, taking care not to damage any surrounding components.
- Gently lift the heatsink: Once the screws or brackets are removed, gently lift the heatsink away from the CPU. It may require a slight rocking motion to loosen it. Be cautious not to apply excessive force, as this could damage the CPU or motherboard.
- Clean the CPU surface: After removing the old cooler, use isopropyl alcohol and a lint-free cloth to clean the surface of the CPU. This will remove any residual thermal paste.
- Inspect for damage: Take this opportunity to inspect the CPU and motherboard for any signs of damage or bent pins. If you notice any issues, it’s best to address them before proceeding with the installation of the new cooler.
By following these steps, you should successfully remove the old CPU cooler from your system. Take your time and be extra careful during this process to prevent any accidental damage to your components. With the old cooler removed, you’re ready to move on to preparing the CPU and motherboard for the installation of the new CPU cooler.
Step 3: Preparing the CPU and Motherboard
With the old CPU cooler removed, it’s time to prepare the CPU and motherboard for the installation of the new CPU cooler. Follow these step-by-step instructions to ensure a proper preparation process:
- Inspect the CPU socket: Take a moment to inspect the CPU socket on the motherboard. Ensure that there are no bent pins or debris that might hinder the installation of the new CPU cooler. If you notice any issues, carefully straighten the pins or remove any debris using a can of compressed air or a soft brush.
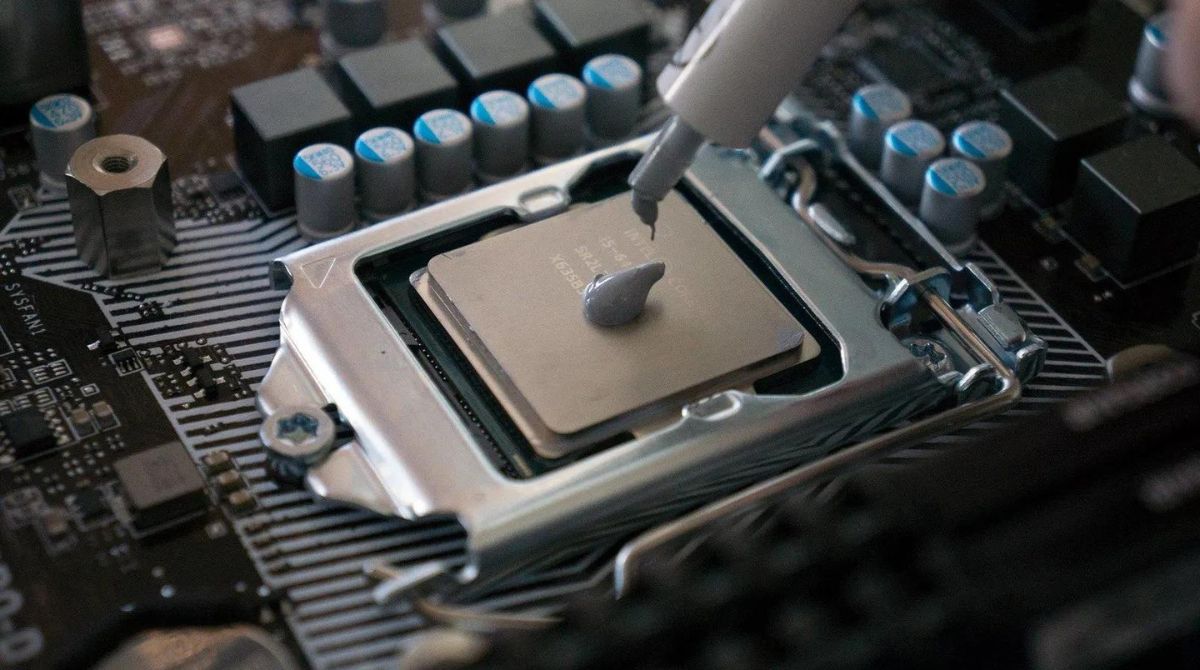
- Apply thermal paste: Before installing the new CPU cooler, apply a small amount of thermal paste on the surface of the CPU. Use a pea-sized dot or a thin line across the center, depending on the manufacturer’s instructions. Avoid applying too much paste, as it can lead to poor heat transfer.
- Spread the thermal paste (optional): Some CPU coolers require spreading the thermal paste evenly over the CPU surface. If the manufacturer recommends this method, use a plastic or rubber spatula to spread the paste uniformly. Ensure that the entire surface is covered without any gaps or excess paste.
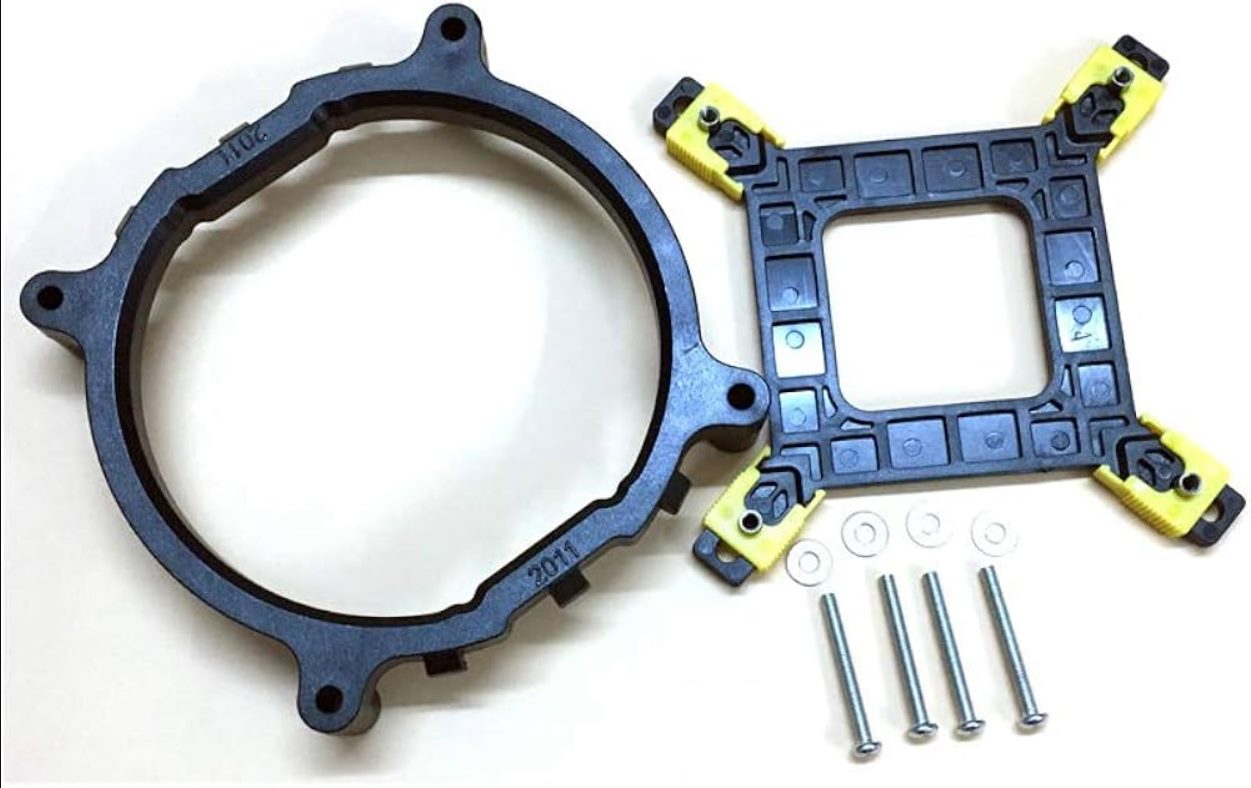
- Align the CPU cooler: Carefully position the new CPU cooler over the CPU socket, aligning any mounting holes or brackets with the corresponding holes on the motherboard. Take note of any additional components, such as backplates or retention bars, that may need to be installed for proper alignment.
- Secure the CPU cooler: Once aligned, use the relevant screws, brackets, or retention bars provided with the CPU cooler to secure it in place. Tighten the screws or clips evenly, alternating between each one, to ensure even pressure and proper mounting.
By following these steps, you will have successfully prepared the CPU and motherboard for the installation of the new CPU cooler. Take your time and ensure that all components are aligned correctly and securely fastened. With the CPU and motherboard prepared, you can now move on to the installation of the new CPU cooler in the next step.
Step 4: Installing the New CPU Cooler
Now that you have prepared the CPU and motherboard, it’s time to install the new CPU cooler. Follow these step-by-step instructions to ensure a proper installation process:
- Align the CPU cooler: Carefully position the new CPU cooler over the CPU socket, aligning any mounting holes or brackets with the corresponding holes on the motherboard. Ensure that the cooler is sitting evenly and securely in place.
- Secure the CPU cooler: Depending on the type of CPU cooler you have, you may need to use screws, brackets, or retention bars to secure it in place. Refer to the manufacturer’s instructions for the specific installation method. Tighten the screws or clips evenly, alternating between each one, to ensure even pressure and proper mounting.
- Connect the CPU cooler fan: Locate the fan connector on the CPU cooler and connect it to the motherboard’s fan header. Ensure that the connector is securely plugged in, and if applicable, secure it with any clips or latches provided.
- Double-check the installation: Take a moment to double-check that the CPU cooler is properly secured and aligned. Ensure that there is no excessive wobbling or movement and that all screws or brackets are tightened appropriately.
By following these steps, you should have successfully installed the new CPU cooler onto your motherboard. Take your time and ensure that all components are properly aligned and securely fastened. With the CPU cooler installed, you’re one step away from completing the process of replacing your CPU cooler.
Step 5: Connecting Power and Testing
With the new CPU cooler installed, it’s time to connect the power and test the system to ensure everything is functioning properly. Follow these step-by-step instructions to complete the process:
- Reattach the side panel: Place the side panel back onto the computer case and secure it with the screws you removed earlier. Ensure that it is properly aligned and fastened to prevent any dust or debris from entering the system.
- Plug in the power cable: Connect the power cable to the computer and plug it into a power outlet. Double-check that all connections are secure.
- Power on the computer: Press the power button to turn on the computer. Listen for the startup beep and watch the monitor to ensure that the system boots up properly.
- Monitor the CPU temperature: Use monitoring software or the BIOS to check the CPU temperature. Make sure it is within a safe range under normal usage. If the temperature is unusually high, ensure that the CPU cooler is properly installed and that the thermal paste is applied correctly.
- Run stress tests (optional): For an extra level of assurance, you can run CPU stress tests to put a heavy load on the processor and monitor the temperatures. This will help ensure that the new CPU cooler is performing adequately under intense usage scenarios.
By following these steps, you should have successfully connected the power and tested the system after installing the new CPU cooler. Confirm that the temperatures are within a safe range and that the computer is functioning properly. If everything looks good, you’ve completed the process of replacing your CPU cooler. Enjoy the improved cooling performance and the reliable operation of your computer!
Conclusion
Replacing a CPU cooler is a task that can greatly benefit your computer’s performance and longevity. By following the steps outlined in this guide, you can safely and effectively replace your CPU cooler, ensuring optimal cooling for your processor. Remember to take the necessary precautions and gather all the required tools and materials before beginning the process.
Throughout this guide, we covered the importance of the CPU cooler, the precautions and safety measures to take, how to gather the necessary tools and materials, the step-by-step process of removing the old CPU cooler and preparing the CPU and motherboard, as well as the installation of the new CPU cooler. We also discussed the significance of connecting power and testing the system to ensure proper functionality.
By carefully following each step and taking your time, you can confidently replace your CPU cooler and enjoy the benefits of enhanced cooling performance and potentially improved system stability. Remember to refer to the manufacturer’s instructions specific to your CPU cooler for any additional details or requirements.
As always, if you encounter any difficulties or are unsure about any step of the process, it’s recommended to seek assistance from a professional or a knowledgeable individual. Properly maintaining and upgrading your computer’s cooling system will contribute to its overall reliability and performance.
Congratulations on successfully replacing your CPU cooler, and enjoy the improved cooling capability of your computer!