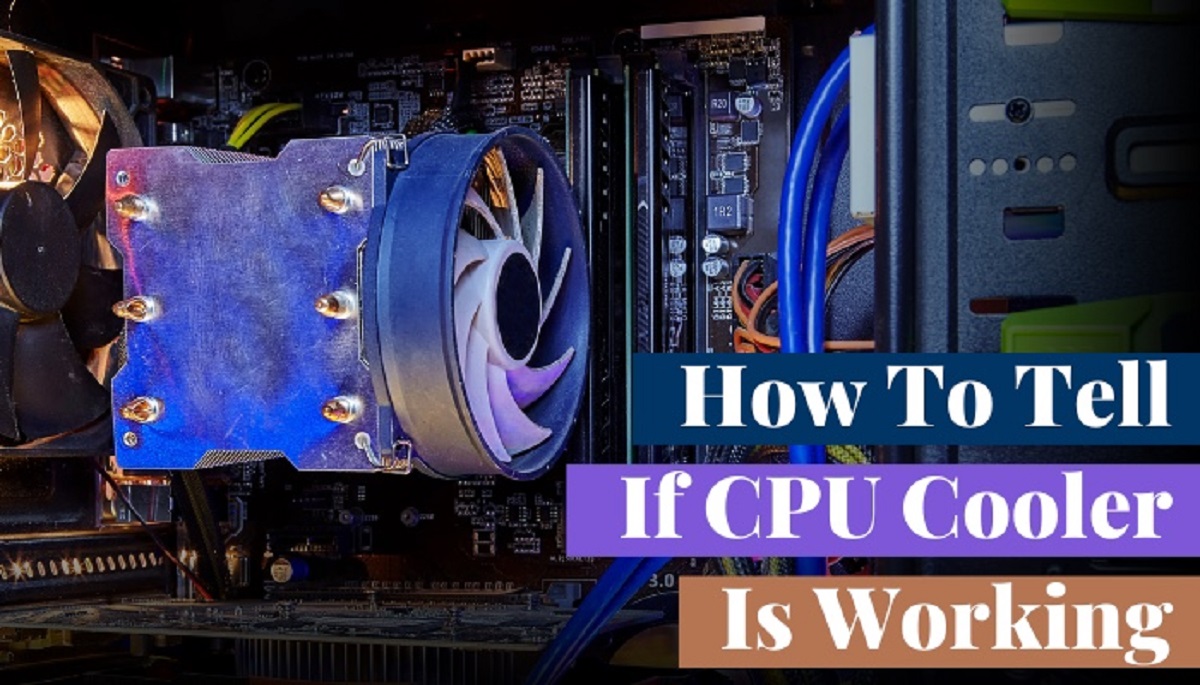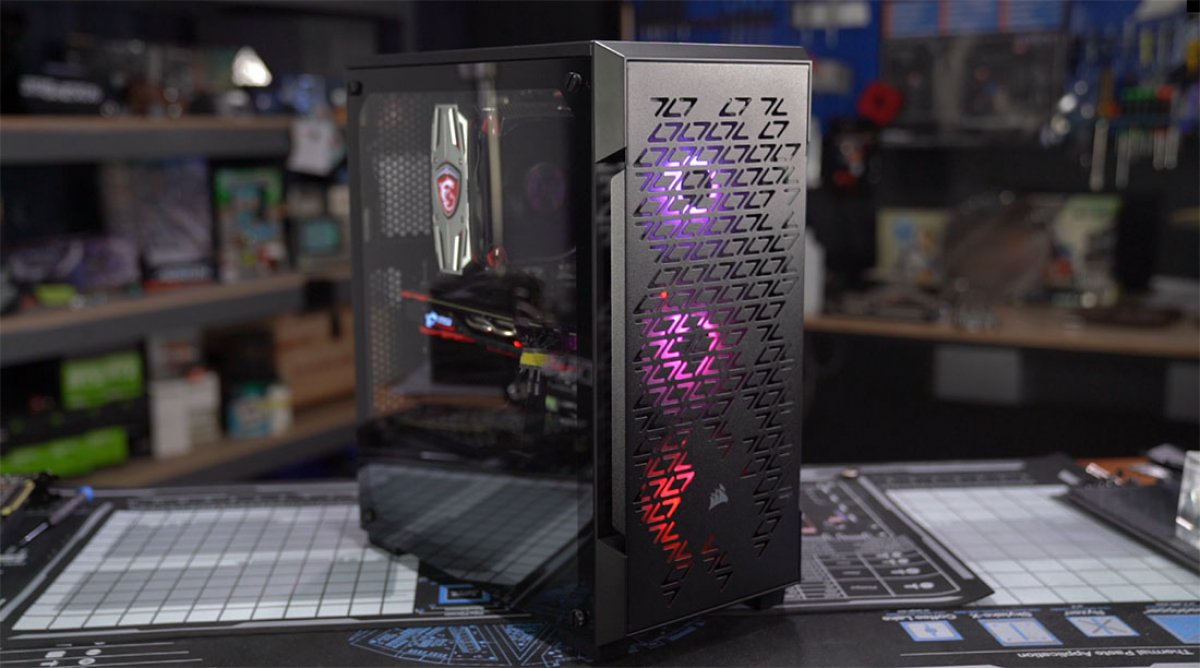
Signs of a Bad CPU Cooler
A CPU cooler plays a crucial role in maintaining the temperature of your processor, ensuring optimal performance and longevity. When a CPU cooler starts to fail or become inefficient, it can lead to various issues that can affect your computer’s performance. By being aware of the signs of a bad CPU cooler, you can take timely action to rectify the problem and prevent any further damage. Here are some common signs to look out for:
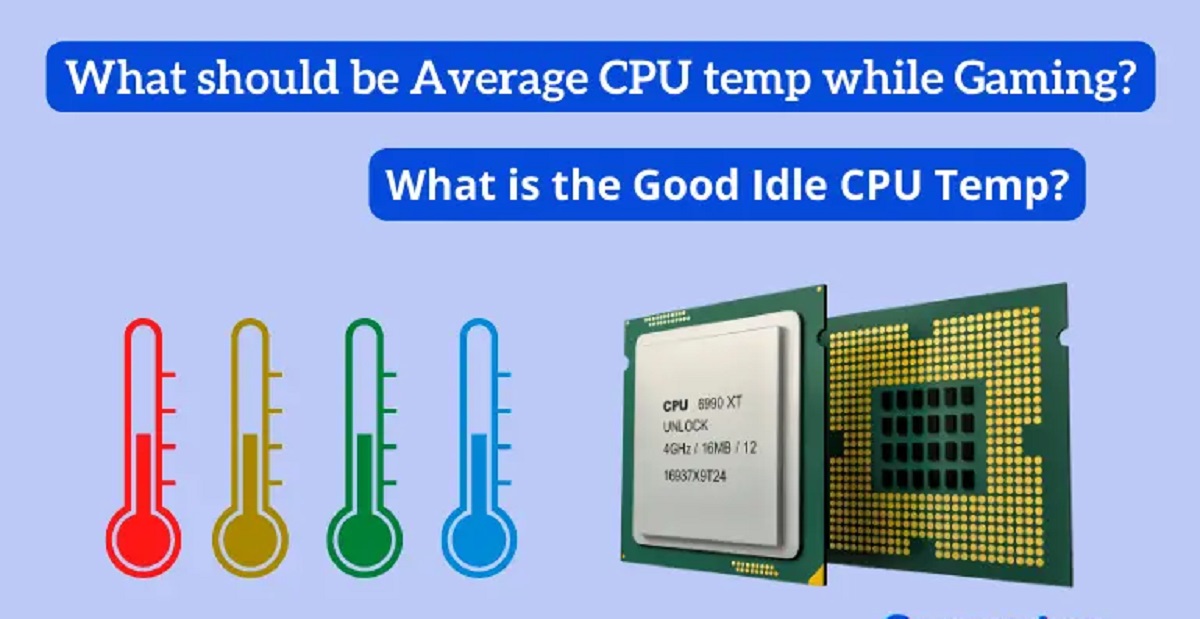
- High CPU Temperatures: One of the primary indicators of a faulty CPU cooler is abnormally high CPU temperatures. If you notice that your CPU is consistently running hot, reaching temperatures well above its recommended operating range, it could be a sign that your CPU cooler is not effectively dissipating heat.
- Frequent System Crashes or Shutdowns: A malfunctioning CPU cooler can cause your system to overheat, resulting in frequent crashes or sudden shutdowns. When the CPU reaches critical temperatures, the system may shut down to prevent damage. If you experience frequent system instability, it’s worth checking the health of your CPU cooler.
- Excessive Fan Noise: While CPU fans naturally generate some noise, an excessively noisy fan could be a sign of a flawed cooler. If the fan is constantly running at high speeds or making unusual rattling or grinding noises, it may indicate an issue with the cooler’s bearings or fan motor.
- Overclocking Instability: Overclocking your CPU pushes it to perform beyond its manufacturer-set limits. If your CPU cooler is unable to handle the increased heat generated by overclocking, it can cause instability in your system. If you notice frequent crashes or system instability while overclocking, it might be due to an inadequate cooler.
- CPU Fan Not Spinning Properly: Check if the CPU fan is spinning smoothly when the system is powered on. If the fan doesn’t spin at all or spins irregularly, it could be due to a faulty fan or fan motor. This can substantially impact the cooling performance of the CPU cooler.
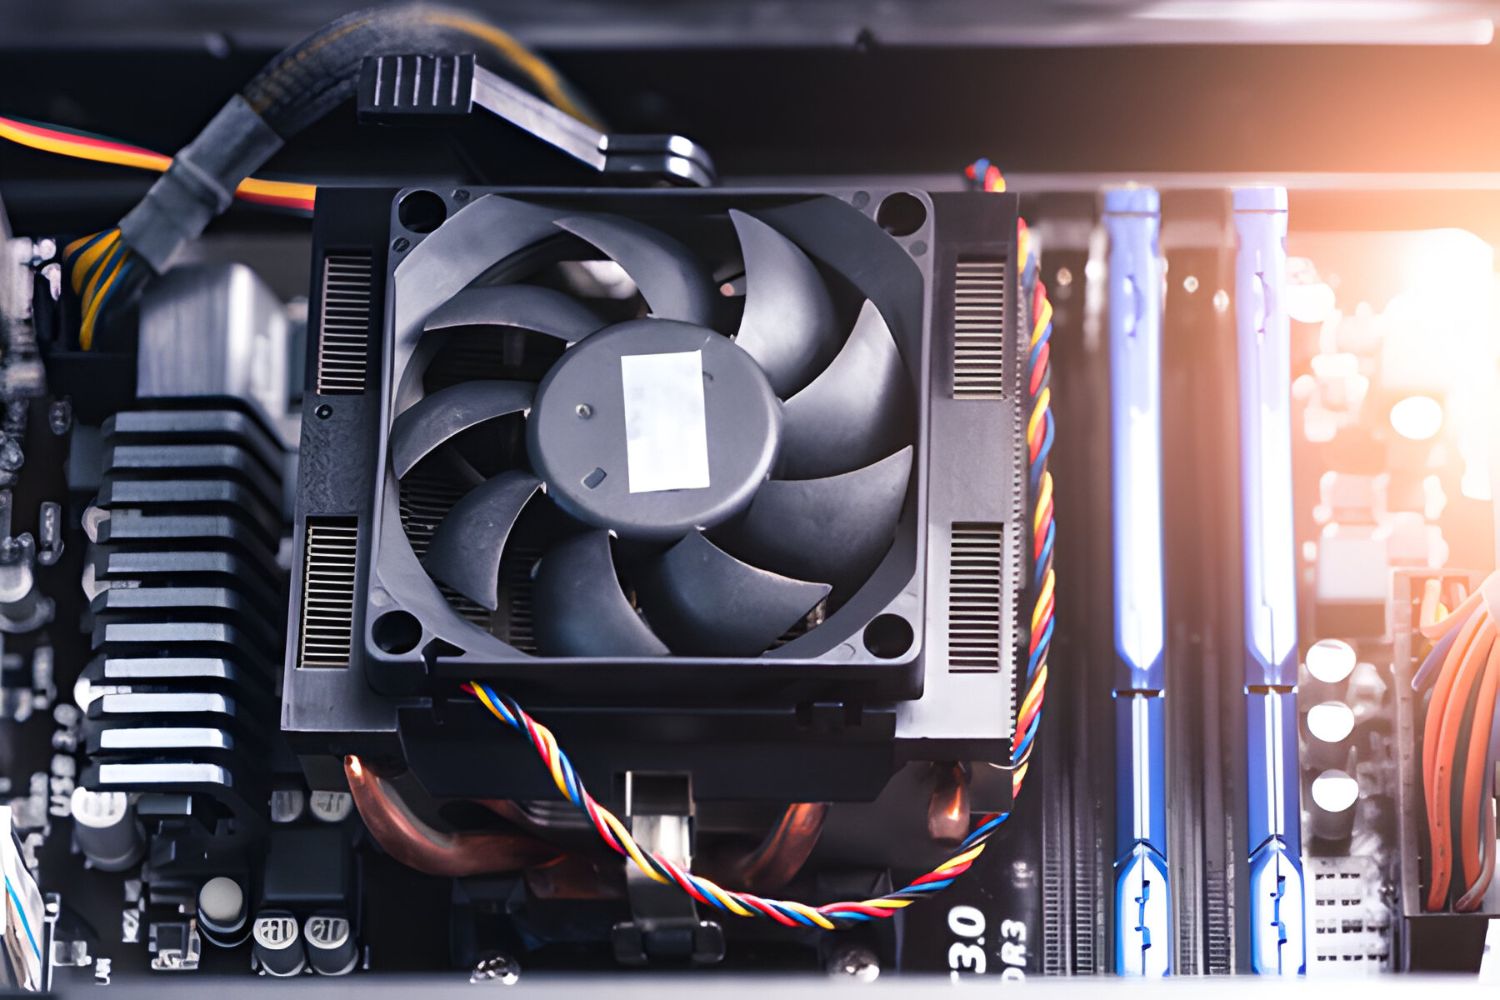
- Accumulation of Dust and Debris on the Cooler: Over time, dust and debris can clog the fins of the CPU cooler, impeding proper airflow and heat dissipation. If you notice a significant amount of dust build-up on the cooler, it can hinder its cooling efficiency and increase the risk of overheating.
- Inadequate Cooling Performance: If you notice that your CPU temperatures are consistently high, even under normal usage, it could indicate that your CPU cooler is not providing sufficient cooling. This can be due to factors such as an undersized cooler or poor thermal contact between the cooler and the CPU.
- Thermal Throttling Protection Activates Repeatedly: Modern CPUs have built-in thermal throttling mechanisms that reduce their performance to prevent overheating. If your CPU frequently activates thermal throttling, causing a significant drop in performance, it suggests that your cooler is unable to maintain the required cooling levels.
- Visible Signs of Physical Damage: Inspect your CPU cooler for any visible signs of physical damage such as bent fins, broken fan blades, or leaking coolant. Any physical damage to the cooler can affect its performance and cooling capabilities.
- Outdated or Incompatible Cooler Technology: Over time, newer CPUs may require different cooler technologies or socket types. If your CPU cooler is outdated or incompatible with your CPU socket, it can lead to poor cooling performance and potential damage to your processor.
By paying attention to these signs, you can determine if your CPU cooler is in need of repair or replacement. Regular maintenance, including cleaning the cooler and replacing thermal paste, can also help optimize its performance and extend its lifespan. Remember, a properly functioning CPU cooler is essential for maintaining a stable and efficient computer system.
High CPU Temperatures
High CPU temperatures are a clear indication that something is wrong with your CPU cooler. Ideally, your CPU should operate within a specific temperature range to ensure optimal performance and prevent overheating. If you notice that your CPU temperatures are consistently higher than normal, it’s important to investigate the cause.
There are several reasons why your CPU temperatures may be high:
- Inadequate Cooling: One possible cause is that your CPU cooler is not effectively dissipating heat. This could be due to a fan that is not spinning properly, a blockage in the cooler’s heat sink, or inadequate airflow within your computer case.
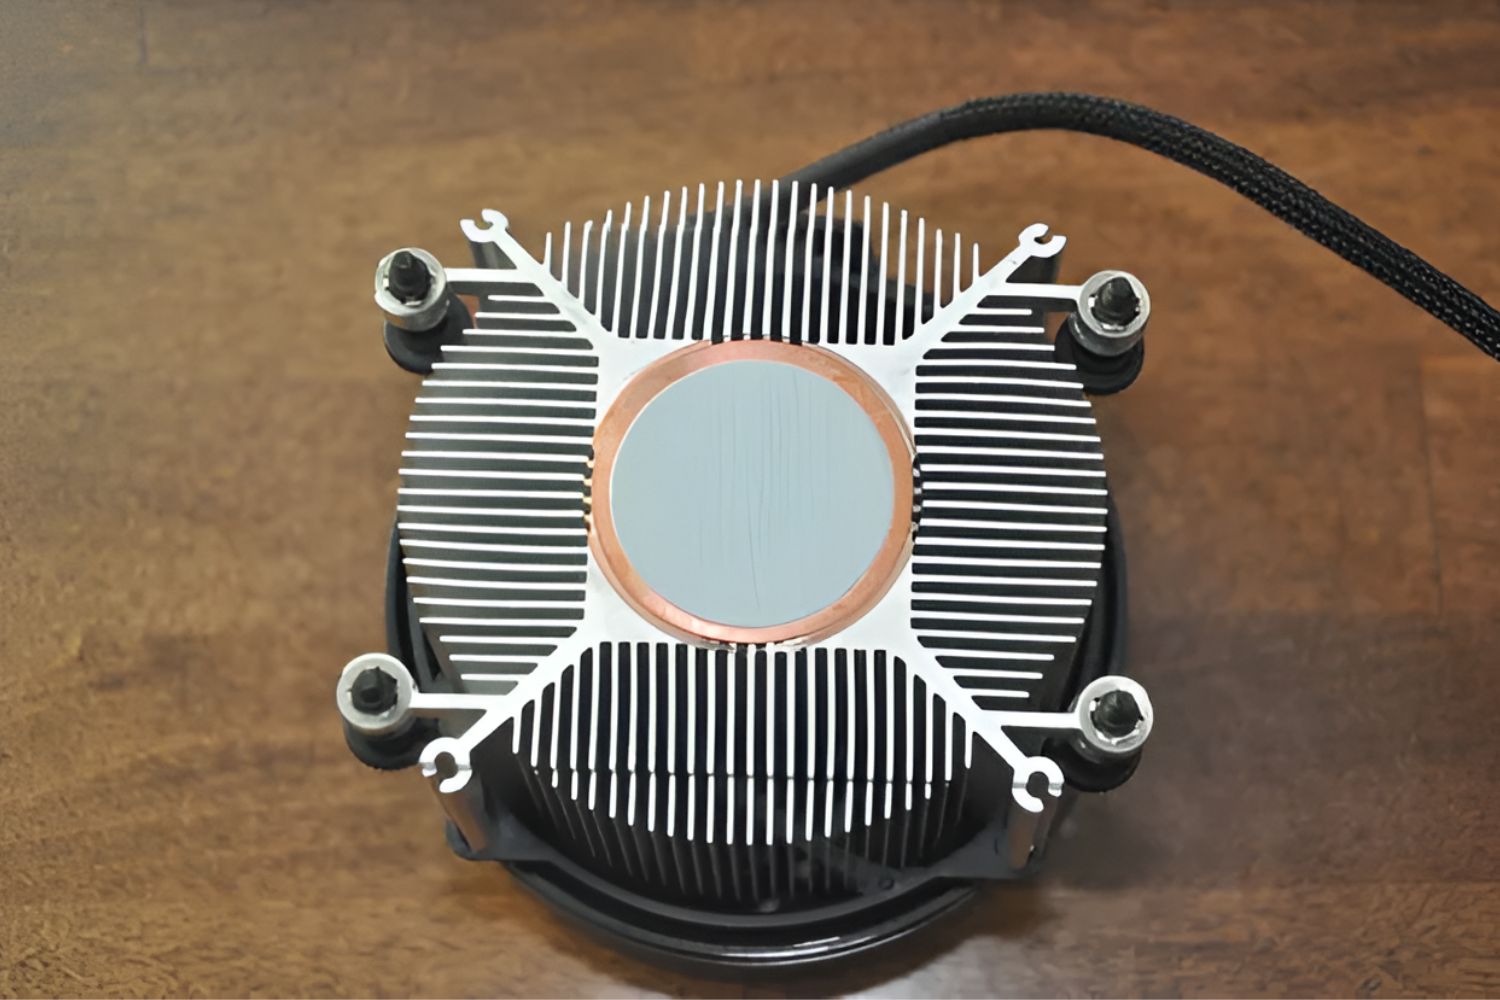
- Dried-out Thermal Paste: Thermal paste is a substance that helps to improve heat transfer between the CPU and the cooler. Over time, it can dry out and become less effective, leading to poor thermal conductivity and increased CPU temperatures.
- Overclocking: If you have overclocked your CPU, pushing it beyond its intended limits, it can generate more heat than your cooler can handle. This can result in higher CPU temperatures and potential instability.
- Dust and Debris: Accumulation of dust and debris on the heat sink and fan blades can insulate the CPU cooler, impeding proper heat dissipation and causing temperatures to rise.
- Poor Thermal Contact: If the CPU cooler is not making good contact with the CPU surface, it can hinder heat transfer and lead to higher temperatures. This can happen if the cooler is not properly installed, or if the mounting mechanism is loose or damaged.
If you notice high CPU temperatures, it is important to take action to prevent potential damage to your CPU and system instability. Here are some steps you can take:
- Clean the CPU Cooler: Start by cleaning the CPU cooler to remove any dust or debris that may be obstructing airflow. Use compressed air or a soft brush to carefully clean the heat sink and fan blades.
- Check the Fan: Ensure that the CPU fan is spinning correctly and at an appropriate speed. If it’s not spinning at all or spinning slowly, it may need to be replaced.
- Replace the Thermal Paste: If the thermal paste has dried out, it’s important to remove the old paste and apply a fresh layer. This will help improve heat transfer between the CPU and the cooler.
- Ensure Proper Mounting: Verify that the CPU cooler is securely mounted and making good contact with the CPU surface. If necessary, reseat the cooler and tighten the mounting screws.
- Consider Upgrading the Cooler: If none of the above steps resolve the high CPU temperature issue, you may need to consider upgrading your CPU cooler to a more efficient model that can better handle the heat generated by your CPU.
Remember, high CPU temperatures can lead to reduced performance, system instability, and potential long-term damage to your CPU. By addressing this issue promptly, you can ensure the longevity and optimal functioning of your computer system.
Frequent System Crashes or Shutdowns
Experiencing frequent system crashes or sudden shutdowns can be a frustrating and concerning issue. While there can be several causes for these problems, a malfunctioning CPU cooler is one potential culprit that should not be overlooked.
When a CPU cooler fails to effectively dissipate heat, the CPU can quickly become overheated, triggering the system’s thermal protection mechanism. This mechanism is designed to prevent damage to the CPU by shutting down the system when temperatures reach critical levels.
Here are some reasons why a faulty CPU cooler can lead to frequent system crashes or shutdowns:
- Overheating: If the CPU cooler is unable to adequately cool the processor, it will result in excessively high CPU temperatures. This can cause the system to crash or shut down to prevent damage to the CPU.
- Thermal Throttling: Modern CPUs have built-in thermal throttling mechanisms that reduce their performance to prevent overheating. When the CPU temperature exceeds certain thresholds, the system’s performance is throttled, resulting in system slowdowns and potential crashes.
- System Instability: An overheated CPU can lead to general system instability. This can manifest as random crashes, freezes, and unexpected shutdowns, disrupting your workflow and potentially causing data loss.
- Power Supply Overload: In some cases, a system crash or sudden shutdown may occur due to the CPU cooler drawing excessive power from the power supply. This can put a strain on the power supply unit, causing system instability and shutdowns.
- Insufficient Cooling for Other Components: A failing CPU cooler can also impact the cooling performance of other components in your system, such as the GPU. This can lead to overheating and system crashes, particularly during resource-intensive tasks like gaming or video rendering.
If you are experiencing frequent system crashes or sudden shutdowns, it is important to investigate the health of your CPU cooler. Here are some steps to take:
- Monitor CPU Temperatures: Use software tools to monitor your CPU temperatures in real-time. If the temperatures are consistently high even during normal usage, it indicates a cooling problem.
- Clean the CPU Cooler: Over time, dust and debris can accumulate on the CPU cooler, hindering its cooling performance. Clean the cooler by using compressed air or a soft brush to remove the buildup.
- Check the Fan and Fan Speed: Ensure that the CPU fan is functioning properly and spinning at an appropriate speed. If the fan is not spinning or spinning too slowly, it may need to be replaced.
- Replace the Thermal Paste: If the thermal paste has dried out or degraded, it can impact the heat transfer between the CPU and the cooler. Remove the old thermal paste and apply a fresh layer.
- Consider Upgrading the Cooler: If the above steps do not resolve the issue, it may be necessary to upgrade your CPU cooler to a more efficient and capable model that can handle the heat generated by your CPU.
By taking these steps, you can address the cooling issues that may be causing frequent system crashes or shutdowns. Maintaining a properly functioning CPU cooler is crucial to ensure stable and reliable system performance.
Excessive Fan Noise
If you’ve noticed that your computer’s fan is producing an unusually loud noise, it is likely a sign of a problem with your CPU cooler. While some level of noise is normal, excessive fan noise can be disruptive and can indicate underlying issues that need to be addressed.
Here are some reasons why your CPU cooler may be producing excessive fan noise:
- Fan Speed: The fan speed is controlled by the system to maintain optimal cooling. If the fan is running at higher speeds than usual, it can result in louder noise levels. This can be caused by factors such as increased heat generation or a malfunctioning fan speed controller.
- Damaged Fan: A damaged or malfunctioning fan can produce loud or irregular noises. This can be caused by worn-out bearings, bent blades, or a fan motor that is reaching the end of its lifespan.
- Fan Obstructions: Obstructions such as dust, debris, or cables obstructing the fan blades can disrupt the airflow and cause the fan to work harder, generating more noise. This can happen over time as dust accumulates on the fan.
- Fan Design: Some CPU coolers are designed to prioritize cooling performance over noise levels. These coolers may have larger fans or more aggressive fan profiles, resulting in higher noise levels compared to quieter alternatives.
- Vibrations: If the CPU cooler is not securely mounted or if any components are loose, it can result in vibrations that amplify the fan noise, leading to increased noise levels. Ensuring proper installation and tightening any loose components can help resolve this issue.
If you are experiencing excessive fan noise from your CPU cooler, here are some steps you can take to address the problem:
- Clean the CPU Cooler: Start by cleaning the CPU cooler and fan blades to remove any dust or debris that may be obstructing airflow and causing the fan to work harder than necessary. Use compressed air or a soft brush to gently clean the cooling fins and fan blades.
- Check Fan Speed Settings: Ensure that the fan speed settings are properly configured in your system’s BIOS or fan control software. Adjusting the fan speed profiles can help lower noise levels while still maintaining adequate cooling.
- Replace the Fan: If the fan is damaged or has reached the end of its lifespan, replacing it with a new fan can significantly reduce noise levels. Look for an appropriate replacement fan that offers a good balance between cooling performance and noise generation.
- Consider Fan Silencing Accessories: There are various accessories available to help reduce fan noise. These include anti-vibration mounts, fan dampeners, and fan noise reduction pads. Adding these accessories can help absorb vibrations and reduce noise levels.
- Upgrade to a Quieter Cooler: If the excessive fan noise persists or you’re looking for a more long-term solution, consider upgrading to a quieter CPU cooler. Look for coolers that prioritize noise reduction while still providing efficient cooling performance.
By taking these steps, you can address the excessive fan noise issue and restore a quieter operating environment for your computer. Remember that maintaining a properly functioning and quieter CPU cooler not only ensures a more peaceful computing experience but also helps prolong the lifespan of your system.
Overclocking Instability
Overclocking is the process of increasing the clock speed of your CPU beyond its default specifications. While it can provide a performance boost for certain tasks, it can also put additional stress on your CPU and generate more heat. When overclocking, it is crucial to have a CPU cooler that can effectively dissipate the increased heat. Otherwise, you may experience instability and other issues.
Here are some reasons why overclocking can lead to instability if your CPU cooler is insufficient:
- Inadequate Cooling Capacity: Overclocking raises the power consumption and heat output of your CPU, which means that a cooler designed for the CPU’s default clock speed may not be able to handle the increased thermal load. This can result in unstable system behavior, crashes, and even damage to your CPU.
- Poor Heat Dissipation: When overclocking, the CPU produces more heat than usual. If the CPU cooler is not capable of efficiently dissipating the extra heat, the temperature can quickly rise to unsafe levels, triggering thermal protection mechanisms that throttle performance or shut down the system.
- Inadequate Airflow: Overclocking typically requires more airflow to maintain lower temperatures. If your case lacks sufficient airflow or if the CPU cooler’s fans are not operating effectively, the hot air around the CPU can become trapped, leading to higher temperatures and instability.
- Thermal Throttling: If your CPU cooler is unable to adequately cool the overclocked CPU, the CPU may reach its thermal limit and activate thermal throttling. This feature reduces the CPU’s clock speed to prevent overheating. As a result, you may experience inconsistent performance or even system crashes.
- Limited Overclocking Potential: Some CPU coolers are specifically designed for overclocking, offering better cooling performance and higher thermal limits. If your CPU cooler is not designed with overclocking in mind, you may not be able to achieve stable overclocking results, or you may be limited in the amount you can safely overclock.
If you are experiencing instability when overclocking your CPU, here are some steps you can take to address the issue:
- Monitor and Adjust CPU Temperatures: Use temperature monitoring software to keep an eye on your CPU temperatures. If they are consistently reaching unsafe levels, it may indicate that your CPU cooler is inadequate for the overclocked settings. Consider dialing back the overclock or upgrading your CPU cooler.
- Ensure Proper Case Airflow: Make sure your computer case has adequate airflow by positioning fans strategically and removing any obstructions. This will help dissipate heat from components, including the CPU, more effectively.
- Upgrade Your CPU Cooler: If you are pushing the limits of your CPU with overclocking, it may be necessary to upgrade to a more powerful and efficient CPU cooler. Look for a cooler specifically designed for overclocking, with a higher cooling capacity and more robust fan performance.
- Reapply Thermal Paste: If your CPU cooler is not making proper thermal contact with the CPU, it can result in poor heat transfer. Remove the old thermal paste and apply a fresh, high-quality thermal paste to ensure optimal heat dissipation.
- Gently Increase Overclocking Incrementally: Instead of applying a high overclocking setting right away, gradually increase the clock speed while monitoring temperatures and stability. This will help you find a stable overclock that your CPU cooler can handle.
By taking these steps, you can improve the stability of your overclocked CPU and ensure that your CPU cooler can effectively handle the increased thermal load. Remember to prioritize cooling performance and invest in a suitable CPU cooler to protect the longevity and reliability of your system.
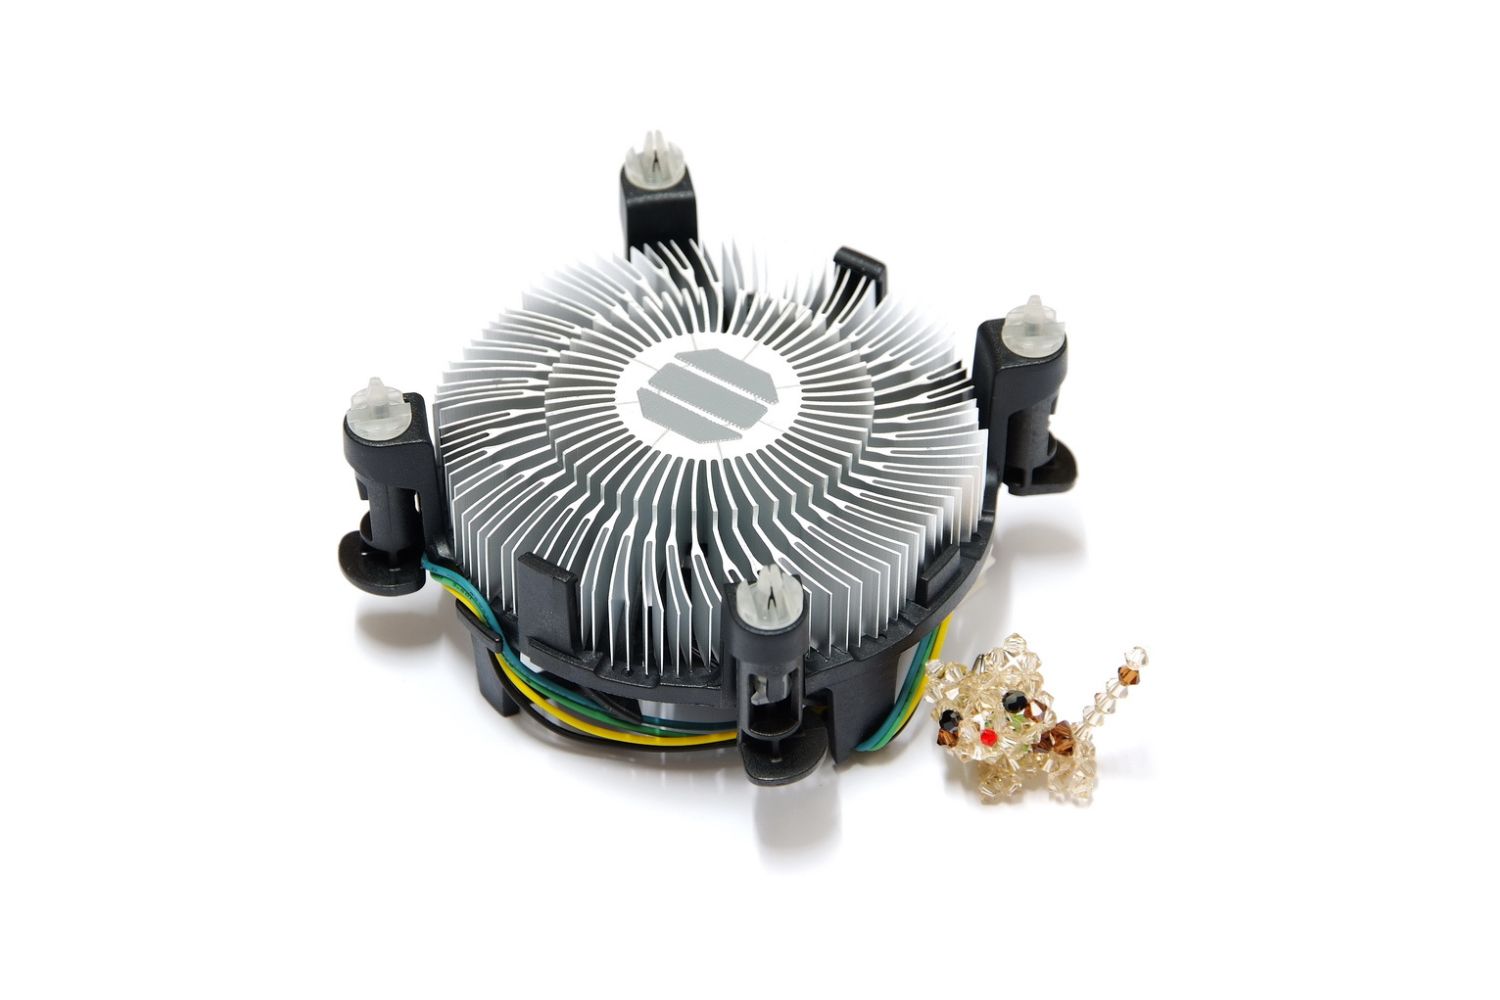
CPU Fan Not Spinning Properly
The CPU fan is an essential component of your CPU cooler, responsible for actively circulating air to dissipate heat and maintain optimal temperatures. If you notice that your CPU fan is not spinning properly or not at all, it can indicate a problem with your CPU cooler and potentially lead to overheating and system instability. Here are some common reasons why a CPU fan may not be spinning properly:
- Fan Connection Issue: Check the fan cable connection to ensure it is securely plugged into the appropriate header on the motherboard. Loose connections can prevent the fan from receiving power and impede its proper functioning.
- Malfunctioning Fan Motor: In some cases, the fan motor may be faulty or reaching the end of its lifespan. This can result in the fan not spinning or spinning irregularly. The motor may require replacement for the fan to operate correctly.
- Fan Speed Settings: If your CPU fan is not spinning as expected, check the fan speed settings in your computer’s BIOS or fan control software. Ensure that the settings are configured correctly to allow the fan to operate at the appropriate speeds based on CPU temperature.
- Fan Obstructions: Inspect the fan blades for any obstructions such as dust, debris, or cables that may prevent the fan from spinning freely. Clearing any obstacles can help restore normal operation.
- Failed Fan Controller: Some CPU coolers have built-in fan controllers that regulate the fan speed. If the fan controller is faulty or malfunctioning, it can prevent the fan from spinning properly. In such cases, replacing the CPU cooler may be necessary.
If you notice that your CPU fan is not spinning properly, it’s important to address the issue promptly to avoid potential overheating and system instability. Here are some steps you can take to resolve the problem:
- Check Fan Connections: Ensure that the CPU fan cable is securely connected to the correct fan header on the motherboard. If necessary, gently unplug and reattach the cable to ensure a proper connection.
- Replace the Fan: If the fan motor is malfunctioning or the fan is damaged, replacing it with a new fan may be necessary. Choose a compatible fan that matches the specifications of your CPU cooler.
- Adjust Fan Speed Settings: Verify that the fan speed settings in your system’s BIOS or fan control software are configured correctly. Adjust the settings to allow the fan to operate at the appropriate speeds based on CPU temperature.
- Clean the Fan: If dust or debris is obstructing the fan blades, carefully clean them using compressed air or a soft brush. Ensure that the fan can spin freely after cleaning.
- Consider Upgrading Your CPU Cooler: If the issues with the CPU fan persist or your CPU cooler is outdated, it may be worth considering an upgrade to a more reliable and efficient cooler. Choose a cooler that matches your CPU’s cooling requirements and offers good fan performance.
By actively resolving issues with your CPU fan not spinning properly, you can ensure that your CPU cooler functions correctly and effectively dissipates heat. Regularly monitoring the fan’s operation and performing routine maintenance can help prevent future problems and protect the overall performance and longevity of your computer system.
Accumulation of Dust and Debris on the Cooler
Over time, dust and debris can accumulate on your CPU cooler, obstructing airflow and hindering its cooling efficiency. This buildup can lead to higher CPU temperatures, reduced performance, and potential overheating. It is important to regularly clean and maintain your CPU cooler to prevent issues caused by dust and debris.
Here are some reasons why the accumulation of dust and debris on your CPU cooler is a problem:
- Insulating Effect: Dust and debris act as insulators, preventing effective heat dissipation from the CPU cooler. As a result, the heat generated by the CPU can build up, leading to higher temperatures and potential thermal instability.
- Reduced Airflow: An accumulation of dust and debris can obstruct the airflow through the cooling fins or impede the movement of the CPU cooler fan. This reduces the cooler’s ability to remove heat from the CPU efficiently.
- Noisy Fan Operation: A dirty CPU cooler can cause the fan to work harder or operate at higher speeds, leading to increased noise levels. The fan may spin faster to compensate for the reduced cooling performance, resulting in louder operation.
- Potential Damage: Excessive dust buildup can lead to physical damage to the CPU cooler. Dust particles can get lodged in the fan or heat sink, causing the fan to become unbalanced or the cooling fins to become bent. This can further impact cooling performance and potentially damage the cooler.
- Inefficient Heat Transfer: Dust and debris can create a barrier between the CPU and the cooler, reducing the effectiveness of thermal transfer. Proper contact between the CPU and the cooler’s heat sink is crucial for efficient heat dissipation.
To prevent the negative effects of dust and debris on your CPU cooler, follow these steps to clean and maintain it:
- Power Off Your System: Before cleaning, ensure that your computer is powered off and disconnected from any power source to avoid any potential electrical accidents.
- Gently Remove Loose Dust: Use compressed air or a soft brush to gently remove loose dust from the cooling fins, fan blades, and other accessible parts of the CPU cooler. Avoid applying excessive pressure or using abrasive materials that could damage the components.
- Deep Cleaning: If the dust buildup is significant, you can remove the CPU cooler for a more thorough cleaning. Refer to your CPU cooler’s manual for instructions on how to safely remove it from your motherboard. Once removed, use compressed air or a soft brush to clean the cooling fins and fan blades more effectively.
- Reapply Thermal Paste: If you have removed the CPU cooler, it is recommended to clean and reapply thermal paste before reinstalling it. Remove the old thermal paste from both the CPU and the cooler’s contact surface and apply a fresh and even layer of thermal paste.
- Regular Maintenance: Make a habit of cleaning your CPU cooler at regular intervals to prevent excessive dust buildup. The frequency of cleaning depends on the environment, but a general recommendation is every 3-6 months.
By regularly cleaning and maintaining your CPU cooler, you can ensure optimal cooling performance and extend its lifespan. Keeping the cooler free from dust and debris will help prevent issues associated with reduced airflow, higher temperatures, and potential damage to your CPU and system.
Inadequate Cooling Performance
The primary purpose of a CPU cooler is to dissipate heat generated by the processor, maintaining optimal temperatures and preventing overheating. However, if you notice consistently high CPU temperatures, even under normal usage, it is a clear indicator of inadequate cooling performance.
Several factors can contribute to inadequate cooling performance:
- Undersized Cooler: If your CPU cooler is not designed to handle the heat output of your processor, it will struggle to cool the CPU effectively. An undersized cooler may have insufficient cooling fins or a fan that cannot generate enough airflow to dissipate the heat.
- Poor Thermal Contact: Inadequate thermal contact between the CPU and the cooler’s heat sink can impair heat transfer. This can be due to an improperly applied thermal paste, uneven pressure on the CPU, or a cooler that is not securely mounted.
- Inefficient Heat Dissipation: The cooling fins on your CPU cooler are responsible for dissipating heat away from the CPU. If these fins are clogged with dust and debris or if the airflow within the case is restricted, heat dissipation can be compromised, leading to inadequate cooling performance.
- Low-quality Thermal Paste: The thermal paste is vital for ensuring optimal thermal conductivity between the CPU and the cooler. If you are using low-quality or expired thermal paste, the heat transfer may be hindered, resulting in higher CPU temperatures.
- Inadequate Case Airflow: Insufficient airflow within your computer case can contribute to inadequate cooling performance. If hot air becomes trapped around the CPU cooler due to improper fan placement or obstructions, it can lead to higher temperatures and reduced cooling efficiency.
If you suspect inadequate cooling performance, here are some steps to address the issue:
- Monitor CPU Temperatures: Use software to monitor your CPU temperatures in real-time. If the temperatures consistently exceed the recommended guidelines, it signifies inadequate cooling performance.
- Clean the CPU Cooler: Remove any dust or debris that may have accumulated on the CPU cooler’s cooling fins and fan blades. Use compressed air or a soft brush for a thorough cleaning.
- Verify Thermal Contact: Ensure that the CPU cooler is properly mounted and making good thermal contact with the CPU. Consider reapplying the thermal paste if necessary to improve thermal conductivity.
- Upgrade Your Cooler: If your current CPU cooler is insufficient for your processor’s cooling demands, consider upgrading to a more powerful and efficient cooler. Look for coolers with larger cooling fins, higher airflow, and better overall thermal performance.
- Improve Case Airflow: Optimize the airflow within your computer case by ensuring proper fan placement, removing any obstructions, and using additional case fans if needed. This helps create a well-ventilated environment for optimum cooling performance.
By addressing inadequate cooling performance, you can ensure that your CPU operates at safe temperatures and maintains optimal performance. A properly functioning CPU cooler is indispensable for preventing overheating and extending the lifespan of your processor and entire system.
Thermal Throttling Protection Activates Repeatedly
Modern CPUs are equipped with thermal throttling mechanisms to safeguard against overheating. When a CPU reaches its temperature threshold, thermal throttling is activated to reduce heat generation and prevent damage to the processor. If you notice that thermal throttling protection activates frequently, it is a strong indication that your CPU cooler is struggling to maintain adequate cooling.
Several factors can contribute to repeated thermal throttling:
- Inadequate Cooling Capacity: If your CPU cooler is insufficient for the heat generated by your processor, it won’t be able to dissipate the heat quickly enough. As a result, the CPU may repeatedly reach its thermal limit, activating thermal throttling.
- Restricted Airflow: Inadequate airflow around the CPU cooler can hinder heat dissipation. Factors such as improper case ventilation, obstructed fan intakes, or a buildup of dust and debris can restrict the flow of cool air, leading to high temperatures that trigger thermal throttling.
- Heat Sink Blockage: If the heat sink on your CPU cooler becomes blocked or obstructed by dust, debris, or even cables, it can impede proper heat dissipation. This blockage prevents the cooler from efficiently transferring heat away from the CPU, causing thermal throttling to occur more frequently.
- Insufficient Thermal Paste: If the thermal paste between the CPU and the cooler’s heat sink is insufficient or has dried out, it compromises the heat transfer. The reduced thermal conductivity leads to increased temperatures and repeated thermal throttling.
- Inadequate Cooler Mounting: If the CPU cooler is not securely and evenly mounted on the processor, it affects thermal contact and heat dissipation. Uneven pressure or an improper mounting mechanism can result in areas of poor thermal transfer and trigger thermal throttling.
If you are experiencing repeated thermal throttling, it is crucial to address the issue to prevent detrimental effects on your CPU and system performance. Here are steps you can take:
- Monitor CPU Temperatures: Monitor CPU temperatures using software utilities to verify if thermal throttling is indeed occurring and to identify the temperature patterns.
- Clean the CPU Cooler: Remove any dust, debris, or obstructions that may have accumulated on the CPU cooler’s heat sink and fan. Ensure proper airflow and heat dissipation.
- Reapply Thermal Paste: If the thermal paste is insufficient or degraded, remove the old thermal paste and apply a fresh, even layer to improve heat transfer between the CPU and the cooler.
- Check Mounting and Pressure: Verify that the CPU cooler is mounted securely and evenly on the processor. Ensure proper pressure distribution to promote effective thermal contact.
- Improve Airflow and Case Ventilation: Optimize airflow within your computer case by adding case fans, ensuring proper fan placement, and removing any obstructions that hinder airflow. This will facilitate better cooling performance.
- Consider Upgrading Your CPU Cooler: If the above steps do not resolve the thermal throttling issue, it may be necessary to upgrade your CPU cooler to a more powerful and efficient model that can handle the thermal demands of your processor.
By addressing thermal throttling and implementing measures to improve cooling performance, you can prevent overheating, ensure more stable system operation, and prolong the lifespan of your CPU.
Visible Signs of Physical Damage
Visibly damaged components are a clear indication of potential problems, and this holds true for CPU coolers as well. If you observe any visible signs of physical damage on your CPU cooler, it is crucial to address them promptly to prevent further issues and ensure proper cooling performance.
Here are some visible signs of physical damage to be aware of:
- Bent or Damaged Fins: Inspect the cooling fins on your CPU cooler for any signs of bending, warping, or damage. Bent fins can obstruct airflow and reduce the cooler’s effectiveness in dissipating heat.
- Broken or Damaged Fan Blades: Examine the fan blades on your CPU cooler to check for any cracks, chips, or other visible damage. Broken or damaged fan blades can disrupt the airflow and lead to inadequate cooling performance.
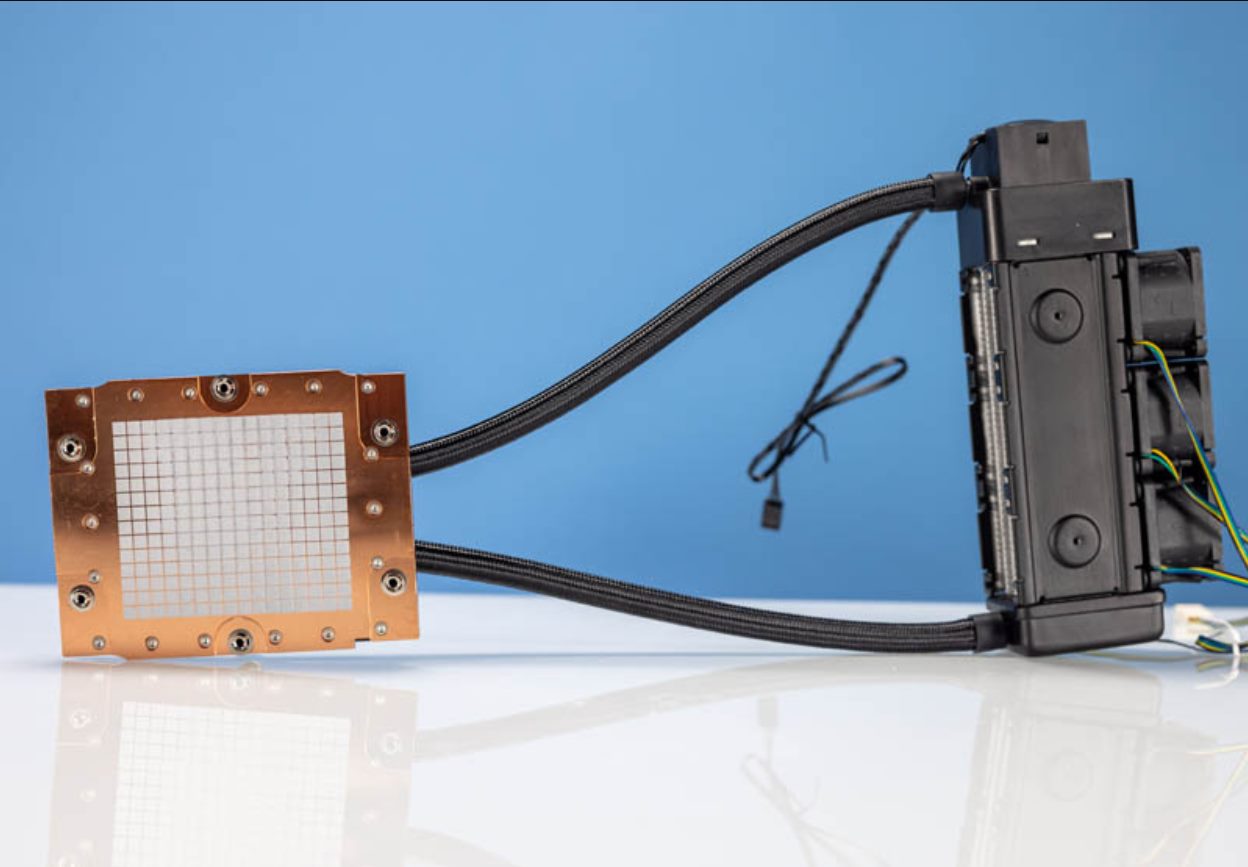
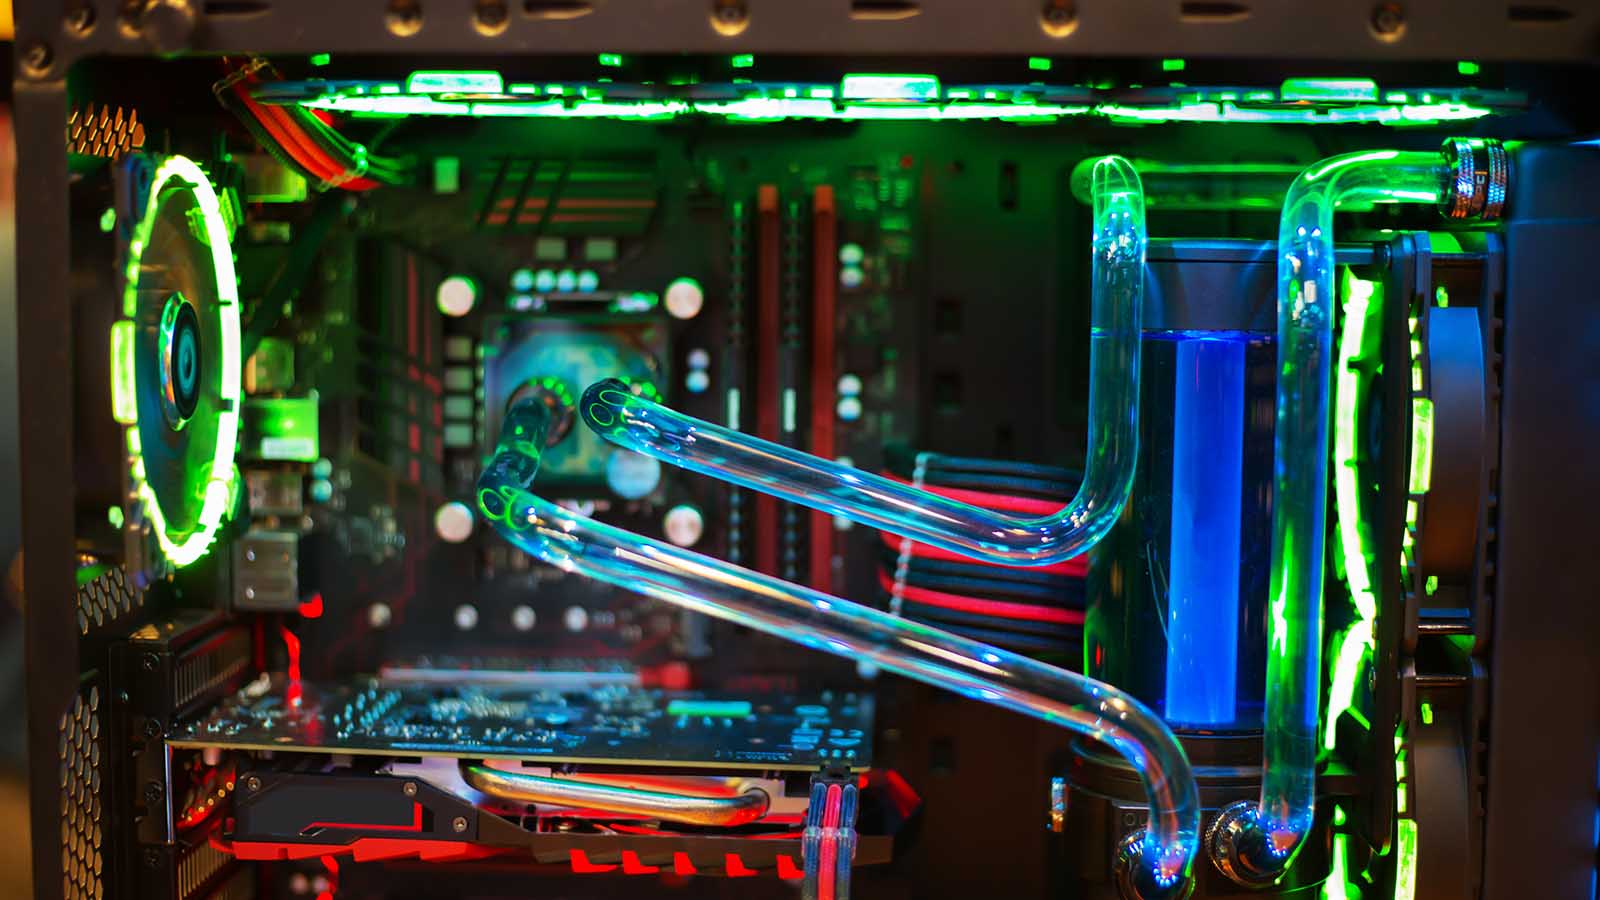
- Leaking Coolant or Liquid: If your CPU cooler uses liquid cooling and you notice any signs of leaking coolant, such as wet spots, stains, or corrosion, it indicates a problem. Leaking coolant can lead to poor cooling performance and potential damage to other components in your system.
- Loose or Damaged Mounting Mechanism: Check the mounting mechanism of your CPU cooler to ensure that it is secure and functioning properly. If you notice any loose or damaged parts, it can affect the cooler’s stability and thermal contact with the CPU.
- Corroded or Damaged Heat Pipes: If your CPU cooler features heat pipes, inspect them for any signs of corrosion, oxidation, or physical damage. Damaged or corroded heat pipes can compromise the cooler’s heat transfer efficiency.
If you notice any visible signs of physical damage on your CPU cooler, it is important to take appropriate action. Here are some steps you can follow:
- Repair or Replace Damaged Components: If there are minor issues with the fan blades, such as small chips or cracks, it may be possible to repair them with appropriate tools and materials. However, if the damage is severe or irreparable, it is advisable to replace the damaged components.
- Ensure Proper Mounting: If the mounting mechanism is loose or damaged, it can affect the cooler’s stability and thermal contact with the CPU. Tighten any loose screws or replace damaged mounting hardware to ensure a secure and stable installation.
- Consider Upgrading Your Cooler: If the physical damage to your CPU cooler is significant or if it is affecting overall cooling performance, it may be necessary to upgrade to a new cooler. Choose a cooler that matches your CPU’s thermal requirements and provides reliable cooling performance.
- Inspect for Leaks and Address Coolant Issues: If you discover any leaks or signs of coolant leakage from a liquid cooling system, it is important to identify and address the source of the problem. Consult the manufacturer’s guidelines or seek professional assistance if necessary.
- Contact Technical Support: If you are unsure about the extent of the damage or the appropriate steps to take, contacting the manufacturer’s technical support or consulting with a computer hardware professional can provide guidance and assistance.
Addressing any visible signs of physical damage to your CPU cooler is essential for maintaining proper cooling performance, reducing the risk of further damage, and ensuring the longevity of your CPU and overall system functionality.
Outdated or Incompatible Cooler Technology
The technology surrounding CPU coolers constantly evolves and improves, which can render older models outdated or incompatible with newer CPUs. If you are using an outdated or incompatible CPU cooler, it can lead to inadequate cooling, increased temperatures, and potential performance issues.
Here are some reasons why using an outdated or incompatible cooler can be problematic:
- Inadequate Cooling Performance: Newer CPUs often have higher power requirements and heat output compared to their older counterparts. If your cooler was designed for older CPUs with lower thermal demands, it may struggle to dissipate the heat effectively, resulting in higher temperatures and potential instability.
- Incorrect Socket Compatibility: CPU coolers are designed with specific socket compatibility in mind. If you upgrade your CPU to a newer model with a different socket type, your existing cooler may not be compatible and unable to make proper thermal contact with the CPU.
- Lack of Necessary Features: Newer CPU coolers may offer additional features such as improved fan technology, customizable RGB lighting, or enhanced cooling performance. If your cooler lacks these features, it may not provide the optimal cooling capabilities required by your CPU.
- Newer Cooling Technologies: Advancements in cooling technologies, such as improved heat pipe designs or liquid cooling solutions, can provide superior heat dissipation compared to older models. Using an outdated cooler may restrict your system’s cooling potential and limit overclocking capabilities.
- Manufacturer Software Support: Some CPU coolers come with manufacturer software that allows you to monitor and control fan speeds and lighting effects. If your cooler is outdated, it may lack support for the latest manufacturer software updates, limiting its functionality and customization options.
If you suspect that your CPU cooler is outdated or incompatible, it is important to address the issue for optimal cooling performance. Here are some steps you can take:
- Check Socket Compatibility: Verify that your CPU cooler is compatible with the socket type of your CPU. Consult the manufacturer’s specifications and documentation to confirm compatibility.
- Upgrade to a Newer Model: If your cooler is outdated or incompatible, consider upgrading to a newer model that is specifically designed for the cooling requirements of your CPU. Research and select a cooler that matches your CPU’s thermal specifications and features.
- Consider Advanced Cooling Solutions: If you require more efficient cooling for demanding tasks or overclocking, consider upgrading to advanced cooling solutions such as liquid cooling or high-performance air coolers. These options provide superior cooling capabilities for better temperature management.
- Utilize Manufacturer Software: If your cooler supports manufacturer software for fan control and customization, ensure that you are using the latest version. Check for updates and utilize the software’s features to optimize cooling performance.
- Consult with Technical Support: If you are uncertain about the compatibility or performance of your current cooler, reach out to the manufacturer’s technical support for guidance and assistance. They can help identify any issues and provide recommendations for suitable coolers.
By addressing the issue of outdated or incompatible cooler technology, you can ensure that your CPU is properly cooled, reducing the risk of overheating and performance degradation. Upgrading to a cooler that meets the requirements of your CPU will provide better cooling efficiency and contribute to a more stable computing experience.