Introduction
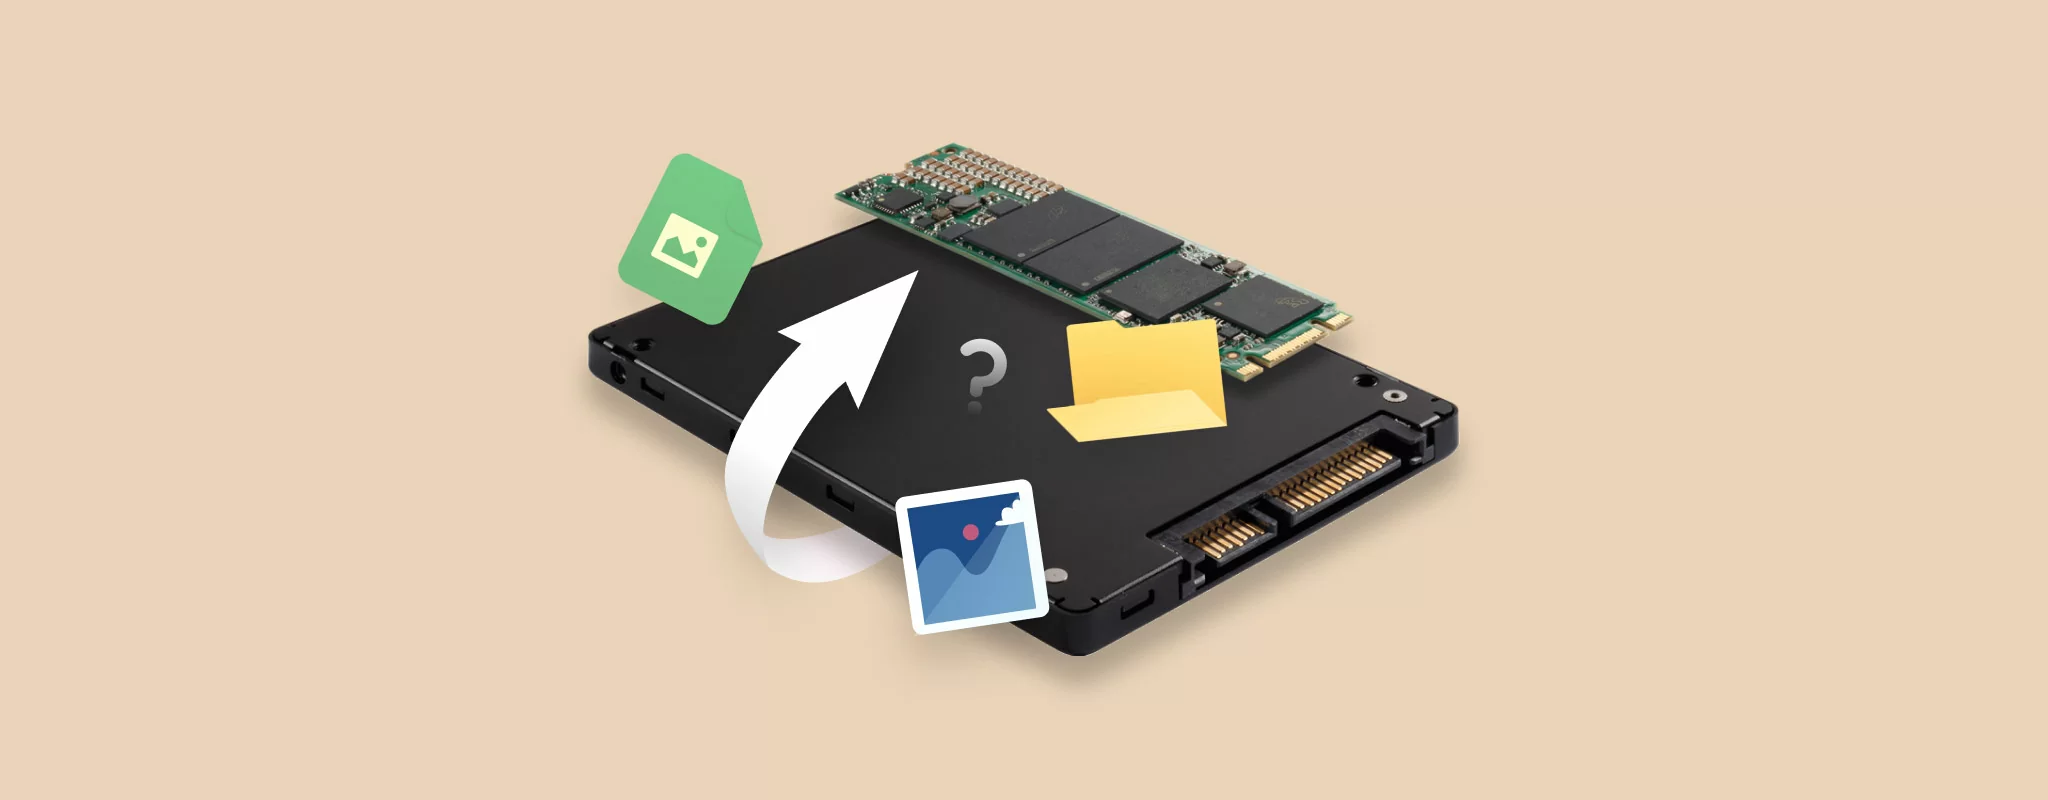
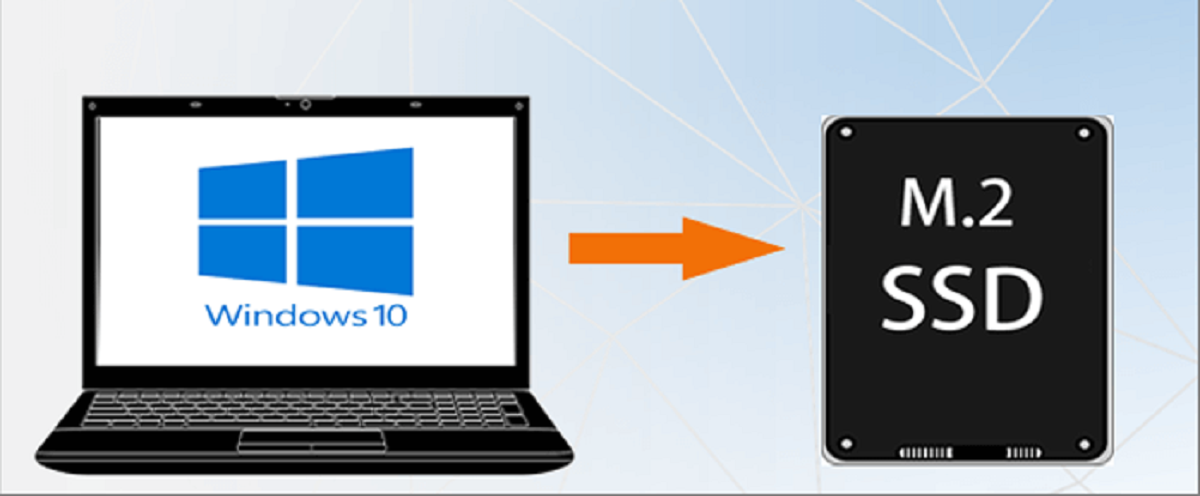
Installing Windows 7 on an M.2 SSD can significantly improve your computer’s performance and speed. The M.2 SSD, with its compact form factor and faster data transfer rates, is becoming increasingly popular as a storage solution. By installing the operating system on an M.2 SSD, you can experience faster boot times, quicker application launches, and overall snappier performance.
However, the process of installing Windows 7 on an M.2 SSD requires a few preparatory steps to ensure compatibility and successful installation. In this guide, we will walk you through the necessary steps to install Windows 7 on an M.2 SSD, from checking compatibility to finalizing the installation.
It’s important to note that Windows 7 is an older operating system, and newer hardware may not have official support or drivers available. As such, before proceeding with the installation, it’s essential to check if your motherboard and M.2 SSD manufacturer provide compatible drivers for Windows 7. If not, you may encounter compatibility issues and limited functionality.
In the following sections, we will outline the step-by-step process of installing Windows 7 on an M.2 SSD, including gathering the necessary materials, creating a bootable USB drive, modifying UEFI/BIOS settings, formatting and partitioning the M.2 SSD, and finalizing the installation. By following these steps carefully, you can seamlessly install Windows 7 on your M.2 SSD and enjoy the benefits of improved system performance.
Preparing for Installation
Before diving into the actual installation process, it is crucial to prepare yourself and gather the necessary materials. This section will guide you through the essential steps to ensure a smooth installation of Windows 7 on your M.2 SSD.
Step 1: Checking Compatibility
The first step is to confirm that your motherboard supports booting from an M.2 SSD and that it has an available M.2 slot. Check the motherboard’s user manual or visit the manufacturer’s website to verify the compatibility.
Step 2: Gathering Materials
Make sure you have the following materials ready:
- A Windows 7 installation disc or ISO file
- An M.2 SSD compatible with your motherboard
- A USB flash drive with at least 8GB of storage capacity
- A working computer with internet access
- A screwdriver (if necessary to physically install the M.2 SSD)
Step 3: Create a Bootable USB Drive
Next, you need to create a bootable USB drive with the Windows 7 installation files. This will allow you to install the operating system on your M.2 SSD. To do this, follow these steps:
- Download the Windows 7 USB/DVD Download Tool from the official Microsoft website.
- Insert the USB flash drive into your computer.
- Launch the Windows 7 USB/DVD Download Tool and follow the on-screen instructions to create a bootable USB drive using the Windows 7 installation disc or ISO file.
Step 4: Modify UEFI/BIOS Settings
Access the UEFI/BIOS settings of your computer by restarting it and pressing the designated key (usually Del, F2, or F10) during the boot-up process. In the UEFI/BIOS settings, look for the “Boot” or “Storage” section and set the boot priority to boot from the USB drive first. Save the changes and exit the UEFI/BIOS settings.
By following these preparatory steps, you are now ready to proceed with the installation of Windows 7 on your M.2 SSD. In the next section, we will guide you through the step-by-step process of installing the operating system.
Step 1: Checking Compatibility
Before starting the installation process of Windows 7 on an M.2 SSD, it’s essential to ensure that your motherboard supports this feature and that there is an available M.2 slot. Checking compatibility will help avoid any potential issues during or after the installation process.
To check compatibility, you can follow these steps:
- Refer to the motherboard documentation: Consult the user manual or documentation that came with your motherboard. Look for information related to M.2 support and whether it can boot from an M.2 SSD. This will typically be mentioned in the specifications or storage section of the manual.
- Visit the motherboard manufacturer’s website: If you don’t have the documentation or want to double-check, visit the manufacturer’s website. Look for the product page of your motherboard and check the specifications or features section. Look for details regarding M.2 support and compatibility with booting from an M.2 SSD.
- Check for BIOS/UEFI updates: Even if your motherboard is compatible, it’s a good practice to ensure that you have the latest BIOS or UEFI firmware installed. Visit the manufacturer’s website and search for your motherboard model. Look for BIOS or UEFI updates and download the latest version if available. Updating the BIOS/UEFI can sometimes add or improve M.2 compatibility.
- Verify M.2 SSD compatibility: In addition to motherboard compatibility, check if the specific M.2 SSD you plan to install is compatible with your motherboard. Refer to the SSD manufacturer’s website or documentation to ensure compatibility with your motherboard’s M.2 slot. Look for any specific requirements or compatibility recommendations.
By thoroughly checking the compatibility between your motherboard, BIOS/UEFI firmware, and the M.2 SSD, you can ensure a smooth installation process without any unexpected issues. If you find that your motherboard or M.2 SSD is not compatible, it’s advisable to explore alternative storage options or consider upgrading your hardware if deemed necessary.
Once you have confirmed compatibility, you can proceed to the next step of gathering the necessary materials and preparing for the installation of Windows 7 on your M.2 SSD.
Step 2: Gathering Materials
Before proceeding with the installation of Windows 7 on your M.2 SSD, it’s essential to gather all the necessary materials. Having everything ready beforehand will help streamline the installation process and avoid any unnecessary delays.
Here are the materials you will need:
- Windows 7 installation disc or ISO file: Ensure that you have a legitimate copy of the Windows 7 installation media. You can either have the physical installation disc or download an ISO file from the official Microsoft website.
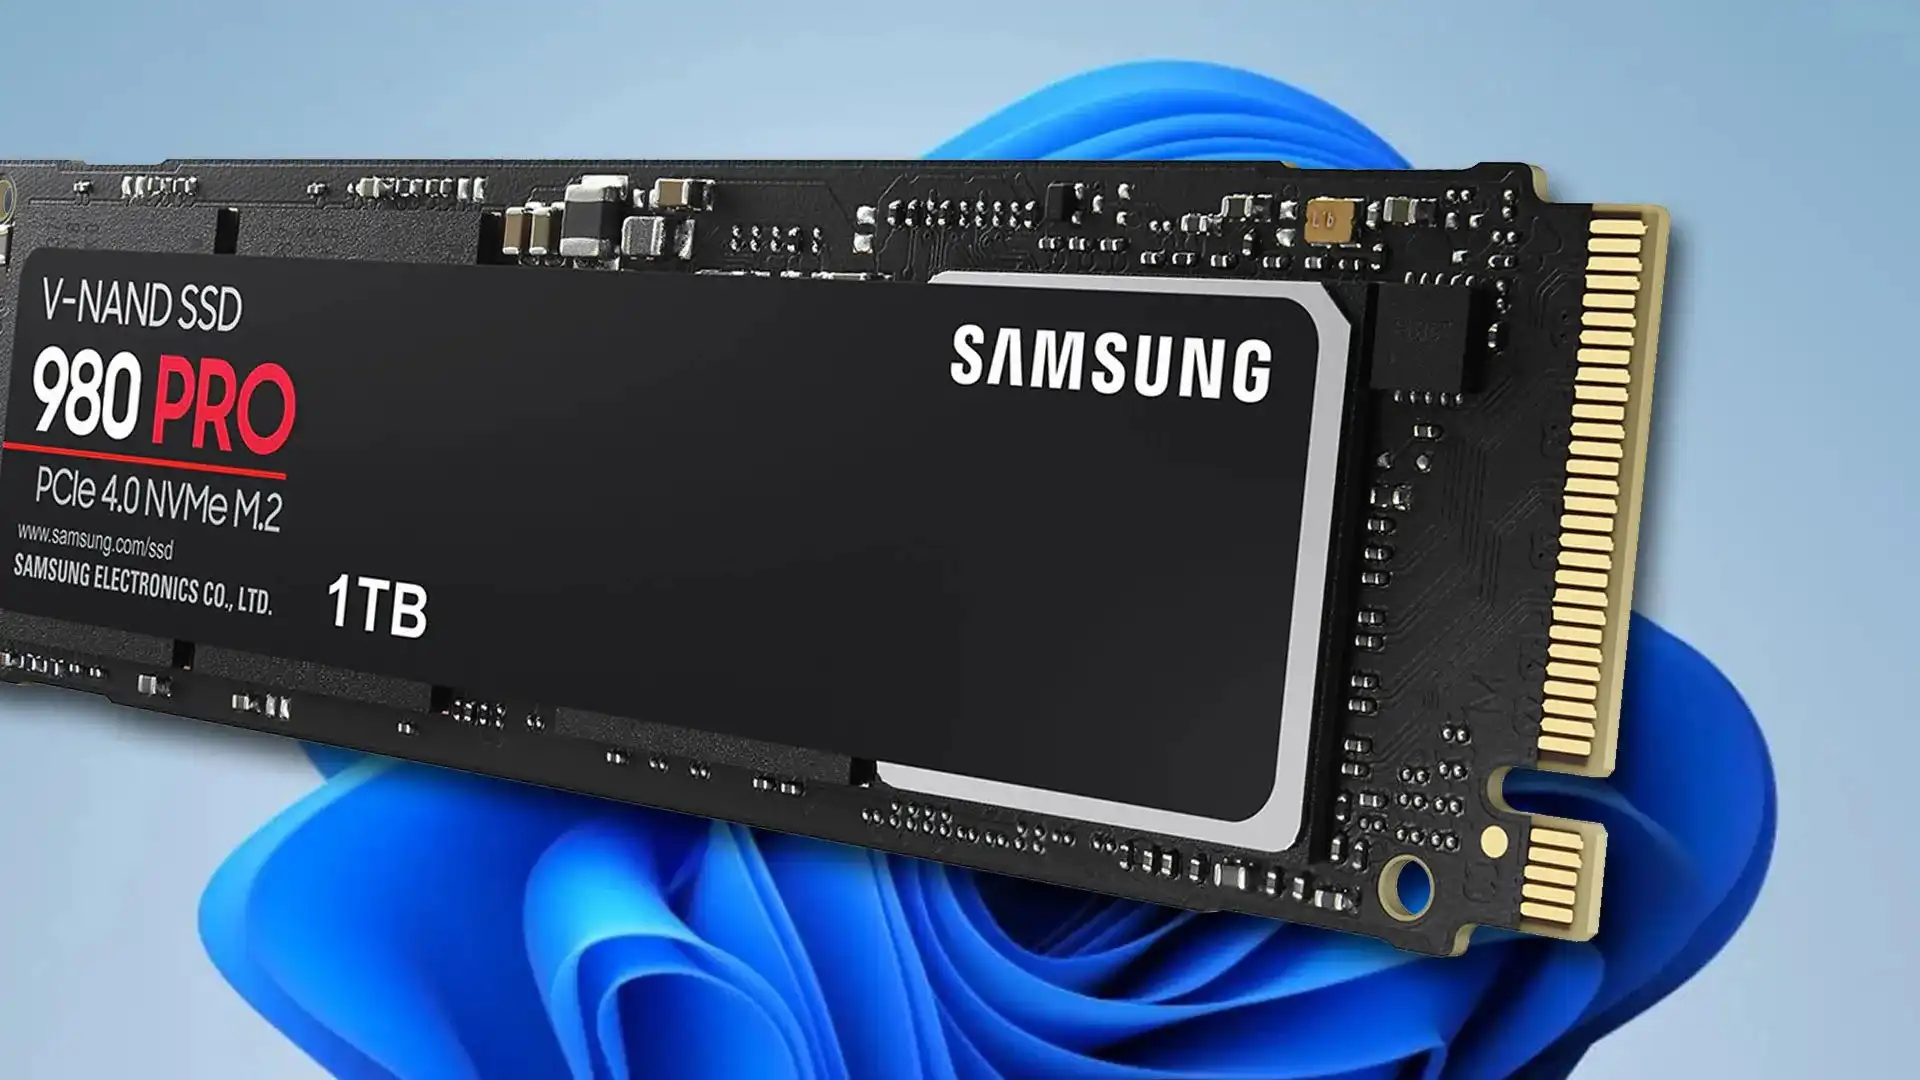
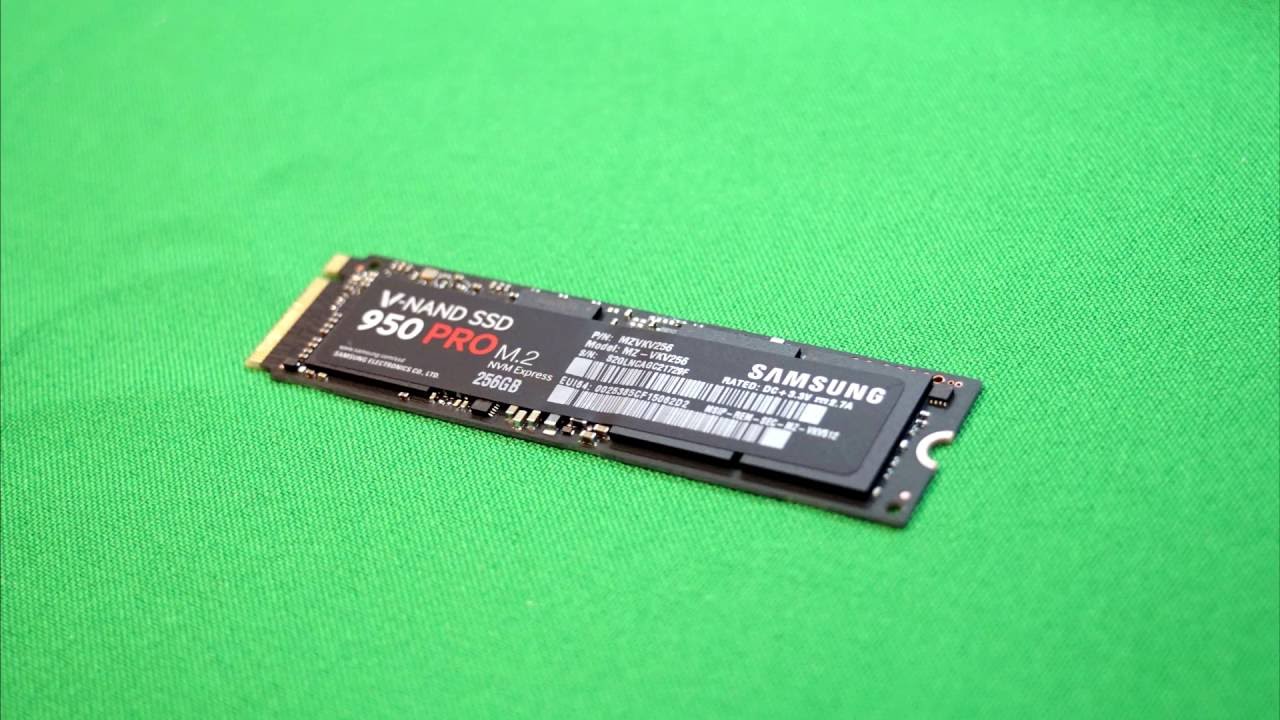
- M.2 SSD compatible with your motherboard: Check your motherboard’s documentation or manufacturer’s website to identify the compatible M.2 SSD models. Take note of the size (e.g., M.2 2280 or M.2 2242) and interface (e.g., SATA or NVMe) supported by your motherboard.
- USB flash drive with at least 8GB of storage: You will need a USB flash drive to create a bootable installation media for Windows 7. Make sure it has a sufficient storage capacity and is in good working condition.
- A working computer with internet access: You will need access to a computer to download the necessary files and create the bootable USB drive. It’s preferable to have a computer with a stable internet connection.
- Screwdriver (if necessary to physically install the M.2 SSD): Depending on your computer’s case or motherboard design, you may need a small screwdriver to secure the M.2 SSD in its slot. Check your motherboard’s documentation to determine if any tools are required.
Gather all these materials before starting the installation process. It’s important to note that using genuine and compatible materials will ensure a smooth installation and optimal performance of your Windows 7 operating system on the M.2 SSD.
Once you have all the necessary materials, you can proceed to the next step, which involves creating a bootable USB drive with the Windows 7 installation files. This will allow you to install Windows 7 on your M.2 SSD. The process will be covered in the following section.
Step 3: Create a Bootable USB Drive
Creating a bootable USB drive with the Windows 7 installation files is necessary to install the operating system on your M.2 SSD. This step will allow you to boot from the USB drive and initiate the installation process.
To create a bootable USB drive, follow these steps:
- Download the Windows 7 USB/DVD Download Tool from the official Microsoft website. This tool is specifically designed to create bootable USB drives for Windows installations.
- Insert the USB flash drive into a USB port on your computer.
- Launch the Windows 7 USB/DVD Download Tool. If prompted, provide administrative privileges.
- Click on Browse and locate the Windows 7 ISO file on your computer that you downloaded or the DVD if you have the physical installation disc.
- Select USB device as the media type to create a bootable USB drive. Ensure the correct USB drive is selected if you have multiple drives connected.
- Click on Begin copying to start the process. The tool will format the USB drive and copy the Windows 7 installation files onto it. This process may take several minutes.
- Once the process is complete, you will have a bootable USB drive containing the Windows 7 installation files.
After successfully creating the bootable USB drive, safely eject the USB drive from your computer. This drive will be used to install Windows 7 on your M.2 SSD in the next steps.
It’s important to note that the Windows 7 USB/DVD Download Tool is specifically designed for Windows 7 installations. If you encounter any issues or prefer using alternative software, there are several other tools available that can help create a bootable USB drive, such as Rufus or WinToUSB.
With a bootable USB drive in hand, you are now ready to proceed to the next step, which involves modifying the UEFI/BIOS settings to ensure the computer can boot from the USB drive.
Step 4: Modify UEFI/BIOS Settings
Modifying the UEFI/BIOS settings of your computer is necessary to ensure that it can boot from the bootable USB drive containing the Windows 7 installation files. By changing the boot priority, you will be able to initiate the installation process on your M.2 SSD.
Follow these steps to modify the UEFI/BIOS settings:
- Restart your computer.
- During the boot-up process, access the UEFI/BIOS settings. The key to access these settings may vary depending on your computer manufacturer. Common keys to try are Del, F2, or F10. Refer to your computer’s documentation or search online for the specific key combination for your computer model.
- In the UEFI/BIOS settings, look for the “Boot” or “Storage” section. This section may have different labels depending on your motherboard manufacturer.
- Find the option to set the boot priority. You want to ensure that the USB drive is prioritized over other boot devices.
- Move the USB drive to the top of the boot priority list. This will typically involve selecting the USB drive and using the appropriate key (e.g., +/–) to move it to the top.
- Save the changes and exit the UEFI/BIOS settings. This step will usually involve pressing a specific key (e.g., F10) to save and exit.
After saving and exiting the UEFI/BIOS settings, your computer will restart. It will now attempt to boot from the USB drive that contains the Windows 7 installation files.
If you encounter any issues during this step, make sure you saved the changes correctly and that the boot priority is set correctly. Additionally, double-check that the USB drive is properly connected and that the Windows 7 installation files were correctly copied onto it.
With the UEFI/BIOS settings modified, you are now ready to proceed to the next step, which involves the actual installation of Windows 7. We will guide you through the installation process in the following section.
Installing Windows 7
With the UEFI/BIOS settings modified and the computer set to boot from the USB drive, you are now ready to begin the installation process of Windows 7 on your M.2 SSD. This section will guide you through the steps required to install the operating system.
Step 5: Insert the Bootable USB Drive
Make sure the bootable USB drive containing the Windows 7 installation files is inserted into a USB port on your computer. The computer will detect the USB drive as a bootable device.
Step 6: Begin the Windows 7 Installation Process
Restart your computer. During the boot-up process, the computer will start from the USB drive and launch the Windows 7 installation program. Follow the on-screen prompts to initiate the installation process.
Step 7: Formatting and Partitioning the M.2 SSD
During the installation, you will be prompted to select the destination drive for installing Windows 7. This is where you will select your M.2 SSD. You will also have the option to format and partition the drive according to your preferences. Choose the desired formatting option (e.g., NTFS) and proceed with the installation.
Step 8: Installing Windows 7
Once the drive formatting and partitioning are complete, the installation process will begin. Windows 7 will copy the necessary files, install the operating system, and configure all the required settings. The installation progress will be displayed on the screen, and your computer may restart multiple times during this process.
Step 9: Finalizing the Installation
After the installation process is complete, your computer will boot into the newly installed Windows 7 operating system. Follow the on-screen instructions to set up your user account, password, and personalize the system settings according to your preferences.
It’s important to note that the installation process may take some time to complete. The actual duration will depend on your computer’s hardware specifications.
Once the installation is finished, your computer will be running Windows 7 on the M.2 SSD. You can now enjoy the benefits of improved performance and responsiveness. Take some time to install any necessary drivers, update Windows 7 to the latest version, and reinstall your essential software applications to complete the setup process.
Congratulations! You have successfully installed Windows 7 on your M.2 SSD. Enjoy your faster and more efficient computing experience!
Step 5: Insert the Bootable USB Drive
In this step, you will need to insert the bootable USB drive that contains the Windows 7 installation files into a USB port on your computer. This USB drive will serve as the primary source for the installation process.
Follow these guidelines to insert the bootable USB drive:
- Ensure that your computer is powered off.
- Locate an available USB port on your computer.
- Gently insert the USB drive into the USB port. Make sure it is securely connected.
- If your computer has multiple USB ports, it is generally recommended to use a USB port directly connected to the motherboard for better stability.
Once the USB drive is inserted, you are ready to proceed with the installation of Windows 7 on your M.2 SSD.
It’s important to note that you should not remove the USB drive during the installation process. Removing it prematurely may disrupt the installation and cause errors. Instead, keep it inserted until the installation is complete and the computer prompts you to remove it.
With the bootable USB drive in place, you are now ready to move on to the next step and initiate the Windows 7 installation process. Continue to Step 6, where you will learn how to begin the installation and proceed with installing the operating system on your M.2 SSD.
Step 6: Begin the Windows 7 Installation Process
With the bootable USB drive inserted, you are now ready to begin the installation process of Windows 7 on your M.2 SSD. This step will guide you through the initial stages of the installation and ensure that your computer is set up to install the operating system.
Follow these steps to initiate the Windows 7 installation:
- Restart your computer. You can do this by clicking on the “Start” menu, selecting the power icon, and choosing “Restart.”
- During the boot-up process, the computer will start from the USB drive.
- Watch for a prompt on the screen instructing you to press a specific key to enter the boot menu or select the boot device. The key to access the boot menu may differ depending on your computer manufacturer.
- Once you access the boot menu, use the designated key (such as F8 or F12) to select the bootable USB drive as the primary boot device.
- Press the Enter key or the designated key to confirm your selection and proceed.
Once the boot process from the USB drive is complete, the Windows 7 installation program will load and display the initial setup screen.
Follow the on-screen instructions, including accepting the license terms and selecting the language and regional settings. You may be prompted to enter certain information such as your location and keyboard layout. Ensure that you provide accurate information to proceed with the installation.
After completing the initial setup, you will reach the installation type screen. Here, you can choose to perform a clean installation on your M.2 SSD, which involves formatting and partitioning the drive for a fresh installation. Select the desired installation type and proceed to the next steps.
It’s crucial to note that modifying the partition or drive selection during the installation process can result in data loss. Ensure that you have backed up any important files before proceeding.
Once you have confirmed the installation type, you can proceed to the next steps, which involve formatting and partitioning the M.2 SSD to prepare it for the Windows 7 installation. This will be covered in Step 7.
By following these steps, you will have successfully initiated the Windows 7 installation process. Stay tuned for the next step, where we will guide you through formatting and partitioning the M.2 SSD to continue with the installation process.
Step 7: Formatting and Partitioning the M.2 SSD
In this step, you will format and partition the M.2 SSD to prepare it for the installation of Windows 7. This process involves selecting the appropriate formatting options and creating partitions on the SSD to allocate space for the operating system and any other desired data storage purposes.
Follow these steps to format and partition the M.2 SSD:
- After initiating the Windows 7 installation and selecting the installation type, you will arrive at the “Where do you want to install Windows?” screen.
- Here, you will see a list of available drives and partitions. Select the M.2 SSD on which you want to install Windows 7 by clicking on it.
- Once the SSD is selected, click on the “Drive Options (Advanced)” link below the list.
- In the Drive Options window, click on the “Format” option to format the selected SSD. Choose the desired formatting option, typically NTFS, and confirm the formatting process.
- After the formatting is complete, click on the “Next” button to proceed.
- To create partitions on the SSD, click on the “New” button in the Drive Options window.
- Specify the size for the partition you wish to create by entering the desired value in megabytes (MB).
- Repeat the above step to create additional partitions if needed or adjust the size of existing partitions using the available options.
- Once the partitions are created or adjusted, click on the “Next” button to proceed with the installation process.
Note that creating multiple partitions can be useful for organizing your data and separating the operating system files from your personal files. However, it is not mandatory, and you can choose to install Windows 7 on the whole SSD without creating any additional partitions.
It’s crucial to double-check your choices before proceeding, as formatting and partitioning will erase any existing data on the selected SSD. Make sure you have backed up any necessary files before continuing.
Once you have completed formatting and partitioning the M.2 SSD, you can proceed to Step 8, where we will guide you through the actual installation of the Windows 7 operating system onto the SSD.
Step 8: Installing Windows 7
After formatting and partitioning the M.2 SSD, you are now ready to proceed with the actual installation of Windows 7. This step will guide you through the process of installing the operating system on the SSD.
To install Windows 7, follow these steps:
- Once you have completed the formatting and partitioning steps, click on the partition you created for installing Windows 7 on the M.2 SSD.
- Click on the “Next” button to start the installation process.
- The installation process will copy the necessary files, install Windows 7 onto the selected partition, and configure various system settings. The progress will be displayed on the screen.
- Your computer may restart several times during the installation. Ensure that you don’t interrupt the process and let it proceed uninterrupted.
- Throughout the installation, you may be prompted to customize settings such as language preferences, time zone, and keyboard layout. Follow the on-screen instructions and provide the necessary information.
- At some point during the installation process, you will be asked to enter the product key for Windows 7. Input the correct product key to continue.
- Once the installation process is complete, you will see a message indicating that Windows 7 has been successfully installed.
- Follow the on-screen instructions to set up your user account, create a password, and customize additional settings according to your preferences. This will finalize the installation process.
It’s important to note that the installation process may take some time, depending on your computer’s hardware specifications.
After the installation is finished and you have completed the setup process, your computer will be running Windows 7 on the M.2 SSD. It is advisable to install any necessary drivers, update Windows 7 to the latest version, and reinstall your essential software applications to complete the setup.
Congratulations! You have successfully installed Windows 7 on your M.2 SSD. Enjoy the faster boot times, improved performance, and seamless computing experience that comes with Windows 7 on an M.2 SSD.
Proceed to Step 9 for finalizing the installation and making any additional adjustments or configurations necessary for your system.
Step 9: Finalizing the Installation
With Windows 7 successfully installed on your M.2 SSD, there are a few final steps to complete the setup and ensure that your system is fully optimized and ready for use.
Follow these steps to finalize the installation of Windows 7:
- Install necessary drivers: Install any drivers that are specific to your motherboard and other hardware components. Visit the manufacturer’s website to download and install the latest drivers for optimal performance and compatibility.
- Update Windows 7: After the installation, it’s important to update Windows 7 to the latest version. This ensures that your system has the latest security patches, bug fixes, and performance improvements. Go to the Control Panel, access Windows Update, and follow the prompts to check for and install updates.
- Install essential software: Reinstall any software applications that are essential for your needs. This includes productivity tools, antivirus software, media players, and any other software that you regularly use.
- Configure system settings: Customize your system settings according to your preferences. This includes adjusting display settings, sound preferences, power-saving options, and privacy settings.
- Transfer files and data: If you have backed up files and data from your previous installation, you can now transfer them to your new Windows 7 installation. This ensures that you have access to all your important files and documents.
- Install additional software: Install any additional software applications or utilities that you require for your specific needs. This can include graphics editing software, office suites, web browsers, and other programs that enhance your productivity and enjoyment.
By completing these final steps, you will have optimized your Windows 7 installation on the M.2 SSD and have a fully functional and personalized operating system ready for use.
It’s worth noting that maintaining regular backups of your important files is essential to protect against data loss. Consider using cloud storage or external drives to back up your files regularly.
Enjoy the enhanced speed, performance, and efficiency that comes with Windows 7 running on your M.2 SSD. Take advantage of the benefits of this advanced storage technology and make the most of your computing experience.
With the installation process now complete, you are ready to fully embrace the capabilities and benefits of Windows 7 on your M.2 SSD.
Conclusion
Installing Windows 7 on an M.2 SSD can significantly enhance your computer’s performance and responsiveness. The compact form factor and faster data transfer rates of the M.2 SSD make it an ideal storage solution for installing the operating system.
In this comprehensive guide, we have walked you through the step-by-step process of installing Windows 7 on an M.2 SSD. We started with checking compatibility and gathering the necessary materials, such as a bootable USB drive and the Windows 7 installation media. We then guided you through modifying the UEFI/BIOS settings to ensure that your computer can boot from the USB drive.
Next, we detailed the installation process, including formatting and partitioning the M.2 SSD, and initiating the Windows 7 installation. We covered crucial steps like creating partitions and allocating space for the operating system. Finally, we outlined the final steps of driver installation, Windows updating, software reinstallation, and configuration of system settings.
By following these steps carefully, you can successfully install Windows 7 on your M.2 SSD and experience faster boot times, improved application performance, and overall system speed.
Remember to regularly update your system, maintain backups of important files, and optimize your usage of the M.2 SSD to fully leverage its capabilities. Additionally, ensure that you have compatible hardware and drivers to avoid any compatibility issues during the installation process.
We hope this guide has provided you with the necessary knowledge and guidance to install Windows 7 on an M.2 SSD. Enjoy the benefits of a faster and more efficient computing experience with your newly installed operating system.
Thank you for choosing Windows 7 and an M.2 SSD for your computer setup. Happy computing!