It’s not often that PC owners know how to install SSD cards by default. However, it’s certainly an important skill to learn, especially if your PC has been showing signs of age. While we can’t do much about your machine’s other components, you can always try to change the SSD if your PC has been feeling sluggish. This can make your OS feel more responsive and help applications load faster than a regular HDD. Moreover, it’s not too difficult an endeavor if you learn how to do it.
 How to Install an SSD in Your PC
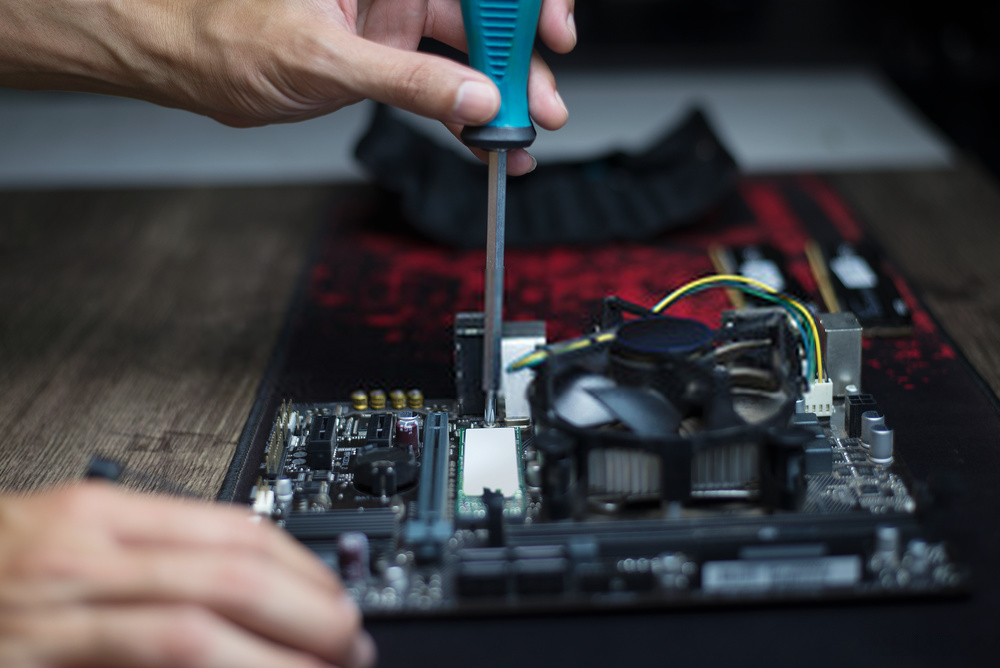
Step 1: Open Your PC
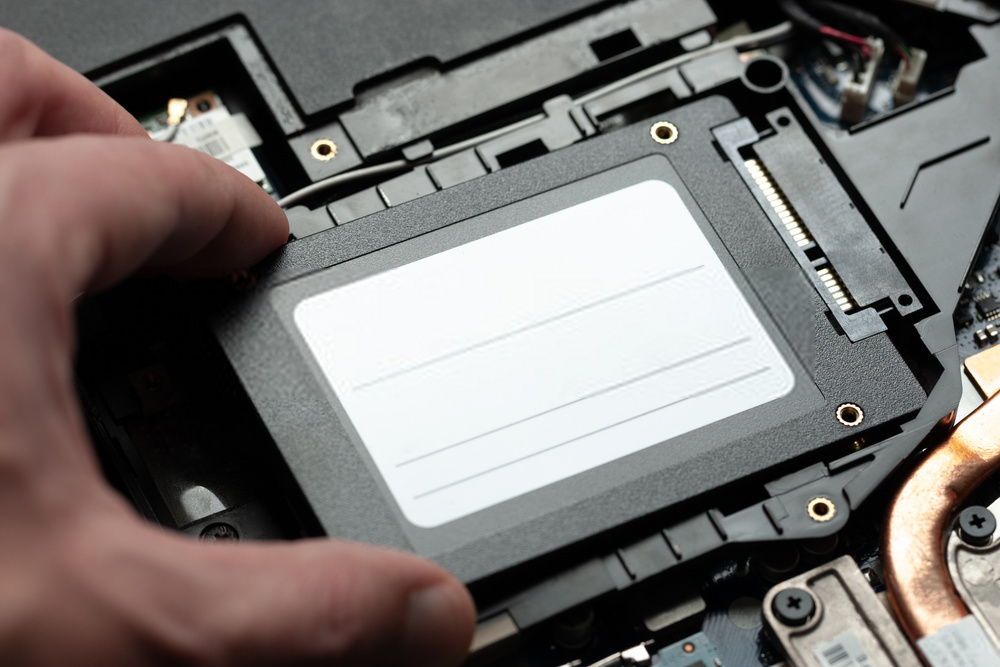
The first thing you need to do is open your CPU’s case. You’ll need the right screwdriver for whatever your casing uses, so make sure you have that first. Be careful about opening your computer if your CPU’s case has latch mechanisms on the sides since you’ll have to carefully push them to open your computer. Once you’ve opened your computer, make sure that you can access the motherboard. More specifically, make sure you can access the SATA ports and hard disk bays.
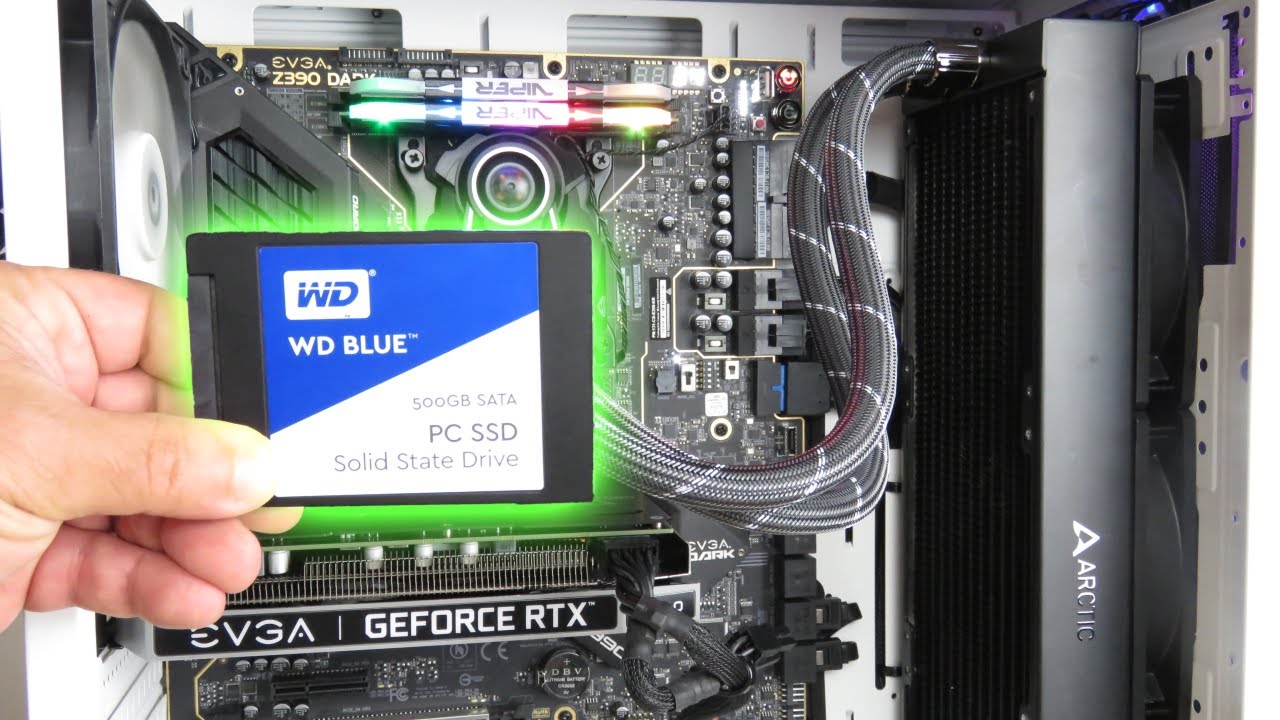
Step 2: Mount the SSD
Take the SSD and place it into the removable bay or mounting bracket. Make sure it’s lined up according to the holes under the mechanism. Screw the SSD firmly into the contraption. Afterward, place the mounting bracket on a 3.5-inch hard disk bay. Ensure sure it’s properly affixed in place using the side holes.
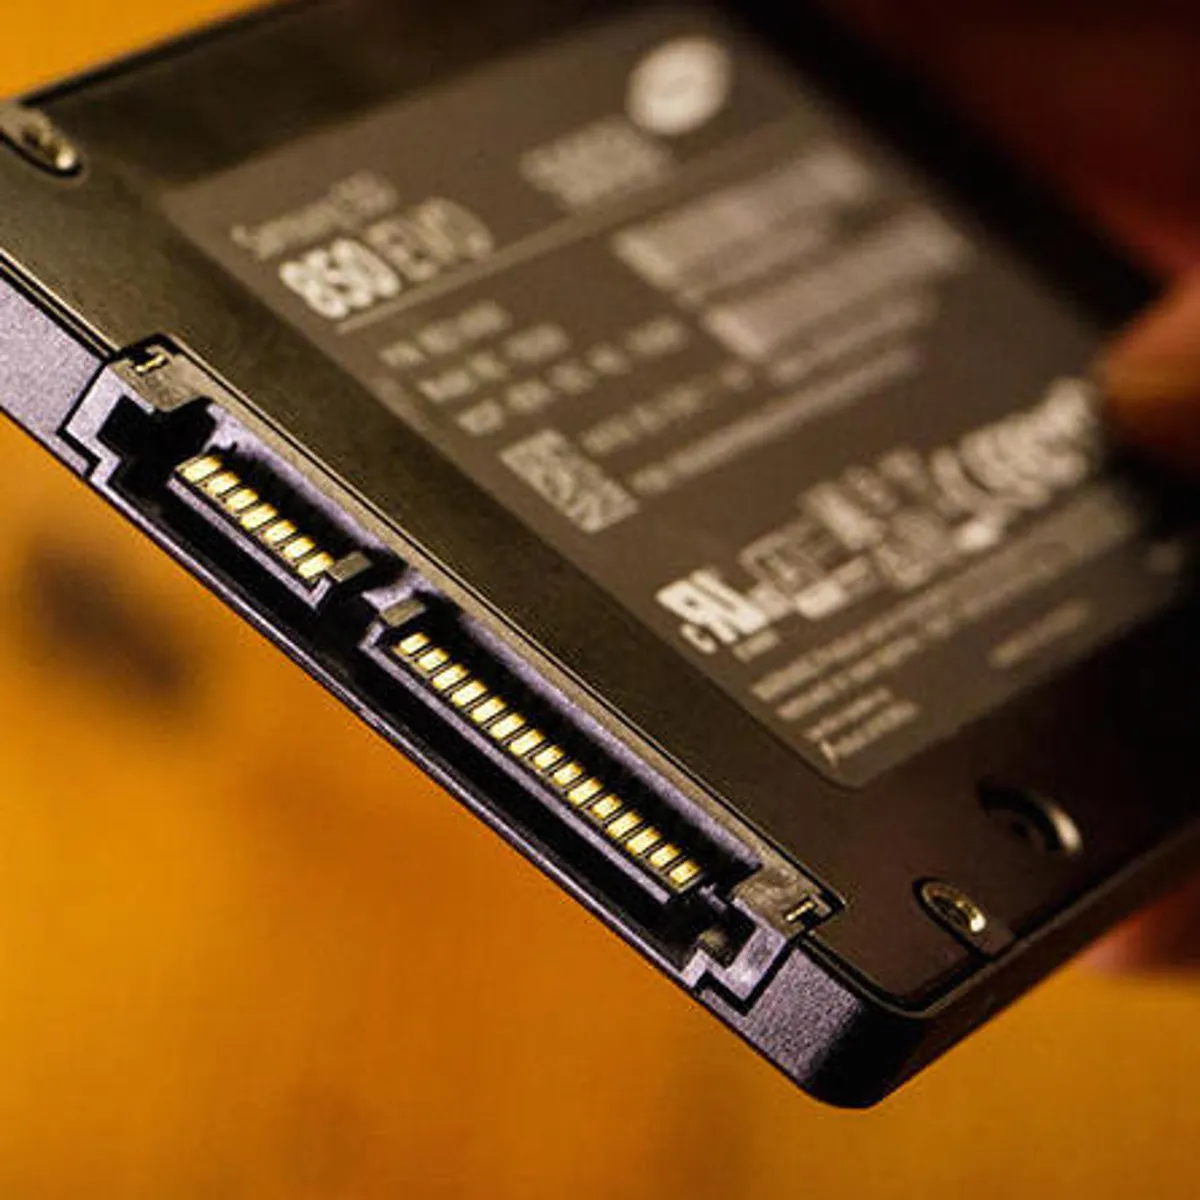
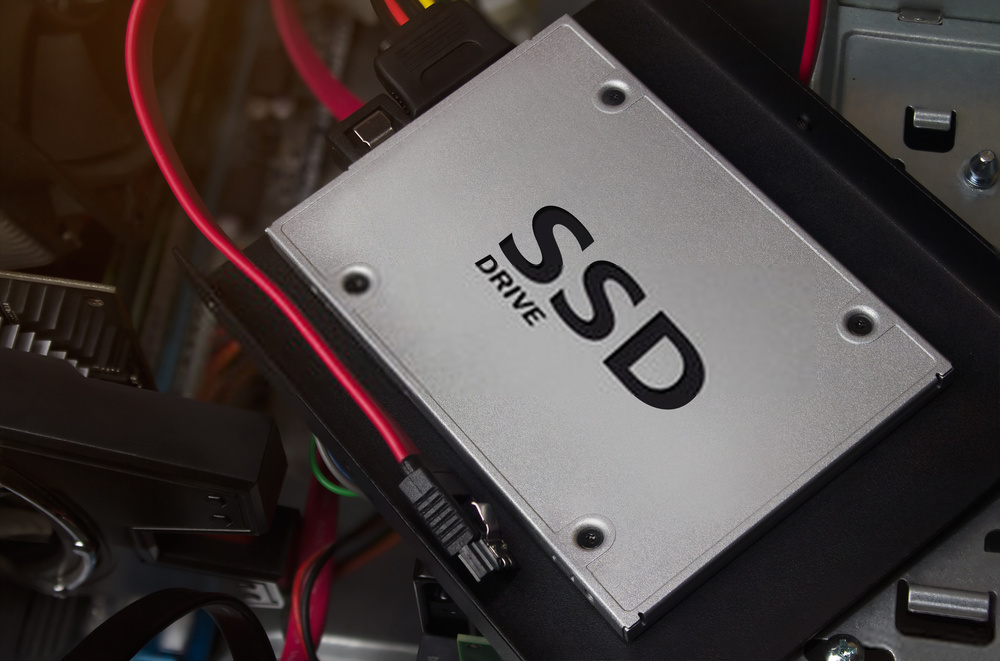
Step 3: Connect the SATA Cable
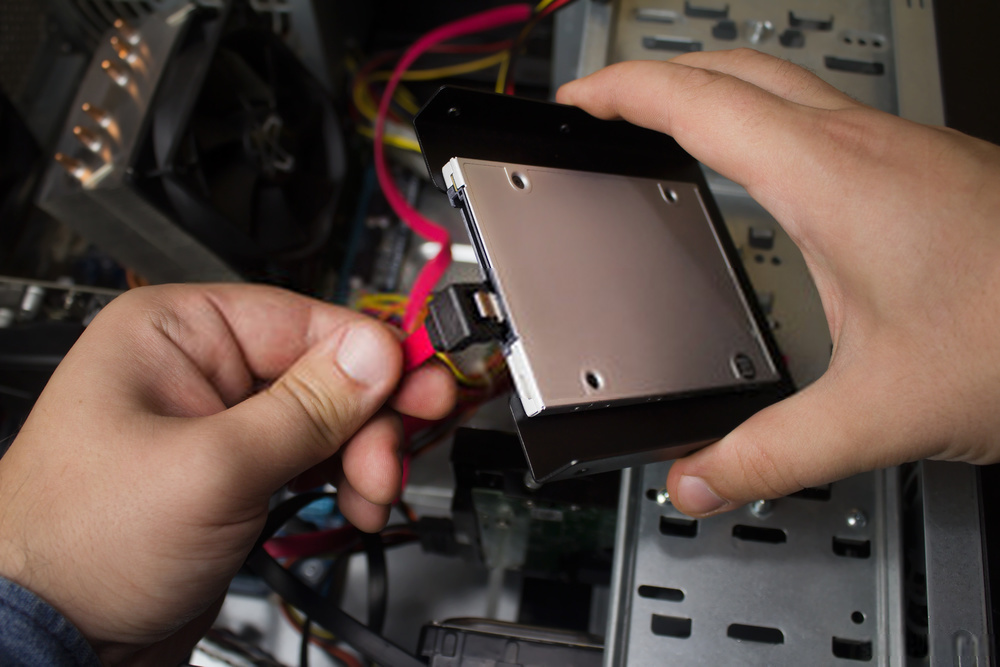
Once you’ve mounted the SSD, connect it to the SATA cable. Use the cable’s L-shaped end to connect it to your newly installed SSD. Then, connect the cable’s other end to a free SATA port. Once that’s done, plug a SATA power cable into the SSD. Afterward, you can optionally disconnect your PC’s hard disks if you’re planning to install Windows after this.
Step 4: Install Windows
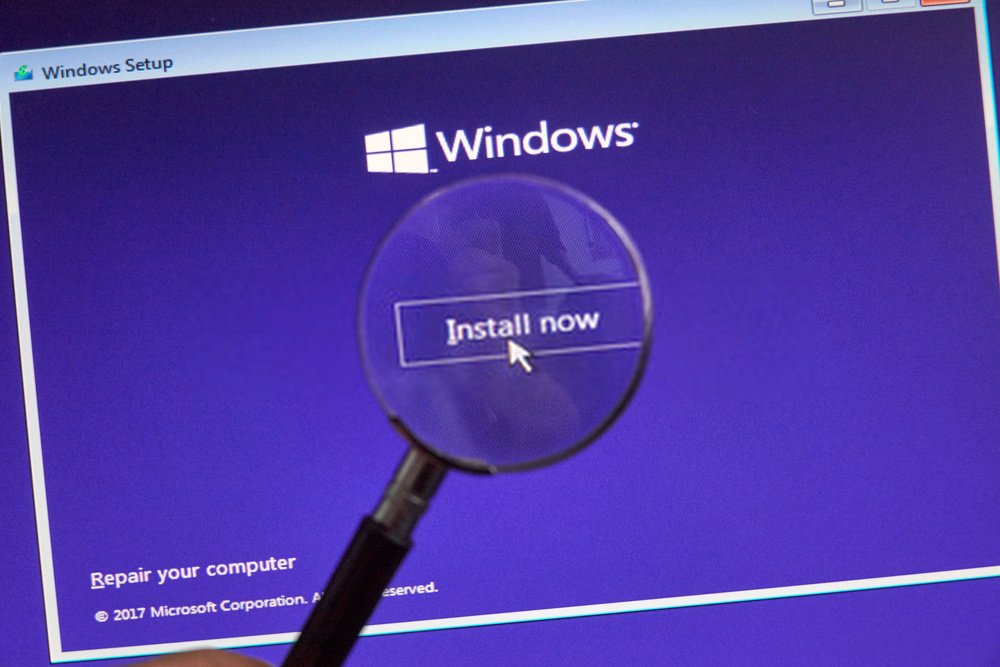
To start, simply create a DVD or USB stick that contains Windows 10. Plug it into the proper port on your computer and turn on your PC. Then hit the key to boot the menu (usually this is F12) and choose the USB or DVD you inserted.
Follow the on-screen instructions and you should be able to install Windows 10 on your SSD. Once the installation process finishes, you can finally re-insert the hard drives you removed.
Step 5: File Management
People might think that they should transfer their files from their old hard drives to the SSD. However, SSDs are usually more expensive than hard drives, so folks usually use lower-storage SSDs to upgrade their PCs. If that’s the case for you, then you might want to leave your old files on your old hard drive.
If you choose to not move your files, your newly installed Windows 10 needs to understand that your files are on a separate hard disk. It’s best to use the Windows libraries feature for this. All you need to do is make a new folder on your hard disk (for example E:/docs) then right-click the newly created folder in Windows Explorer. Scroll down the options and select “Include in library.”
After that, select the Documents Library. Copy the files and documents from your My Documents folder then paste them into the new folder. You can repeat this process for any files you might want, including media files like video and audio. This will ensure that your files are close by without taking up your SSD’s storage space.
Step 6: Programs & Applications
When it comes to programs and applications, it’s a different story. If there are programs you use very often, then it’s best to keep them on your SSD. This will help speed up the performance and loading times for those specific programs.
However, if you don’t need the speed for specific programs, it’s best to leave them on your hard disk. This goes for both existing programs and new software you might install in the future. Make sure not to use default settings for storing newly downloaded programs because they usually insert themselves in the same drive as the Windows OS. Instead, just specify the folder on the target hard disk during the installation process.
How to install M.2 SSD in Desktop PC
While SSDs are generally great alternatives to regular hard disks, there are still different kinds under the SSD umbrella. M.2 SSD is the most distinct type of SSD that is often mounted internally.
This is possible because M.2 SSDs are thinner despite still being high-performance in terms of storage. It’s also best for devices that need to be power-efficient like mobile devices or ultrabooks. If you want to learn how to install SSD storage that is an M.2 type, here are the steps you need to take.
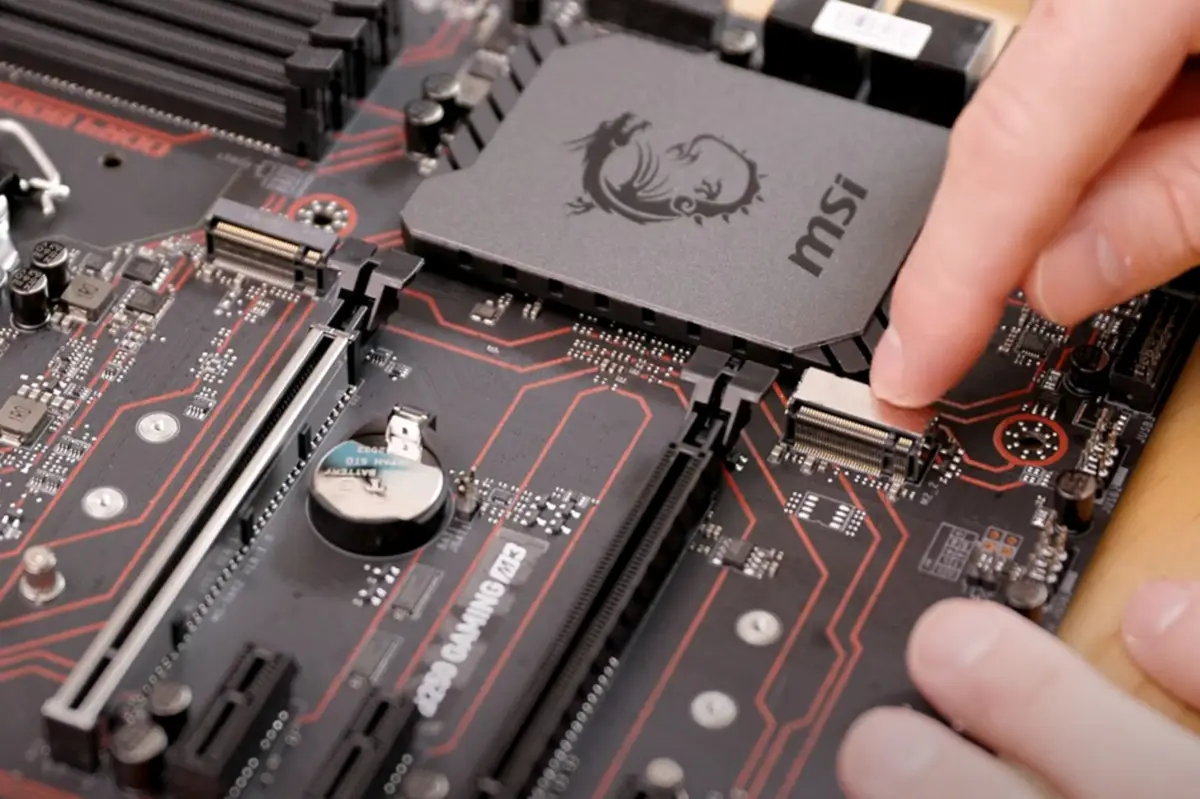
Step 1: Look for the M.2 Slot

M.2 SSDs are usually small, with their shape resembling a stick of chewing gum. The first step you need to do is to find the right slot on your device. You’ll then need to have the motherboard of your desktop PC. The M.2 slot should be a one-inch space that sticks out from the motherboard. You can usually find one slot beneath the CPU and the other around the board’s PCIe slots.
Sometimes, motherboards might have visually captivating shields to serve as heat spreaders. However, make sure to remove the shield as it can get in the way of the M.2 SSD slot.
Conversely, some motherboards might have more than one M.2 SSD slot. As a result, the best course of action is to check the user manual. The manual should recommend which slot is best for new installations. Moreover, different slots might have different performance levels allotted to them, so it’s important to know which is which.
Of course, regardless of which type of motherboard you have, it’s best to consult the manual first. It’s the best choice if you’re having trouble with your motherboard. Moreover, it’s the easiest way to avoid mistakes.
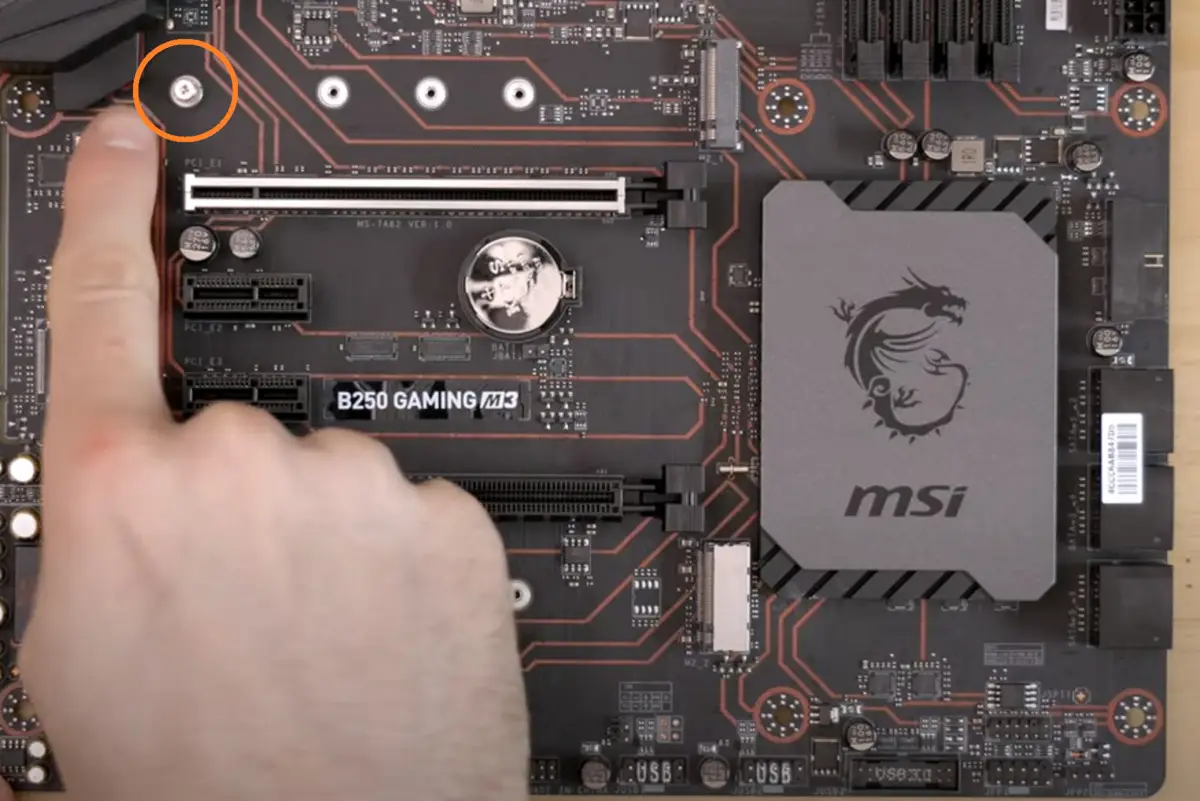
Step 2: Look for the Mounting System
Now that you’ve found the M.2 slot, it’s time to find the mounting system. Find the screw, usually roughly three inches to the left on the standoff. This standoff serves to help keep the whole structure flat because of the gap between the SSD and motherboard. If your motherboard uses a shield, make sure to find the screws to mount it.
Step 3: Prepare to Install the SSD
It’s now time to make a few preparations to install the M.2 SSD. Firstly, make sure to touch something metal, like something from furniture, to make sure you’re grounded. Then, take a screwdriver and unscrew the standoff’s screw. Make sure to keep it in a safe area where you can find it again.
If your motherboard has a shield, make it a point to unscrew it as well. However, make sure the thermal pad underneath is secure. Don’t remove the plastic over it and place the shield in a safe area.
Afterward, position the standoff precisely according to your M.2 SSD drive’s size. Place the drive over the slot and remember the precise length. If you need to, you can also use pliers to loosen the standoff. Then use this to move the standoff to the right length position. Afterward, screw in the standoff in, but make sure it’s not too tight either.
On the other hand, motherboards with shields probably won’t have a standoff mechanism in the first place. However, they might have a somewhat square brace to rest the drive as the shield secures it in place.
Step 4: Install The M.2 SSD

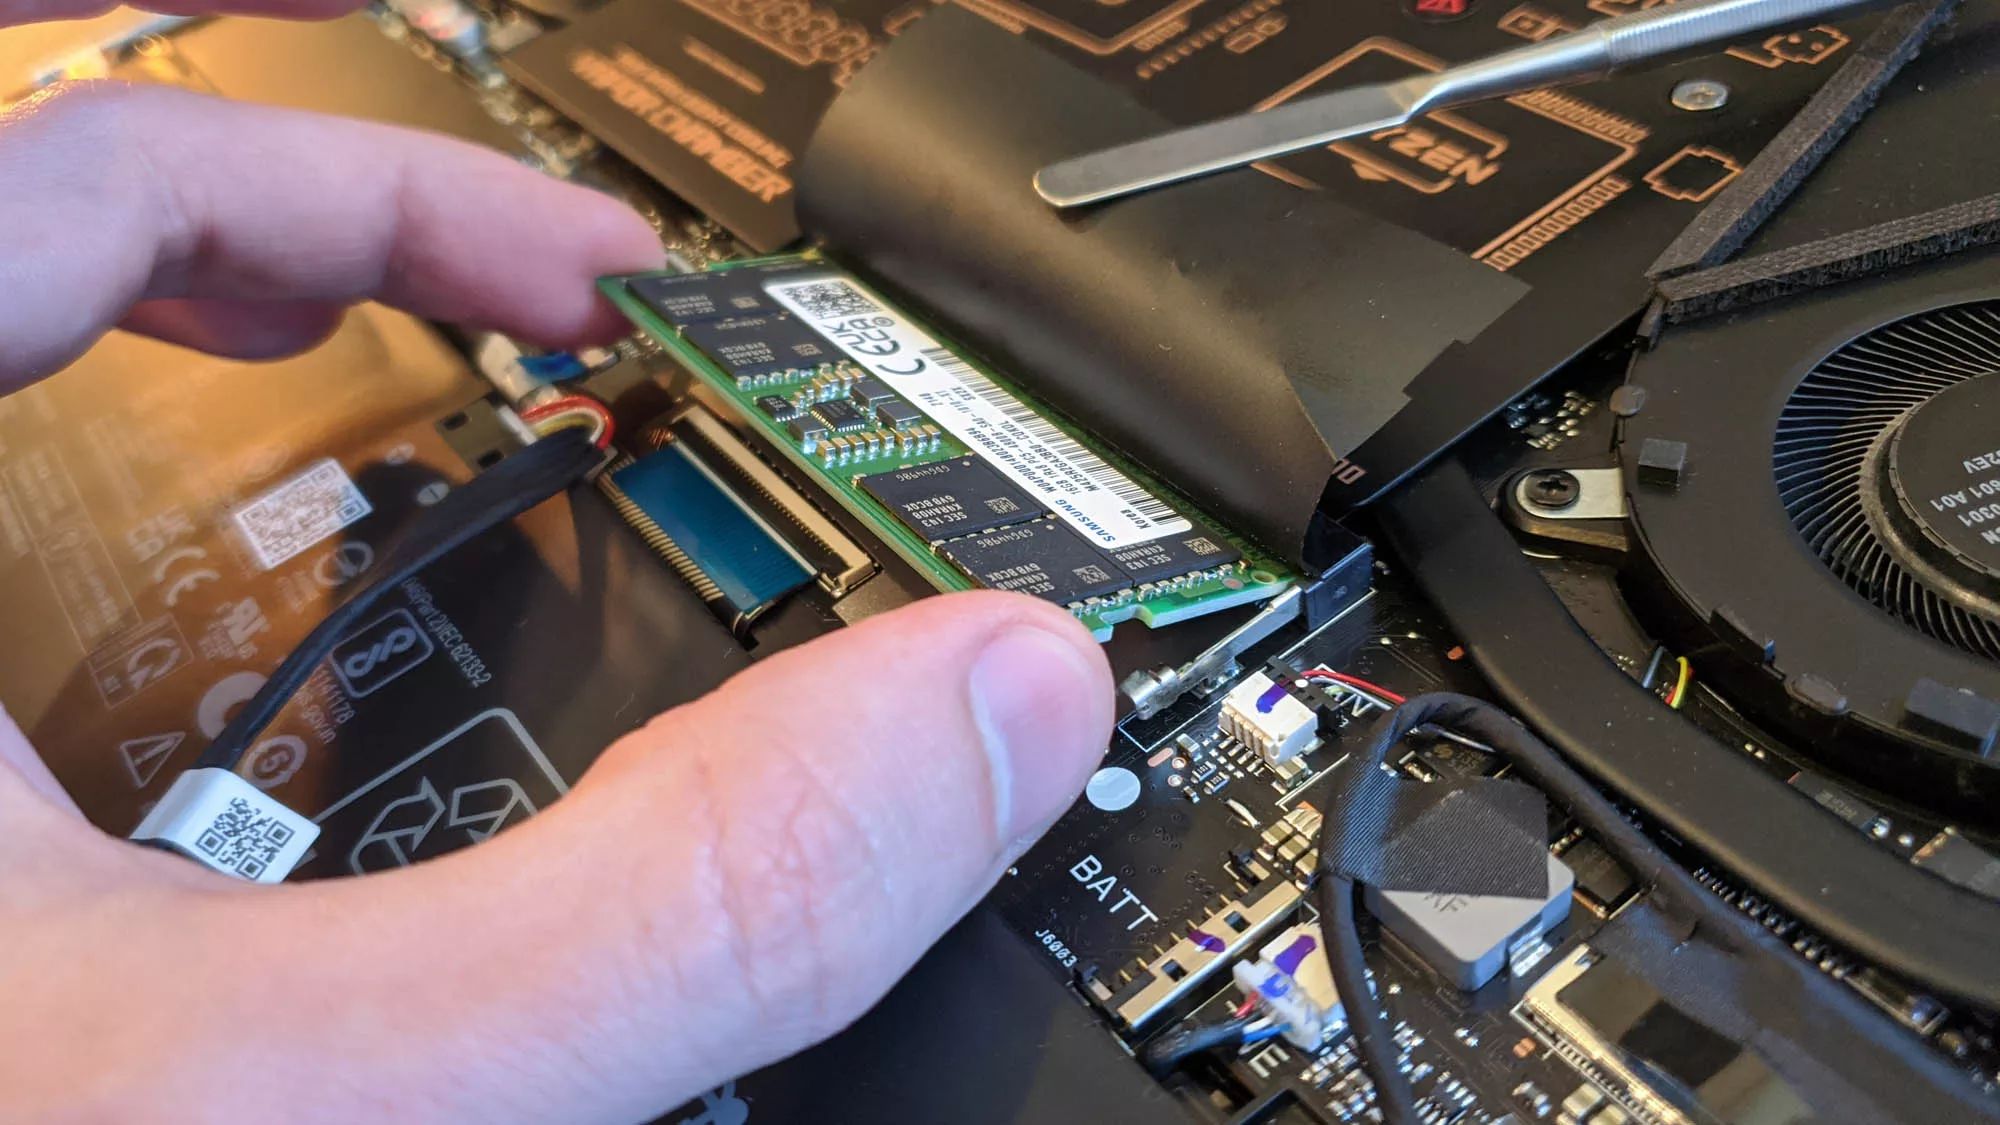
After preparing the motherboard, standoff, and shield, the next step is to insert the M.2 drive. Firstly, we need to properly understand M.2’s orientation. The top of the drive should be the one with the brand’s label on it. On the other hand, the semi-circle notch end is where the screw will hold it in place. Lastly, the end with cold points is what you must insert into the M.2 slot.
The edge with the gold contact points should have a small notch dividing it. Carefully line up this notch with the M.2 slot’s notch. Make sure to keep the drive’s top facing upwards while you’re doing this. After lining things up properly, insert the drive at a 15-degree angle.
Step 4.2: Install The M.2 SSD With A Standoff Or Shield
If your motherboard has a standoff, press the drive down to ensure that it’s flat. The semi-circular notch should also line up well with the standoff. As you hold the drive flat, insert the right screw and tighten the mechanism until it’s snug. However, make sure that you don’t make this overly tight either, or you might risk damaging the parts. After installing the drive, check if it shifts in place. If you’ve installed it properly, then it shouldn’t move at the slightest touch.
On the other hand, if you have a shield-based motherboard, you can’t screw anything to keep things flat. Hence, you’ll have to hold down the drive as you place the shield on top. Otherwise, you can ask for spare hands from a friend to hold the drive down as you place the shield.
Once things are properly positioned, you can remove the plastic from underneath and affix the shield to the drive. Make sure to lower the shield straight from above so it doesn’t slide out or shift.
Lastly, line up the screws to the standoffs by holding them in place as you place the shield. The screws should graze the standoffs first, then the thermal pad should meet the drive. Afterward, lower the shield and tighten the screws snugly.
FAQs
Conclusion
With this guide on how to install SSD storage into your PC on hand, you should be able to make your computer run quicker. This guide will especially help if your programs and files are on your SSD. However, SSDs can cost a lot compared to regular hard disks. Consult the manual and understand what type of SSD and motherboard you’re dealing with before proceeding with the installation process. Each SSD type has different processes that will require certain tools or techniques to perform.