Introduction
Welcome to our comprehensive guide on how to install an SSD heatsink. As solid-state drives (SSDs) continue to gain popularity due to their lightning-fast performance and durability, it’s essential to understand the importance of keeping them cool.
An SSD heatsink is a cooling solution specifically designed to dissipate heat generated by an SSD. It helps maintain optimal operating temperatures, ensuring reliable and consistent performance. In this guide, we will take you through the step-by-step process of installing an SSD heatsink, which can greatly extend the lifespan and enhance the performance of your storage drive.
Whether you are a gaming enthusiast, content creator, or simply someone who wants to boost their computer’s overall performance, installing an SSD heatsink is a worthwhile investment. With proper cooling, you can avoid potential slowdowns, data loss, and even premature failure of your SSD.
In the following sections, we will explain the importance of an SSD heatsink, provide a list of tools and materials you’ll need, and guide you through each step of the installation process. By the end of this guide, you will be equipped with the knowledge and skills to effectively install an SSD heatsink and optimize the performance and longevity of your SSD.
So, let’s dive in and explore the world of SSD heatsinks, and how they can revolutionize your computer’s storage capabilities.
What is an SSD heatsink?
An SSD heatsink is a specialized cooling device designed to reduce the operating temperature of a solid-state drive (SSD). As SSDs continue to deliver faster performance and higher storage capacities, they generate heat that can affect their overall efficiency and lifespan. An SSD heatsink is specifically designed to dissipate this heat, ensuring optimal performance and longevity of the drive.
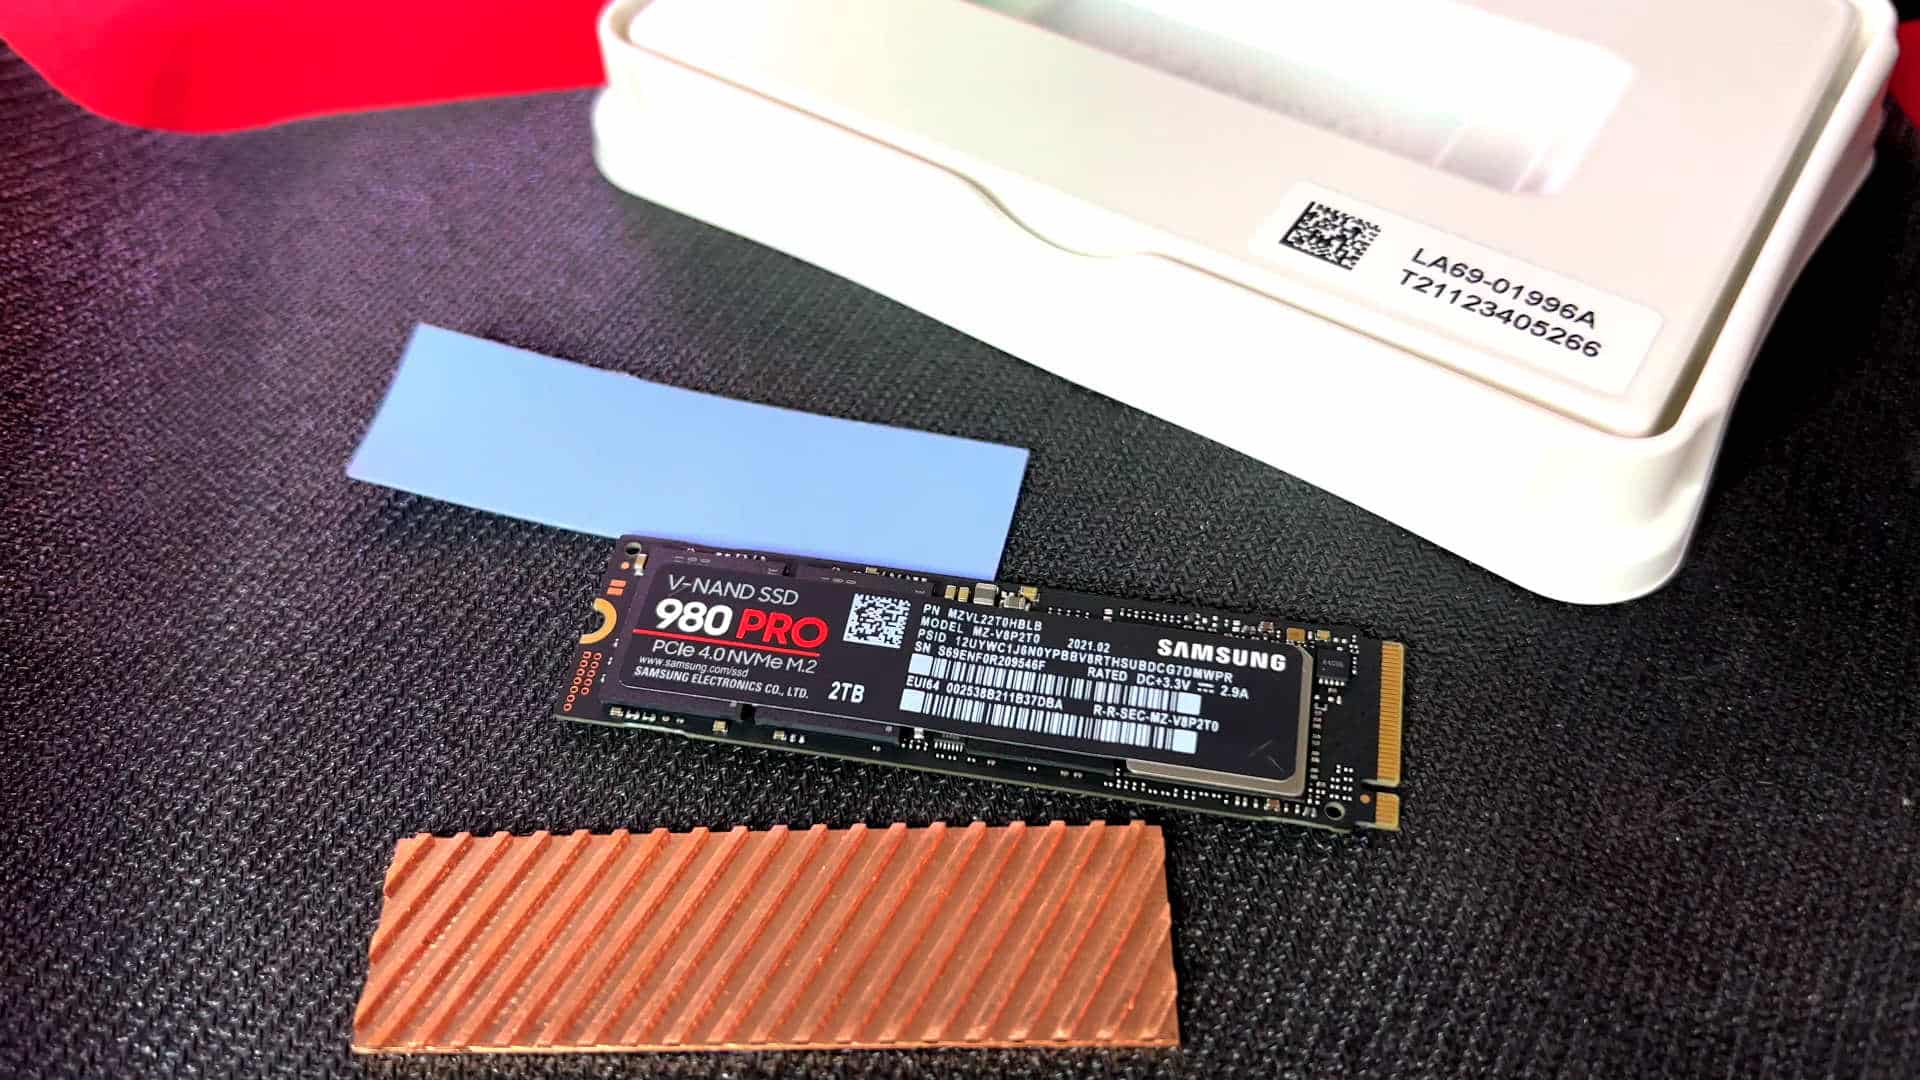
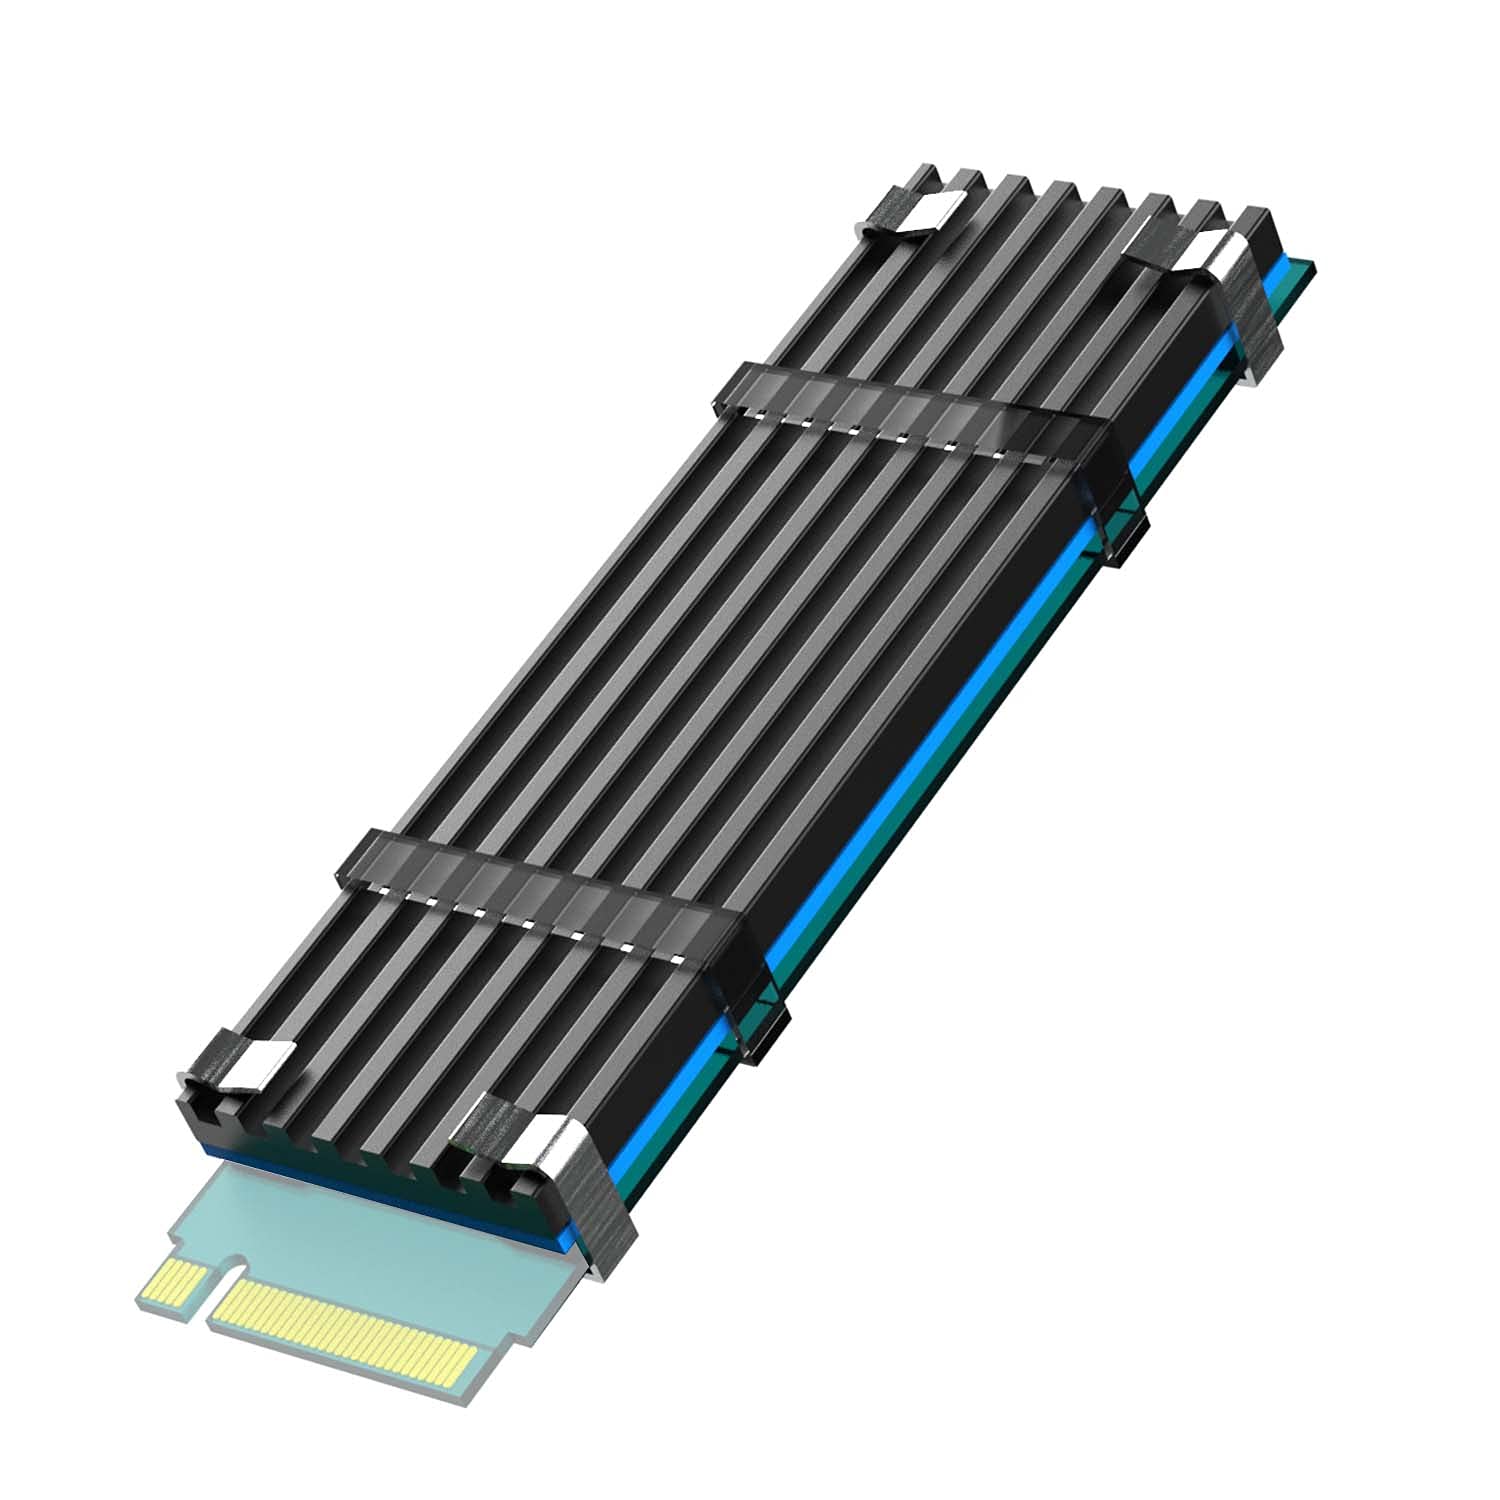
The heatsink consists of a metal body, often made of aluminum or copper, that attaches to the surface of the SSD. This metal body acts as a conductor, drawing heat away from the SSD and transferring it to the surrounding air. Additionally, an SSD heatsink is equipped with thermal pads, which bridge the gap between the SSD and the heatsink, ensuring efficient heat transfer.
The primary function of an SSD heatsink is to prevent the drive from reaching critical temperatures that can lead to thermal throttling or even failure. When an SSD operates at high temperatures, it can experience reduced performance and increased susceptibility to errors. This can result in slower read and write speeds, system crashes, and data loss.
By installing an SSD heatsink, you provide active cooling to the SSD, dissipating heat faster and maintaining a consistently lower temperature. This can significantly enhance the overall performance and reliability of your SSD.
It is important to note that not all SSDs require a heatsink, as some models come with built-in cooling mechanisms. However, if you notice that your SSD is consistently running hot or if you engage in demanding activities such as gaming, video editing, or running resource-intensive applications, adding an SSD heatsink can provide an extra layer of cooling and protection for your drive.
In the next section, we will explore the importance of installing an SSD heatsink and the benefits it brings to your SSD’s performance and lifespan.
Why do you need an SSD heatsink?
Installing an SSD heatsink is crucial for several reasons. Let’s explore the importance of adding a heatsink to your SSD:
1. Temperature Regulation: SSDs generate heat during operation, and excessive heat can negatively impact their performance and reliability. An SSD heatsink helps regulate the temperature by dissipating the heat efficiently, preventing thermal throttling and maintaining optimal operating conditions.
2. Improved Performance: Overheating can lead to reduced performance of your SSD. With an SSD heatsink, you can keep the drive at lower temperatures, allowing it to operate at its full potential. This results in faster data transfer speeds, shorter response times, and smoother overall system performance.
3. Extended Lifespan: Excessive heat can significantly reduce the lifespan of an SSD. By installing a heatsink, you can effectively manage and control the temperature, reducing the risk of premature wear and ensuring that your SSD lasts longer. This can save you the hassle and expense of replacing your storage drive frequently.
4. Preventing Data Loss: High temperatures can contribute to data corruption and loss. This is a serious concern, especially when dealing with important files and critical data. By maintaining lower temperatures with an SSD heatsink, you can protect your valuable data and avoid potential data loss due to overheating.
5. Enhancing Stability: An SSD that runs too hot can cause system instability, leading to crashes, freezes, or unexpected shutdowns. By effectively cooling your SSD with a heatsink, you can ensure stable and uninterrupted operation, allowing you to work or play without interruptions or frustrations.
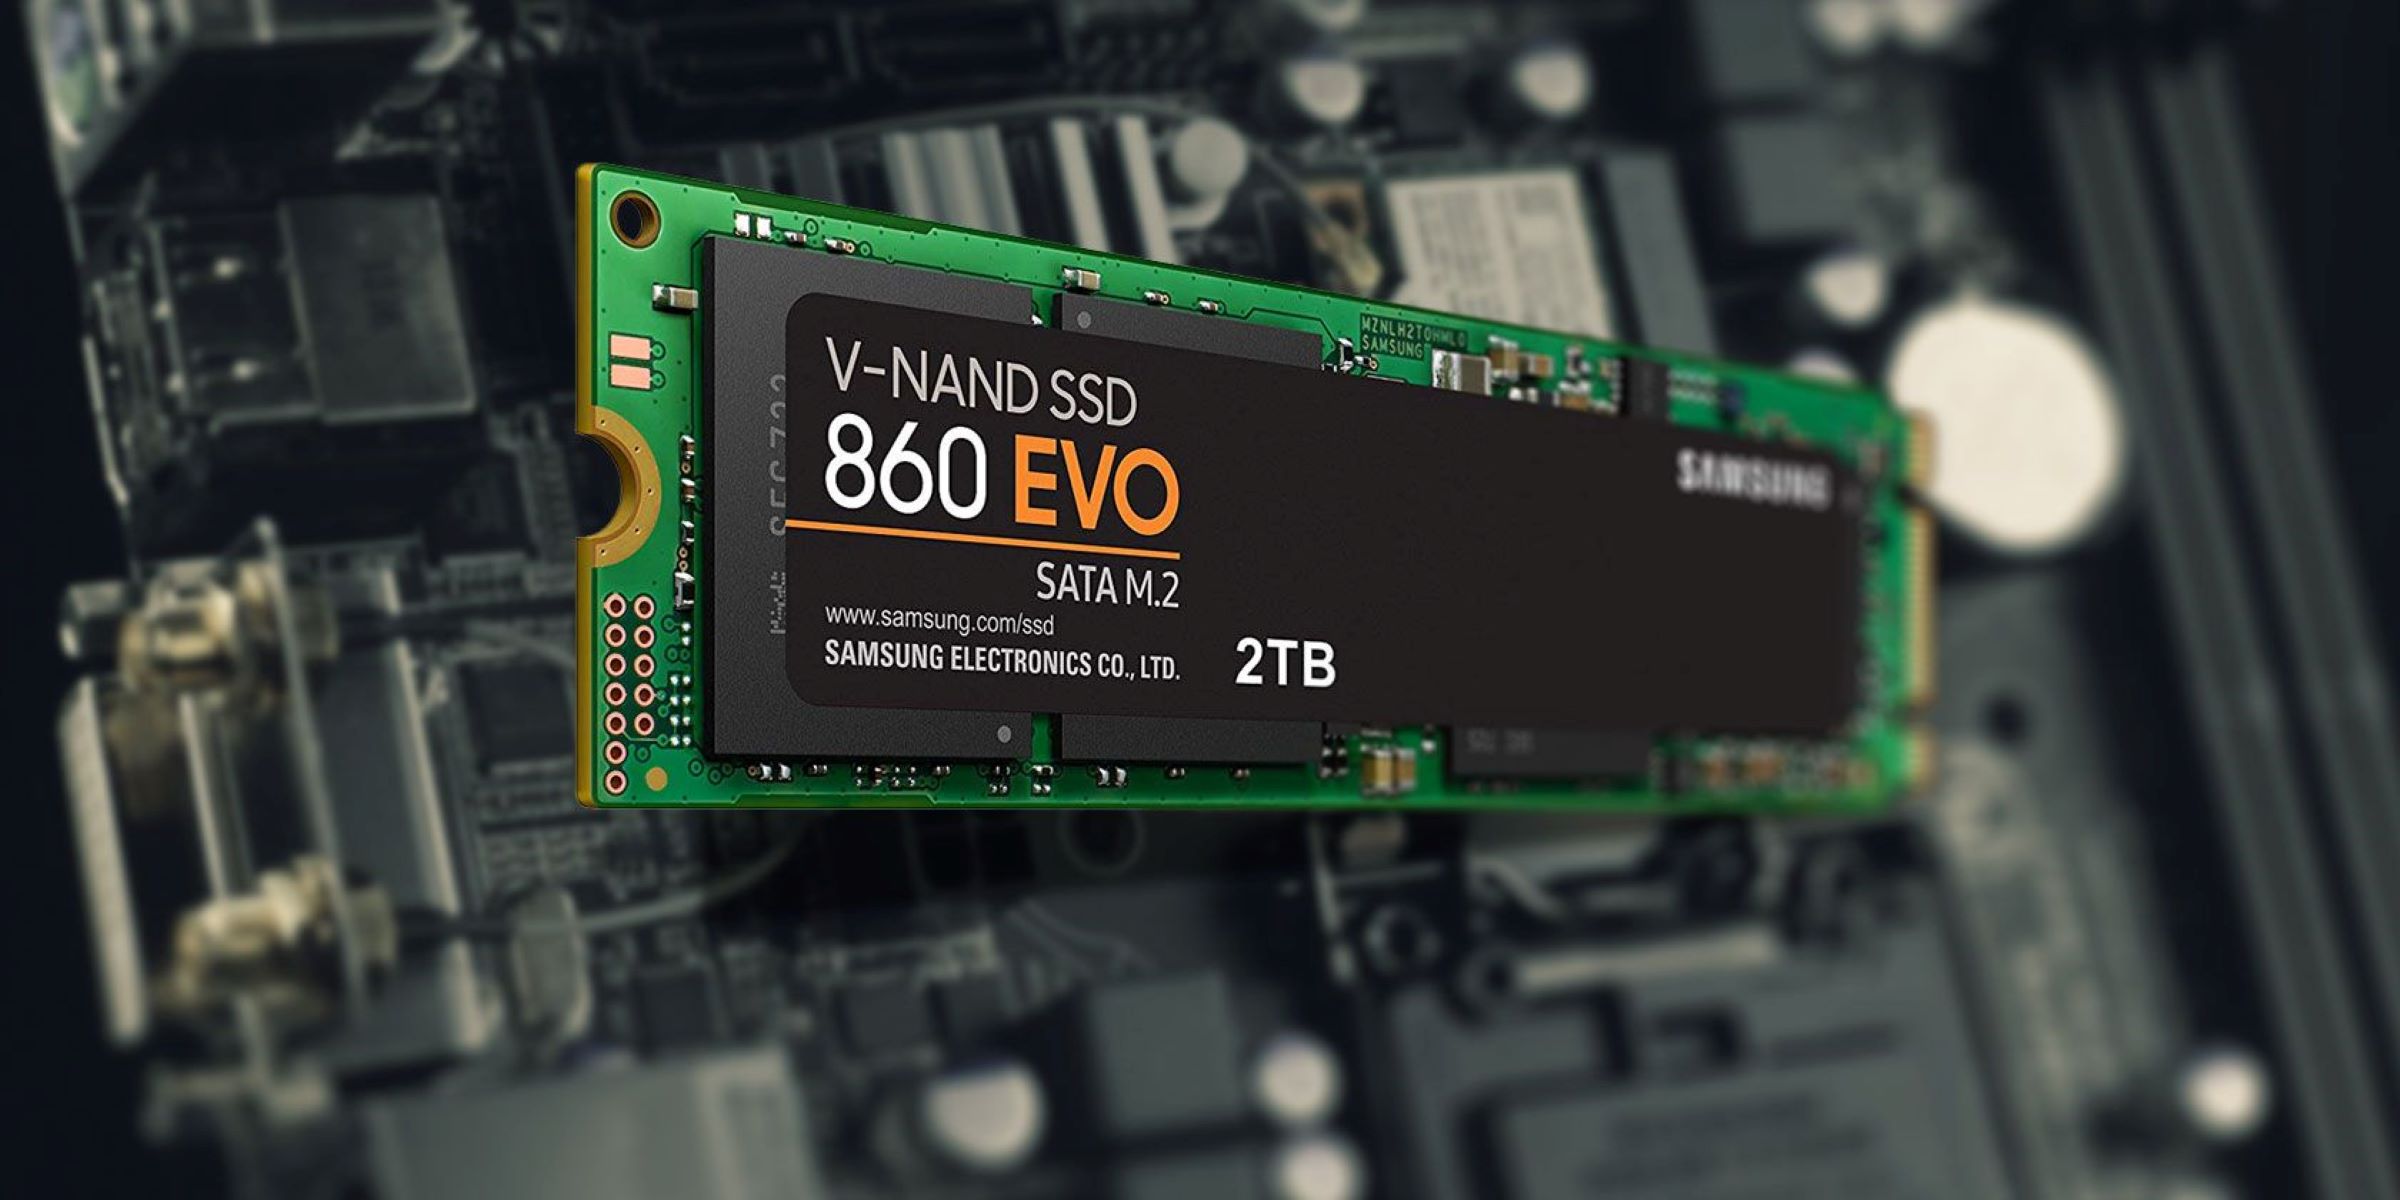
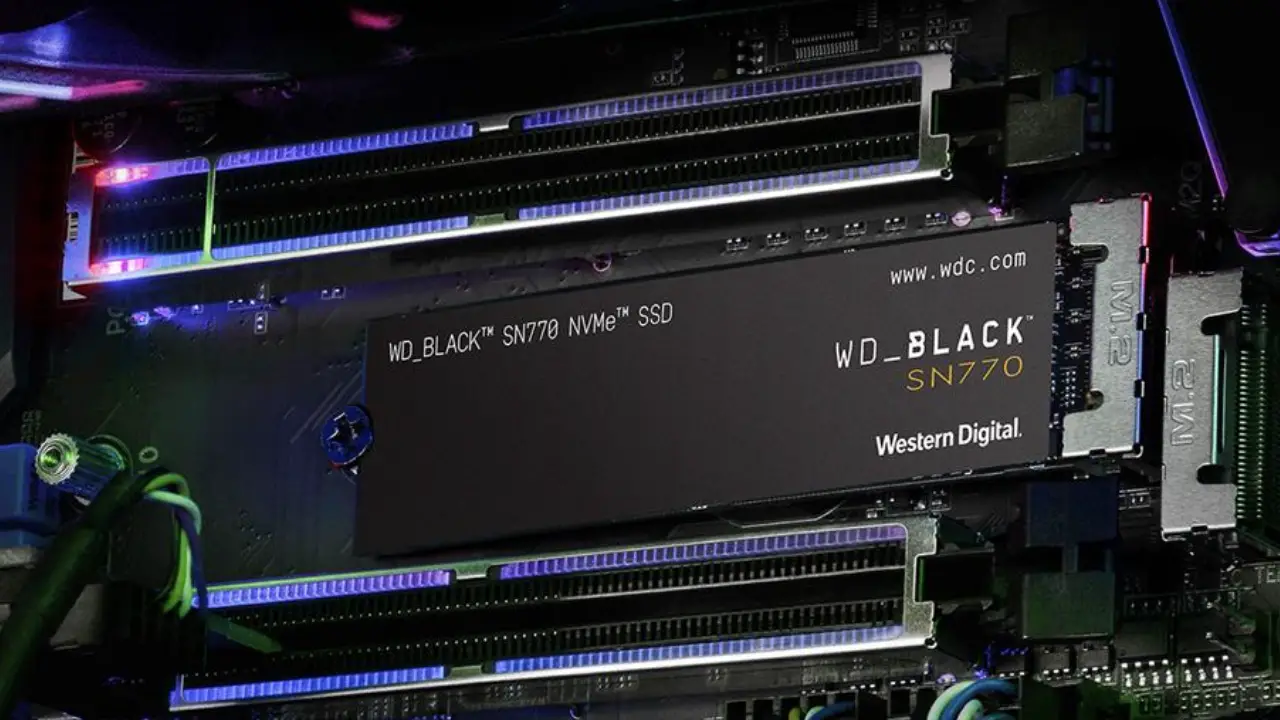
6. Compatibility with M.2 SSDs: M.2 SSDs, with their compact form factor, are more susceptible to heat buildup. Some M.2 SSDs come with preinstalled heatsinks, but if yours doesn’t, adding a compatible heatsink is essential to maintain optimal performance and prevent thermal issues.
In summary, installing an SSD heatsink is crucial for temperature regulation, improved performance, extended lifespan, data loss prevention, stability enhancement, and compatibility with M.2 SSDs. It is a valuable investment that will ensure your SSD operates at its best for years to come.
Tools and materials needed
Before you begin the installation process, it’s essential to gather all the necessary tools and materials. Here’s a list of what you’ll need:
1. SSD heatsink: The most critical component is, of course, the SSD heatsink itself. Ensure that you purchase a compatible heatsink for your specific SSD model. Check the dimensions and form factor of your SSD to choose the right size and type of heatsink.
2. Thermal pads: Thermal pads are essential for creating a bridge between the SSD and the heatsink, facilitating efficient heat transfer. Make sure to use high-quality thermal pads that are suitable for SSD heatsinks. The thickness of the thermal pads should match the recommended specifications for your SSD.
3. Screwdriver: You’ll need a small Phillips or flathead screwdriver to remove any screws attaching your SSD to the motherboard or the SSD enclosure. Ensure you have the correct size and type of screwdriver for your specific SSD and computer setup.
4. Cleaning materials: It’s crucial to clean the SSD surface properly before applying the thermal pads. Use isopropyl alcohol and lint-free microfiber or cotton cloth to clean the SSD and remove any dust, oils, or residues that might affect the adhesion of the thermal pads.
5. Anti-static wrist strap: To protect your SSD and other computer components from electrostatic discharge (ESD) during the installation process, consider wearing an anti-static wrist strap. This ensures that you remain grounded and minimizes the risk of damaging sensitive electronic components.
6. Optional: Heat-conductive adhesive: If you want to ensure an even stronger bond between the SSD and the heatsink, you can use heat-conductive adhesive. This is particularly useful if you anticipate your computer being exposed to vibrations or if you want to provide added stability to the heatsink attachment.
7. Optional: Thermal paste: Depending on the design of your SSD heatsink, you might need thermal paste to apply a thin layer between the SSD and the heatsink. This helps fill in microscopic gaps and enhances heat transfer. Check the specifications of your heatsink and SSD to determine if thermal paste is necessary.
Having these tools and materials ready before you start the installation process will ensure a smooth and efficient installation of your SSD heatsink.
Step 1: Preparation
Before you begin the installation process, it’s crucial to take some time to prepare your work environment and gather the necessary items. Follow these steps to ensure a smooth and successful installation:
1. Read the instructions: Familiarize yourself with the instructions provided with your SSD heatsink. Each product may have specific installation requirements and guidelines, so it’s essential to understand the manufacturer’s recommendations.
2. Power off your computer: Shut down your computer properly and disconnect it from the power source. This step is crucial to avoid any damage to your components or the risk of electrical shock during the installation process.
3. Clear a clean, well-lit workspace: Choose a clean and well-lit area to work on your computer. This will allow you to see clearly and prevent any debris from entering your SSD or the computer components. Make sure to use an anti-static mat or work on a non-conductive surface to avoid any electrical damage.
4. Gather your tools and materials: Ensure that you have all the necessary tools and materials ready. Refer to the previous section on tools and materials needed and gather everything in one place.
5. Put on an anti-static wrist strap: To protect your SSD and other computer components from electrostatic discharge (ESD), wear an anti-static wrist strap. Connect the strap to a grounded metal object or your computer case to discharge any static electricity from your body.
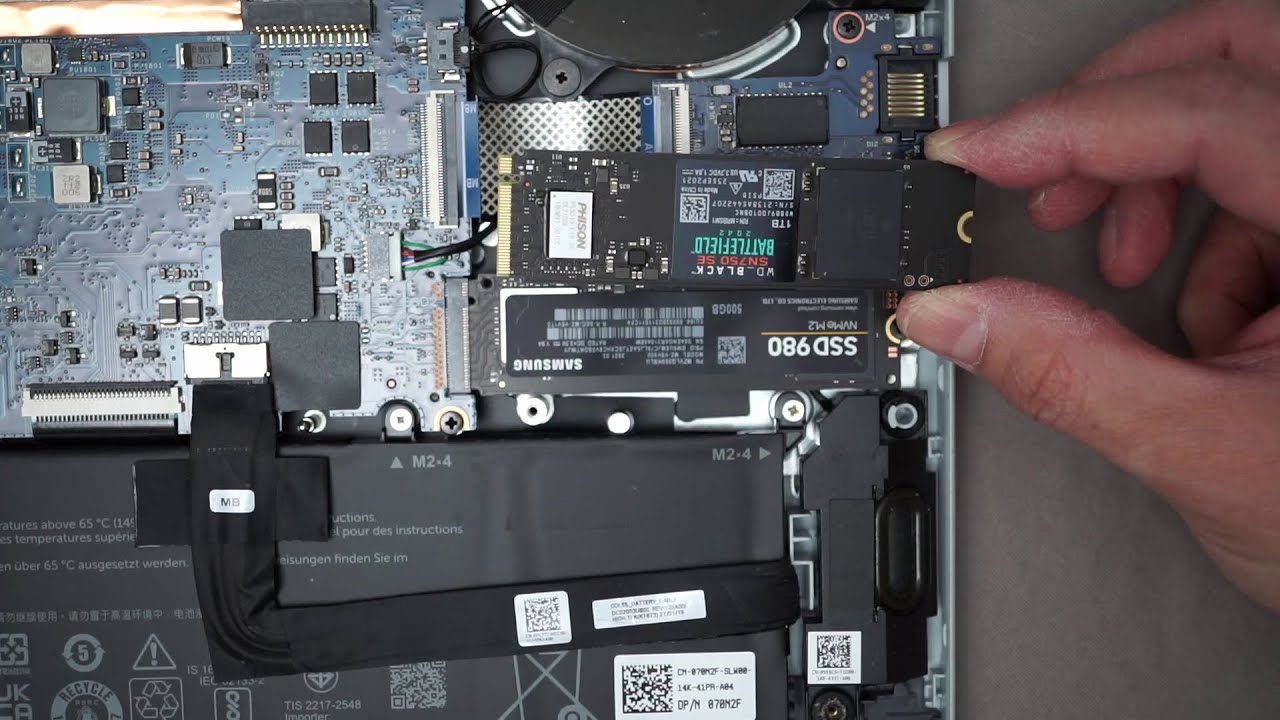
6. Remove the SSD from your computer: If your SSD is already installed in your computer, carefully remove it by unscrewing any screws that secure it to the motherboard or the SSD enclosure. If your SSD is an M.2 drive, locate the M.2 slot on your motherboard.
7. Clean the SSD surface: Use isopropyl alcohol and a lint-free microfiber or cotton cloth to clean the surface of your SSD. This step is crucial to ensure proper adhesion of the thermal pads later. Gently wipe the surface to remove any dust, oils, or residues and let it dry completely.
8. Plan your heatsink placement: Determine the orientation and placement of the heatsink on your SSD. Align it with the screw holes or thermal pad placement areas on your SSD for a secure and proper fit.
Once you have completed these preparation steps, you are now ready to move on to the next phase of the installation process: cleaning your SSD before applying the thermal pads.
Step 2: Clean your SSD
Now that you have prepared your workspace and gathered the necessary tools, it’s time to clean your SSD before applying the thermal pads. Follow these steps to ensure a clean and debris-free surface:
1. Use isopropyl alcohol: Take a lint-free microfiber or cotton cloth and dampen it with isopropyl alcohol. Make sure to use a high concentration of alcohol (70% or higher) for effective cleaning.
2. Gently wipe the SSD: Carefully wipe the surface of your SSD with the damp cloth. Be gentle and avoid applying excessive pressure, as SSDs are sensitive electronic devices. This will remove any dust, oils, or residues that may hinder the adhesion of the thermal pads.
3. Inspect for cleanliness: Once you have wiped the SSD, inspect the surface to ensure it is clean and free from any contaminants. Look for any remaining dust particles or smudges that might require further cleaning.
4. Dry the SSD: After cleaning, allow the SSD to air-dry completely before proceeding to the next step. Avoid using hairdryers or heat sources, as excessive heat can damage the SSD. Waiting for a few minutes should be sufficient.
5. Check for residual fibers or lint: Inspect the SSD surface once again to ensure there are no traces of fibers or lint from the cloth. If you notice any, you can use an air blower or compressed air to gently remove them. Do not use any sharp objects or abrasive materials that could scratch the SSD.
By cleaning your SSD thoroughly, you ensure a smooth and clean surface for the thermal pads to adhere to. This will promote efficient heat transfer from the SSD to the heatsink and optimize the cooling performance of your setup.
Once your SSD is clean and dry, you are ready to move on to the next step: applying the thermal pads to the SSD surface.
Step 3: Apply thermal pads
With your SSD cleaned and ready, it’s time to apply the thermal pads that will facilitate heat transfer between the SSD and the heatsink. Follow these steps to ensure proper installation of the thermal pads:
1. Measure and cut the thermal pads: Take the thermal pads that came with your SSD heatsink and measure them against the areas where they will be applied on your SSD. Use a pair of scissors or a utility knife to carefully cut the thermal pads into the appropriate size and shape.
2. Peel off the protective backing: Once the thermal pads are cut, gently peel off the protective backing on one side of each pad. This will expose the adhesive side of the thermal pads for easy application.
3. Place the thermal pads: Carefully place the adhesive side of the thermal pads on the designated areas of your SSD. Align them precisely with the screw holes or thermal pad placement areas determined during the preparation phase. Press down lightly to ensure they adhere properly.
4. Trim excess thermal pad material: If any thermal pad material extends beyond the edges of your SSD, use a sharp pair of scissors or a utility knife to trim off the excess. Make sure not to cut into the SSD surface or leave any sharp edges that could damage the SSD or affect the heatsink attachment.
5. Apply pressure for adhesion: To ensure proper adhesion of the thermal pads, apply gentle pressure with your fingers or a soft cloth. This helps maximize contact between the SSD and the thermal pads. Be cautious not to apply too much pressure, as SSDs are delicate electronic devices.
By carefully applying the thermal pads, you create a bridge between the SSD and the heatsink, allowing for efficient heat transfer. This step is crucial in maintaining optimum operating temperatures for your SSD.
Now that the thermal pads are in place, you are ready to move on to the next step: attaching the heatsink to your SSD.
Step 4: Attach the heatsink to your SSD
With the thermal pads applied to your SSD, it’s time to attach the heatsink. This step will secure the heatsink in place and facilitate the transfer of heat from the SSD. Follow these steps for a proper and secure attachment:
1. Position the heatsink: Place the heatsink on top of the thermal pads, aligning it with the screw holes or thermal pad placement areas on your SSD. Ensure that the heatsink is positioned correctly and covers the entirety of the SSD surface.
2. Screw in the heatsink: Use the screws provided with your heatsink to secure it in place. Gently screw in each screw, making sure not to overtighten. Avoid using excessive force, as SSDs are delicate and can be damaged by applying too much pressure.
3. Follow the manufacturer’s instructions: Refer to the manufacturer’s instructions for any specific recommendations on the number of screws to use, the order of screwing them in, or any other guidelines. Following these instructions will ensure proper installation and prevent any unnecessary damage to your SSD or heatsink.
4. Check for secure attachment: Once the screws are tightened, carefully inspect the heatsink to ensure it is securely attached to the SSD. Gently wiggle the heatsink to confirm that there is no movement or looseness. A properly attached heatsink will provide effective heat transfer and ensure optimal cooling.
5. Optional: Apply heat-conductive adhesive: If your heatsink or SSD requires additional stability or vibration resistance, you can consider applying a thin layer of heat-conductive adhesive between the heatsink and the SSD. This will provide an extra level of security and stability for the attachment.
By securely attaching the heatsink to your SSD, you create a robust cooling solution that optimizes heat transfer and enhances the overall performance and longevity of your SSD.
Now that the heatsink is attached, you are ready to move on to the final step: reassembling your computer and testing the temperature of your SSD.
Step 5: Reassemble your computer
Now that you have successfully attached the heatsink to your SSD, it’s time to reassemble your computer. Follow these steps to put everything back together:
1. Refer to your computer’s manual: If you are unsure about the reassembly process, consult your computer’s manual or documentation. This will provide specific instructions on how to reattach components, cables, and screws.
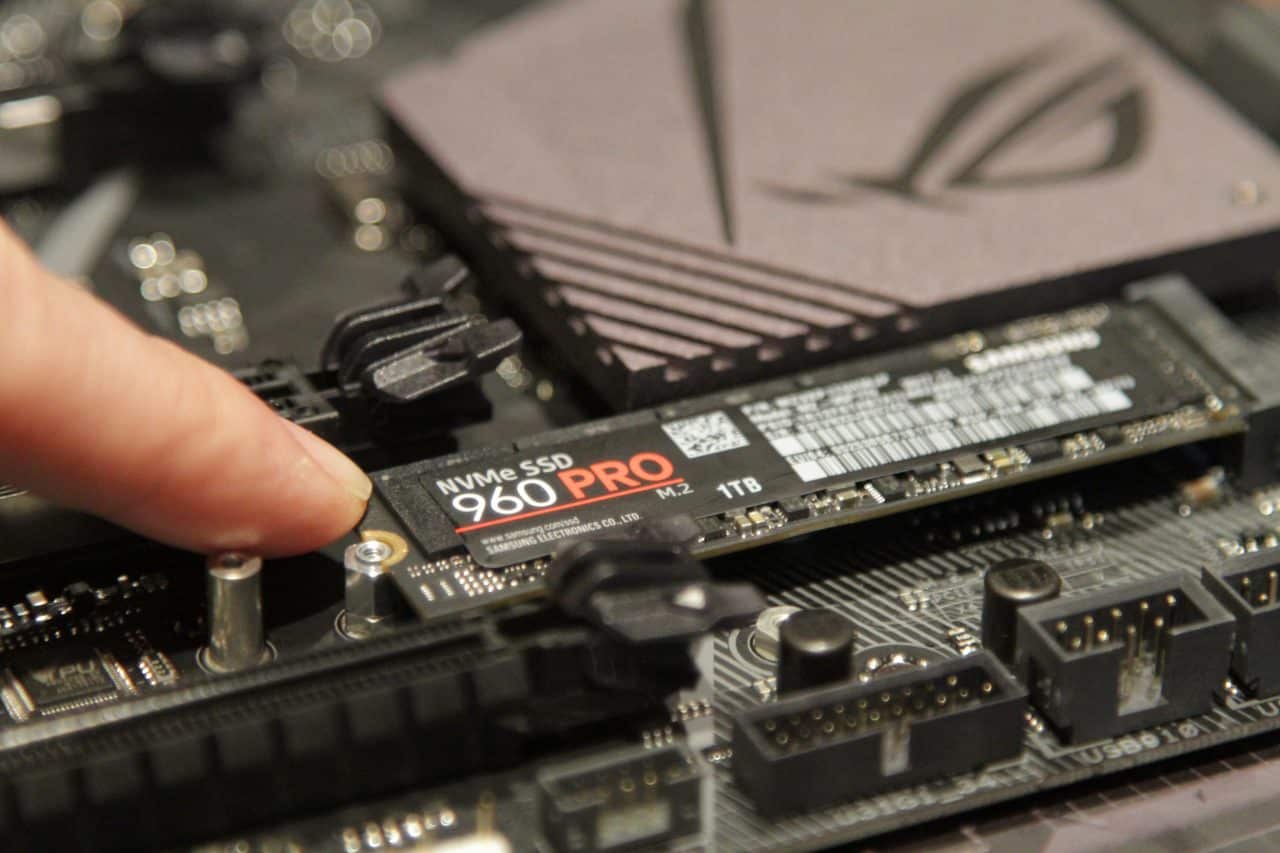
2. Place the SSD back into its slot: If you removed the SSD from the motherboard or SSD enclosure, carefully slide it back into its respective slot. Align the SSD with the connector and secure it using the screws you removed earlier.
3. Reconnect all cables: Connect all the necessary cables to the appropriate connectors. This includes power cables, SATA cables, or any other connections required for your specific computer setup.
4. Secure all components: Ensure that all other components, such as the graphics card, RAM, and any additional drives, are securely connected and fastened in their respective slots or mounting points. Double-check that all screws are tightened properly but be careful not to overtighten and damage any components.
5. Close the computer case: Carefully close the computer case or reattach the side panel, ensuring that it is fastened securely with the provided screws. This will protect the internal components and promote proper airflow within the case.
6. Reconnect power and other peripherals: Plug in the power cable and any other peripherals, such as monitors, keyboards, and mice. Ensure that all connections are firmly in place and that there is no loose wiring that could cause any issues.
7. Power on your computer: Once everything is reassembled, plug in your computer and power it on. Allow it to boot up normally and check that all components, including the SSD, are recognized and functioning correctly.
By reassembling your computer properly, you ensure that all components are securely connected and properly functional. This will allow you to test the effectiveness of the SSD heatsink and monitor the temperature of your SSD.
In the final step, we will discuss how to test and monitor the temperature of your SSD to ensure that it is operating within the desired temperature range.
Testing and monitoring your SSD temperature
After installing the SSD heatsink and reassembling your computer, it’s important to verify the effectiveness of the cooling solution by testing and monitoring the temperature of your SSD. Follow these steps to ensure that your SSD is operating within the desired temperature range:
1. Install temperature monitoring software: Download and install temperature monitoring software to track the temperature of your SSD. There are numerous options available, such as HWMonitor, CrystalDiskInfo, and SSD Health, that provide real-time temperature readings.
2. Monitor idle temperature: Allow your computer to idle for a while and observe the temperature of your SSD. Ideally, the idle temperature should be within the recommended operational range specified by the manufacturer. This range varies depending on the SSD model, but it is typically around 30-40 degrees Celsius (86-104 degrees Fahrenheit).
3. Test SSD under load: To stress the SSD and simulate a heavy workload, perform tasks such as large file transfers, running resource-intensive applications, or playing demanding games. Monitor the temperature of your SSD during these activities to ensure that it remains within the acceptable limit specified by the manufacturer.
4. Take note of the maximum temperature: During the testing phase, pay attention to the maximum temperature reached by your SSD. This is crucial to determine if the heatsink is effectively dissipating heat and keeping the SSD temperature within a safe range. The maximum temperature should not exceed the manufacturer’s specified limit, usually around 60-70 degrees Celsius (140-158 degrees Fahrenheit).
5. Adjust the cooling solution if necessary: If you notice that the temperature of your SSD exceeds the recommended limits or reaches uncomfortably high levels, you may need to reevaluate the effectiveness of the heatsink installation. Check if the heatsink is securely attached, the thermal pads are applied correctly, and there are no hindrances to proper airflow within the computer case.
6. Periodically monitor your SSD temperature: Keeping an eye on the temperature of your SSD is important for long-term performance and reliability. Make it a habit to monitor the temperature regularly using the temperature monitoring software. If you notice any significant increase in temperature, it is advisable to investigate and take necessary actions to prevent any potential issues.
By testing and monitoring the temperature of your SSD, you can ensure that the heatsink is effectively cooling the drive, maintaining optimal operating conditions, and safeguarding your data. This proactive approach helps prolong the lifespan of your SSD and ensures that it operates at its best.
With the testing and monitoring complete, you are now equipped with the knowledge to maintain proper SSD temperatures and maximize the performance of your storage solution.
Conclusion
Installing an SSD heatsink can be a game-changer for your computer’s storage performance and longevity. By effectively dissipating heat and maintaining optimal operating temperatures, an SSD heatsink ensures that your SSD operates at its best, providing you with faster data transfer speeds, improved stability, and extended durability.
In this guide, we have covered the importance of an SSD heatsink in regulating temperature, enhancing performance, and preventing data loss. We also provided a step-by-step process for installing an SSD heatsink and shared tips on testing and monitoring the temperature of your SSD. By following these guidelines, you can optimize the cooling of your SSD and maximize its potential.
Remember to gather the necessary tools and materials, prepare your workspace, and clean your SSD before applying the thermal pads. Ensure that the thermal pads are applied correctly, and securely attach the heatsink to your SSD. Finally, reassemble your computer and monitor the temperature of your SSD using temperature monitoring software.
Regularly monitoring the temperature of your SSD is crucial for maintaining its performance and longevity. If you notice any issues or high temperatures, take appropriate measures to address them, such as checking the heatsink attachment, adjusting airflow, or exploring additional cooling options.
Investing the time and effort into installing an SSD heatsink will pay off in the long run. You will enjoy improved SSD performance, enhanced system stability, and peace of mind knowing that your valuable data is protected from potential overheating risks.
By following this guide, you are now equipped with the knowledge and skills to confidently install an SSD heatsink and unlock the full potential of your solid-state drive. Embrace the benefits of optimal cooling and experience the impressive speed and reliability that an efficiently cooled SSD can deliver.


