Introduction
Upgrading your M.2 SSD can significantly boost the performance and storage capacity of your computer. Whether you’re a gamer looking for faster load times or a professional in need of more storage for large files, replacing your current M.2 SSD is a straightforward process that can yield impressive results. This article will guide you through the necessary steps to upgrade your M.2 SSD, ensuring a smooth installation and preventing any potential data loss or compatibility issues.
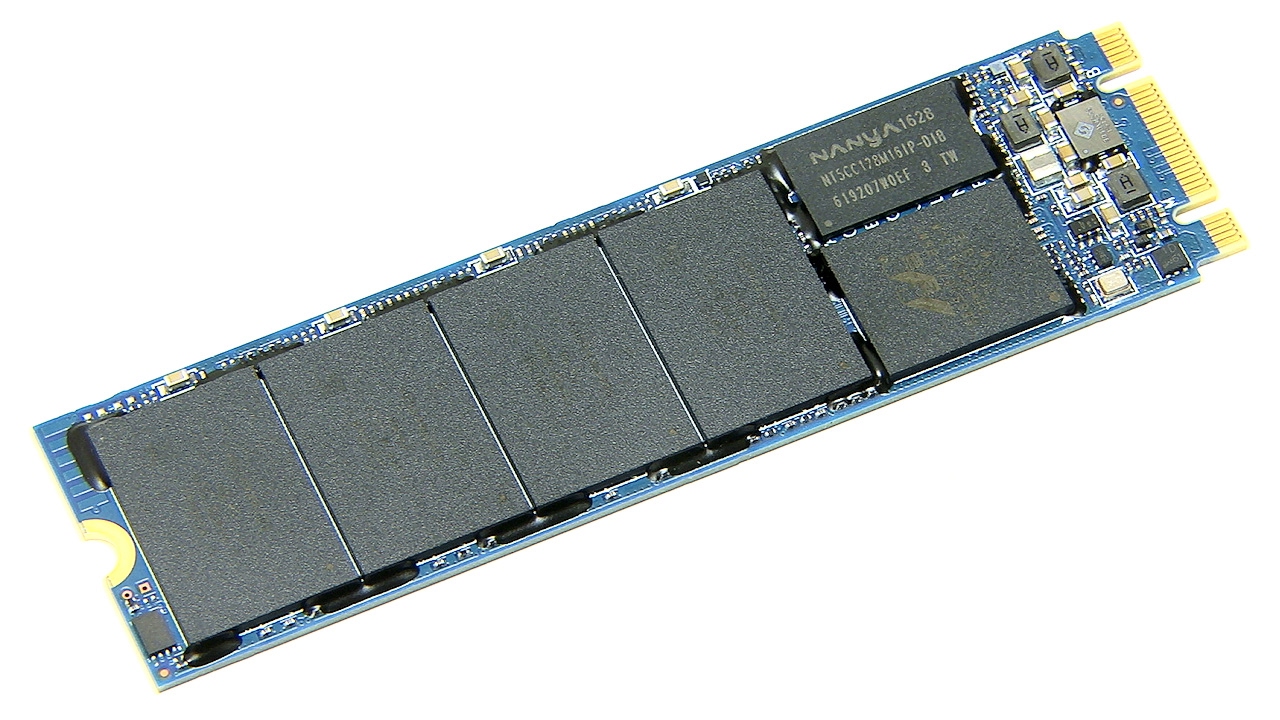
Before diving into the steps, it’s important to understand the benefits of upgrading your M.2 SSD. M.2 (Next Generation Form Factor) SSDs offer faster data transfer speeds, improved responsiveness, and reduced boot times compared to traditional hard drives. With their compact size and high storage capacity, M.2 SSDs are the ideal choice for modern computing needs.
Throughout this guide, we’ll explore key considerations such as selecting the right M.2 SSD for your needs, checking compatibility with your system, backing up your data, and securely installing the new SSD. By following these steps, you can ensure a successful upgrade without any hiccups along the way.
It’s important to note that while the process of upgrading an M.2 SSD is relatively straightforward, it may differ slightly depending on your specific computer model and manufacturer. Therefore, it’s always a good idea to consult your computer’s user manual or the manufacturer’s website for any specific instructions or recommendations.
Now that we’ve covered the basics, let’s move on to the pre-upgrade preparations and considerations, starting with selecting the right M.2 SSD for your requirements.
Preparing for the Upgrade
Before you start the M.2 SSD upgrade process, it’s essential to take a few important preparatory steps to ensure a smooth and successful installation. Here are the key tasks you’ll need to complete before diving into the upgrade process:
- Back up your data: Before making any changes to your computer’s storage, it’s crucial to back up all your important data. This step ensures that even if something goes wrong during the upgrade, you won’t lose any valuable files or documents. You can either use an external hard drive, cloud storage services, or backup software to create a duplicate copy of your data.
- Gather the necessary tools: To perform the M.2 SSD upgrade, you’ll need a few tools handy. These typically include a screwdriver, an anti-static wristband, and possibly tweezers or pliers, depending on your computer’s design. Having these tools readily available will make the process much easier and prevent any accidental damage to your hardware.
- Read the user manual: Every computer model has specific instructions provided by the manufacturer for opening and upgrading components. Take the time to carefully read your computer’s user manual or search for online resources specific to your model. Pay close attention to any warnings or precautions mentioned to ensure a safe and successful upgrade.
- Research compatible M.2 SSDs: Not all M.2 SSDs are compatible with every computer. Determine the type of M.2 slot your system supports, whether it’s PCIe or SATA, and the maximum storage capacity it can handle. Additionally, check for any specific compatibility restrictions or recommendations provided by your computer’s manufacturer. This information will help you choose the right M.2 SSD that fits your system’s specifications.
By completing these preparatory steps, you’ll ensure a smooth transition throughout the M.2 SSD upgrade process. Taking the time to back up your data, gather the necessary tools, read the user manual, and research compatible M.2 SSDs will minimize any potential risks and increase the chances of a successful upgrade with improved performance and storage capacity.
Selecting the Right M.2 SSD
When upgrading your M.2 SSD, selecting the right one is crucial for optimal performance and compatibility with your system. Here are some factors to consider when choosing your new M.2 SSD:
- Storage Capacity: Assess your storage requirements and choose an M.2 SSD that offers enough space for your needs. Consider both your current storage usage and any potential future needs, such as larger files or additional software installations. It’s always better to err on the side of slightly more storage to avoid running out of space in the long run.
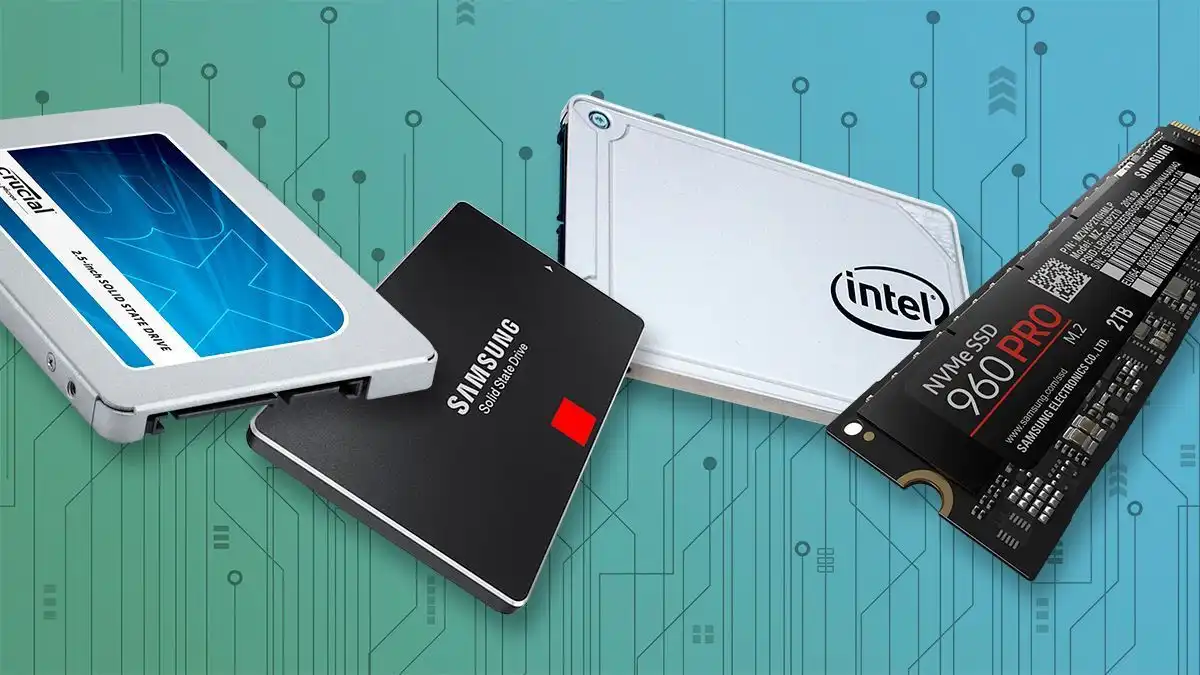
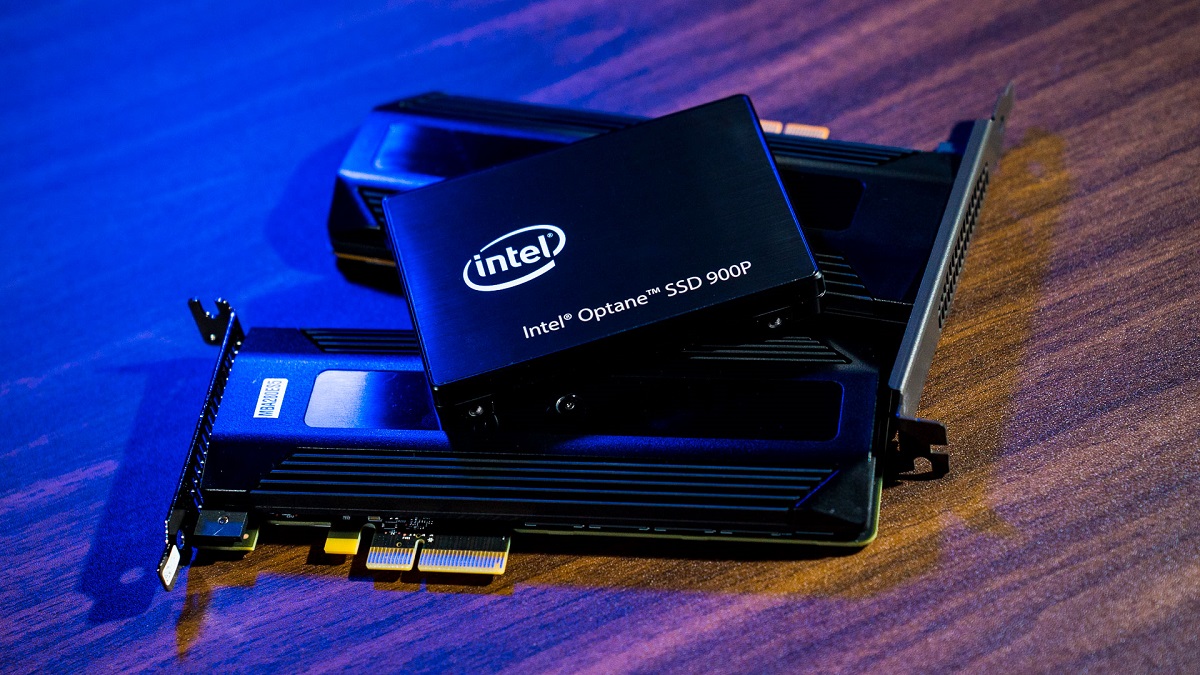
- Type of M.2 Slot: Determine whether your system supports PCIe or SATA M.2 slots. PCIe offers faster data transfer speeds, making it suitable for power users or gamers, while SATA provides sufficient speed for everyday tasks. Make sure to choose an M.2 SSD that matches the slot type supported by your computer to ensure compatibility.
- Read/Write Speeds: Look for M.2 SSDs with high read/write speeds, as this will significantly impact the overall performance of your system. Faster speeds mean quicker file transfers, faster boot times, and improved responsiveness. Check the specifications of different models to find the one that offers the best balance of price and performance.
- Endurance and Lifespan: Consider the endurance and lifespan of the M.2 SSD you’re purchasing. SSDs have a limited number of write cycles, and their lifespan can vary depending on the quality and manufacturer. Look for SSDs with higher endurance ratings and longer warranties to ensure they can withstand heavy usage over an extended period.
- Brand and Reputation: Opt for well-known and reputable brands when choosing your M.2 SSD. Established brands usually have a track record of producing reliable and high-quality SSDs. Reading reviews and checking user feedback can also help gauge the reliability and performance of different SSD models.
It’s important to note that budget considerations and personal preferences also play a role in selecting the right M.2 SSD. While high-end SSDs may offer top-tier performance, they might be overkill for basic computing needs. Assess your specific requirements and strike a balance between performance, storage capacity, and cost to find the perfect M.2 SSD for your needs.
Once you’ve chosen the ideal M.2 SSD, you’re ready to move on to the next step: checking compatibility with your system.
Checking Compatibility with Your System
Ensuring compatibility between your chosen M.2 SSD and your computer system is crucial to a successful upgrade. Here’s what you need to consider when checking compatibility:
- M.2 Slot Type: Determine the type of M.2 slot supported by your motherboard. It could be either PCIe (NVMe) or SATA. Consult your computer’s documentation or the manufacturer’s website to find this information. This step is essential because an M.2 SSD designed for PCIe slots won’t be compatible with SATA slots, and vice versa.
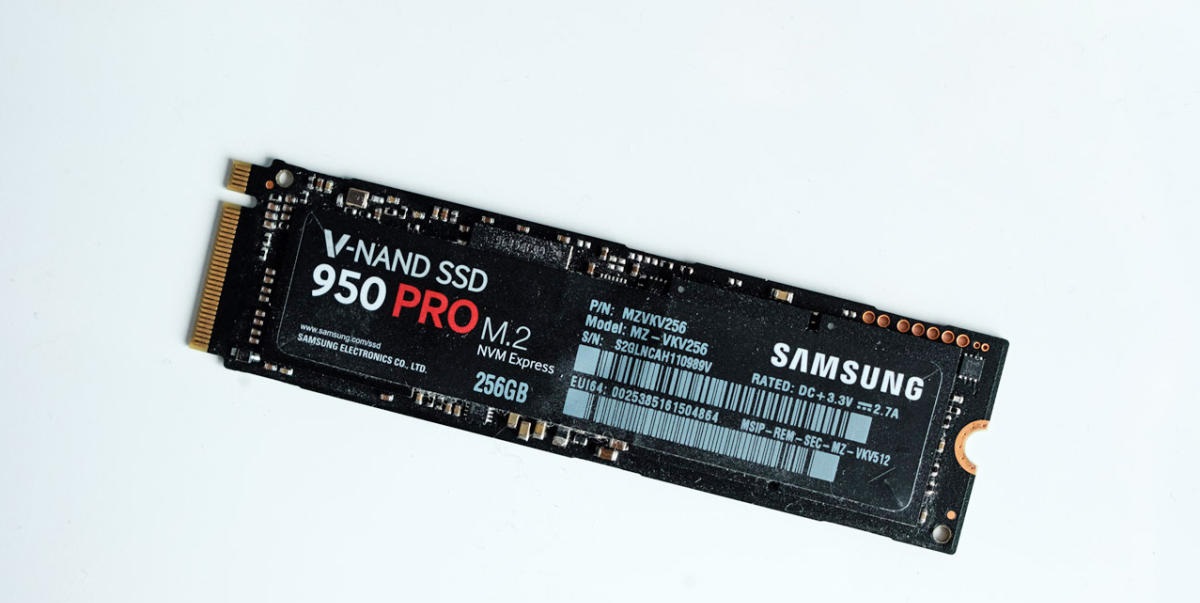
- Form Factor: Check the physical dimensions your motherboard supports for the M.2 SSD. The most common form factors are 22x80mm and 22x42mm. Ensure that the M.2 SSD you choose matches the supported form factor on your motherboard to ensure a proper fit.
- Maximum Storage Capacity: Verify the maximum storage capacity supported by your system. Some older motherboards might have limitations on the maximum size of the M.2 SSD they can accommodate. Check the documentation or website to find the maximum storage capacity your motherboard can handle.
- BIOS/UEFI Update: In some cases, you may need to update your BIOS/UEFI firmware to ensure compatibility with the new M.2 SSD. Visit the motherboard manufacturer’s website and check for any available updates. Follow the instructions provided to update your system’s firmware if necessary.
- Other Considerations: Pay attention to any additional compatibility requirements or recommendations mentioned by your computer’s manufacturer. Some systems may have specific limitations or compatibility issues, especially if you’re using an older model. Refer to the documentation or support resources for your computer to ensure a smooth and trouble-free upgrade.
By thoroughly checking the compatibility between your chosen M.2 SSD and your computer system, you can avoid any potential issues or compatibility conflicts during the upgrade. Taking the time to verify the M.2 slot type, form factor, maximum storage capacity, and any firmware updates required will help ensure a seamless installation process. Once you’ve confirmed compatibility, it’s time to prepare for the upgrade by backing up your data to ensure it’s safe during the installation process.
Backing Up Your Data
Before proceeding with the M.2 SSD upgrade, it’s crucial to back up all of your important data. This step ensures that even if something unexpected occurs during the installation process, your valuable files and documents will remain safe. Here are a few essential steps to follow when backing up your data:
- Identify critical files and folders: Take some time to identify the most important files and folders on your computer. These may include documents, photos, videos, music, or any other data that you cannot afford to lose.
- Select a backup method: There are several backup methods available, depending on your preferences and resources. You can use an external hard drive, cloud storage services, or backup software to create a duplicate copy of your data. The method you choose should be reliable, secure, and convenient for you to access your data later.
- Cloud storage: Cloud storage services such as Google Drive, Dropbox, or Microsoft OneDrive offer an easy and convenient way to back up your data. Simply upload your files to the cloud and ensure you have enough storage space available.
- External hard drive: If you prefer physical storage, consider using an external hard drive to create a backup of your data. Connect the external hard drive to your computer and copy the files and folders you want to back up onto the drive. Ensure that the external hard drive has enough storage capacity to accommodate all your data.
- Backup software: Backup software provides automated and comprehensive backup solutions. These programs offer features like scheduled backups, incremental backups, and encryption for added security. Research and choose a reliable backup software that suits your needs.
Before initiating the M.2 SSD upgrade, double-check that you’ve successfully backed up all your important data. Verify that the backup is complete and accessible by opening a few files or folders from the backup location. Once you’re confident that your data is secure, you can proceed with the upgrade process with peace of mind.
Now that we’ve taken the necessary precautions to protect our data, it’s time to power down and open your computer in preparation for the M.2 SSD upgrade.
Powering Down and Opening Your Computer
Before you can begin the M.2 SSD upgrade, you need to power down your computer and open its casing. Follow these steps to ensure a safe and successful process:
- Save and close all open programs: Before shutting down your computer, make sure to save any open documents or projects and close all running programs. This will prevent any data loss or conflicts during the shutdown process.
- Shut down your computer: Once everything is saved and closed, properly shut down your computer using the operating system’s shutdown feature. Avoid using the power button to turn off your computer abruptly, as it may cause data corruption or hardware damage.
- Unplug the power cord: Once your computer is fully shut down, unplug the power cord from the electrical outlet to ensure no power is flowing to the system. This step is essential for your safety and prevents any accidental electrical shocks during the upgrade process.
- Ground yourself: To protect your computer components from static electricity, it’s crucial to ground yourself before working on the internals. You can do this by wearing an anti-static wristband or by touching a grounded metal object before touching any internal components.
- Remove the computer casing: Depending on the design of your computer, you may need to remove a side panel or other access panel to gain access to the internal components. Consult your computer’s user manual or manufacturer’s website for specific instructions on how to open the casing of your particular model.
Once you have successfully powered down your computer and opened the casing, you are now ready to locate the M.2 slot where your current SSD is installed. In the next section, we will guide you through finding the M.2 slot on your motherboard and removing the existing SSD.
Make sure to handle your computer with care during this process and avoid applying excessive force or damaging any other components. By following these steps, you can ensure a smooth transition throughout the M.2 SSD upgrade process.
Locating the M.2 Slot
After powering down your computer and opening the casing, the next step in the M.2 SSD upgrade process is to locate the M.2 slot on your motherboard. Here’s how to find it:
- Refer to the user manual: The user manual that came with your computer or motherboard should provide detailed information about the location of the M.2 slot. Look for a section specifically dedicated to the motherboard layout or expansion slots.
- Search online resources: If you don’t have access to the user manual or can’t find the information you need, try searching online for your specific computer or motherboard model. Many manufacturers have detailed resources on their websites that offer diagrams and descriptions of the motherboard layout, including the location of the M.2 slot.
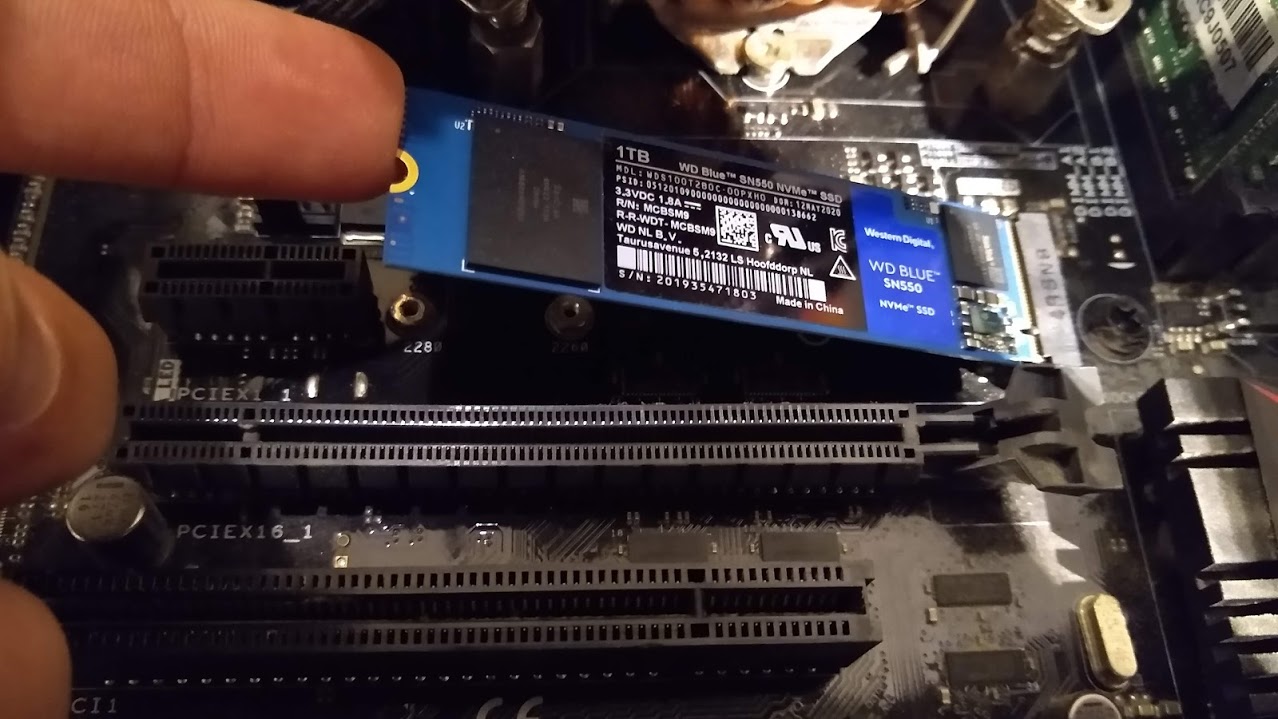
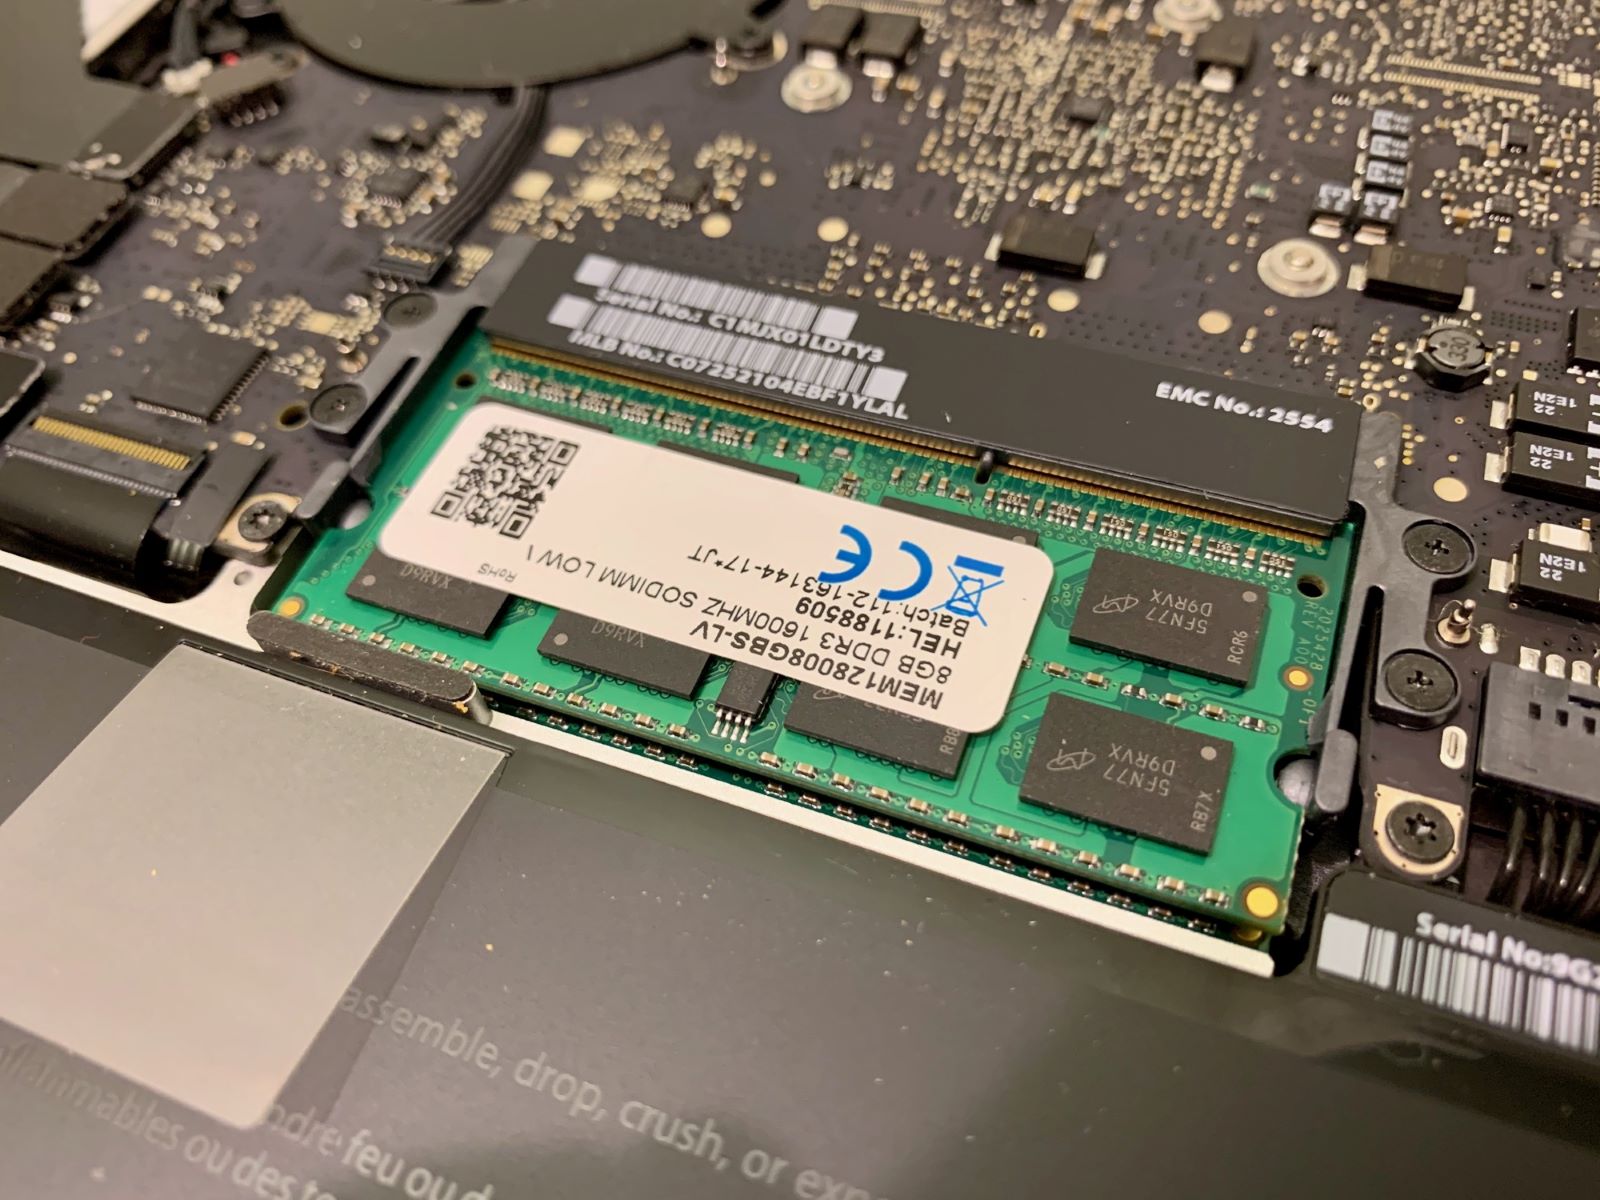
- Identify the M.2 slot: The M.2 slot is typically located on the motherboard, usually near the RAM slots or towards the edge of the motherboard. It’s a small, rectangular slot with multiple pins and a screw hole at one end. The slot may be labeled with “M.2” or “M-Key.”
- Check for standoff screws: Some motherboards may require standoff screws to be installed in the M.2 slot to secure the SSD. These standoff screws are typically included with your motherboard or come with the packaging of the new SSD. Make sure to check if your motherboard requires them and install them if necessary.
- Take note of any nearby components: Before proceeding with the removal of your existing SSD or the installation of the new one, take note of any nearby components that may obstruct the process. This includes heatsinks, cables, or other expansion cards that may need to be temporarily removed or adjusted to access the M.2 slot.
It’s crucial to handle the motherboard and its components with care during this process. Avoid applying excessive force or causing any damage to the delicate pins or other nearby components. Once you have successfully located the M.2 slot, you’re ready to move on to the next step: removing and replacing the M.2 SSD.
Ensure you follow all precautions and guidelines provided by your computer’s manufacturer to ensure a successful and safe M.2 SSD upgrade.
Removing and Replacing the M.2 SSD
Now that you have located the M.2 slot on your motherboard, it’s time to proceed with removing the existing M.2 SSD and replacing it with the new one. Follow these steps for a seamless upgrade process:
- Remove any heatsinks or thermal covers: Some M.2 SSDs may come with heatsinks or thermal covers attached for improved cooling. If your existing SSD has one, carefully remove it using a screwdriver or by following the manufacturer’s instructions. Set aside the heatsink or cover for reinstallation later, if necessary.
- Release the SSD retention clip: The M.2 slot usually has a retention clip or screw that secures the SSD in place. Release the retention mechanism by gently pressing it or unscrewing it, depending on the design of your motherboard. This will allow you to free the existing SSD for removal.
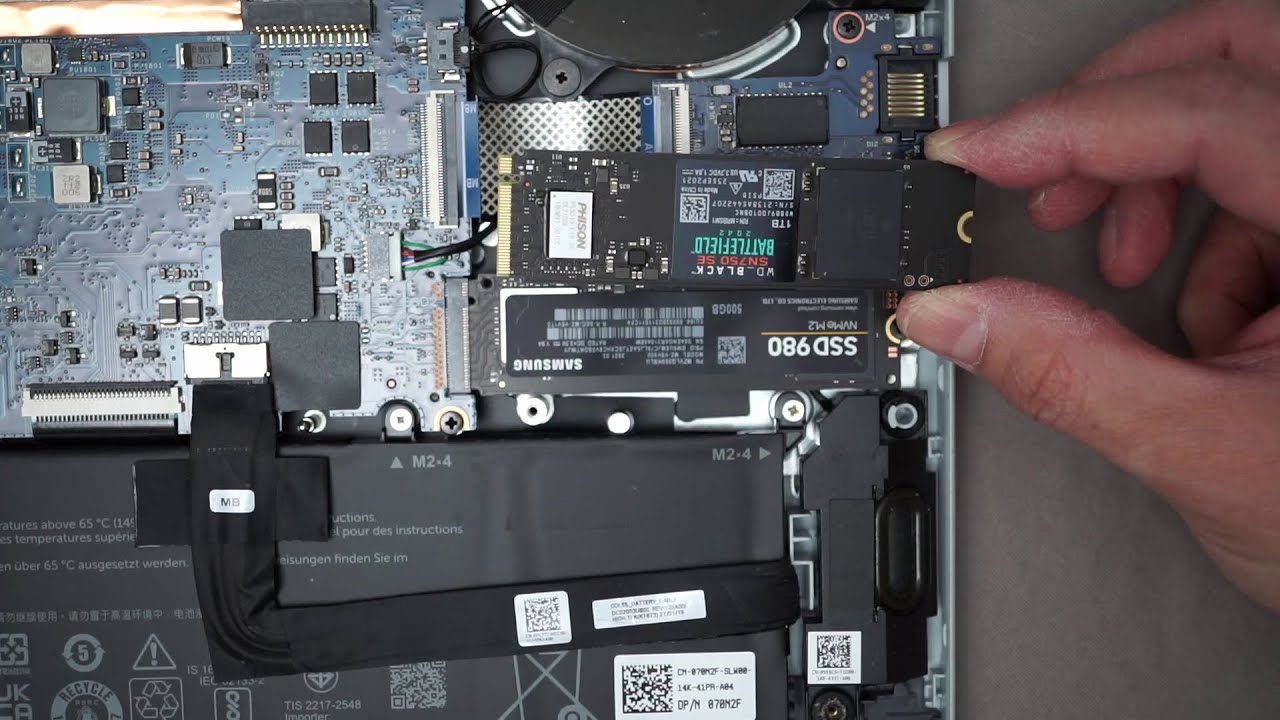
- Remove the existing SSD: Once the retention clip or screw is released, carefully lift the existing M.2 SSD out of the slot. Hold the SSD by the sides and avoid touching the gold contacts or any other sensitive components. Place the old SSD in an anti-static bag or other safe storage for later use or proper disposal, depending on its condition.
- Prepare the new M.2 SSD: If your new M.2 SSD doesn’t already have a pre-applied heatsink or thermal cover, attach it now according to the manufacturer’s instructions. Be cautious not to overtighten any screws or damage any components while attaching the heatsink.
- Insert the new M.2 SSD: Align the new M.2 SSD with the slot on the motherboard, ensuring that the notch on the SSD matches the key on the slot. Gently slide the SSD into the slot at a slight angle and firmly press it down until it is seated correctly. The SSD should fit snugly, and the retention clip or screw should align with the hole on the SSD.
- Secure the new SSD: If your motherboard has a retention clip, press it back into place until it clicks or tighten the retention screw, depending on the design. This will secure the new M.2 SSD in the slot and prevent it from coming loose during use.
Congratulations! You have successfully removed the old M.2 SSD and installed the new one. Ensure that the SSD is securely seated and properly aligned in the M.2 slot. Now you can proceed to the next step: securely fastening the new M.2 SSD to ensure stability and optimal performance.
Please note that the specific steps and procedures may vary slightly depending on your computer’s model and manufacturer. Always refer to the manufacturer’s documentation for any specific instructions or recommendations related to your system.
Securely Fastening the New M.2 SSD
After installing the new M.2 SSD in the slot, it’s vital to secure it properly to ensure stability and optimal performance. Follow these steps to securely fasten the new M.2 SSD in place:
- Reattach any heatsinks or thermal covers: If you had to remove heatsinks or thermal covers from the M.2 SSD, now is the time to reattach them. Follow the manufacturer’s instructions to properly position and secure the heatsink or cover. This will help with heat dissipation and maintain the longevity of your new SSD.
- Tighten the retention screw or clip: If your motherboard has a retention screw or clip for securing the M.2 SSD, make sure it is properly tightened. Use a screwdriver to gently tighten the retention screw until it is snug, but avoid overtightening, as it may damage the SSD or the motherboard. If your motherboard utilizes a retention clip, ensure it is engaged and holding the SSD securely in place.
- Check for stability: Once the retention screw or clip is secured, visually inspect the M.2 SSD to ensure it is stable and properly seated in the slot. Gently wiggle the SSD to confirm there is no excessive movement or looseness. A securely fastened SSD will prevent any accidental disconnections or performance issues in the future.
- Replace the computer casing: After securing the new M.2 SSD, carefully close the computer casing by aligning the side panel or access panel properly. Slide or secure the casing back into place and use any screws or fasteners required to secure it tightly. Ensure that all connections and cables inside the casing are properly arranged and not obstructing the new M.2 SSD.
- Reconnect the power cord: Plug the power cord back into the electrical outlet and ensure it is securely connected to the computer. Double-check that all other cables, such as the data cables for other drives, are properly connected and secured as well.
By following these steps, you can ensure that the new M.2 SSD is securely fastened in place, providing stability and optimal performance. The proper installation and secure fastening of the new SSD will help maintain data integrity, prevent any accidental disconnections, and extend the lifespan of the drive. With the new SSD securely in place, you are now ready to close your computer and power it on to verify the installation and restore your data.
Please note that the specific steps and procedures may vary slightly depending on your computer’s model and manufacturer. Always refer to the manufacturer’s documentation for any specific instructions or recommendations related to your system.
Closing Your Computer and Powering On
Now that you have securely fastened the new M.2 SSD in place, it’s time to close your computer casing and power it back on. Follow these steps to complete the upgrade process:
- Align and close the computer casing: Ensure that the side panel or access panel of your computer casing is properly aligned. Slide or secure the casing back into place, using any screws or fasteners required to secure it tightly. Make sure that cables and components inside the casing are not obstructing the new M.2 SSD.
- Plug in the power cord: Connect the power cord back into the electrical outlet. Double-check that the power cord is firmly inserted and connected to the computer. This step ensures that your computer will receive power when you turn it on.
- Connect peripherals and other devices: If you disconnected any peripherals or devices before opening your computer, now is the time to reconnect them. This includes devices such as monitors, keyboards, and mice. Make sure all connections are secure and properly plugged in.
- Power on your computer: Press the power button to turn on your computer. You should see the familiar startup screen or logo, indicating that your computer is successfully booting up. If your computer does not power on or encounters any issues during startup, double-check your connections and consult the user manual or manufacturer’s support resources.
Once your computer has successfully powered on, it’s essential to verify the installation of the new M.2 SSD and prepare for restoring your data. Access your computer’s operating system and follow these additional steps to complete the process:
- Access the BIOS/UEFI: During the startup process, press the indicated key (such as F2, F12, Delete, or Escape) to enter the BIOS/UEFI settings. Check if your new M.2 SSD is detected and properly recognized by the system. If it is not, double-check the installation and connections to ensure everything is properly set up.
- Format and initialize the new SSD: If your M.2 SSD is detected in the BIOS/UEFI settings, exit the BIOS/UEFI and access the operating system. Open Disk Management on Windows or Disk Utility on macOS to format and initialize the new M.2 SSD. Follow the on-screen instructions to create a new partition and format the drive to make it ready for use.
- Restore your data: With the new M.2 SSD formatted and initialized, you can begin restoring your data from the backup you created earlier. Refer to your chosen backup method and follow the steps to transfer your files and folders back onto the new SSD. Make sure to organize your data accordingly and reinstall any necessary software or applications.
By properly closing your computer casing, powering it on, and verifying the installation of the new M.2 SSD, you have completed the upgrade process. Remember to note any changes in performance and enjoy the improved speed and storage capacity provided by your new M.2 SSD.
Verifying the Installation and Restoring Your Data
After successfully installing the new M.2 SSD and powering on your computer, the next step is to verify the installation and restore your data. Follow these steps to ensure a smooth process:
- Check the operating system: Once your computer has booted up, verify that the operating system recognizes the new M.2 SSD. Open the Disk Management utility in Windows or the Disk Utility in macOS and check if the new SSD is listed. Ensure that the SSD is displayed correctly with the expected storage capacity.
- Update device drivers: It is essential to ensure that all necessary device drivers are up to date. Visit the manufacturer’s website and check for any driver updates specific to your new M.2 SSD or motherboard. Updating the drivers can enhance performance and compatibility with your system.
- Restore your data: Begin restoring your data from the backup you created earlier. Depending on the backup method you used, there are various ways to restore your data. If you backed up your data to an external hard drive, connect the drive and copy the files back to your new M.2 SSD. If you used cloud storage, download the files from the cloud storage service and transfer them to your new SSD.
- Organize your data: As you restore your data onto the new M.2 SSD, take the opportunity to organize your files and folders in a way that suits your needs. Create relevant folders and directories to keep your data organized and easily accessible. This can help improve productivity and efficiency as you work or browse through your files.
- Reinstall software and applications: If you had to reinstall the operating system during the upgrade process, it’s essential to reinstall any necessary software or applications onto the new M.2 SSD. Use the original installation media or access the applications’ official websites to download and install the latest versions. Don’t forget to input any required license keys or activate the software as needed.
Throughout the restoration process, take note of any issues or errors you encounter and troubleshoot accordingly. Double-check that all the important data has been successfully restored and is accessible on the new M.2 SSD. This ensures that you can resume your work or leisure activities without any interruptions or data losses.
By verifying the installation of the new M.2 SSD and restoring your data, you have completed the upgrade process successfully. Enjoy the improved speed, performance, and storage capacity that your new M.2 SSD provides. Lastly, don’t forget to securely store the backup of your data for future use or as a precautionary measure.
Conclusion
Upgrading your M.2 SSD can significantly enhance the performance and storage capacity of your computer. By following the steps outlined in this guide, you can successfully upgrade your M.2 SSD while minimizing the risk of data loss or compatibility issues. Here’s a quick recap of the key steps involved in the upgrade process:
- Prepare for the upgrade by backing up your data and gathering the necessary tools.
- Select the right M.2 SSD based on storage capacity, slot type, read/write speeds, endurance, and brand reputation.
- Check compatibility with your system by verifying the M.2 slot type, form factor, and maximum storage capacity supported.
- Power down your computer, open the casing, and locate the M.2 slot on your motherboard.
- Remove the existing M.2 SSD and securely replace it with the new one, ensuring proper alignment and fastening.
- Close the computer casing, reconnect all peripherals, and power on your computer.
- Verify the installation of the new M.2 SSD, update device drivers, and restore your data from the backup.
Throughout the entire process, it’s crucial to refer to your computer’s user manual or the manufacturer’s documentation for specific instructions and recommendations based on your system. Additionally, prioritize safety by grounding yourself, handling components with care, and avoiding excessive force or damage to any hardware.
By upgrading your M.2 SSD, you can enjoy faster data transfer speeds, improved responsiveness, and increased storage capacity, enhancing your overall computing experience. Remember to regularly back up your data and keep your system up to date to maintain optimal performance.
Thank you for following this guide, and we hope you find success and satisfaction with your upgraded M.2 SSD. Enjoy the enhanced performance and storage capabilities brought by the new SSD, and happy computing!