Introduction
Welcome to the world of solid-state drives (SSDs)! If you’ve recently acquired a new SSD, you’re on the right track to optimizing your computer’s performance. However, before you can start reaping the benefits of this cutting-edge storage technology, you need to properly initialize your new SSD. In this article, we’ll guide you through the step-by-step process of initializing your SSD, ensuring that it is ready to effectively store and retrieve data.
Initializing an SSD involves preparing the drive for use by creating partitions, formatting the disk, and assigning a drive letter. These steps are crucial to ensure that your SSD operates efficiently and can be recognized by your computer’s operating system. While the process may seem intimidating for first-time SSD users, fear not – we’ll break it down into simple, easy-to-follow steps.
Before we dive into the initialization process, it’s important to note that initializing a new SSD will erase any existing data on the drive. Therefore, it’s essential to back up any important files or documents you have on your computer before proceeding. Additionally, make sure you have all the necessary cables and software readily available.
Now, let’s get started on initializing your new SSD and unleash its full potential!
Why initialize a new SSD?
Initializing a new SSD is a critical step in the setup process that shouldn’t be overlooked. It serves several important purposes, each contributing to the optimal performance and functionality of your SSD. Let’s explore these reasons in detail:
- Compatibility and recognition: Initializing the SSD ensures that your computer’s operating system recognizes the drive properly. This way, your computer can communicate with the SSD and utilize its full capabilities. Without initialization, your system may not detect the SSD, rendering it inaccessible.
- Partitioning: When you initialize an SSD, you create partitions on the drive. Partitions divide the SSD into separate sections, allowing you to organize your data more efficiently and have multiple logical drives within a single physical SSD. It’s especially useful if you want to run multiple operating systems or separate your data from your system files.
- Formatting: Formatting involves preparing the SSD for data storage. By formatting the drive, you establish the file system that determines how data is organized and accessed. Additionally, formatting removes any existing data or partitions on the drive, ensuring a clean start for optimal performance.
- Improved performance: Initializing an SSD enables it to take advantage of specific optimizations designed for solid-state storage technology. These optimizations include aligning data to the physical memory blocks, reducing write amplification, and enabling Trim support. By properly initializing your SSD, you can experience faster boot times, quicker file transfers, and overall enhanced responsiveness.
- Ensuring data integrity: Initialization helps to ensure that your SSD operates reliably and maintains data integrity. It sets up the necessary data structures and prepares the drive to handle read and write operations effectively. This way, you can avoid potential data corruption issues and enjoy long-lasting use of your SSD.
By understanding the importance of initializing a new SSD, you can take the necessary steps to optimize its performance and longevity. Now, let’s move on to the precautions you should take before initializing your SSD.
Precautions before Initializing
Before you dive into the process of initializing your new SSD, it’s important to take some precautions to ensure a smooth and successful initialization. Here are some key steps to keep in mind:
- Backup your data: As mentioned earlier, initializing your SSD will erase all existing data on the drive. Therefore, it’s crucial to back up any important files, documents, or settings. You can use an external hard drive, cloud storage services, or a combination of both to ensure that your data is safely backed up.
- Verify compatibility: Before proceeding to initialize the SSD, it’s essential to ensure that your computer’s hardware and operating system support the drive. Check the manufacturer’s specifications and your computer’s documentation to confirm compatibility. This step will help avoid any compatibility issues or potential damage to your computer.
- Gather the necessary tools and software: Initializing an SSD requires specific tools and software, such as a SATA connection cable and the appropriate software for partitioning and formatting. Make sure you have all the required tools and software readily available before you start the process.
- Update your computer’s firmware: It’s recommended to check for and apply any available firmware updates for your computer before initializing the SSD. Firmware updates often include compatibility improvements and bug fixes that can enhance the performance and stability of the drive.
- Read the manufacturer’s instructions: To ensure a successful initialization, carefully read the manufacturer’s instructions and guidelines specific to your SSD model. These instructions may include important information on recommended settings, specific software to use, and any additional precautions or considerations.
- Disconnect unnecessary storage devices: To avoid any accidental data loss or confusion during the initialization process, disconnect any external hard drives, USB storage devices, or any other unnecessary storage devices from your computer. This will prevent any unintended actions that may affect other storage devices.
By following these precautions, you can minimize the risk of data loss, ensure compatibility, and create a solid foundation for a successful SSD initialization process. Now, let’s move on to the step-by-step process of initializing your new SSD.
Step 1: Backup your data
Before proceeding with the initialization process, it is crucial to back up any important data on your computer. Initializing an SSD will erase all existing data on the drive, so taking the time to back up your files is essential to avoid permanent data loss. Here’s how to backup your data:
- Identify important files: Take a moment to identify the data that is critical to you. This may include documents, photos, videos, music files, or any other files that you cannot afford to lose.
- Select a backup destination: Determine where you will backup your data. You have several options, such as an external hard drive, cloud storage service, or another computer on your network. Choose a method that aligns with your preferences and offers sufficient storage capacity.
- Transfer your files: Use a reliable file transfer method to copy your important files to the backup destination. You can use built-in backup tools provided by your operating system, third-party software, or simply drag and drop the files manually.
- Verify the backup: Once the backup process is complete, take a moment to verify the integrity of your backup. Double-check that all important files have been successfully copied to the backup destination.
- Store the backup safely: Ensure that your backup is stored in a secure location. If you’re using an external hard drive, keep it in a safe place away from potential hazards. If you’re using a cloud storage service, ensure that your account is password-protected, and consider enabling additional security measures like two-factor authentication.
Backing up your data provides a safety net in case anything goes wrong during the SSD initialization process. It gives you peace of mind knowing that your important files are secure and can be easily restored if needed. With your data safely backed up, you’re now ready to move on to the next step: connecting the SSD to your computer.
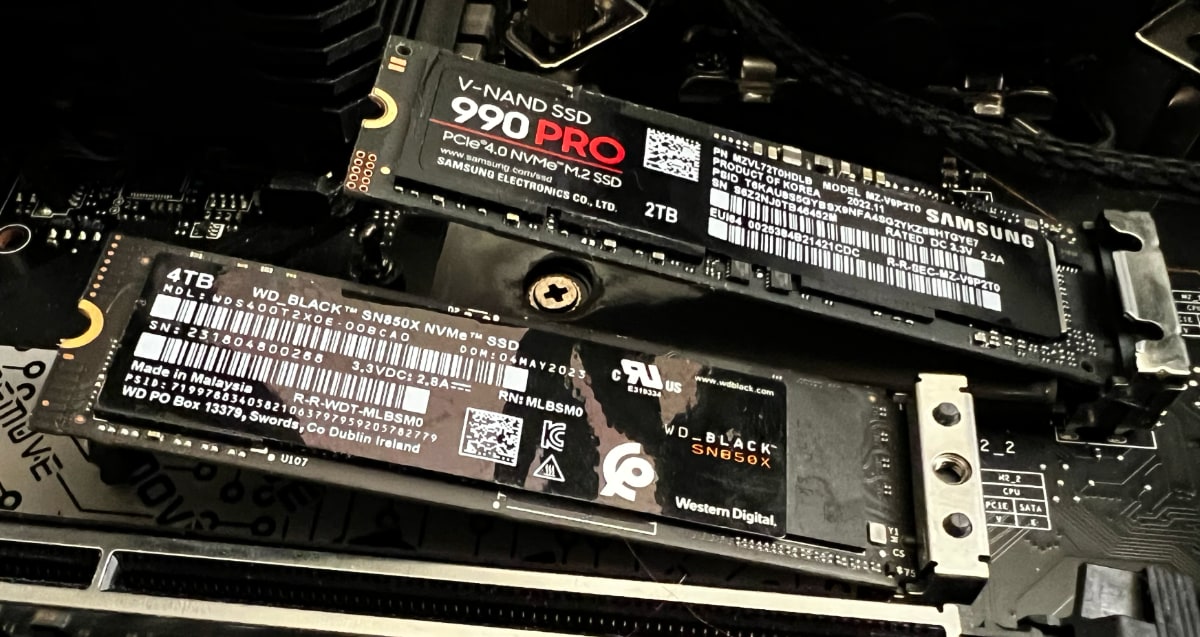
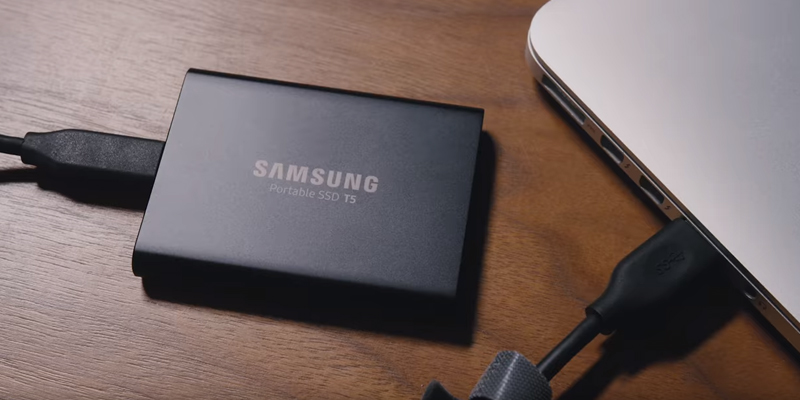
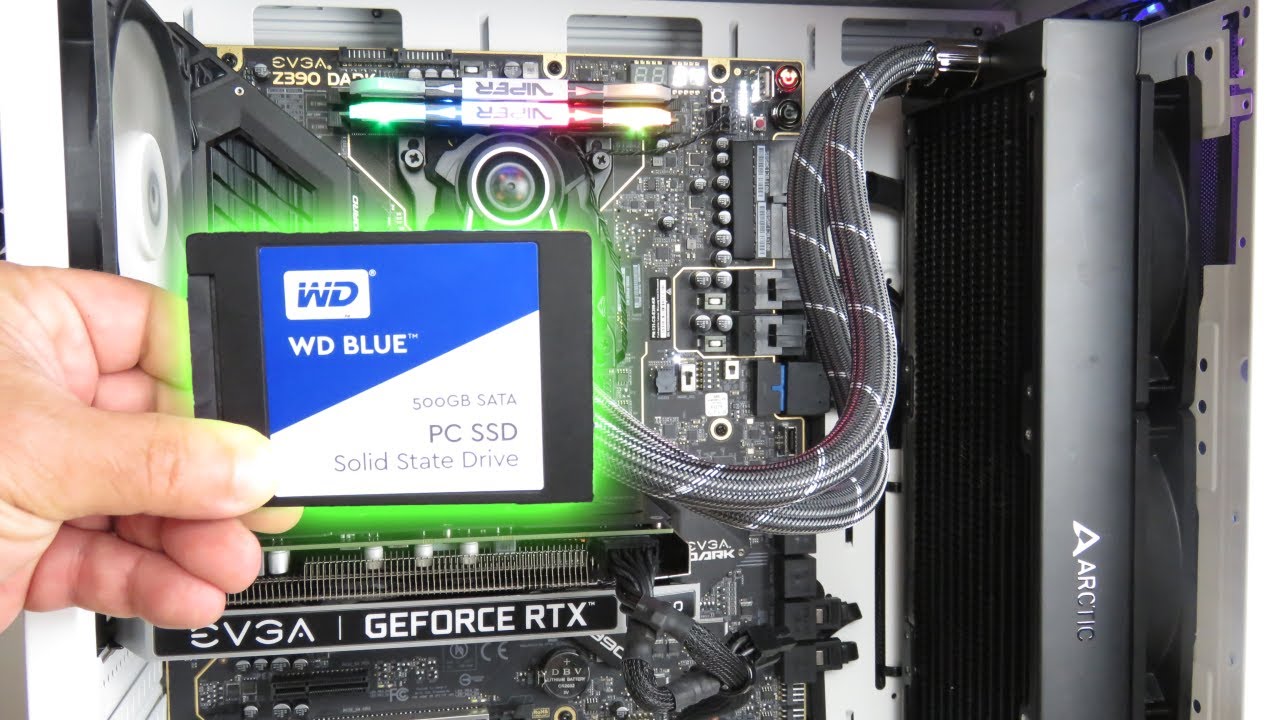
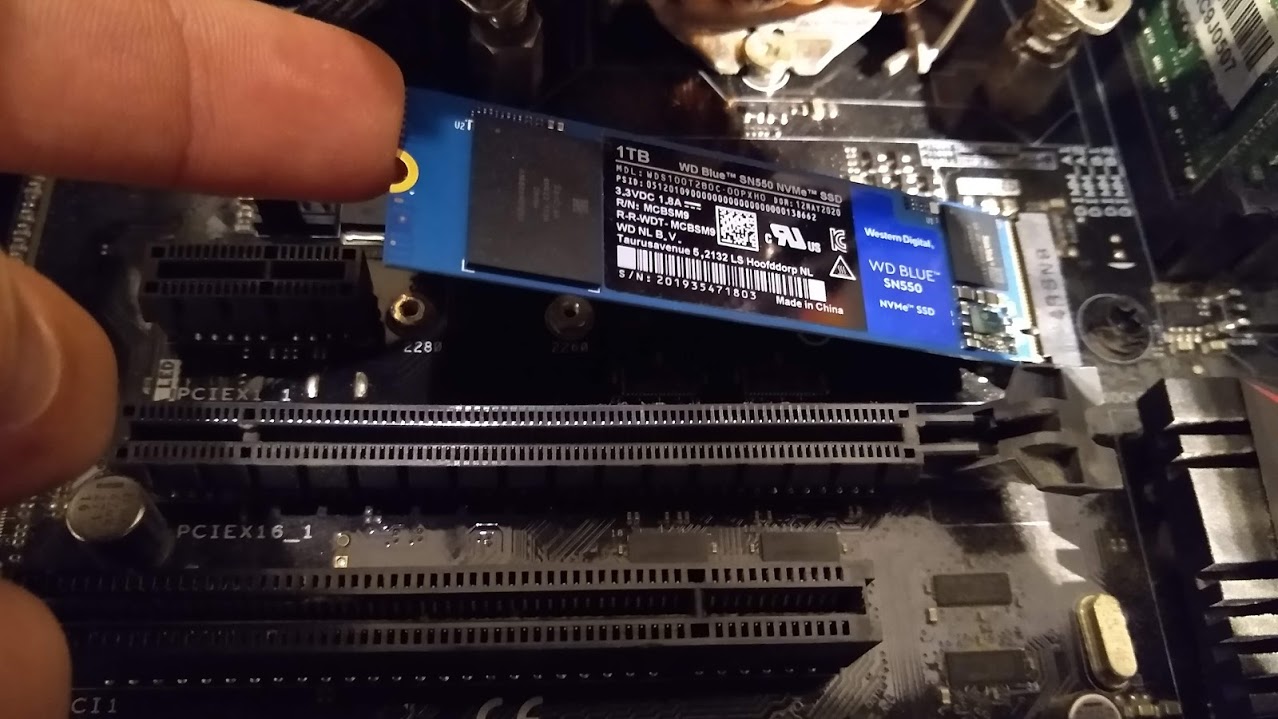
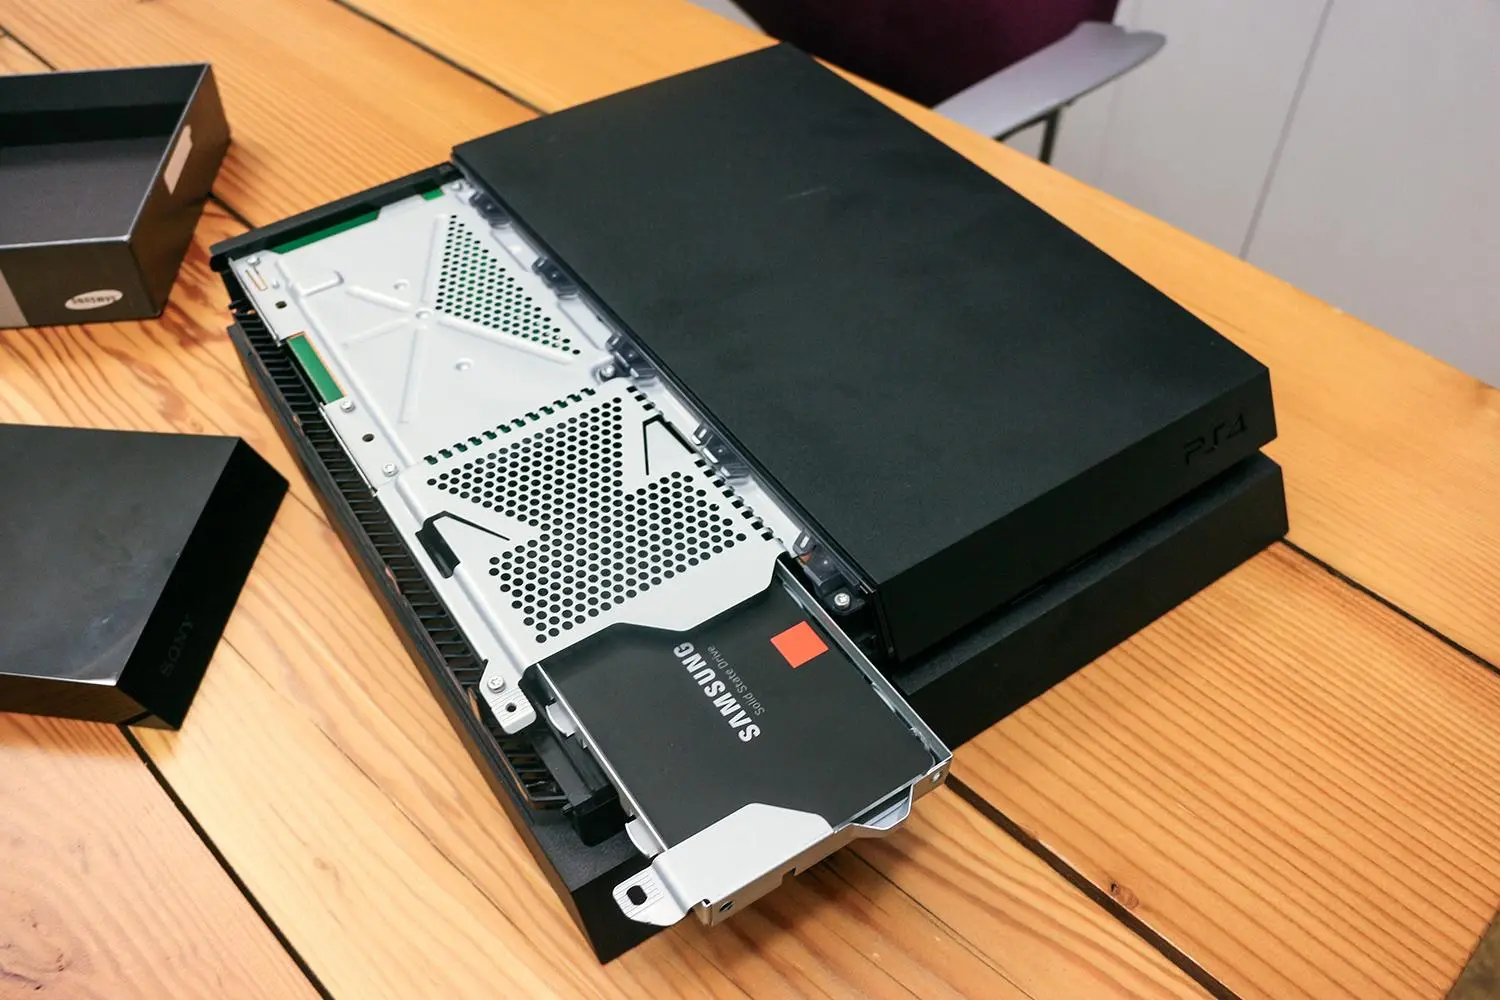
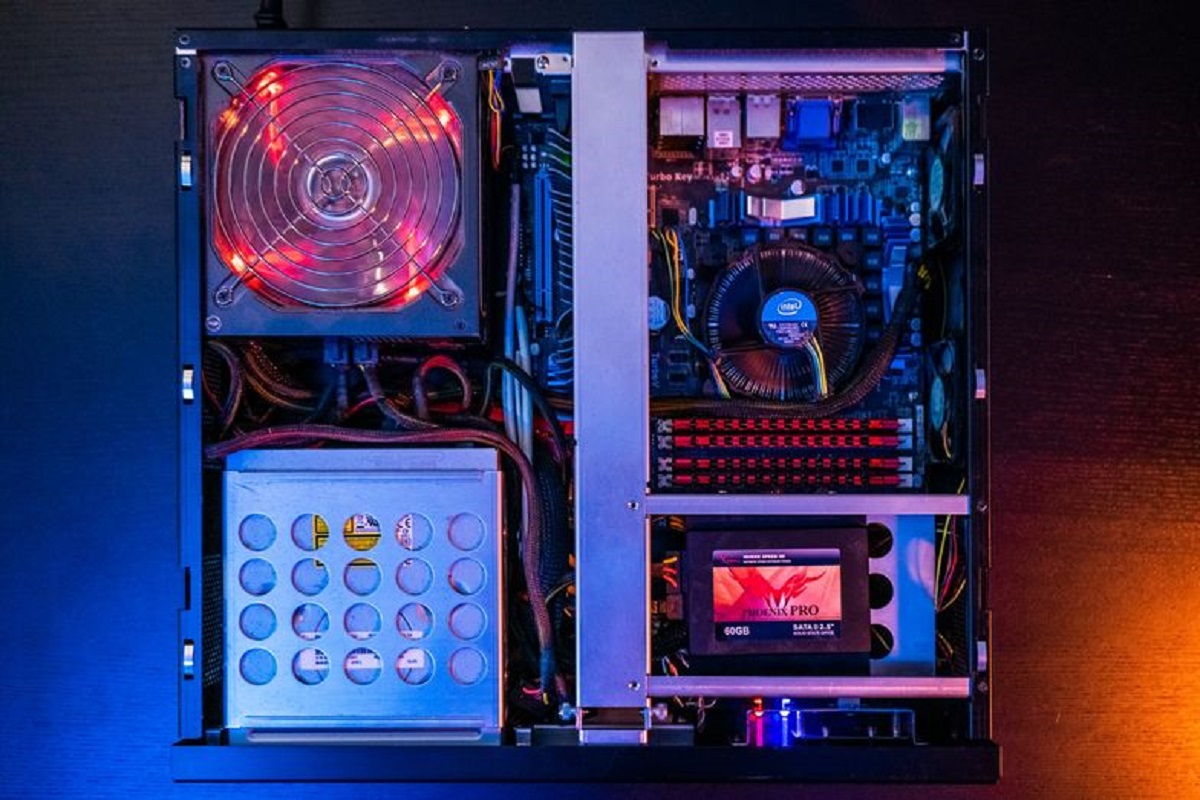
Step 2: Connect the SSD to your computer
Now that you have successfully backed up your data, it’s time to connect your new SSD to your computer. Follow these steps to establish a connection:
- Gather necessary tools: Before you begin, ensure that you have all the required tools ready. Depending on your computer and SSD model, you may need a SATA cable, an external enclosure, or an adapter.
- Power off your computer: It’s important to turn off your computer before proceeding with any hardware connections. This will prevent any potential damage to the SSD or computer components.
- Locate an available SATA port: Open your computer case and identify an available SATA port on your motherboard. This is typically labeled as SATA 1, SATA 2, etc. If all the ports are occupied, you may need to disconnect one of the existing drives temporarily.
- Connect the SATA cable: Take one end of the SATA cable and connect it to the SATA port on the motherboard. Make sure the connection is secure and properly aligned, ensuring a stable data transfer connection.
- Connect the power cable: Locate an available SATA power cable from your power supply unit and connect it to the power connector on the SSD. This will provide power to the drive.
- Secure the SSD: If you’re using an external enclosure or adapter, securely place the SSD inside it, following the instructions provided with the enclosure. If the SSD is a bare drive, carefully place it in the designated slot within your computer case.
- Close the computer case: Once the SSD is connected, carefully close the computer case, ensuring that all connections are secure and there are no loose cables.
- Power on your computer: Power on your computer and wait for it to recognize the newly connected SSD. The BIOS or UEFI may display a prompt indicating the presence of a new storage device.
Once you have successfully connected the SSD to your computer, you’re ready to move on to the next step: partitioning the SSD.
Step 3: Partition the SSD
With your new SSD successfully connected to your computer, it’s time to partition the drive. Partitioning allows you to divide the SSD into logical sections, each functioning as a separate storage entity. Follow these steps to partition your SSD:
- Open the Disk Management utility: On Windows, you can access the Disk Management utility by right-clicking on the Start button and selecting “Disk Management” from the menu. On macOS, you can use the built-in Disk Utility application, which can be found in the Utilities folder within the Applications folder.
- Locate your SSD: In the Disk Management or Disk Utility window, locate your SSD. It will be listed as a new uninitialized drive. Pay attention to the size and label to ensure that you select the correct SSD.
- Create a new partition: Right-click on the unallocated space of your SSD and select “New Simple Volume” (Windows) or click on the “+” button (macOS). This will initiate the partition creation process.
- Specify the partition size: In the pop-up window, specify the desired size for your partition. You can allocate the entire capacity of the SSD to a single partition or divide it into multiple partitions based on your requirements.
- Assign a drive letter (Windows only): If you’re using Windows, you’ll be prompted to assign a drive letter to the partition. Choose an available drive letter or opt for the default selection. This will allow you to easily access the partition later.
- Format the partition: Select the file system you want to use for the partition, such as NTFS (Windows) or APFS (macOS), and choose a volume name if desired. Be aware that formatting will erase any existing data on the partition.
- Complete the process: Follow the on-screen prompts to complete the partition creation and formatting process. Once finished, you should see the newly created partition listed as a separate drive in your file explorer.
Congratulations! You’ve successfully partitioned your SSD, allowing for the efficient organization and management of your data. Now, let’s move on to the next step: formatting the SSD.
Step 4: Format the SSD
After partitioning your new SSD, the next step is to format the drive. Formatting prepares the SSD for use by creating the necessary file system structure. Here’s how you can format your SSD:
- Open the Disk Management utility: On Windows, right-click on the Start button and select “Disk Management” from the menu. On macOS, open the Disk Utility application, which can be found in the Utilities folder within the Applications folder.
- Locate the partition: In the Disk Management or Disk Utility window, locate the partition you created on your SSD. It should be listed as an unformatted or RAW partition.
- Right-click the partition (Windows) or select it (macOS): On Windows, right-click on the partition and select “Format” from the context menu. On macOS, click on the “Erase” button on the top toolbar.
- Choose the file system: Select the desired file system for your SSD. For Windows, the recommended file system is NTFS, while macOS uses APFS by default. You can also choose exFAT for cross-platform compatibility if needed.
- Specify the volume name: Enter a descriptive name for your SSD volume. This will help you identify the drive easily in your file explorer.
- Configure additional options (optional): Depending on your operating system, you may have the option to select allocation unit sizes, enable compression, or perform a quick format. These options can be adjusted based on your preferences and specific requirements.
- Confirm and start the formatting: Double-check that all the settings are correct, and then click on the “Format” or “Erase” button to start the formatting process. Be aware that formatting will erase any existing data on the partition.
- Wait for the process to complete: The formatting process may take some time, depending on the size of your SSD. Once finished, you will receive a confirmation message indicating that the formatting was successful.
By formatting your SSD, you have prepared the drive for storing and accessing your data. Now that the SSD is formatted, you can move on to the next step: assigning a drive letter.
Step 5: Assign a drive letter
Once you have formatted your SSD, the next step is to assign a drive letter to the newly created partition. A drive letter allows you to easily identify and access the SSD in your file explorer. Follow these steps to assign a drive letter:
- Open the Disk Management utility: On Windows, right-click on the Start button and select “Disk Management” from the menu. On macOS, open the Disk Utility application, located in the Utilities folder within the Applications folder.
- Locate the partition: In the Disk Management or Disk Utility window, find the partition you just formatted. It should be listed as a formatted partition without a drive letter.
- Right-click the partition (Windows) or select it (macOS): On Windows, right-click on the partition and choose “Change Drive Letter and Paths” from the context menu. On macOS, click on the “Info” button in the toolbar.
- Add a drive letter: In the newly opened window, click on the “Add” or “+” button to assign a drive letter.
- Select a drive letter: Choose an available drive letter from the drop-down menu. It’s recommended to choose a letter that is not already assigned to another drive to avoid conflicts.
- Confirm and apply the changes: Double-check that the selected drive letter is correct, and then click on the “OK” or “Apply” button to assign the drive letter.
- Verify the drive letter: After applying the changes, you should see the assigned drive letter next to the SSD partition in the Disk Management or Disk Utility window.
By assigning a drive letter to your SSD partition, you have made it easily accessible in your file explorer. Now you can navigate to the drive letter and start storing, organizing, and accessing your files on the SSD.
With the drive letter successfully assigned, you’re ready to move on to the final step: optimizing the performance of your SSD.
Step 6: Optimize SSD Performance
Congratulations! You have successfully initialized your new SSD by partitioning, formatting, and assigning a drive letter. To ensure optimal performance and longevity of your SSD, there are a few additional steps you can take to further optimize its performance:
- Enable TRIM: On Windows, make sure TRIM is enabled for your SSD. TRIM helps maintain the performance and lifespan of your SSD by efficiently managing the storage blocks. You can enable TRIM by opening the Command Prompt as an administrator and entering the command:
fsutil behavior set DisableDeleteNotify 0. - Update SSD Firmware: Check for firmware updates provided by your SSD manufacturer. Firmware updates often include performance improvements, bug fixes, and compatibility enhancements. Visit the manufacturer’s website and follow their instructions to update your SSD’s firmware.
- Optimize power settings: Adjust your power settings to optimize the performance of your SSD. On Windows, navigate to “Power Options” in the Control Panel and select the “High Performance” power plan. This ensures that your SSD operates at maximum speed, without any power-saving compromises.
- Disable hibernation: If hibernation is enabled on your computer, consider disabling it. Hibernation writes the contents of your RAM to the SSD, which can cause unnecessary wear and reduce the lifespan of your SSD. You can disable hibernation by opening the Command Prompt as an administrator and entering the command:
powercfg /hibernate off. - Regularly update drivers and operating system: Keep your drivers and operating system up to date to ensure optimal compatibility and performance. Install the latest updates provided by your hardware and software manufacturers to take advantage of any performance improvements and bug fixes.
- Monitor SSD health: Use reputable software to monitor the health and performance of your SSD. These tools provide valuable insights, including temperature monitoring, drive health status, and estimated remaining lifespan. Regularly check your SSD’s health and take any necessary precautions or actions if any issues arise.
By following these steps, you can maximize the performance, reliability, and lifespan of your SSD. Remember to always perform regular backups of your data and stay proactive in maintaining your SSD’s health. Enjoy the improved speed and responsiveness provided by your newly initialized SSD!
Conclusion
Congratulations on successfully initializing your new SSD! By following the step-by-step process of backing up your data, connecting the SSD to your computer, partitioning and formatting the drive, assigning a drive letter, and optimizing its performance, you have set up your SSD for optimal functionality and improved performance.
Initializing a new SSD is a crucial step that ensures compatibility, recognition, and reliable data storage. By partitioning and formatting the drive, you can organize your data efficiently and prepare the SSD for optimal performance. Assigning a drive letter makes it easy to access and manage your files in the future.
Remember to take necessary precautions, such as backing up your data and verifying compatibility, before initiating the initialization process. Throughout the process, refer to the manufacturer’s instructions and guidelines specific to your SSD model to ensure a smooth and successful initialization.
Lastly, optimize your SSD’s performance by enabling TRIM, updating firmware, adjusting power settings, disabling hibernation, and keeping drivers and operating system up to date. Monitoring the health of your SSD regularly will help you identify any potential issues and take appropriate actions.
With your new SSD properly initialized, you can now enjoy faster boot times, quicker file transfers, and improved overall system responsiveness. Make the most of your SSD’s capabilities by organizing and accessing your data efficiently. Remember to maintain regular backups of your important files to ensure their safety.
Thank you for following this guide, and we hope you have found it helpful in initializing and optimizing your new SSD. Enjoy the enhanced performance and storage capacity that this advanced storage technology brings to your computer!