Introduction
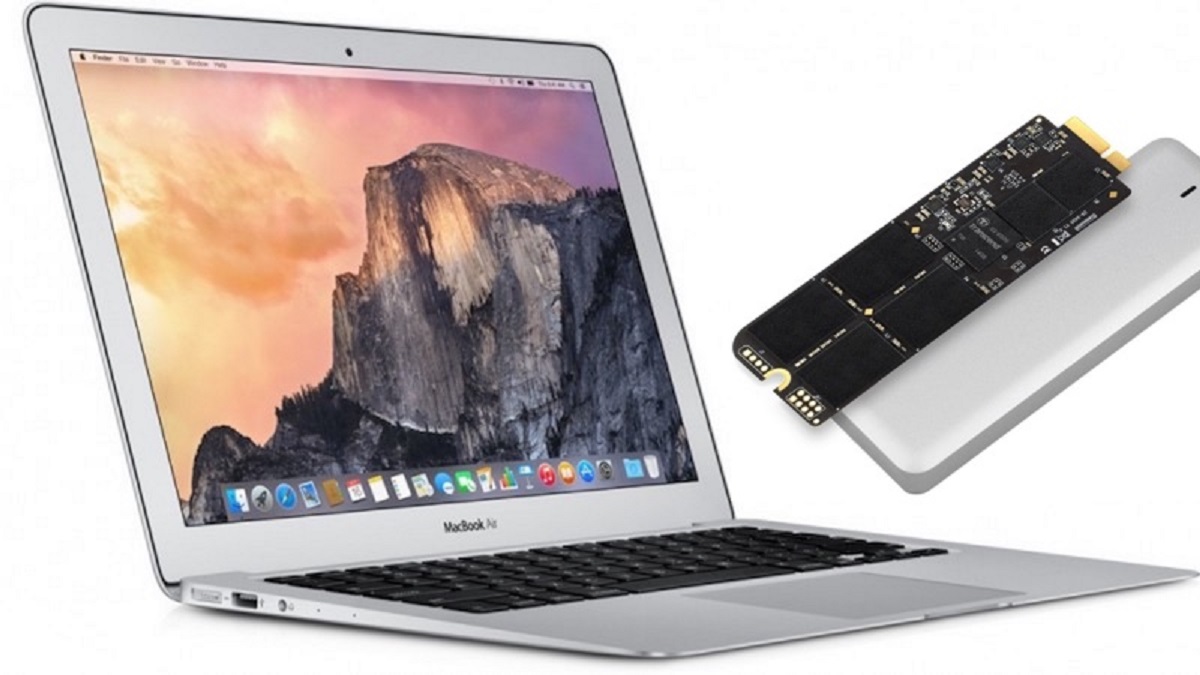
Upgrading your Mac’s hard drive to a solid-state drive (SSD) can significantly improve its performance and responsiveness. An SSD provides faster read and write speeds compared to a traditional hard drive, resulting in quicker boot times, faster application launches, and smoother overall system performance. In this guide, we will walk you through the steps to initialize an SSD on your Mac.
Before we proceed, it’s essential to note that initializing an SSD involves erasing the drive and reinstalling macOS. Therefore, it is vital to back up your data beforehand to prevent any data loss. We’ll cover the process of backing up your data later in this article. Additionally, make sure you have the necessary tools, such as an external storage device and a macOS installation media or a macOS installer downloaded from the App Store.
This guide is applicable to both Mac desktop and laptop models. While the steps may vary slightly depending on the macOS version you’re using, the overall process remains relatively consistent. So, if you’re ready to boost your Mac’s performance by installing an SSD, let’s get started!
Step 1: Gathering the necessary tools
Before you begin the SSD initialization process, it’s important to ensure you have all the required tools and resources at hand. Here are the essential items you’ll need:
- External storage device: You’ll need an external hard drive, USB flash drive, or a network storage device to create a backup of your data. Ensure that it has sufficient storage capacity to accommodate all your important files.
- macOS installation media or installer: You’ll need a macOS installation media, such as a bootable USB drive, or a macOS installer file downloaded from the App Store. This will be used to reinstall macOS on the newly initialized SSD.
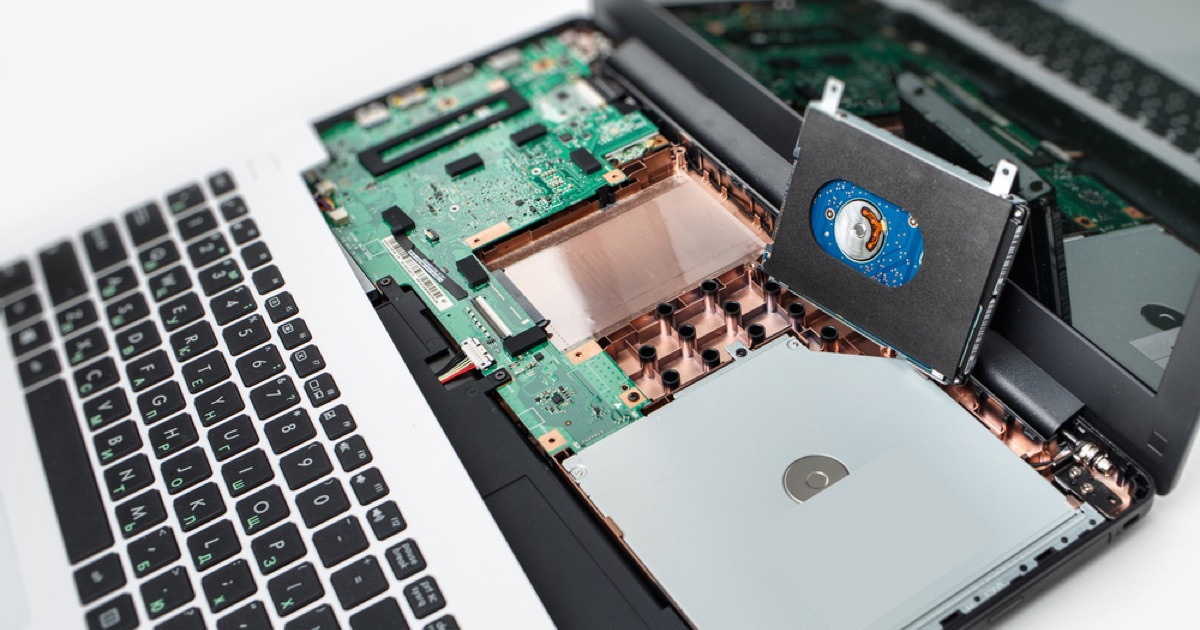
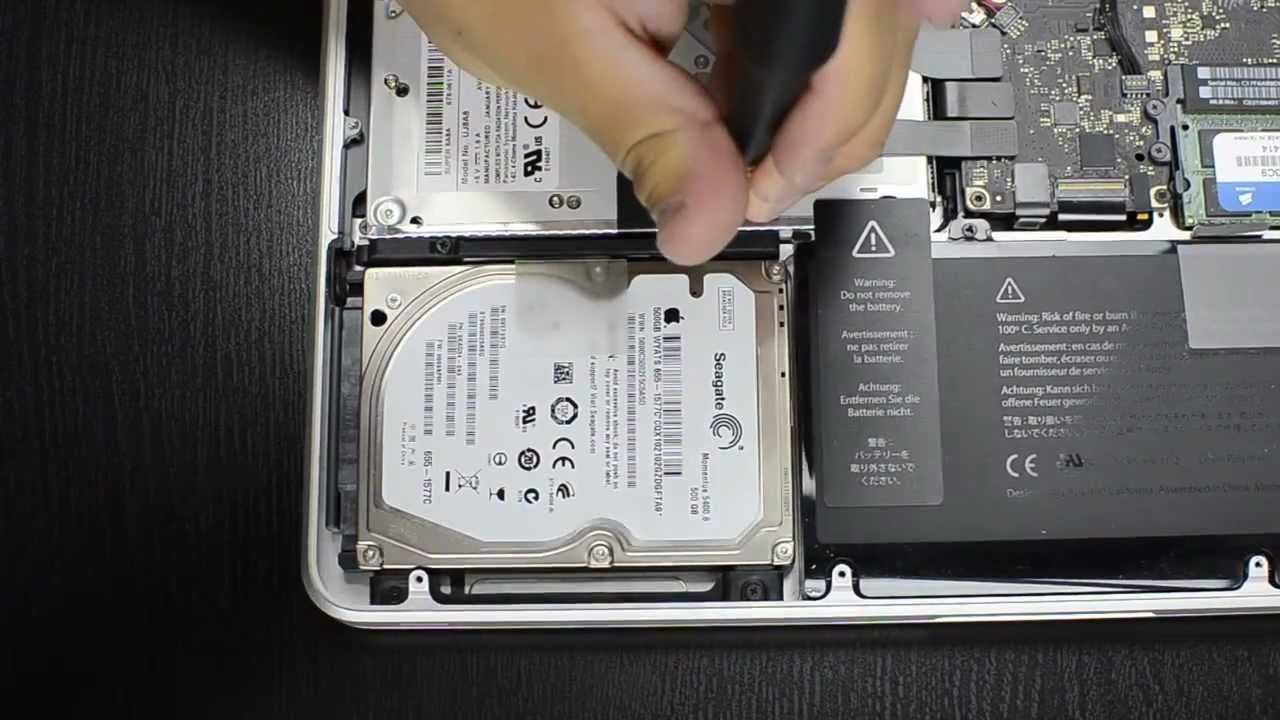
- Screwdrivers: Depending on your Mac model, you might need specific screwdrivers to remove the back panel and access the internal drive bay. Check the manufacturer’s guidelines or online resources to determine the appropriate screwdriver(s) for your Mac.
- Anti-static wristband (optional): While not necessary, an anti-static wristband can help prevent damage to sensitive internal components of your Mac by equalizing static charges between you and the hardware.
Make sure to gather all these tools before proceeding with the SSD initialization process. It is crucial to have a backup of your data and the necessary resources to reinstall macOS to avoid any data loss or inconvenience during the process.
Step 2: Backing up your data
Before you proceed with initializing your SSD, it’s essential to back up your important data to prevent any loss during the process. Follow these steps to create a backup of your data:
- Connect your external storage device: Plug in your external storage device, such as an external hard drive or USB flash drive, to your Mac.
- Open Time Machine: Go to the Apple menu and select “System Preferences.” Look for the Time Machine icon and click on it.
- Turn Time Machine on: In the Time Machine preferences window, click the “On” button to activate Time Machine. If prompted, select your external storage device as the backup disk.
- Start the backup: Once Time Machine is enabled, it will automatically start backing up your Mac’s data. Depending on the size of your data and the speed of your external storage device, this process may take some time.
- Verify the backup: After the backup is complete, double-check your external storage device to ensure that all your important files and data are successfully backed up.
It’s crucial to confirm that your backup is complete and accessible before proceeding to the next steps. This will ensure that you have a copy of your important files that can be easily restored once the SSD initialization is complete.
Remember, data backups are a crucial step in any major system change, as they provide an added layer of protection in case of unexpected errors or data loss during the SSD initialization process. Take the time to perform a thorough backup to avoid any potential issues or setbacks.
Step 3: Formatting the SSD
After backing up your data, the next step in initializing your SSD is to format it. Formatting erases all existing data on the drive and prepares it for a fresh installation of macOS. Follow these steps to format your SSD:
- Shut down your Mac: Click on the Apple menu and select “Shut Down” to turn off your Mac.
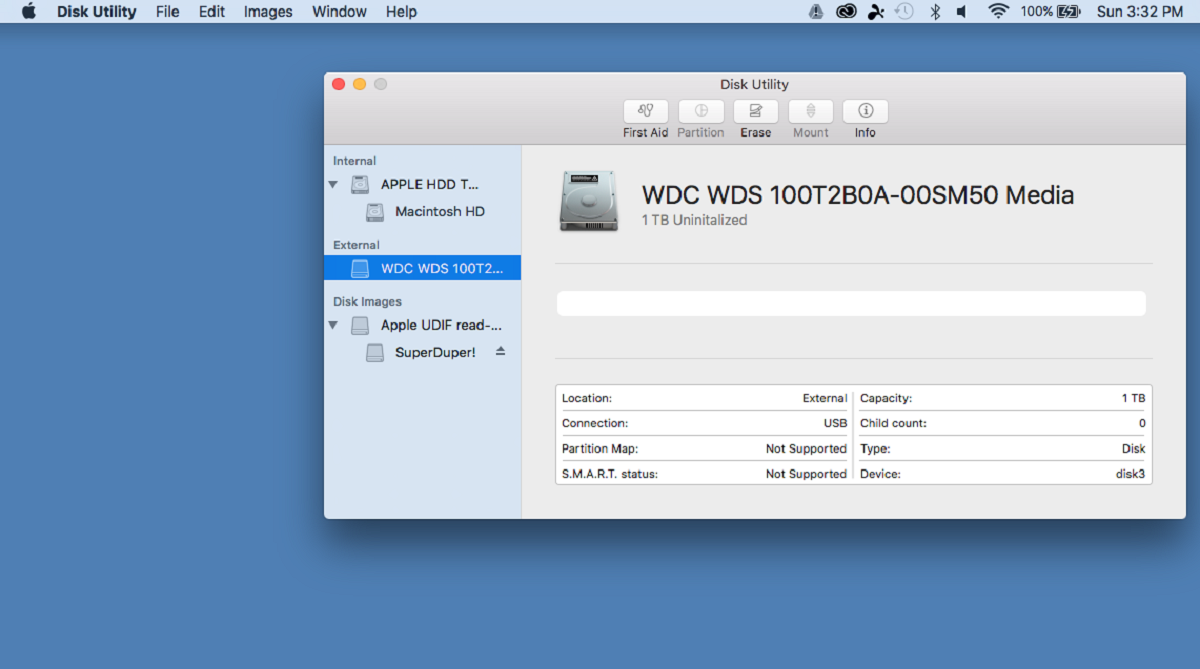
- Open Disk Utility: Turn on your Mac and immediately press and hold the Command (⌘) and R keys simultaneously until the Apple logo or a spinning globe appears. This will boot your Mac into macOS Recovery Mode. In the macOS Utilities window, select “Disk Utility,” and click “Continue.”
- Select your SSD: In the Disk Utility window, locate your SSD in the sidebar on the left. It is usually listed as “Macintosh HD.” Select the SSD to proceed with formatting.
- Erase the SSD: Click on the “Erase” button at the top of the Disk Utility window. A dialog box will appear where you can specify the format and name for your SSD. Choose “Mac OS Extended (Journaled)” as the format, and enter a name for your SSD.
- Click “Erase”: Once you have selected the format and specified a name, click on the “Erase” button to start the formatting process. This will erase all the data on the SSD and prepare it for macOS installation.
- Wait for the formatting to complete: The formatting process may take a few minutes. Once it is complete, you will receive a confirmation message.
Formatting your SSD ensures it is ready to receive a fresh copy of macOS. Remember that formatting will erase all the data on the SSD, so ensure you have a backup of your important files before proceeding. Once the formatting is complete, you can move on to the next step of partitioning the SSD.
Step 4: Partitioning the SSD
After formatting your SSD, the next step in initializing it is to partition the drive. Partitioning allows you to divide the SSD into separate sections, each functioning as a separate volume. Here’s how you can partition your SSD:
- Open Disk Utility: In the macOS Utilities window, select “Disk Utility” to launch the Disk Utility app.
- Select your SSD: Locate your SSD in the sidebar on the left and select it.
- Click on the “Partition” tab: This tab is located at the top of the Disk Utility window.
- Add a new partition: Click on the “+” button to add a new partition. You can specify the size for the partition, adjust the size by dragging the divider, and provide a name for the partition.
- Repeat the process if needed: If you want to create multiple partitions on the SSD, click on the “+” button again and repeat the steps above. You can adjust the sizes of the partitions as desired.
- Choose a format: You can select the format for each partition based on your requirements. The default format is “Mac OS Extended (Journaled),” which is suitable for most users.
- Click on the “Apply” button: Once you have configured the partitions and formats, click on the “Apply” button to apply the changes to your SSD. A warning message will appear, stating that the operation will erase all data on the drive. Ensure that you have a backup before proceeding.
- Wait for the partitioning to complete: The partitioning process may take a few minutes. Once it is complete, you will receive a notification.
Partitioning your SSD allows you to create multiple volumes, which can be useful for organizing your data or installing multiple operating systems. Make sure to carefully consider your needs before deciding on the number and size of the partitions. With the SSD partitioned, you can move on to the next step of installing macOS on the newly initialized drive.
Step 5: Installing macOS on the SSD
With your SSD formatted and partitioned, the next step is to install macOS on it. Follow these steps to install macOS on your newly initialized SSD:
- Connect your macOS installation media: If you have a macOS installation USB drive, connect it to your Mac.
- Restart your Mac and enter macOS Recovery Mode: Restart your Mac and immediately press and hold the Command (⌘) and R keys simultaneously until the Apple logo or a spinning globe appears. This will boot your Mac into macOS Recovery Mode.
- Select the option to install macOS: In the macOS Utilities window, select “Install macOS” and click “Continue.”
- Agree to the terms and conditions: Read and accept the terms and conditions to proceed with the installation.
- Select the target SSD: In the installer, choose your SSD as the destination for the macOS installation. If you have multiple partitions, select the appropriate partition you want macOS to be installed on.
- Begin the installation: Click on the “Install” button to start the macOS installation process. This may take some time, so be patient and let the installation complete.
- Follow the on-screen prompts: Once the installation is finished, the Mac will automatically restart. Follow the on-screen prompts to set up and configure your macOS installation on the SSD.
During the installation process, your Mac will install a fresh copy of macOS on your SSD, ensuring a clean and optimized system for your SSD’s improved performance. Once the installation is complete, you can proceed with the final step of transferring your data back to the SSD.
Step 6: Transferring your data back to the SSD
After successfully installing macOS on your SSD, it’s time to transfer your data back from the backup to the newly initialized drive. Follow these steps to restore your data:
- Connect your external storage device: Plug in the external storage device containing your data backup.
- Open Migration Assistant: Go to the Apple menu and select “System Preferences.” Look for the Migration Assistant icon and click on it.
- Choose your migration method: Migration Assistant provides different methods to transfer your data. You can either use a Time Machine backup, another Mac, or a startup disk. Select the method that matches your backup source.
- Follow the on-screen instructions: Depending on the chosen migration method, follow the prompts provided by Migration Assistant to transfer your data back to the SSD. This may involve selecting specific files or folders, entering login credentials, or confirming the migration settings.
- Wait for the data transfer: The data transfer process may take some time, depending on the size of your backup and the speed of your external storage device. Allow Migration Assistant to complete the transfer without interruption.
- Review your transferred data: Once the data transfer is complete, ensure that all your important files and data are successfully transferred back to your SSD. Double-check and verify that everything is intact.
Transferring your data back to the SSD ensures that you have access to all your important files and settings on your newly initialized drive. Take the time to review and organize your data as necessary to ensure a seamless experience with your upgraded Mac.
With the completion of this step, you have successfully initialized your SSD, installed macOS, and transferred your data back to your Mac. Your Mac should now be running on the speedy and reliable solid-state drive, offering improved performance and responsiveness. Enjoy your newly optimized Mac experience!
Conclusion
Initializing an SSD on your Mac can significantly boost its performance and responsiveness. By following the steps outlined in this guide, you can successfully upgrade your Mac’s hard drive to an SSD and enjoy a faster and more efficient computing experience.
We began by gathering the necessary tools and ensuring you have an external storage device for data backup, macOS installation media, and any required screwdrivers. Next, we walked through the process of backing up your data to prevent any loss during the initialization process.
Once your data was safely backed up, we moved on to formatting the SSD. This step involved erasing the drive and preparing it for a fresh installation of macOS. After formatting, we partitioned the SSD, allowing you to create separate volumes for organization or multiple operating systems.
In step 5, we installed macOS on the newly initialized SSD. This involved booting into macOS Recovery Mode and selecting your SSD as the destination for the installation. We followed the on-screen prompts to complete the installation process.
Finally, we covered the process of transferring your data back from the backup to the newly initialized SSD. Using Migration Assistant, you were able to restore your important files and settings, ensuring a seamless transition to your upgraded SSD.
Congratulations! Your SSD is now fully initialized, and your Mac is running on the improved performance of the solid-state drive. Enjoy faster boot times, quicker application launches, and smoother overall system performance.
Remember to keep your SSD and macOS up to date by regularly installing system updates. Additionally, maintaining routine backups of your data is crucial for the security and protection of your files.
By following these steps, you have successfully upgraded your Mac’s hard drive to an SSD. Enjoy the enhanced performance and responsiveness that your newly initialized SSD brings to your computing experience.