Introduction
Formatting an SSD for use on a Mac when you only have access to a Windows PC may seem like a challenging task. However, with the right tools and methods, it can be a straightforward and achievable process. Whether you’re upgrading your SSD or simply need to prepare it for use on a Mac, this guide will walk you through the necessary steps.
Mac devices use a different file system than Windows, which is why it’s essential to properly format your SSD before using it with a Mac. The file system used by Macs is called Apple File System (APFS), while Windows uses the NTFS file system. In order to ensure compatibility between your SSD and your Mac, you need to format the SSD using the Mac-compatible file system.
Luckily, there are a couple of ways you can format your SSD for Mac on a Windows PC. One option is to use the built-in Disk Management tool in Windows, which allows you to partition and format your SSD. Another option is to use third-party software specifically designed for formatting drives.
In this guide, we’ll explore both methods, giving you step-by-step instructions to format your SSD for Mac on a Windows PC. By following these instructions, you’ll be able to prepare your SSD for use on your Mac and ensure seamless compatibility.
Before we dive into the formatting process, let’s first understand why you would want to format an SSD for Mac on a Windows PC.
Why would you want to format an SSD for Mac on Windows?
There are several scenarios in which you may find yourself needing to format an SSD for Mac on a Windows PC. Understanding these reasons can help you determine the best approach and ensure a smooth transition to using the SSD on your Mac. Here are some common situations:
1. Upgrading your Mac’s storage: If you’re planning to upgrade the storage on your Mac, you may choose to purchase an SSD separately. However, SSDs often come pre-formatted with a Windows-compatible file system. Formatting the SSD for Mac on a Windows PC allows you to configure it to work optimally with your Mac’s file system.
2. Migrating data from a Windows PC to a Mac: If you’re making the switch from a Windows PC to a Mac, you might have essential files and documents saved on your existing SSD. By formatting the SSD for Mac compatibility on a Windows PC, you can ensure that your files will be accessible and readable on your new Mac.
3. Sharing data between Mac and Windows: In some cases, you may need to use the same SSD on both Mac and Windows systems. By formatting the SSD for Mac on a Windows PC, you can create a partition that is compatible with both operating systems, allowing you to transfer files seamlessly without any compatibility issues.
4. Resolving compatibility issues: Sometimes, an SSD that is not formatted for Mac may encounter compatibility issues when connected to a Mac. Formatting the SSD on a Windows PC with the appropriate Mac-compatible file system can often resolve these issues and ensure smooth functioning on your Mac.
Remember, these are just a few examples of why you may need to format an SSD for Mac on a Windows PC. The specific reasons will vary depending on your unique circumstances and requirements. Regardless of the reason, properly formatting your SSD for Mac compatibility is crucial to ensure optimal performance and data compatibility.
Preparing your SSD for formatting
Before you begin formatting your SSD for use on a Mac using a Windows PC, there are a few important steps you need to take to ensure a smooth process. Here’s a guide to preparing your SSD for formatting:
1. Backup your data: Before formatting your SSD, it’s crucial to backup any important data or files stored on it. Formatting erases all data on the drive, so ensuring you have a backup will prevent the loss of any valuable information.
2. Check compatibility: Confirm that your SSD is compatible with both your Windows PC and Mac. Most SSDs are compatible with both systems, but it’s always a good idea to double-check to avoid any issues.
3. Ensure sufficient power: Make sure that your SSD and Windows PC have adequate power during the formatting process to avoid interruptions or data loss. Plug your Windows PC into a power source, and if necessary, connect your SSD to an external power supply.
4. Ensure a stable internet connection: If you plan to use third-party software for formatting, ensure that your Windows PC has a stable internet connection. This will allow you to download and install the necessary software without any interruptions.
5. Clean your SSD: It’s a good idea to clean your SSD before formatting it. Use a soft, lint-free cloth to gently wipe the SSD and remove any dust or debris that may have accumulated on the surface.
By following these preparatory steps, you can ensure a smooth and hassle-free formatting process for your SSD. Once you have completed these steps, you’re ready to move on to installing the SSD in your Windows PC.
Installing the SSD in your Windows PC
Before you can begin formatting your SSD for use on a Mac, you’ll need to physically install the SSD in your Windows PC. Follow these steps to install the SSD:
1. Power down your PC: Shut down your Windows PC completely and unplug it from the power source. This will ensure your safety and prevent any potential damage to the SSD or your PC.
2. Open your PC case: If your PC is a desktop, you’ll need to open the case to access the internal components. Refer to your PC’s manual or manufacturer’s instructions on how to open the case properly.
3. Locate an available drive bay: Identify an available drive bay in your PC where you can install the SSD. Most cases have 2.5″ or 3.5″ drive bays, depending on the size of your SSD.
4. Mount the SSD: If your SSD is a 2.5″ drive, you may need a mounting bracket or adapter to fit it properly in a 3.5″ drive bay. Secure the SSD in the drive bay using screws or any mounting mechanisms provided.
5. Connect the cables: Connect the SATA data cable and the SATA power cable to the appropriate ports on the SSD. The SATA data cable connects the SSD to the motherboard, while the SATA power cable provides power to the SSD.
6. Close the PC case: Once the SSD is securely mounted and the cables are connected, close the PC case and ensure that it is properly sealed. Make sure all screws are tightened to avoid any loose connections.
With the SSD installed in your Windows PC, you are ready to proceed with the formatting process using either the built-in Disk Management tool or third-party software.
Next, we will explore the steps to format the SSD using Disk Management in Windows.
Formatting the SSD using Disk Management
Windows provides a built-in tool called Disk Management that allows you to partition and format drives, including your SSD. Follow these steps to format your SSD using Disk Management:
- Open Disk Management: Press the Windows key + X and select “Disk Management” from the menu that appears. Alternatively, you can right-click on the “Start” button and choose “Disk Management” from the list.
- Locate your SSD: In the Disk Management window, you’ll see a list of all the drives connected to your Windows PC. Identify your SSD from the list based on its size and other details. Be careful not to select and format the wrong drive.
- Initialize the SSD: If your SSD is new and hasn’t been initialized, Disk Management will prompt you to initialize it. Select the appropriate partition style (MBR or GPT) and click “OK” to proceed.
- Create a new partition: Right-click on the unallocated space of your SSD and select “New Simple Volume” from the context menu. Follow the on-screen instructions to configure the partition size and assign it a drive letter.
- Choose the file system: When prompted, select the file system as “NTFS” for the partition. This is a Windows-compatible file system and will be later converted to the Mac-compatible file system.
- Format the SSD: Complete the wizard by following the on-screen instructions to format the SSD. Disk Management will format the partition with the chosen file system and allocate the necessary structures.
Once the formatting process is complete, you have successfully formatted your SSD using Disk Management. However, keep in mind that the SSD is currently formatted as NTFS, which is not compatible with Mac. In the next section, we will explore how to convert the file system to a Mac-compatible format.
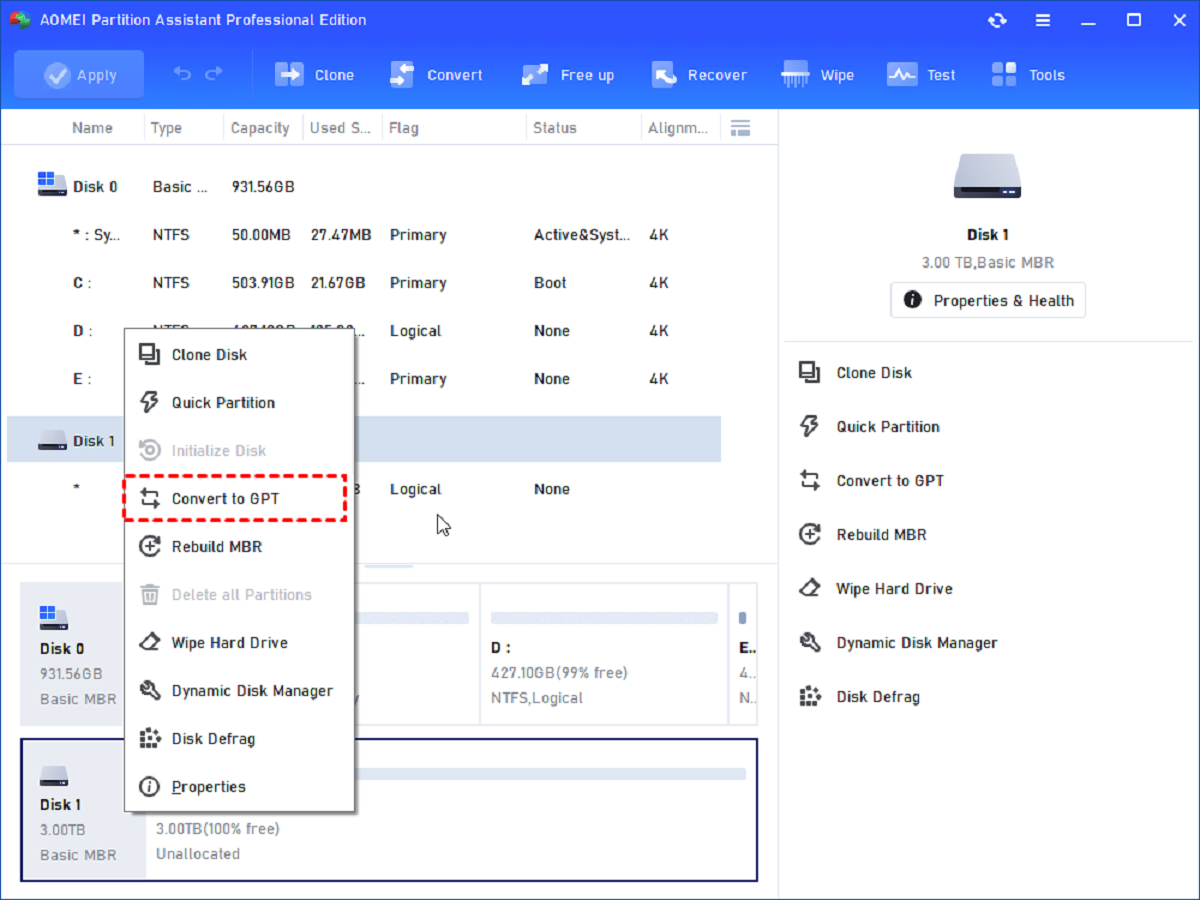
Using a third-party software for formatting
If you prefer not to use Disk Management or if you encounter any issues with the built-in tool, you have the option to use third-party software for formatting your SSD for Mac on a Windows PC. Here are the steps to follow:
- Research and select a reliable third-party software: There are several third-party software options available for formatting drives. Look for reputable software that is specifically designed for formatting SSDs and offers compatibility with both Windows and Mac operating systems.
- Download and install the software: Visit the official website of the chosen software and download it onto your Windows PC. Follow the installation instructions provided by the software to install it on your system.
- Launch the software: Open the third-party software and ensure that your SSD is recognized and listed as a connected drive. The software should have an easy-to-use interface that allows you to select and format the SSD.
- Select the SSD and the Mac-compatible file system: Choose your SSD from the list of connected drives within the software. Then, select the appropriate Mac-compatible file system to format the SSD. The software should provide you with options such as APFS or HFS+
- Initiate the formatting process: Start the formatting process by clicking on the appropriate button within the software. Follow any on-screen instructions provided by the software to format the SSD. The software will handle the formatting process and configure the SSD to be compatible with Mac.
Using a third-party software for formatting your SSD can offer additional features and flexibility that may be useful for your specific requirements. However, it is important to select reliable software from trusted sources to ensure the safety of your data and the integrity of the formatting process.
Once the formatting is complete using the third-party software, you are ready to move on to connecting the formatted SSD to your Mac.
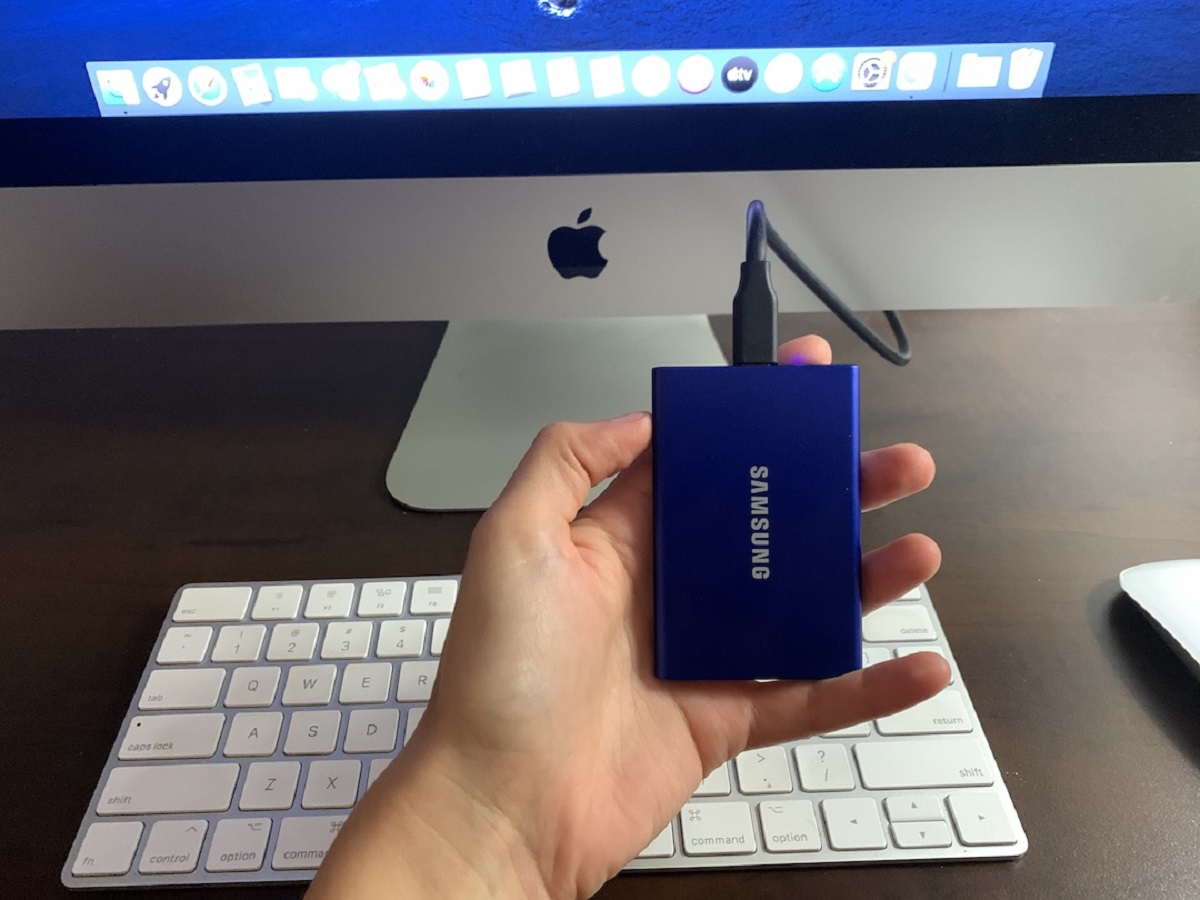
Connecting the formatted SSD to your Mac
After formatting your SSD for Mac compatibility on a Windows PC, the next step is to connect the formatted SSD to your Mac. Here’s how you can do it:
- Power off your Mac: Make sure your Mac is turned off before connecting the SSD. This will prevent any potential data loss or damage to the drive.
- Locate an available USB or Thunderbolt port: Identify a free USB or Thunderbolt port on your Mac where you can connect the SSD. Depending on the type of SSD enclosure or connection, you may need a USB-A, USB-C, or Thunderbolt cable.
- Connect the SSD to your Mac: Use the appropriate cable to connect the formatted SSD to your Mac. Insert one end of the cable into the corresponding port on your Mac, and the other end into the SSD enclosure or connector.
- Power on your Mac: Once the connection is established, power on your Mac. It should recognize the newly connected SSD and display it on the desktop or in the Finder.
- Access the formatted SSD: Open the Finder and navigate to the SSD in the sidebar. Click on the SSD’s icon to access its contents and verify that your Mac can read and write data to it.
Now that your formatted SSD is connected to your Mac, you can begin using it to store and access files seamlessly on your Mac system. You can transfer files, install applications, or use the SSD for any other purpose you desire.
It’s important to note that if you have partitioned the SSD for both Mac and Windows compatibility, you will see multiple partitions on your Mac. Each partition will have its own drive icon in the Finder, allowing you to access and use the respective partitions as needed.
With your formatted SSD successfully connected to your Mac, you can enjoy the benefits of increased storage space, improved performance, and compatibility between your Mac and Windows systems.
Conclusion
Formatting an SSD for use on a Mac when you only have access to a Windows PC may initially seem daunting, but with the right tools and steps, it can be a straightforward process. By following the instructions outlined in this guide, you can successfully format your SSD for Mac compatibility on a Windows PC.
We discussed the reasons why you may need to format an SSD for Mac on a Windows PC, such as upgrading your Mac’s storage, migrating data from a Windows PC, sharing data between Mac and Windows, and resolving compatibility issues. Understanding these reasons can help guide you in choosing the appropriate method to format your SSD.
We also covered preparatory steps, including backing up your data, checking compatibility, ensuring sufficient power and stable internet connection, and cleaning the SSD before formatting. These steps help ensure the safety of your data and the smooth progression of the formatting process.
Furthermore, we explored two methods for formatting the SSD: using the built-in Disk Management tool in Windows and utilizing third-party software specifically designed for formatting drives. Both methods offer their own advantages, and you can choose the one that best suits your needs and preferences.
Once the formatting is complete, we outlined the steps to connect the formatted SSD to your Mac. This involves locating available USB or Thunderbolt ports on your Mac and using the appropriate cable to establish the connection. From there, you can access and use the formatted SSD seamlessly on your Mac.
With your SSD properly formatted for Mac compatibility, you can now enjoy the benefits of increased storage, improved performance, and easy data transfer between your Mac and Windows systems.
Remember to always handle your SSD with care, back up your data regularly, and ensure compatibility between your SSD and devices for a smooth and hassle-free experience.