Introduction
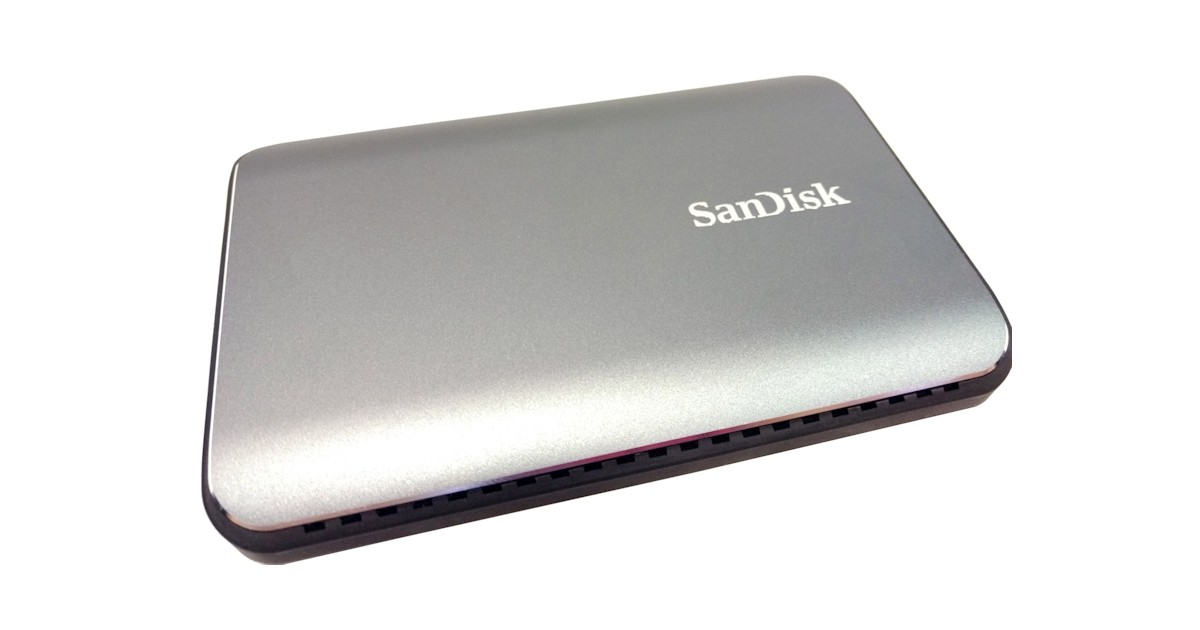
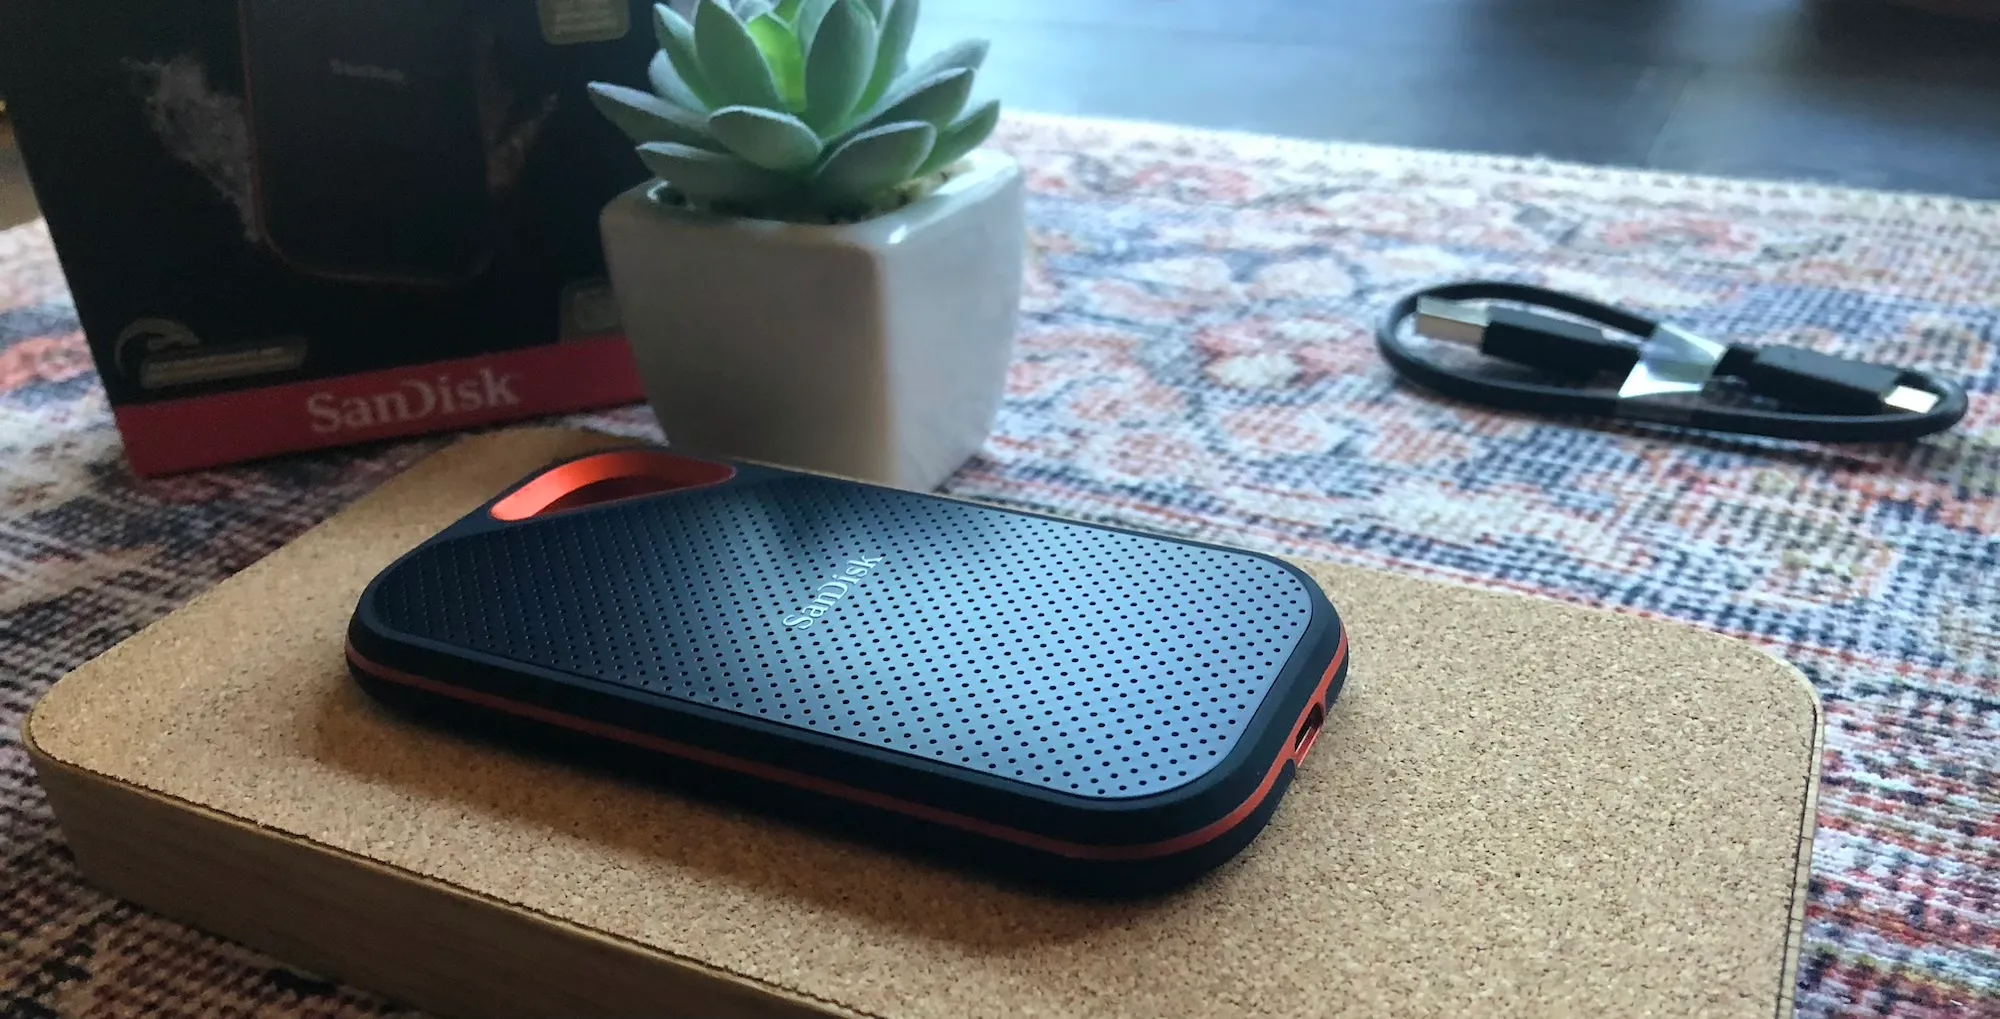
Welcome to our step-by-step guide on how to install the Sandisk Extreme Portable SSD on your Mac. The Sandisk Extreme Portable SSD is a high-performance storage device that allows you to conveniently and securely store and transfer your files. Whether you need extra storage space for your media files, documents, or backups, the Sandisk Extreme Portable SSD is a reliable and efficient solution.
Before we dive into the installation process, it’s important to ensure that your Mac meets the necessary system requirements. This will help ensure that you have a smooth experience and can take full advantage of the features offered by the Sandisk Extreme Portable SSD.
Once you’ve checked the system requirements and determined that your Mac is compatible, you can proceed with connecting the Sandisk Extreme Portable SSD to your Mac. We’ll walk you through the steps of connecting and properly formatting the SSD for optimal performance.
Additionally, we’ll guide you through the process of installing the Sandisk SecureAccess software, which provides password-protected access to your files, ensuring that your sensitive data remains secure.
Once the installation is complete, we’ll show you how to transfer files to the Sandisk Extreme Portable SSD, enabling you to free up space on your Mac and keep your files organized and easily accessible.
Finally, we’ll cover how to safely eject the Sandisk Extreme Portable SSD from your Mac to avoid data loss or corruption. This step is essential to protect your files and maintain the integrity of the SSD.
By following this comprehensive guide, you’ll be able to install and use the Sandisk Extreme Portable SSD on your Mac effortlessly. So, let’s get started and unlock the full potential of this powerful storage device!
Step 1: Checking System Requirements
Before you begin the installation process, it’s important to ensure that your Mac meets the necessary system requirements for using the Sandisk Extreme Portable SSD. This will help ensure a smooth and hassle-free experience with the device.
The Sandisk Extreme Portable SSD is compatible with Mac computers running macOS 10.10 or later. To check the version of macOS on your Mac, click on the Apple menu icon in the top-left corner of your screen, select “About This Mac,” and you’ll find the version information listed there.
In addition to the operating system compatibility, your Mac must have an available USB 3.1 Gen 2 port for optimal performance. The Sandisk Extreme Portable SSD utilizes the USB 3.1 Gen 2 interface for high-speed data transfer, so it’s crucial to ensure that your Mac has the necessary port to achieve the maximum performance of the SSD.
It’s also worth noting that while the Sandisk Extreme Portable SSD is backwards compatible with USB 3.0 and USB 2.0 ports, using it with a USB 3.1 Gen 2 port will provide the fastest transfer speeds.
Furthermore, make sure that your Mac meets the minimum system requirements for the Sandisk SecureAccess software, if you plan to use it. The Sandisk SecureAccess software is an optional feature that allows you to password-protect your files on the SSD. To check the system requirements for the Sandisk SecureAccess software, visit the Sandisk website or refer to the documentation that came with your SSD.
By verifying that your Mac meets these system requirements, you can ensure a seamless installation process and optimal performance with the Sandisk Extreme Portable SSD. If your Mac meets all the requirements, you’re ready to move on to the next step – connecting the SSD to your Mac.
Step 2: Connecting the Sandisk Extreme Portable SSD to Your Mac
Now that you’ve confirmed that your Mac meets the system requirements, it’s time to connect the Sandisk Extreme Portable SSD to your Mac. Follow these simple steps to establish the connection:
- Locate an available USB 3.1 Gen 2 port on your Mac. These ports are usually marked with a small lightning bolt symbol or the letters “SS” (SuperSpeed).
- Take the USB Type-C cable that came with your Sandisk Extreme Portable SSD and plug the USB Type-C end into the SSD.
- Connect the other end of the cable to the USB 3.1 Gen 2 port on your Mac.
- Once the connections are made, your Mac will recognize the Sandisk Extreme Portable SSD as a removable storage device.
- You can verify the connection by opening the Finder application and checking if the SSD appears in the sidebar under “Devices.” It may also appear on your desktop as a mounted drive.
Once the Sandisk Extreme Portable SSD is successfully connected to your Mac, you can proceed to the next step of formatting the SSD to prepare it for data storage.
Note: If you have any issues with the connection, ensure that the USB Type-C cable is securely plugged in at both ends. It’s also worth trying a different USB port on your Mac or using a different cable if available.
With the Sandisk Extreme Portable SSD connected and recognized by your Mac, you’re now ready to format the SSD in the next step. Formatting the SSD will ensure compatibility with your Mac and allow you to start utilizing its storage capabilities efficiently.
Step 3: Formatting the Sandisk Extreme Portable SSD
After successfully connecting the Sandisk Extreme Portable SSD to your Mac, the next step is to format the SSD. Formatting the SSD involves preparing it for use with your Mac’s file system and ensuring compatibility. Follow these steps to format the Sandisk Extreme Portable SSD:
- Open the Finder application on your Mac.
- In the Finder sidebar, locate and click on the Sandisk Extreme Portable SSD under “Devices.”
- Click on the “File” menu at the top of your screen, then select “Get Info” (or use the keyboard shortcut Cmd + I).
- A new window will appear, displaying detailed information about the Sandisk Extreme Portable SSD. Take note of any existing files or data that you want to keep, as the formatting process will erase all data on the SSD.
- Close the Get Info window and return to the Finder application.
- Right-click (or Ctrl + click) on the Sandisk Extreme Portable SSD in the Finder sidebar and select “Erase” from the drop-down menu.
- In the Erase dialog box, provide a name for the formatted SSD in the “Name” field.
- Select the desired format option. For maximum compatibility across Mac and Windows systems, choose “ExFAT.” If you only intend to use the SSD with your Mac, you can opt for the “Mac OS Extended (Journaled)” format.
- Finally, click on the “Erase” button to start the formatting process.
- Once the formatting is complete, you can close the dialog box.
Formatting the Sandisk Extreme Portable SSD might take a few moments, depending on the size of the SSD. After the process finishes, your SSD is ready to use with your Mac.
Remember, formatting the SSD will erase all existing data, so be sure to have a backup of any important files before proceeding. If you have backed up your data and completed the formatting process, you can now move on to installing the Sandisk SecureAccess software for added security and privacy.
Step 4: Installing the Sandisk SecureAccess Software
In this step, we will guide you through the process of installing the Sandisk SecureAccess software. This software provides password-protected access to your files on the Sandisk Extreme Portable SSD, adding an extra layer of security and privacy.
Follow these steps to install the Sandisk SecureAccess software:
- Open a web browser on your Mac and visit the Sandisk website.
- Navigate to the Support or Downloads section and search for the Sandisk SecureAccess software.
- Download the appropriate version of the software for your operating system.
- Once the download is complete, locate the installer file on your Mac (usually in the Downloads folder) and double-click on it to start the installation process.
- Follow the on-screen prompts to proceed with the installation. You may need to agree to the terms and conditions before the installation can continue.
- Choose the destination where you want to install the Sandisk SecureAccess software. The default location is usually the Applications folder on your Mac.
- Click “Install” to begin the installation process.
- Wait for the installation to complete. Once finished, you can close the installer.
- Locate the Sandisk SecureAccess software in the Applications folder and double-click on it to launch the program.
- Follow the setup wizard to create a password for your SecureAccess vault, which is where your protected files will be stored.
- Set up security questions and answers as an additional layer of protection for your vault.
- Once you have completed the setup process, you can start using the Sandisk SecureAccess software to access and manage your files securely.
The Sandisk SecureAccess software provides a user-friendly interface for easily adding, removing, and accessing files in your SecureAccess vault. Remember to keep your password and security answers safe and secure.
With the Sandisk SecureAccess software installed, you can now transfer your important files to the Sandisk Extreme Portable SSD and access them securely whenever you need them.
Step 5: Transferring Files to the Sandisk Extreme Portable SSD
Now that your Sandisk Extreme Portable SSD is connected, formatted, and the Sandisk SecureAccess software is installed, it’s time to start transferring your files to the SSD. Follow these steps to transfer your files:
- Open the Finder application on your Mac.
- In the Finder sidebar, locate and click on the Sandisk Extreme Portable SSD under “Devices.”
- A window will open, displaying the contents of the SSD. This is where you can store your files.
- Locate the files you want to transfer on your Mac, either by browsing through folders or using the search function.
- Select the files you want to transfer by holding down the Command key and clicking on each file, or by clicking and dragging the cursor to select multiple files.
- Once you have selected the files, drag and drop them into the window displaying the Sandisk Extreme Portable SSD. Alternatively, you can right-click on the selected files and choose “Copy,” then navigate to the SSD window and right-click again and select “Paste.”
- The files will begin transferring to the SSD. The time it takes will depend on the size and number of files being transferred.
- Once the transfer is complete, you will be able to see your files on the Sandisk Extreme Portable SSD.
Remember to organize your files in folders or subfolders on the SSD for easy access and better organization.
If you are using the Sandisk SecureAccess software, you can also transfer files directly to the SecureAccess vault. Open the SecureAccess software, enter your password, and then drag and drop the files into the vault window.
It’s important to note that you can transfer files back to your Mac at any time by dragging and dropping the files from the SSD window back to your Mac’s internal storage or another location of your choice.
With your files securely transferred to the Sandisk Extreme Portable SSD, you can now enjoy the benefits of having portable and reliable storage for your important data.
Step 6: Ejecting the Sandisk Extreme Portable SSD Safely
After using the Sandisk Extreme Portable SSD on your Mac, it’s crucial to eject it safely to prevent data loss or corruption. Ejecting the SSD ensures that all read and write operations are completed, and it is safe to disconnect the device from your Mac.
Follow these steps to eject the Sandisk Extreme Portable SSD safely:
- Ensure that all file transfer activities or any other operations involving the SSD are completed.
- Make sure that no applications or files on the SSD are currently in use by closing all open windows or applications that may be accessing the SSD.
- Locate the Sandisk Extreme Portable SSD icon on your desktop or in the Finder sidebar under “Devices.”
- Click on the eject icon (⏏) next to the SSD’s name.
- Wait for the operating system to finish ejecting the SSD. You may see a notification or a progress indicator confirming that it is safe to remove the device.
- Once the SSD is ejected, you can safely disconnect it from your Mac by unplugging the USB Type-C cable.
It’s important to mention that abruptly unplugging the SSD without properly ejecting it can lead to data loss or potential damage to the drive. Therefore, always make sure to follow the correct procedure to eject the SSD safely.
If you are using the Sandisk SecureAccess software, it’s a good practice to close the software before ejecting the SSD to ensure that all files in the SecureAccess vault are properly closed and secured.
By safely ejecting the Sandisk Extreme Portable SSD, you can maintain the integrity of your files and prolong the lifespan of the SSD.
Following these six steps, you should now be able to confidently install, connect, format, install software, transfer files, and safely eject the Sandisk Extreme Portable SSD on your Mac. Enjoy the convenience and reliability of this high-performance storage device!
Conclusion
Installing and using the Sandisk Extreme Portable SSD on your Mac is a straightforward process that offers numerous benefits. With its high-performance capabilities and portable design, this SSD provides a reliable storage solution for your valuable files.
In this guide, we covered the essential steps to successfully install and utilize the Sandisk Extreme Portable SSD. We started by checking the system requirements to ensure compatibility with your Mac. Then, we walked you through connecting the SSD to your Mac and formatting it for optimal performance.
Next, we covered the installation of the Sandisk SecureAccess software, which allows you to password-protect your files for added security. Additionally, we discussed how to transfer files to the SSD, ensuring that your data is conveniently stored and easily accessible.
Lastly, we emphasized the importance of ejecting the Sandisk Extreme Portable SSD safely to prevent data loss or corruption.
By following these steps, you can confidently utilize the Sandisk Extreme Portable SSD on your Mac, freeing up space and ensuring the safety and accessibility of your files.
Remember to always check for software updates and firmware updates for the Sandisk Extreme Portable SSD. Keeping your SSD up to date ensures optimal performance and compatibility with your Mac.
Whether you’re a student, professional, or just someone who needs additional storage space, the Sandisk Extreme Portable SSD is an excellent choice. Its fast transfer speeds, durability, and compact design make it a reliable companion for your Mac.
So go ahead and enjoy the convenience and flexibility that the Sandisk Extreme Portable SSD brings to your Mac workflow. Experience the freedom of having your important files securely stored in one portable device.
Start your journey with the Sandisk Extreme Portable SSD today and take control of your data storage needs!