Introduction
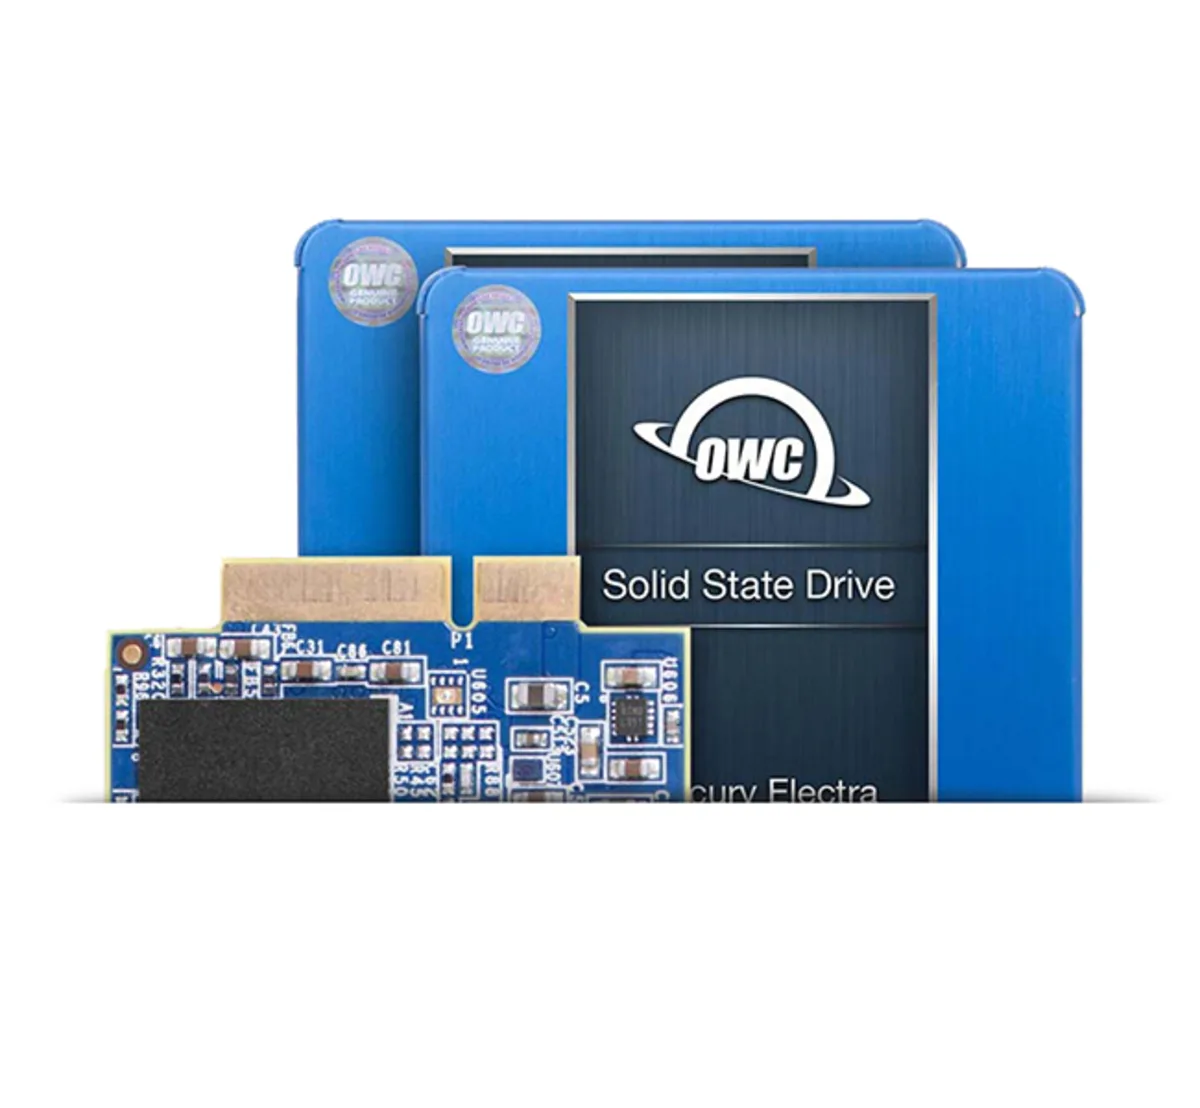
A Solid State Drive (SSD) is a type of storage device that offers faster data access and improved durability compared to traditional hard disk drives (HDDs). Instead of using spinning magnetic disks, SSDs store data on flash memory chips, allowing for faster read and write speeds. Because SSDs have no moving parts, they are less prone to mechanical failures and offer better shock resistance.
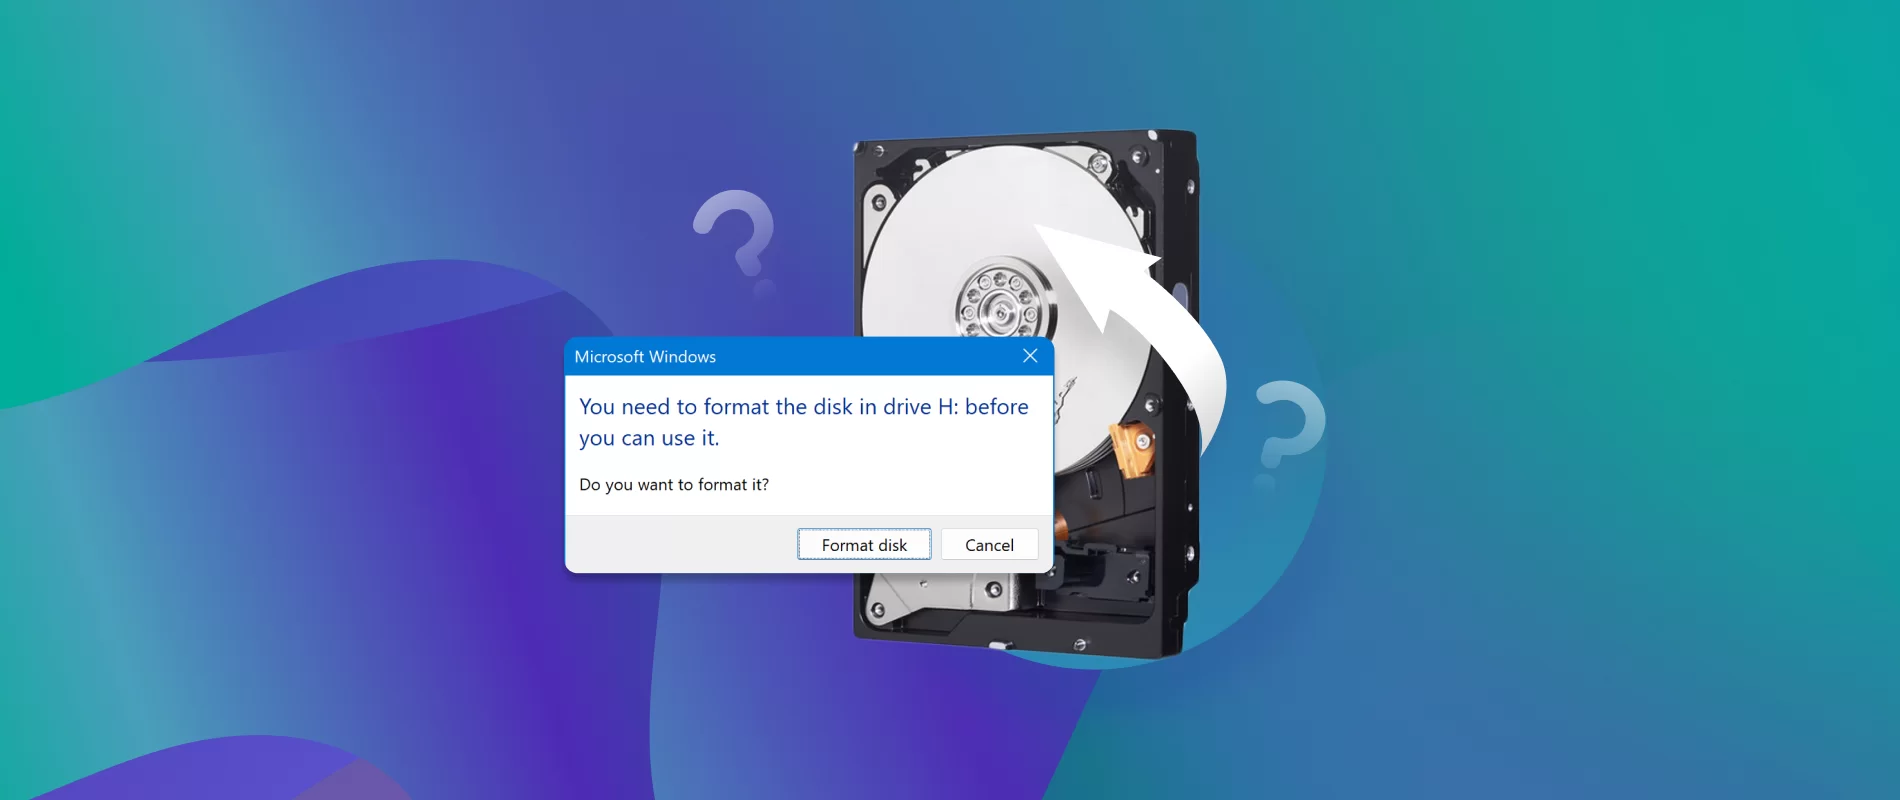
Formatting a Solid State Drive is an essential step in preparing it for use. When you format an SSD, you create a file system that organizes and manages the data stored on the drive. Formatting ensures that the SSD is ready to accept new data and removes any existing files or partitions.
There are several reasons why you may need to format a Solid State Drive. If you’ve just purchased a new SSD, formatting is necessary to initialize it for use. Formatting can also help resolve issues with corrupted files or partitions, improve compatibility with different operating systems, and ensure optimal performance.
In this article, we will guide you through the process of formatting a Solid State Drive. We’ll cover the steps for different operating systems, including Windows, macOS, and Linux. We’ll also discuss the various file system formats available and help you select the most suitable one for your needs.
Before we dive into the specifics of formatting, it’s essential to emphasize the importance of backing up your data. Formatting erases all the data on the drive, so it’s crucial to have a backup to prevent data loss. Be sure to back up any important files or documents on a separate storage device before proceeding with the formatting process.
Now, let’s explore the tools and steps required to format a Solid State Drive, ensuring it is ready to store your data efficiently.
What is a Solid State Drive (SSD)?
A Solid State Drive (SSD) is a type of storage device that has gained popularity in recent years due to its numerous advantages over traditional hard disk drives (HDDs). Unlike HDDs, which rely on spinning magnetic disks to store and retrieve data, SSDs utilize flash memory technology. This means that SSDs have no moving mechanical parts, resulting in faster read and write speeds, improved system boot times, and enhanced overall performance.
One of the key benefits of SSDs is their remarkable speed. Traditional HDDs are limited by the speed at which the disk mechanically spins and the read/write head accesses the data. In contrast, SSDs offer lightning-fast data access and transfer rates, significantly reducing file loading times and improving overall system responsiveness. This speed advantage makes SSDs the preferred choice for tasks that involve frequent data retrieval, such as booting up an operating system, launching applications, or opening large files.
Another advantage of SSDs is their exceptional durability. Since SSDs have no moving parts, they are less susceptible to mechanical failures caused by shock, impact, or vibration. This makes them an ideal storage solution for laptops, notebooks, and other portable devices that are prone to movement. The lack of mechanical components also results in quieter operation and lower power consumption, contributing to a more efficient and reliable system.
Additionally, SSDs offer a smaller physical footprint compared to HDDs. With no need for bulky spinning disks, SSDs can be designed in compact form factors, making them suitable for thin and lightweight devices such as ultrabooks, tablets, and mini PCs. The compactness of SSDs also allows for greater flexibility in terms of placement and installation in different computing environments.
As the demand for faster and more reliable storage continues to increase, SSDs have become the go-to choice for individuals, professionals, and businesses seeking improved performance and productivity. Whether it’s for gaming, multimedia editing, or enterprise-level applications, the superior speed, durability, and efficiency of SSDs make them a worthwhile investment.
In summary, a Solid State Drive (SSD) is a storage device that utilizes flash memory technology to store and retrieve data. SSDs offer significant advantages over traditional hard disk drives in terms of speed, durability, and compactness. Their exceptional performance and reliability have made them a preferred choice in various computing applications. So, if you’re looking to enhance your system’s overall performance and responsiveness, upgrading to an SSD is a highly recommended investment.
Why Format a Solid State Drive (SSD)?
Formatting a Solid State Drive (SSD) is an essential step in preparing it for use. When you format an SSD, you create a file system that organizes and manages the data stored on the drive. Here are some reasons why formatting is necessary:
1. Initializing a New SSD: If you’ve just purchased a new SSD, it needs to be formatted before you can start using it. Formatting will initialize the drive, creating the necessary file system structures to store and retrieve data. This ensures that the SSD is ready to accept new files and data.
2. Resolving Corrupted Files or Partitions: Over time, files or partitions on an SSD can become corrupted due to various factors such as power outages or software glitches. Formatting the SSD can help resolve these issues by erasing the existing file system and starting fresh. However, keep in mind that formatting will permanently delete all the data on the drive, so it’s crucial to have a backup before proceeding.
3. Improving Compatibility: Different operating systems may require specific file system formats to be compatible with the SSD. By formatting the SSD to the appropriate file system, you ensure seamless integration and optimal performance. For example, Windows systems typically use NTFS or exFAT, while macOS utilizes the APFS or HFS+ file systems.
4. Enhancing Performance: Formatting an SSD can help optimize its performance. Through formatting, data is organized and stored more efficiently, reducing file fragmentation and improving read/write speeds. With a well-formatted SSD, you can experience faster boot times, quicker application launches, and improved overall system responsiveness.
5. Secure Data Erasure: Formatting an SSD is also useful when you need to securely erase sensitive data. When you format an SSD using specialized software, it can overwrite the entire drive with random data patterns, making it extremely difficult for anyone to recover the original information. This is particularly important when disposing of or selling an SSD to protect your personal or confidential data.
Formatting a Solid State Drive is a necessary step to ensure optimal performance, compatibility, and data integrity. However, it’s crucial to note that formatting will erase all the data on the drive. Therefore, it’s essential to have a backup of any important files before proceeding with the formatting process.
Now that we understand why formatting is important, let’s explore the available tools and step-by-step procedures to format a Solid State Drive on various operating systems. Whether you’re using Windows, macOS, or Linux, formatting your SSD will pave the way for efficient data storage and retrieval.
Ensuring Data Backup
Before proceeding with formatting a Solid State Drive (SSD), it is crucial to prioritize data backup to prevent the loss of valuable information. Formatting erases all the data on the drive, making it irretrievable unless you have a backup copy. Here are some important considerations and strategies to ensure a successful data backup:
1. Identify Critical Data: Assess your SSD to determine which files and documents are essential and need to be backed up. This includes personal files, work documents, photos, videos, and any other data you cannot afford to lose.
2. External Storage Solutions: Use external storage devices such as external hard drives, USB flash drives, or network-attached storage (NAS) devices to create backups. These devices provide ample storage capacity and allow you to transfer and store your important data securely.
3. Cloud Backup Services: Utilize cloud backup services that offer secure and automated data storage. Services like Google Drive, Dropbox, and Microsoft OneDrive enable you to upload and sync your files to remote servers, providing an additional layer of protection against data loss.
4. Automatic Backup Tools: Utilize backup software and tools that automate the backup process. These tools allow you to schedule regular backups, ensuring that your data is consistently protected without manual intervention.
5. Verify Backup Integrity: Once you have created backups, verify their integrity by accessing and confirming the availability and usability of the backed-up files. This step ensures that your backup process was successful and that you can restore the data when needed.
6. Multiple Backup Locations: Consider storing your backups in multiple locations to further minimize the risk of data loss. This could include keeping a local backup on an external drive and maintaining a remote backup through a cloud service. Having multiple copies of your data offers enhanced protection in the event of hardware failure, theft, or natural disasters.
7. Regular Backup Maintenance: Remember to periodically review and update your backups. Remove any outdated or unnecessary files, and make sure new and modified data is included in your backup routine. Regularly maintaining your backups ensures that you have the most up-to-date copies of your important files.
By following these guidelines and implementing a comprehensive data backup strategy, you can ensure the safety and availability of your critical data before proceeding with the formatting process. Remember, formatting will erase all the data on the SSD, making data recovery impossible without a backup.
Now that you have taken the necessary steps to back up your data securely, let’s explore the available tools and step-by-step procedures to format a Solid State Drive on different operating systems.
Available Tools for SSD Formatting
When it comes to formatting a Solid State Drive (SSD), there are several tools available, depending on the operating system you are using. These tools provide user-friendly interfaces and comprehensive functionalities to ensure a smooth formatting process. Here are some commonly used tools for formatting SSDs:
1. Windows Disk Management: For Windows users, the built-in Disk Management tool offers a convenient way to format an SSD. It allows you to create, delete, and format partitions, as well as assign drive letters. Simply right-click on the SSD in the Disk Management window, select the “Format” option, and follow the prompts to format the drive with your desired file system format.
2. macOS Disk Utility: MacOS users can utilize the Disk Utility app, which is built into the operating system. Accessible through the Applications > Utilities folder, Disk Utility enables you to format and manage your SSD. Simply select the SSD from the list of drives, click on the “Erase” tab, choose your desired file system format, and click “Erase” to initiate the formatting process.
3. Linux Terminal Commands: Linux users have the flexibility of using command-line tools to format their SSDs. Applications like GParted or parted command can be used to create and format partitions. With the appropriate command syntax, you can format an SSD to various file system formats such as ext4, NTFS, or FAT32.
4. Third-Party Partitioning Tools: There are also several third-party partitioning tools available that offer advanced features and more extensive formatting options. Tools like MiniTool Partition Wizard, EaseUS Partition Master, and Paragon Partition Manager provide intuitive interfaces and additional functionalities such as disk cloning, partition resizing, and data recovery. These tools are suitable for users who require more control over the formatting process and additional disk management capabilities.
5. Manufacturer-Specific Tools: Some SSD manufacturers provide their own software utilities for formatting and managing their SSDs. These tools are designed to specifically work with the respective brand’s SSDs and often offer additional features like firmware updates, performance optimization, and health monitoring. Check the manufacturer’s website for any available software tools that can assist you in formatting your SSD.
Regardless of the tool you choose, it is essential to ensure compatibility with your operating system and follow the instructions provided by the tool’s documentation or the manufacturer’s guidelines. Make sure to back up your data before formatting, as the process will erase all the existing data on the SSD.
Now that we are familiar with the available tools for formatting SSDs let’s proceed to the step-by-step guide for formatting a Solid State Drive on different operating systems.
Step-by-Step Guide to Format a Solid State Drive (SSD)
Formatting a Solid State Drive (SSD) is a straightforward process that involves a few simple steps. The exact steps may vary depending on the operating system you are using. Here is a general guide to help you format an SSD:
Step 1: Backup Your Data
Before proceeding with the formatting process, it is crucial to back up any important data on the SSD. This will ensure that your files are safe and can be restored after the formatting is complete.
Step 2: Identify the SSD
Open the Disk Management tool (Windows), Disk Utility (macOS), or the appropriate partitioning tool for your Linux distribution. Locate the SSD from the list of available drives. Ensure that you select the correct SSD to avoid accidentally formatting the wrong drive.
Step 3: Delete Existing Partitions (Optional)
If your SSD already has existing partitions, you may choose to delete them before formatting. This step is optional and should only be performed if you want to start with a clean slate. Be cautious when deleting partitions, as this will permanently remove all data within them.
Step 4: Format the SSD
Select the unallocated space or the SSD itself and choose the formatting option. Depending on the tool you are using, you will be prompted to select the file system format for the SSD. Common file system formats include NTFS, exFAT, FAT32 (for compatibility), or the native file system format for your operating system (e.g., APFS for macOS).
Step 5: Set the Volume Label (Optional)
You may have the option to set a volume label or a name for the formatted SSD. This label will appear as the drive name when you access it in File Explorer (Windows) or Finder (macOS). Setting a label is optional, but it can help you easily identify and organize the drive in your system.
Step 6: Confirm and Initiate Formatting
Review your formatting settings one last time, ensuring that everything is correct. If you are satisfied with the selections, proceed with the formatting process. The tool will begin formatting the SSD, which may take a few moments to complete.
Step 7: Verify Formatting Completion
Once the formatting process is complete, you will receive a confirmation message. The SSD is now formatted and ready for use. You can close the formatting tool and proceed to restore your backed-up data onto the newly formatted SSD.
Note that the specific steps and options may differ depending on the operating system and tool you are using. Always refer to the documentation or help resources provided by the tool or the operating system for more detailed instructions.
Now that you have successfully formatted your Solid State Drive, you can enjoy improved data organization, compatibility, and performance on your system.
Understanding the Different File System Formats
File system formats are structures that define how data is organized, stored, and retrieved on a storage device, such as a Solid State Drive (SSD). Different operating systems support various file system formats, each with its own characteristics and compatibility. Understanding these formats can help you choose the most suitable one for your SSD based on your needs and the operating system you are using. Here are some commonly used file system formats:
1. NTFS (New Technology File System)
NTFS is the default file system format for Windows operating systems. It offers advanced features such as support for large file sizes, improved security permissions, journaling for file system reliability, and advanced data compression options. NTFS is suitable for both personal and business use and provides compatibility with various Windows-specific features.
2. APFS (Apple File System)
APFS is the successor to the HFS+ file system and is the standard file system format for macOS High Sierra and later versions. It is optimized for solid-state drives and offers enhanced performance, improved encryption capabilities, and efficient storage allocation. APFS provides features like snapshotting for data backup, space sharing for efficient use of storage, and file duplication for quick copying of files.
3. exFAT (Extended File Allocation Table)
The exFAT file system format is designed to be a lightweight and efficient format that allows for compatibility across different operating systems, including Windows, macOS, and Linux. It supports large file sizes and partition sizes and is often used for portable storage devices such as USB flash drives and external hard drives. exFAT is an excellent option for sharing files between different platforms without the limitations of FAT32.
4. FAT32 (File Allocation Table)
FAT32 is an older file system format that provides compatibility across various operating systems. It has limitations on file size and partition size, making it less suitable for large files or drives. However, FAT32 remains a popular choice for smaller storage devices, such as memory cards or USB drives, due to its wide support and compatibility.
These are just a few examples of file system formats commonly used for SSDs. Other formats, such as ext4 (Linux), HFS+ (macOS), and exFAT+, are also available and offer specific advantages and compatibility with their respective operating systems.
When selecting a file system format for your SSD, consider factors such as the operating system you’re using, the intended usage of the SSD, and any compatibility requirements. Ensure that your chosen format supports the features and functionalities you need while considering factors like file size support, encryption options, and performance optimization.
Now that you have a better understanding of different file system formats, you can make an informed decision when formatting your SSD for optimal performance and compatibility.
Selecting the File System Format for Your SSD
When formatting a Solid State Drive (SSD), selecting the appropriate file system format is crucial to ensure compatibility, functionality, and performance. Your choice will depend on factors such as the operating system you’re using, the intended use of the SSD, and any specific requirements you may have. Here are some considerations to help you select the right file system format for your SSD:
1. Operating System Compatibility
Ensure that the file system format you choose is compatible with the operating system you’re using. For example, if you’re primarily using Windows, NTFS is the recommended and default format. If you’re using macOS, the APFS format is standard on macOS High Sierra and later versions. Consider the compatibility of the file system format across different operating systems if you require interoperability.
2. File Size and Partition Support
If you often work with large files or need to create partitions larger than 4GB, ensure that the file system format you choose supports the required file size and partition size. For example, NTFS, APFS, and exFAT are suitable formats that offer support for large file and partition sizes.
3. Performance and Optimization
Consider any specific performance requirements you may have. Some file system formats, such as APFS, are optimized for solid-state drives, offering improved performance, faster file read and write speeds, and efficient data storage. Investigate the performance characteristics of different formats to match the needs of your SSD usage.
4. File System Features
Examine the features provided by each file system format. Some formats, like NTFS, offer advanced features such as journaling for enhanced data integrity, file compression, or encryption options. Consider the features that are important to you, such as data security or file duplication, when choosing the file system format.
5. Compatibility with Other Devices
If you need your SSD to be compatible with devices other than your computer, consider the compatibility requirements of those devices. The exFAT format, for example, offers broad compatibility across various operating systems, making it ideal for portable storage devices that need to be accessed on different platforms.
6. Future Flexibility
Anticipate any future needs or changes in your computing environment. Consider formats that offer flexibility and future-proof your SSD. Formats like NTFS and APFS are continuously updated and supported, ensuring compatibility and functionality as technology evolves.
By carefully considering these factors, you can select the most appropriate file system format for your SSD. Keep in mind that formatting erases all the data on the drive, so make sure to back up any important files before proceeding.
Now that you understand the importance of choosing the right file system format, let’s explore the step-by-step guides for formatting a Solid State Drive on different operating systems.
Windows Operating System Format Guide
Formatting a Solid State Drive (SSD) on the Windows operating system is a straightforward process using the built-in Disk Management tool. Follow these step-by-step instructions to format your SSD on Windows:
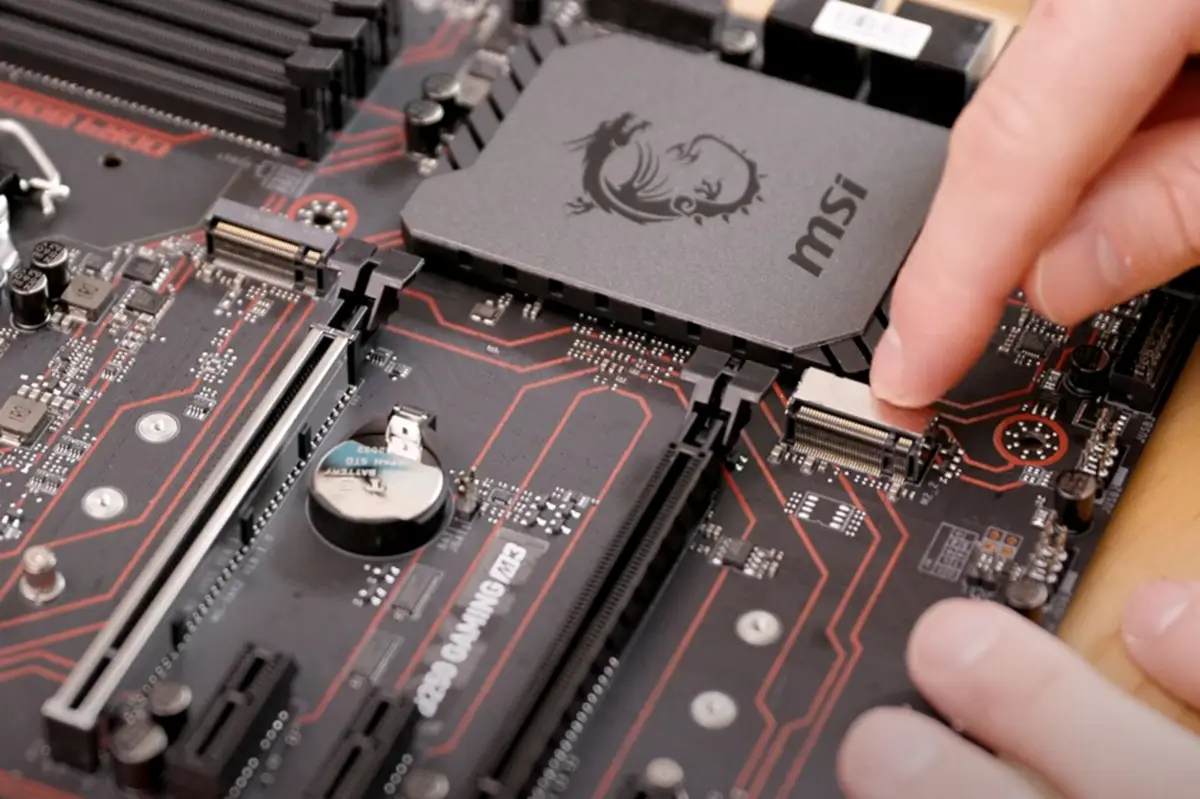
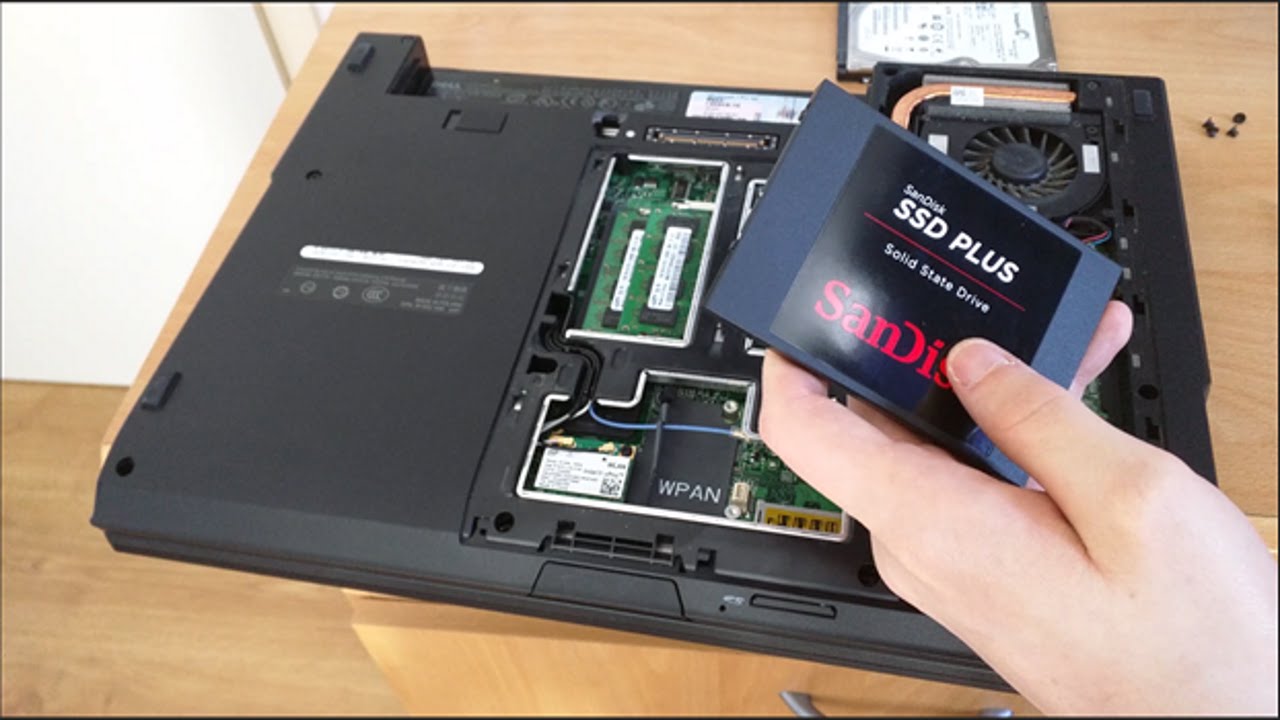
Step 1: Connect the SSD
Connect your SSD to your computer using a suitable connection interface, such as SATA or USB. Ensure that the SSD is recognized and visible in the system.
Step 2: Open Disk Management
Go to the Start menu and search for “Disk Management.” Click on the “Create and format hard disk partitions” option to open the Disk Management tool.
Step 3: Select the SSD
In the Disk Management window, locate your SSD in the list of drives. Right-click on the SSD and select the “Format” option from the context menu.
Step 4: Choose the File System Format
A dialog box will appear, allowing you to choose the file system format for your SSD. The default and recommended format for Windows is NTFS. You can also set the allocation unit size and enter a volume label (name) for your SSD.
Step 5: Start the Formatting Process
Review the formatting settings and click “OK” to begin the formatting process. Wait for the process to complete; it may take some time depending on the size of the SSD.
Step 6: Confirm and Verify
Once the formatting is complete, you will receive a notification that the formatting was successful. You can verify the formatting by checking if the SSD is now listed as a formatted drive in the Disk Management tool.
Note: Remember to back up any important data on the SSD before formatting, as formatting will erase all data on the drive.
Formatting your SSD on Windows using the Disk Management tool allows you to create a file system format that is compatible with the Windows operating system. The NTFS format provides advanced features and optimal performance for Windows users.
Now that your SSD is formatted on Windows, you can start using it to store and access your data efficiently.
macOS Format Guide
If you’re using a Mac computer, formatting a Solid State Drive (SSD) can be done easily using the Disk Utility tool. Follow these step-by-step instructions to format your SSD on macOS:
Step 1: Connect the SSD
Connect your SSD to your Mac computer using a suitable interface, such as SATA or USB. Ensure that the SSD is recognized and visible in the system.
Step 2: Open Disk Utility
Go to the Applications folder and open the “Utilities” folder. From there, launch the “Disk Utility” application. It provides tools for managing and formatting drives on macOS.
Step 3: Select the SSD
In the Disk Utility window, locate your SSD in the list of drives on the left sidebar. Click on the SSD to select it.
Step 4: Erase the SSD
Click on the “Erase” tab in the Disk Utility toolbar. This will display the erase settings for the selected SSD.
Step 5: Choose the File System Format
In the “Format” dropdown menu, choose the file system format for your SSD. The default and recommended format for macOS High Sierra and later versions is APFS (Apple File System). You can also set the scheme (if applicable) and give a name to your SSD.
Step 6: Start the Formatting Process
Double-check the formatting settings and click on the “Erase” button to initiate the formatting process. Confirm your decision when prompted.
Step 7: Confirm and Verify
Once the formatting is complete, you will receive a notification that the process was successful. You can verify the formatting by checking if the SSD is listed with the chosen format in the Disk Utility window.
Note: It is important to back up any important data on the SSD before formatting, as the process will erase all data on the drive.
By formatting your SSD on macOS using the Disk Utility tool, you’ll be able to create a file system format that is optimized for Apple File System (APFS). APFS offers improved performance, encryption options, and advanced storage management capabilities for macOS users.
Now that your SSD is formatted on macOS, you can start using it to store and manage your data efficiently on your Mac computer.
Linux Format Guide
Formatting a Solid State Drive (SSD) on Linux can be done using various command-line tools or graphical partitioning utilities, depending on the Linux distribution you are using. Here is a general guide to formatting an SSD on Linux:
Step 1: Connect the SSD
Connect your SSD to your Linux computer using the appropriate interface, such as SATA or USB. Ensure that the SSD is recognized and visible in the system.
Step 2: Identify the SSD
Open a terminal or any graphical partitioning utility for your Linux distribution. Use the appropriate command or tool to identify the SSD among the list of available drives. The SSD may be listed as “/dev/sdX,” where “X” represents a specific letter assigned to the drive.
Step 3: Create Partitions (Optional)
If needed, create partitions on the SSD using a tool like GParted or the command-line utility parted. You can define the size and file system format for each partition during this step. Be careful when modifying partitions, as it can lead to data loss if done incorrectly.
Step 4: Format the SSD
Once you have identified the SSD or its partitions, use the appropriate command to format the SSD with the desired file system format. For example, to format an SSD to the ext4 format, use the command “sudo mkfs.ext4 /dev/sdX” where “X” represents the drive letter associated with the SSD.
Step 5: Confirm and Verify
After formatting is complete, double-check that the SSD is now listed as formatted with the chosen file system using the appropriate command or graphical utility. You can also verify the formatting by mounting the SSD and ensuring it is accessible.
Note: As formatting erases all data on the SSD, be sure to back up any important files before proceeding.
Linux provides flexibility and choice regarding file system formats. Commonly used formats on Linux systems include ext4, which offers excellent performance, compatibility, and reliability, and other formats like btrfs or XFS, which provide additional advanced features.
Refer to the documentation or the help resources for your specific Linux distribution and chosen partitioning utility for detailed instructions on formatting SSDs.
Now that your SSD is formatted on Linux, you can utilize it for storing and managing your data efficiently within the Linux environment.
Formatting an External SSD
Formatting an external Solid State Drive (SSD) follows similar steps to formatting an internal SSD. Whether you’re using Windows, macOS, or Linux, the process is generally the same. Here’s a guide on formatting an external SSD:
Step 1: Backup Your Data
Before formatting the external SSD, ensure that you have a backup of any important data stored on it. Formatting will erase all the data on the drive, so it’s crucial to have a copy stored elsewhere.
Step 2: Connect the External SSD
Connect the external SSD to your computer using the appropriate interface, such as USB, Thunderbolt, or eSATA. Ensure that the SSD is recognized and visible in the system.
Step 3: Open Disk Management or Disk Utility
On Windows, use the Disk Management tool, and on macOS, use the Disk Utility app. These tools provide the necessary options for formatting the external SSD.
Step 4: Select the External SSD
In the Disk Management or Disk Utility interface, locate the external SSD from the list of drives. Select the SSD to prepare it for formatting.
Step 5: Delete Existing Partitions (Optional)
If the external SSD has existing partitions, you may choose to delete them to start with a clean slate. Right-click on the partitions and select “Delete” or “Erase” to remove them. Be cautious as this step will permanently delete all data within those partitions.
Step 6: Format the External SSD
After deleting partitions (if applicable), proceed with formatting the external SSD. Select the desired file system format, such as NTFS, APFS, or ext4, depending on your operating system and requirements. Confirm the formatting settings and initiate the process.
Step 7: Verify the Formatting Process
Once the formatting is complete, you will receive a notification or see the formatted external SSD listed in the tool interface. Confirm that the formatting was successful and that the external SSD is now ready to use.
Note: Remember to back up any important data on the external SSD before formatting, as the process will erase all data on the drive.
With the external SSD formatted, you can now use it to store and transfer data efficiently, whether you need additional storage space, a backup drive, or portable storage for on-the-go use.
Common Issues and Troubleshooting Tips
While formatting a Solid State Drive (SSD) is usually a smooth process, you may encounter some common issues along the way. Here are a few common issues and troubleshooting tips to help you overcome them:
1. Formatting Takes Longer Than Expected
If the formatting process is taking longer than anticipated, it could be due to the size of the drive or the file system format chosen. Formatting large drives or using file system formats that perform additional tasks, such as security checks or file system consistency checks, can take longer. Be patient and allow the formatting process to complete without interruption.
2. Inability to Format or Modify Partitions
If you’re unable to format or modify partitions, it could be because the SSD is in use by other processes or applications. Ensure that no programs or files are actively using the drive, and close any applications that may be accessing it. In some cases, rebooting your computer can resolve the issue.
3. Disk Not Recognized or Visible
If your SSD is not recognized or visible in the formatting tool, check the physical connections and ensure that the drive is properly connected to the computer. Try using a different USB port or cable to rule out any potential connection issues. If the problem persists, try connecting the SSD to another computer to determine if it is a hardware or software-related issue.
4. Incorrect Drive Selected for Formatting
Be cautious when selecting the drive for formatting, as selecting the wrong drive can result in the loss of data on a different drive. Always double-check the drive label, size, and other identification details to ensure that you are formatting the intended drive. Take extra care when formatting multiple drives simultaneously.
5. Data Loss or Improper Backup
Accidental data loss during the formatting process can occur if you haven’t properly backed up your data. Always create a backup of important files before formatting to prevent data loss. Double-check that your backup is complete and accessible before proceeding with the formatting process.
6. File System Compatibility Issues
If you plan to use the SSD across multiple operating systems, ensure that the chosen file system format is compatible with each system. Consider using cross-platform formats like exFAT to ensure seamless compatibility and data transfer between different operating systems.
7. Persistent Formatting Issues
If you encounter persistent formatting issues that cannot be resolved using the common troubleshooting tips, consider seeking assistance from technical support forums, the manufacturer’s support website, or professional IT services. They can provide more specific guidance or assistance in resolving complex formatting issues.
Remember, formatting an SSD erases all data on the drive, so proceed with caution and always have a backup of important files before initiating the formatting process. By being aware of common issues and troubleshooting tips, you can overcome obstacles and successfully format your SSD.
Final Thoughts
Formatting a Solid State Drive (SSD) is a crucial step in preparing it for use. Whether you’re setting up a new SSD, resolving issues with existing partitions, or optimizing performance, formatting ensures that the drive is ready to store and retrieve data efficiently.
Throughout this article, we’ve discussed the importance of data backup, explored various tools and techniques for formatting SSDs on different operating systems, and highlighted common issues and troubleshooting tips. By following these guidelines, you can navigate the formatting process with confidence and minimize the risk of data loss or other complications.
Remember, before formatting an SSD, always back up your data to prevent irreversible loss. Whether you use external storage devices or cloud backup services, maintaining a reliable backup ensures that your valuable files and documents remain safe.
Furthermore, take the time to understand the file system formats compatible with your operating system and consider your specific needs and requirements. Choosing the right file system format is essential for compatibility, performance, and data integrity.
Should you encounter any issues during the formatting process, refer to the troubleshooting tips provided or seek assistance from knowledgeable sources. Technical support forums, manufacturer’s support websites, or professional IT services can provide guidance tailored to your specific situation.
Formatting an external SSD follows a similar process to formatting an internal SSD, allowing you to enjoy the benefits of portability and efficient data management. With a properly formatted SSD, you can experience improved system performance, compatibility, and data organization.
As technology advances and new file system formats emerge, staying informed and adapting to changes becomes crucial. Regularly updating your operating system and keeping track of advancements in SSD-related technologies will ensure that your SSD continues to perform optimally.
By understanding the importance of formatting an SSD, familiarizing yourself with the available tools and procedures, and following best practices, you can set up and optimize your SSD for storage, productivity, and reliability.