Introduction
In this digital age, solid state drives (SSDs) have become increasingly popular due to their faster performance and durability compared to traditional hard drives. Upgrading your computer with an SSD can significantly improve its speed and responsiveness. However, for your computer to recognize the new SSD, you need to follow a few necessary steps.
In this article, we will guide you through the process of getting your computer to recognize a solid state drive. We will cover the necessary checks to ensure compatibility, the correct way to connect the SSD, how to initialize it, and troubleshoot any connection issues that may arise. By the end of this guide, you will be able to successfully integrate an SSD into your computer system.
Before we dive into the technical steps, it’s important to note that handling computer hardware requires proper precautions. Make sure to power off your computer and unplug it from the electrical outlet before attempting any upgrades or modifications. Always consult your computer manufacturer’s documentation or seek professional assistance if you are unsure about any step.
Now, let’s get started on the journey to make your computer recognize your new solid state drive.
Check the Compatibility
Before installing a solid state drive (SSD) in your computer, it’s vital to check if your system is compatible with this type of storage. While most modern computers are compatible with SSDs, it’s still essential to verify a few key factors.
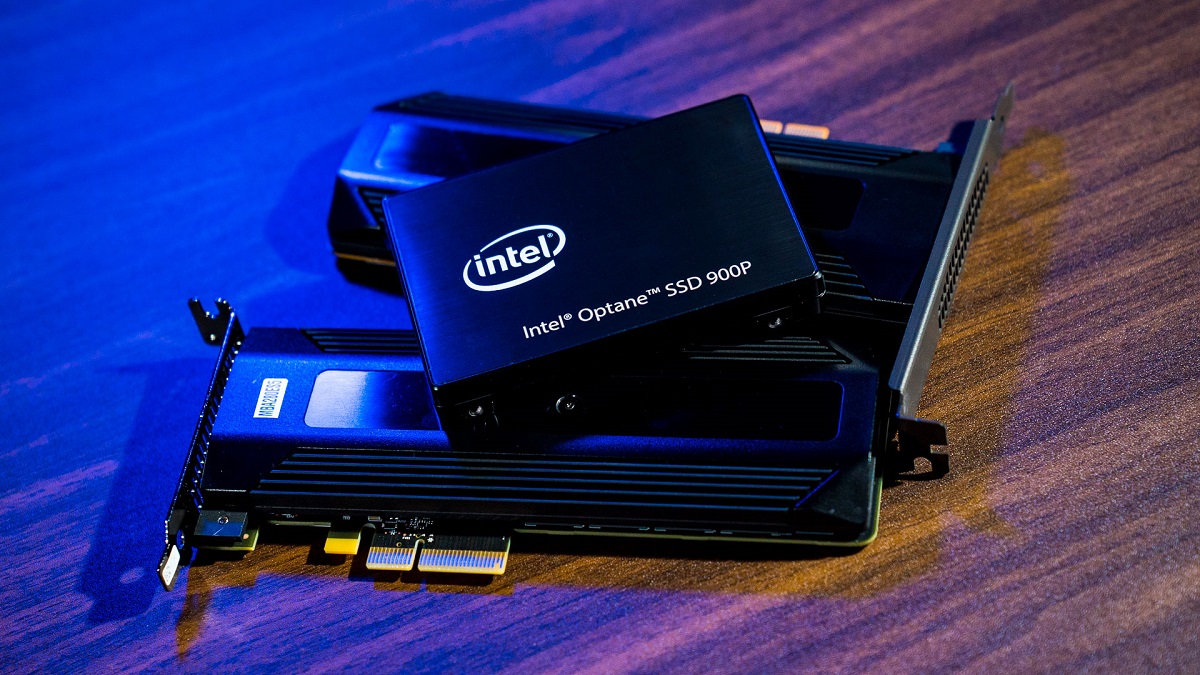
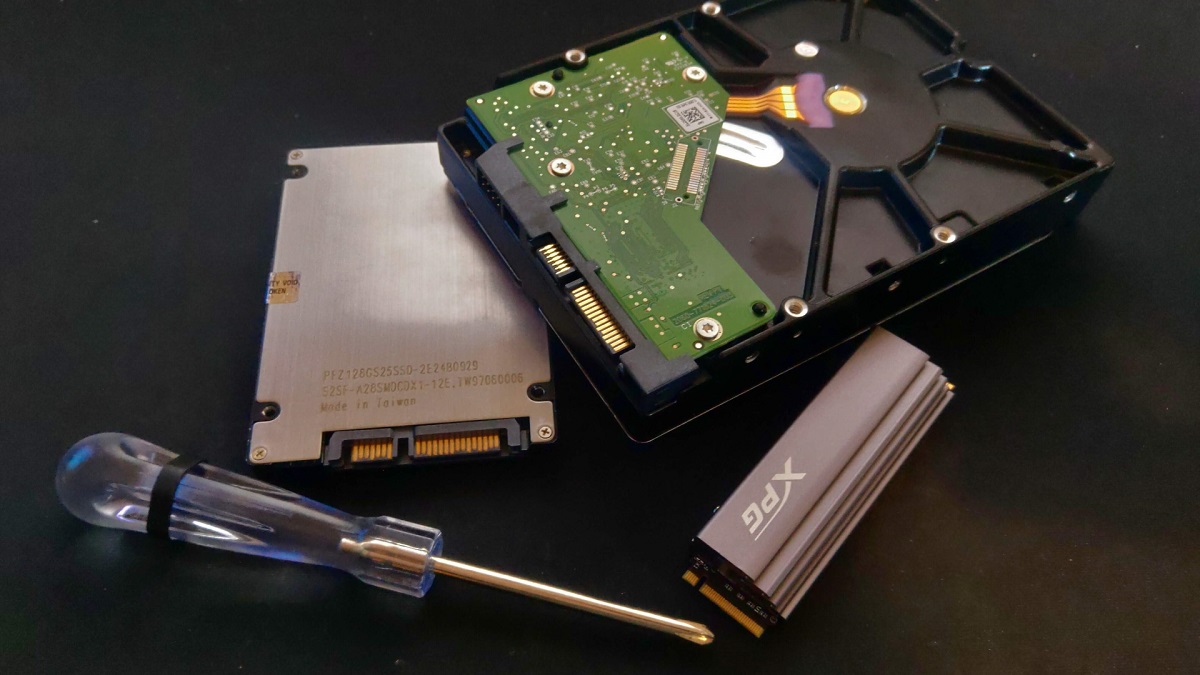
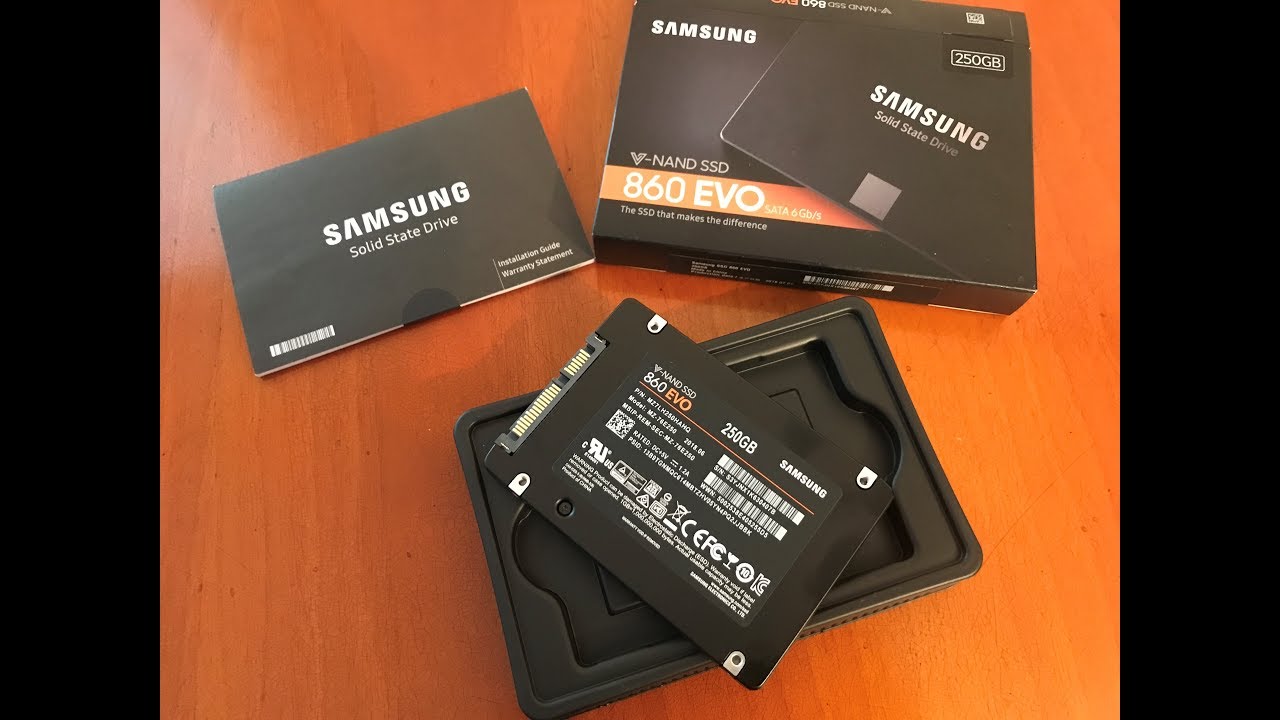
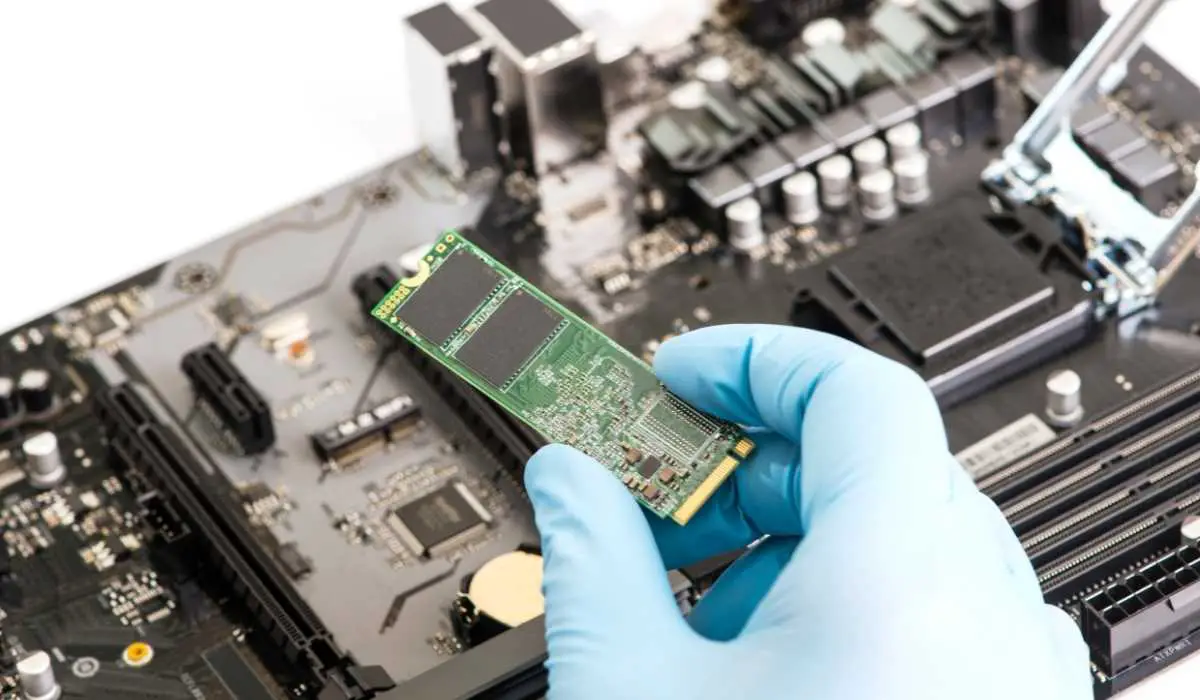
The first thing you need to check is the form factor of the SSD. Common form factors for SSDs are 2.5-inch, M.2, and PCIe. Ensure that the SSD you plan to install matches the available slots or connectors on your motherboard. If you are unsure about the form factor, consult your computer’s documentation or the manufacturer’s website.
Next, consider the interface of your SSD. The most commonly used interfaces for SSDs are SATA (Serial ATA) and NVMe (Non-Volatile Memory Express). SATA SSDs connect via traditional SATA cables, while NVMe SSDs utilize faster PCIe lanes. Check if your computer supports the interface of the SSD you intend to install.
Another crucial aspect to consider is the storage capacity. Ensure that your computer has enough available space to accommodate the new SSD. Additionally, verify if your computer’s BIOS supports booting from an SSD. This is necessary if you plan to install the operating system on the new drive for faster boot times.
Finally, it’s important to check if your computer’s power supply can handle the additional power requirements of the SSD. Some high-capacity SSDs may require extra power connectors, so ensure that your power supply has the necessary connectors available.
By performing these compatibility checks, you can determine if your computer is ready for an SSD installation. If any of these factors pose a compatibility issue, you may need to consider alternative solutions or upgrades. Once you have confirmed compatibility, you can proceed to the next steps to connect and initialize your new SSD.
Connect the SSD Properly
Once you have verified the compatibility of your computer with the solid state drive (SSD), it’s time to connect the SSD to your system correctly. Follow the steps below to ensure a proper connection:
- Before you begin, make sure your computer is powered off and unplugged from the electrical outlet. This will prevent any potential damage to the hardware.
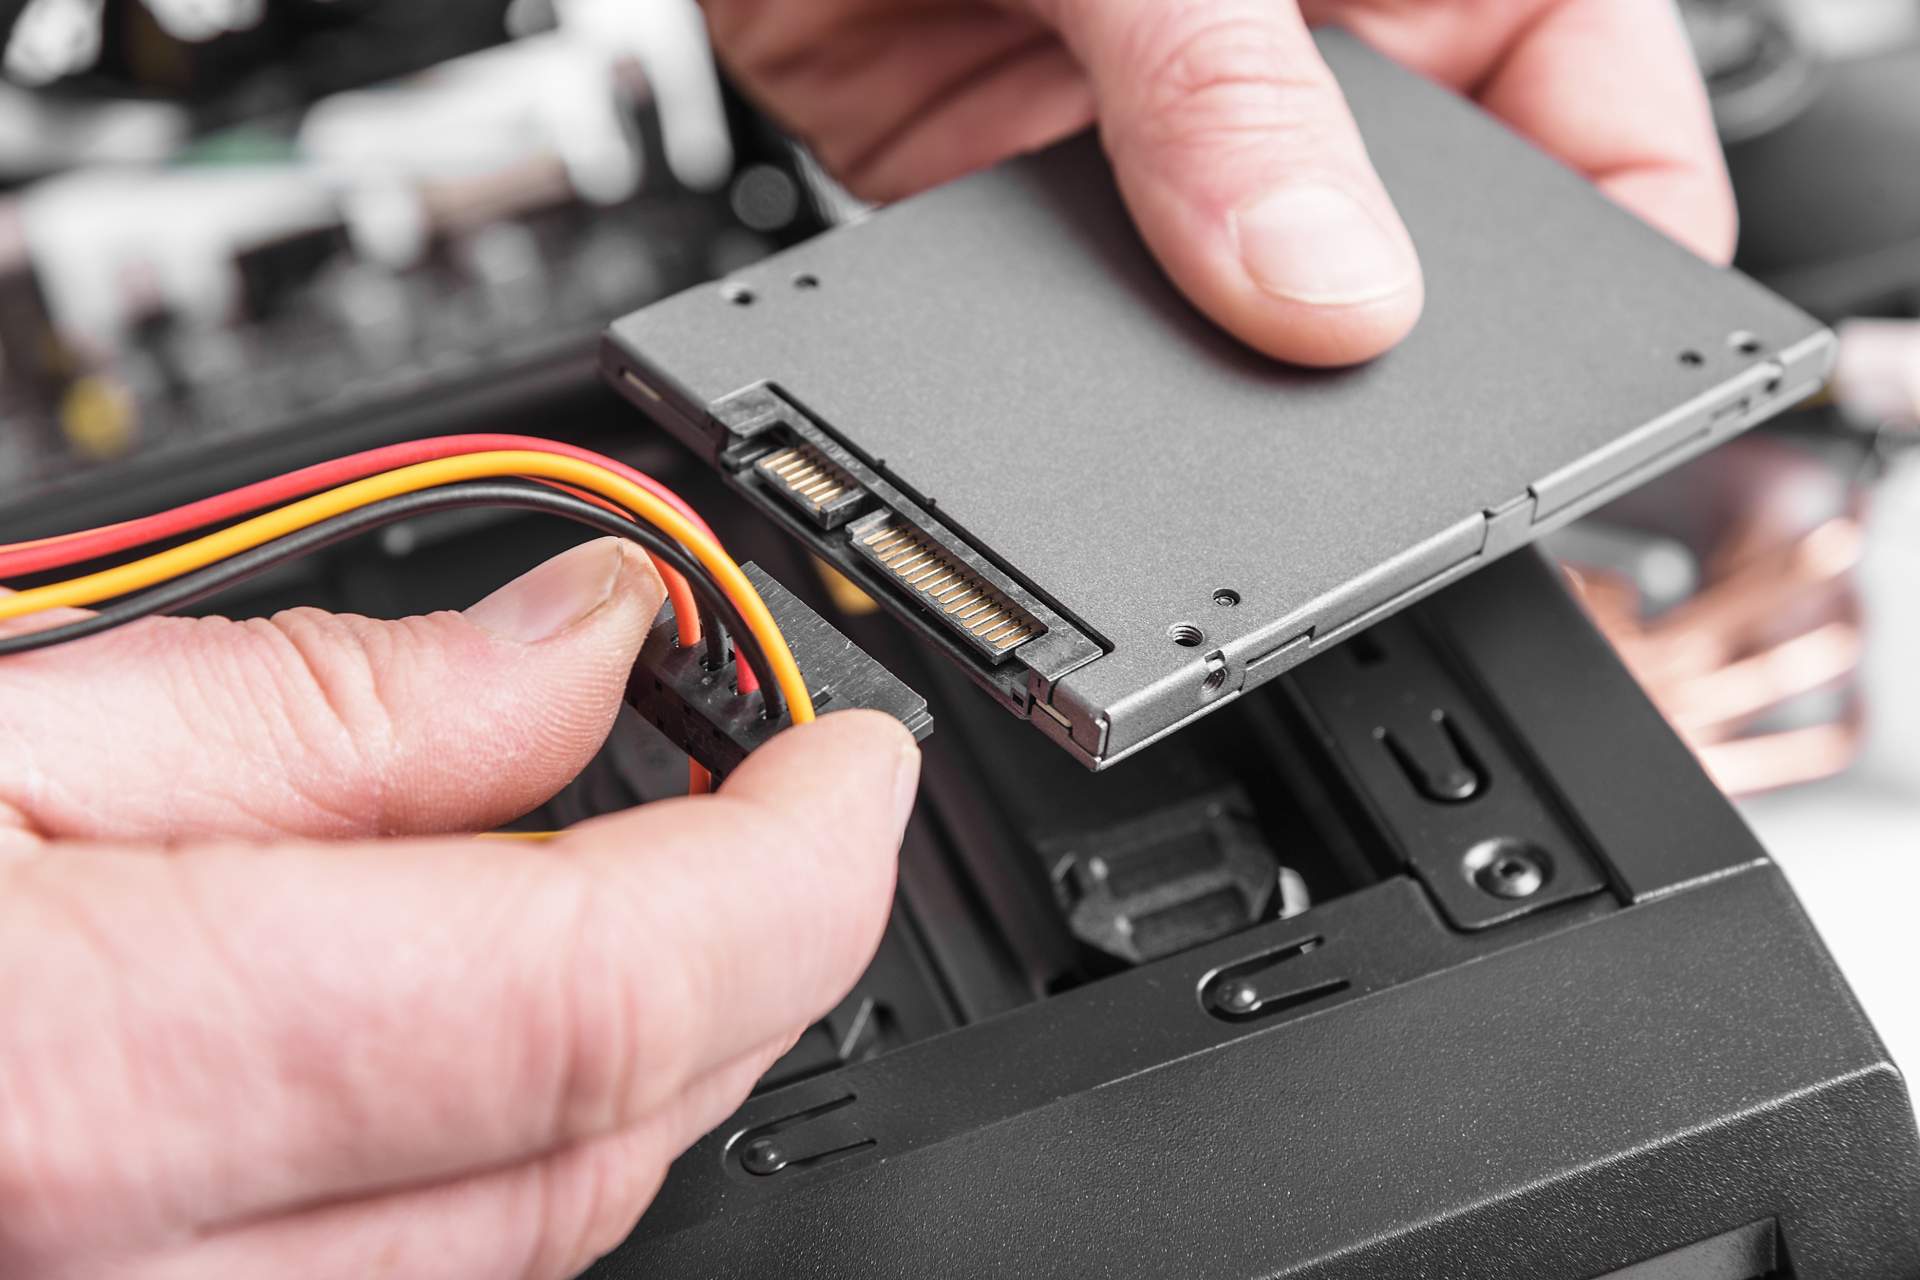
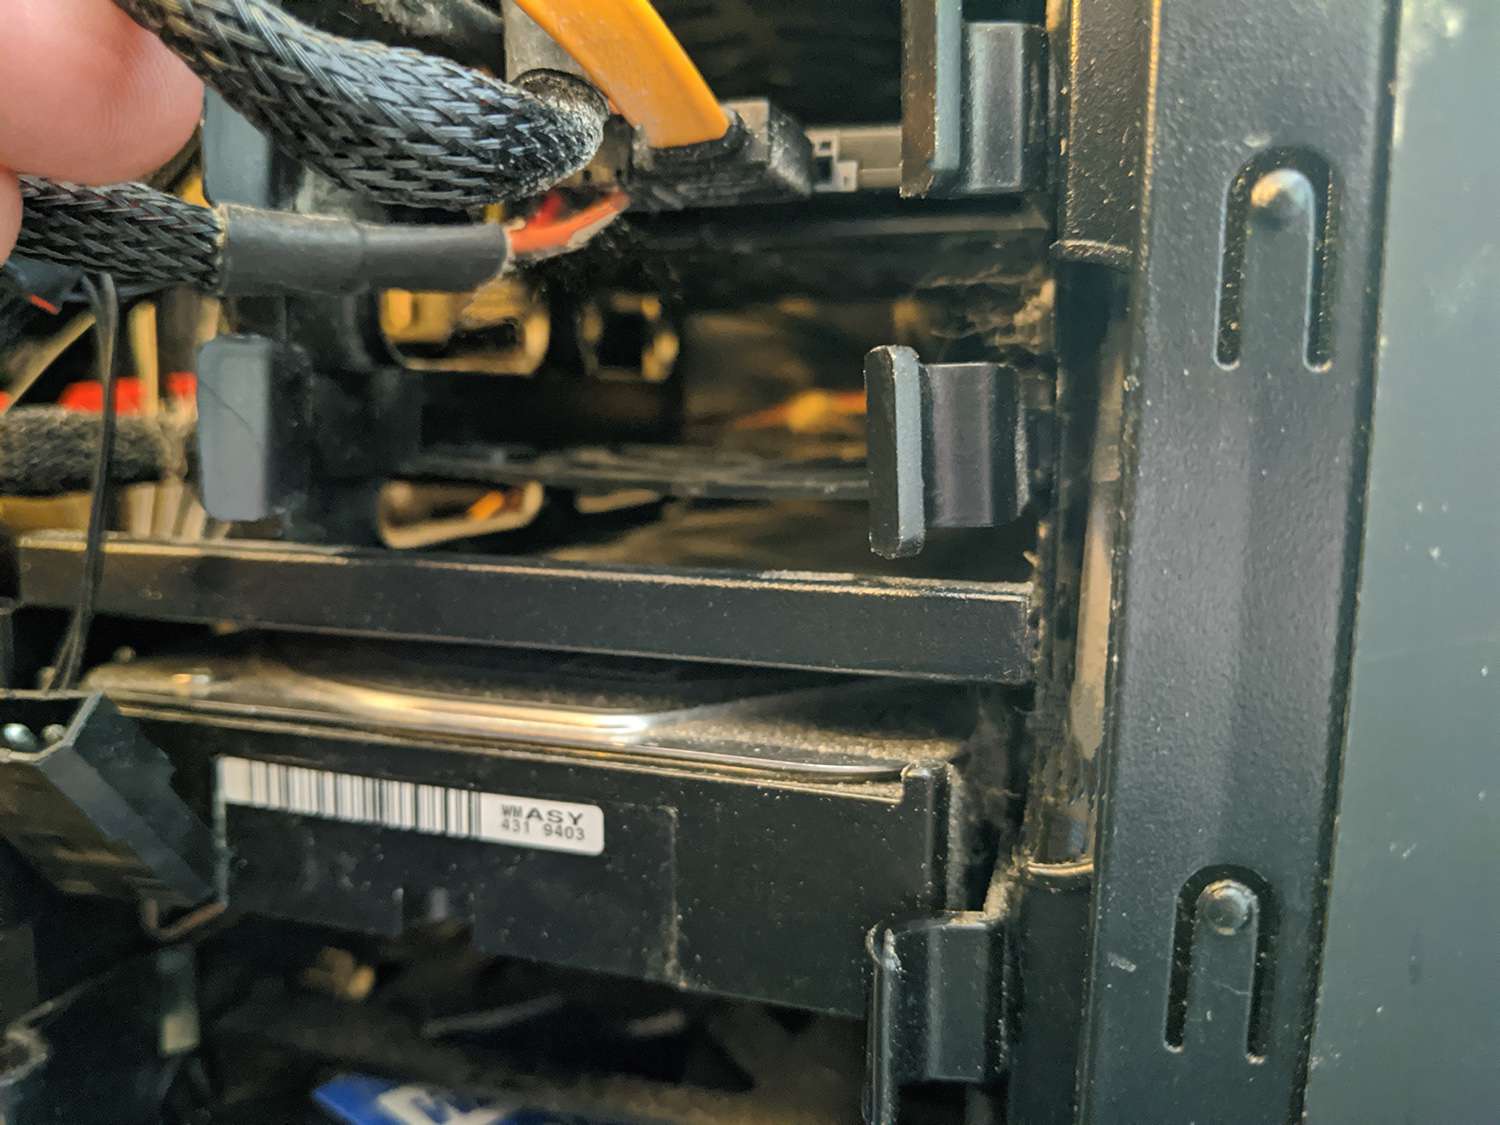
- Identify the appropriate slot or connector on your motherboard for the SSD. Depending on the form factor of your SSD, it may connect via a SATA cable or an M.2 slot.
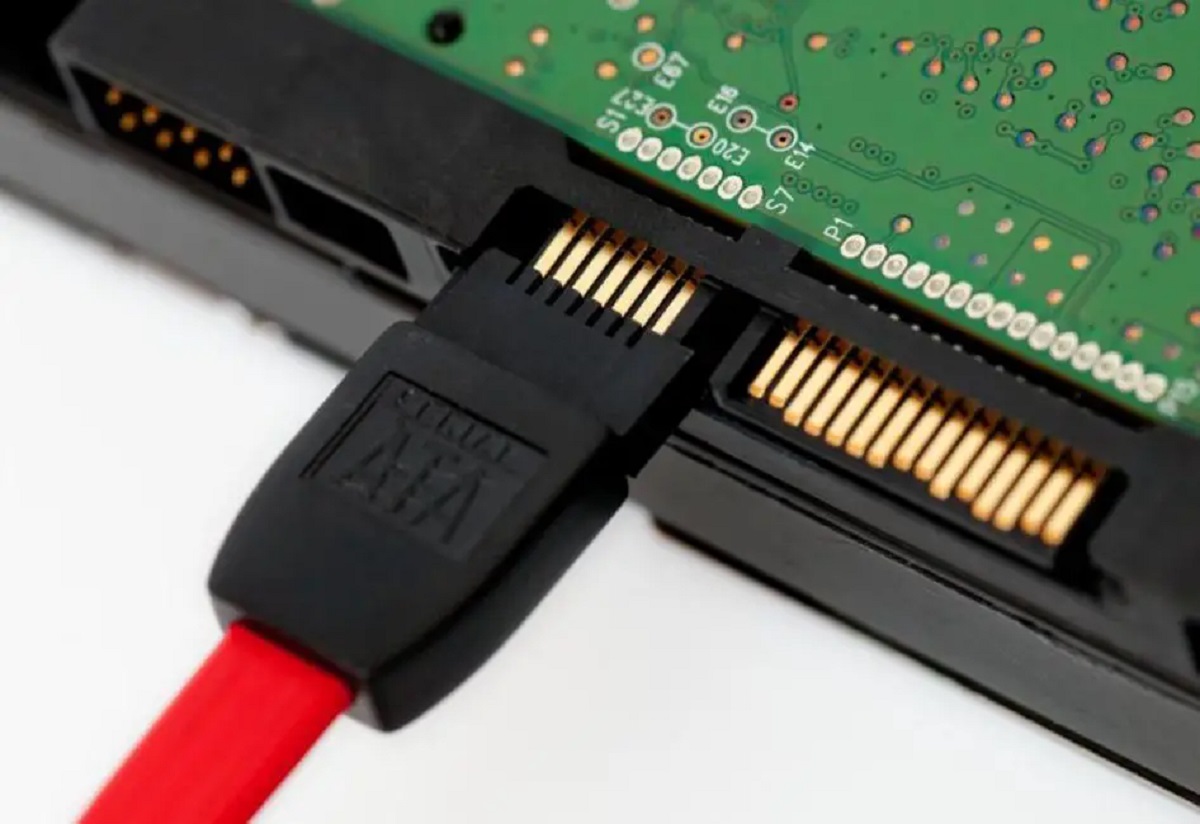
- If your SSD requires a SATA cable, connect one end of the cable to the SATA port on your motherboard and the other end to the SATA connector on the SSD. Ensure that the connection is secure.
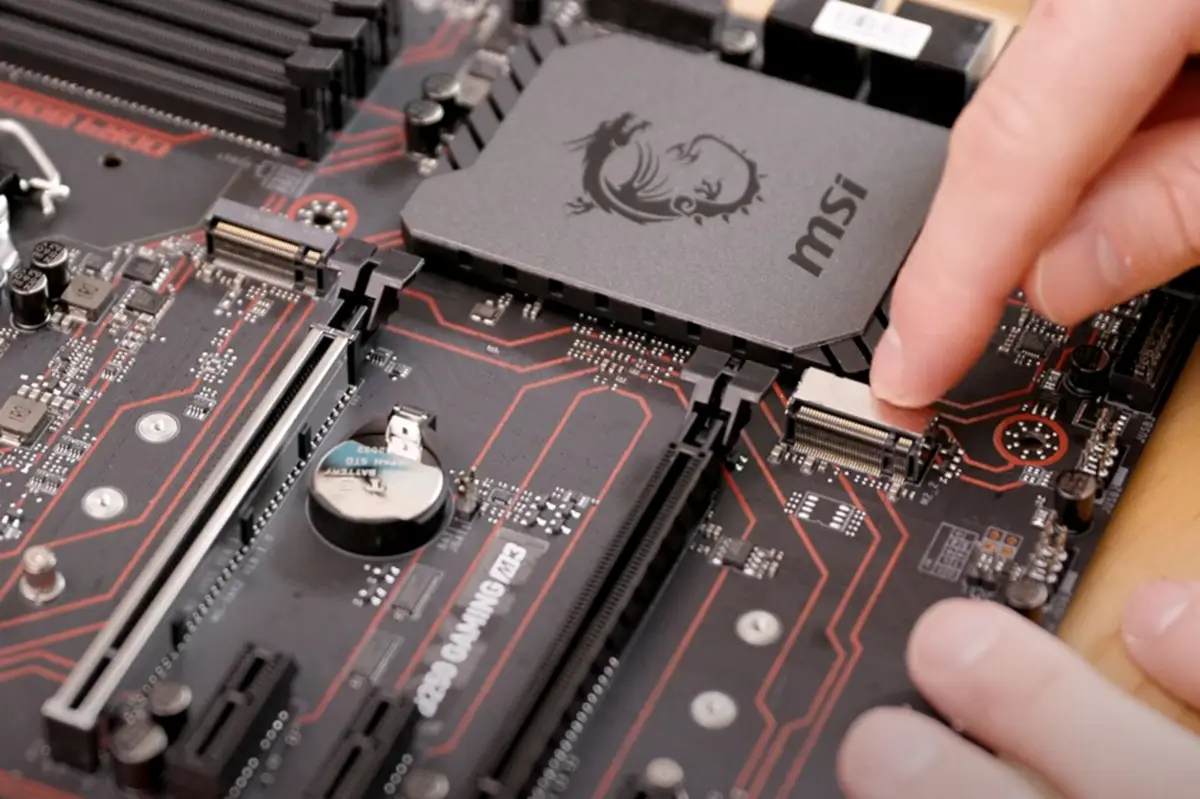
- If your SSD is an M.2 drive, locate the M.2 slot on your motherboard. Gently insert the SSD into the slot at a slight angle, ensuring that the connector pins align correctly. Press it down firmly until it is fully seated in the slot.
- For PCIe SSDs, check the manufacturer’s instructions on how to properly connect the drive, as the process may vary depending on the specific model.
- Once the SSD is properly connected, double-check all the connections to ensure they are secure.
After connecting the SSD, you can proceed to the next step of initializing the drive.
Note: If you are unsure about the specific steps for connecting the SSD to your computer, consult the documentation provided by the SSD manufacturer or seek professional assistance to avoid any potential damage to your hardware.
Initialize the SSD
Once you have properly connected the solid state drive (SSD) to your computer, the next step is to initialize the drive before you can use it for storage or install an operating system. Follow the steps below to initialize your SSD:
- Power on your computer and log in to the operating system.
- Right-click on the “Start” button (Windows) or click on the Apple menu (Mac) and select “Disk Management” (Windows) or “Disk Utility” (Mac).
- In the Disk Management (Windows) or Disk Utility (Mac) window, locate your SSD. It may be listed as a new or unallocated drive.
- Right-click on the SSD (Windows) or click on the SSD and select “Initialize” (Mac).
- Follow the on-screen prompts to select the partition style for the SSD. For Windows, choose between MBR (Master Boot Record) and GPT (GUID Partition Table). For Mac, choose the appropriate scheme.
- Select the desired partition size for the SSD. You can allocate the entire drive as one partition or create multiple partitions if needed.
- Assign a drive letter (Windows) or a name (Mac) to the SSD partition(s).
- Click “OK” or “Apply” to initialize the SSD.
Once the initialization process is complete, you can use the SSD for storage or proceed with installing an operating system on it. Remember to format the SSD if you plan to use it for data storage.
It’s important to note that the specific steps may vary slightly depending on the operating system you are using. Always refer to the official documentation provided by the operating system or seek assistance if you encounter any difficulties during the initialization process.
Update the Drivers
After initializing the solid state drive (SSD), it’s important to update the drivers to ensure optimal performance and compatibility with your computer’s hardware and operating system. Here’s how you can update the drivers for your SSD:
- Visit the website of the SSD manufacturer and navigate to the support or downloads section.
- Locate the drivers or software specifically designed for your SSD model and operating system version.
- Download the latest drivers or software package for your SSD.
- Once the download is complete, double-click on the file to run the installer.
- Follow the on-screen instructions to install the updated drivers or software for your SSD.
- Restart your computer to apply the driver updates.
Updating the drivers ensures that your operating system can fully recognize and utilize the features and capabilities of your SSD. It can also provide compatibility enhancements and bug fixes, improving stability and performance.
In addition to updating the SSD drivers, it’s also recommended to keep your computer’s chipset drivers, storage controller drivers, and firmware up to date. These updates can optimize the overall system performance and compatibility with the SSD.
If you are unsure about which drivers to install or encounter any difficulties during the driver update process, refer to the documentation provided by the SSD manufacturer or seek assistance from their customer support.
Keep in mind that regular driver updates are crucial to maintain the reliability and performance of your SSD. It’s advisable to periodically check for new driver releases and install them as needed to ensure a seamless experience with your solid state drive.
Enable the SSD in the BIOS
Once you have connected and updated the drivers for your solid state drive (SSD), the next step is to enable the SSD in the BIOS (Basic Input/Output System) of your computer. The BIOS is responsible for initializing and managing hardware components during the boot-up process. Here’s how you can enable the SSD in the BIOS:
- Start your computer and access the BIOS settings by pressing the designated key during the boot-up process. The key to access the BIOS may vary depending on your computer manufacturer (commonly F2, F12, Delete, or Esc).
- Navigate to the “Storage” or “Boot” section in the BIOS menu.
- Locate the SSD in the list of connected drives or devices.
- Select the SSD and set it as the primary boot device or adjust the boot order to prioritize the SSD over other storage devices.
- Save the changes made in the BIOS and exit the BIOS settings.
- Restart your computer to apply the changes.
Enabling the SSD in the BIOS ensures that your computer recognizes the SSD as a bootable device and allows the operating system to be installed and run from the SSD for improved performance.
It’s important to note that the exact steps to enable the SSD in the BIOS may vary depending on your computer’s make and model. Refer to the documentation provided by your computer manufacturer or consult their support resources for detailed instructions.
If you encounter any difficulties in accessing or navigating the BIOS settings, be cautious and avoid making any unintended changes. Seek assistance from your computer manufacturer’s support or consult a professional if needed.
By enabling the SSD in the BIOS, you ensure that your system recognizes and utilizes the full potential of the solid state drive, resulting in faster boot times and improved overall performance.
Use Disk Management to Format the SSD
After connecting and enabling the solid state drive (SSD) in the BIOS, the next step is to format the SSD using the Disk Management tool in your operating system. Formatting the SSD prepares it for use, allowing you to store and organize data effectively. Follow the steps below to format the SSD:
- Open the Disk Management tool on your computer. In Windows, you can do this by right-clicking on the “Start” button and selecting “Disk Management”. On a Mac, you can use the Disk Utility by clicking on the Apple menu and selecting “Disk Utility”.
- Locate the SSD in the Disk Management (Windows) or Disk Utility (Mac) window. It should be listed as a connected drive with unallocated space.
- Right-click on the SSD (Windows) or select the SSD (Mac) and choose the option to “Format”.
- Specify the desired file system for the SSD. For Windows, you can choose between NTFS or exFAT. On a Mac, you can choose between APFS, Mac OS Extended (Journaled), or FAT32.
- Customize the volume label or name of the SSD (optional).
- Configure the allocation unit size (Windows) or cluster size (Mac) based on your needs or leave it as the default.
- Check the options for quick format (Windows) or encryption (Mac) if desired.
- Click “OK” or “Apply” to start the formatting process.
Formatting the SSD will erase any existing data, so make sure you have backed up any important files before proceeding. The formatting process may take some time to complete, depending on the size of the SSD.
Once the formatting is finished, the SSD will be ready for use. You can now start transferring files, installing applications, or using it as additional storage for your computer.
If you encounter any issues or error messages during the formatting process, consult the documentation provided by your operating system or seek assistance from the manufacturer’s support resources.
Using the Disk Management tool to format the SSD ensures that it is properly configured and ready for data storage, allowing you to make the most out of your solid state drive.
Troubleshoot Connection Issues
While setting up a solid state drive (SSD) in your computer, you may encounter connection issues that prevent the SSD from being recognized or properly functioning. Here are some troubleshooting steps to help you resolve these connection issues:
- Check the connections: Ensure that all cables and connectors between the SSD and the motherboard are securely and properly connected. Sometimes, loose connections can cause connection issues.
- Try different cables or ports: If you suspect a faulty cable or port, try using a different SATA cable, M.2 slot, or PCIe slot, depending on the type of SSD you have. This can help determine if the issue lies with the connection itself.
- Update the motherboard firmware: Visit the website of your motherboard manufacturer and check for firmware updates. Updating the firmware can provide compatibility improvements and fix any bugs related to SSD connections.
- Check for BIOS updates: Similarly, check for BIOS updates for your computer’s motherboard. BIOS updates can often address compatibility issues with different hardware components, including SSDs.
- Inspect the SSD for physical damage: Examine the SSD for any physical damage, such as bent pins or connectors. Any visible damage could indicate a faulty SSD that may require replacement.
- Reset the CMOS: Resetting the CMOS (Complementary Metal-Oxide-Semiconductor) can sometimes resolve connection issues. Refer to your motherboard’s documentation to learn how to correctly reset the CMOS.
- Test on a different computer: If possible, connect the SSD to a different computer to see if the issue persists. If it works on another computer, the problem may lie with the original computer’s hardware or configuration.
- Seek professional assistance: If all troubleshooting steps fail, it’s advisable to seek assistance from a professional technician or the customer support of the SSD manufacturer, as further investigation may be required.
By following these troubleshooting steps, you can identify and resolve any connection issues with your solid state drive. Remember to exercise caution and take appropriate safety measures when handling computer hardware.
If you are unsure about performing any of these steps yourself, it’s always best to consult the documentation provided by your hardware manufacturer or seek assistance from a knowledgeable professional.
Conclusion
Setting up and getting your computer to recognize a solid state drive (SSD) can greatly enhance your system’s performance and speed. By following the necessary steps, you can ensure a seamless integration of the SSD into your computer. Here’s a brief recap of what we covered:
We started by checking the compatibility of your system with the SSD, ensuring that the form factor, interface, storage capacity, and power supply requirements match the SSD specifications. Next, we guided you through connecting the SSD properly, whether it be through SATA, M.2, or PCIe connections. Once connected, we moved on to initializing the SSD using the Disk Management tool, partitioning it, and assigning drive letters or names.
Updating the drivers for your SSD is crucial for optimal performance, so we highlighted the importance of visiting the manufacturer’s website and downloading the latest drivers or software. Enabling the SSD in the BIOS ensures that the system recognizes it as a bootable device, improving the overall boot times and performance.
Lastly, we discussed how to use the Disk Management tool to format the SSD, making it ready for storage and file organization. Additionally, we provided troubleshooting steps for connection issues that may arise during the setup process.
Remember to always consult the documentation provided by manufacturers and seek professional assistance if needed, especially when dealing with hardware components. By following these steps, you can successfully integrate an SSD into your computer and enjoy the benefits of faster speeds and improved performance.
Now that you have the knowledge and guidance, why wait? Upgrade your computer with a solid state drive and experience a whole new level of efficiency and responsiveness.