Introduction
Welcome to the world of external solid state drives (SSDs)! In today’s fast-paced digital age, where data storage and transfer are integral parts of our lives, having a reliable and efficient external storage solution is essential. Whether you are a student, professional, or casual computer user, an external SSD can greatly enhance your productivity and peace of mind.
In this article, we will explore the various aspects of using an external solid state drive. From understanding what an external SSD is and how it works to choosing the right one for your needs, we will cover all the essential information to help you make the most of this technology. Additionally, we’ll provide step-by-step guidance on installing, formatting, and connecting your external SSD, as well as transferring files to and managing data on it.
An external SSD offers several advantages over traditional hard disk drives (HDDs). It has no moving parts, which means faster data access speeds, increased durability, and improved shock resistance. With an external SSD, you can enjoy faster boot times, quicker file transfers, and seamless multitasking.
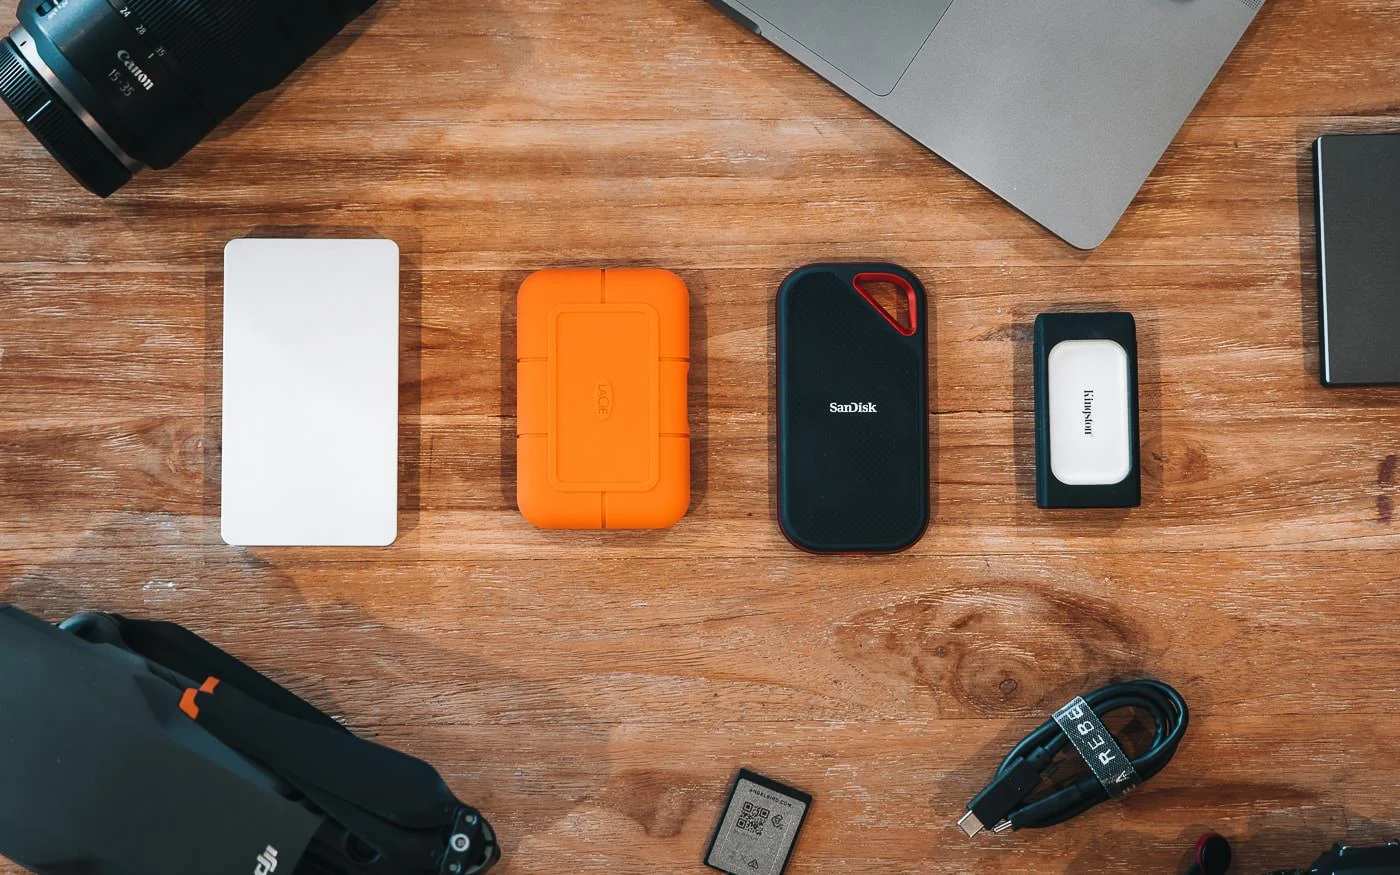
Choosing the right external SSD depends on your specific requirements. Factors such as storage capacity, connectivity options, and price play a crucial role in the selection process. We will discuss these considerations in detail, helping you make an informed decision when it comes to purchasing an external SSD.
Once you have your external SSD in hand, we will guide you through the process of installing and connecting it to your computer. We’ll also cover how to format the SSD, ensuring its compatibility with your operating system.
In the following sections, we’ll delve into transferring files to the external SSD, managing and organizing data, as well as using it for backups. We’ll also provide tips on optimizing the performance of your external SSD and troubleshooting common issues that may arise.
By the end of this article, you’ll have a comprehensive understanding of how to use an external solid state drive effectively. So, let’s dive in and unlock the full potential of your external storage solution!
Understanding External Solid State Drives (SSD)
In order to make the most of your external solid state drive (SSD), it’s important to understand what exactly it is and how it differs from traditional hard disk drives (HDDs).
An external SSD is a portable storage device that uses flash memory technology to store and retrieve data. Unlike HDDs, which rely on spinning magnetic disks and read/write heads, SSDs have no moving parts. Instead, they use interconnected memory chips to store data, allowing for faster and more reliable performance.
One of the primary advantages of external SSDs is their speed. Thanks to the absence of moving parts, SSDs can access and transfer data much faster than HDDs. This means that tasks such as copying files, opening applications, and booting up your computer can be significantly accelerated.
Another key benefit of external SSDs is their durability. HDDs are susceptible to physical damage if dropped or exposed to excessive vibrations. In contrast, SSDs are more robust and shock-resistant due to their solid-state construction. This makes them ideal for portable use, as they can withstand the rigors of being carried around in a bag or backpack.
External SSDs also tend to be more energy-efficient compared to HDDs. Since there are no spinning disks or moving parts, SSDs consume less power, resulting in improved battery life for your devices.
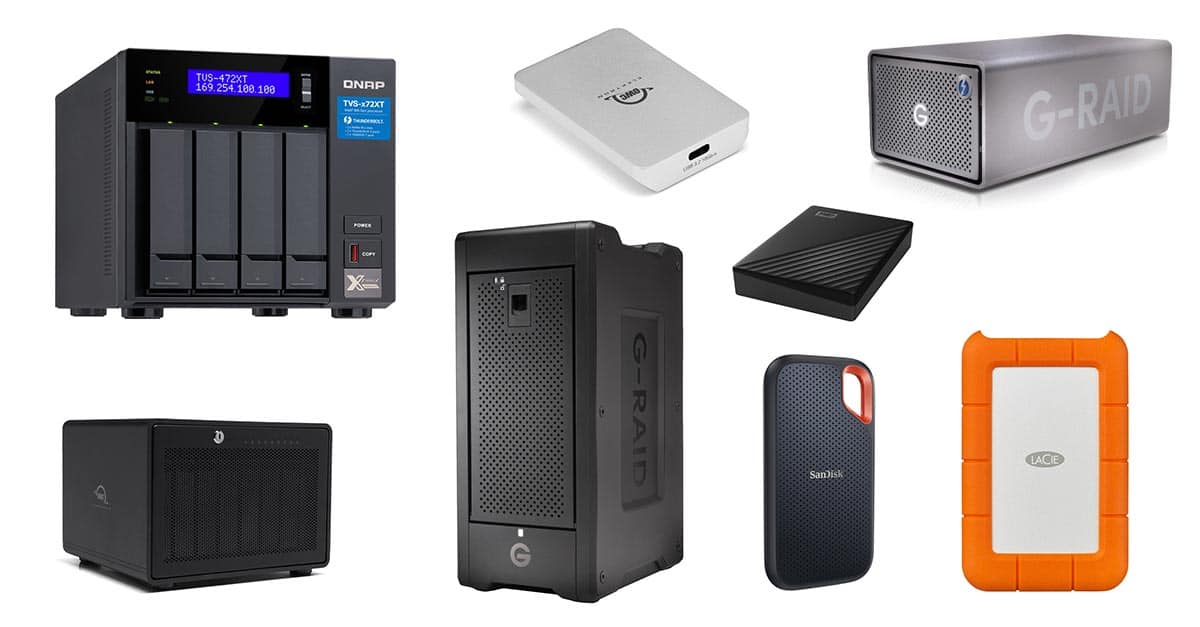
In terms of storage capacity, external SSDs are available in a wide range of options to suit various needs. Whether you require a compact SSD with moderate storage for daily use or a high-capacity SSD for storing large files and media, you can find a device that fits your requirements.
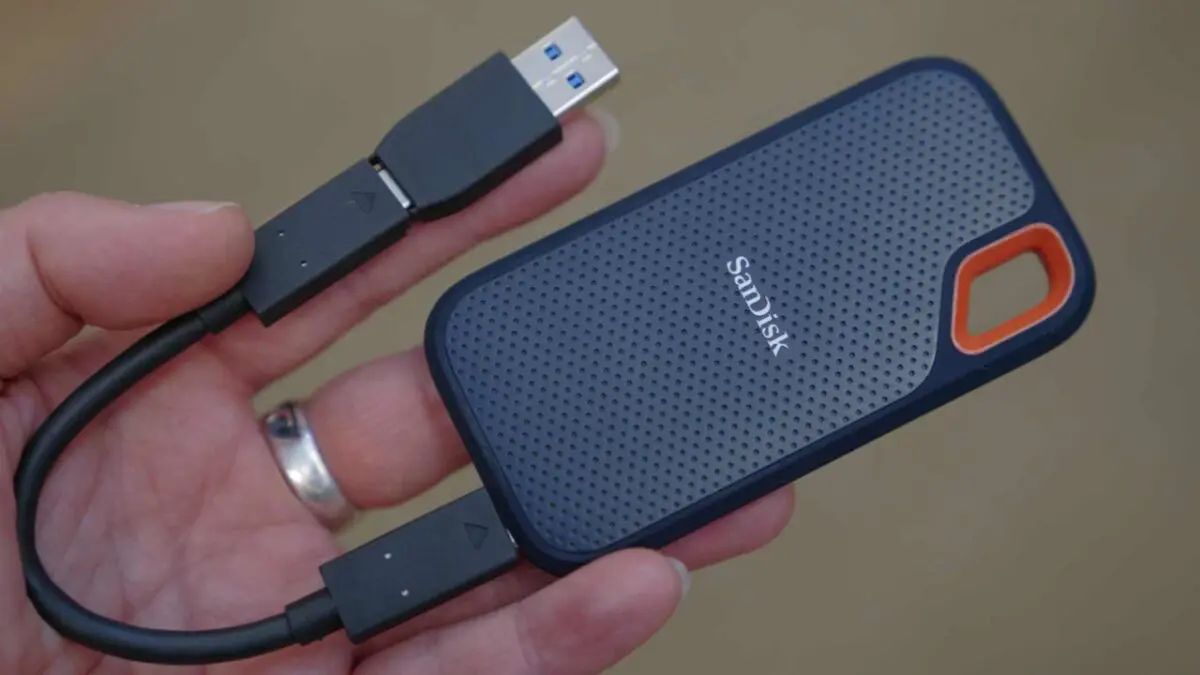
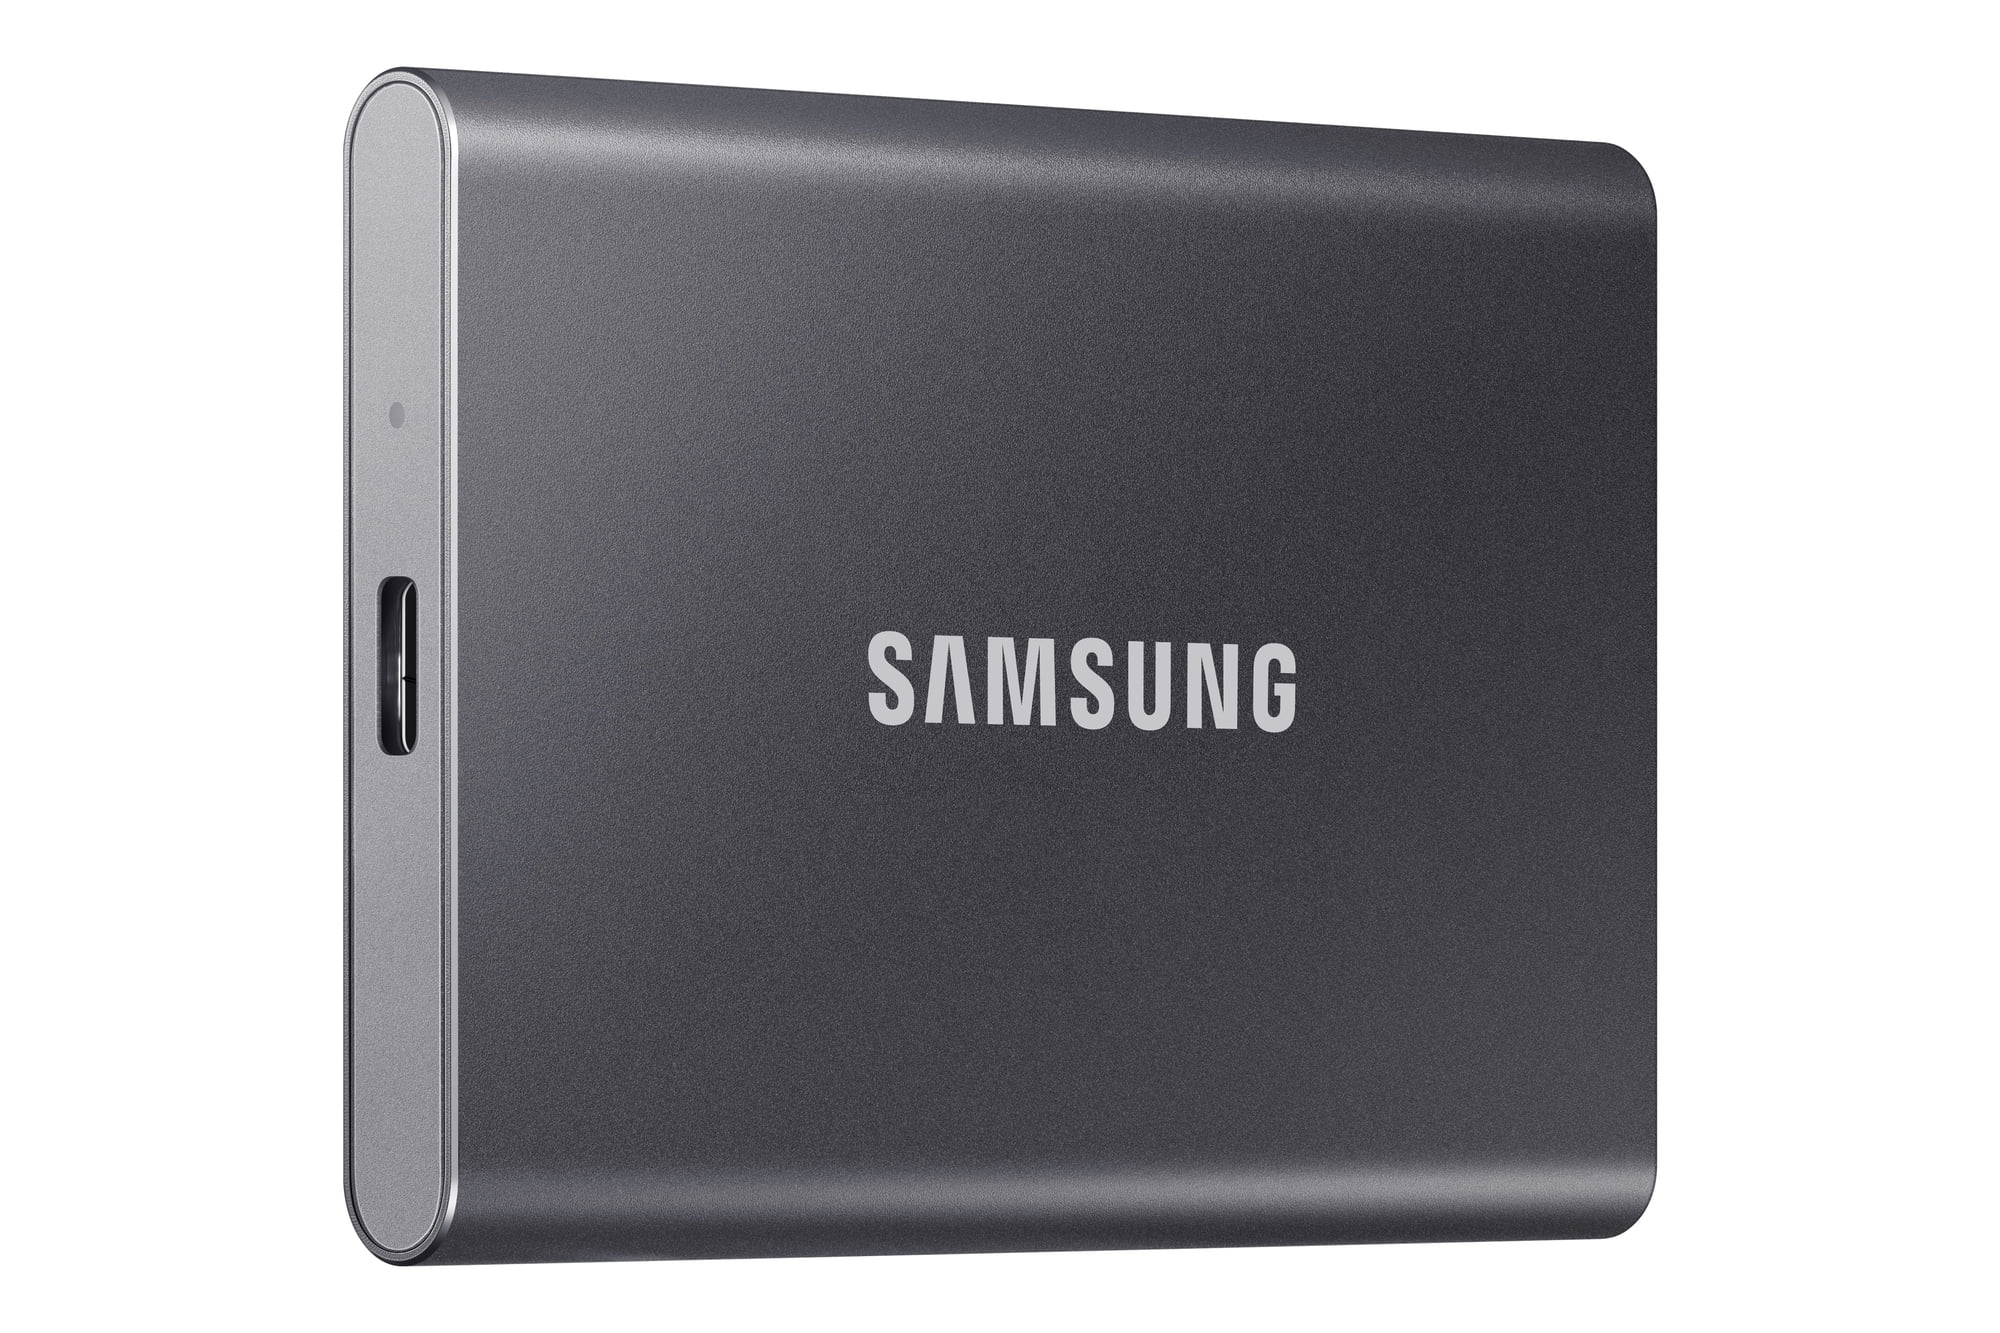
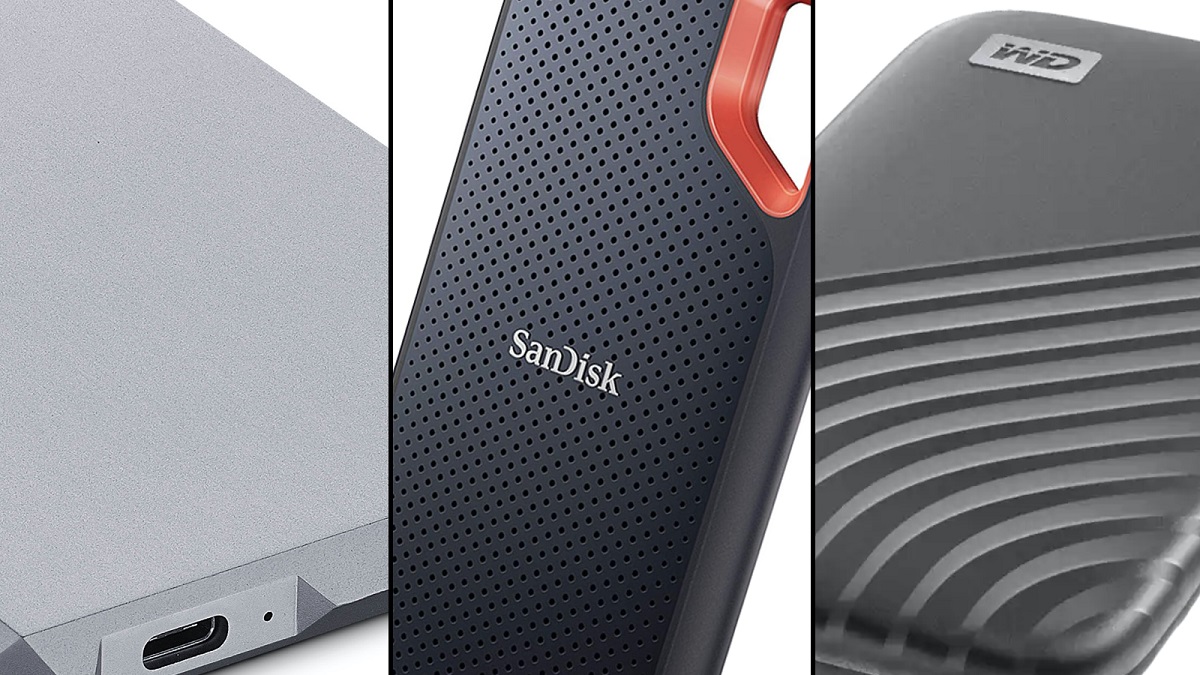
Connectivity is another important aspect to consider when choosing an external SSD. Most SSDs offer USB 3.0 or USB-C ports, enabling fast data transfer speeds. Some SSDs may also support Thunderbolt or eSATA connections, providing even faster transfer rates for users who require maximum performance.
While external SSDs are generally more expensive than HDDs on a per-gigabyte basis, their performance benefits, durability, and energy efficiency make them a worthwhile investment for many users.
Now that you have a solid understanding of what external SSDs are and their advantages over traditional HDDs, it’s time to explore the process of selecting the right external SSD for your specific needs.
Choosing the Right External SSD
When it comes to choosing the right external solid state drive (SSD), there are several factors you should consider to ensure that you find a device that meets your specific requirements. Let’s explore these factors in detail:
1. Storage Capacity: External SSDs are available in a variety of storage capacities, ranging from 250GB to multiple terabytes. Consider your storage needs and choose an SSD with adequate space to accommodate your files, documents, videos, and other data.
2. Speed and Performance: Look for an external SSD that offers fast read and write speeds for efficient data transfer. Ideally, opt for an SSD that utilizes the latest technology, such as NVMe (Non-Volatile Memory Express), to maximize performance.
3. Connectivity Options: Ensure that the external SSD you choose has suitable connectivity options for your devices. USB 3.0 and USB-C are common choices, offering high-speed data transfer. Thunderbolt and eSATA connections provide even faster speeds for users who require superior performance.
4. Compatibility: Verify the compatibility of the external SSD with your operating system (Windows, macOS, or Linux) to ensure seamless integration. Most modern SSDs support multiple operating systems, but it’s always good to double-check.
5. Durability: Consider the durability and ruggedness of the external SSD, especially if you plan to use it in harsh environments or while traveling. Look for SSDs that offer shock resistance and have sturdy casings to protect the internal components from physical damage.
6. Price: Set a budget for your external SSD purchase and compare prices across different brands and models. While external SSDs tend to be more expensive than traditional hard drives, keep in mind that the performance benefits and durability they offer justify the investment.
7. Brand Reputation: Research and select a reputable brand known for manufacturing high-quality external SSDs. Read customer reviews and ratings to ensure reliability and customer satisfaction.
8. Additional Features: Consider any additional features that may enhance your experience. Some external SSDs come with built-in encryption or password protection for added security, while others have software utilities for data backup and synchronization.
By carefully considering these factors, you can easily find the perfect external SSD that suits your needs and preferences. Once you have chosen the right external SSD, the next step is to install and connect it to your device, which we will explore in the next section.
Installing and Connecting the External SSD
Installing and connecting your external solid state drive (SSD) is a straightforward process. Follow these steps to get your SSD up and running:
1. Check the package contents: Ensure that you have received all the necessary components, including the external SSD, USB cable, and any other accessories that came with your SSD.
2. Prepare your device: Make sure your computer or device is powered off before connecting the external SSD. This will prevent any potential data loss or damage.
3. Connect the SSD: Take the USB cable that came with your external SSD and connect one end to the SSD and the other end to an available USB port on your computer or device. If your SSD has multiple connectivity options (e.g., USB-C and Thunderbolt), choose the appropriate cable for your device.
4. Power up the SSD: Once the SSD is connected, it should power up automatically. If not, locate the power button or switch on the SSD and turn it on. Some SSDs may not have a separate power button and will be powered directly via the USB connection.
5. Wait for the SSD to be recognized: After powering up the SSD, wait for your computer or device to recognize it. Depending on your operating system, you may see a notification or a new drive icon appearing in the file explorer.
6. Format the SSD (if required): In some cases, the external SSD may need to be formatted before it can be used. This step is typically required if the SSD is brand new or if it was previously formatted for a different operating system. Refer to the manufacturer’s instructions to format the SSD using the appropriate file system (FAT32, exFAT, or NTFS) for your operating system.
7. Confirm the SSD is ready: Once the formatting process is complete (if necessary), verify that the external SSD is listed as a usable drive on your computer or device. You can do this by opening the file explorer and checking for the presence of the SSD in the list of available drives.
8. Test the SSD: To ensure everything is functioning correctly, you can test your external SSD by transferring a small file or opening a document stored on the drive. This will verify that the SSD is properly connected and accessible.
That’s it! You have successfully installed and connected your external SSD. Now, it’s time to format the SSD (if required) in order to ensure compatibility with your operating system. In the next section, we will guide you through the formatting process.
Formatting the External SSD
Before you can start using your external solid state drive (SSD), it may be necessary to format the drive to ensure compatibility with your operating system. Here are the steps to format your external SSD:
1. Backup your data: Before proceeding with the formatting process, it is crucial to back up any important data or files stored on your external SSD. Formatting erases all existing data on the drive, so make sure to save a copy of your files on another device or cloud storage.
2. Open the formatting utility: To format your external SSD, you’ll need to access the formatting utility provided by your operating system. On Windows, this can be found by right-clicking on the SSD’s drive letter in the file explorer and selecting “Format”. On macOS, go to “Applications” > “Utilities” > “Disk Utility”.
3. Select the SSD: In the formatting utility, locate and select your external SSD from the list of available drives. Take extra care to ensure that you are selecting the correct drive, as formatting cannot be undone.
4. Choose the file system: Determine the file system format you want to use for your external SSD. For compatibility with both Windows and macOS, choose exFAT. If you are only using the SSD on macOS, you can select macOS Extended (Journaled) format.
5. Customize the format options (optional): Depending on the formatting utility, you may have the option to customize additional format settings. This can include volume name, allocation unit size, or encryption options. Adjust these settings according to your preferences or leave them as default.
6. Start the formatting process: Once you have selected the desired file system format and customized any additional options, click on the “Format” button to initiate the formatting process. A warning message may appear, notifying you that all data on the SSD will be erased. Double-check that you have backed up your data before proceeding.
7. Wait for the format to complete: The formatting process may take a few minutes, depending on the size of your external SSD. Be patient and do not interrupt the process. Once the format is completed, a confirmation message or progress bar will appear.
8. Verify the formatting: After the formatting is finished, check the file explorer or disk utility to ensure that the external SSD is now recognized as a properly formatted drive. You should be able to access and use the SSD like any other storage device.
With the formatting process complete, your external SSD is now ready to be used for storing and transferring data. In the next section, we will discuss the steps to transfer files to your external SSD for seamless data management.
Transferring Files to the External SSD
Now that you have your external solid state drive (SSD) formatted and ready to use, it’s time to transfer files to the drive. Whether you want to back up important documents, store media files, or free up space on your computer, here’s how to transfer files to your external SSD:
1. Connect the SSD: Ensure that your external SSD is properly connected to your computer or device using the appropriate cable and port. Make sure it is recognized and accessible in the file explorer or disk utility.
2. Open the file explorer: Open the file explorer or Finder on your computer to navigate through your files and folders.
3. Locate the files to transfer: In the file explorer, navigate to the folder or location where your files are currently stored. This can be your computer’s hard drive, another external drive, or cloud storage.
4. Select the files: Select the files or folders you want to transfer to your external SSD. You can do this by clicking and dragging your mouse to highlight multiple files or by using keyboard shortcuts such as Ctrl+A (Windows) or Command+A (macOS) to select all files.
5. Copy the files: Right-click on the selected files and choose the “Copy” option from the context menu. Alternatively, you can use the keyboard shortcut Ctrl+C (Windows) or Command+C (macOS) to copy the files.
6. Open the SSD: Navigate to the external SSD in the file explorer or disk utility window. This will be represented by a new drive letter or icon that corresponds to your SSD.
7. Paste the files: Right-click in the empty space within the SSD, and choose the “Paste” option from the context menu. Alternatively, you can use the keyboard shortcut Ctrl+V (Windows) or Command+V (macOS) to paste the files onto the SSD.
8. Monitor the file transfer progress: Depending on the size and number of files being transferred, the process may take some time. Keep an eye on the file transfer progress indicator, which can appear as a progress bar or percentage completion in the file explorer or disk utility window.
9. Verify the file transfer: Once the file transfer is complete, double-check that the files have been successfully copied to your external SSD. Open the SSD in the file explorer or disk utility and navigate to the respective folders to ensure the files are present.
By following these steps, you can easily transfer files to your external SSD. Remember to safely eject the SSD from your computer before disconnecting it to prevent any data loss or corruption. In the next section, we will discuss the proper method of safely ejecting your external SSD.
Safely Ejecting the External SSD
After transferring files to your external solid state drive (SSD) or when you no longer need to use it, it’s important to safely eject the SSD from your computer to avoid potential data corruption or loss. Follow these steps to safely eject your external SSD:
1. Save and close any open files: Before ejecting the external SSD, make sure to save any ongoing work and close any files or applications that are accessing the SSD.
2. Check for active transfers: Verify that all file transfers or syncing processes involving the external SSD have completed. Look out for any file copy or backup tasks that may still be in progress.
3. Locate the “eject” or “safely remove hardware” icon: In your computer’s system tray (Windows) or menu bar (macOS), look for an icon that represents ejecting or safely removing hardware. It may look like a USB plug or an eject button.
4. Right-click on the icon: Right-click on the eject icon in the system tray (Windows) or menu bar (macOS) to reveal a list of connected devices.
5. Select the external SSD: From the list of connected devices, identify and select your external SSD. This will initiate the ejection process.
6. Wait for the confirmation message: After selecting the external SSD for ejection, wait for a confirmation message to appear, indicating that it is safe to disconnect the SSD. This message ensures that all disk operations and caching are properly completed.
7. Disconnect the external SSD: Once you see the confirmation message, you can safely disconnect the external SSD from your computer. Depending on the type of connection, gently unplug the USB cable or disconnect the Thunderbolt or USB-C connection.
8. Store the SSD properly: After safely ejecting the external SSD, store it in a protective case or a safe place to prevent any physical damage or dust accumulation on the connectors.
Important: It is crucial to always follow the proper ejection procedure to prevent data corruption or loss. Disconnection without properly ejecting the SSD can cause file system errors or damage to the drive, leading to potential data loss.
By safely ejecting your external SSD, you ensure the integrity of your data and maintain the longevity of the drive. In the next section, we will discuss how to use the external SSD for backups, providing an extra layer of protection for your important files and data.
Using the External SSD for Backups
One of the most valuable uses for an external solid state drive (SSD) is for creating backups of your important files and data. By regularly backing up your data to the external SSD, you can prevent data loss in case of hardware failure or accidental deletion. Here’s how you can use your external SSD for backups:
1. Set up a backup schedule: Determine how often you want to back up your data. It can be daily, weekly, or monthly, depending on the frequency of changes to your files and the importance of your data.
2. Choose a backup software: Select a reliable backup software that suits your needs. There are various options available, both free and paid, which offer features like automated backups, file versioning, and compression.
3. Install the backup software: Install the chosen backup software on your computer and follow the instructions provided by the software’s installer.
4. Connect the external SSD: Connect your external SSD to your computer using the appropriate cable and port. Ensure that it is recognized and accessible in the file explorer or disk utility.
5. Configure the backup software: Open the backup software and configure the backup settings. Select the files and folders you want to back up and specify the external SSD as the destination for the backups.
6. Start the backup process: Initiate the first backup process, which may take some time depending on the size of the data being backed up. Subsequent backups will typically be incremental, meaning only newly added or modified files will be copied.
7. Keep the backup software running: To ensure that your backups remain up to date, leave the backup software running in the background or schedule automatic backups. This way, any changes to your files will be automatically synced to the external SSD.
8. Verify and test backups: Occasionally, check the external SSD to ensure that the backups are being created and stored properly. Test the restore process by retrieving some files from the backup to confirm that they are intact and accessible.
9. Store the external SSD safely: Keep the external SSD in a safe location, away from potential hazards, such as extreme temperatures, moisture, or physical damage. Consider using a protective case or storage solution to keep it secure.
By using your external SSD for backups, you can have peace of mind knowing that your important files and data are protected. Regularly backing up your data helps safeguard against data loss due to hardware failure, accidental deletion, or malware attacks. In the next section, we will explore how to manage files and organize data on your external SSD effectively.
Managing Files and Organizing Data on the External SSD
Efficiently managing your files and organizing data on your external solid state drive (SSD) can help you optimize your storage space and easily locate the files you need. Here are some tips to effectively manage and organize your data on the external SSD:
1. Create a folder structure: Start by creating a logical folder structure on your external SSD. This could include categories such as “Documents,” “Photos,” “Videos,” “Music,” or any other relevant classifications specific to your data.
2. Sort files into appropriate folders: Take the time to sort your existing files into the designated folders. This will make it easier to locate specific files later and maintain a tidy organizational structure.
3. Use subfolders: For further organization, consider creating subfolders within your main folders. For example, within the “Documents” folder, you might have subfolders for “Work,” “Personal,” or “Projects” to keep files even more organized.
4. Rename files: If necessary, rename files to more descriptive titles that make it easier to identify their contents. This is particularly helpful for files with generic or cryptic names.
5. Add descriptive metadata: Depending on the files you have, consider adding descriptive metadata such as tags or keywords to help with searching and filtering the data. This can be especially useful for photos or documents with specific themes or subjects.
6. Regularly delete unnecessary files: Periodically review and delete any files that are no longer needed. This will not only free up storage space on your external SSD but also ensure that you have a clutter-free and organized environment.
7. Implement a backup strategy: While using the external SSD for backups, consider organizing your backup files separately from your original files. Having a dedicated backup folder can help you easily distinguish between backed-up files and active project files.
8. Maintain a consistent naming convention: Establish and follow a consistent naming convention for your files. This will make it easier to search for specific files and maintain organization, especially as your data collection grows over time.
9. Regularly review and reorganize: As your data evolves and new files are added, regularly review and reorganize your external SSD to ensure that the folder structure still aligns with your needs. This will help prevent excessive clutter and maintain an efficient organization system.
By implementing these file management and organizational practices, you can maximize the utilization of your external SSD and efficiently locate the files you need. Proper organization also streamlines future file access, making your workflow more productive and seamless. In the next section, we will discuss how to optimize the performance of your external SSD.
Optimizing the Performance of the External SSD
To ensure you get the most out of your external solid state drive (SSD) and maximize its performance, there are several steps you can take to optimize its operation. Follow these tips to enhance the performance of your external SSD:
1. Enable TRIM (Windows) or Trimforce (macOS): TRIM is a functionality that allows an SSD to efficiently manage and maintain performance over time. On Windows, enable TRIM by opening the command prompt as an administrator and entering the command “fsutil behavior set DisableDeleteNotify 0”. On macOS, use the Terminal and enter the command “sudo trimforce enable” to enable Trimforce.
2. Update SSD firmware: Regularly check for firmware updates for your external SSD. Firmware updates often include improvements to performance, compatibility, and reliability. Visit the manufacturer’s website for firmware updates and follow the instructions for installation.
3. Enable write caching: Adjust the write caching settings for your external SSD to improve write performance. To do this, go to the device properties in the Windows Device Manager or the System Preferences on macOS and enable write caching if it is not already enabled.
4. Avoid excessive fragmentation: Although SSDs do not suffer from file fragmentation like HDDs, it is still beneficial to minimize fragmentation by regularly performing disk optimization and defragmentation on the computer where the SSD is connected.
5. Optimize power settings: Adjust the power settings on your computer to ensure maximum performance when the external SSD is in use. For example, on Windows, select the “High Performance” power plan, which prioritizes performance over power saving.
6. Keep the SSD cool: Excessive heat can affect the performance and lifespan of an SSD. Ensure proper ventilation and airflow around the external SSD to prevent overheating. Avoid placing it on heat-generating surfaces or in direct sunlight.
7. Use the appropriate cable and port: Ensure that you are using a high-quality USB cable capable of achieving the maximum transfer speed supported by your external SSD. Connect the SSD to a USB 3.0 or USB-C port for the best performance.
8. Avoid filling the SSD to capacity: Leaving some free space on the external SSD improves its performance. Aim to keep at least 10-20% of the drive’s total capacity free to allow for efficient garbage collection and wear leveling algorithms.
9. Regularly update drivers and operating system: Keep your computer’s operating system and SSD drivers up to date. Newer drivers and software updates often include performance enhancements and bug fixes, resulting in improved SSD performance.
By implementing these performance optimization tips, you can ensure that your external SSD delivers optimal speed and efficiency. Regularly monitor the performance of your SSD and take necessary steps to maintain its long-term reliability and performance. In the next section, we will explore common issues with external SSDs and provide tips for troubleshooting.
Troubleshooting Common Issues with External SSDs
While external solid state drives (SSDs) are generally reliable and efficient, there are occasional issues that can arise. Here are some common issues you may encounter with your external SSD and tips for troubleshooting:
1. SSD not recognized: If your external SSD is not being recognized by your computer, ensure that it is properly connected to a working USB port or cable. Try connecting it to a different port or using a different cable to rule out any connection issues. Additionally, check the device manager or disk utility to see if the SSD is listed and recognized but not assigned a drive letter. In such cases, you may need to assign a drive letter manually.
2. Slow transfer speeds: If you are experiencing slow transfer speeds with your external SSD, ensure that it is connected to a USB 3.0 or USB-C port for maximum performance. Verify that you are using a high-quality cable capable of achieving the maximum transfer speed supported by your SSD. Also, check if there are any background processes consuming system resources that may be impacting the speed.
3. Drive errors or corruption: If you encounter drive errors or corruption on your external SSD, run a disk check utility provided by your operating system. On Windows, open Command Prompt as an administrator and use the “chkdsk” command with the appropriate drive letter. On macOS, use Disk Utility to run First Aid on the SSD. These utilities can help identify and fix any errors on the drive.
4. Incompatibility with the operating system: If your external SSD is not compatible with your operating system, ensure that you have the necessary drivers or firmware updates installed. Visit the manufacturer’s website and check for any driver updates specific to your operating system. If required, install the updated drivers or firmware to resolve compatibility issues.
5. Data loss or accidental deletion: In the event of data loss or accidental deletion from your external SSD, it is crucial to have regular backups of your important files. If possible, use data recovery software to attempt to recover any lost or deleted files. However, bear in mind that data recovery success may vary depending on the nature and extent of the data loss.
6. Firmware update failures: If you encounter difficulties or failures when attempting to update the firmware of your external SSD, ensure that you are following the manufacturer’s instructions precisely. Check that the firmware update file is compatible with your specific SSD model. If the issue persists, reach out to the manufacturer’s support for assistance.
7. Overheating issues: If your external SSD is generating excessive heat, ensure that it is placed in a well-ventilated area and not exposed to direct sunlight or other heat sources. If possible, use cooling pads or external fans to dissipate the heat and prevent overheating. Continuous overheating can affect the performance and lifespan of the SSD.
8. File system errors: File system errors can occur on your external SSD, causing issues with data accessibility. Run disk repair utilities, such as CHKDSK on Windows or Disk Utility on macOS, to scan and fix any file system errors. These utilities can help restore the integrity of the file system and resolve related issues.
Remember to consult the user manual or the manufacturer’s support resources for specific troubleshooting instructions related to your external SSD. If the issues persist or if you are unsure how to proceed, contacting the manufacturer’s customer support is always a good option. By troubleshooting these common issues, you can ensure the optimal functioning of your external SSD and enjoy a seamless and efficient data storage experience.
Final Thoughts and Recommendations
External solid state drives (SSDs) have revolutionized the way we store, transfer, and protect our data. Their speed, durability, and portability make them a valuable tool for anyone looking to enhance their digital storage capabilities. As we conclude this guide, here are some final thoughts and recommendations:
1. Choose the right external SSD: Consider your storage needs, connectivity preferences, and budget when selecting an external SSD. Look for reputable brands, compare features, and read customer reviews to make an informed decision.
2. Prioritize performance optimization: Implement best practices like enabling TRIM, updating firmware, and using the appropriate cables and ports to optimize the performance of your external SSD. Regularly monitoring and maintaining your SSD will ensure consistent and efficient operations.
3. Develop good file management habits: Take the time to organize and manage your files on the external SSD. Create a well-structured folder system, use descriptive names, and regularly delete unnecessary files. This will make it easier to locate and access your data in the future.
4. Safely eject your SSD: Always follow the proper procedure to safely eject your external SSD before disconnecting it from your computer. This will prevent data corruption and ensure the integrity of your files.
5. Back up your data: Utilize your external SSD for regular backups of your important files. Set up a backup schedule, use reliable backup software, and test the recovery process periodically. This will safeguard your data against accidental loss or hardware failures.
6. Stay vigilant with security: Keep your external SSD and your data secure. If your device offers encryption options, consider enabling them to protect your sensitive information. Maintain strong passwords and regularly update your antivirus software for added security.
7. Stay informed and up to date: Keep an eye on the latest advancements and updates related to external SSD technology. Manufacturers often release firmware updates and software improvements that can enhance the performance and reliability of your SSD.
8. Seek professional assistance when needed: If you experience persistent issues or encounter complex problems with your external SSD, do not hesitate to seek help from the manufacturer’s customer support or consult a professional technician. They can provide specific guidance and solutions tailored to your situation.
By following these recommendations and incorporating them into your usage of an external SSD, you can fully harness its capabilities and enjoy a seamless and efficient storage experience. Remember that regular maintenance, data backups, and organized file management are essential to maintaining the longevity and reliability of your external SSD. Now, go forth and make the most of your external solid state drive!