Introduction
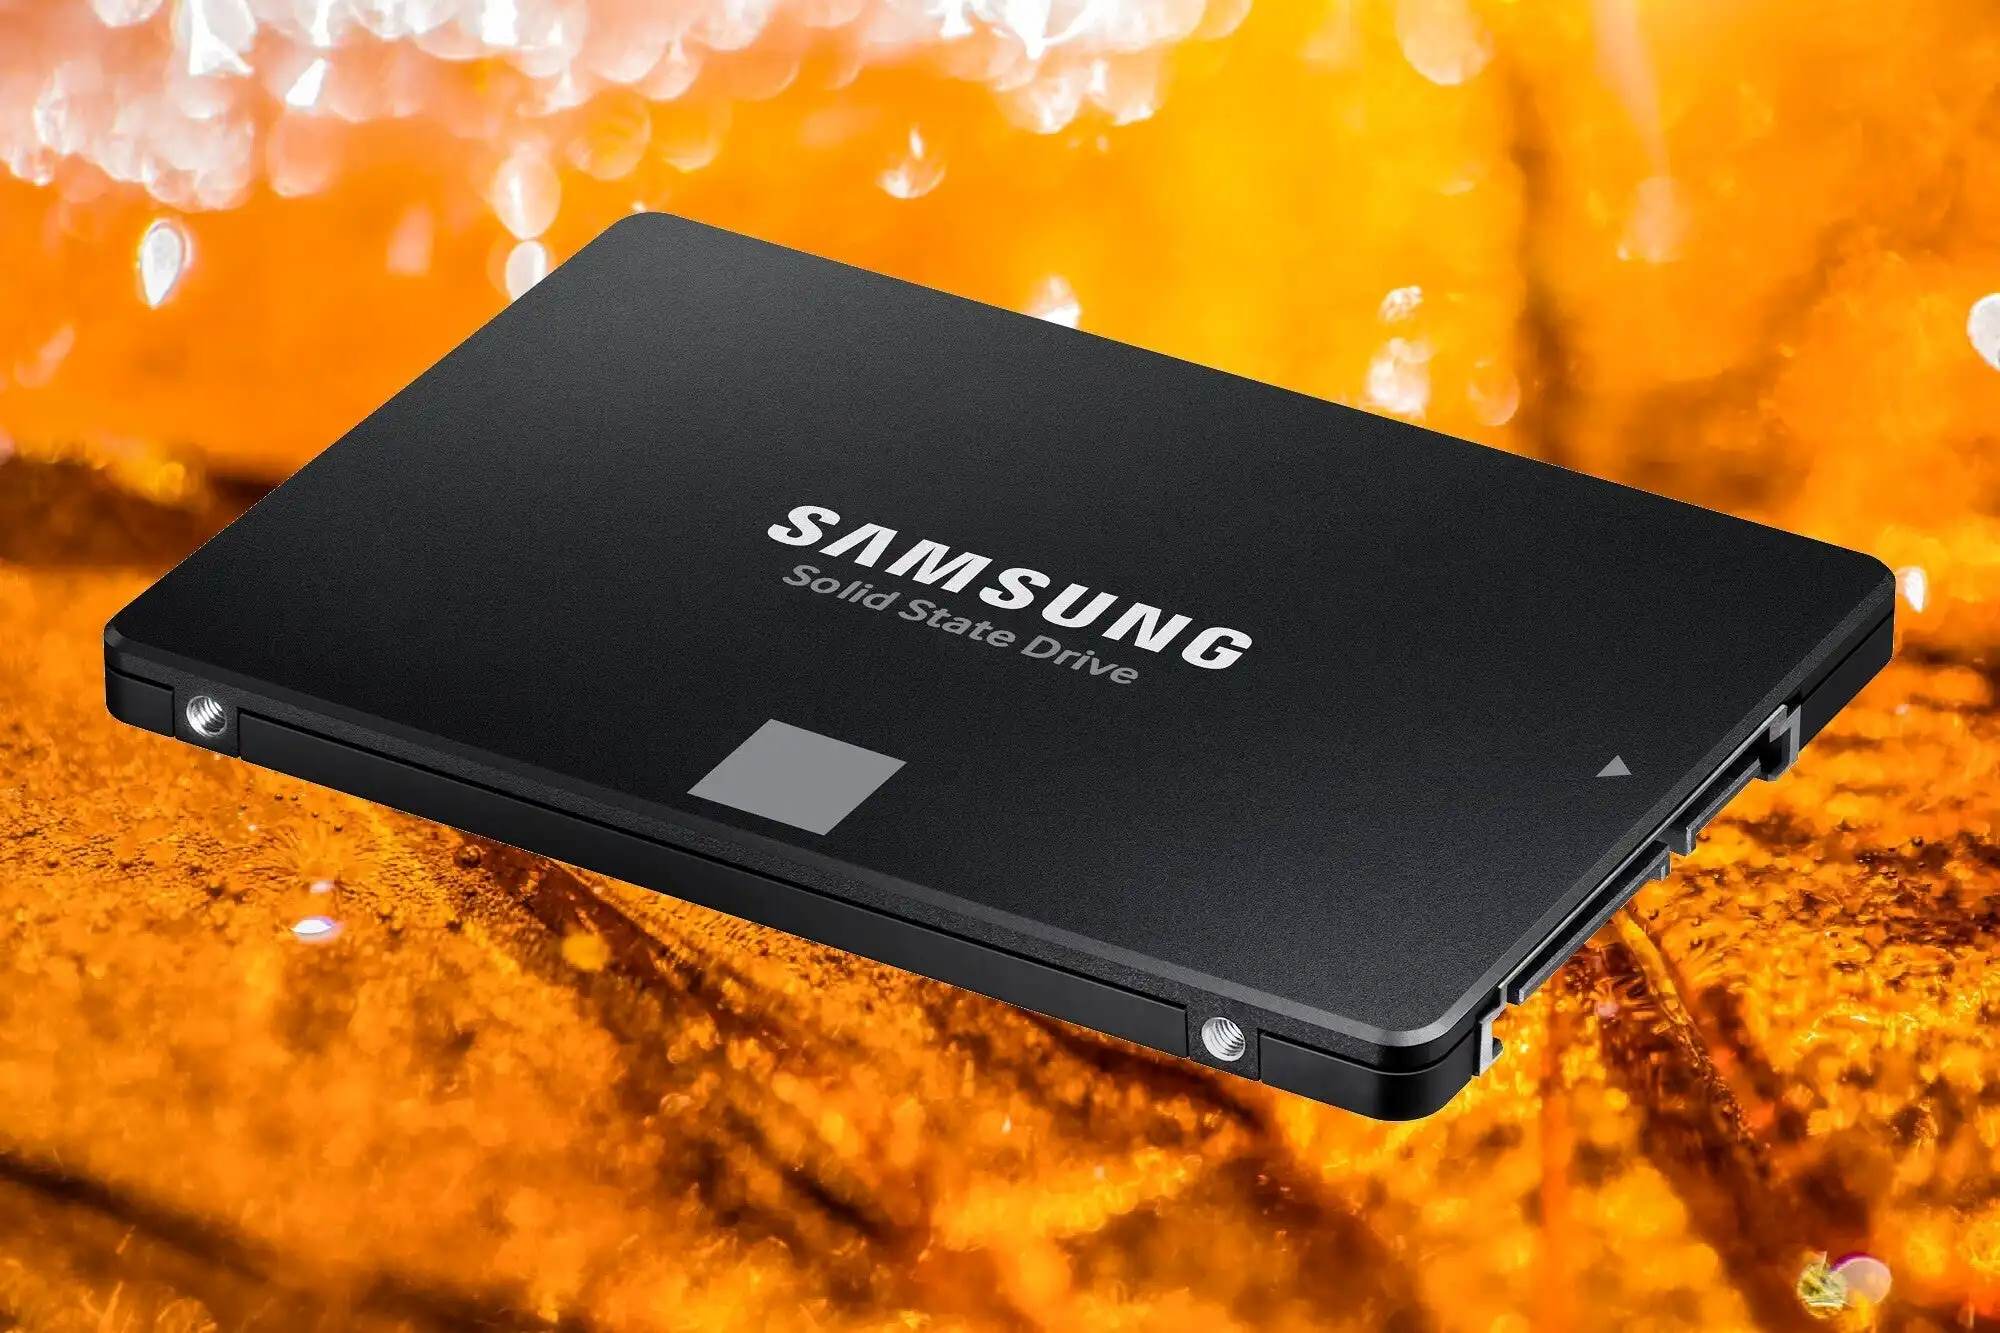
Welcome to this guide on how to connect a Samsung Solid State Drive (SSD) using a SATA to USB cable. If you have recently upgraded your computer’s storage to an SSD or have an extra SSD that you want to connect externally, using a SATA to USB cable is a convenient and straightforward solution.
By connecting your Samsung SSD to your computer via this cable, you can easily transfer files, perform backups, or access data stored on the SSD. Whether you are a tech enthusiast, a gamer, or simply looking to expand your storage options, this guide will provide you with the necessary instructions to connect your Samsung SSD using a SATA to USB cable.
Before we dive into the steps, it is important to note that this guide assumes you have a basic understanding of computer hardware and are comfortable handling cables and connectors. Additionally, ensure that the Samsung SSD you are connecting is compatible with the SATA to USB cable. Now, let’s get started!
What You Will Need
Before you begin connecting your Samsung Solid State Drive (SSD) using a SATA to USB cable, there are a few essential components and tools you will need. Gathering these beforehand will ensure a smooth and successful setup process. Here’s what you will need:
- A compatible Samsung Solid State Drive: Ensure that you have a Samsung SSD that supports connection via a SATA to USB cable. Refer to the manufacturer’s specifications or documentation to confirm compatibility.
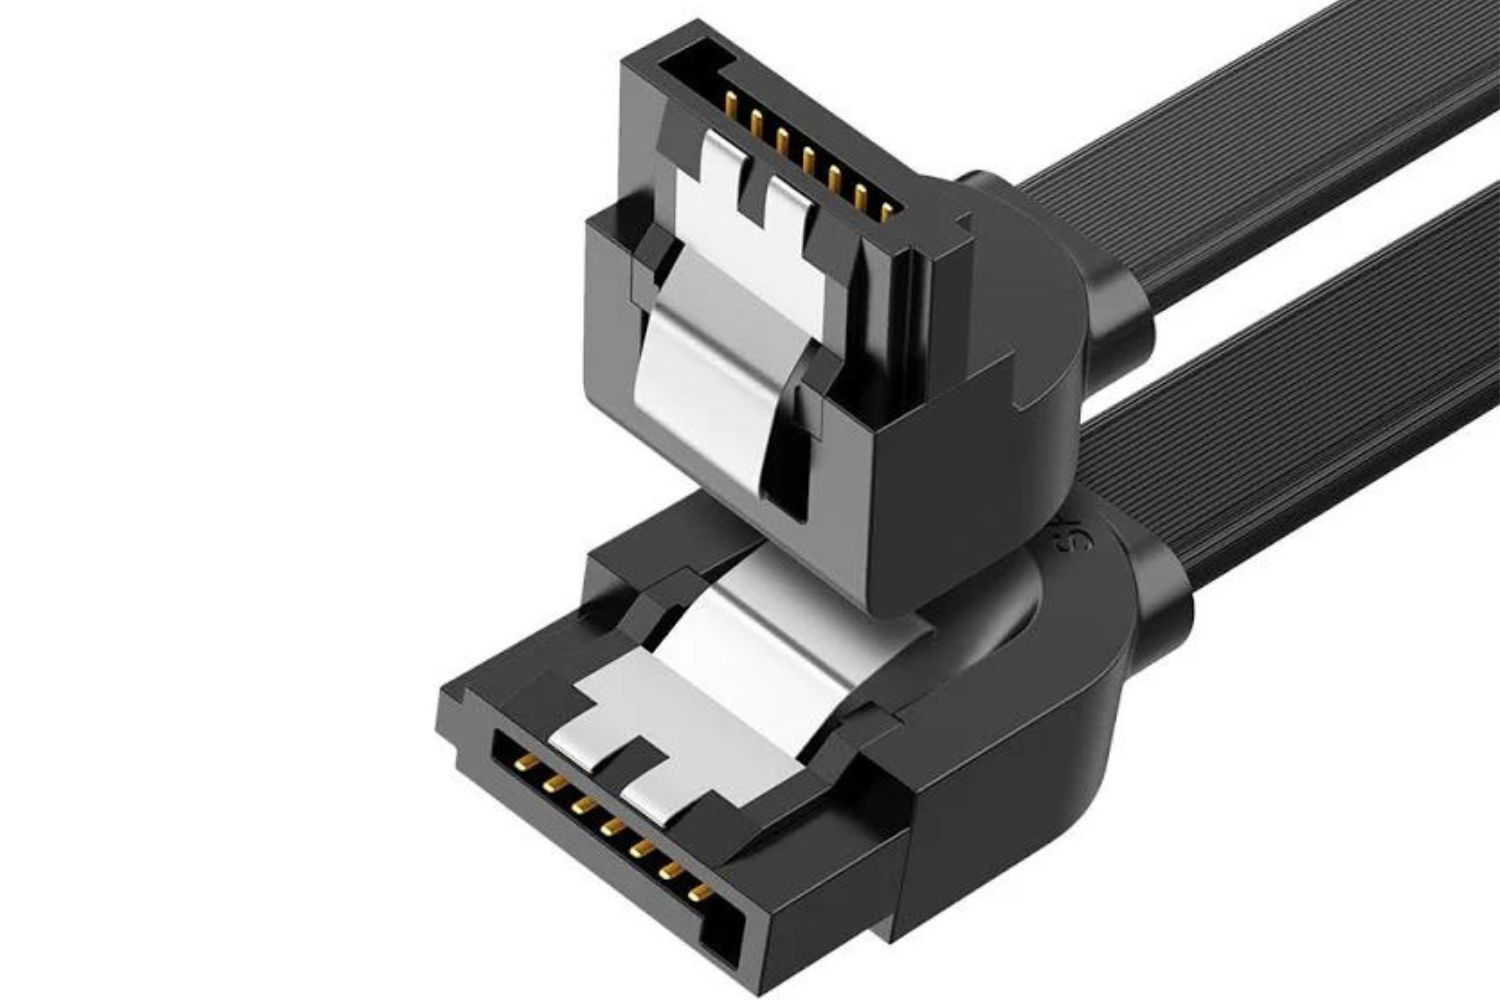
- A SATA to USB cable: This cable is specifically designed to connect the SATA port of your Samsung SSD to the USB port on your computer. The cable should have a male SATA connector on one end and a USB connector on the other.
- A computer or laptop: You will need a computer or laptop with an available USB port to connect the SATA to USB cable. Make sure your computer meets the necessary operating system requirements for the SSD to function correctly.
- Power source: Some SATA to USB cables require a power source to provide adequate power to the Samsung SSD. Check if your cable needs an external power adapter, or if it draws power solely from the USB port.
- Device drivers (if necessary): Depending on your computer’s operating system, you may need to install device drivers for the Samsung SSD to be recognized and function properly. Check the manufacturer’s website for any required drivers.
- Additional accessories (optional): If you plan to use the Samsung SSD as an external storage device, you may want to consider a USB hub or docking station to connect multiple devices simultaneously.
Once you have gathered these components and tools, you will be ready to proceed with connecting your Samsung SSD using the SATA to USB cable. Make sure to double-check if you have everything on the list before moving onto the next steps.
Step 1: Gather Your Materials
Before you begin connecting your Samsung Solid State Drive (SSD) using a SATA to USB cable, you should gather all the necessary materials. Having everything prepared in advance will make the setup process smoother and more efficient. Here’s what you need to do for this step:
- Ensure that you have your Samsung SSD and the SATA to USB cable.
- Check that your computer or laptop is powered on and has an available USB port.
- If your SATA to USB cable requires an external power adapter, make sure it is plugged in and ready for use.
- If device drivers are needed for your Samsung SSD to work with your computer, ensure that you have the necessary drivers ready for installation. You can usually download them from the manufacturer’s website.
- If you plan to use the Samsung SSD as an external storage device, prepare any additional accessories you might need, such as a USB hub or docking station.
Double-check that you have gathered all the materials listed above. Once you are confident that you have everything you need, you can proceed to the next step of connecting the SATA to USB cable to your Samsung SSD.
Step 2: Connect the SATA to USB Cable to the Samsung Solid State Drive
Now that you have gathered all the necessary materials, it’s time to connect the SATA to USB cable to your Samsung Solid State Drive (SSD). Follow the steps below to complete this process:
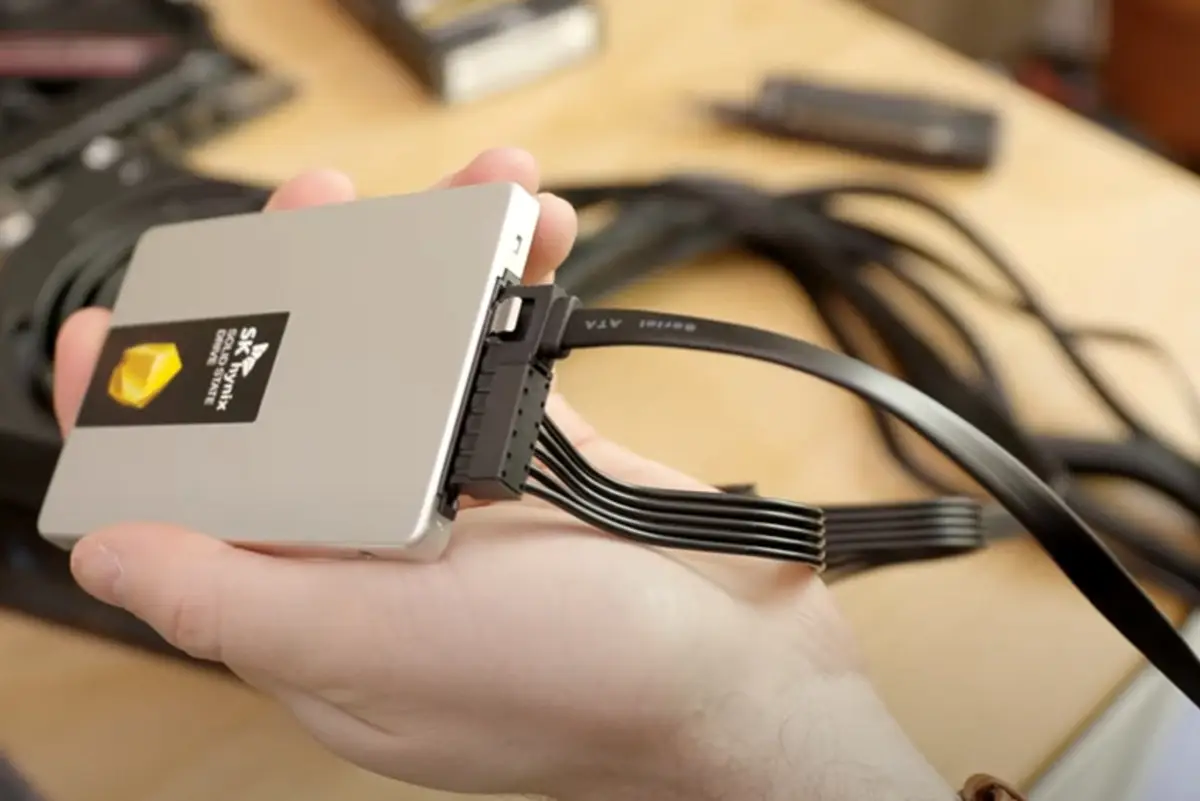
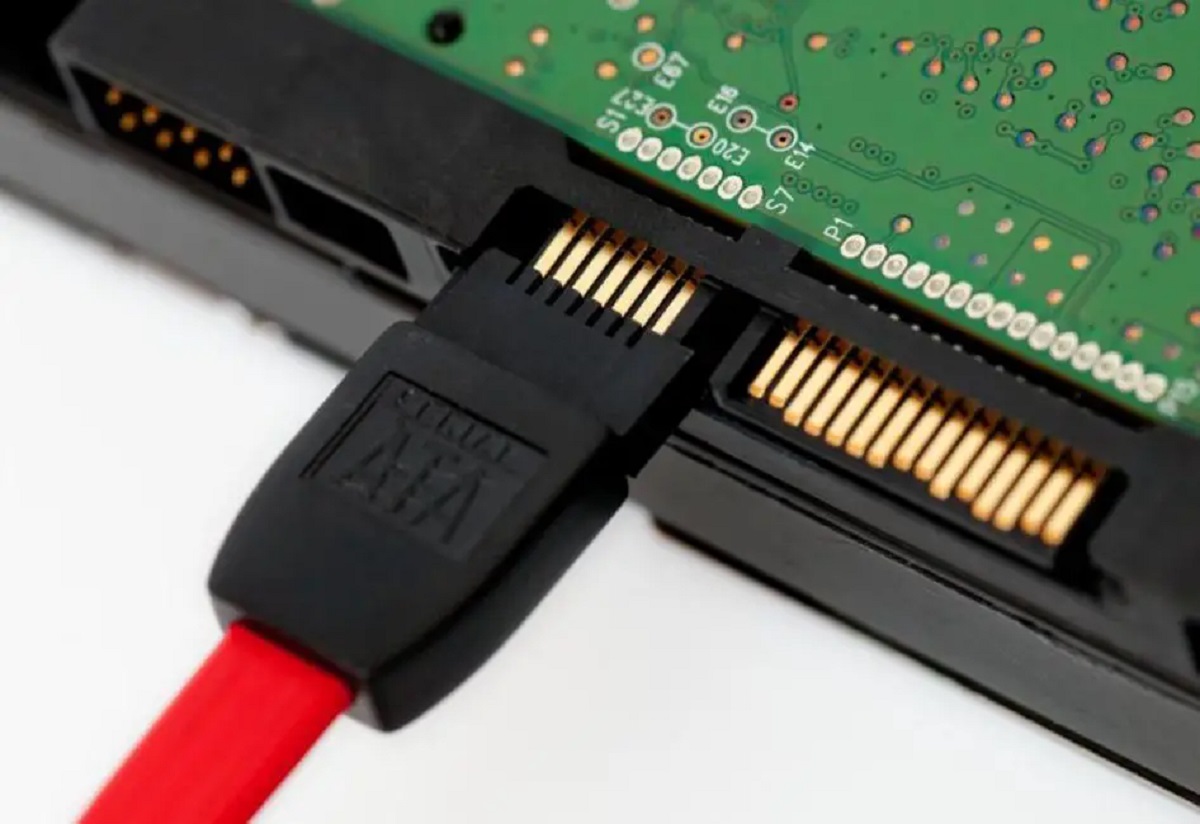
- Locate the SATA port on your Samsung SSD. It is usually a small rectangular port with several pins inside.
- Take the SATA end of the cable, which has a male connector, and align it with the SATA port on the Samsung SSD.
- Gently insert the SATA connector into the SATA port, ensuring that it is securely seated. Be careful not to force it or bend any of the pins.
- Once the SATA connector is properly inserted, make sure it is firmly in place by giving it a gentle wiggle. You should feel it lock into position.
- Now that the SATA end of the cable is connected to the Samsung SSD, you can move on to the next step of connecting the USB end to your computer.
Connecting the SATA to USB cable to your Samsung SSD is an essential step in establishing the connection between the two devices. Ensuring that the SATA connector is properly inserted and securely seated will prevent any connectivity issues and allow for smooth data transfer between the SSD and your computer.
Step 3: Connect the USB Cable to Your Computer
Now that you have connected the SATA end of the cable to your Samsung Solid State Drive (SSD), it’s time to connect the USB end of the cable to your computer. Follow the steps below to complete this process:
- Locate an available USB port on your computer or laptop. Usually, these ports are located on the sides or back of the device.
- Take the USB end of the cable, which has a USB connector, and align it with the USB port on your computer device.
- Gently insert the USB connector into the USB port, ensuring that it is properly aligned and inserted in the correct orientation. This is usually indicated by a symbol or the USB port color.
- Once the USB connector is inserted, gently push it in until you feel it click into place. This indicates a secure connection.
- Ensure that the cable is not bent or strained in any way that could compromise the connection. A loose or damaged connection could result in unstable or slower data transfer speeds.
By connecting the USB end of the cable to your computer, you are establishing the communication link between your Samsung SSD and the computer. This allows for data transfer between the two devices, enabling you to access and manage the contents of your Samsung SSD seamlessly.
Step 4: Power On the Samsung Solid State Drive
Once you have successfully connected the SATA to USB cable between your Samsung Solid State Drive (SSD) and your computer, you need to power on the SSD. Follow these steps to ensure that your Samsung SSD is powered up and ready for use:
- If your SATA to USB cable requires an external power adapter, make sure it is plugged into a power source.
- Check that the power switch or button on the SSD itself is in the “On” position. Refer to the manufacturer’s manual for the specific location of the power switch.
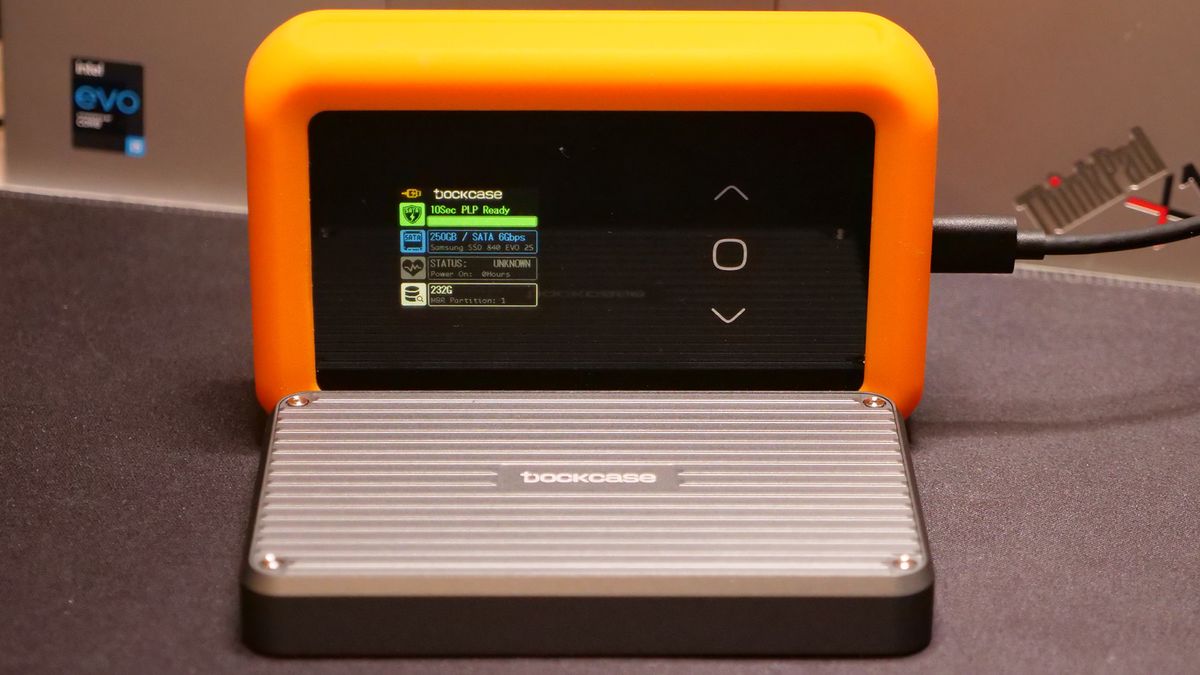
- Once you have confirmed that the power adapter is connected and the SSD is powered on, you should see LED indicators on the SSD light up. This indicates that the SSD is receiving power.
- Wait a few seconds for the SSD to initialize. During this time, the SSD’s internal components will go through a startup process.
- Monitor your computer to ensure that it recognizes the Samsung SSD. You should receive a notification or see the SSD appear as an external storage device in your file explorer.
Powering on the Samsung SSD is a crucial step in the connection process. The power source provides the necessary electricity for the SSD to function and allows your computer to detect and interact with the SSD as an external storage device. Once the SSD is powered on and recognized by your computer, you can proceed with the next steps to access and utilize the Samsung SSD’s storage capacity.
Step 5: Install the Device Drivers (if necessary)
In some cases, when connecting a Samsung Solid State Drive (SSD) using a SATA to USB cable to your computer, you may need to install device drivers. Device drivers allow your computer’s operating system to properly recognize and communicate with the SSD. Follow these steps to install the device drivers, if necessary:
- Refer to the manufacturer’s website or documentation to find the appropriate device drivers for your Samsung SSD model and your computer’s operating system.
- Download the device drivers and save them to a location on your computer where you can easily access them.
- Locate the downloaded driver file and double-click on it to initiate the installation process.
- Follow the on-screen instructions provided by the driver installation wizard. Typically, this involves accepting the license agreement, selecting the installation location, and clicking on the “Install” or “Next” button.
- Wait for the installation process to complete. Depending on the size of the driver file and your computer’s speed, this can take a few moments.
- Once the device drivers are installed, restart your computer to ensure that the changes take effect.
- After your computer restarts, reconnect the Samsung SSD using the SATA to USB cable if needed.
Installing the necessary device drivers ensures that your computer can recognize and access the Samsung SSD properly. Without the appropriate drivers, your computer may not be able to communicate effectively with the SSD, resulting in limited functionality or even failure to detect the SSD altogether. By following these steps and installing the device drivers, you can ensure optimal performance and compatibility between your Samsung SSD and your computer.
Step 6: Access the Samsung Solid State Drive on your computer
Once you have connected and powered on the Samsung Solid State Drive (SSD) using the SATA to USB cable, it’s time to access the SSD on your computer. Follow these steps to access and utilize the storage capacity of your Samsung SSD:
- Open the file explorer or Finder on your computer.
- Look for the Samsung SSD listed as an external storage device. It may be displayed with a specific name or model number, depending on your SSD and your operating system.
- Click on the Samsung SSD to open it and view its contents.
- You can now copy, move, or delete files to and from the Samsung SSD, just like any other storage device. Organize your files, create folders, or perform any tasks you would typically do with external storage.
- Remember to properly eject or disconnect the Samsung SSD when you are finished using it. This helps prevent data corruption and ensures the safe removal of the SSD.
Accessing the Samsung SSD on your computer allows you to take full advantage of its storage capacity. Whether you want to transfer files, perform backups, or store important data, accessing the SSD gives you the flexibility and convenience of additional storage space. Ensure that you handle the data on the SSD with care and follow proper file management practices to keep your files organized and secure.
Step 7: Safely Eject the Samsung Solid State Drive
After you have finished using the Samsung Solid State Drive (SSD) connected via the SATA to USB cable, it’s crucial to safely eject the device before disconnecting it from your computer. Follow these steps to ensure a proper and safe ejection of the SSD:
- Make sure all file transfer operations to or from the Samsung SSD are complete.
- On your computer, locate the “Safely Remove Hardware” or “Eject” icon in the system tray (Windows) or in the menu bar (Mac).
- Click on the “Safely Remove Hardware” or “Eject” icon to display a list of removable devices connected to your computer.
- Find the Samsung SSD in the list and click on it to safely eject it from your computer.
- Wait for a notification or confirmation message indicating that it is safe to unplug the Samsung SSD from your computer.
- Once you receive the confirmation, gently unplug the SATA to USB cable from your computer’s USB port.
- Finally, disconnect the cable from the Samsung SSD by gently pulling it out of the SATA port.
Safely ejecting the Samsung SSD ensures that all data transfer operations have completed, preventing data corruption or loss. It allows the SSD’s internal components to properly shut down and saves any pending changes to ensure the integrity of your files. By following these steps, you can confidently disconnect the Samsung SSD from your computer without the risk of data loss or damage.
Conclusion
Congratulations! You have successfully connected a Samsung Solid State Drive (SSD) using a SATA to USB cable. By following the steps outlined in this guide, you can now enjoy the benefits of additional storage space, fast data transfer speeds, and the flexibility of using your Samsung SSD as an external storage device.
Remember that before connecting the SSD, it is important to gather all the necessary materials, including a compatible Samsung SSD, a SATA to USB cable, and any required device drivers. Taking the time to prepare ahead will ensure a smooth and hassle-free setup process.
Throughout the process, make sure to handle the SSD and cables with care, avoiding any unnecessary bending or strain that could lead to connectivity issues. Additionally, always power on the SSD and properly eject it before disconnecting to prevent data corruption and maintain the integrity of your files.
Now that you have connected your Samsung SSD, take advantage of its storage capacity by accessing and managing your files as you would with any other external storage device. Whether you want to transfer files, perform backups, or store important data, the Samsung SSD provides a reliable and high-performance solution.
Thank you for choosing this guide to connect your Samsung SSD using a SATA to USB cable. We hope that this information has been helpful, and we wish you all the best in utilizing your Samsung SSD for your storage needs.