Introduction
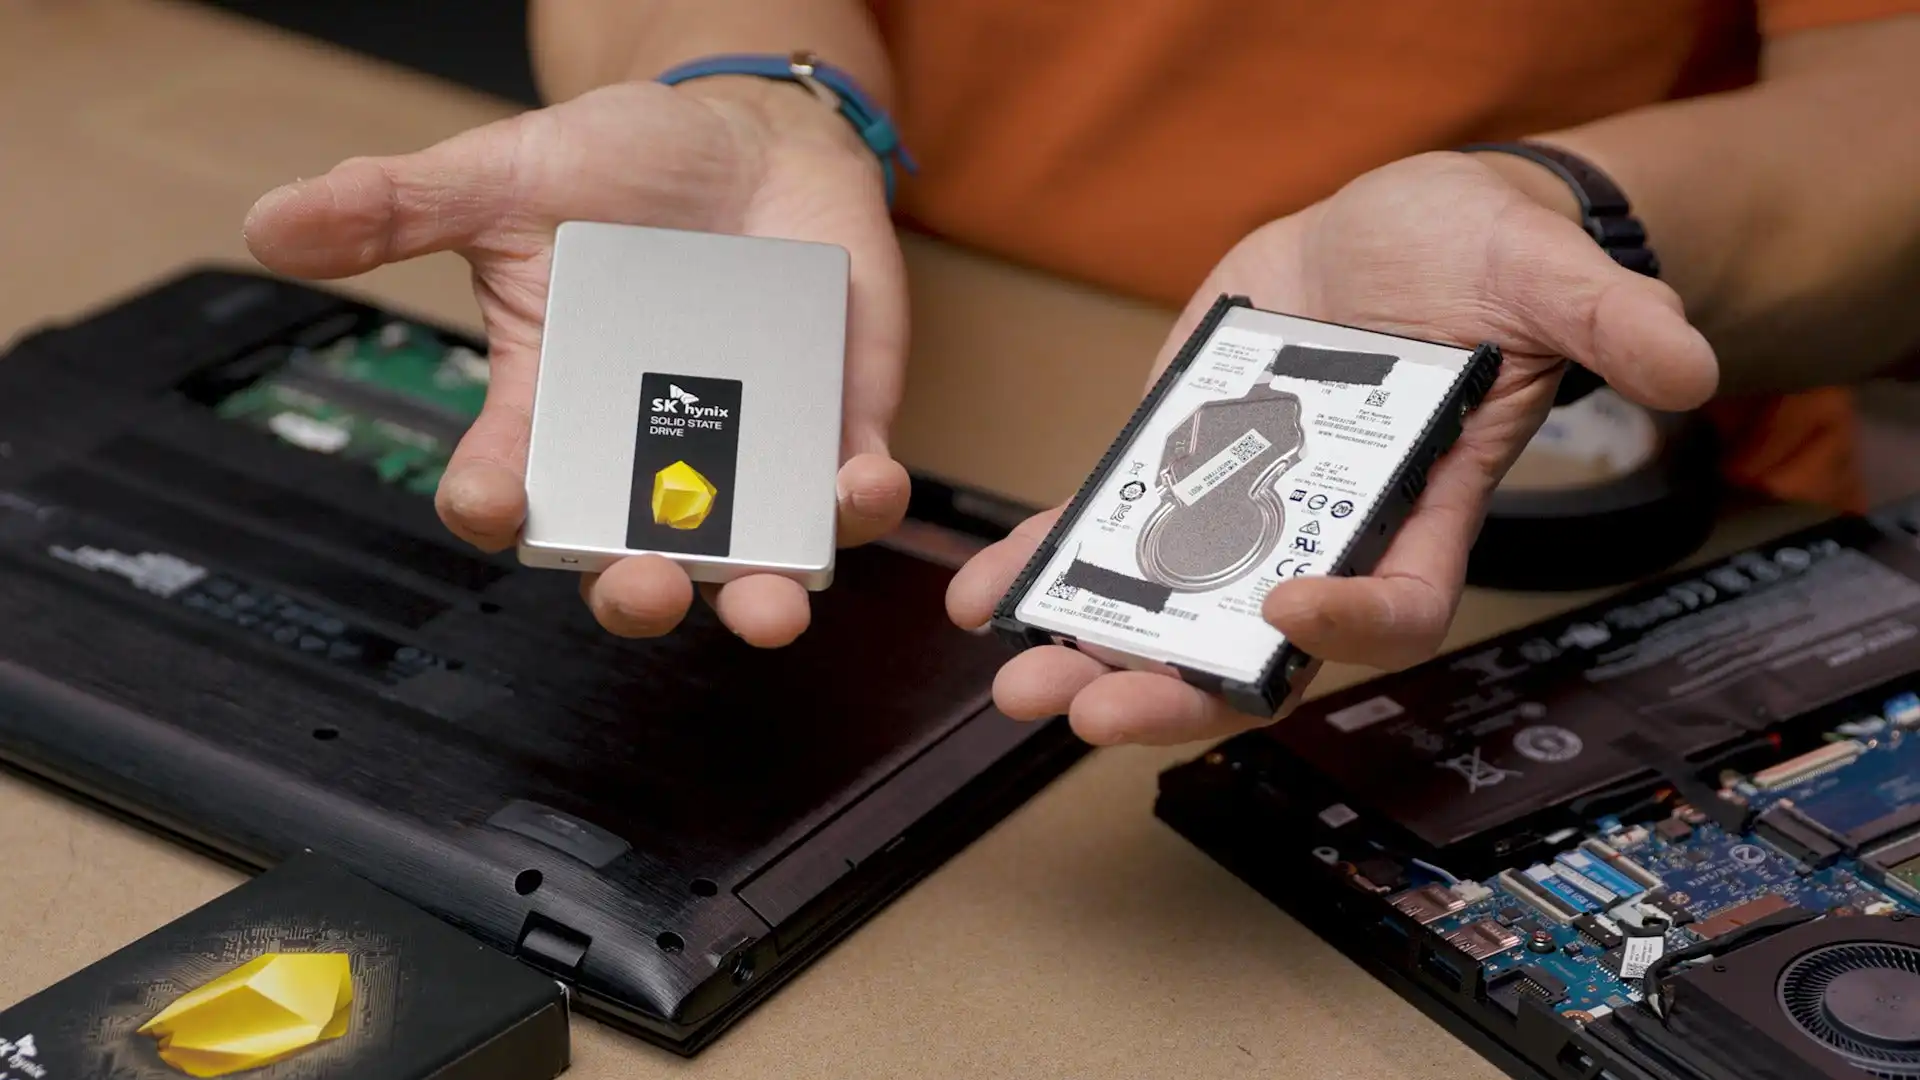
Are you looking to upgrade your computer’s storage capacity and speed? Installing a solid-state drive (SSD) as a second drive is a great way to achieve this. Compared to traditional hard disk drives (HDDs), SSDs offer faster data transfer rates, quicker boot times, and improved overall system performance.
In this guide, we will walk you through the process of installing a solid-state drive as a second drive in your computer. Whether you want to store large files, run applications faster, or simply improve your computer’s performance, adding an SSD as a secondary drive is a simple and effective solution.
Before we begin, it’s important to note that installing an additional SSD is generally straightforward, but the exact process may vary depending on your specific computer and operating system. It’s always a good idea to consult the user manual or manufacturer’s website for your computer or motherboard for any specific instructions or compatibility issues. Additionally, make sure to back up any important data before making any hardware changes to your computer.
In the following sections, we will guide you through each step of the installation process, from gathering the necessary tools and equipment to configuring the SSD. By the end of this guide, you’ll be well-equipped to install a solid-state drive as a second drive and enjoy the benefits of improved storage and performance.
Getting Started
Before diving into the installation process, it’s important to gather the necessary tools and equipment. Here are the things you’ll need:
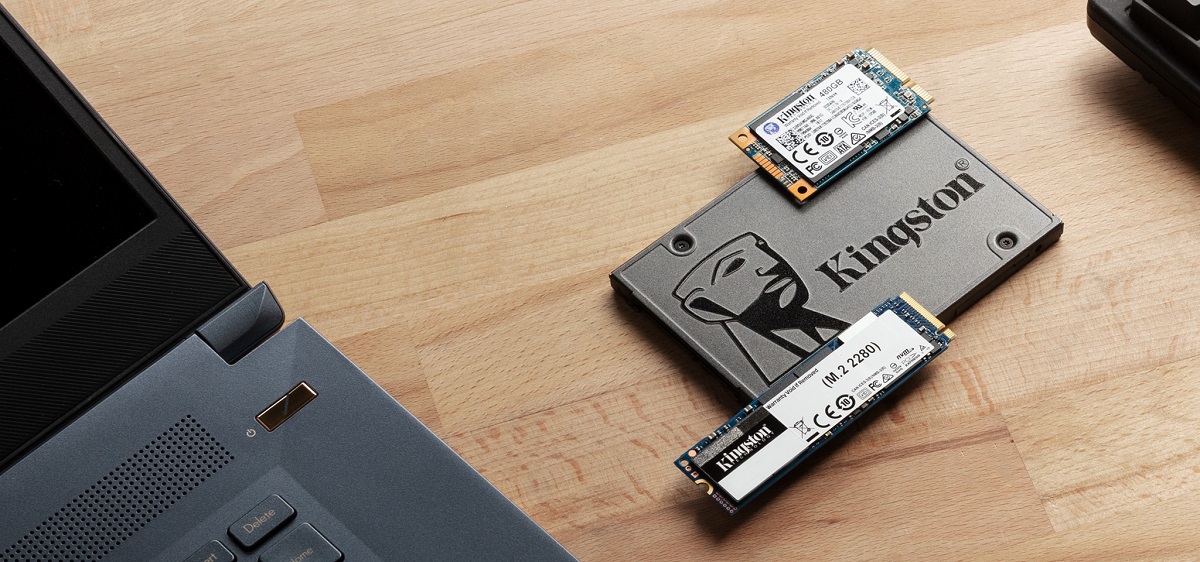
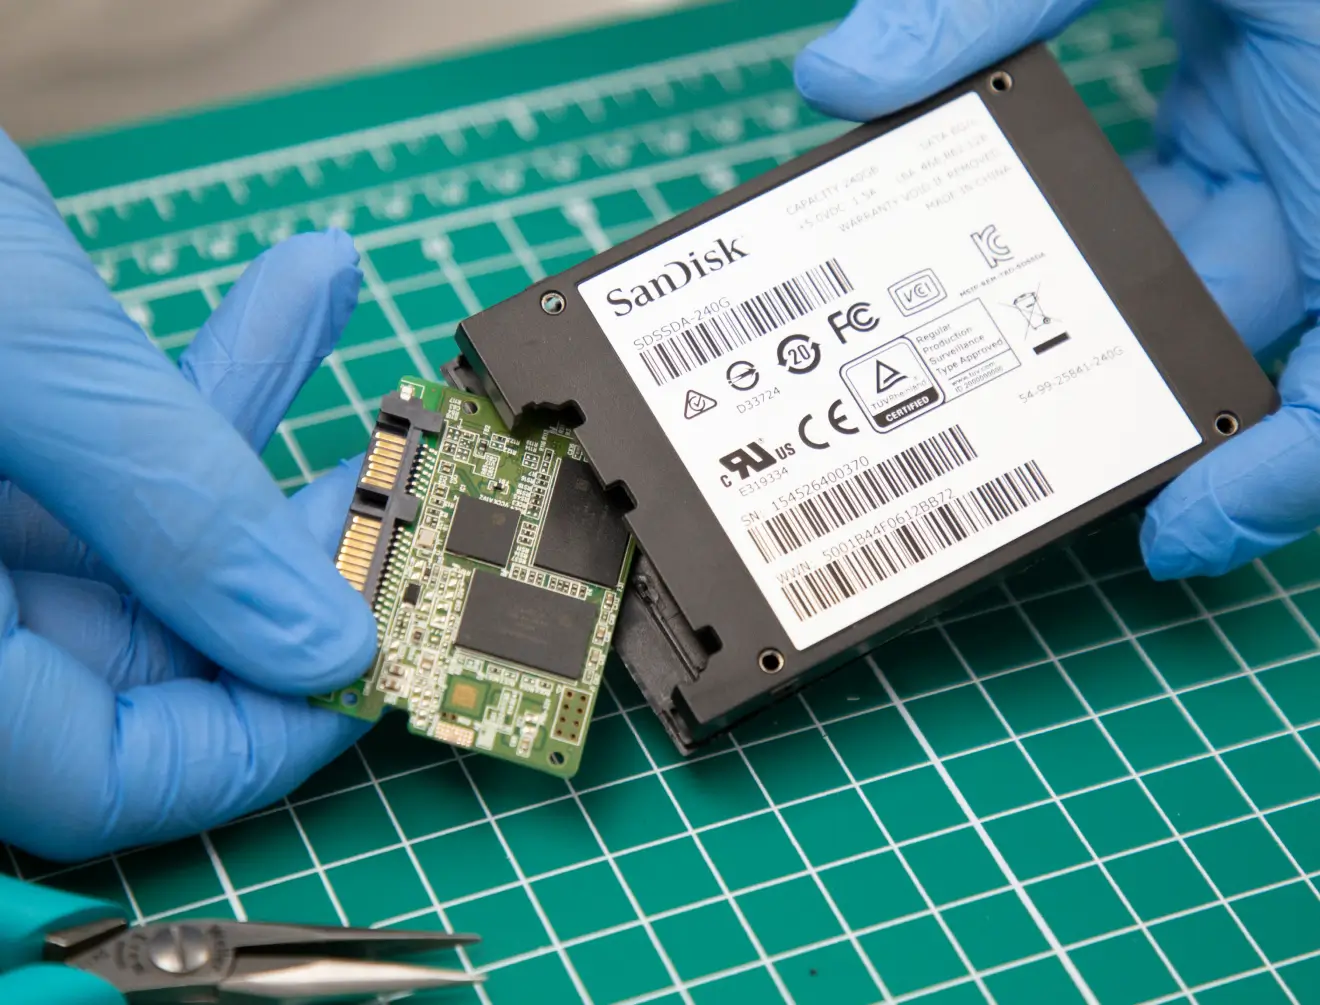
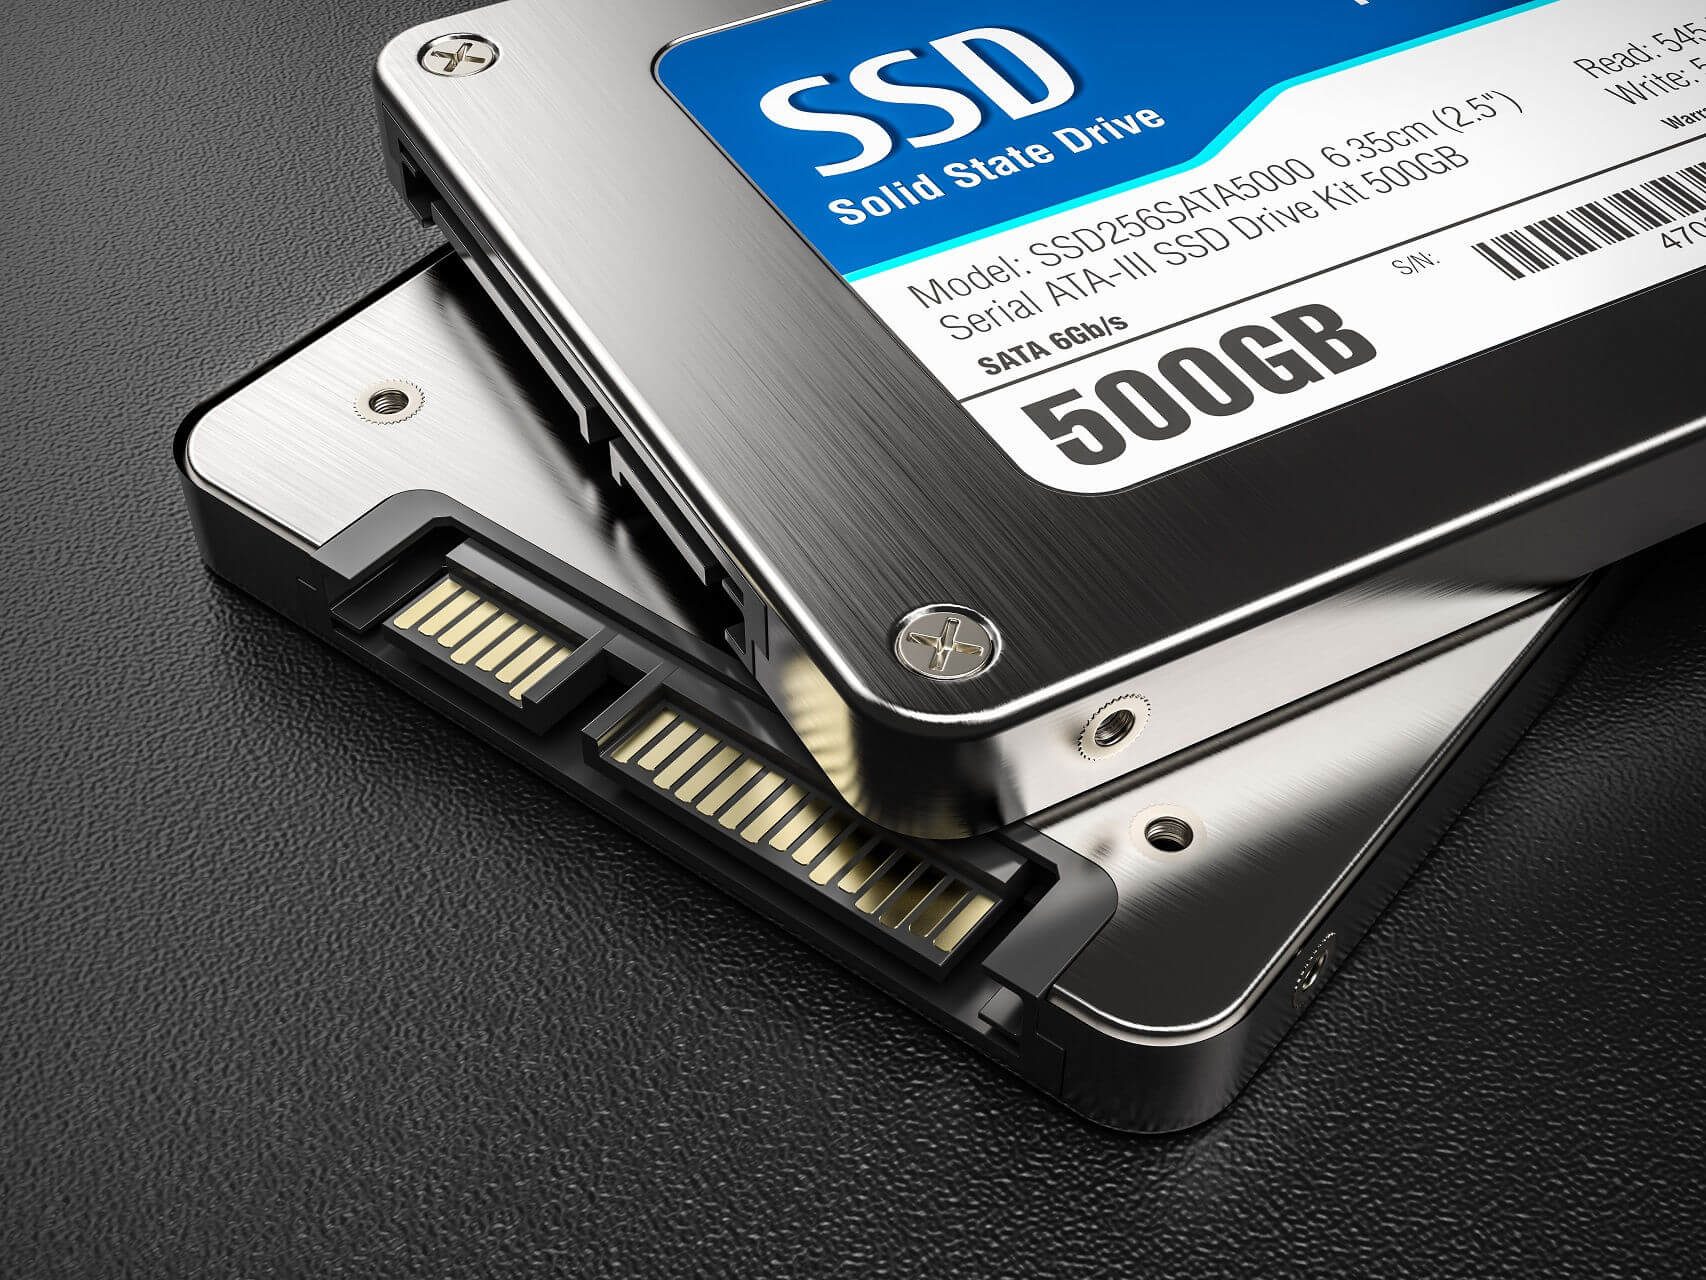
- A solid-state drive (SSD) – Choose an SSD with the storage capacity you need. Ensure that it is compatible with your computer’s interface, either SATA or NVMe.
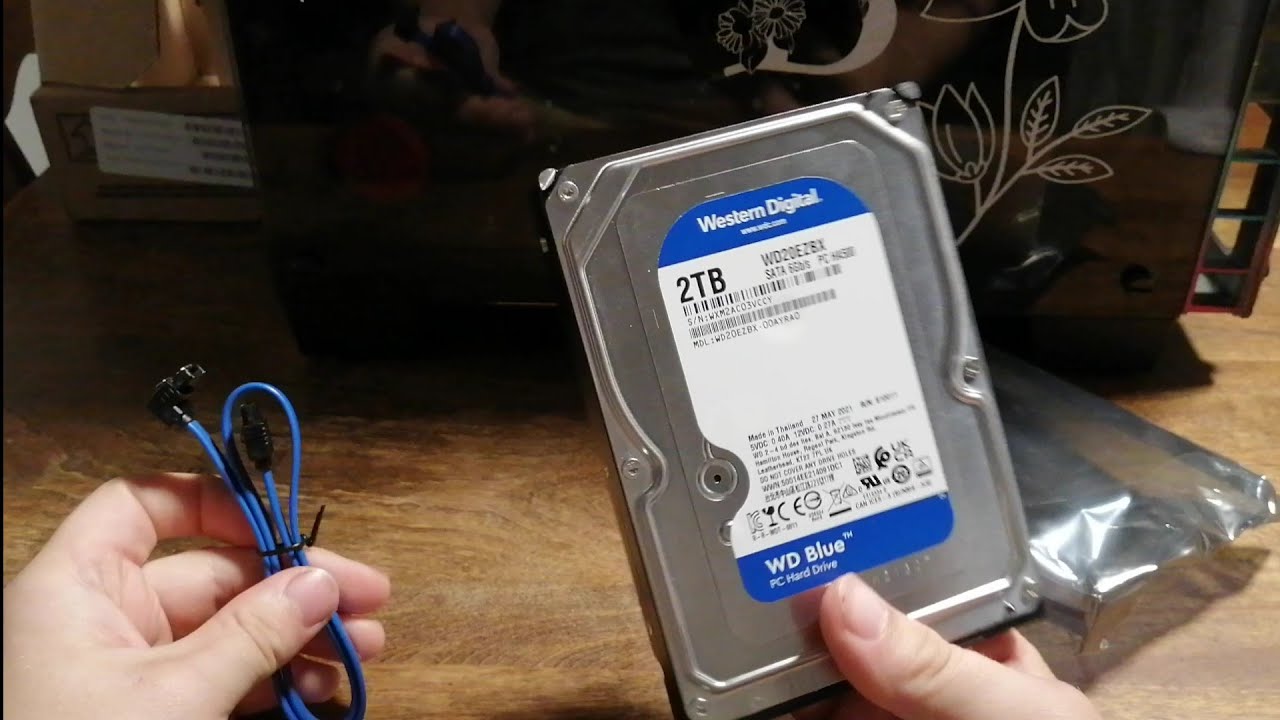
- A SATA cable – This cable will be used to connect the SSD to your motherboard. Make sure to have a spare SATA cable available if your computer’s existing cables are all in use.
- A power cable – You’ll need a spare power cable to provide power to the SSD. Check if your power supply unit has an available SATA power connector.
- Screwdriver set – You may need a screwdriver to secure the SSD in place, depending on the mounting method.
- Anti-static wrist strap – To protect the sensitive components of your computer from electrostatic discharge, it’s recommended to use an anti-static wrist strap.
Once you have all the necessary tools and equipment, you’re ready to start the installation process. Make sure to shut down your computer and unplug the power cord before proceeding.
Step 1: Gather the Necessary Tools and Equipment
Before diving into the installation process, it’s essential to gather all the necessary tools and equipment. Having everything ready will make the installation process smoother and more efficient. Here’s a list of the items you’ll need:
- Solid-State Drive (SSD): Select an SSD with the appropriate storage capacity that meets your needs. Ensure compatibility with your computer’s interface: SATA or NVMe.
- SATA Cable: This cable will be used to connect the SSD to your computer’s motherboard. Check if you have any spare cables or purchase an additional one if needed.
- Power Cable: You’ll require a spare power cable to provide the necessary power to the SSD. Check if your power supply unit has an available SATA power connector.
- Screwdriver: Depending on the mounting method you choose, you may need a screwdriver to secure the SSD in place. Ensure you have the appropriate size and type of screwdriver.
- Anti-Static Wrist Strap: To protect your computer’s sensitive components from electrostatic discharge (ESD), it’s recommended to use an anti-static wrist strap. This will help prevent any damage during the installation process.
Once you’ve gathered all the necessary tools and equipment, you’re ready to proceed with the installation process. It’s crucial to ensure that you have shut down your computer and unplugged the power cord before starting the installation. Taking these precautionary steps will prevent any accidental damage and ensure your safety throughout the process.
Step 2: Choose a Mounting Location
After gathering the necessary tools and equipment, the next step is to choose a suitable mounting location for your solid-state drive (SSD). There are a few options to consider:
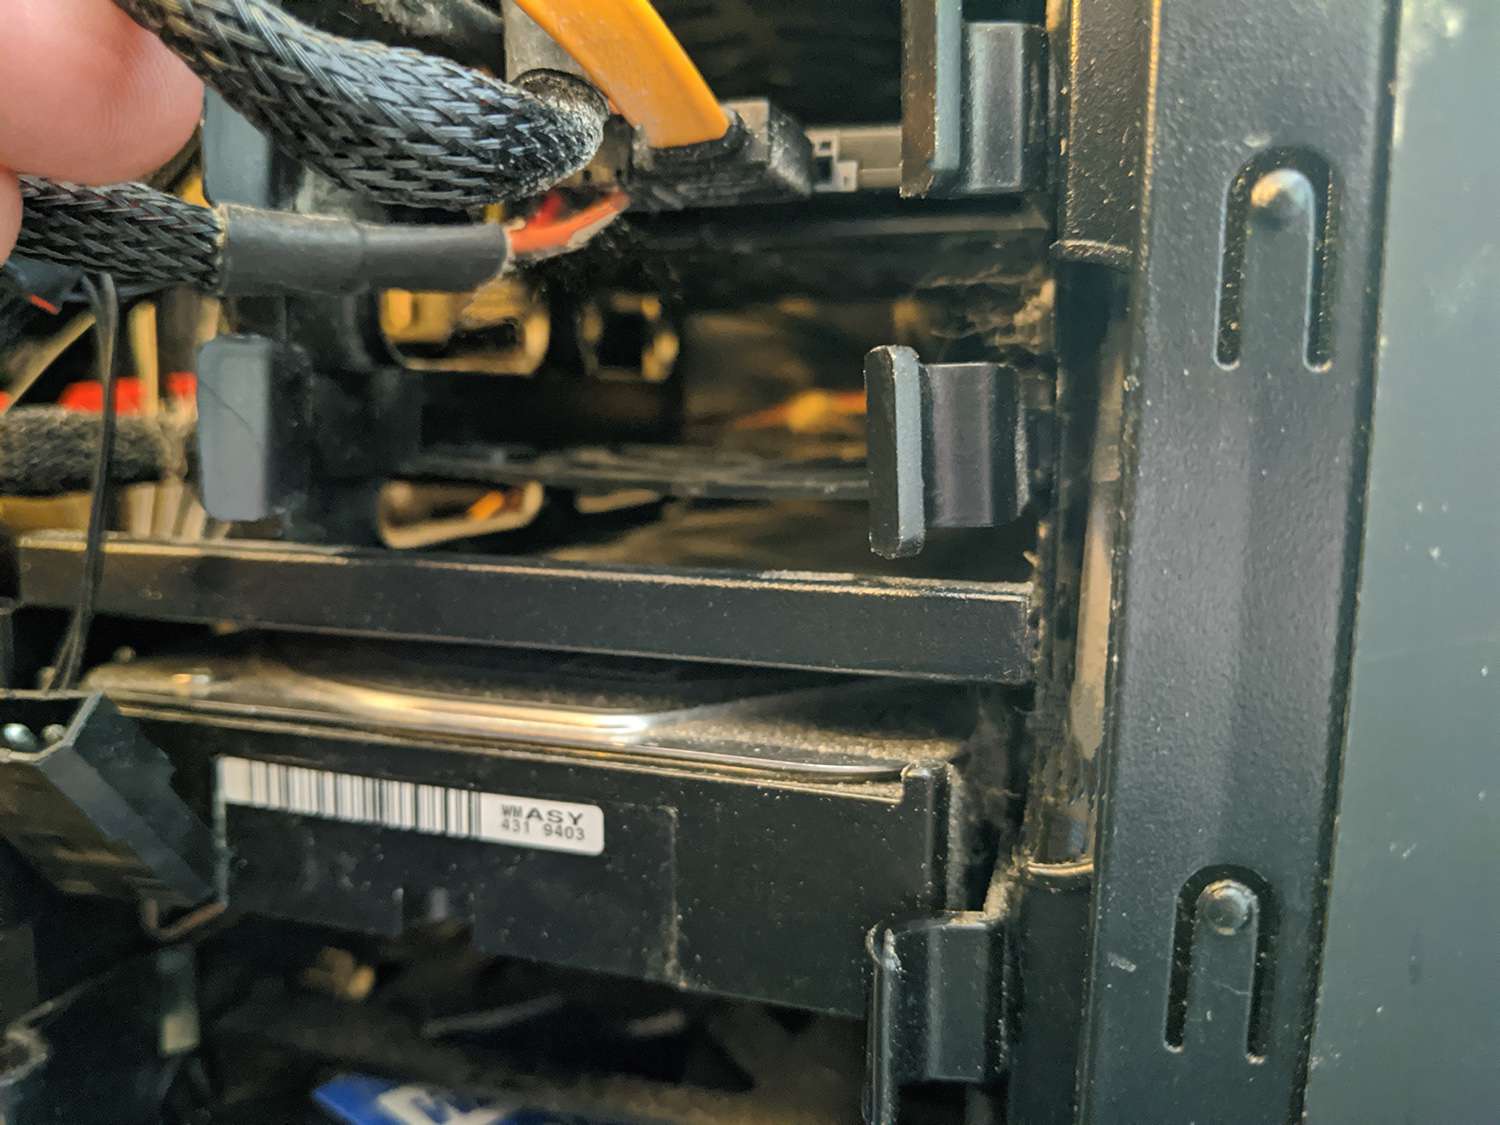
- Internal Drive Bays: Most computer cases have dedicated internal drive bays where you can install additional storage devices. These bays are usually located near the front or bottom of the case. Check your case’s documentation or website to identify the available drive bays.
- Mounting Brackets: Some cases provide mounting brackets or cages specifically designed for SSDs. These brackets can be installed in various locations, such as behind the motherboard tray or on the side of the case. Consult your case’s manual to determine if any such brackets are included.
- Adapter Kits: If your computer doesn’t have dedicated SSD mounting options, you can use adapter kits. These kits typically include brackets or trays that allow you to securely mount the SSD in a 3.5-inch drive bay or another suitable location. Make sure to check the compatibility of the adapter kit with your SSD and case.
When choosing a mounting location, consider factors such as accessibility, airflow, and cable management. Opt for a location that provides easy access for installation and future maintenance. It’s also important to ensure proper airflow to prevent the SSD from overheating. Additionally, consider how you will route the data and power cables to the SSD for a clean and organized build.
Take your time to assess the available options and determine the most convenient and appropriate mounting location for your SSD. Once you’ve selected the location, proceed to the next step, which involves installing the SATA cable to connect the SSD to your computer’s motherboard.
Step 3: Install the SATA Cable
Now that you have chosen a suitable mounting location for your solid-state drive (SSD), it’s time to install the SATA cable. The SATA cable will connect the SSD to your computer’s motherboard, allowing data transfer and communication.
Here are the steps to install the SATA cable:
- Locate the SATA ports: Open your computer case and locate the SATA ports on your motherboard. These ports are rectangular and labeled with “SATA” or “SATA 2” (for older motherboards) and “SATA 3” (for newer motherboards).
- Choose an available SATA port: Select an available SATA port to connect your SSD. If you have multiple SATA ports, refer to your motherboard’s manual to identify which one to use. Usually, the ports are numbered, and it’s recommended to use the lowest-numbered available port for the primary drive.
- Connect one end of the SATA cable to the SSD: Attach one end of the SATA cable to the SSD’s SATA interface. The connector on the SSD is usually L-shaped, so align the cable connector accordingly and gently push it in until it clicks into place.
- Connect the other end of the SATA cable to the motherboard: Locate the chosen SATA port on the motherboard and align the cable connector with the port. Again, gently push it in until it clicks into place.
- Secure the cable: Once the cable is connected, make sure it is properly secured. Some motherboard SATA ports have locking mechanisms or retention clips that hold the cable in place. If your motherboard has these features, engage them to ensure a secure connection.
With the SATA cable successfully installed, your SSD is now connected to your computer’s motherboard. Proceed to the next step to connect the power cable and provide power to the SSD.
Step 4: Connect the Power Cable
After installing the SATA cable and connecting your solid-state drive (SSD) to the motherboard, the next step is to provide power to the SSD by connecting the power cable.
Here’s how to connect the power cable to your SSD:
- Locate a spare SATA power connector: Check your power supply unit (PSU) for any available SATA power connectors. These connectors have a flat, L-shaped design with multiple pins. If you have multiple connectors, choose a free one for your SSD.
- Connect the power cable to the SSD: Take the SATA power connector and align it with the power input on your SSD. The connector should only fit one way, so make sure it’s properly aligned and gently push it in until it’s securely connected.
- Secure the power cable: Once the power cable is connected, ensure it is securely fastened. Some SATA power connectors have a locking mechanism or retention clip that holds the cable in place. Engage this mechanism if available to ensure a stable connection.
Connecting the power cable will provide the necessary power to your SSD, allowing it to function properly. After completing this step, ensure that all cables are neatly organized and properly routed to avoid any interference with other components or fans inside your computer case.
With both the SATA cable and power cable connected, your SSD is now ready to be securely mounted in its chosen location. Move on to the next step to learn how to secure the SSD in place.
Step 5: Secure the SSD in Place
Now that you have connected the necessary cables, it’s time to securely mount your solid-state drive (SSD) in its chosen location. Properly securing the SSD will ensure that it stays in place and prevents any accidental dislodging or damage.
Here’s how to securely mount your SSD:
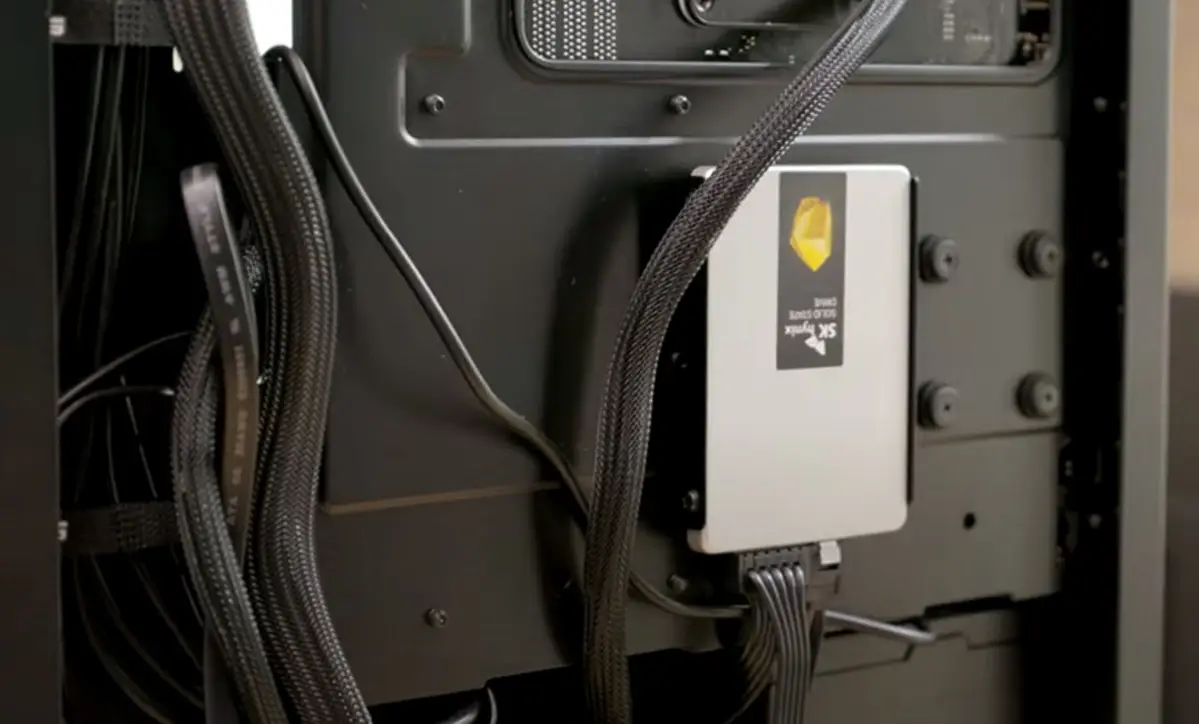
- Check the mounting options: Depending on your computer case or adapter kit, you may have different mounting options available. Some common methods include using mounting brackets, drive bays, or adhesive strips. Choose the method that best suits your case and preferences.
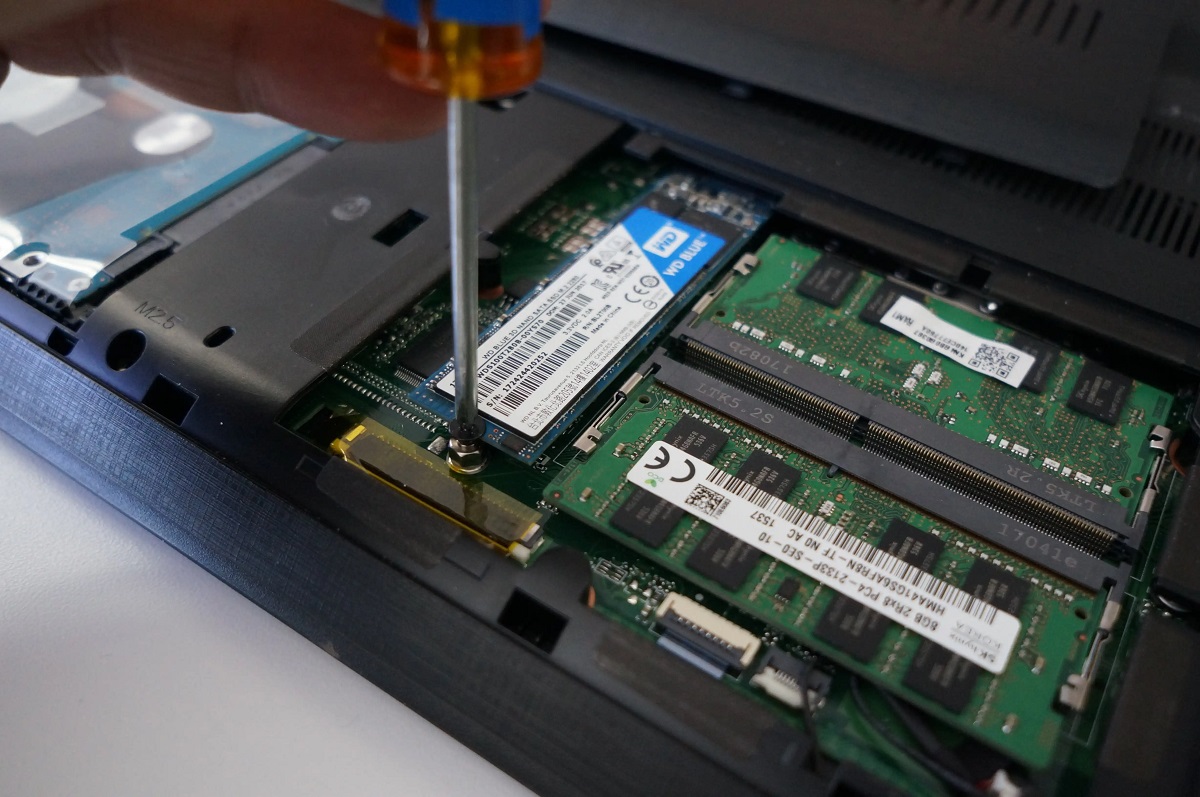
- Align the SSD: Position the SSD in the chosen location, aligning it with the mounting holes or designated area. Ensure proper alignment to avoid any strain on the SSD or its connectors.
- Use screws or brackets: If your mounting method requires screws, insert them through the mounting holes on the SSD and secure them into the corresponding holes or brackets provided by your case or adapter kit. Use the appropriate screwdriver to tighten the screws, but be careful not to overtighten them.
- Double-check the mounting: Once the SSD is securely fastened, give it a gentle shake or tap to ensure it is firmly in place. Double-check that the connections are still secure and that the SSD is not loose or wobbling.
By properly securing your SSD, you will prevent any movement or potential damage during operation. This step ensures the longevity and stability of your SSD, providing seamless performance and peace of mind.
Now that your SSD is securely mounted, you’re ready to proceed to the next step, which involves accessing the BIOS to recognize and configure the newly installed SSD.
Step 6: Access the BIOS
Once you have securely mounted your solid-state drive (SSD), the next step is to access the BIOS (Basic Input/Output System) of your computer. The BIOS is a firmware interface that allows you to change settings and configure various hardware components, including storage devices like your newly installed SSD.
Here’s how to access the BIOS:
- Power on or restart your computer: Make sure your computer is powered on or restart it if it’s already running.
- Enter the BIOS key: As your computer boots up, look for a screen that displays the key or key combination you need to press to access the BIOS. Common keys include Delete, F2, F10, or Esc. The specific key depends on your computer’s manufacturer and model.
- Press the BIOS key: Once you identify the correct key, press it repeatedly until the BIOS utility screen appears. Timing is crucial, so be ready to press the key as soon as you see the screen.
It’s important to note that the BIOS key and navigation may vary depending on your computer’s manufacturer and model. To find the exact instructions for your specific computer, check the user manual or visit the manufacturer’s website.
Accessing the BIOS will allow you to configure the settings for your SSD, ensuring that your computer recognizes it and utilizes it properly. With the BIOS successfully accessed, move on to the next step to learn how to configure the SSD.
Step 7: Configure the SSD
After accessing the BIOS, the next step is to configure your solid-state drive (SSD) to ensure optimal performance and compatibility with your computer. Configuration settings may vary depending on your computer’s BIOS version, but here are some common steps:
- Locate the storage settings: In the BIOS, navigate to the storage or drive configuration section. This is where you can manage and configure your storage devices, including the newly installed SSD.
- Check the SSD detection: Ensure that your SSD is detected by the BIOS. It should be listed in the storage devices or detected drives section. If not, double-check the connections and try restarting the computer.
- Set the boot order (optional): If you plan to install an operating system on the SSD and use it as the primary boot drive, you may need to adjust the boot order. Set the SSD as the first boot device to ensure your computer boots from it.
- Review and adjust settings: Depending on the BIOS, you may have additional settings related to the SSD, such as enabling AHCI (Advanced Host Controller Interface) for better performance. Refer to your computer’s documentation or online resources for recommended settings.
- Save and exit the BIOS: Once you have made the necessary changes, save the settings and exit the BIOS. This will reboot your computer, and the changes will take effect.
It’s important to note that the configuration steps may vary depending on your computer’s BIOS version and manufacturer. It’s always a good idea to consult the user manual or the manufacturer’s website for specific instructions or any recommended settings for your SSD.
With the SSD properly configured, you’re now ready to test the installation and ensure everything is functioning as expected. Proceed to the next step for more information.
Step 8: Test the Installation
Now that you have installed and configured your solid-state drive (SSD), the final step is to test the installation to ensure everything is working correctly. Testing the installation will help verify that the SSD is recognized by your computer and performing as expected.
Here are some steps to test the installation:
- Start your computer: Power on or restart your computer to begin the testing process.
- Check for SSD recognition: Once your computer has booted up, go to the operating system’s disk management utility (such as “Disk Management” on Windows or “Disk Utility” on macOS) to verify that the SSD is recognized as a separate storage device.
- Perform a speed test: There are various software tools available, such as CrystalDiskMark or Blackmagic Disk Speed Test, that can measure the read and write speeds of your SSD. Run a speed test to ensure that the SSD is performing as expected and delivering the faster data transfer rates associated with solid-state drives.
- Transfer files: Copying some files to and from the SSD can help test its read and write performance in real-world scenarios. Try transferring a few large files and observe the speed and responsiveness.
- Run applications: Launch applications installed on the SSD and observe their loading times. SSDs can significantly improve application launch times, so if you notice a significant improvement in speed, you can be confident in the successful installation.
If the SSD is recognized, performing well, and you do not encounter any issues or error messages during testing, congratulations! You have successfully installed and tested your SSD as a second drive.
If you encounter any problems or have concerns about the performance or functionality of the SSD, double-check all connections, configurations, and settings. It may also be helpful to consult online resources, community forums, or the manufacturer’s support for troubleshooting assistance.
By following these steps and ensuring that everything is running smoothly, you can now enjoy the benefits of improved storage capacity, faster data transfer rates, and enhanced overall system performance provided by your newly installed SSD.
Conclusion
Installing a solid-state drive (SSD) as a second drive in your computer is a straightforward process that can greatly enhance your storage capacity and system performance. By following the steps outlined in this guide, you can successfully install and configure an SSD, ensuring optimal performance and compatibility with your computer.
Throughout the installation process, we covered essential steps such as gathering the necessary tools and equipment, choosing a mounting location, installing the SATA cable, connecting the power cable, securing the SSD, accessing the BIOS, configuring the SSD, and testing the installation. Each step is crucial to ensure a seamless and functional SSD installation.
Remember to consult your computer’s manual or manufacturer’s website for any specific instructions or compatibility concerns. Backing up your data prior to making any hardware changes is also highly recommended to avoid any potential loss.
By installing an SSD as a second drive, you can enjoy benefits such as faster data transfer rates, quicker boot times, improved application launch times, and overall enhanced system performance. The additional storage space provided by the SSD enables you to store large files and run applications smoothly, boosting productivity and user experience.
If you encounter any difficulties or have questions during the installation process, don’t hesitate to seek assistance from online forums, community support, or the manufacturer’s customer service.
With the installation completed and the SSD successfully tested, you can now enjoy the benefits of your improved storage capacity and enhanced system performance. Congratulations on successfully installing a solid-state drive as a second drive!