Introduction
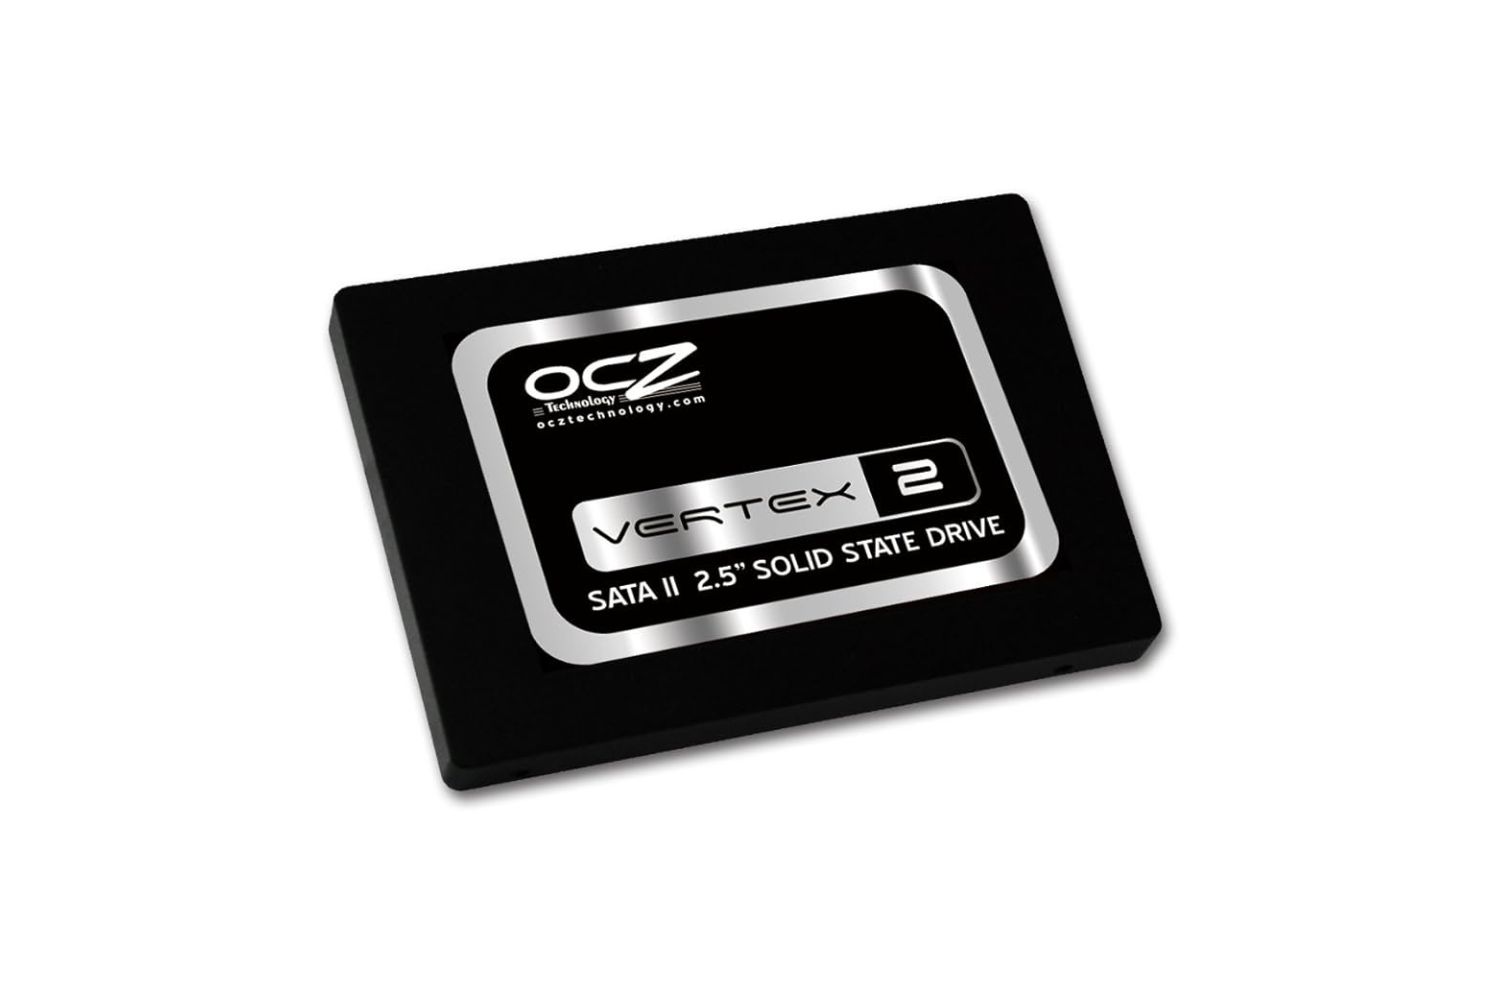
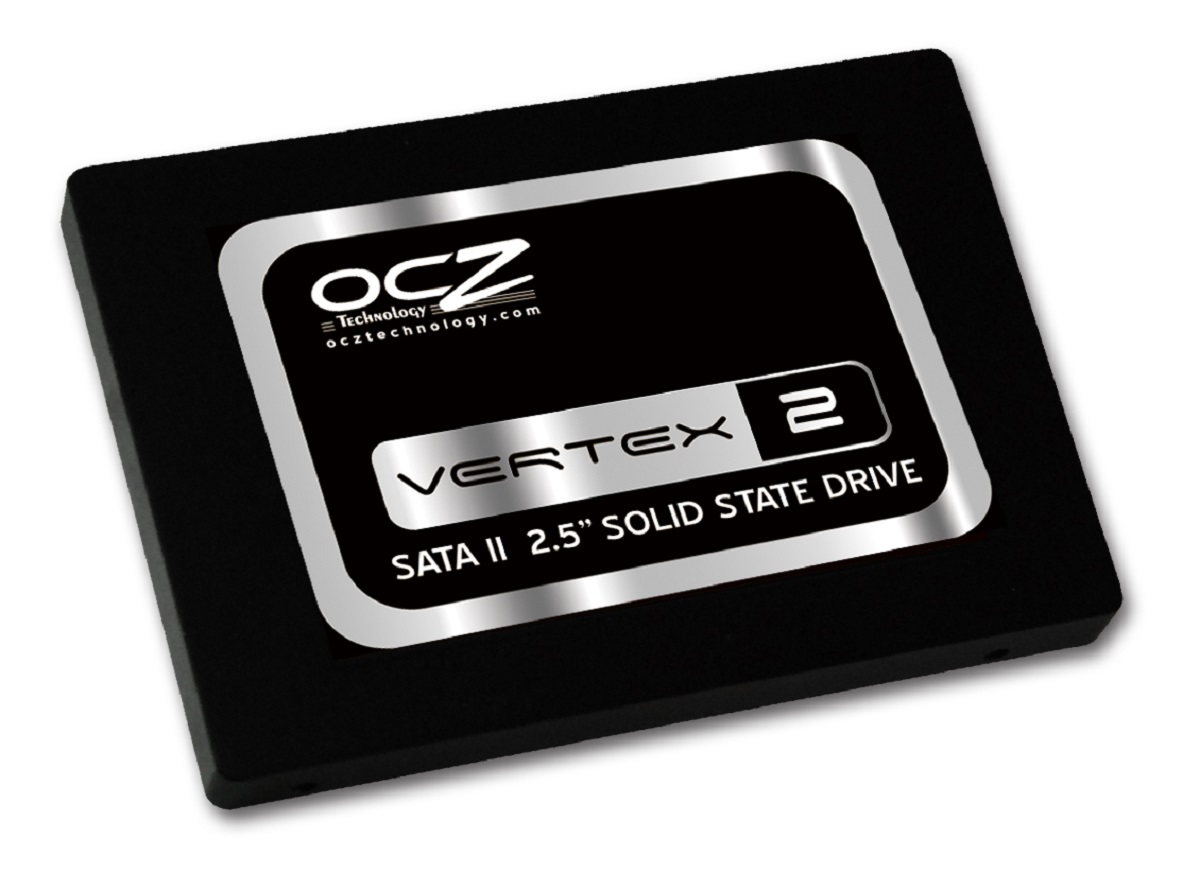
Are you tired of slow boot times and sluggish performance on your computer? It might be time to upgrade to a solid-state drive (SSD). One popular choice is the OCZ Vertex 2 2.5 Solid State Drive 60GB SSD. With its lightning-fast read and write speeds, it can significantly improve your computer’s overall performance.
In this guide, we will walk you through the step-by-step process of installing the OCZ Vertex 2 SSD into your computer. Whether you’re a seasoned tech enthusiast or a beginner, this installation is relatively straightforward and can be completed in just a few simple steps.
Before we dive into the installation process, it’s essential to understand the benefits of upgrading to an SSD. Unlike traditional hard drives, which use spinning disks to store data, SSDs use flash memory, resulting in faster data access and improved overall performance. With an SSD, you can experience significantly reduced boot times, faster application launches, and smoother multitasking.
The OCZ Vertex 2 2.5 Solid State Drive 60GB SSD is known for its high-quality performance and reliability. Not only does it offer impressive read and write speeds, but it also comes with advanced features like TRIM support and wear-leveling technology, ensuring that your data remains protected and your SSD’s lifespan is maximized.
In addition to performance and reliability, the OCZ Vertex 2 SSD boasts a slim and compact form factor, making it an ideal choice for small form factor systems or laptops. Its 2.5-inch size allows for easy integration into most computer setups without any additional adapters or modifications.
Now that we’ve covered the basics let’s move on to the step-by-step installation process of the OCZ Vertex 2 2.5 Solid State Drive 60GB SSD. Grab your tools, prepare your computer, and get ready to experience the next level of speed and performance!
Step 1: Gather the necessary tools and equipment
Before you begin the installation process, it’s important to gather all the necessary tools and equipment. Here’s a list of the items you’ll need:
- Screwdriver set: You’ll need a screwdriver, preferably a small Phillips-head screwdriver, to open the computer case and secure the SSD in place.
- Anti-static wrist strap: To prevent any electrostatic discharge that could damage the SSD or other components, it’s essential to wear an anti-static wrist strap throughout the installation process.
- OCZ Vertex 2 2.5 Solid State Drive 60GB SSD: Of course, you’ll need the OCZ Vertex 2 SSD itself, which should come in its packaging along with any necessary cables or mounting brackets.
- User manual or online resources: While this guide will walk you through the installation process, it’s always a good idea to have the user manual or access to online resources in case you need additional information or troubleshooting assistance.
Take a moment to ensure that you have all the necessary tools and equipment readily available. This will make the installation process smoother and more efficient, reducing the chances of any unnecessary interruptions.
Additionally, it’s crucial to work in a well-lit and static-free environment. Before you start, find a clean and clutter-free workspace where you can comfortably perform the installation without any distractions. Be mindful of any electrostatic discharge by working on a non-static surface and avoiding any movement or contact that could generate static electricity.
Now that you’ve gathered all the tools and ensured a suitable working environment, you’re ready to move on to the next step: preparing your computer for the OCZ Vertex 2 SSD installation.
Step 2: Prepare the computer for installation
Before diving into the installation process of the OCZ Vertex 2 SSD, it’s important to prepare your computer for the upgrade. This step involves shutting down the computer, disconnecting any cables, and ensuring a safe working environment. Follow these steps:
- Save all your work and shut down the computer: Make sure to save any open files or documents and properly shut down your computer. This is an important step to prevent any data loss or damage during the installation process.
- Disconnect all cables and peripherals: Unplug all cables connected to your computer, including the power cable, keyboard, mouse, monitor, and any other peripherals. This will ensure a clean and unobstructed workspace for the installation.
- Ground yourself: To prevent any electrostatic discharge, it’s essential to ground yourself. Attach the anti-static wrist strap to your wrist and connect the other end to a metal object, such as the computer case. This will help to discharge any static electricity and protect the sensitive components of your computer.
- Open the computer case: Use a screwdriver to remove the screws securing the computer case. Gently slide off the side panel to expose the internal components. Make sure to store the screws in a secure place, as you will need them later to secure the SSD.
Once you have prepared your computer by powering it down, disconnecting cables, grounding yourself, and opening the case, you are now ready to proceed with the OCZ Vertex 2 SSD installation. In the next step, we will guide you through the process of removing the existing hard drive from your computer.
Step 3: Remove the existing hard drive
Now that you have prepared your computer for the installation of the OCZ Vertex 2 SSD, it’s time to remove the existing hard drive. Follow these steps:
- Locate the existing hard drive: Depending on the design of your computer case, the hard drive will usually be located in a drive bay, secured with screws or brackets. Identify the specific location of the hard drive before proceeding.
- Disconnect the cables: Carefully unplug the SATA and power cables connected to the existing hard drive. Take note of their configurations and connections, as you will need to reconnect them to the OCZ Vertex 2 SSD later.
- Remove the screws or brackets: Use a screwdriver to remove any screws or brackets securing the existing hard drive in place. Keep these screws or brackets in a safe place, as they may be needed when installing the OCZ Vertex 2 SSD.
- Slide out the hard drive: Once the screws or brackets are removed, gently slide the existing hard drive out of its bay. Be cautious not to apply too much force or damage any other components in the process.
Now that you have successfully removed the existing hard drive, it’s time to move on to the next step: connecting the OCZ Vertex 2 SSD to your computer.
Step 4: Connect the OCZ Vertex 2 SSD to the computer
With the existing hard drive removed, it’s now time to connect the OCZ Vertex 2 SSD to your computer. Follow these steps:
- Locate the available drive bay: Refer to your computer’s manual or visually inspect the internal components to identify an available drive bay where you can install the OCZ Vertex 2 SSD. This is typically a 2.5-inch drive bay.
- Insert the OCZ Vertex 2 SSD: Gently slide the OCZ Vertex 2 SSD into the drive bay, aligning the connectors on the SSD with the SATA and power ports in the computer. Ensure a secure fit without applying excessive force.
- Secure the SSD: Use the screws or brackets that you previously removed from the existing hard drive to secure the OCZ Vertex 2 SSD in place. Tighten the screws or brackets just enough to hold the SSD firmly but avoid over-tightening, as it may damage the drive.
Once you have successfully connected and secured the OCZ Vertex 2 SSD in the drive bay, you are now ready to move on to the next step: connecting the necessary cables.
Step 5: Install the OCZ Vertex 2 SSD
With the OCZ Vertex 2 SSD securely connected in the drive bay, it’s time to proceed with the installation process. Follow these steps:
- Locate the SATA and power connectors: Identify the SATA and power connectors on the OCZ Vertex 2 SSD. These connectors are typically located on the side or rear of the drive.
- Connect the SATA cable: Take the SATA cable that you previously disconnected from the existing hard drive and plug one end into the SATA connector on the OCZ Vertex 2 SSD. Ensure a snug and secure connection.
- Connect the power cable: Take the power cable that you previously disconnected from the existing hard drive and plug it into the power connector on the OCZ Vertex 2 SSD. Again, ensure a secure connection.
Double-check the connections to ensure that both the SATA and power cables are securely connected to the OCZ Vertex 2 SSD. A loose connection may result in the drive not being recognized or functioning properly.
Now that you have installed the OCZ Vertex 2 SSD and connected the necessary cables, it’s time to proceed to the next step: securing the SSD in place.
Step 6: Secure the OCZ Vertex 2 SSD in place
Now that the OCZ Vertex 2 SSD is installed and the cables are connected, it’s important to secure the drive in place to prevent any movement or vibrations that could potentially damage the connections. Follow these steps:
- Double-check the positioning: Ensure that the OCZ Vertex 2 SSD is aligned correctly in the drive bay and that the connectors are properly inserted into the SATA and power ports of the computer.
- Use screws or brackets: If your computer case provides mounting holes for 2.5-inch drives, use the appropriate screws or brackets to secure the OCZ Vertex 2 SSD in place. Insert the screws or attach the brackets while ensuring that they do not obstruct the connectors or components on the SSD.
- Tighten the screws or brackets: Carefully tighten the screws or brackets to secure the OCZ Vertex 2 SSD firmly in the drive bay. Avoid over-tightening, as it may damage the SSD or strip the screws.
By properly securing the OCZ Vertex 2 SSD, you ensure that it remains in place during regular use and eliminates the risk of accidental disconnection or damage. This step is especially important if you are installing the SSD in a portable or mini-ITX system that may experience more movement or jostling.
With the OCZ Vertex 2 SSD securely fastened in the drive bay, you are now ready to proceed to the next step: connecting the necessary cables.
Step 7: Connect the necessary cables
Now that you have securely installed the OCZ Vertex 2 SSD into the drive bay, it’s time to connect the necessary cables to ensure proper functionality. Follow these steps:
- Locate the SATA and power connectors: Identify the SATA and power connectors on your computer’s motherboard. They are usually labeled and can be found near the other drive connectors.
- Connect the SATA cable: Take the other end of the SATA cable that you previously disconnected from the existing hard drive and plug it into an available SATA connector on the motherboard. Ensure a secure and snug connection.
- Connect the power cable: Locate an available power connector from your computer’s power supply. Plug it into the power connector on the OCZ Vertex 2 SSD. Just like with the SATA cable, ensure a secure connection.
Double-check the connections to ensure that both the SATA and power cables are securely connected to the OCZ Vertex 2 SSD and the motherboard. A loose connection may result in the drive not being recognized or functioning properly.
Once the necessary cables are connected, you have successfully completed the installation process. However, before closing up the computer case, it’s essential to double-check all the connections and prepare for the next step: replacing the computer case.
Step 8: Replace the computer’s case
Now that all the necessary cables are connected and the OCZ Vertex 2 SSD is securely installed, it’s time to replace the computer’s case. Follow these steps:
- Ensure all cables are neatly organized: Check that all cables are properly routed and neatly organized within the computer case. Avoid any cables obstructing fans or components that could potentially cause overheating or performance issues.
- Align the computer case: Carefully align the side panel of the computer case with the chassis. Ensure that it’s properly seated and lined up with the screw holes on the case.
- Secure the case: With the side panel properly aligned, use the screws that were previously removed to secure the case. Start by inserting and loosely tightening one screw, then move on to the other screws while ensuring that the panel remains aligned.
- Tighten all screws: Once all the screws are in place, go back and tighten them in a diagonal pattern. This ensures even pressure distribution and a secure fit for the computer case.
Make sure not to over-tighten the screws, as this could damage the case or strip the screw threads. Keep them snug, but avoid excessive force.
With the computer case securely closed, you have successfully replaced it after installing the OCZ Vertex 2 SSD. The next step is to power on the computer and check for recognition of the new drive.
Step 9: Power on the computer and check for recognition
With the computer case closed and secure, it’s time to power on your computer and check if the OCZ Vertex 2 SSD is recognized by the system. Follow these steps:
- Ensure all cables are securely connected: Before powering on the computer, double-check that all cables, including the power and SATA cables, are firmly and securely connected to the OCZ Vertex 2 SSD and the motherboard.
- Plug in the power cable: Connect the power cable to the back of the computer and plug it into a power outlet. Make sure the power supply switch is turned on.
- Power on the computer: Press the power button to turn on your computer. Allow the system to boot up.
- Check for drive recognition: Once the computer has finished booting, open the operating system and navigate to the Disk Management utility or a similar tool. Check if the OCZ Vertex 2 SSD is listed and recognized by the system.
If the OCZ Vertex 2 SSD is properly recognized, you have successfully installed and connected the drive. You can now enjoy the increased speed and performance it offers. If the SSD is not detected, double-check the connections and consult the user manual or online resources for troubleshooting steps specific to your computer system.
Once you’ve confirmed that the OCZ Vertex 2 SSD is recognized, you are ready to proceed to the final step: formatting and configuring the SSD for your operating system and specific needs.
Step 10: Format and configure the OCZ Vertex 2 SSD
Now that the OCZ Vertex 2 SSD is recognized by the system, the final step is to format and configure the drive to ensure optimal performance and usability. Follow these steps:
- Backup your data: Before proceeding with any formatting or configuring, it is highly recommended to back up your important data. This ensures that in case of any accidental data loss during the process, you have a copy of your valuable files.
- Access the Disk Management utility: Open the Disk Management utility in your operating system. This utility allows you to manage and format disk drives. In Windows, you can access it by right-clicking on the Start button, selecting “Disk Management” from the menu, or searching for “Disk Management” in the search bar.
- Select the OCZ Vertex 2 SSD: In the Disk Management utility, locate the OCZ Vertex 2 SSD. It should be listed as an unallocated or unformatted drive.
- Create a new partition: Right-click on the unallocated space of the OCZ Vertex 2 SSD and select “New Simple Volume” or a similar option. Follow the on-screen instructions to create a new partition and allocate the desired amount of space for your needs.
- Format the drive: Once the partition is created, right-click on it and select “Format” from the context menu. Choose the desired file system (such as NTFS for Windows) and proceed with the formatting process. This may take a few minutes.
- Assign a drive letter: After the formatting is complete, right-click on the newly formatted partition and select “Change Drive Letter and Paths.” Choose an available drive letter to assign to the OCZ Vertex 2 SSD.
Once you have completed these steps, the OCZ Vertex 2 SSD is formatted and ready to be used. You can now transfer your data to the SSD, install your operating system, or use it for your preferred applications and files. Enjoy the enhanced speed and performance that the OCZ Vertex 2 2.5 Solid State Drive 60GB SSD provides!
Conclusion
Congratulations! You have successfully completed the installation of the OCZ Vertex 2 2.5 Solid State Drive 60GB SSD into your computer. By following the step-by-step guide, you have upgraded your system to enjoy faster boot times, improved application performance, and smoother multitasking.
Throughout this installation process, you learned how to gather the necessary tools and equipment, prepare your computer, remove the existing hard drive, connect and install the OCZ Vertex 2 SSD, secure it in place, connect the necessary cables, replace the computer’s case, power on the computer and check for recognition, and finally, format and configure the SSD for optimal performance.
Remember, installing an SSD is an excellent investment to boost your computer’s speed and overall performance. The OCZ Vertex 2 2.5 Solid State Drive 60GB SSD, with its impressive read and write speeds, advanced features, and reliability, provides a great choice for your upgrade.
As you continue to use your computer with the newly installed OCZ Vertex 2 SSD, be sure to regularly backup your important data and keep your system updated for the best performance. Enjoy the benefits of faster access to your files, quicker application launches, and overall smoother computing experience.
If you encounter any issues or have further questions, refer to the user manual, online resources, or consult a computer technician for professional assistance. Stay updated with the latest firmware releases for your OCZ Vertex 2 SSD to ensure optimal functionality and compatibility with your system.
Thank you for choosing the OCZ Vertex 2 2.5 Solid State Drive 60GB SSD and following this installation guide. We hope you enjoy the improved performance and efficiency that your upgraded computer now provides!