Introduction
Transferring files from a hard drive to a solid state drive (SSD) is a common task for computer users looking to upgrade their storage system. Whether you’re upgrading for better performance or replacing a faulty hard drive, it’s important to know how to safely restore your files onto the new SSD.
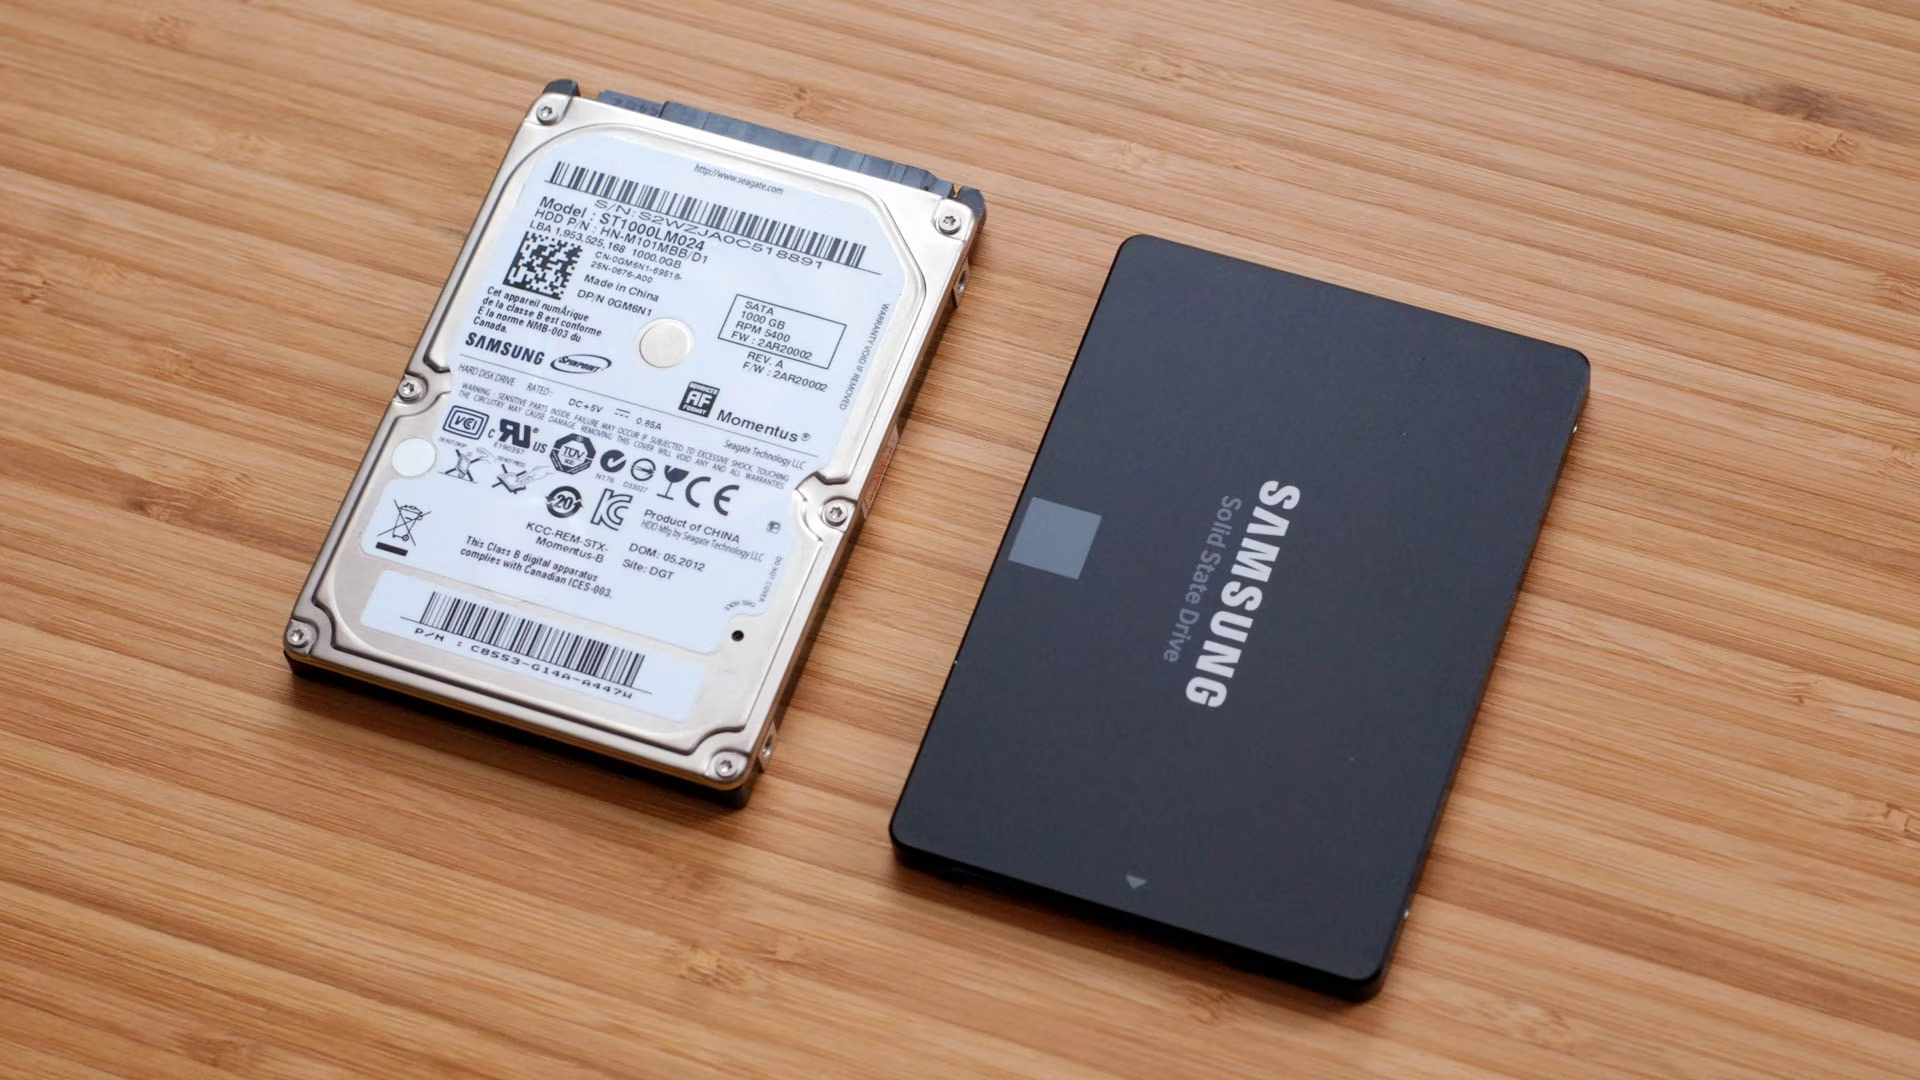
SSDs have become increasingly popular due to their faster read and write speeds, durability, and overall improved performance compared to traditional hard drives. By transferring your files to an SSD, you can enjoy faster boot times, quicker file access, and an overall smoother computing experience.
In this article, we will guide you through the process of transferring files from a hard drive to an SSD. We’ll show you the necessary steps to ensure a successful data transfer, ensuring that no files are lost or corrupted in the process.
Before we begin, it’s crucial to back up your files before attempting any data transfer. This will serve as a safety net in case of any unforeseen errors or issues that may occur during the transfer process. Make sure to have an external storage device, such as a USB drive or an external hard drive, to back up your files.
With that said, let’s dive into the step-by-step process of restoring files from a hard drive to a solid state drive.
Step 1: Connect the hard drive and solid state drive to your computer
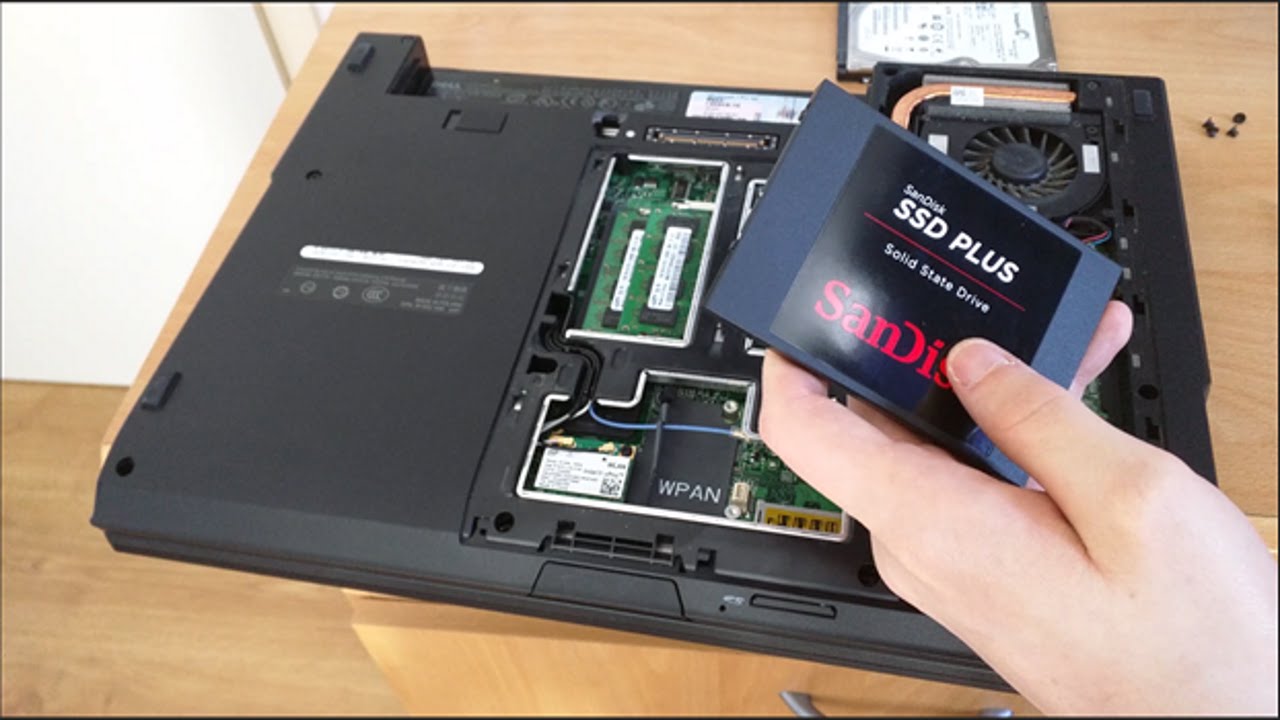
The first step in transferring files from a hard drive to a solid state drive is to physically connect both drives to your computer. Depending on your computer’s configuration, you might need to use specific cables or adapters.
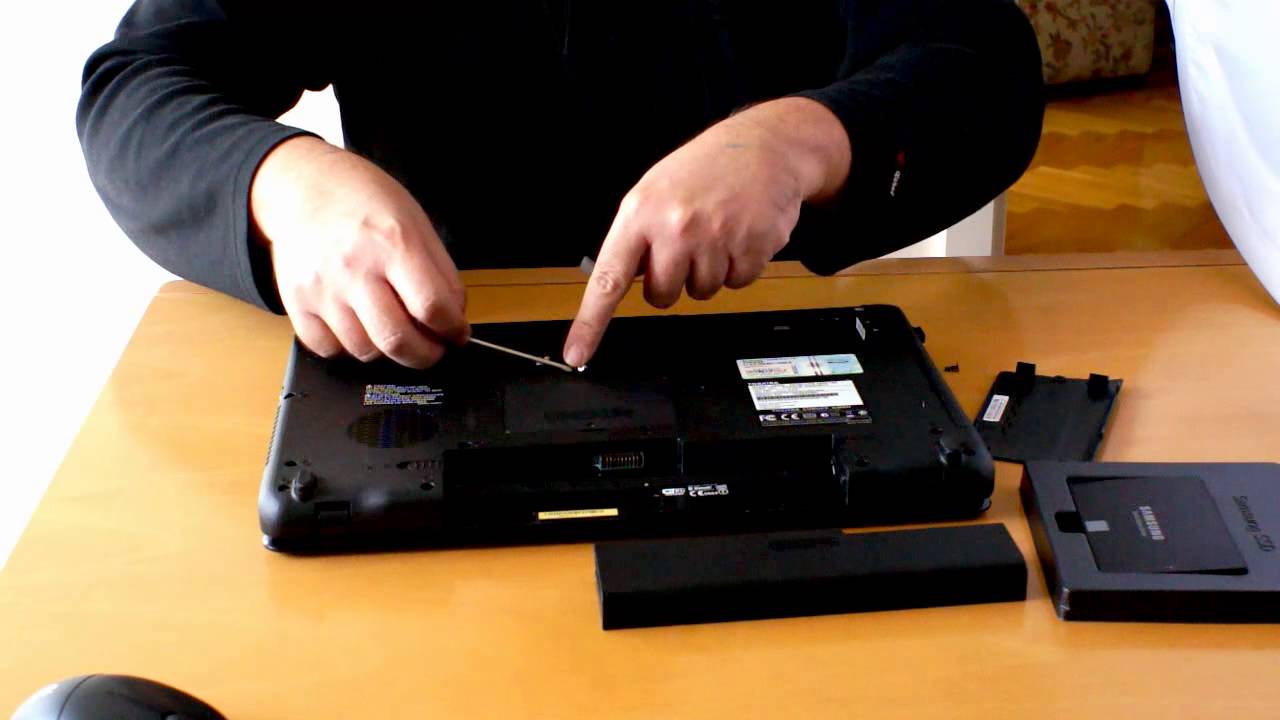
Start by shutting down your computer and disconnecting all peripheral devices. Open your computer case to access the internal components. Locate the hard drive that contains the files you want to transfer and disconnect its cables, including the power and data cables.
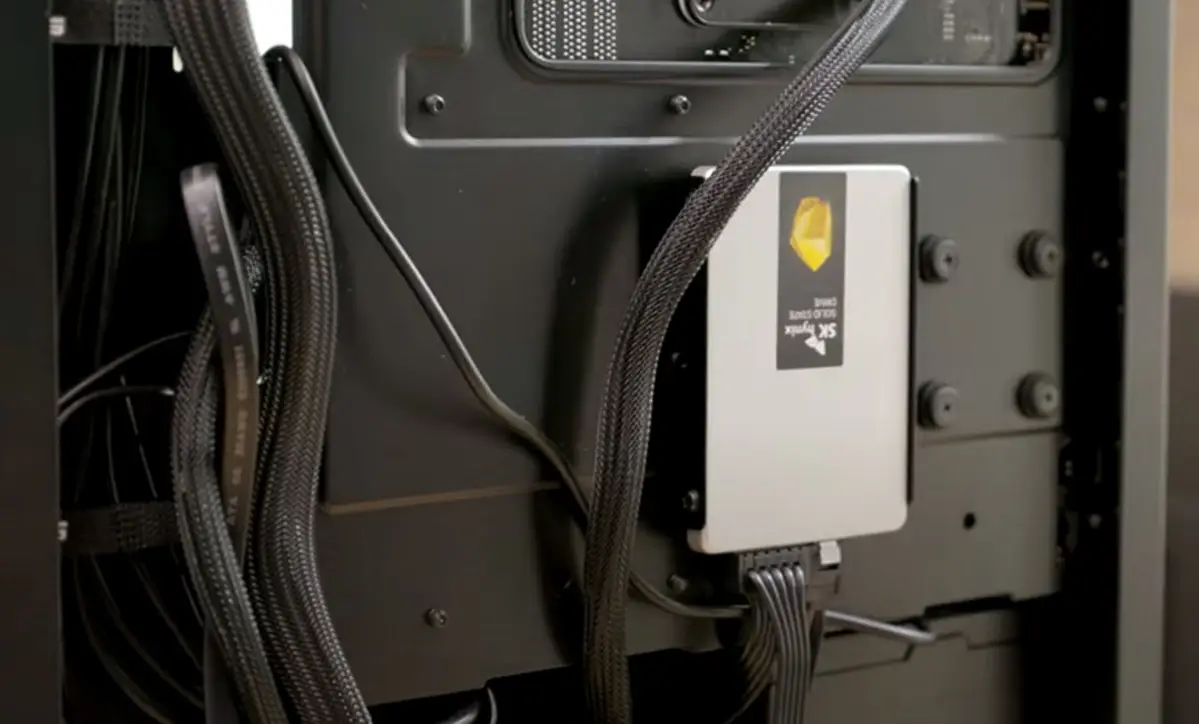
Now, connect your solid state drive to an available storage slot or bay in your computer. Insert the necessary cables, making sure to connect both the power and data cables securely. If your SSD is an external drive, connect it to your computer using a compatible cable, such as USB or Thunderbolt.
Once both the hard drive and solid state drive are properly connected, close the computer case and power on your computer.
If your computer doesn’t recognize the newly connected drives, you might need to access your computer’s BIOS or UEFI settings to enable detection. Restart your computer and look for the appropriate key (usually displayed on the screen) to access the BIOS or UEFI settings. Navigate to the storage or drive configuration options and ensure that both the hard drive and solid state drive are detected.
Once the drives are properly connected and detected by your computer, you can proceed to the next step of the file transfer process.
Step 2: Install and run data recovery software on your computer
Before you can begin transferring files from the hard drive to the solid state drive, it’s essential to install data recovery software on your computer. This software will help in efficiently recovering and transferring your files from the hard drive.
There are various data recovery software options available, both free and paid, that are specifically designed to retrieve files from damaged or inaccessible drives. Some popular choices include EaseUS Data Recovery Wizard, Recuva, and MiniTool Power Data Recovery.
Start by downloading and installing the data recovery software of your choice from the official website. Make sure to install it on the drive that doesn’t contain the files you want to recover to prevent overwriting any data.
Once the software is installed, launch it and follow the on-screen instructions. Most data recovery software has a user-friendly interface that guides you through the recovery process.
You’ll typically be asked to select the drive from which you want to recover files. In this case, choose the hard drive that contains the files you want to transfer to the solid state drive. The software will scan the drive for recoverable files, which may take some time depending on the size of the drive and the number of files.
After the scanning process is complete, the recovery software will display a list of recoverable files. You can preview the files to ensure their integrity and select the specific files you want to recover and transfer to the solid state drive.
Before proceeding to the next step, make sure you have enough space on the solid state drive to accommodate the recovered files. If needed, you can free up space on the SSD by deleting unnecessary files or transferring existing files to another storage device.
Now that you have successfully installed and run data recovery software on your computer, you’re ready to move on to the next step in the file transfer process.
Step 3: Select the hard drive as the source and solid state drive as the destination
Now that you have installed and run the data recovery software, it’s time to select the hard drive as the source and the solid state drive as the destination for the file transfer.
In the data recovery software interface, you will typically find options to choose the source and destination drives. Select the hard drive that contains the files you want to transfer as the source drive. This will be the drive that you disconnected earlier and connected to your computer.
Next, choose the solid state drive as the destination drive. This is the drive where you want the recovered files to be transferred. Make sure to double-check the drive letters or names to avoid any confusion, as selecting the wrong drives can result in data loss.
Before proceeding with the transfer, some data recovery software might provide additional options or settings to customize the process. These options may include filtering by file type, setting specific folders for recovery, or excluding certain file extensions. Adjust these settings according to your preferences and requirements.
It’s essential to note that when transferring files from a hard drive to an SSD, the file systems should be compatible. If the file systems differ, you might need to format the SSD to match the file system of the hard drive or convert the file system of the hard drive to match that of the SSD. Be cautious with formatting or converting file systems, as it can result in complete data loss if not done correctly.
Once you have selected the hard drive as the source and the solid state drive as the destination, and appropriately configured any additional options, you are ready to proceed to the next step and initiate the file transfer process.
Step 4: Choose the files you want to restore from the hard drive
After selecting the hard drive as the source and the solid state drive as the destination, it’s time to choose the specific files you want to restore from the hard drive onto the SSD.
Depending on the data recovery software you are using, you will have different options for selecting the files. Most software provides a preview feature that allows you to view the recoverable files before starting the restoration process. This is particularly helpful if you only want to restore specific files and not the entire drive.
Browse through the list of recoverable files provided by the software. You can often search for files by name, extension, or folder location to narrow down your selection. Take your time to carefully review each file and ensure that you are selecting the correct ones for restoration.
Here are some common file types that you might want to prioritize during the selection process:
- Documents: Word documents, PDF files, Excel spreadsheets, and PowerPoint presentations.
- Photos: JPEG, PNG, and RAW image files.
- Videos: MP4, AVI, MOV, and other video formats.
- Music: MP3, WAV, and other audio formats.
- Archives: ZIP, RAR, and other compressed file formats.
Additionally, consider any personal files or important data that you want to transfer from the hard drive to the SSD. These can include personal projects, work documents, saved games, or any other files that hold significance to you.
While it can be tempting to restore every file available, keep in mind that unnecessary files will occupy unnecessary space on your solid state drive. Take a moment to evaluate which files are truly important and exclude any duplicates or irrelevant data.
Once you have made your selection, proceed to the next step to initiate the file transfer from the hard drive to the solid state drive.
Step 5: Start the data transfer process
With the files chosen for restoration from the hard drive onto the solid state drive, it’s time to initiate the data transfer process. The data recovery software you are using should provide a clear and straightforward method to begin the transfer.
Most data recovery software will have a “Start” or “Begin Transfer” button that you need to click to kick off the transfer process. The software will then start copying the selected files from the hard drive to the solid state drive.
The transfer speed will vary depending on the size and number of files being transferred, as well as the speed of both the hard drive and the solid state drive. Patience is key during this step, especially if you have a large amount of data to transfer.
While the transfer is in progress, it’s important to avoid any interruptions or disturbances that could halt the process. Close any unnecessary programs or applications and refrain from using the computer for other tasks to ensure a smooth and uninterrupted transfer.
Keep an eye on the transfer progress provided by the data recovery software. Some software might display a progress bar or estimate the remaining time for the transfer. This will give you an idea of how much longer you need to wait.
Note that the transfer process might take some time, especially if you are dealing with a large amount of data. Use this time to relax, take a break, or catch up on other tasks while ensuring that the computer remains on and connected to a power source.
Once the data transfer process is complete, you can proceed to the final step to ensure that the restored files are accessible on the solid state drive.
Step 6: Verify and access the restored files on the solid state drive
After the data transfer process is complete, it’s crucial to verify and ensure that the restored files are accessible on the solid state drive (SSD). This step will help confirm that the file transfer was successful and that all your important data is intact.
Start by opening the file explorer on your computer and navigate to the location where the restored files should be stored on the SSD. Depending on your preferences and the software you used, the files might be restored to their original folder structure or consolidated into a designated location.
Take some time to browse through the files and folders on the solid state drive. Verify that the files you restored are present and accessible. Open a few files from different categories (documents, images, videos) to ensure they open smoothly and without any errors.
If you encounter any issues or find that certain files are missing or corrupted, it’s essential to troubleshoot the problem immediately. Double-check the source drive and destination drive selections in the data recovery software. If necessary, re-run the transfer process or consult the software’s documentation or support resources for assistance.
Additionally, consider organizing the restored files on the SSD to facilitate easy access and future organization. Create relevant folders and subfolders to categorize the files based on their type, project, or any other relevant criteria. This will help keep your files organized and make them easier to find in the future.
Keep in mind that the original hard drive, from which you transferred the files, should no longer be used as the primary storage device. It is recommended to securely wipe or format the old hard drive to prevent any data leakage and to free up storage space.
Congratulations! You have successfully transferred and restored files from your hard drive to the solid state drive. Enjoy the improved performance and faster access to your important data on the SSD.
Conclusion
Transferring files from a hard drive to a solid state drive (SSD) is a crucial process for anyone looking to upgrade their storage system or recover data from a faulty hard drive. By following the steps outlined in this guide, you can successfully restore your files onto the new SSD without any data loss.
Throughout this process, it’s essential to prioritize data backup to ensure that you have a safety net in case of any unforeseen errors or issues. Backing up your files to an external storage device before initiating the transfer will give you peace of mind and protect your data from potential loss.
Remember to properly connect the hard drive and solid state drive to your computer, ensuring that they are detected before proceeding. Install and run reliable data recovery software to facilitate the restoration process, and carefully select the files you want to restore from the hard drive.
Once the file selection is complete, initiate the data transfer process and keep an eye on the progress to ensure everything goes smoothly. Finally, verify that the restored files are accessible on the solid state drive, and consider organizing them for easier future access.
Upgrading to an SSD not only provides a significant boost in performance but also enhances the reliability and overall user experience. With improved read and write speeds, your computer will start up faster, applications will load quickly, and file access will be seamless.
As technology continues to advance, SSDs will become more prevalent, and knowing how to transfer files from a hard drive to an SSD will become even more important. By following the steps outlined in this guide, you can confidently and successfully restore your files onto a solid state drive.
So, what are you waiting for? Upgrade to an SSD and enjoy the benefits of faster and more efficient file storage and retrieval on your computer!