Introduction
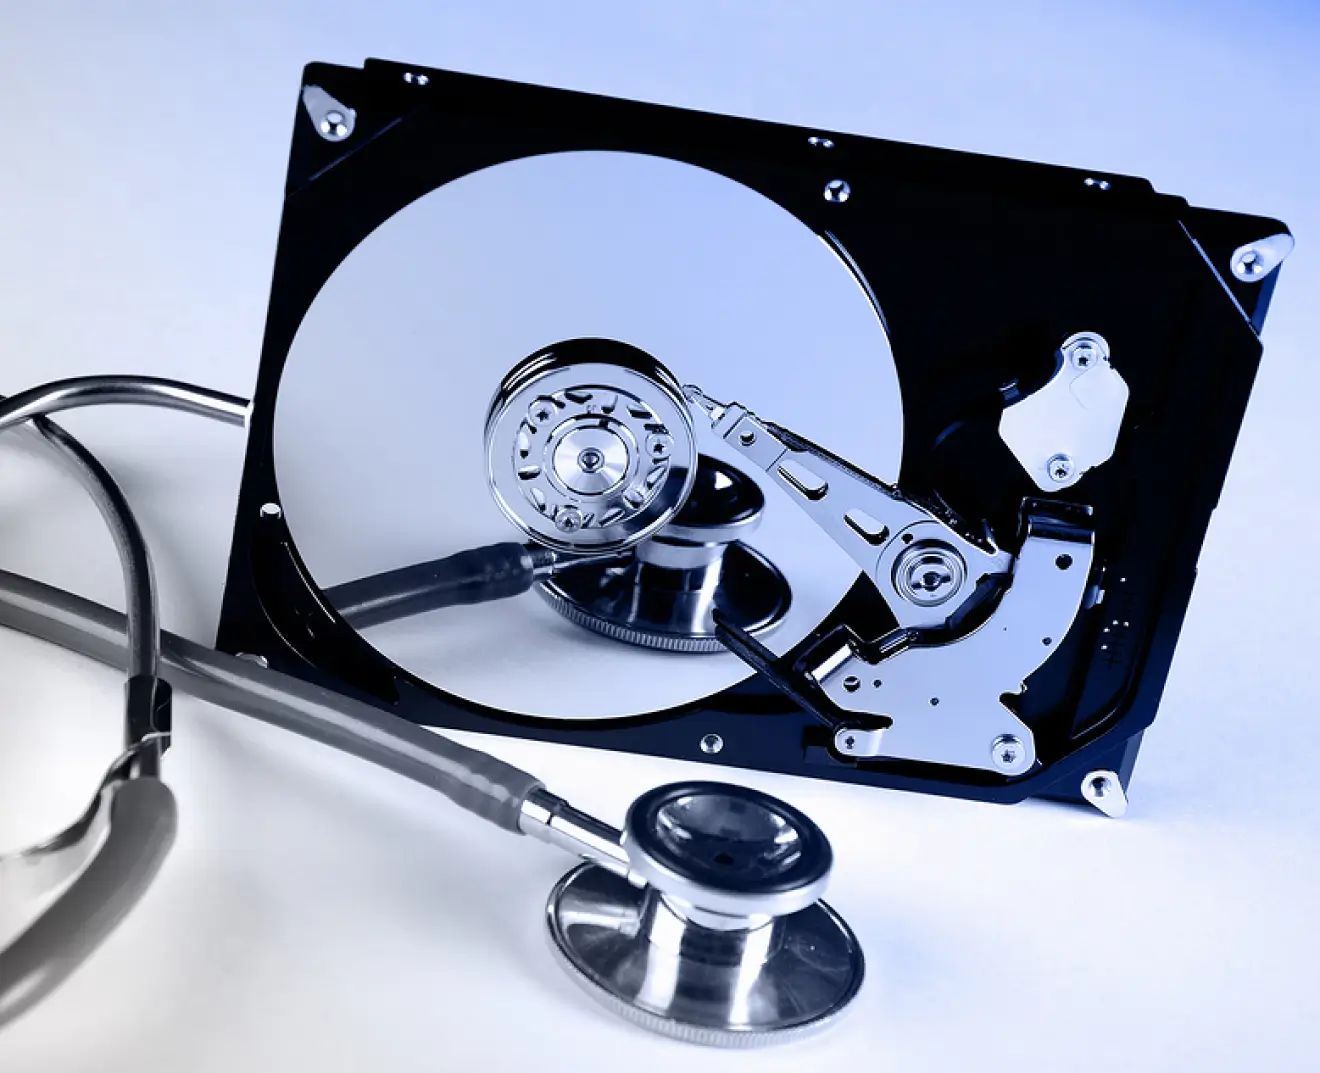
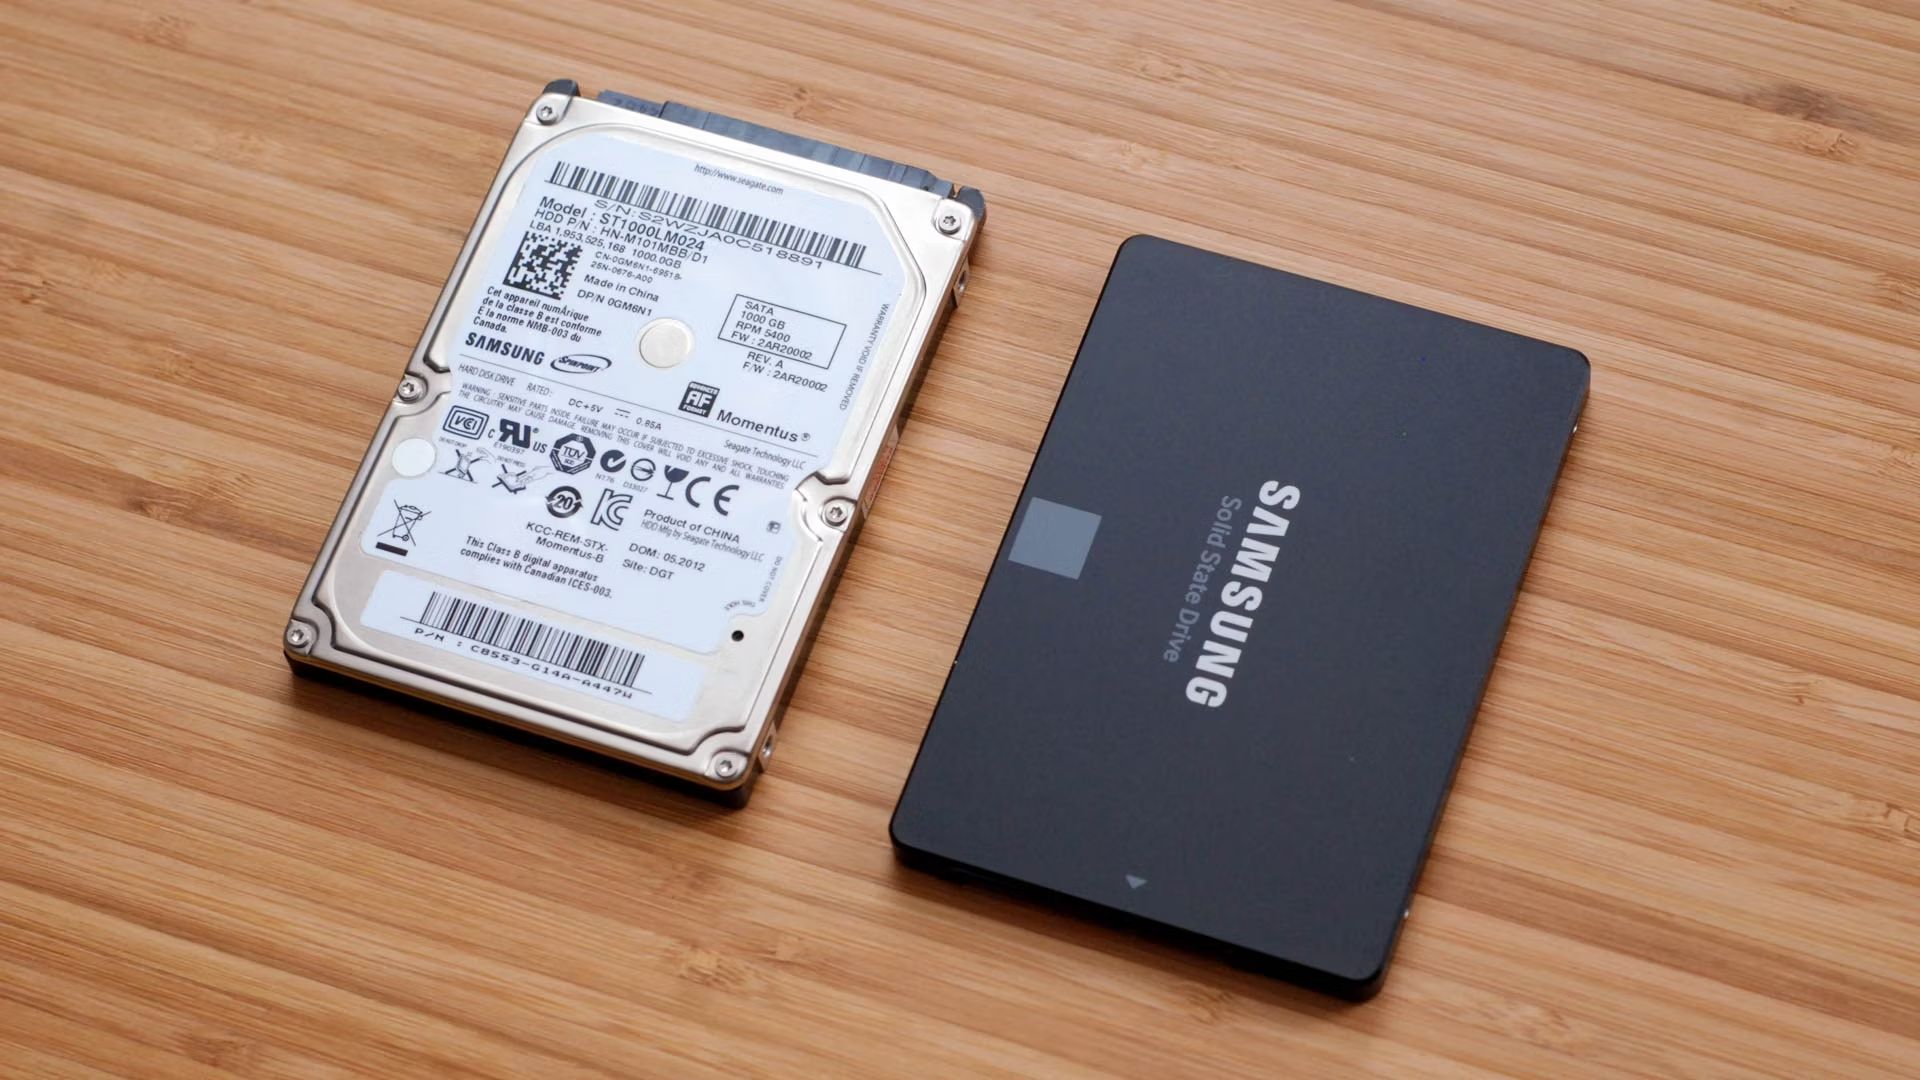
Upgrading your computer’s hard disk drive (HDD) to a solid state drive (SSD) can greatly improve its performance and speed. With an SSD, you’ll experience faster boot times, quicker application launches, and reduced file transfer times. In this guide, we will walk you through the process of replacing your old HDD with a new SSD, ensuring a smooth transition and allowing you to take full advantage of the benefits an SSD has to offer.
Before we dive into the steps, it’s important to note that although this process is generally straightforward, it does involve opening up your computer case and working with delicate components. If you’re not comfortable performing these tasks, it might be best to seek professional assistance.
Additionally, before you begin, make sure to create a backup of all your important files and data. This will ensure that nothing is lost during the upgrade process. Once you have everything in order, you can proceed with confidence.
Throughout this guide, we will outline each step necessary to successfully replace your HDD with an SSD. From gathering the necessary tools and materials to initializing your new SSD, we’ve got you covered. So, grab your screwdriver and let’s get started on this exciting upgrade!
Step 1: Gather the necessary tools and materials
Before you begin replacing your hard disk drive with a solid state drive, you’ll need to gather a few tools and materials. Here’s a list of what you’ll need:
- Screwdriver: Depending on your computer model, you may require a Phillips-head or a Torx screwdriver. Check your computer’s documentation or do a quick online search to determine the type of screwdriver you’ll need.
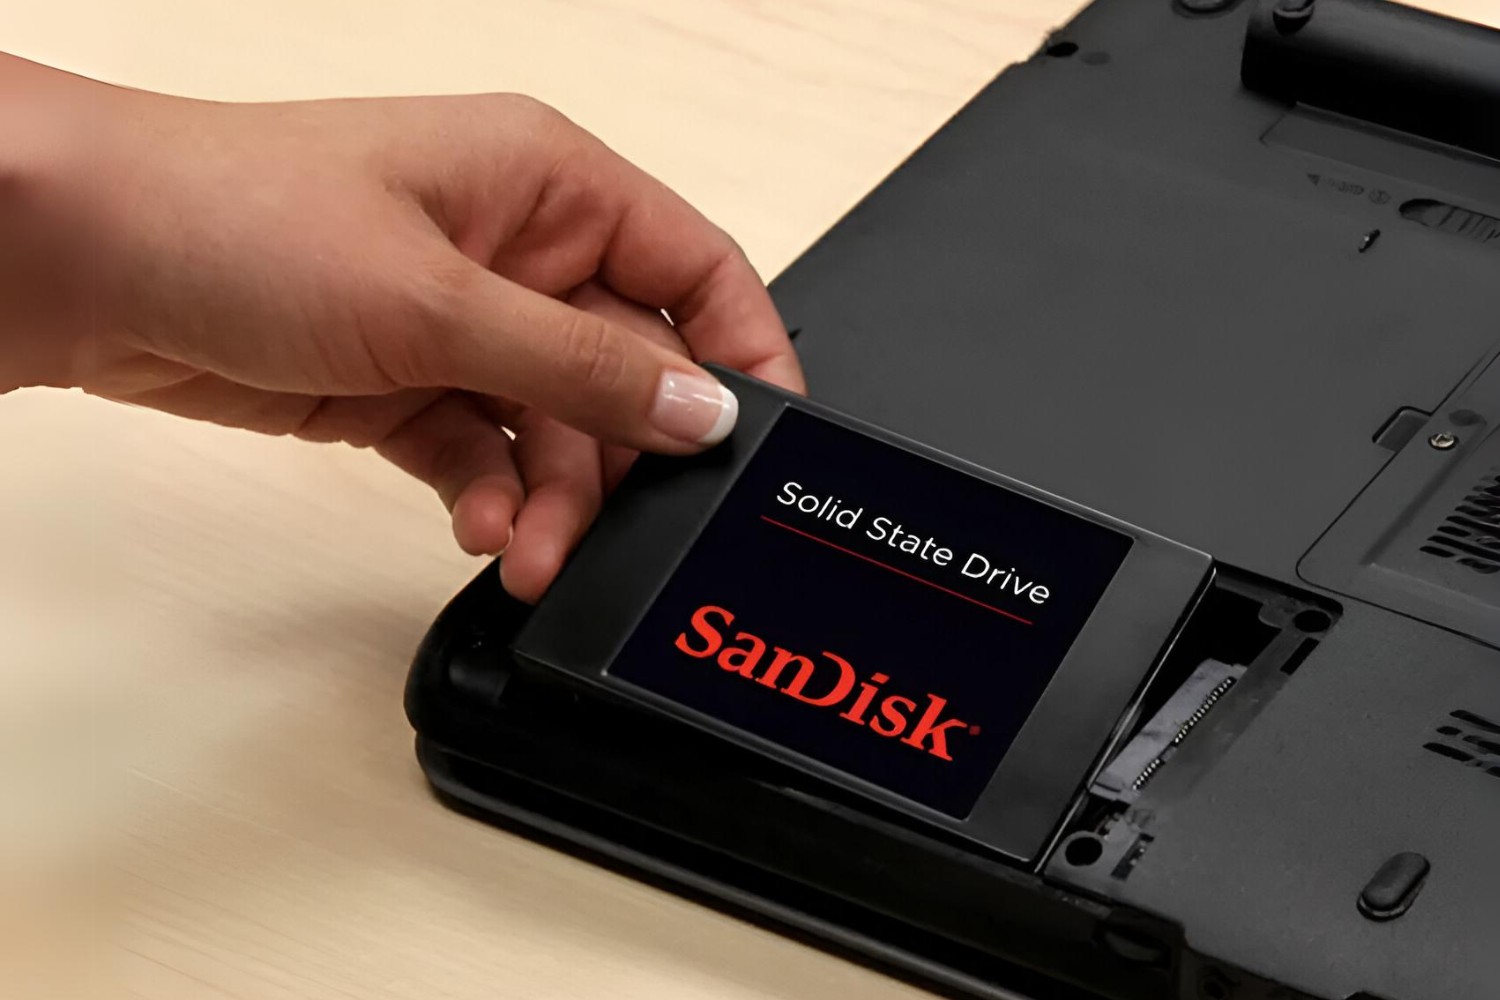
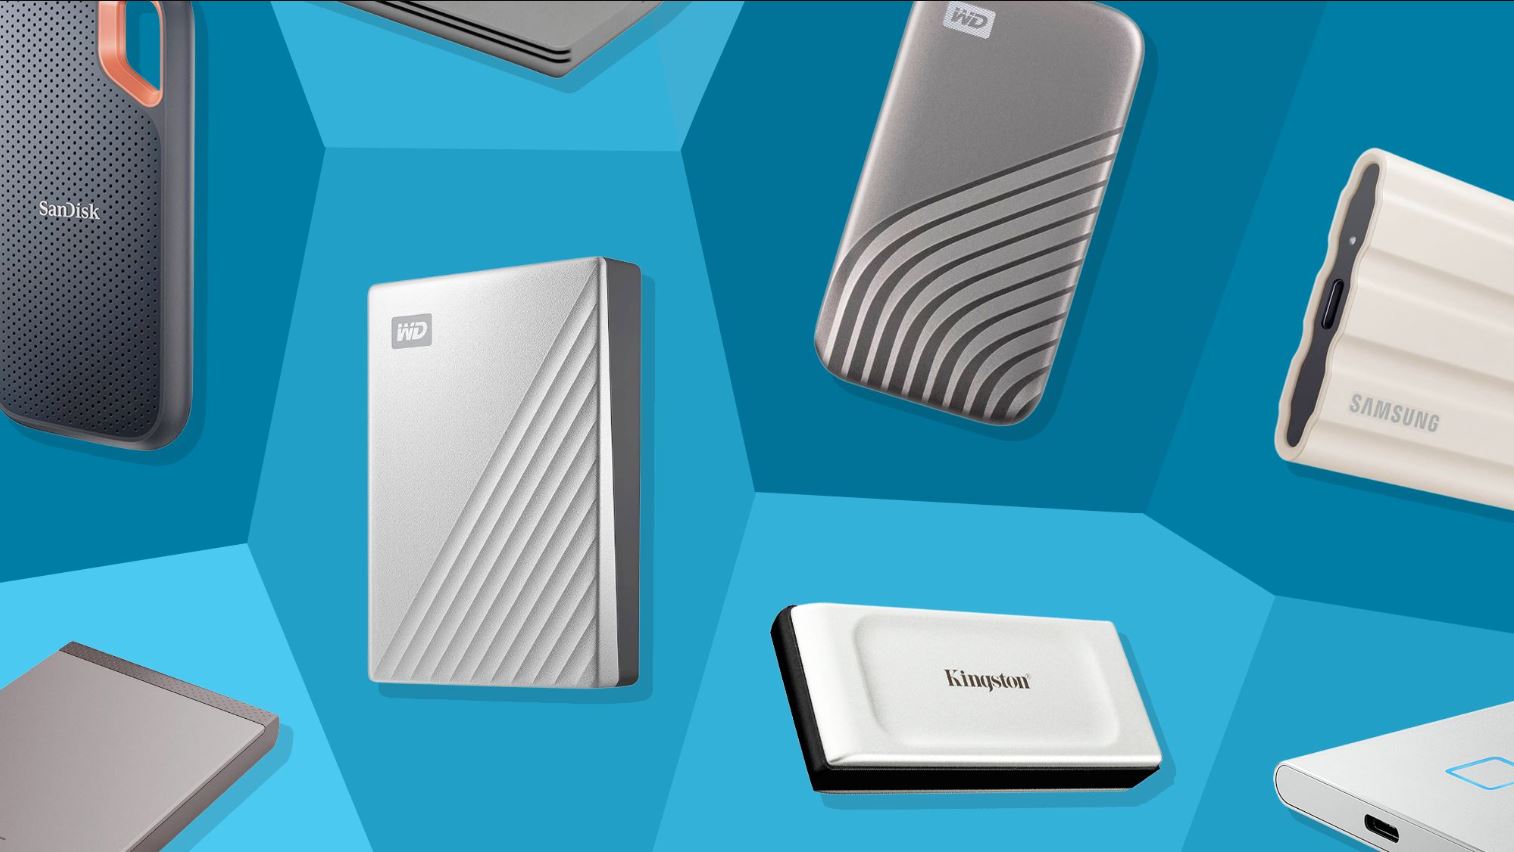
- SSD: Purchase a suitable solid state drive that meets your computer’s specifications. Consider factors like storage capacity, interface type (SATA or NVMe), and form factor (2.5-inch or M.2) when choosing an SSD.
- SATA or NVMe cable: If your computer supports SATA or NVMe SSDs, ensure that you have the appropriate cable to connect the SSD to your motherboard.
- Mounting bracket (optional): Depending on your computer case and the form factor of your SSD, you may need a mounting bracket to securely install the SSD in your computer.
- Anti-static wrist strap (optional): To prevent static electricity from damaging your components, consider using an anti-static wrist strap while working inside your computer.
Once you have these tools and materials ready, you can proceed to the next step. It’s a good idea to gather everything before you start the process to avoid any unnecessary delays or interruptions.
Keep in mind that the specific tools and materials required may vary depending on your computer model and the type of SSD you’re installing. Refer to your computer’s documentation or consult with a professional if you’re unsure about compatibility or need specific guidance.
Step 2: Back up your data
Before proceeding with any hardware changes, it’s crucial to create a backup of all your important files and data. This ensures that even if something goes wrong during the upgrade process, you won’t lose any valuable information.
There are several ways you can back up your data:
- External Hard Drive: Connect an external hard drive to your computer and manually copy your files onto it. This provides a convenient and portable backup solution.
- Cloud Storage: Utilize cloud storage services, such as Google Drive, Dropbox, or iCloud, to upload your files and access them from any device with an internet connection.
- Network Attached Storage (NAS): If you have a NAS device, you can backup your data directly to it, ensuring you have a local copy of your files for added redundancy.
- Backup Software: Consider using backup software, such as Acronis True Image or Macrium Reflect, which can automate the backup process and provide additional features like incremental backups and system imaging.
Regardless of the method you choose, make sure to verify that your backup is complete and accessible before proceeding. Double-check important files, folders, and settings to ensure nothing was missed.
Backing up your data not only protects it during the SSD installation but also serves as a general best practice for maintaining the security and integrity of your files. It’s always a good idea to have an up-to-date backup available in case of data loss due to unforeseen circumstances.
With your data securely backed up, you’re now ready to move on to the next step of replacing your hard disk drive with a solid state drive.
Step 3: Shut down your computer and unplug all cables
Before you begin working on your computer’s internal components, it’s important to ensure that your computer is completely shut down and disconnected from any power source. Follow these steps:
- Save and close any open programs or files you may have been working on.
- Click on the Start menu and select “Shut Down” to power off your computer.
- Once your computer has fully shut down, locate the power cable on the back of your computer and unplug it from the wall outlet.
- Next, unplug any additional cables connected to your computer, such as the monitor cable, keyboard, mouse, and any other peripherals.
- If you’re working on a laptop, make sure to remove the battery as well.
By completely disconnecting your computer from the power source, you eliminate any risk of electrical shock or damage to the components during the upgrade process.
Remember to handle the computer and its components with care and avoid touching any sensitive parts, such as the motherboard or the SSD connectors. Electrostatic discharge (ESD) can cause damage to these delicate components, so it’s a good idea to use an anti-static wrist strap or periodically ground yourself by touching a metal object.
With your computer safely shut down and all cables unplugged, you’re now ready to move on to the next step of the SSD replacement process.
Step 4: Open up your computer case
Now that your computer is powered down and disconnected, it’s time to open up the computer case to access the internal components. Follow these steps to safely open your computer case:
- Locate the screws or latches securing the side panel of your computer case. These are usually found on the back or side of the case.
- Using the appropriate screwdriver or releasing the latches, remove the screws or slide off the side panel to expose the internal components.
- Set aside the side panel in a safe place where it won’t get damaged or accidentally knocked over.
- Take a moment to familiarize yourself with the inside of your computer case. Pay attention to the location of the existing hard disk drive and other components.
Opening up your computer case may vary depending on the make and model of your computer. If you’re unsure about the process, refer to the computer’s manual or look for online resources specific to your computer model.
While you have the computer case open, it’s a good idea to remove any dust or debris using compressed air or a soft brush. This will help maintain optimal airflow and prevent overheating of the components.
Once you have successfully opened up your computer case and cleared any obstructions, you’re ready to proceed to the next step of replacing the hard disk drive with a solid state drive.
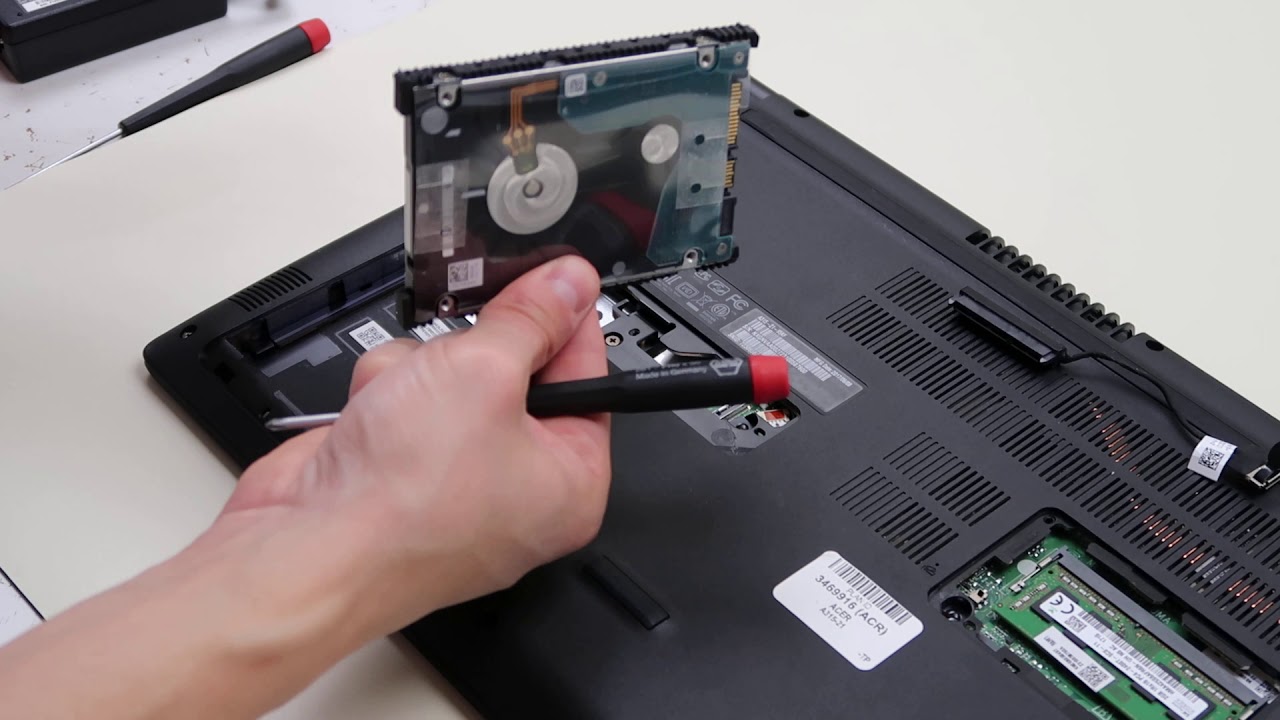
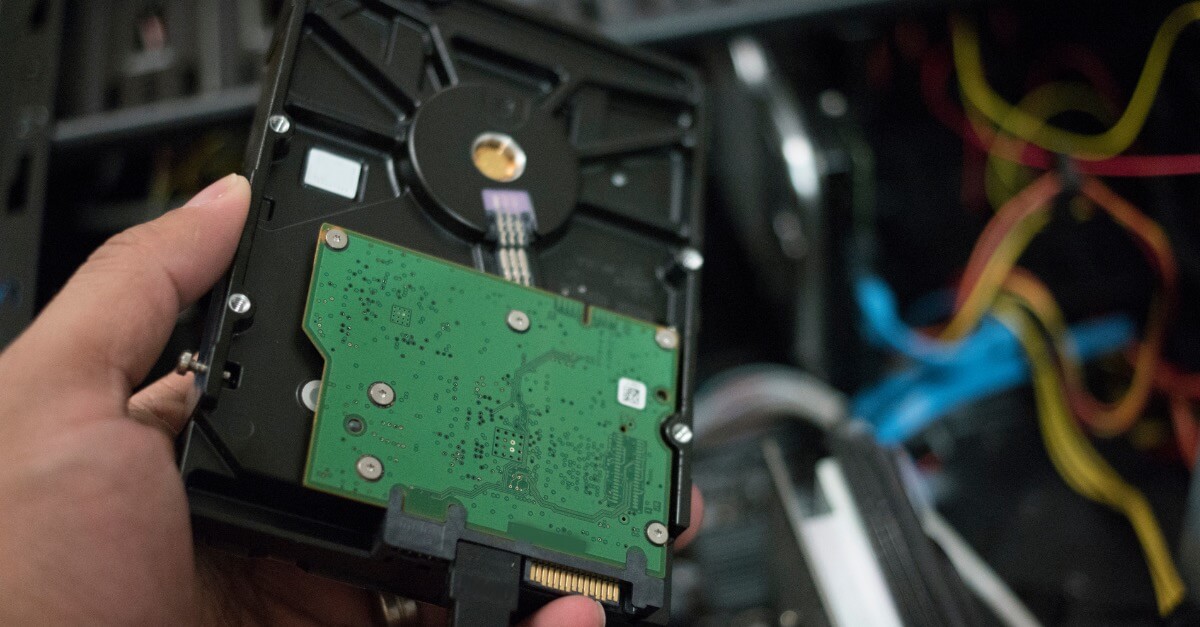
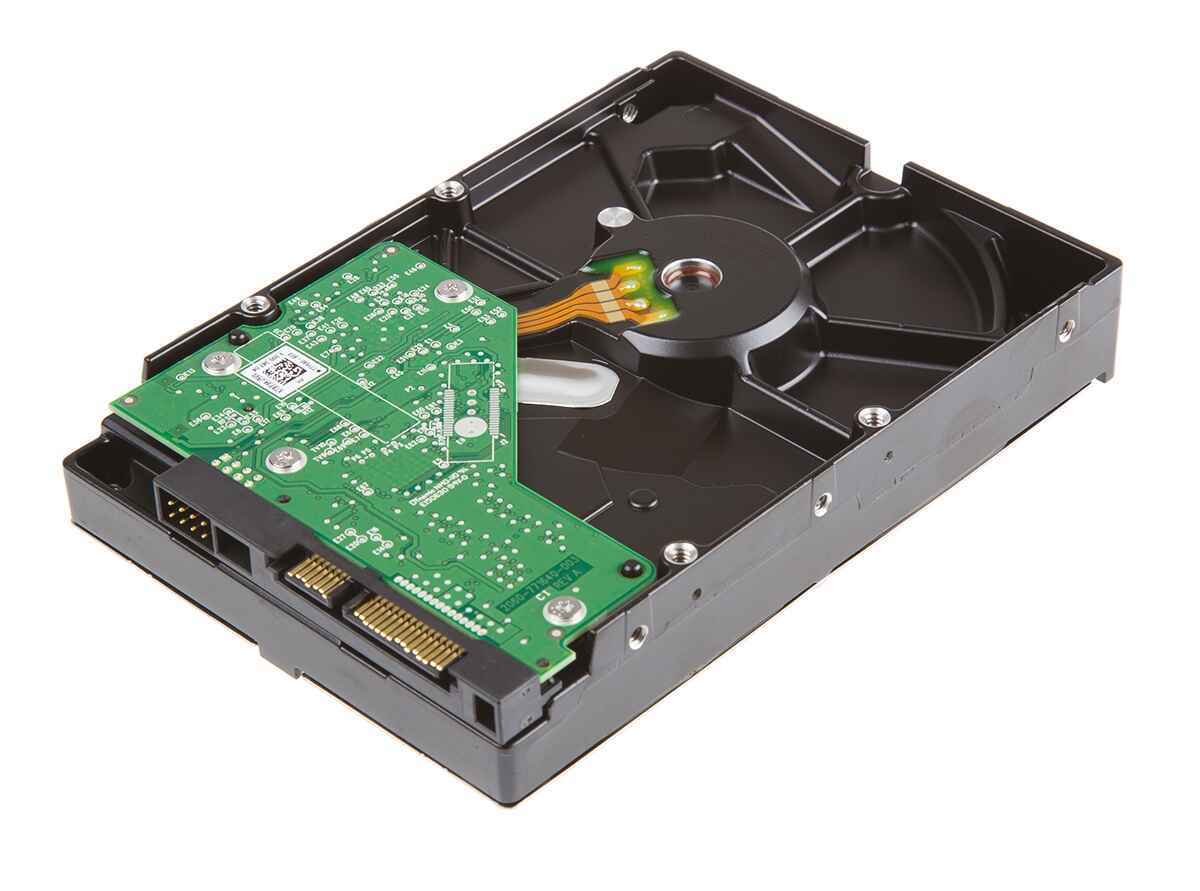
Step 5: Locate the old hard disk drive
With your computer case open, it’s time to locate the old hard disk drive (HDD) that you’ll be replacing with a solid state drive (SSD). The HDD is usually situated in a drive bay, which is a designated area inside the computer case for holding storage devices. Follow these steps to locate the HDD:
- Look for a rectangular or square-shaped metal or plastic casing within the computer case. This casing will typically have cables connected to it.
- Identify the cables connected to the HDD. The most common connectors used are SATA or IDE cables. SATA cables have a thin, L-shaped connector, while IDE cables are wider and flat.
- If there are multiple drives installed, make note of which drive corresponds to the HDD you’re replacing. You can usually find labels on the drive or markings on the drive bays to help with identification.
It’s important to handle the HDD with care, avoiding any excessive force or rough handling. The HDD contains delicate components and sensitive data, so always treat it gently.
Take a moment to examine how the HDD is mounted in the drive bay. Some cases use screws or brackets to secure the drive, while others make use of tool-less mechanisms that allow for easy removal and installation.
Now that you’ve located the old HDD, you’re one step closer to replacing it with a faster and more efficient solid state drive. The next steps will guide you through safely removing the old HDD and installing the new SSD in its place.
Step 6: Disconnect and remove the old hard disk drive
Now that you have located the old hard disk drive (HDD), it’s time to disconnect and remove it from the drive bay. Follow these steps to ensure a safe and successful removal:
- Identify the cables connected to the HDD, which are typically SATA or IDE cables.
- For SATA cables, locate the small plastic connector that attaches the cable to the HDD. Gently press down on the connector’s release tab and carefully pull it away from the HDD. Avoid pulling on the cables themselves, as this can cause damage.
- If you’re dealing with IDE cables, you’ll find a larger ribbon cable connected to the HDD. Locate the retention clip or latch that holds the ribbon cable in place. Release the clip or latch and gently pull the cable away from the HDD.
- Once the cables are detached, look for any screws or brackets that secure the HDD to the drive bay. Use the appropriate screwdriver or tool to remove these fasteners.
- Gently slide or lift the HDD out of the drive bay, taking care not to tug on any remaining cables or components in the process.
As you remove the old HDD, be mindful of any labels, stickers, or jumper settings that might be present. These markings can provide valuable information or indicate specific configurations for the drive.
Once the old HDD is completely disconnected and removed, place it in a static-free bag or box for safe storage or disposal. If you plan to recycle the drive, consider using a secure data erasure method to protect your personal information.
With the old HDD successfully removed, you’re now ready to move on to the next step of installing the new solid state drive (SSD).
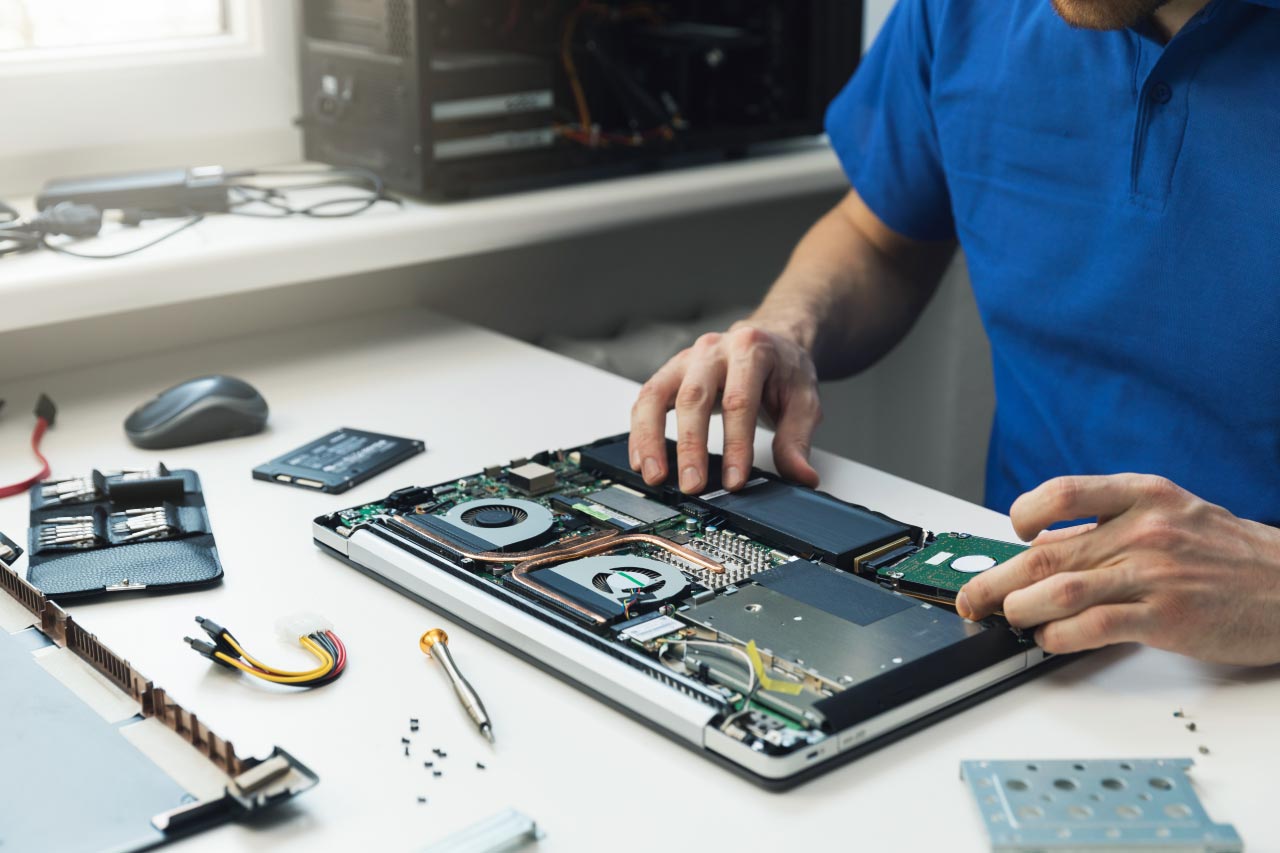
Step 7: Install the new solid state drive
Now that you have removed the old hard disk drive (HDD), it’s time to install the new solid state drive (SSD) in its place. Follow these steps to ensure a successful installation:
- Take the new SSD out of its packaging, being careful not to touch the connectors or any sensitive components.
- Examine the drive bays in your computer case and identify an available slot that matches the form factor of your SSD. SSDs are typically either 2.5-inch drives or M.2 drives, so choose the appropriate slot accordingly.
- If you’re installing a 2.5-inch SSD, check if your computer case includes mounting brackets or trays. If not, you may need to purchase or improvise a suitable mounting solution, such as using double-sided adhesive or zip ties.
- Align the SSD with the mounting holes or slots in the drive bay and gently slide it into place. Ensure that all connectors on the SSD are facing outwards and accessible.
- If you’re installing an M.2 SSD, locate the M.2 slot on your motherboard. Most motherboards have multiple M.2 slots, so choose one that supports the length and interface of your SSD.
- Carefully insert the M.2 SSD into the slot at a slight angle, making sure the connectors align with the socket. Apply gentle pressure to seat the SSD firmly in place.
- If your SSD requires a screw to secure it in the drive bay or M.2 slot, use the appropriate screwdriver to fasten it securely. Be careful not to overtighten the screw.
Remember to refer to your computer’s documentation or the instructions provided with the SSD if you’re unsure about specific installation steps or requirements.
With the new SSD successfully installed, you’re one step closer to enjoying improved performance and faster storage. In the next step, we’ll focus on connecting the necessary cables and closing up your computer case.
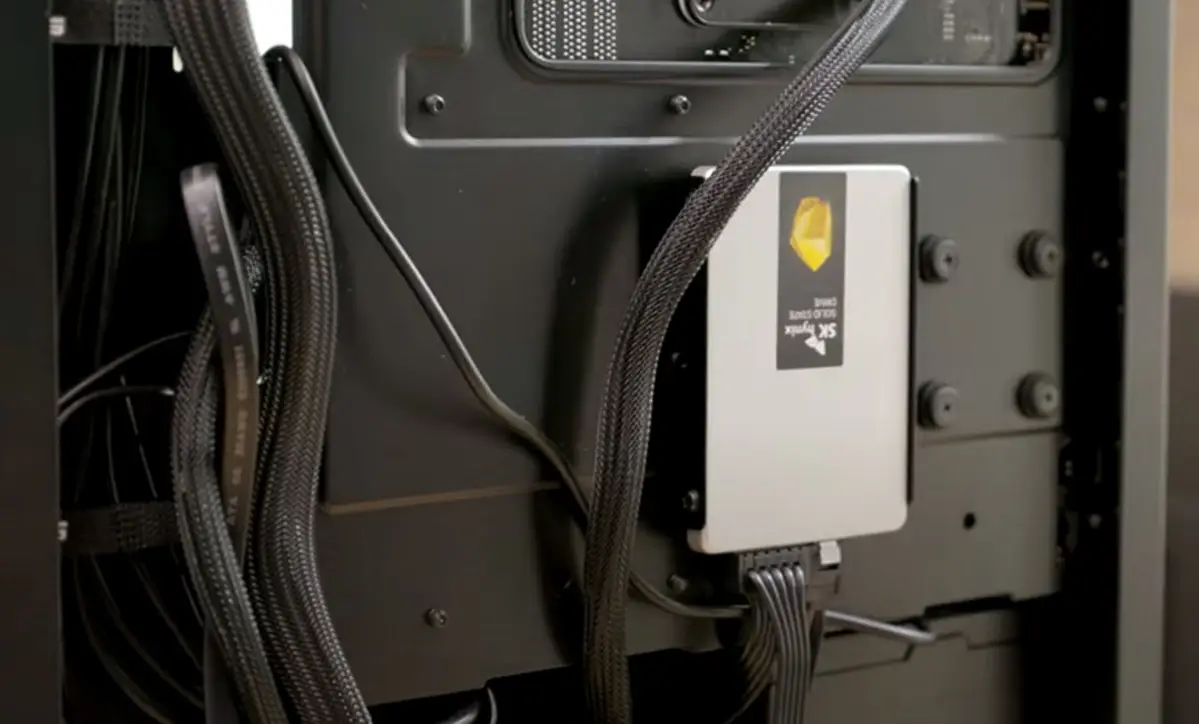
Step 8: Connect the cables and close up your computer case
With the new solid state drive (SSD) installed in your computer, it’s time to connect the necessary cables and close up the computer case. Follow these steps to ensure a proper and secure connection:
- If you’re installing a 2.5-inch SSD, locate the appropriate data cable that connects the SSD to the motherboard. This is typically a SATA cable. Insert one end of the cable into the SATA port on the SSD and the other end into an available SATA port on the motherboard. Ensure that the cable is securely attached.
- If your computer supports NVMe SSDs, you’ll need to check if there is an available M.2 slot on your motherboard. Simply insert the SSD directly into the slot and gently apply pressure until it is seated properly. No additional cables are required for NVMe SSDs.
- If your 2.5-inch SSD requires power, locate an available SATA power connector from the power supply unit (PSU). Connect one end of the power cable to the SSD and the other end to the SATA power connector. Ensure that the connection is secure.
- Double-check all connections to ensure that the SSD is properly connected both to the motherboard and the power supply.
- Close up your computer case by reinstalling the side panel. Make sure the panel is aligned correctly and securely fastened using the screws or latches.
- Reconnect any peripherals you had previously disconnected, such as the monitor, keyboard, mouse, and other devices.
- Plug the power cable back into the wall outlet and connect any necessary cables to the back of your computer.
Once you have connected all the necessary cables and closed up your computer case, you’re ready to move on to the next step: booting up your computer and initializing the new SSD.
Remember to handle the SSD and cables with care, avoiding any excessive force or jerking motions. It’s important to make proper and secure connections to prevent any issues or damage to the components.
Step 9: Boot up your computer and initialize the new SSD
With the cables connected and the computer case closed, it’s time to boot up your computer and initialize the new solid state drive (SSD). Follow these steps to ensure a smooth startup and proper setup:
- Double-check that all cables are securely connected and that nothing is loose.
- Power on your computer by pressing the power button.
- As your computer starts up, quickly enter the BIOS or UEFI setup by pressing the designated key. This key is usually displayed on the screen during the boot process, and it is often F2, Del, Esc, or another function key.
- Navigate through the BIOS or UEFI setup to find the boot configuration settings. Look for options related to boot devices or boot priority.
- Ensure that the new SSD is listed as one of the boot devices and set it as the primary or first boot device. Save the changes and exit the BIOS or UEFI setup.
- Your computer will proceed to restart. The operating system or BIOS may prompt you to press any key to boot from the SSD. Follow the on-screen instructions if prompted.
- If your computer doesn’t automatically boot from the new SSD, you may need to restart and manually select the SSD as the boot device. Again, refer to your computer’s documentation for instructions on how to do this.
Once your computer successfully boots from the new SSD, it’s time to initialize the drive and set it up for use:
- Open the Disk Management utility in your operating system. For Windows, you can access it by right-clicking on the Start menu and selecting “Disk Management” from the list.
- Locate the new SSD among the listed drives. It may appear as unallocated or with unallocated space.
- Right-click on the SSD and select “Initialize Disk.” Choose the appropriate partition style (MBR or GPT) and follow the prompts to complete the initialization process.
- Once the SSD is initialized, right-click on the unallocated space and select “New Simple Volume” to create a partition and format the drive.
- Follow the on-screen instructions to assign a drive letter, choose a file system (such as NTFS or exFAT) and perform a quick format.
After the SSD is initialized and formatted, it is ready for use. You can now begin to take advantage of the improved performance and faster storage provided by the new SSD.
Step 10: Restore your data from the backup
Now that your new solid state drive (SSD) is set up and ready to use, it’s time to restore your data from the backup you created earlier. Follow these steps to seamlessly transfer your files and settings:
- Connect the external hard drive or access the cloud storage service where you stored your backup files.
- Locate the backup files that you want to restore to the new SSD, such as documents, photos, videos, and any other important data.
- If you used backup software, follow the instructions provided by the software to restore your files. Typically, this involves selecting the backup files and choosing the location where you want to restore them.
- If you manually copied the files to an external hard drive or cloud storage, navigate to the appropriate location and copy the files back to your computer’s new SSD drive.
- Take the time to organize your restored files and ensure everything is in its proper place.
- If you had any custom settings, preferences, or applications installed on your previous system, make sure to reconfigure them on your new SSD as needed.
- Test and verify that all your restored files are accessible and working properly on the new SSD.
It’s also worth periodically checking for any available software updates or drivers for your new SSD. These updates can provide performance improvements and compatibility enhancements.
Remember to keep your backup on hand for additional security and peace of mind. Regularly back up your data to ensure you always have a safe copy in case of any future issues or hardware failures.
With your data successfully restored, you can now fully enjoy the benefits of your new SSD. Experience faster boot times, quicker application launches, and improved overall performance as you continue to use your computer with its upgraded storage solution.
Conclusion
Replacing a hard disk drive (HDD) with a solid state drive (SSD) can greatly enhance your computer’s performance and speed. By following the step-by-step guide outlined above, you can successfully upgrade your storage solution and enjoy faster boot times, quicker application launches, and reduced file transfer times.
It is crucial to remember a few key points when performing this upgrade:
- Always back up your data before making any changes to your computer’s hardware. This ensures that you have a secure copy of your important files and data.
- Handle all components with care, paying attention to static electricity and delicate connectors. Using an anti-static wrist strap or periodically grounding yourself can help prevent ESD-related damage.
- Familiarize yourself with your computer’s internal components and the specific requirements for the SSD installation. Consult your computer’s documentation or seek professional assistance if needed.
- Take the time to properly initialize and format the new SSD once it’s installed. This step ensures that the drive is ready for use and maximizes its performance.
- Restore your data from the backup to the new SSD, allowing you to seamlessly continue your work and access your previously saved files and settings.
As technology advances, upgrading hardware components like the hard disk drive to a solid state drive becomes an increasingly popular choice for computer users. Not only does it provide immediate performance improvements, but it also extends the lifespan of your computer system.
Remember, if you’re uncomfortable performing the upgrade process yourself, it’s always best to seek professional assistance. They can ensure that the upgrade is done correctly and safely.
Now that you have completed the process of replacing the HDD with an SSD, enjoy the improved speed and responsiveness of your computer. Embrace the benefits that come with this upgrade and stay proactive in maintaining your storage solution for future performance and efficiency.