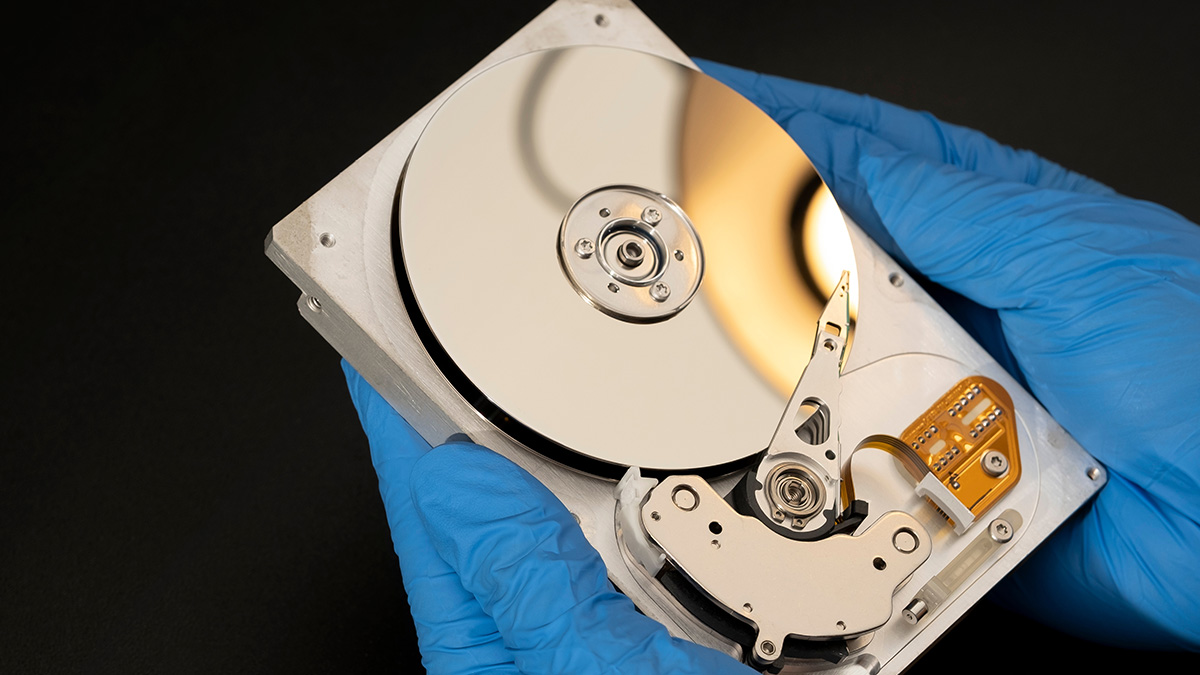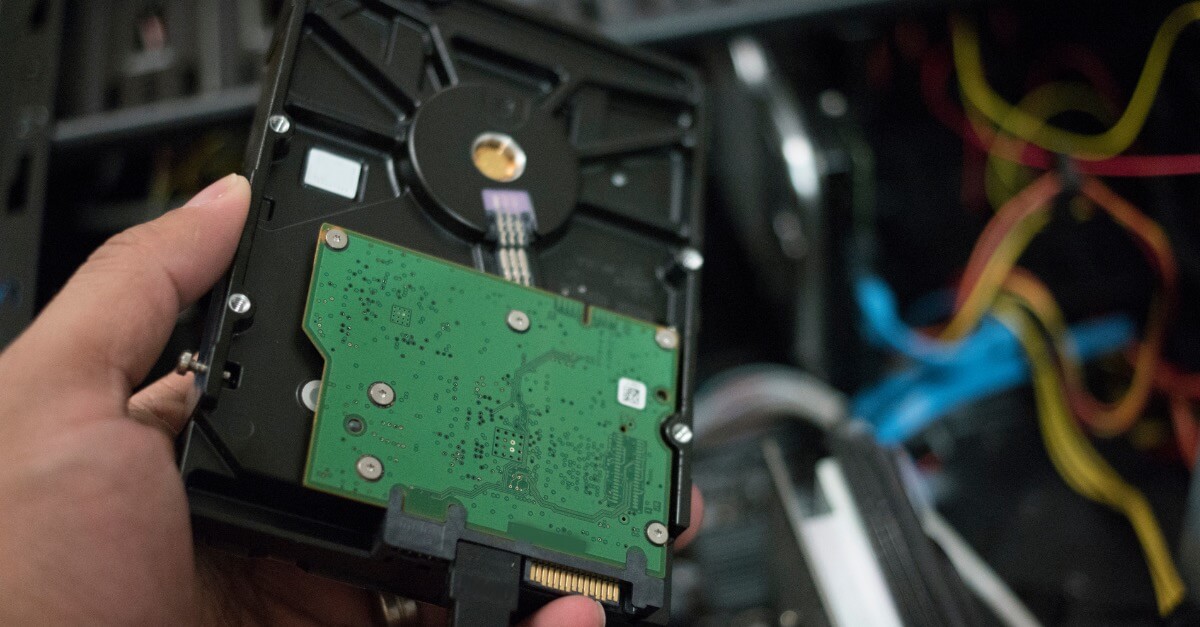
The hard disk drive located inside a computer is typically found in a dedicated internal bay: in desktops, it sits in a 3.5-inch drive cage near the front of the case, while in laptops, it is a 2.5-inch drive in a chassis slot or, increasingly, an M.2 NVMe stick on the motherboard. For all-in-one PCs, the drive is within the display assembly, and external drives are in their own separate enclosure outside the computer. This guide details each of these physical locations so you can confidently identify, upgrade, or replace your storage without guesswork.
Inside a desktop computer case
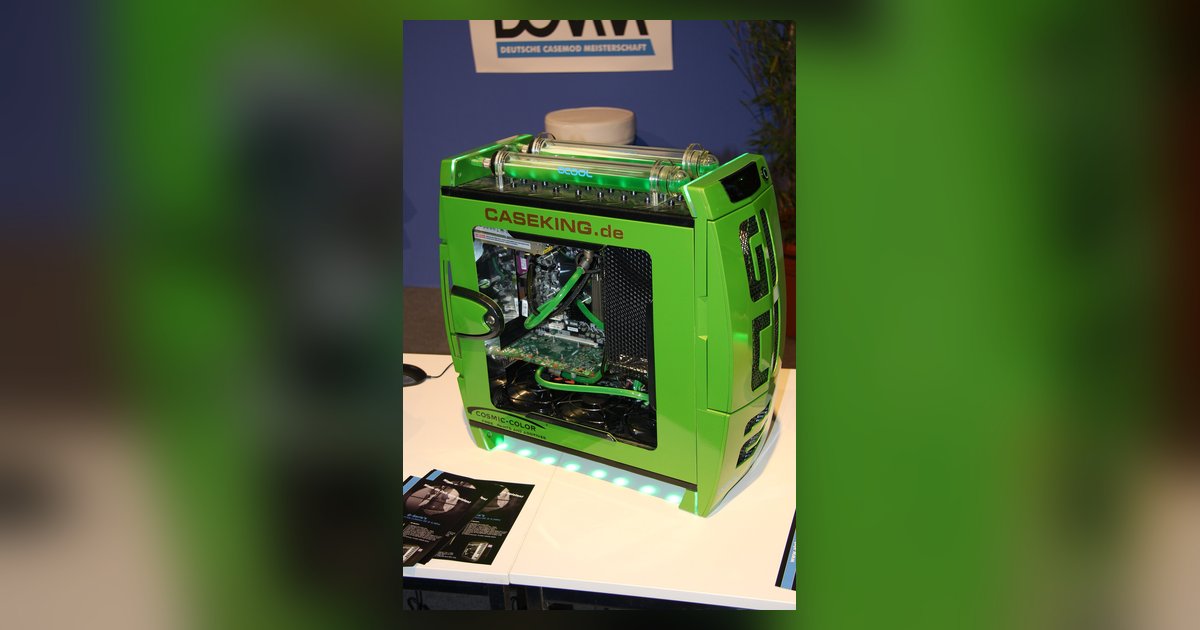
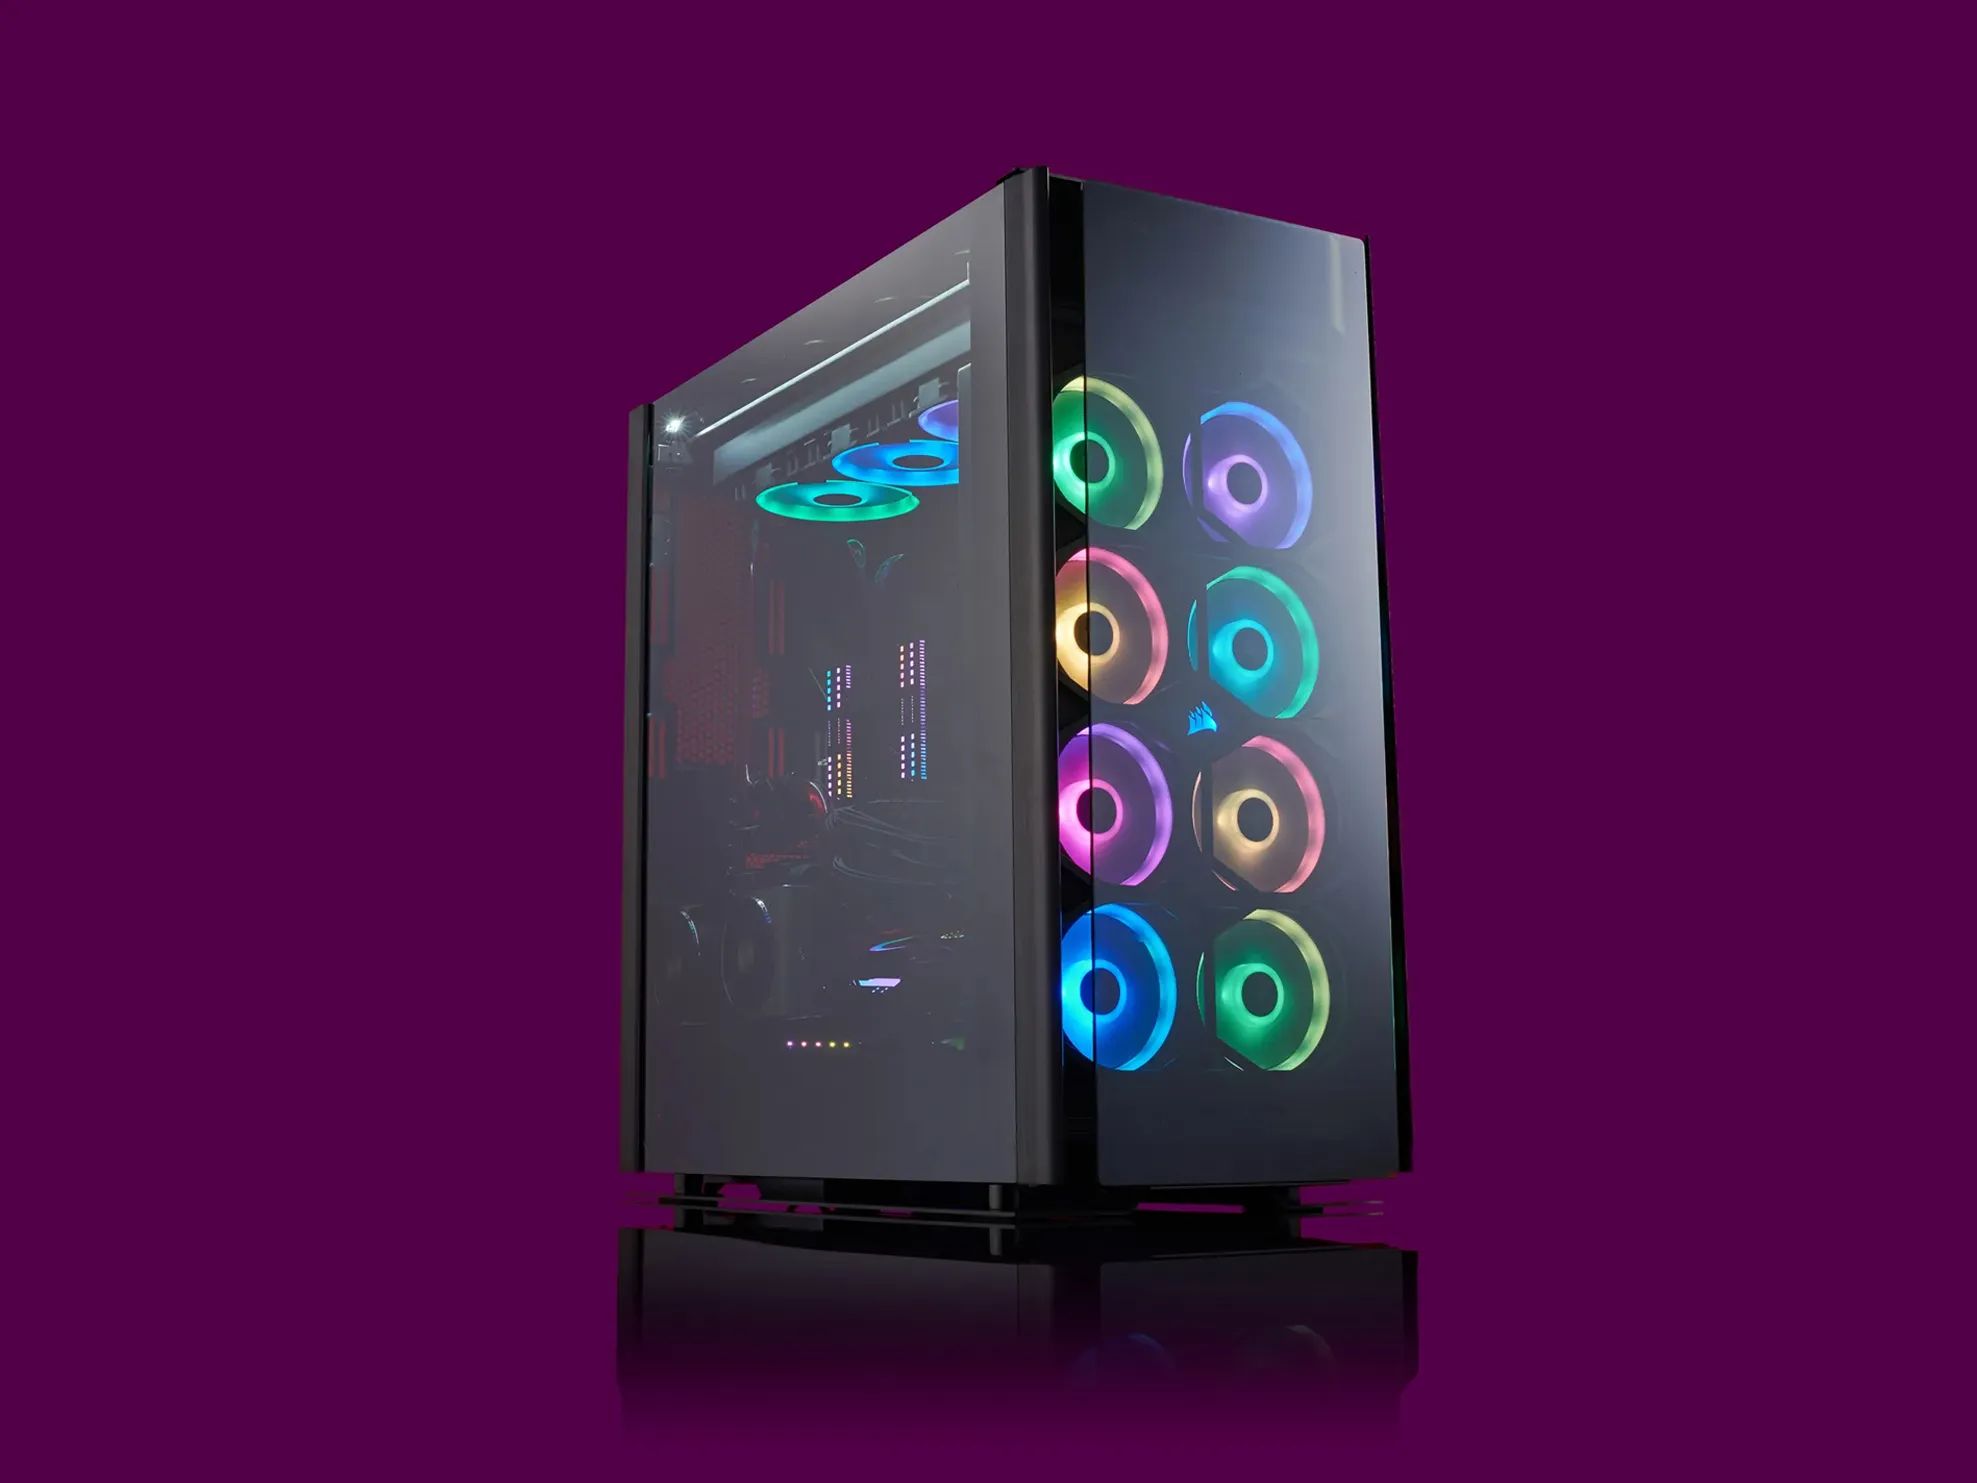
In a standard desktop tower, the hard disk drive is located in a 3.5-inch drive bay or a dedicated drive cage, typically positioned in the lower front section of the case. You'll see the drive secured with screws or a tool-less mounting mechanism, and it connects to the motherboard via a SATA data cable and to the power supply via a SATA power cable. The exact bay may be oriented horizontally or vertically depending on the case design, but it is always within the main chassis, often behind the front panel or a side panel that you remove by unscrewing thumbscrews or sliding a latch.
To physically locate it, open the left side panel (when viewing the front of the tower) and look for a metal or plastic cage with a metal drive inside. The drive's top label usually shows the brand and capacity, making it easy to spot. In many modern cases, the drive bay is tool-less, so you can slide the drive out after releasing a latch or pulling a tab. If you're upgrading or replacing, note that the SATA cables are keyed and only plug in one way, and the power connector comes from the PSU. This location is chosen for airflow, the front intake fans blow across the drive to keep it cool, which is critical because heat shortens the lifespan of the mechanical components.
Inside a laptop chassis
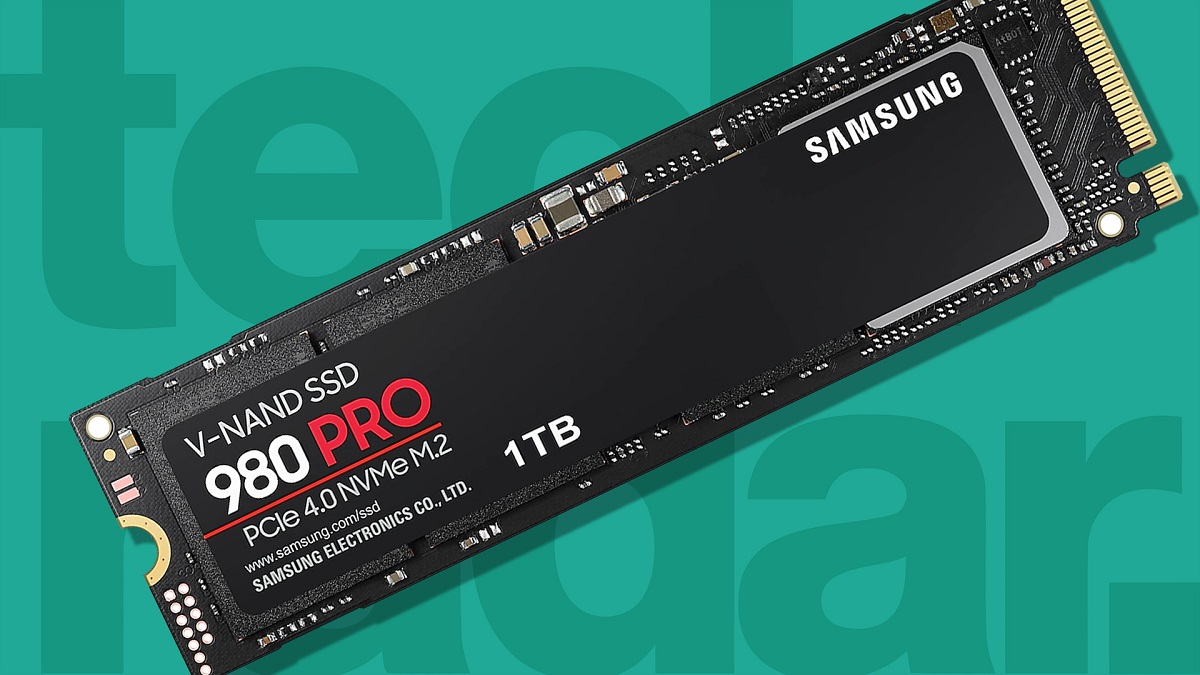
Laptops house the hard disk drive in a dedicated slot, usually accessible from a bottom panel secured by a few screws. Traditional 2.5-inch HDDs or SSDs sit in a metal bracket or a plastic caddy, connected to the motherboard via a SATA or a proprietary connector. On many ultrabooks and thin-and-light models, the storage is an M.2 NVMe stick that plugs directly into a small slot on the motherboard, often located near the RAM or the wireless card. Some laptops go a step further and have the storage soldered directly onto the motherboard, making it non-removable and non-upgradable, you'd need a new laptop to increase storage in that case.
To find it without opening the case, check the bottom of the laptop for a rectangular panel with a small icon of a hard drive or a screw symbol. Removing that panel reveals the drive bay. On models where the drive is under the keyboard or the top case, you'll need to consult the service manual, this is common in older or compact designs. If your laptop has an M.2 slot, the stick is about the size of a stick of gum and lies flat against the motherboard, secured by a single screw. Knowing which type you have is essential before buying a replacement, as SATA and NVMe M.2 drives are not interchangeable in most cases.
Inside an all-in-one (AIO) PC
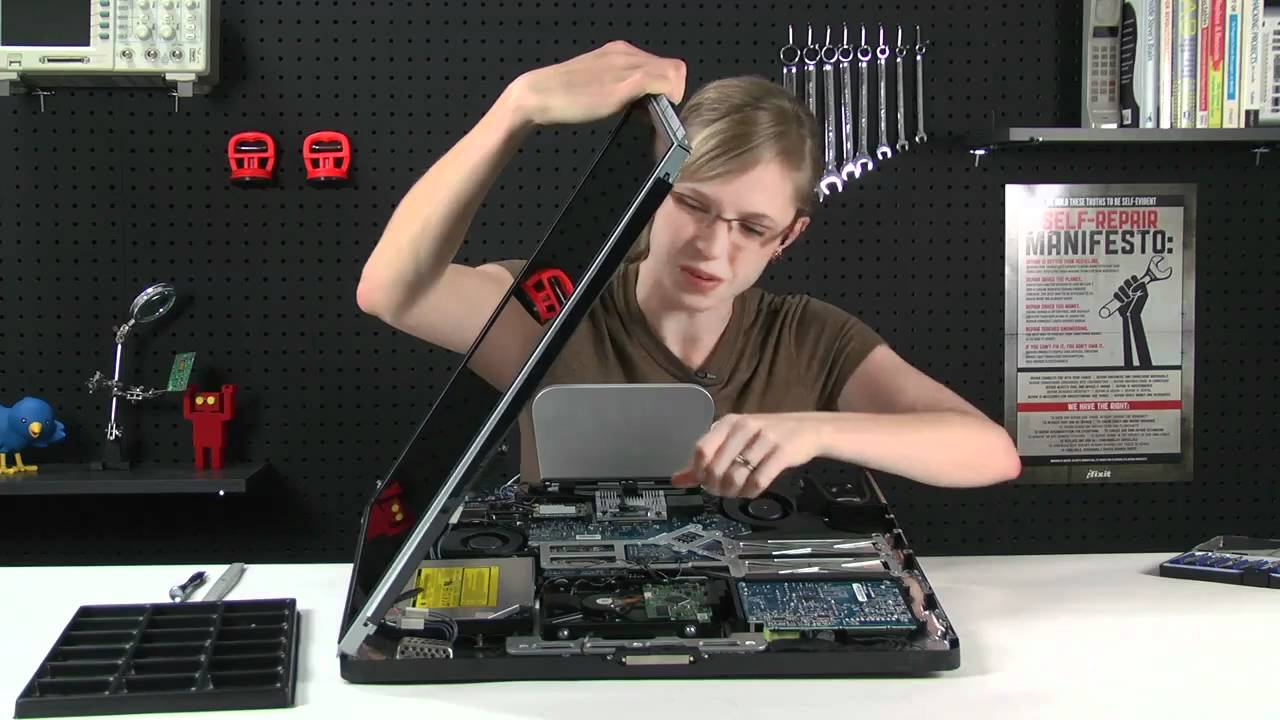
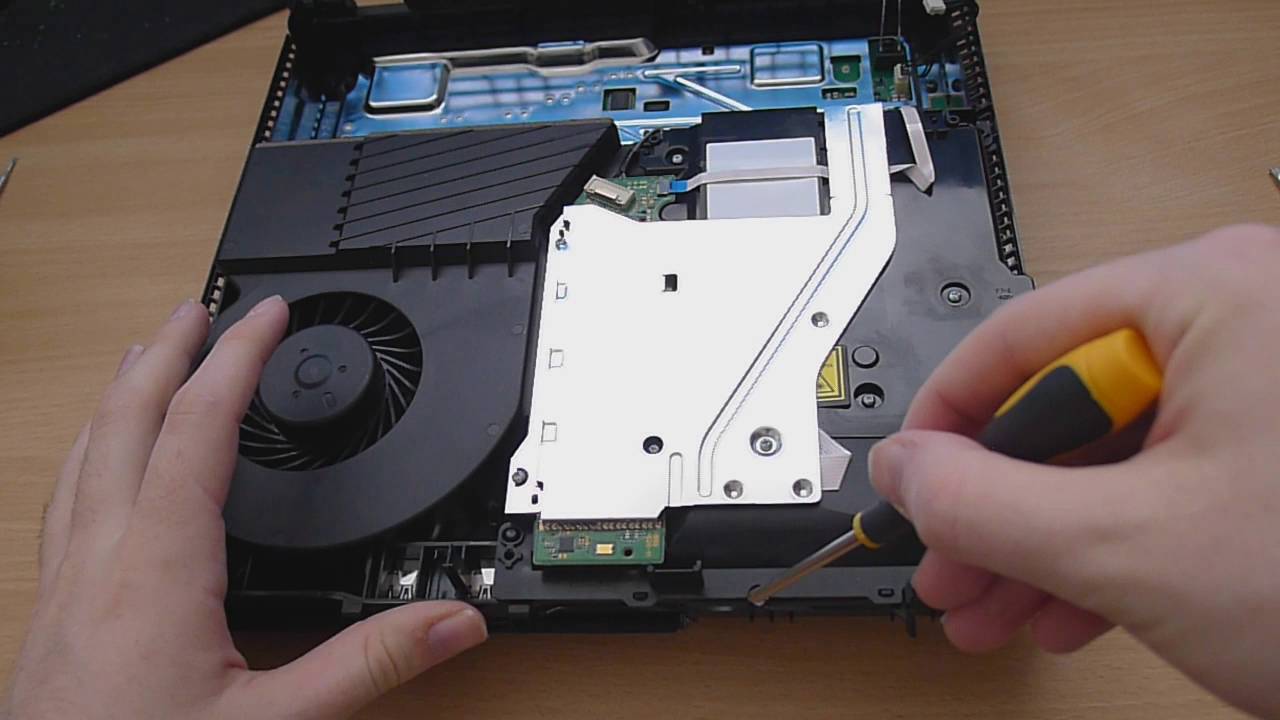
In an all-in-one PC, the hard disk drive is located within the display assembly or the base, depending on the model, and accessing it requires removing the back cover. Unlike desktops, AIOs pack all components behind the screen, so the drive is often mounted on a metal bracket or a sled that slides out after you remove a few screws. On some models, the drive is behind a dedicated service door on the back, while on others, you must remove the entire back panel, which may involve prying clips and disconnecting the stand. The drive connects via a short SATA cable to the motherboard, and it's typically a 2.5-inch form factor to save space, though some older AIOs use 3.5-inch drives.
This placement is deliberate: it keeps the footprint small and the design sleek, but it makes upgrades more involved than on a tower. If you're planning to replace the drive, always unplug the AIO and press the power button for 10 seconds to discharge capacitors. The back cover may be held by screws under rubber feet or stickers, so check the service manual for your exact model. Once inside, the drive is usually near the bottom of the display, and you'll see the SATA data and power connectors clearly.
External hard drives and other locations
External hard drives are located in their own separate enclosure outside the computer, connected via a USB, Thunderbolt, or eSATA cable. These enclosures come in two forms: a pre-built portable drive (like a Western Digital My Passport) or a bare drive that you insert into a caddy or docking station. The drive itself is a standard 2.5-inch or 3.5-inch HDD or SSD, but it's wrapped in a protective case that may include a shock-absorbing frame or a rubberized exterior. Some external drives are bus-powered (drawing all power from the USB port), while others require an AC adapter, which adds a power brick to your setup. The location of the external drive is wherever you place it, on a desk, in a drawer, or in a backpack, but its physical position is always outside the computer's main chassis.
Beyond personal computers, server systems house hard drives in front or rear drive bays, often designed to be hot-swappable. In a rack-mounted server, you'll see a row of drive caddies on the front face, each with a handle and an LED activity light. These bays are connected to a backplane that routes power and data to the motherboard, allowing you to slide a drive out and replace it without powering down the system. This is different from a desktop, where the drive is internal and not accessible without opening the case. For most users, the external drive is the simplest way to add storage, but for servers, the bay location is critical for maintaining uptime and ease of maintenance.
How to find your drive without opening the case
If you want to know which storage drives are installed without touching a screwdriver, you can use the Windows System Information tool as a software-based 'location' check. Press Win + R, type msinfo32, and hit Enter. Then, expand Components > Storage > Disks. This lists every physical drive connected to your system, showing the model, interface type (SATA or NVMe), and capacity. While it won't tell you the physical bay, it confirms whether the drive is detected and its exact model number, which is helpful if you're cross-referencing with a service manual or a compatibility list. This method is also useful for verifying whether your laptop has a second M.2 slot that's empty, as the tool will list it as a disk with no media if it's not populated.
This doesn't reveal physical location, but it tells you the disk number, which you can match to the BIOS/UEFI boot order. If you're planning to upgrade, this software check is the first step, it tells you the interface and form factor you need to buy. Remember that the function of a hard disk drive is to store data persistently, and knowing its location, whether internal or external, helps you manage that storage effectively. Whether you're a technician or a curious user, these steps let you identify your drives without any risk of static discharge or cable damage.
\nRelated reading: How To Remove Hard Disk Drive On iMac and How To Remove A Hard Drive From A Dell Desktop.