Safety Precautions
Before you begin the process of removing the hard disk drive from your iMac, it’s important to take some safety precautions to avoid any potential damage to your device or harm to yourself. Follow these guidelines to ensure a smooth and accident-free process:
- 1. Disconnect the power: Before starting any disassembly, make sure to disconnect the power cable from your iMac. This will prevent any electrical accidents while working with the internal components.
- 2. Ground yourself: Static electricity can damage sensitive components. To prevent this, use an anti-static wristband or touch a grounded metal object before touching any internal parts of the iMac.
- 3. Gather the right tools: Make sure you have the necessary tools handy, such as a Phillips screwdriver, a suction cup, and a plastic spudger. Using the correct tools will make the process easier and reduce the risk of causing any damage.
- 4. Work in a clean and well-lit area: Find a comfortable and well-lit workspace with ample space to lay out the iMac components. Keep the area clean and free from any clutter to avoid losing any small screws or parts.
- 5. Handle components with care: Be gentle when handling the internal components of your iMac. Avoid applying excessive force, as it may cause damage to delicate cables or connectors.
By following these safety precautions, you can ensure that the process of removing the hard disk drive from your iMac is carried out smoothly and without any mishaps. Remember to take your time during each step and double-check all connections before reassembling the iMac.
Step 1: Shut down your iMac
Before you can begin removing the hard disk drive from your iMac, it’s important to properly shut down your computer. Following these steps will ensure that your iMac is powered down safely:
- Save your work: Before shutting down, save any open documents or projects you have been working on. This will prevent any data loss or unsaved changes.
- Close all applications: Make sure to close all running applications on your iMac. This will ensure that no processes are still active and accessing the hard disk drive.
- Click on the Apple menu: Located at the top-left corner of your screen, click on the Apple icon to open the drop-down menu.
- Select “Shut Down”: From the drop-down menu, choose the “Shut Down” option. This will initiate the shutdown process.
- Wait for the computer to turn off: Give your iMac a few moments to complete the shutdown process. You will know the computer has successfully shut down when the screen goes black and there is no sign of activity.
- Unplug the power cable: Once your iMac is powered off, disconnect the power cable from the back of the computer. This will ensure that no electrical current is running through the device during the removal process.
By following these steps, you can safely shut down your iMac and prepare it for the hard disk drive removal process. Taking the time to properly shut down your computer will minimize the risk of data loss or damage to the internal components.
Step 2: Gather necessary tools
Before you can proceed with removing the hard disk drive from your iMac, it’s essential to gather all the necessary tools. Having the right tools on hand will make the process easier and help prevent any accidental damage. Here are the tools you will need:
- 1. Phillips screwdriver: A small Phillips screwdriver will be required to remove the screws holding the back cover in place. Make sure the screwdriver is the correct size to fit the screws on your iMac.
- 2. Suction cup: A small suction cup with a handle will be used to safely lift the glass panel and access the internal components of your iMac. This will prevent any fingerprints or smudges on the screen.
- 3. Plastic spudger: A plastic spudger tool is useful for gently prying open connectors, disconnecting cables, and maneuvering components in tight spaces without causing any damage.
- 4. Anti-static wristband: Using an anti-static wristband can help protect sensitive components from electrostatic discharge. It is recommended but not mandatory for this process.
- 5. Container or magnetic mat: It’s a good idea to have a container or magnetic mat to keep screws and small components organized and secure during the disassembly process.
- 6. Clean cloth or microfiber cloth: Having a clean cloth handy will allow you to wipe down any surfaces or components during the removal process, keeping everything clean and free of dust.
Make sure you have all these tools ready and easily accessible before you start removing the hard disk drive from your iMac. Having the right tools will make the process smoother and help safeguard your iMac from unnecessary damage.
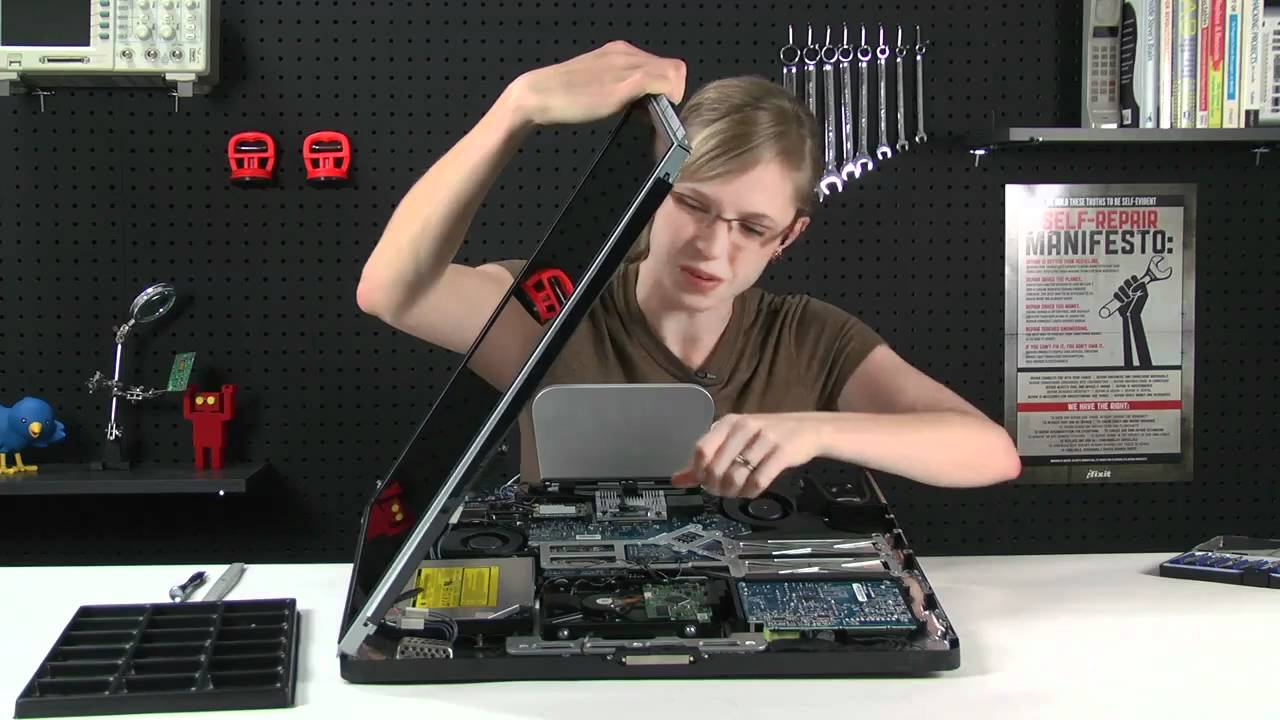
Step 3: Accessing the back of the iMac
Now that you have gathered all the necessary tools, it’s time to access the back of your iMac. This will allow you to remove the back cover and gain access to the internal components, including the hard disk drive. Follow these steps to access the back of your iMac:
- Place your iMac on a soft, clean surface: Find a suitable workspace for your iMac, ensuring the surface is clean and free from any debris. It’s also a good idea to place a soft cloth or towel underneath your iMac to prevent scratches.
- Locate the stand: The stand of the iMac is located at the back of the device. It holds the iMac upright and can be adjusted for viewing angles. Identify the stand and its attachment points before proceeding.
- Unscrew and remove the stand: Use a Phillips screwdriver to remove the screws holding the stand in place. Carefully lift and detach the stand from the iMac without applying excessive force.
- Identify the back cover screws: Once the stand is removed, you will see a set of screws along the bottom edge of the iMac’s back cover. These screws secure the cover and need to be removed to access the internal components.
- Remove the screws: Use the appropriate size Phillips screwdriver to unscrew and remove the screws along the bottom edge of the back cover. Place the screws in a container or on a magnetic mat to keep them organized.
- Gently lift the back cover: With the screws removed, carefully lift the back cover of the iMac, starting from the bottom edge. Take your time and apply gentle pressure to avoid damaging any internal components or cables.
Once you have accessed the back of your iMac by removing the back cover, you will be ready to proceed with the next steps of removing the hard disk drive. Make sure to handle your iMac with care and avoid placing any unnecessary pressure on the exposed components.
Step 4: Remove the screws holding the back cover
With the back cover of your iMac removed, you can now proceed with removing the hard disk drive. The first step is to remove the screws that hold the back cover in place. Here’s how to do it:
- Locate the screws: Take a look inside your iMac and identify the screws that secure the back cover. Generally, there will be several screws placed around the edges of the iMac’s frame.
- Choose the right screwdriver: Depending on the type of screws used in your iMac, choose the appropriate screwdriver. In most cases, a Phillips screwdriver will be suitable for removing these screws.
- Remove the screws: Carefully insert your screwdriver into each screw and turn it counterclockwise to loosen and remove the screws. Keep a small container or magnetic mat nearby to store the screws for safekeeping.
- Set the screws aside: Once you’ve removed all the screws, set them aside in a secure location. Remember to keep them organized, as you will need them later when reassembling your iMac.
By removing the screws that hold the back cover of your iMac, you’ve taken an important step towards accessing the internal components. Make sure to keep the screws safe and be mindful of their placement, as misplaced or lost screws can cause difficulties during reassembly. With the screws removed, you can now proceed to the next steps of disconnecting cables and removing the hard disk drive from your iMac.
Step 5: Disconnecting cables
After removing the screws holding the back cover of your iMac, the next step is to disconnect the necessary cables. This will allow you to safely remove the hard disk drive from your iMac. Follow these steps to disconnect the cables:
- Identify the cables: Take a look inside your iMac and locate the cables that are connected to the hard disk drive. These cables will typically include the power cable and data cables.
- Disconnect the power cable: Start by disconnecting the power cable from the hard disk drive. Gently grip the connector and wiggle it back and forth while pulling it out. Avoid pulling on the cables directly to prevent any damage.
- Disconnect the data cables: Once the power cable is disconnected, locate the data cables connected to the hard disk drive. Depending on the model of your iMac, there may be one or multiple data cables. Carefully detach each data cable by pulling them straight out from the connectors.
- Label and organize the cables (optional): To help with reassembly, you may find it helpful to label the cables or take a picture of their placement before disconnecting. This will ensure that you can easily reconnect the cables in the correct order later.
By properly disconnecting the cables, you can safely remove the hard disk drive from your iMac without causing any damage to the cables themselves or other internal components. Take your time and be gentle when detaching the cables to ensure a smooth and hassle-free process.
Step 6: Removing the hard disk drive bracket
With the cables disconnected, you are now ready to remove the hard disk drive bracket from your iMac. The bracket holds the hard disk drive securely in place. Follow these steps to remove the bracket:
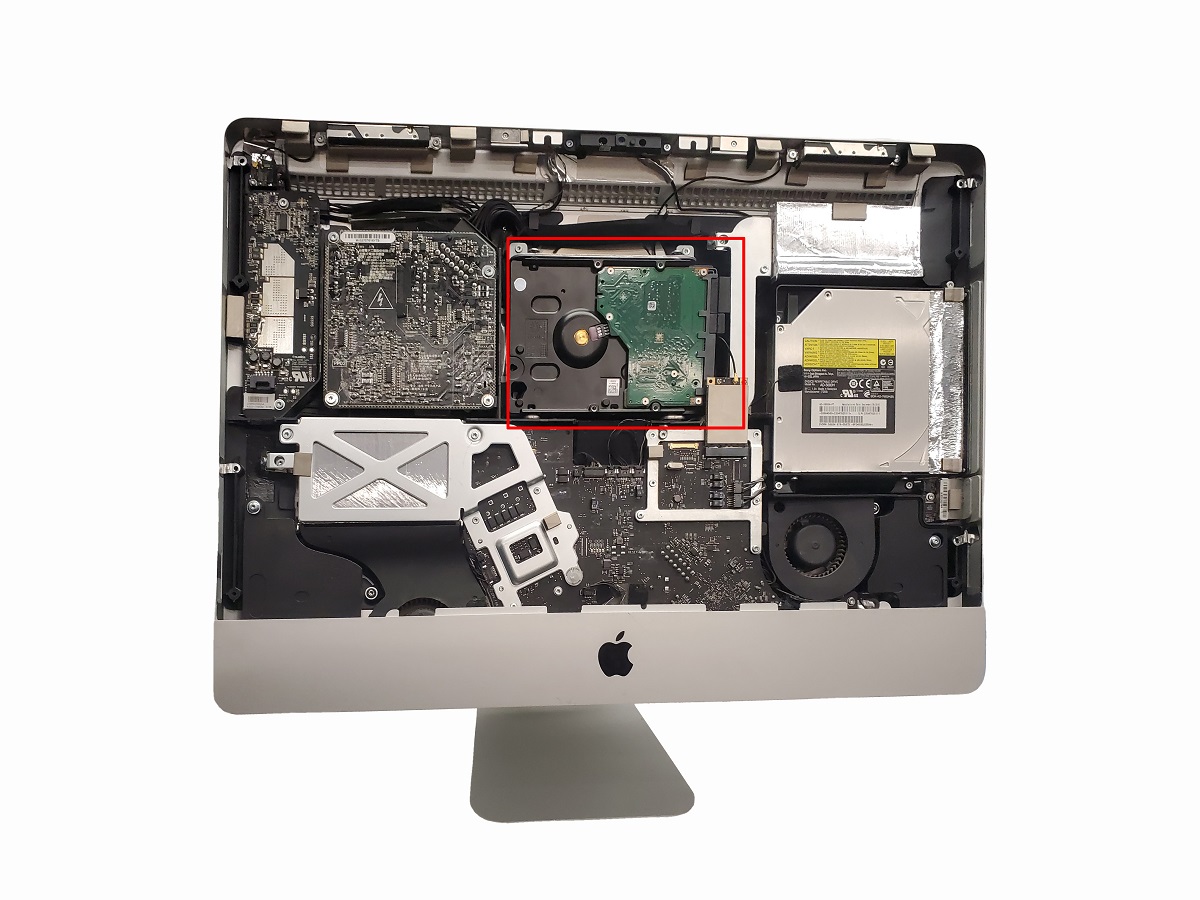
- Locate the hard disk drive bracket: Take a look inside your iMac and locate the metal bracket that is holding the hard disk drive. This bracket will be attached to the iMac’s frame.
- Identify the screws: You will see screws securing the bracket to the iMac’s frame. These screws keep the bracket and the hard disk drive in place.
- Remove the screws: Use the appropriate screwdriver to unscrew and remove the screws that hold the bracket in place. Keep a small container or magnetic mat nearby to store the screws securely.
- Set the screws aside: Place the screws in the container or on the magnetic mat, making sure not to misplace them. These screws will be needed later when reassembling your iMac.
- Gently remove the bracket: With the screws removed, carefully lift the bracket away from the iMac’s frame, ensuring not to apply excessive force. The bracket may be attached to the hard disk drive with screws as well, so make sure to detach it completely.
By successfully removing the hard disk drive bracket, you have made significant progress in the process of removing the old hard disk drive. Keep the screws and bracket in a safe place for when you need to reassemble your iMac. With the bracket removed, you can now proceed to the next step of detaching the hard disk drive itself.
Step 7: Detaching the hard disk drive
Now that the hard disk drive bracket has been removed, it’s time to detach the hard disk drive itself from your iMac. Follow these steps to safely detach the hard disk drive:
- Identify the hard disk drive: Locate the hard disk drive inside your iMac. It is a rectangular-shaped component usually positioned near the center of the device.
- Remove any additional screws (if applicable): Depending on the model of your iMac, there may be additional screws securing the hard disk drive to the iMac’s frame or the bracket. Check for any screws and remove them if necessary.
- Gently disconnect any remaining cables: Inspect the hard disk drive for any cables still attached. These could include data cables or power cables. Gently disconnect any cables by pulling them straight out from the connectors.
- Slide the hard disk drive out: Once all the necessary cables and screws are removed, carefully slide the hard disk drive out of its slot or bay, taking care not to damage any other internal components.
By successfully detaching the hard disk drive, you have completed a crucial step in the process of replacing the drive. Be sure to handle the hard disk drive with care to prevent any damage. Keep the drive in a safe place as you may need it for data transfer or as a backup.
Step 8: Installing a new hard disk drive (optional)
If you are replacing your old hard disk drive with a new one, follow these steps to install the new hard disk drive in your iMac. Note that this step is optional if you are not replacing the drive:
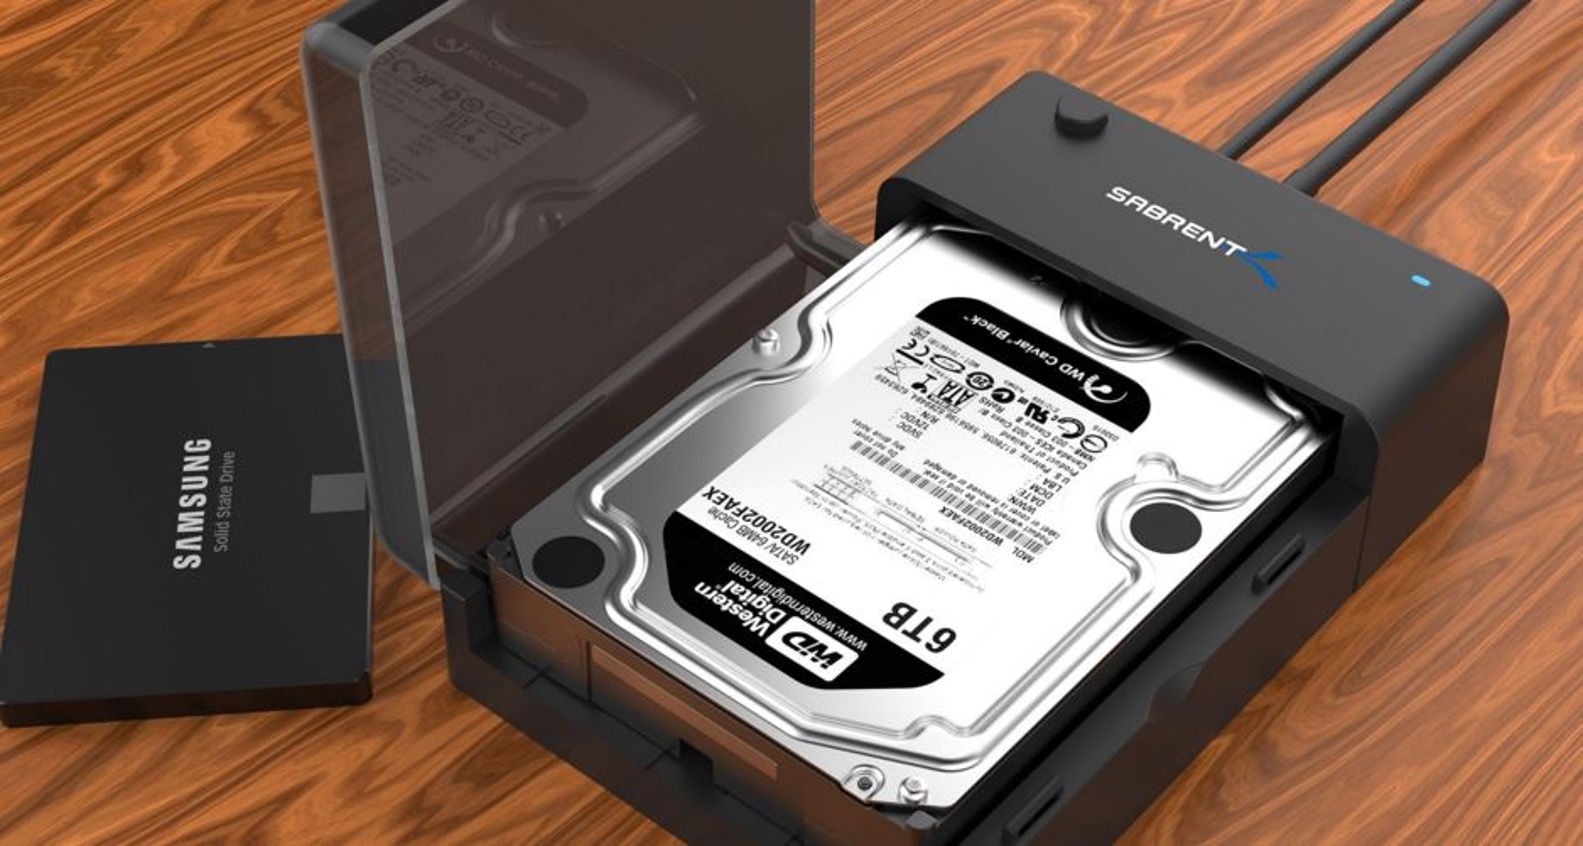
- Select a compatible hard disk drive: Choose a new hard disk drive that is compatible with your iMac model. Consider factors such as capacity, speed, and brand reliability.
- Prepare the new hard disk drive: If your new hard disk drive requires any preparation, such as formatting or partitioning, follow the manufacturer’s instructions to complete these tasks.
- Place the new hard disk drive in the slot or bay: Carefully insert the new hard disk drive into the slot or bay from which you removed the old one, ensuring it is properly aligned.
- Secure the hard disk drive with screws (if needed): If there are screws that secure the hard disk drive to the iMac’s frame or bracket, use the appropriate screwdriver to secure the new drive in place.
- Connect any necessary data and power cables: Attach the appropriate data and power cables to the new hard disk drive, ensuring they are securely connected. Follow the same procedure you used when disconnecting the old cables.
By successfully installing a new hard disk drive, you have completed the optional step in the process of upgrading or replacing the drive. Make sure to handle the new drive with care and double-check all connections before proceeding to the next steps.
Step 9: Reassembling the iMac
Now that you have completed the necessary steps for removing and replacing the hard disk drive in your iMac, it’s time to reassemble the device. Follow these steps to put everything back together:
- Position the hard disk drive back into place: If you have replaced the hard disk drive with a new one, carefully slide it back into its slot or bay, making sure it is aligned correctly.
- Reattach the hard disk drive bracket: If you removed the bracket during the process, place it back onto the iMac’s frame and secure it with the screws you set aside.
- Connect the cables: Reconnect any cables that you disconnected earlier, including the data cables and power cables. Make sure they are securely fastened and properly aligned.
- Replace the back cover: Carefully place the back cover back onto the iMac, aligning it with the screw holes. Gently press it down to ensure it is flush with the iMac’s frame.
- Secure the back cover with screws: Use the appropriate screwdriver to fasten the screws back into place along the bottom edge of the back cover. Tighten them securely but avoid applying excessive force.
By following these steps and reassembling your iMac, you have completed the process of replacing the hard disk drive. Double-check all the connections and screws to ensure everything is properly secured before moving on to the final step.
Step 10: Testing the new hard disk drive
After reassembling your iMac with the new hard disk drive, it’s important to test it to ensure everything is functioning correctly. Follow these steps to test the new hard disk drive:
- Connect the power cable: Plug in the power cable and ensure it is securely connected to the iMac.
- Power on your iMac: Press the power button to turn on your iMac and allow it to boot up.
- Check for drive recognition: Once your iMac has booted up, go to the operating system’s disk utility or storage settings to check if the new hard disk drive is recognized.
- Verify data accessibility: If the new hard disk drive is detected, try accessing your files and applications to ensure they are accessible and functioning properly.
- Perform a disk test: Use disk diagnostic tools or software to perform a disk test on the new hard disk drive. This will help identify any potential issues or errors.
- Monitor performance: Pay attention to the performance of your iMac with the new hard disk drive. Look for any signs of slow read/write speeds, excessive noise, or other irregularities.
By thoroughly testing the new hard disk drive, you can ensure that it is properly installed and functioning as expected. If you encounter any issues during testing, double-check the connections and consult troubleshooting resources or seek professional assistance if needed.