Introduction
Backing up your Mac is essential to ensure the safety and security of your valuable data. While Macs are known for their reliability, accidents and hardware failures can still occur. That’s why it’s crucial to have a backup system in place, especially to an external hard drive.
An external hard drive provides a convenient and reliable solution to back up all your files, documents, photos, and videos. By following a few simple steps, you can easily set up your Mac to automatically back up to an external hard drive using Time Machine, the built-in backup software on macOS.
Time Machine allows you to create incremental backups, meaning it saves multiple versions of your files over time, so you can easily recover an older version if needed. This feature is especially useful when you accidentally delete or modify a file and want to revert to a previous version.
In this step-by-step guide, we will walk you through the process of backing up your Mac to an external hard drive using Time Machine. Whether you’re a novice or a seasoned Mac user, rest assured that this procedure is straightforward and can be completed by anyone.
Before we dive into the details, make sure you have an external hard drive with enough storage capacity to accommodate all your files. It’s recommended to choose a drive with at least twice the storage capacity of your Mac’s internal drive to allow for easy backups and future expansion.
Step 1: Choose The Right External Hard Drive
When it comes to selecting an external hard drive for your Mac backup, there are a few factors to consider. Here are some key points to help you make the right choice:
- Storage Capacity: Determine the amount of storage you need based on the size of your Mac’s internal drive and the amount of data you want to back up. It’s advisable to choose a drive with more capacity than you currently need to allow for future growth.
- Connectivity Options: Consider the connection options supported by your Mac. The most common interfaces are USB, Thunderbolt, and USB-C. Make sure the external hard drive you choose is compatible with your Mac’s available ports.
- Portability: If you need to carry your backup drive with you frequently, look for a portable and lightweight option that is easy to transport. Slim and compact drives are ideal for on-the-go use.
- Reliability: Prioritize drives from reputable brands known for their reliability and durability. Read customer reviews and research the drive’s performance to ensure it will stand the test of time.
- Backup Software Compatibility: While Time Machine is compatible with most external hard drives, it’s essential to confirm that the drive you choose works seamlessly with macOS and the Time Machine software. Check the manufacturer’s website or specifications to ensure compatibility.
- Budget: Set a budget for your backup drive and choose accordingly. Fortunately, there are many reliable options available for different price ranges, so you can find one that fits your budget.
By considering these factors, you can find the ideal external hard drive to meet your backup needs. Once you’ve chosen the right drive, you’re ready to move on to the next step of connecting it to your Mac.
Step 2: Connect The External Hard Drive To Your Mac
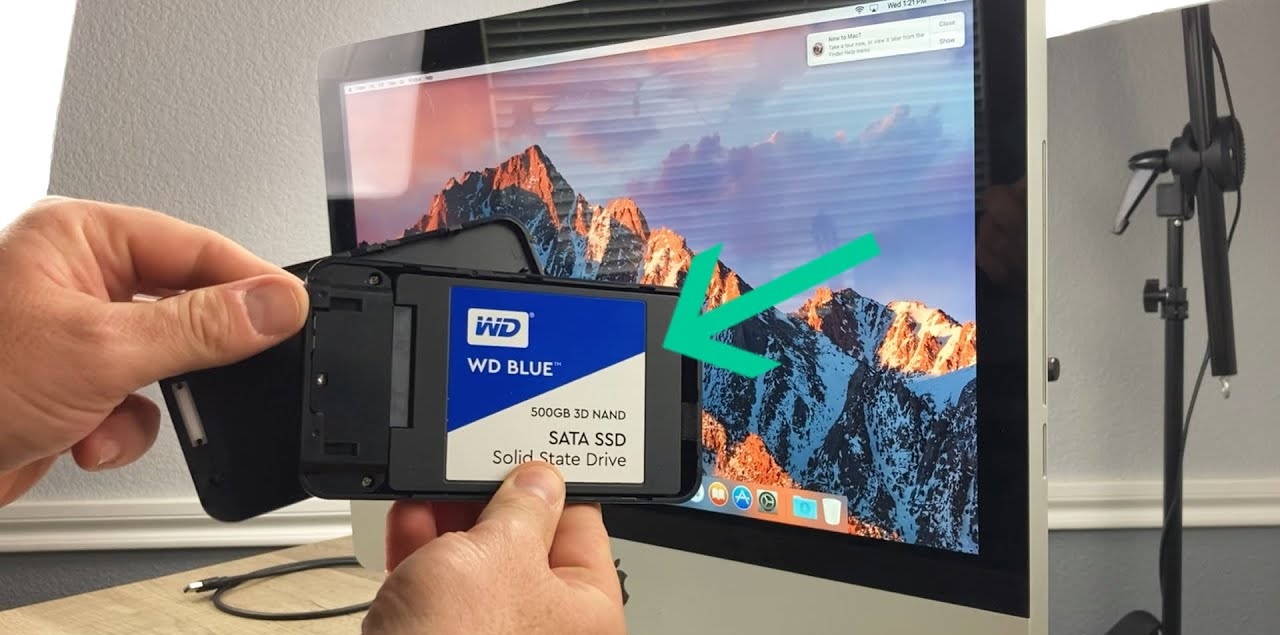
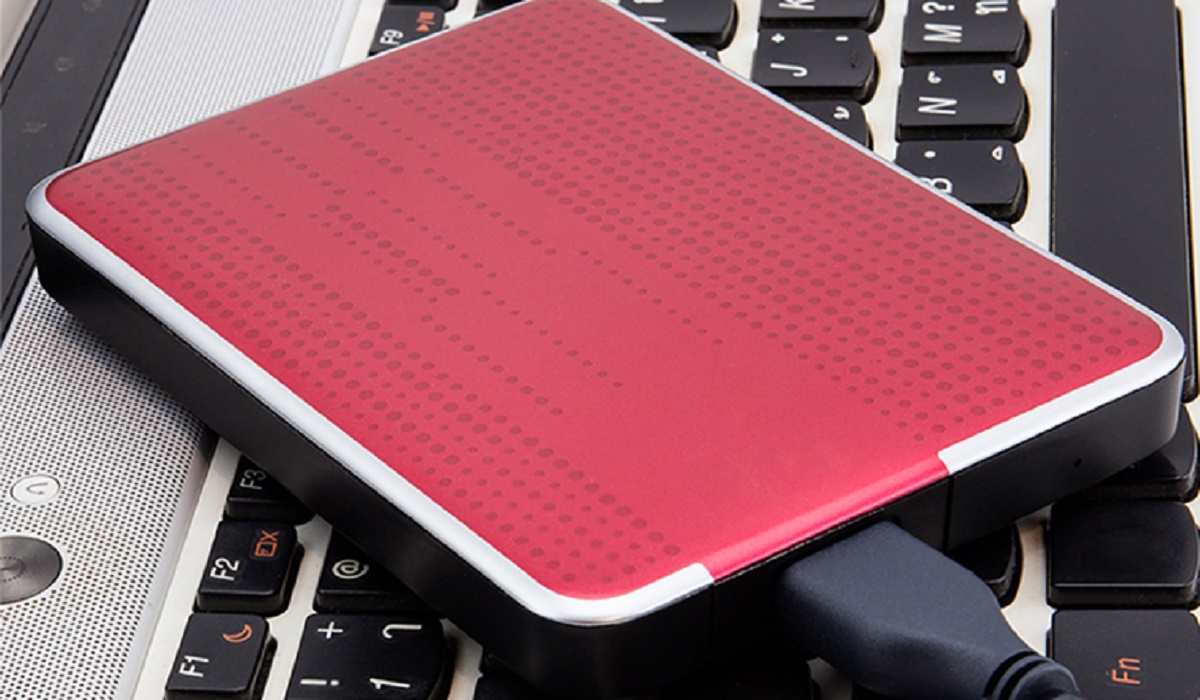
Now that you have chosen the perfect external hard drive for your Mac backup, it’s time to connect it to your computer. The following steps will guide you through the process:
- Locate the ports: Identify the port on your Mac where you will connect the external hard drive. The MacBooks usually have USB-C or Thunderbolt 3 ports, while iMac and Mac mini models have a mix of USB-A, USB-C, and Thunderbolt 3 ports.
- Select the appropriate cable: Depending on the connection options provided by your hard drive and Mac, use the corresponding cable to establish the connection. USB-C to USB-C, USB-C to USB-A, Thunderbolt 3, or any other compatible cable can be used.
- Connect the cable: Plug one end of the cable into the external hard drive and the other end into the appropriate port on your Mac. Ensure a secure connection and gently push the cable in until it is firmly in place.
- Power on the drive: If your external hard drive requires a separate power source, make sure it is connected to a power outlet and turned on. Some drives draw power directly from the Mac, eliminating the need for an external power source.
- Wait for the drive to be recognized: Your Mac should detect the external hard drive automatically and display it on your desktop or in the Finder sidebar. Give it a few moments to establish the connection and recognize the drive.
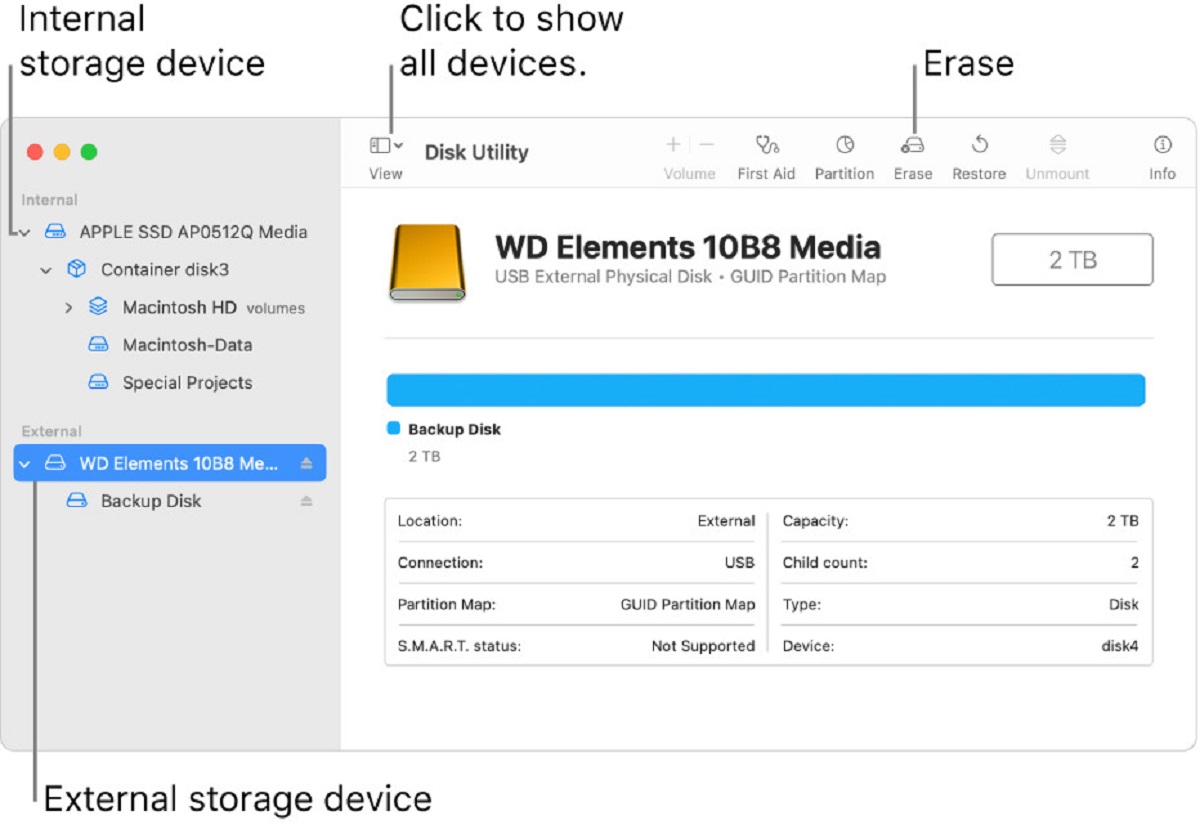
Once the external hard drive is successfully connected and recognized by your Mac, you can proceed to the next step of configuring Time Machine preferences and selecting the external drive as your backup disk.
Note: If the drive doesn’t appear on your Mac, try restarting your computer and reconnecting the drive. If the problem persists, check the drive’s compatibility and troubleshoot any possible connection issues.
Step 3: Open Time Machine Preferences
With the external hard drive connected to your Mac, it’s time to open Time Machine Preferences, which will allow you to configure your backup settings. Here’s how to do it:
- Click on the Apple menu: Located in the top-left corner of your screen, click on the Apple logo to open the drop-down menu.
- Select “System Preferences”: From the drop-down menu, click on “System Preferences” to open the settings panel.
- Choose “Time Machine”: In the System Preferences window, locate and click on the “Time Machine” icon. This will open the Time Machine Preferences panel.
Alternatively, you can also access Time Machine Preferences by clicking on the Time Machine icon in the menu bar at the top of your screen and selecting “Open Time Machine Preferences.”
Once the Time Machine Preferences panel is open, you are ready to proceed to the next step of selecting the external hard drive as your backup disk.
Note: If you haven’t set up Time Machine before, you may be prompted to turn it on. Follow the on-screen instructions to enable Time Machine and proceed with the backup setup process.
Step 4: Select The External Hard Drive As Your Backup Disk
After opening Time Machine Preferences, it’s time to choose the external hard drive as your designated backup disk. Follow these steps to select the drive:
- Select the Backup Disk tab: In the Time Machine Preferences panel, you will see a list of available backup disks. Click on the “Select Disk” button or the “Backup Disk” tab.
- Choose the external hard drive: A list of connected drives will appear. Select your external hard drive from the list.
- Click on “Use Disk”: After selecting the external hard drive, click on the “Use Disk” button to confirm your selection.
Once you have completed these steps, Time Machine will start using the external hard drive as your backup disk, and it will initiate the initial backup process automatically. The backup progress will be shown in the Time Machine Preferences panel.
It’s worth noting that Time Machine will format the external hard drive to ensure compatibility and safeguard your data. This means that the drive will be dedicated solely for Time Machine backups and cannot be used for other purposes without reformatting it.
To ensure the security of your data, make sure to keep the external hard drive connected to your Mac whenever possible. Time Machine will automatically back up your data at regular intervals, preserving the most recent versions of your files for easy retrieval.
Remember to keep the external hard drive in a safe location to protect it from physical damage or theft. Consider keeping a duplicate backup off-site to safeguard your data in case of unforeseen circumstances.
Now that you have selected the external hard drive as your backup disk, you can proceed to customize Time Machine backup settings to suit your preferences.
Step 5: Customize Time Machine Backup Settings
Time Machine offers several customization options to tailor your backup settings according to your specific needs. Follow these steps to customize Time Machine backup settings:
- Open Time Machine Preferences: Click on the Time Machine icon in the menu bar at the top of your screen and select “Open Time Machine Preferences.”
- Click on the Options button: In the Time Machine Preferences panel, click on the “Options” button.
- Exclude items from backup: To exclude specific files, folders, or drives from being backed up, click the “+” button and add them to the exclusions list. This can be useful for excluding large files or folders that are not essential for backup.
- Delete old backups: Time Machine will automatically manage the storage on your backup disk by deleting older backups to make room for new ones. However, you can manually remove specific backups or exclude certain folders from being backed up by selecting them and clicking the “-” button.
- Encrypt backups: If you want to add an extra layer of security to your backups, you can choose to encrypt them. Click on the checkbox next to “Encrypt backups” and enter a secure password. Remember to keep your password safe, as it will be required if you ever need to restore your backups.
- Backup frequency: By default, Time Machine backs up your Mac every hour. If you prefer a different backup frequency, click on the slider and adjust it accordingly.
Take your time to review and configure these settings based on your preferences. Once you have customized the Time Machine backup settings, click the “OK” button to save the changes.
It’s important to note that customizing Time Machine backup settings is optional. The default settings work well for most users, ensuring automatic and continuous backups of your Mac to the external hard drive.
With your Time Machine backup settings customized, you are now ready to initiate the backup process and start safeguarding your important data.
Step 6: Start The Backup Process
With all the necessary configurations in place, it’s time to initiate the backup process and start protecting your data. Follow these simple steps to start backing up your Mac using Time Machine:
- Ensure the external hard drive is connected: Make sure your external hard drive is connected to your Mac and powered on.
- Open Time Machine Preferences: Click on the Time Machine icon in the menu bar and select “Open Time Machine Preferences.”
- Enable Time Machine: If Time Machine is not already turned on, click the “On” button to enable it. Time Machine will now begin the initial backup process.
- Monitor the backup progress: Once the backup process starts, you can monitor the progress in the Time Machine Preferences panel. The initial backup may take some time, depending on the amount of data being backed up.
- Continue using your Mac: You can continue using your Mac as usual during the backup process. Time Machine will work in the background, quietly updating your backup with any changes or additions to your files.
- Keep your Mac connected: To ensure continuous and automatic backups, it’s important to keep your Mac connected to the external hard drive whenever possible. This will allow Time Machine to regularly update your backup with any new changes.
It’s highly recommended to allow the initial backup to complete before disconnecting the external hard drive or interrupting the process. Once the first backup is finished, Time Machine will perform regular incremental backups, which are faster and capture only the changes made since the previous backup.
Remember that the backup frequency and duration will vary depending on the amount of data being backed up and the speed of your external hard drive. Patience is key as Time Machine works diligently to protect your data.
Now that the backup process has started, you can rest easy knowing that your important files and documents are being securely backed up on the external hard drive.
Step 7: Monitor Your Backup Progress
Once you have started the backup process using Time Machine, it’s important to periodically monitor the progress to ensure that your data is being backed up successfully. Here’s how you can monitor your Time Machine backup progress:
- Check the Time Machine Preferences panel: You can keep an eye on the backup progress by opening the Time Machine Preferences panel. It will display a progress bar indicating the status of the current backup.
- View the Time Machine menu bar icon: The Time Machine menu bar icon will show a rotating arrow during the backup process. Place your cursor over the icon to see additional details such as the time of the last backup and the estimated time until the next backup.
- Receive notifications: By default, Time Machine may display notifications when a backup is in progress or when errors occur. You can adjust these notification settings in the Notifications section of System Preferences if desired.
- Observe external hard drive activity: Depending on the model, your external hard drive may have an LED indicator that flashes or lights up when it is actively writing data. This can give you a visual indication that the backup process is ongoing.
During the initial backup, the duration may vary depending on the size of your files and the speed of the external hard drive. Subsequent backups will typically be faster since Time Machine only needs to capture changes since the last backup.
If you encounter any issues or notice that the backup progress has stopped or is taking an unusually long time, there are a few troubleshooting steps you can try:
- Disconnect and reconnect the external hard drive: Safely disconnect the external hard drive and reattach it to your Mac. This can help re-establish the connection and resume the backup process.
- Restart your Mac: A simple restart of your Mac can resolve minor glitches and help get the backup process back on track.
- Check the Time Machine Preferences panel for errors: If Time Machine is displaying any error messages or warnings, troubleshoot them by following the instructions provided. The preferences panel can provide valuable insights into any issues that may be affecting the backup process.
By regularly monitoring your backup progress, you can ensure that your important data is consistently protected and ready for recovery in case of any unfortunate events or accidents.
Congratulations! You have successfully completed the backup process and are actively monitoring the progress of your Mac’s backups with Time Machine.
Conclusion
The importance of backing up your Mac cannot be overstated. Accidents, hardware failures, or even theft can result in the loss of valuable data. With Time Machine and an external hard drive, you can easily and effectively protect your files and ensure their availability in case of any unforeseen events.
In this guide, we have walked through the step-by-step process of backing up your Mac to an external hard drive using Time Machine. We started by discussing how to choose the right external hard drive based on storage capacity, connectivity options, portability, reliability, backup software compatibility, and budget.
We then moved on to the practical steps of connecting the external hard drive to your Mac, opening Time Machine Preferences, selecting the external hard drive as your backup disk, and customizing Time Machine backup settings according to your preferences. Finally, we covered how to start the backup process and monitor its progress to ensure successful backups.
Remember to keep your external hard drive connected to your Mac whenever possible to enable regular and automatic backups. It’s also important to periodically check the backup progress, monitor any error messages, and troubleshoot if necessary to ensure the continuity of your backup process.
By following these steps and incorporating regular backup practices into your routine, you can have peace of mind knowing that your important documents, photos, videos, and files are protected and easily recoverable in the event of data loss or system issues.
Take the time to review your backup strategy and ensure that your external hard drive is safely stored and regularly updated. With Time Machine and an external hard drive, you can confidently rely on your Mac backup system, knowing that your valuable data is secure and accessible whenever you need it.