Introduction
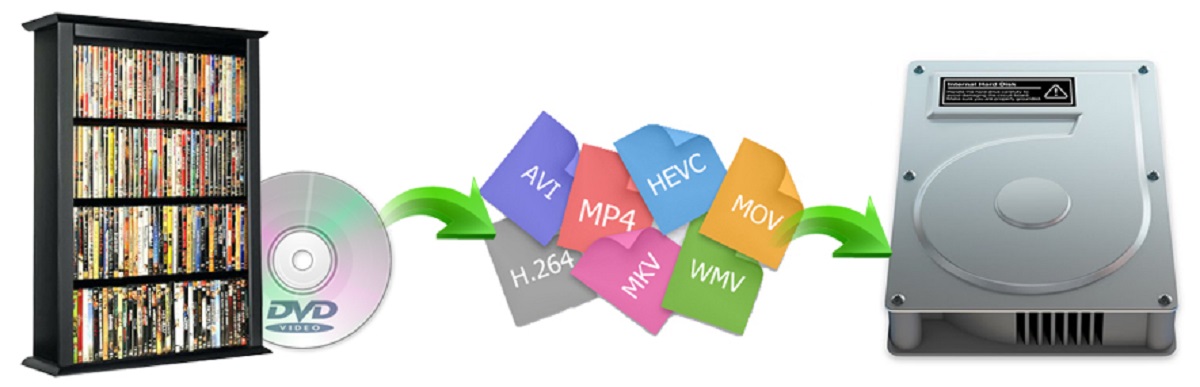
When it comes to backing up your data or transferring your entire hard drive to a new device, having a reliable and efficient method is essential. One such method is copying your entire hard drive to an external hard drive. This process allows you to duplicate everything from your operating system to your personal files and applications, ensuring that you have a complete backup or a seamless transition to a new device.
Whether you’re upgrading to a new computer, safeguarding your data, or simply looking to make a duplicate of your existing hard drive for storage purposes, copying your entire hard drive to an external hard drive is a straightforward and effective solution.
In this article, we will guide you through the step-by-step process of copying your entire hard drive to an external hard drive. We will explore how to connect the external hard drive, select the appropriate cloning software, and begin the cloning process. Additionally, we will provide tips for verifying the cloned hard drive files and safely ejecting the external hard drive.
It’s important to note that the specific steps may vary depending on your operating system and the software you choose to use. However, the general principles outlined in this article will apply to most scenarios, providing you with a solid foundation for successfully copying your entire hard drive.
Now, let’s delve into the details and discover how you can effortlessly copy your entire hard drive to an external hard drive.
Step 1: Connect the External Hard Drive
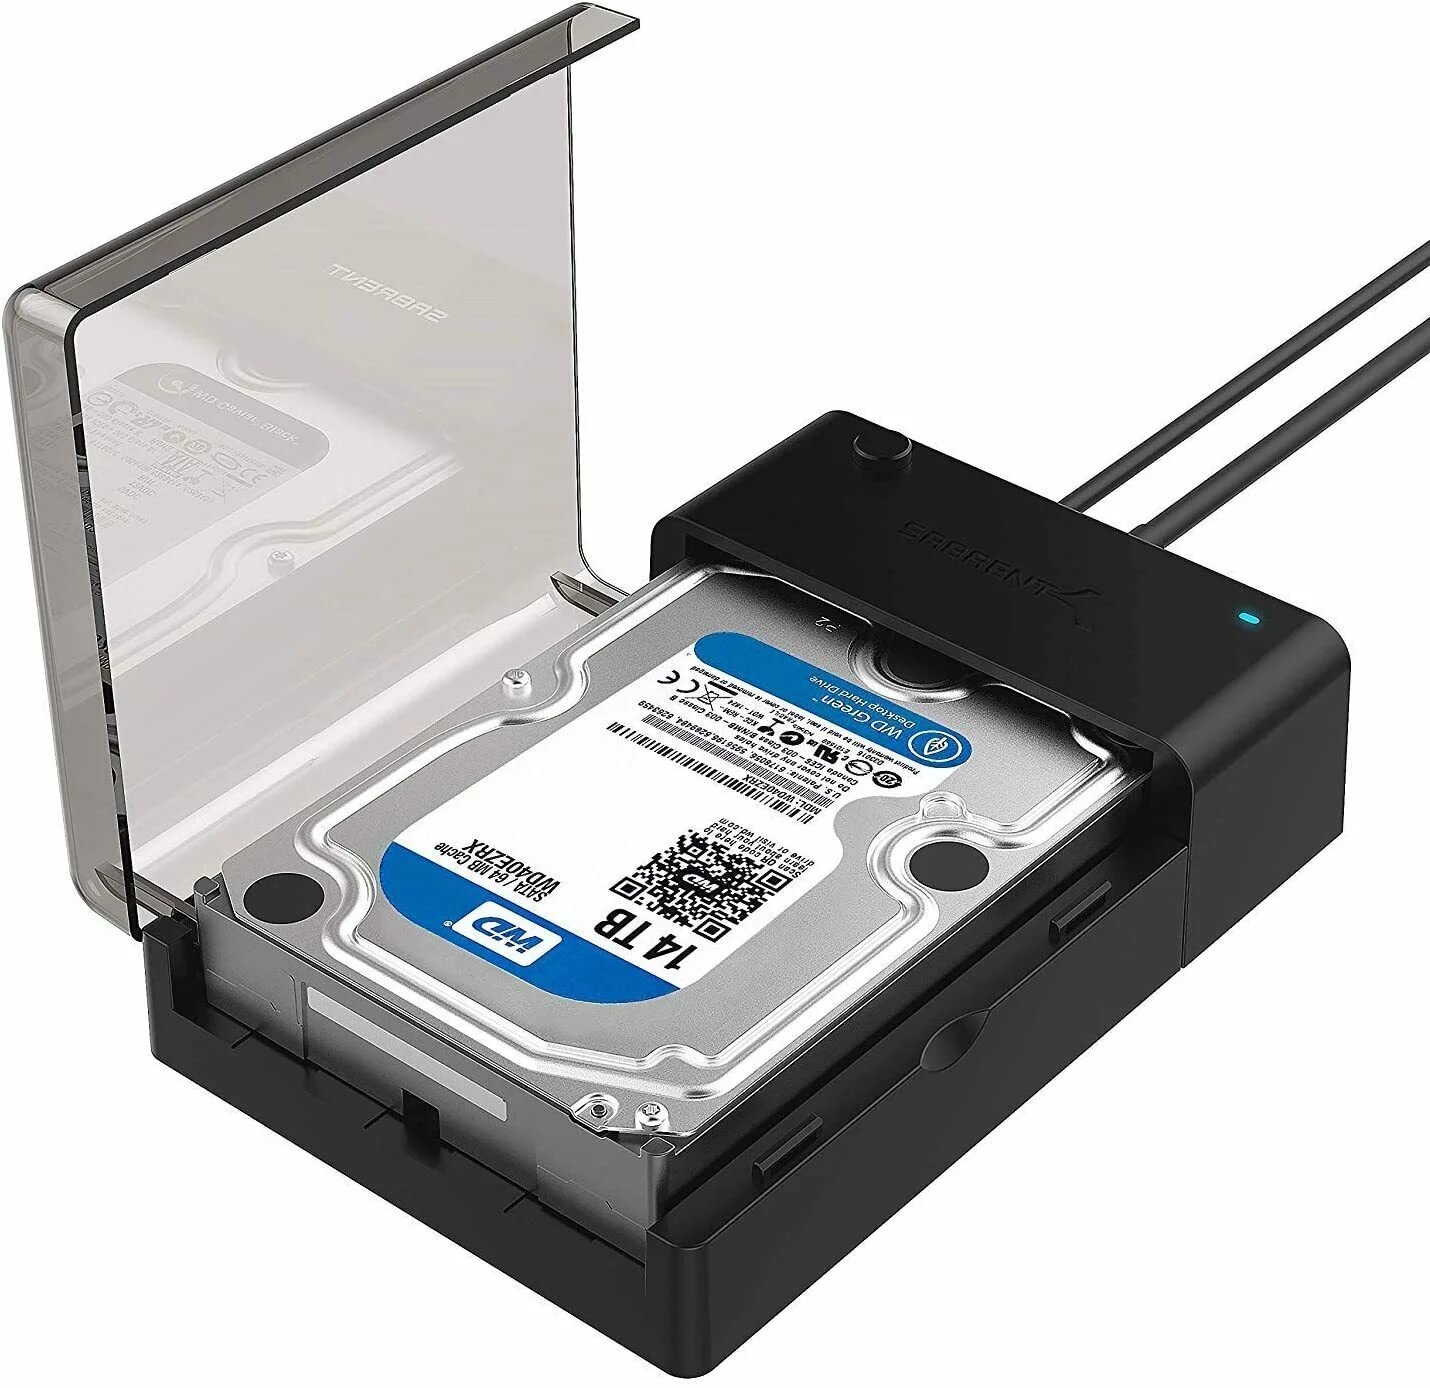
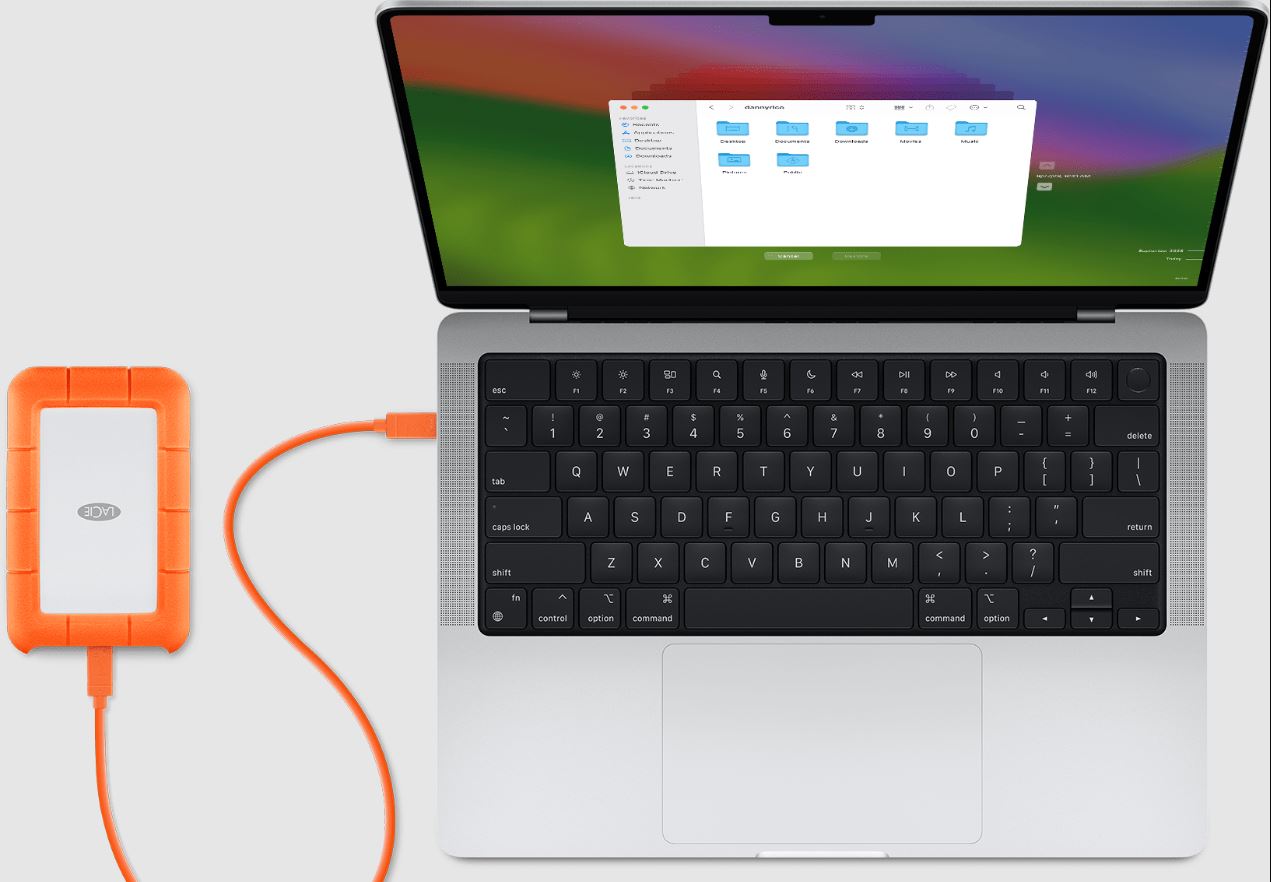
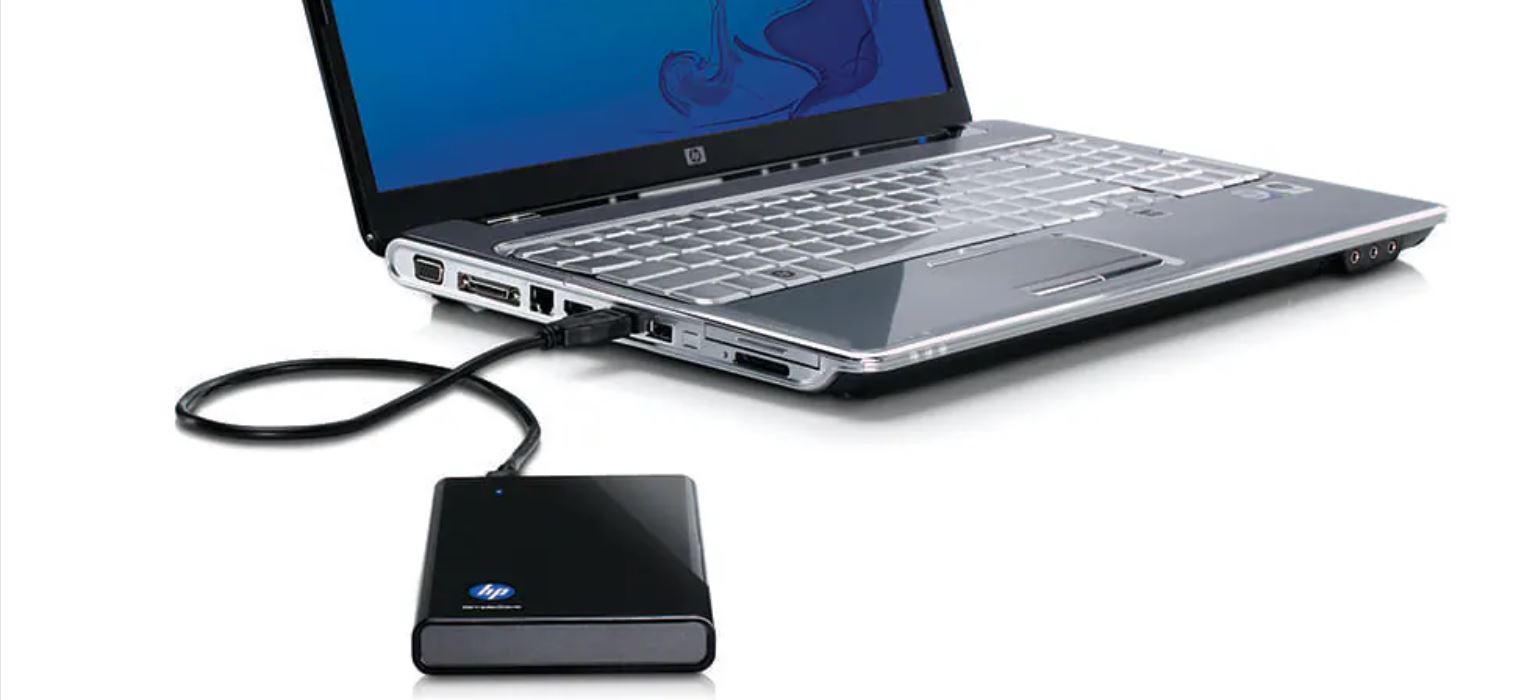
The first step in copying your entire hard drive to an external hard drive is to connect the external hard drive to your computer or laptop. This will allow you to transfer your files and data to the external device.
To connect the external hard drive, follow these steps:
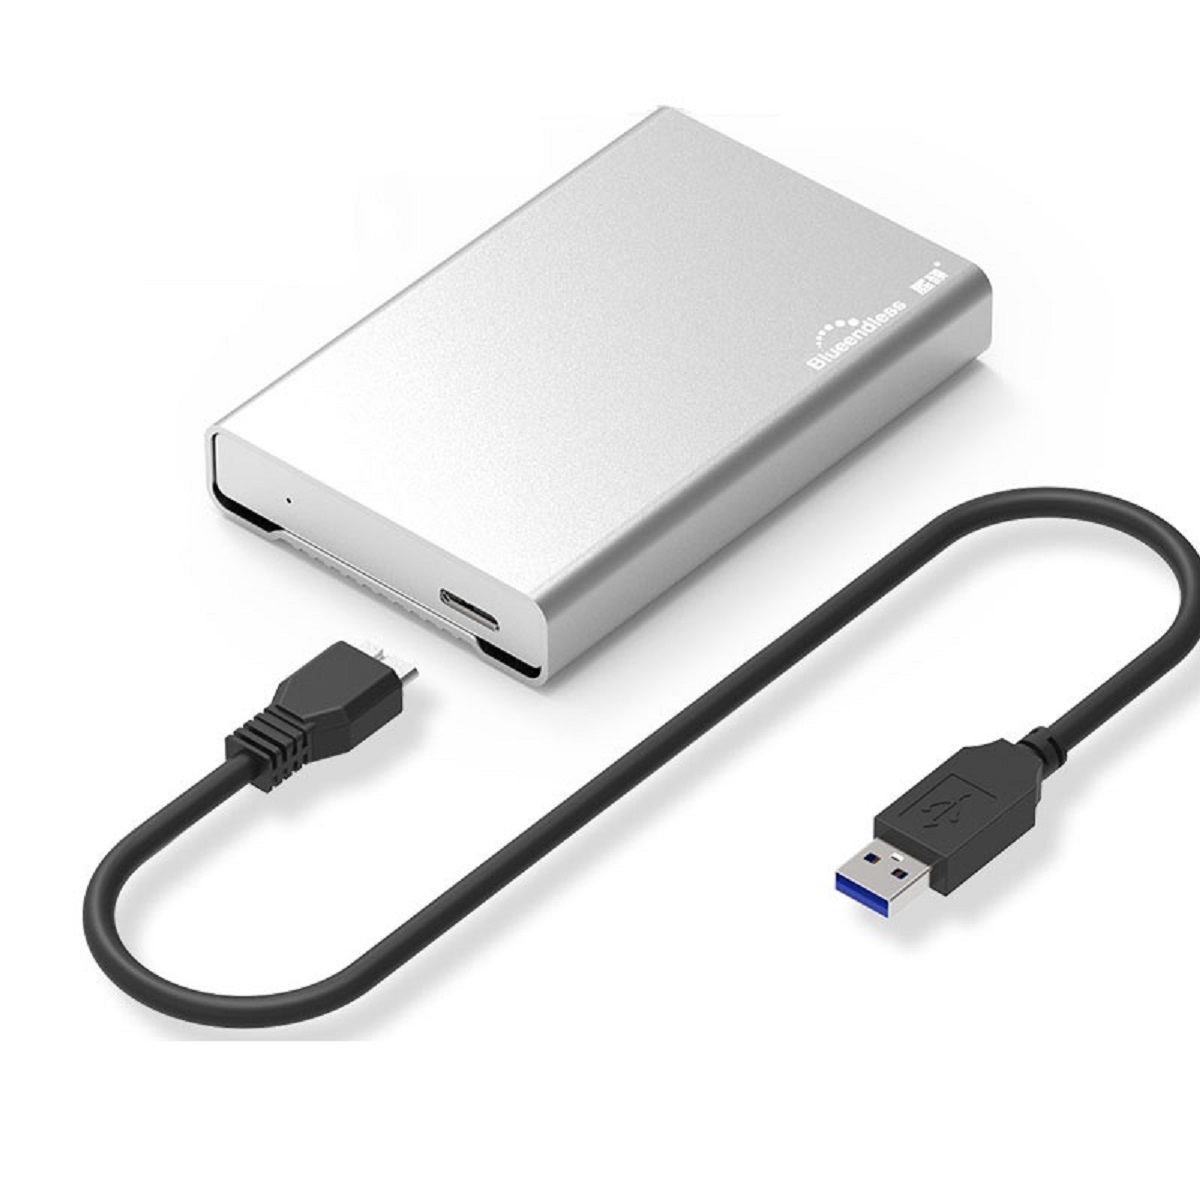
- Locate an available USB port on your computer or laptop. Most external hard drives use a USB connection, but some may require other types of connections such as USB-C or Thunderbolt.
- Insert the appropriate cable into the USB port on your computer or laptop.
- Connect the other end of the cable to the external hard drive. Make sure the connection is secure.
- If your external hard drive requires a power source, such as an AC adapter, make sure it is plugged into a power outlet and turned on.
Once you have successfully connected the external hard drive to your computer or laptop, you should see a notification or an icon indicating that a new device has been detected. Your operating system will treat the external hard drive as an additional storage device.
It’s important to ensure that your external hard drive has sufficient storage capacity to accommodate the contents of your entire hard drive. Check the specifications of your external hard drive to determine its available space. You may need to free up some space on the external hard drive or consider using a larger capacity drive if needed.
With the external hard drive properly connected, you’re now ready to proceed to the next step of copying your entire hard drive.
Step 2: Open Disk Cloning Software
Once you have connected your external hard drive, the next step is to open a disk cloning software. Disk cloning software allows you to create an exact copy of your hard drive, including the operating system, files, and applications.
There are various disk cloning software available, both free and paid, with different features and functionalities. Some popular options include Acronis True Image, Clonezilla, and Macrium Reflect. It’s important to choose a reliable and reputable software that suits your needs and is compatible with your operating system.
To open the disk cloning software, follow these steps:
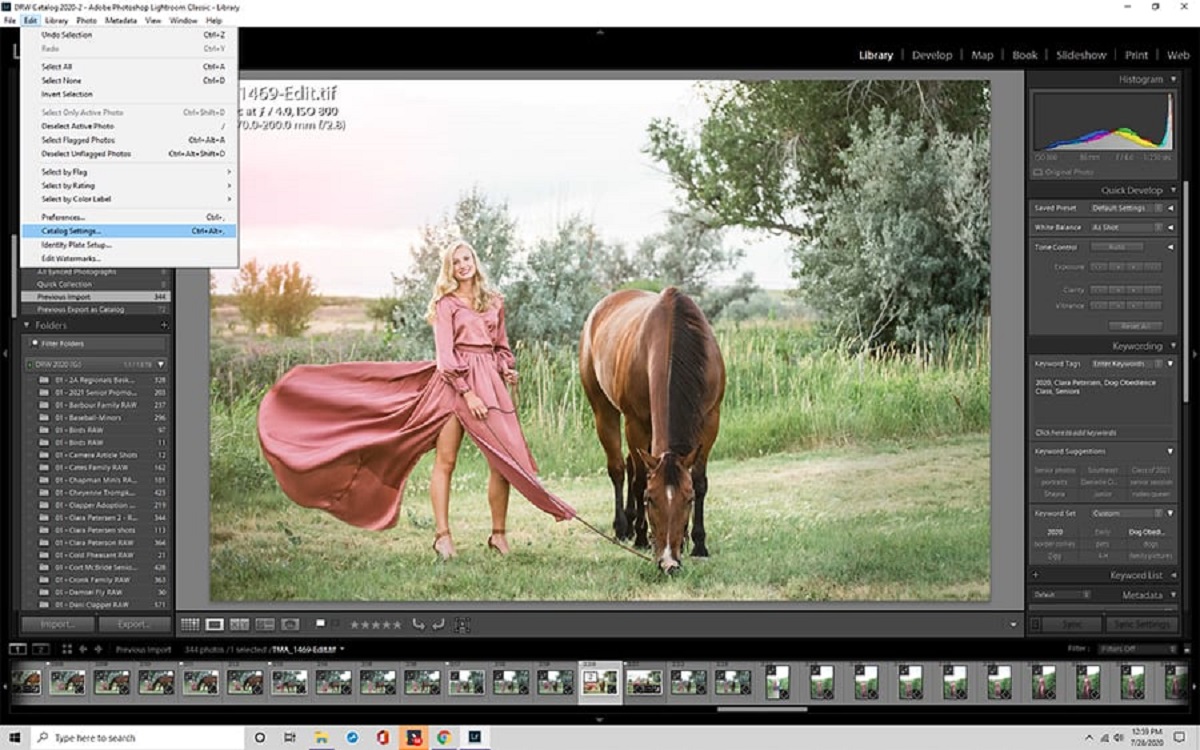
- Locate the software on your computer or laptop. If you have already installed the software, you can find it in your list of programs or applications. If you haven’t installed it yet, visit the official website of the software and download it.
- Launch the disk cloning software by double-clicking on its icon or selecting it from the start menu.
Once the disk cloning software is open, you will be presented with a user interface that provides options and settings for the cloning process. Familiarize yourself with the interface and explore the available features to ensure you understand how to proceed with the cloning process.
Before proceeding, it’s recommended to close any unnecessary programs or applications running on your computer. This will help optimize system resources and prevent any interruptions during the cloning process.
With the disk cloning software ready and running, you’re now prepared to move on to the next step of selecting the source hard drive.
Step 3: Select the Source Hard Drive
After opening the disk cloning software, the next step is to select the source hard drive, which is the hard drive you want to copy or clone.
To select the source hard drive, follow these steps:
- Within the disk cloning software, locate the option to choose the source or the “from” drive.
- A list of available drives connected to your computer will be presented. Identify your internal hard drive or the drive that contains the data you want to copy.
- Select the source hard drive by clicking on it. It may be labeled with its disk name or an assigned letter (e.g. C: or D:).
It’s crucial to carefully select the correct source hard drive to avoid accidentally cloning the wrong drive. Review the available drives and double-check the disk name or letter to ensure you have chosen the right one.
Additionally, some disk cloning software may offer advanced options or settings for selecting specific partitions or folders within the source hard drive. If you have specific requirements, such as excluding certain files or folders from the cloning process, explore the software’s settings to customize the cloning process according to your needs.
Once you have successfully selected the source hard drive, the disk cloning software will recognize it as the drive to be duplicated onto the external hard drive. This sets the stage for the next step of choosing the external hard drive as the destination.
Step 4: Select the External Hard Drive as the Destination
After selecting the source hard drive, the next step is to choose the external hard drive as the destination for the cloned data. This is where the copied files and data will be stored.
To select the external hard drive as the destination, follow these steps:
- Within the disk cloning software, locate the option to choose the destination or the “to” drive.
- A list of available drives, including the external hard drive that you previously connected, will be displayed.
- Select the external hard drive from the list by clicking on it. It may be labeled with its disk name or an assigned letter (e.g. E: or F:).
Ensure that you choose the correct external hard drive as the destination for the cloned data. Verify the disk name or letter to confirm that you have selected the intended external hard drive.
In some cases, you may have multiple external hard drives connected to your computer. If this is the case, carefully select the appropriate external hard drive that has enough storage capacity to accommodate the entire content of the source hard drive.
It’s worth noting that some disk cloning software may offer additional options or settings for advanced users. These options can include partition resizing or creating multiple partitions on the external hard drive. If you have specific requirements or preferences, explore the software’s features to customize the cloning process as desired.
Once you have selected the external hard drive as the destination, you have successfully set up the cloning process. Now, you are ready to move on to the next step of starting the cloning process itself.
Step 5: Start the Cloning Process
Having selected the source hard drive and the external hard drive as the destination, you are now ready to initiate the cloning process.
To start the cloning process, follow these steps:
- Within the disk cloning software, locate the option to begin the cloning process. This option may be labeled as “Start,” “Clone,” or something similar.
- Review the cloning settings and ensure they align with your requirements. These settings may include the cloning method (sector-by-sector or file-by-file), the option to exclude certain files, or other advanced preferences.
- Once you have confirmed the settings, click on the “Start” or “Clone” button to initiate the cloning process.
It’s important to note that the cloning process may take some time, depending on the size of the source hard drive and the speed of your computer and external hard drive. During the cloning process, it’s advisable to avoid using your computer for other resource-intensive tasks to prevent any interruptions or delays.
While the cloning process is running, you may see a progress indicator or a status bar within the disk cloning software. This provides an estimate of the remaining time and the progress of the cloning operation. It’s recommended to keep an eye on the progress to ensure that the cloning process is proceeding smoothly.
Once the cloning process is complete, you will receive a notification or a confirmation message indicating the successful duplication of your hard drive to the external hard drive.
At this point, you have accomplished a significant milestone in copying your entire hard drive. However, to ensure the accuracy and integrity of the cloned data, it’s essential to verify the files on the external hard drive, which is the next step we will explore.
Step 6: Wait for the Cloning Process to Complete
After initiating the cloning process, it’s crucial to exercise patience and allow the software to complete the task. The duration of the cloning process will depend on several factors, such as the size of the hard drive being cloned, the speed of the computer and the external hard drive, and the selected cloning method.
As the cloning process is underway, it’s advisable to refrain from interrupting or halting it to ensure the integrity of the copied data. Interrupting the process could lead to incomplete or corrupted files on the external hard drive.
During this time, you can monitor the progress of the cloning process using the progress indicator or status bar provided by the cloning software. Pay attention to the estimated time remaining and the current progress to get an idea of how long the process may take.
It’s important to note that the cloning software may also display any potential errors or issues encountered during the process. If you receive any error messages, carefully read and follow the instructions provided by the software to address the issue.
While waiting for the cloning process to complete, it is recommended to keep your computer and the external hard drive connected and powered on. Avoid any actions that may cause disruption, such as restarting your computer or disconnecting the external hard drive.
Once the cloning process reaches 100% completion and there are no error messages, you can proceed to the next step of verifying the cloned hard drive files.
Remember, patience is key during this step, as waiting for the cloning process to finish will ensure a successful, accurate, and complete transfer of your hard drive’s data to the external hard drive.
Step 7: Verify the Cloned Hard Drive Files
After the cloning process is complete, it is essential to verify the cloned hard drive files on the external hard drive. This step ensures that the data has been accurately copied and that there are no errors or missing files.
To verify the cloned hard drive files, follow these steps:
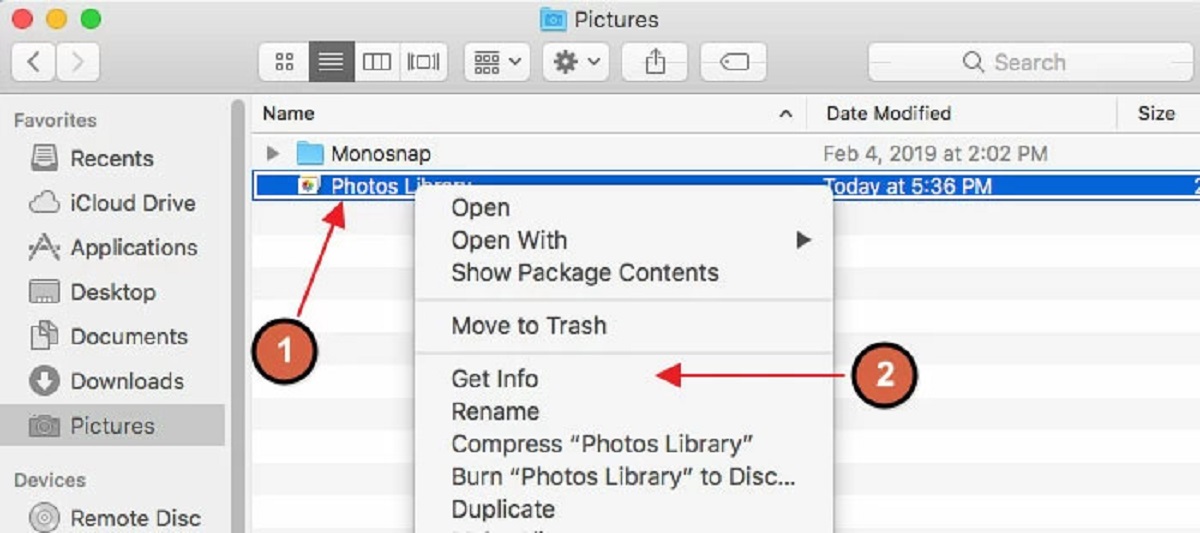
- Open the file explorer or file manager on your computer.
- Navigate to the external hard drive where the cloned data is stored. The external hard drive will typically have its own assigned letter or name.
- Check the files and folders on the external hard drive to ensure that they match the contents of your source hard drive. Review the file structure, file names, and sizes.
- Select a few random files or folders and open them to verify that they can be accessed and that the content is intact.
During the verification process, pay attention to any discrepancies or missing files. If you notice any problems, it might be necessary to repeat the cloning process or troubleshoot the issue, depending on the specific circumstances and the cloning software you’re using.
It is important to note that the verification process may be time-consuming, especially if you have a large amount of data on your hard drive. However, investing the time to thoroughly verify the cloned hard drive files ensures the reliability and accuracy of your backup or cloned data.
Once you have successfully verified the cloned hard drive files on the external hard drive and confirmed their integrity, you can proceed to the final step of safely ejecting the external hard drive.
Take the time to carefully inspect and validate the cloned data to give you peace of mind that all your important files have been successfully transferred.
Step 8: Safely Eject the External Hard Drive
Once you have verified the cloned hard drive files on the external hard drive and confirmed their accuracy, it’s important to safely eject the external hard drive from your computer. This ensures that all data has been written and saved properly before physically disconnecting the device.
To safely eject the external hard drive, follow these steps:
- Make sure that all file transfer processes or any other activities involving the external hard drive have been completed or closed.
- On your computer, locate the “Safely Remove Hardware” or “Eject” icon in the taskbar or system tray area.
- Click on the “Safely Remove Hardware” or “Eject” icon. This will display a list of devices connected to your computer.
- From the list, select the external hard drive that you want to eject.
- Wait for your computer to give you a notification or message stating that it is safe to remove the external hard drive. This indicates that all data has been properly saved and written to the device.
- Carefully physically disconnect the external hard drive from your computer by gently unplugging the USB cable or using any additional specified method for disconnecting the device.
It is crucial to follow the proper ejecting procedure to prevent potential data corruption or damage to the files on the external hard drive. Abruptly disconnecting the device without safely ejecting it can lead to data loss or other issues.
Once you have safely ejected the external hard drive, you can store it in a safe place or use it as needed for backups or for transferring the cloned data to another device.
With the external hard drive safely disconnected, you have successfully completed the process of copying your entire hard drive to the external hard drive. Your data is now securely backed up or cloned, ready for future use or as a contingency plan in case of any unforeseen circumstances.
Conclusion
Copying your entire hard drive to an external hard drive is a valuable process for data backup, system migration, or simply creating a duplicate of your hard drive. With the right tools and steps, you can ensure that your data stays safe and accessible.
In this article, we covered the step-by-step process to copy your entire hard drive to an external hard drive. We began by connecting the external hard drive, then opened disk cloning software, selected the source hard drive, chose the external hard drive as the destination, and started the cloning process. After waiting for the cloning process to complete, we verified the cloned hard drive files and then safely ejected the external hard drive from our computer.
It is crucial to pay attention to each step and ensure the accuracy and integrity of the cloned data. By following the provided guidelines and using reliable disk cloning software, you can confidently replicate your entire hard drive onto an external hard drive.
Remember that the process may vary depending on your specific operating system and the software you choose to use. Always refer to the software’s instructions and ensure compatibility with your system before proceeding.
With a cloned hard drive, you have a backup that can protect your valuable data against hardware failures, virus attacks, or accidental deletions. Additionally, having an external hard drive with a duplicate of your hard drive enables a seamless transition to a new device without the need to reinstall applications or transfer files manually.
Take the time to regularly update your cloned hard drive to keep it current with your latest data. Schedule periodic backups and ensure that your backup strategy aligns with your data management needs.
By following the steps outlined in this article and maintaining a disciplined backup routine, you can enjoy peace of mind knowing that your data is secure and accessible whenever you need it.