Introduction
Welcome to this guide on how to copy your Mac hard drive to an external hard drive. Whether you are looking to back up your data, upgrade your storage capacity, or transfer files to a new computer, having a copy of your Mac hard drive on an external device can provide peace of mind and convenience. In this article, we will explore different methods you can use to copy your Mac hard drive to an external hard drive.
Why is it important to have a copy of your Mac hard drive? Your Mac hard drive contains all your important files, documents, photos, videos, and settings. Unexpected events like hardware failures, accidental deletions, or malware attacks can result in data loss. Having a backup copy of your Mac hard drive ensures that your important data is safe and can easily be restored if needed.
There are various approaches you can take to copy your Mac hard drive to an external hard drive. In this guide, we will cover three main methods: using Time Machine, utilizing Disk Utility, and manually copying files. Each method has its advantages and can be chosen based on your specific needs and preferences. By following the steps outlined in this article, you can protect your data and ensure that you have a copy of your Mac hard drive readily available.
Please note that the process of copying a Mac hard drive can be time-consuming, depending on the size of your hard drive and the speed of your external device. It is important to have sufficient storage space on the external hard drive to accommodate the data from your Mac hard drive. Additionally, it is recommended to use a reliable external hard drive and ensure that it is properly formatted to be compatible with your Mac.
Now that we understand the importance of copying your Mac hard drive and the methods we will explore in this guide, let’s proceed to the next section to prepare the external hard drive for the copying process.
Part 1: Preparing the External Hard Drive
Before you can begin the process of copying your Mac hard drive to an external hard drive, it is important to properly prepare the external device. Here are the steps to follow:
- Check compatibility: Ensure that the external hard drive is compatible with your Mac. It should support the same operating system version and have sufficient storage capacity to accommodate your Mac hard drive.
- Format the external hard drive: If the external hard drive is new or has never been used with your Mac, it is recommended to format it to ensure compatibility and remove any existing data. To format the hard drive, connect it to your Mac and open Disk Utility. Select the external hard drive from the list, choose the “Erase” tab, and follow the prompts to format it using the appropriate file system (usually either HFS+ or APFS).
- Create a partition: If you plan to use the external hard drive for purposes other than backing up your Mac hard drive, such as storing additional files, it is advisable to create a separate partition. This way, you can keep your Mac backup separate from other data and prevent accidental deletions. In Disk Utility, select the external hard drive, click the “+” button to add a partition, set the size for the backup partition, and give it an appropriate name.
- Choose a backup method: Decide on the backup method you want to use. If you opt for Time Machine (covered in Part 3), make sure the external hard drive has sufficient space to accommodate hourly, daily, and weekly backups. If you choose to manually copy files (covered in Part 5), ensure that the external hard drive has enough storage capacity to hold all the files you wish to copy.
Once you have completed these steps, your external hard drive will be ready to receive a copy of your Mac hard drive. In the next section, we will discuss how to connect the external hard drive to your Mac.
Part 2: Connecting the External Hard Drive
After preparing the external hard drive, the next step is to connect it to your Mac. Here’s what you need to do:
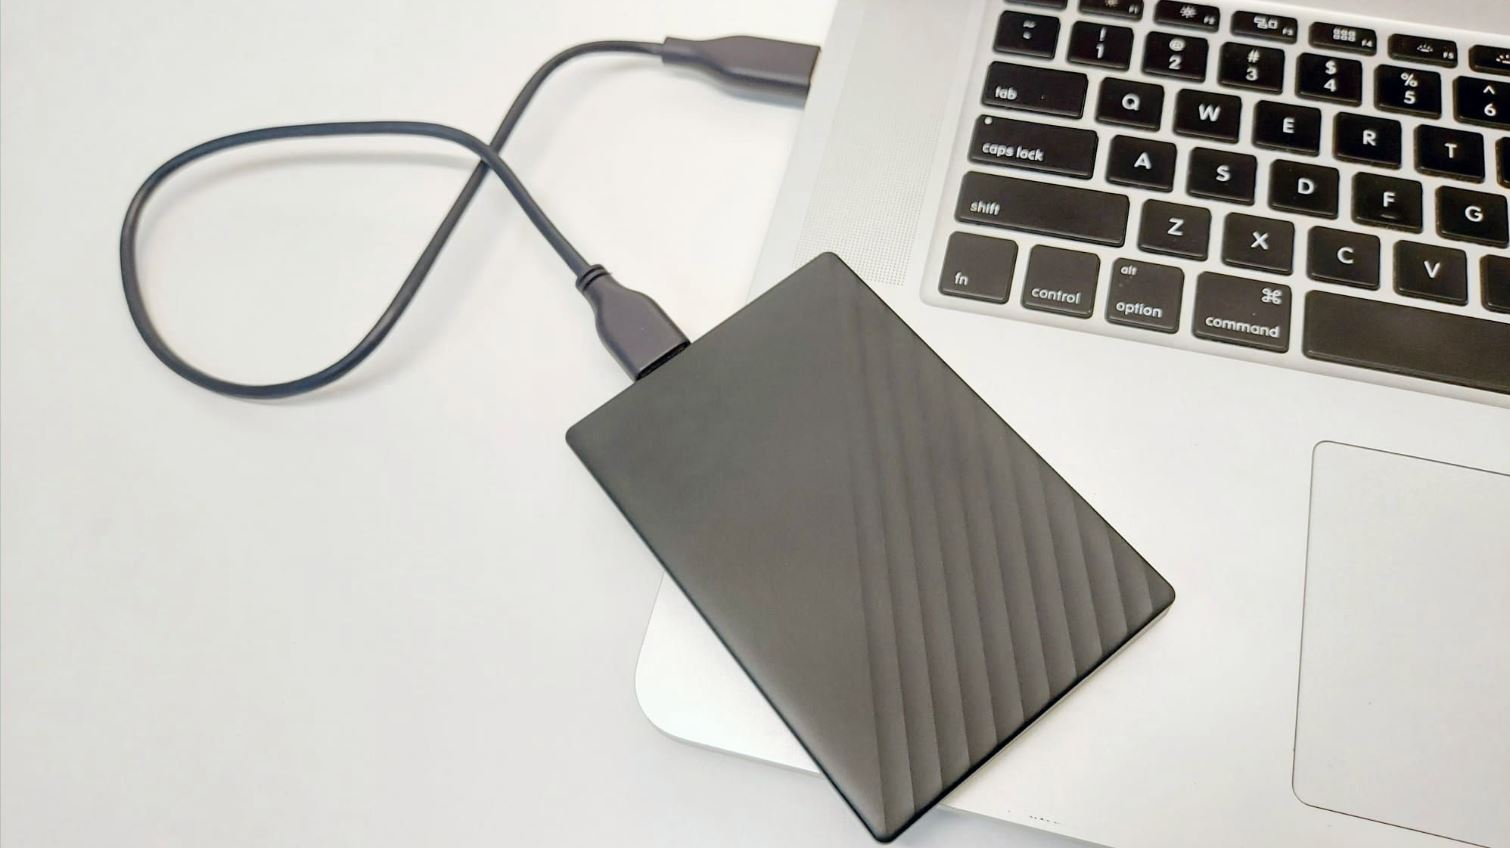
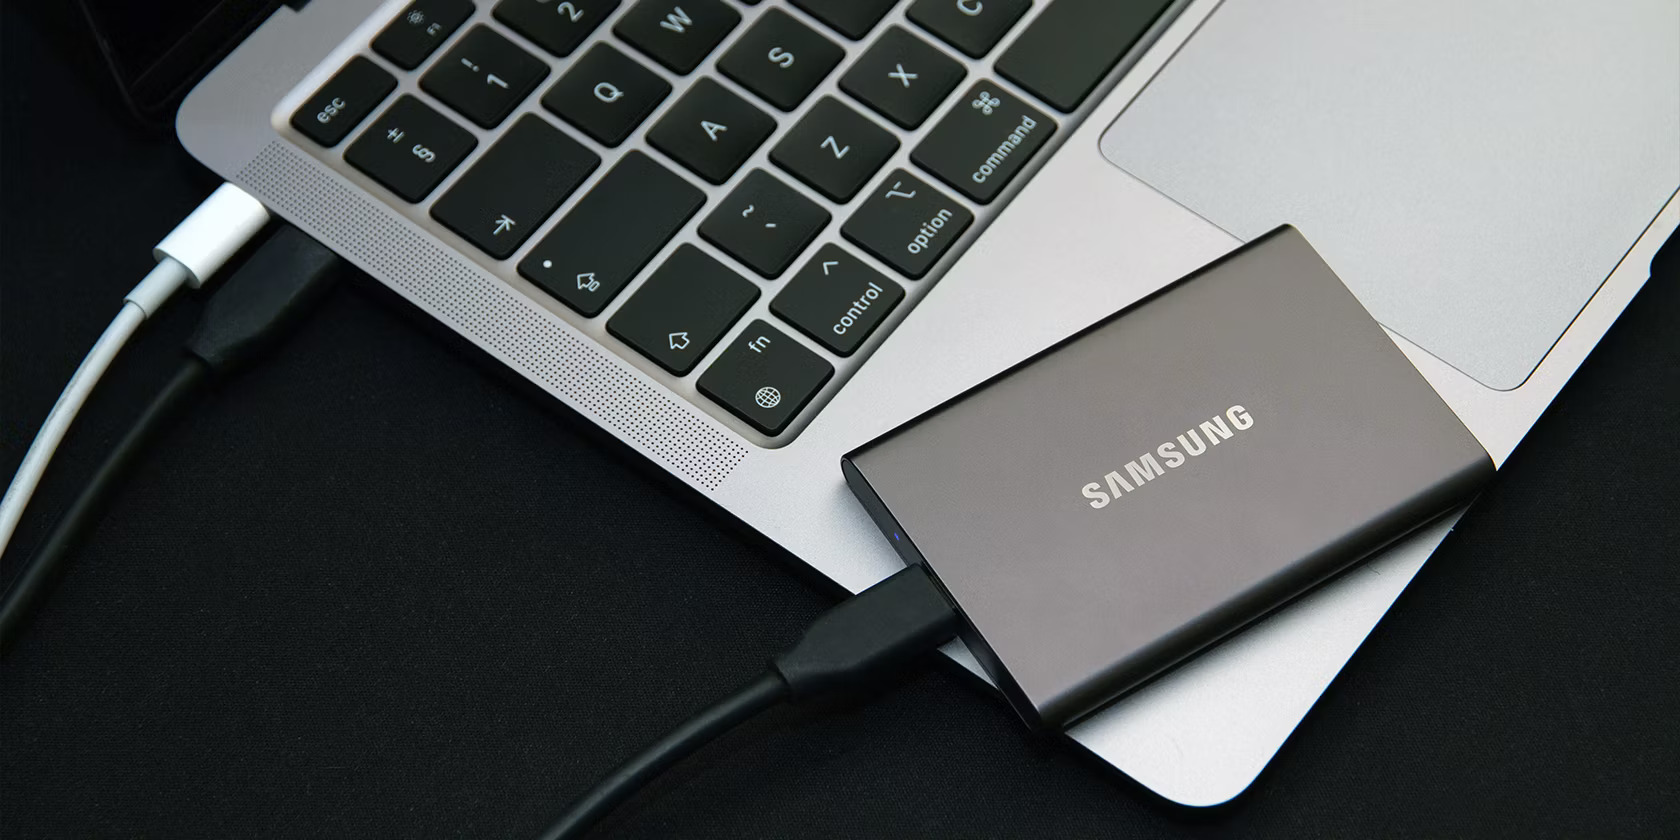
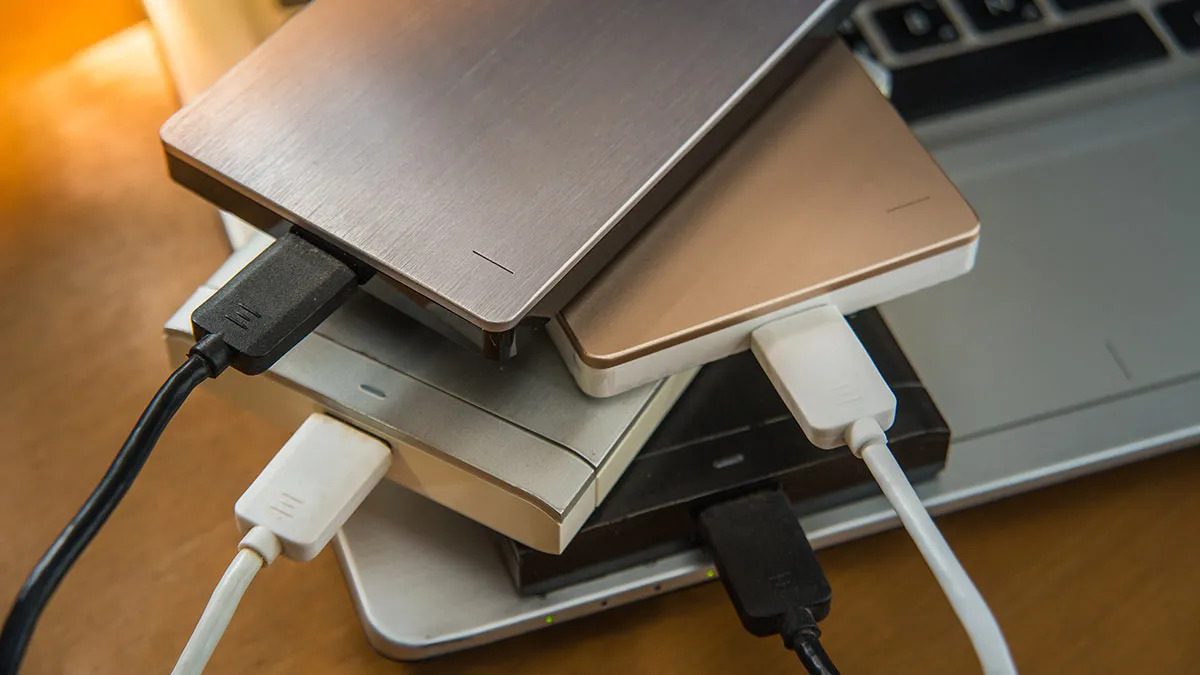
- Locate the appropriate port: Identify the type of port that your external hard drive uses, such as USB-A, USB-C, Thunderbolt, or FireWire. This will depend on the model of your Mac and the type of external hard drive you have.
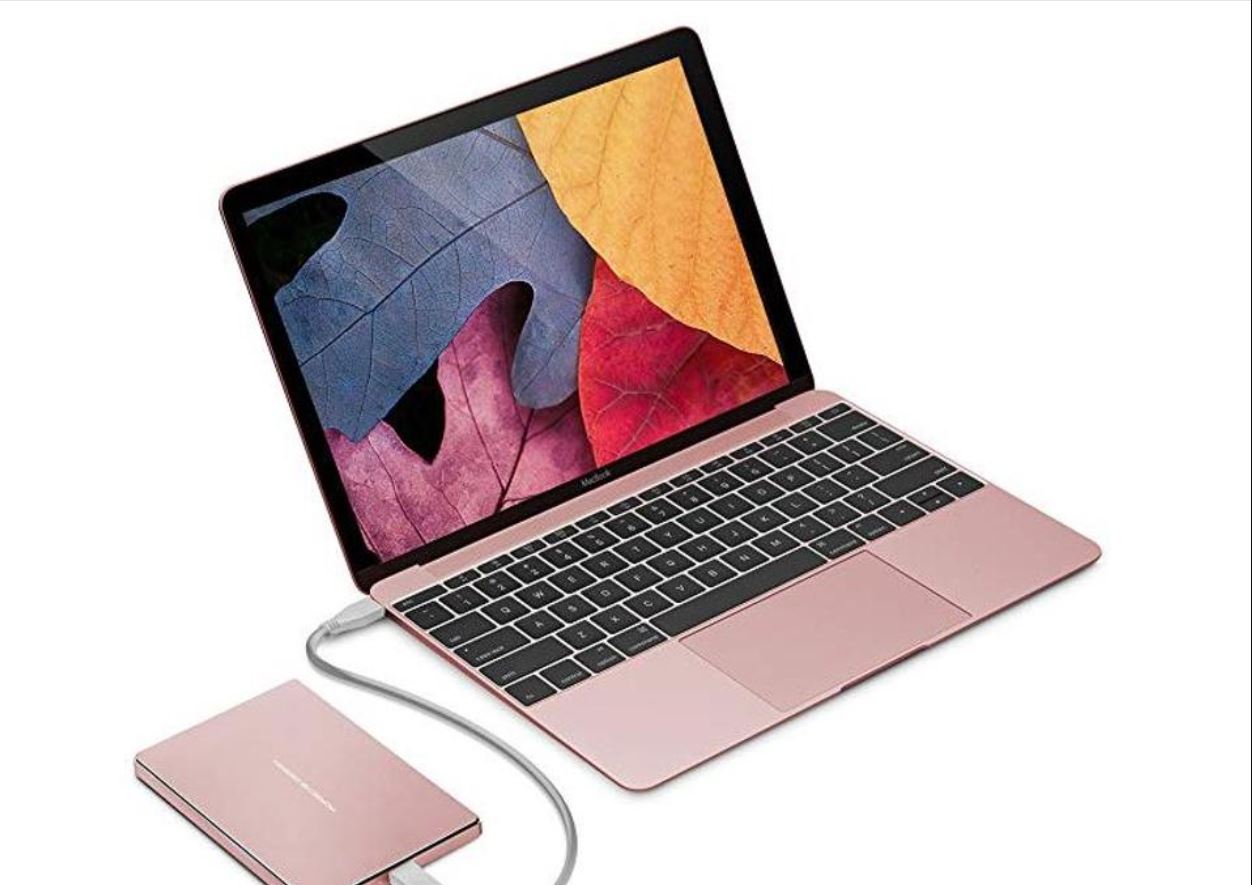
- Connect the cable: Take the cable that came with your external hard drive and insert it into the corresponding port on your Mac. Make sure it is securely plugged in to establish a stable connection.
- Power on the external hard drive: If your external hard drive requires a power source, ensure that it is properly connected to an electrical outlet and powered on. Some external hard drives may receive power directly from the Mac through the cable, eliminating the need for a separate power source.
- Wait for recognition: Once the external hard drive is connected and powered on, your Mac should recognize it. You may see a notification or icon on your desktop indicating the presence of the external device.
- Verify the connection: To confirm that your Mac recognizes the external hard drive, you can go to Finder and look for the drive listed in the sidebar under “Devices” or “External Drives.” You can also open Disk Utility to see if the external hard drive appears in the list of available devices.
If you have successfully connected the external hard drive to your Mac and it is being recognized, you are now ready to proceed with the next step of copying your Mac hard drive. In the upcoming sections, we will explore different methods to carry out this task. In Part 3, we will discuss how to use Time Machine, the built-in backup feature, to copy your Mac hard drive to the external device.
Part 3: Using Time Machine to Copy the Mac Hard Drive
Time Machine is a built-in backup feature on Mac that allows you to easily copy your Mac hard drive to an external hard drive. Follow the steps below to use Time Machine for the copying process:
- Open System Preferences: Click on the Apple menu in the top left corner of your screen and select “System Preferences” from the dropdown menu.
- Access Time Machine settings: In the System Preferences window, click on the Time Machine icon to open the Time Machine preferences.
- Connect the external hard drive: If you haven’t already done so, connect your external hard drive to your Mac following the instructions outlined in Part 2.
- Select backup disk: In the Time Machine preferences, you should see the external hard drive listed as an available option for the backup destination. Click on the “Select Disk” button to choose the external hard drive.
- Start Time Machine backup: Once you have selected the external hard drive, click on the “On” button to activate Time Machine. Your Mac will start the initial backup process, which may take some time depending on the size of your hard drive.
- Keep the backup connected: For Time Machine to continuously backup your Mac, it is important to leave the external hard drive connected whenever possible. Time Machine will automatically back up your Mac at regular intervals and store the backups on the external hard drive.
- Accessing Time Machine backups: To access your Time Machine backups, click on the Time Machine icon in the menu bar at the top of your screen. You can then navigate through different backups by scrolling through the timeline on the right side of the screen.
With Time Machine, you can have a complete copy of your Mac hard drive stored on the external hard drive, including all your files, applications, and system settings. This method allows for easy restoration of files or even the entire Mac system in case of data loss or hardware failure. In the next section, we will explore another method to copy your Mac hard drive using Disk Utility.
Part 4: Copying the Mac Hard Drive with Disk Utility
If you prefer a more direct approach to copying your Mac hard drive, you can use Disk Utility, a built-in utility on macOS. Follow the steps below to copy your Mac hard drive using Disk Utility:
- Open Disk Utility: Launch Spotlight by pressing Command + Space and type “Disk Utility.” Click on the Disk Utility app that appears in the search results to open it.
- Select the Mac hard drive: In Disk Utility, you will see a list of drives and volumes. Select your Mac hard drive from the list, typically named “Macintosh HD” or something similar.
- Click on “Restore”: Click on the “Restore” tab in the Disk Utility toolbar at the top of the window.
- Select the external hard drive: In the “Restore” tab, you will see two fields: “Source” and “Destination.” Drag and drop your Mac hard drive (the source) into the “Source” field. Then, drag and drop the external hard drive (the destination) into the “Destination” field.
- Start the restoration: Double-check that the source and destination are correct, as the restoration process will overwrite the destination drive. Once you are sure, click on the “Restore” button to begin the copying process. This may take some time depending on the size of your Mac hard drive.
- Verify the copy: Once the restoration is complete, Disk Utility will display a notification. You can then go to Finder and navigate to the external hard drive to verify that the copy of your Mac hard drive is successfully transferred.
Using Disk Utility to copy your Mac hard drive provides a bit more control over the process compared to using Time Machine. This method is preferred if you want to create a bootable copy of your Mac hard drive or perform a complete migration to a new computer. However, keep in mind that the copy created through Disk Utility may not include incremental backups or time-based snapshots like Time Machine.
In the next section, we will explore the option of manually copying files from your Mac hard drive to the external hard drive, which gives you more flexibility in choosing specific files and folders to copy.
Part 5: Manually Copying Files to the External Hard Drive
If you prefer a more hands-on approach and want greater control over the files and folders you copy, you can choose to manually copy your Mac hard drive to the external hard drive. Follow the steps below to manually copy files:
- Open Finder: Launch Finder by clicking on the Finder icon in the dock or by pressing Command + Space and typing “Finder” in Spotlight search.
- Navigate to your Mac hard drive: In the Finder window, locate your Mac hard drive in the sidebar under “Devices” or “Locations.” Click on it to reveal the contents.
- Select files and folders: Browse through your Mac hard drive and select the files and folders you want to copy. You can hold down the Command key while clicking to select multiple items, or use Command + A to select everything.
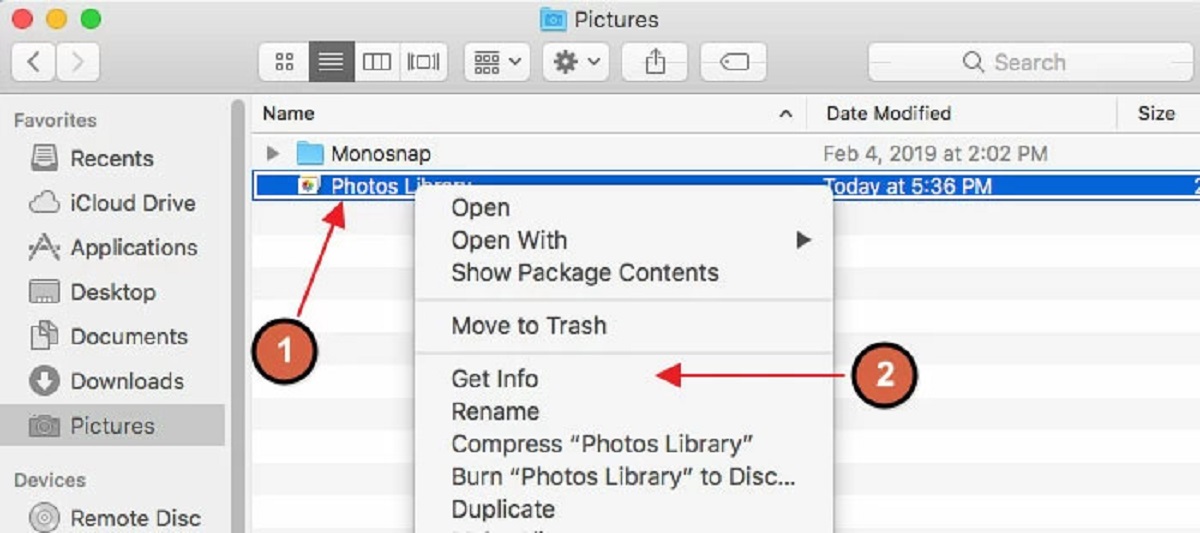
- Copy the selected items: Right-click on the selected items and choose “Copy” from the contextual menu. Alternatively, you can use the Command + C shortcut to copy the items.
- Navigate to the external hard drive: Go back to the Finder window and locate the external hard drive in the sidebar. Click on it to open the drive.
- Paste the copied items: Right-click on an empty area within the external hard drive window and choose “Paste” from the contextual menu. Alternatively, you can use the Command + V shortcut to paste the items.
- Monitor the copying process: Depending on the size and number of files, the copying process may take some time. Monitor the progress in the Finder window or by looking at the progress bar if it appears.
- Verify the copied files: Once the copying process is complete, navigate to the external hard drive and check that the files and folders are successfully copied. You can open them to ensure they are intact.
Manually copying files provides you with the flexibility to choose specific files and folders to transfer to the external hard drive. This method is beneficial if you only need to copy a select few items or if you want to organize the files on the external drive in a specific manner.
By following the steps outlined in this guide, you now have several methods to choose from for copying your Mac hard drive to an external hard drive. Evaluate your needs and preferences to determine which method is best suited for you. Whether you opt for Time Machine, Disk Utility, or manual file copying, having a copy of your Mac hard drive on an external device ensures the security and accessibility of your important data.
Conclusion
Copying your Mac hard drive to an external hard drive is crucial for safeguarding your valuable data, ensuring its accessibility, and providing you with peace of mind. In this guide, we explored different methods to accomplish this task: using Time Machine, utilizing Disk Utility, and manually copying files. Each method offers its own advantages and can be chosen based on your specific needs and preferences.
If you want an automated and continuous backup solution, Time Machine is a great option. It provides incremental backups and allows for easy restoration of files or even your entire Mac system. By following the steps outlined in Part 3, you can set up Time Machine to copy your Mac hard drive to an external hard drive effortlessly.
For those who prefer a more direct approach, Disk Utility, as discussed in Part 4, allows you to create a bootable copy of your Mac hard drive or perform a complete migration to a new computer. This method provides more control over the process and is ideal for those who require a bit more flexibility.
If you want the freedom to choose specific files and folders to copy, you can opt for manual file copying, as demonstrated in Part 5. This method gives you complete control over what you want to transfer to the external hard drive, allowing for a more customized approach.
Remember, regardless of the method you choose, it is essential to properly prepare the external hard drive and securely connect it to your Mac, as outlined in Part 1 and Part 2. This ensures a smooth and successful copying process.
Now that you have a comprehensive understanding of the different methods available, take the time to assess your requirements and decide which approach is most suitable for you. By having a copy of your Mac hard drive on an external device, you can protect your important data, have a backup in case of emergencies or system failures, and enjoy the convenience of accessing your files anytime, anywhere.
Take advantage of the information provided in this guide to safeguard your data and enjoy the added convenience that comes with having a copy of your Mac hard drive on an external hard drive.