Introduction
Welcome to this guide on how to copy files from your Mac to an external hard drive. Whether you need to free up space on your computer or create a backup of important files, transferring them to an external hard drive is a reliable and convenient solution. In this article, we will walk you through the step-by-step process to copy files from your Mac to an external hard drive.
Using an external hard drive not only provides extra storage space but also allows you to access your files on different devices. It serves as an excellent backup option, protecting your valuable data from potential loss or damage. Whether you’re a student, professional, creative, or simply someone who wants to organize their files, learning how to copy files to an external hard drive is a valuable skill.
Copying files from your Mac to an external hard drive is a straightforward process. You’ll need to connect the external hard drive to your Mac and use the Finder application to locate and select the files you want to copy. Once selected, you can easily copy and paste them onto your external hard drive. It’s important to ensure that you properly eject the external hard drive from your Mac to avoid data loss or corruption.
In this guide, we’ll cover each step in detail, providing clear instructions to help you successfully copy files from your Mac to an external hard drive. Whether you’re a beginner or experienced Mac user, this guide aims to make the process simple and easy to follow.
So, let’s dive in and learn how to copy your files from your Mac to an external hard drive in just a few simple steps!
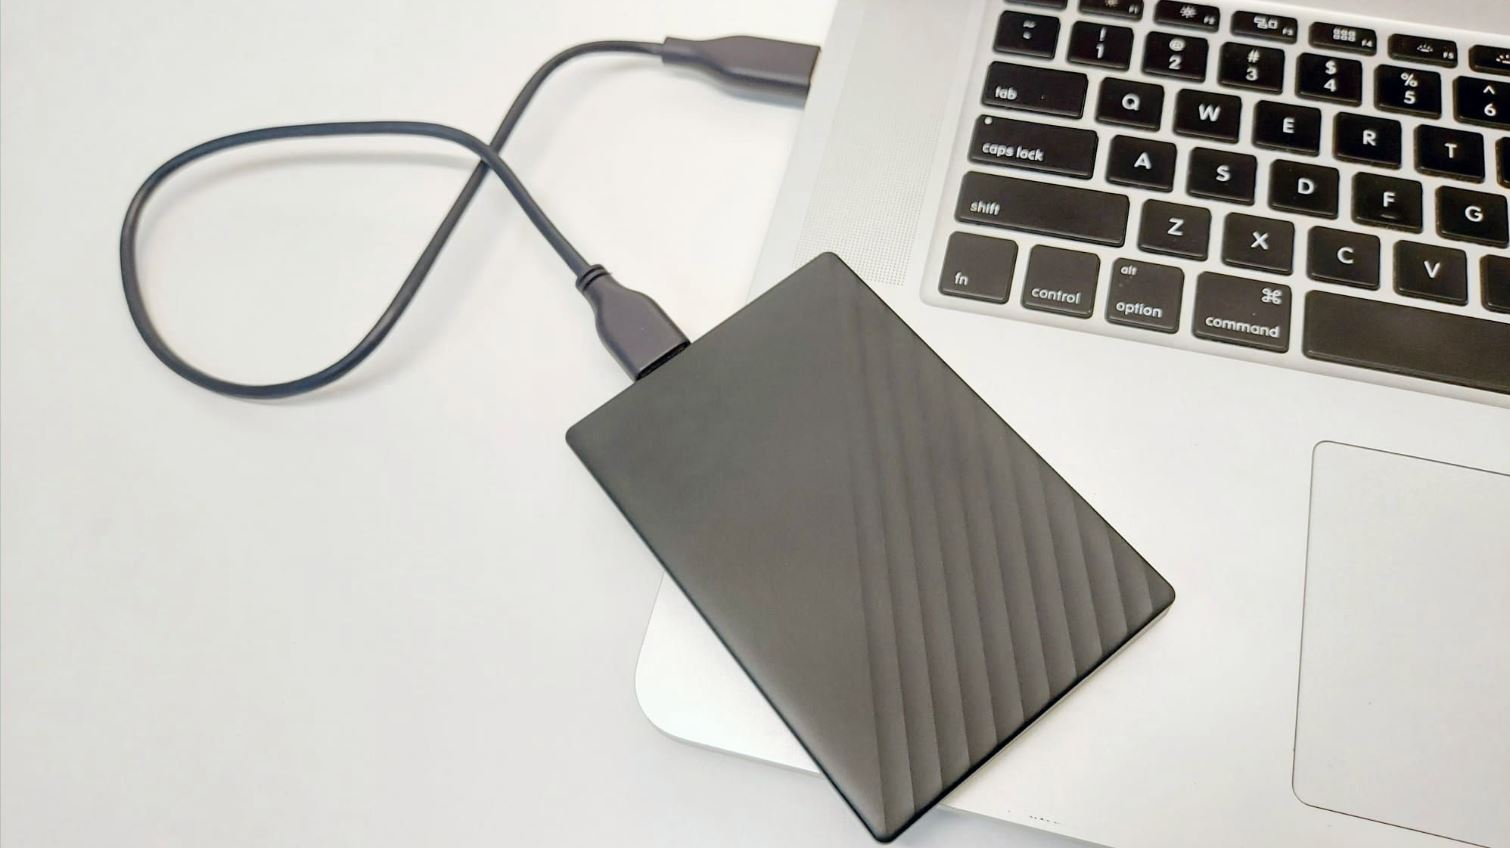
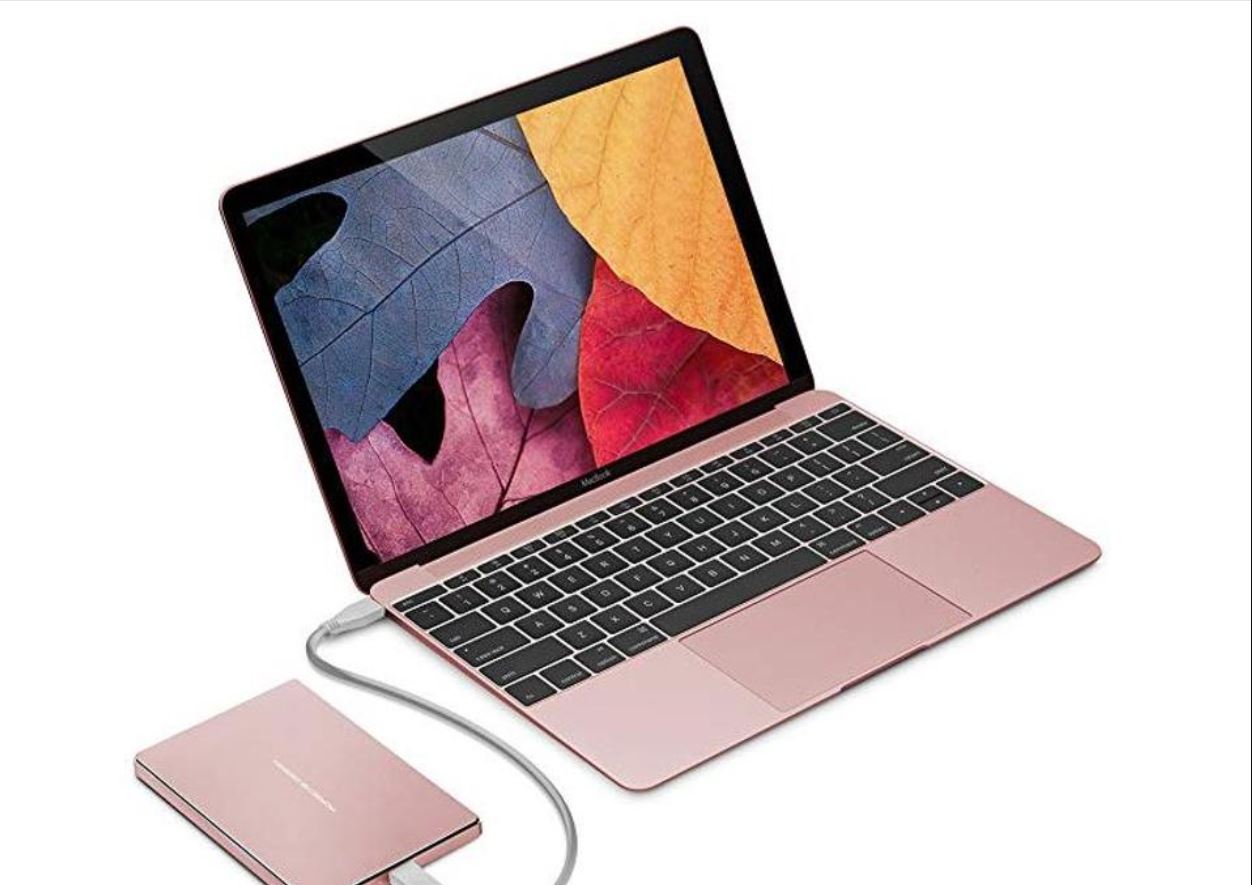
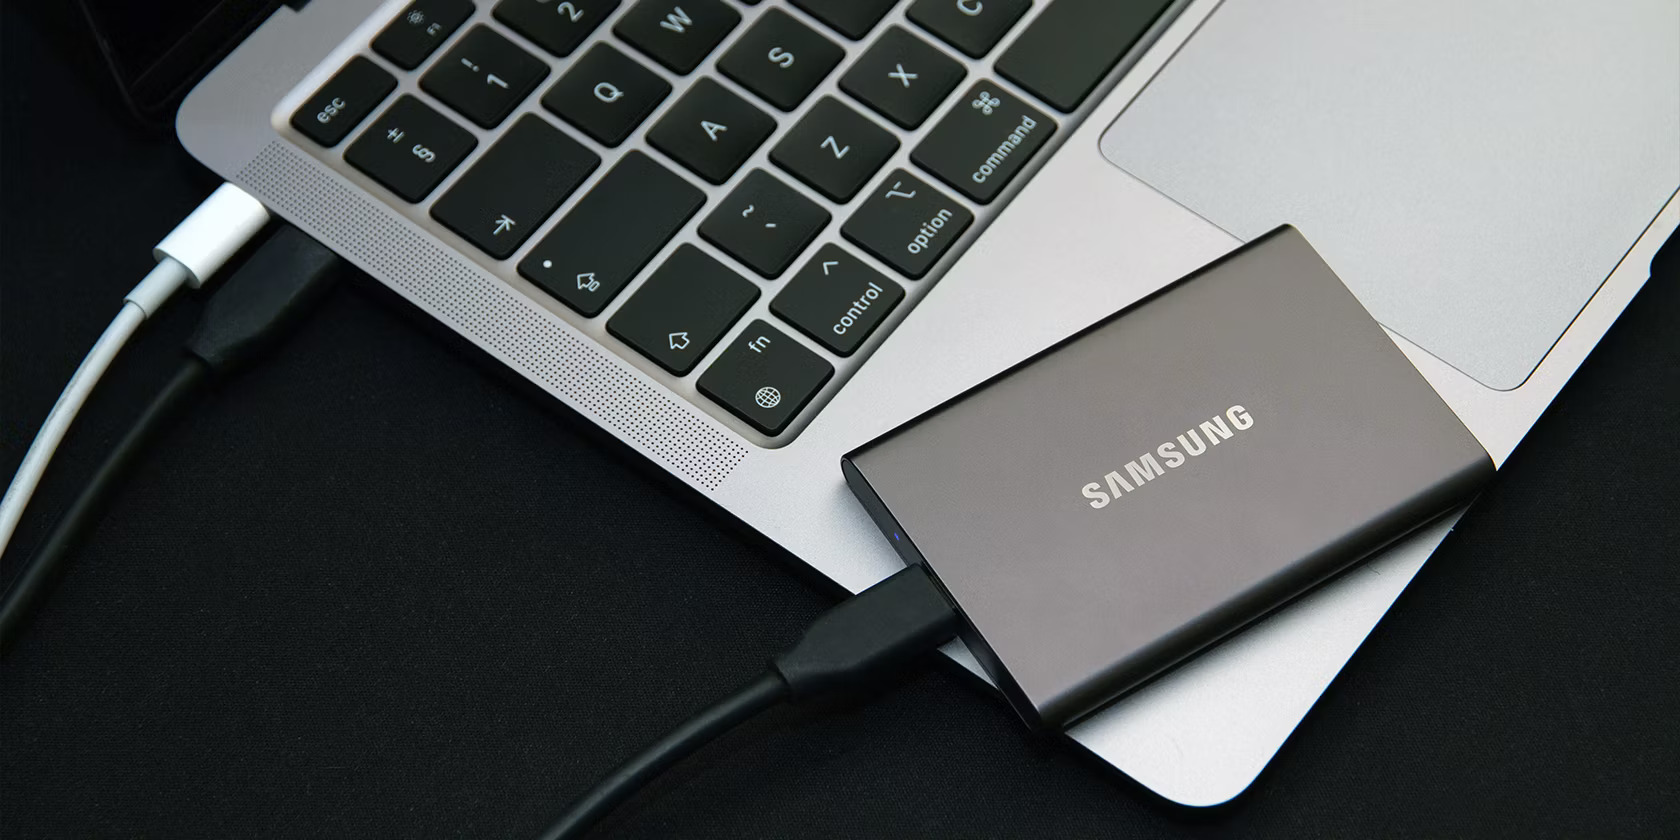
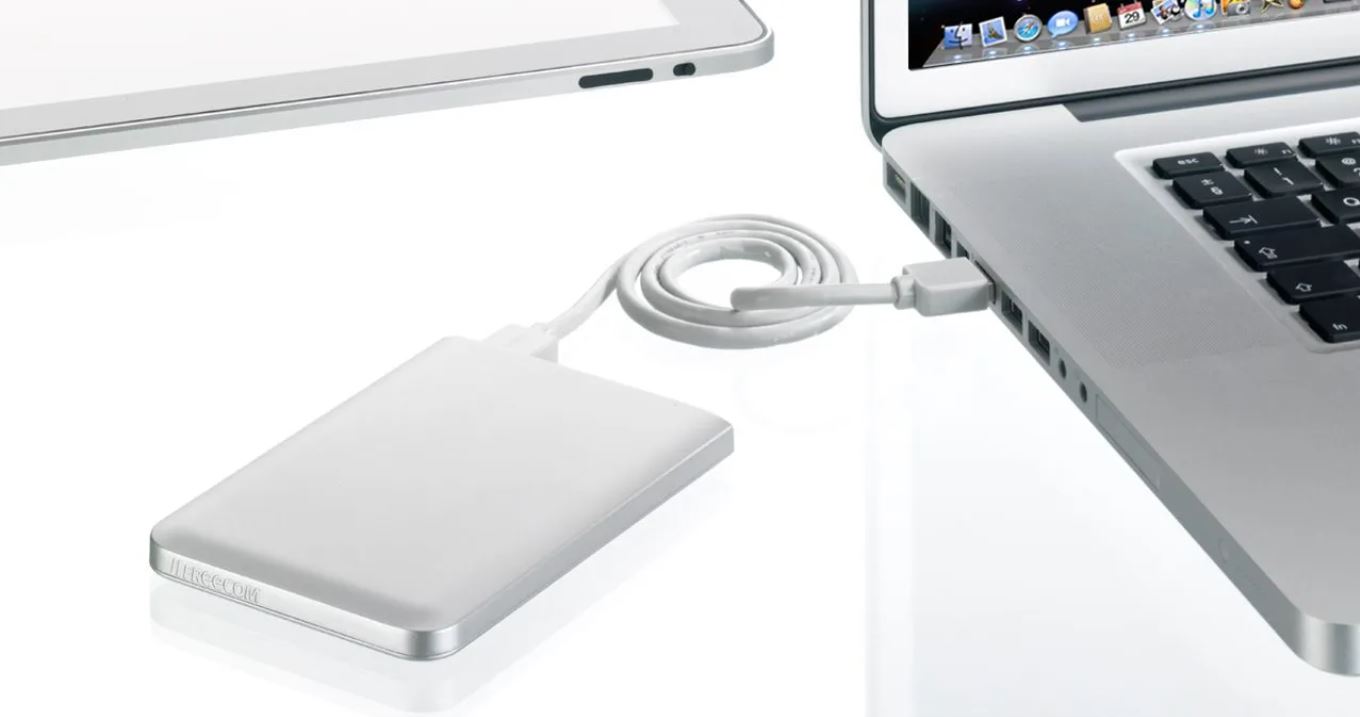
Step 1: Connect your external hard drive to your Mac
The first step in copying files from your Mac to an external hard drive is to physically connect the external hard drive to your computer. Follow these simple instructions:
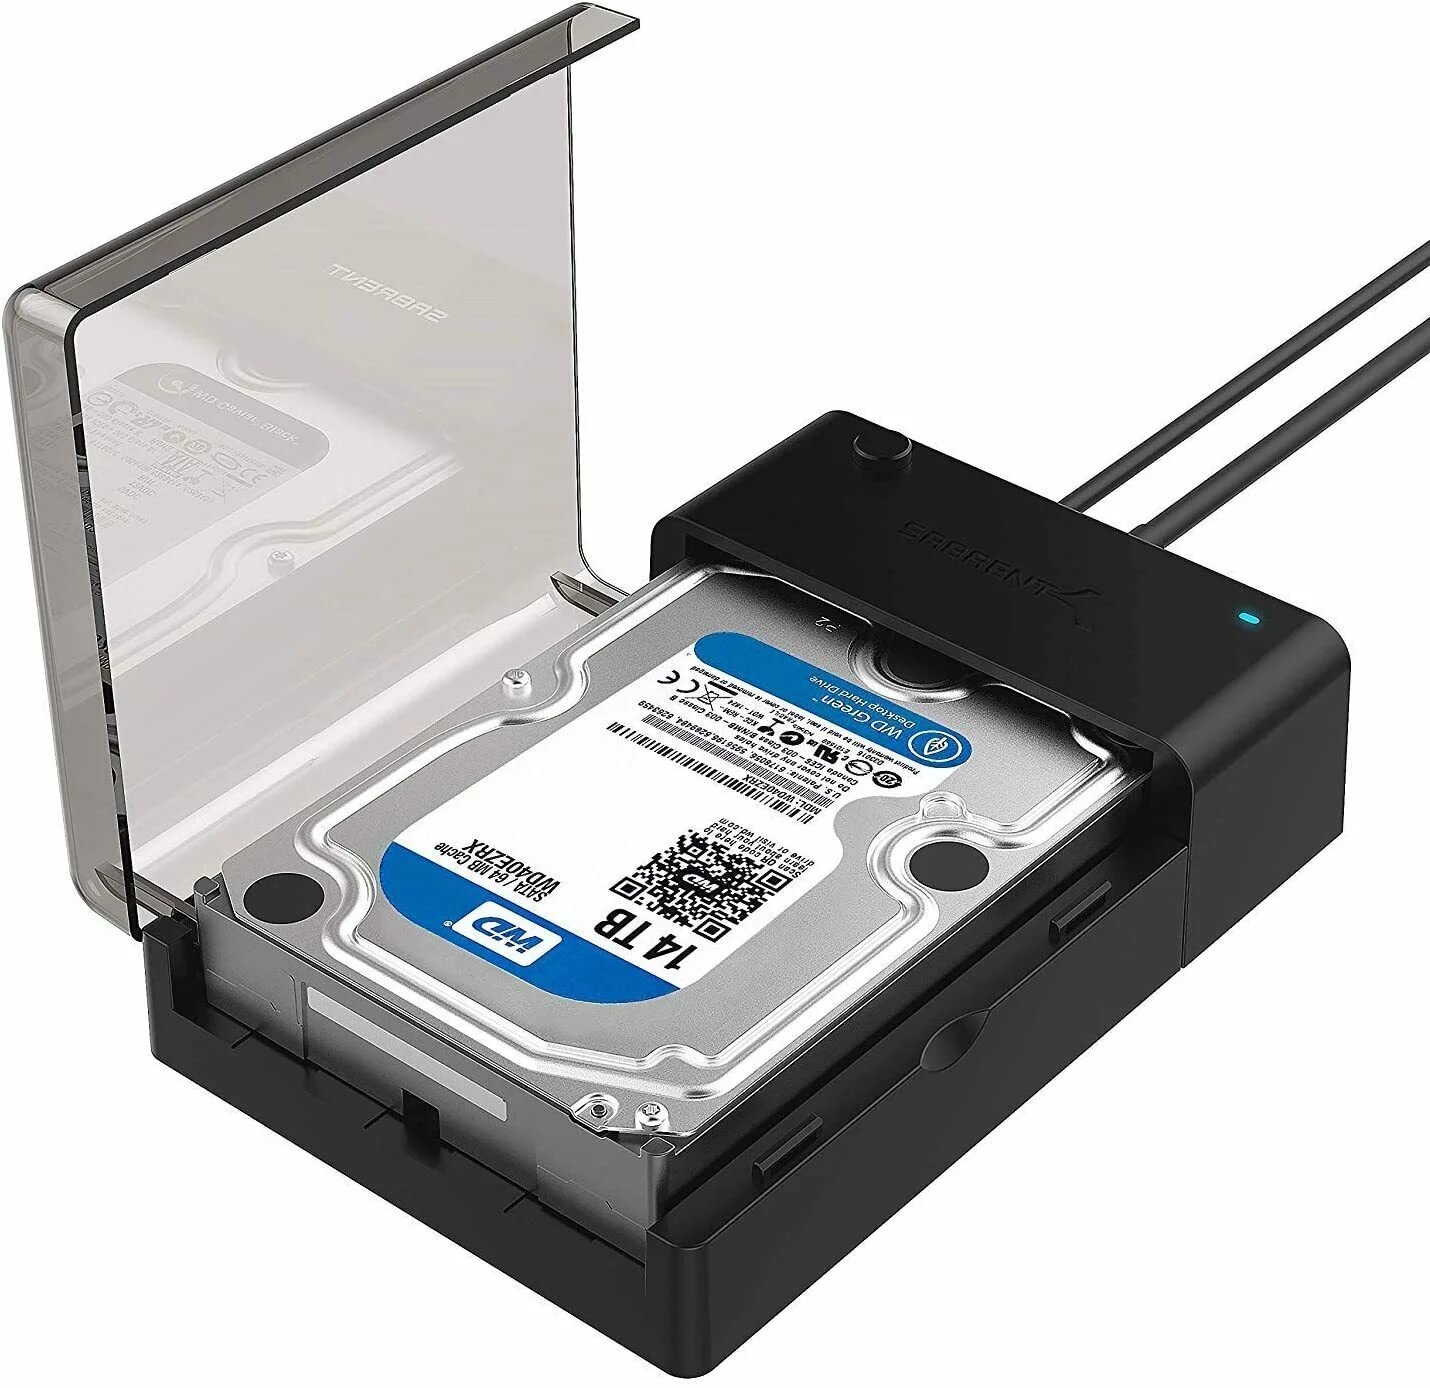
- Check the compatibility: Make sure that your external hard drive is compatible with your Mac. Most modern external hard drives support both Mac and Windows operating systems, but it’s always a good idea to double-check the compatibility.
- Locate the appropriate port: Depending on the model of your Mac and the type of external hard drive you have, you may need to use a USB, Thunderbolt, or FireWire port. Locate the appropriate port on your Mac for connecting the external hard drive.
- Connect the cable: Take the cable that came with your external hard drive and plug one end into the appropriate port on your Mac. Plug the other end of the cable into the port on the external hard drive.
- Power up the external hard drive: Some external hard drives require an external power source, while others are bus-powered and draw power from the computer itself. If your external hard drive requires external power, make sure it is plugged into a power source and turned on.
- Wait for the connection: Your Mac should recognize the external hard drive and establish a connection. Give it a few moments to detect the drive and mount it on your computer.
Once your external hard drive is successfully connected to your Mac, you can proceed to the next step of copying your files. Continue reading to learn how to navigate through your files and select the ones you want to copy.
Step 2: Open Finder on your Mac
After connecting your external hard drive to your Mac, you’ll need to open the Finder application to navigate through your files and locate the ones you want to copy. The Finder is the default file manager on macOS and allows you to easily access and manage your files. Here’s how to open Finder on your Mac:
- Click on the desktop: If you’re currently viewing a different application or window, click on an empty area of your desktop. This ensures that you’re working in the Finder environment.
- Click on the Finder icon in your Dock: The Finder icon resembles a blue and white smiling face. It’s usually located along the bottom of your screen in the Dock. Clicking on the icon will open a new Finder window.
- Use the keyboard shortcut: Alternatively, you can use the keyboard shortcut to open Finder. Simply press the Command (⌘) key and the Space bar simultaneously to trigger Spotlight. Type “Finder” in the search bar, and then press Enter.
Once Finder is open, you’ll see a window with various options and locations listed on the left-hand side. This allows you to easily navigate through your Mac’s file system and find the files you want to copy. Take a moment to familiarize yourself with the Finder window, including the sidebar, toolbar, and file hierarchy.
The sidebar in Finder provides quick access to commonly used locations, such as your desktop, Documents folder, and external hard drives. You can also customize the sidebar to include specific folders or remove unnecessary ones. The toolbar offers additional options for managing your files, such as creating new folders, sorting files by different criteria, and more.
Now that you have opened Finder on your Mac, you’re ready to locate the files you want to copy. The next step will guide you through the process of finding and selecting the files you wish to transfer to your external hard drive. Keep reading to learn more!
Step 3: Locate the files you want to copy
Now that you have Finder open on your Mac, it’s time to locate the files you want to copy to your external hard drive. Whether you’re looking for documents, photos, videos, or any other type of file, Finder provides a convenient way to navigate through your Mac’s file system. Here’s how to locate the files you want to copy:
- Navigate through folders: Click on the desired location in the sidebar of the Finder window to access the corresponding folder. For example, if the files you want to copy are located in the Documents folder, simply click on “Documents” in the sidebar.
- Search for specific files: If you’re looking for specific files, you can use the search bar located in the upper-right corner of the Finder window. Simply enter the name or keywords related to the files you’re searching for, and Finder will display the matching results.
- View files in different formats: Finder allows you to choose different view options to suit your preferences. You can switch between Icon view, List view, Column view, or Gallery view using the icons in the toolbar at the top of the Finder window. Experiment with these options to find the one that works best for you.
Once you have located the files you want to copy, it’s time to select them. In the next step, we will guide you through the process of selecting files in Finder, making it easy to choose the specific items you want to transfer to your external hard drive. Stay tuned!
Step 4: Select the files you want to copy
Now that you have located the files you want to copy in Finder, it’s time to select them for the copying process. By selecting specific files, you can ensure that only the desired items are transferred to your external hard drive. Here’s how to select the files you want to copy:
- Click on a single file: To select a single file, simply click on it once. The selected file will be highlighted, indicating that it has been chosen for copying.
- Click and drag to select multiple files: If you want to select multiple files that are located in a consecutive order, you can click and drag your cursor over the files. As you drag the cursor, a colored selection box will appear, indicating the area that will be selected. Release the cursor to finalize the selection.
- Select non-consecutive files: If you need to select files that are not located in a consecutive order, hold down the Command (⌘) key on your keyboard while clicking on each file individually. This allows you to select multiple files that are spread out across different locations.
While selecting files, you can also use additional features such as the Shift key and the Select All option, depending on your specific needs. The Shift key allows you to select a range of files by clicking on the first file, holding down Shift, and then clicking on the last file in the desired range. The Select All option, which can be accessed from the Edit menu or by pressing Command (⌘) + A, selects all the files in the current location.
Once you have selected the files you want to copy, they will be ready for the next step in the process. In the following step, we will guide you through the process of copying the selected files from your Mac to your external hard drive. Let’s keep moving forward!
Step 5: Copy the selected files
Now that you have selected the files you want to copy, it’s time to proceed with the actual copying process. By copying the selected files, you’ll be able to transfer them from your Mac to your external hard drive. Follow these steps to copy the selected files:
- Right-click on any of the selected files: Place your cursor over one of the selected files and right-click on it. A contextual menu will appear.
- Select the “Copy” option: From the contextual menu, hover your mouse over the “Copy” option. Click on it to initiate the copying process.
Alternatively, you can use the keyboard shortcut by holding down the Command (⌘) key and pressing the C key to copy the selected files.
After clicking on the “Copy” option or using the keyboard shortcut, the selected files will be copied to the clipboard. This means that the files are stored temporarily in your Mac’s memory, ready to be pasted onto the external hard drive.
Now that you have successfully copied the selected files, it’s time to navigate to your external hard drive in Finder and paste them onto it. In the next step, we will guide you through the process of accessing your external hard drive in Finder and pasting the copied files. Stay with us to complete the copying process!
Step 6: Navigate to your external hard drive
After copying the files from your Mac, it’s time to navigate to your external hard drive in the Finder application. This will allow you to access the storage space on your external hard drive and paste the copied files onto it. Follow these steps to navigate to your external hard drive:
- Open a new Finder window: To open a new Finder window, click on the Finder icon in your Dock or use the keyboard shortcut Command (⌘) + N.
- Locate your external hard drive: In the sidebar of the Finder window, you should see a list of locations, including your connected external hard drive(s). Look for the name or icon of your external hard drive and click on it to select and navigate to it.
If you don’t see your external hard drive listed in the sidebar, it may not have been mounted properly. Try disconnecting and reconnecting the external hard drive, or restarting your Mac if necessary.
Once you have successfully navigated to your external hard drive, you will see its contents displayed in the Finder window. This is where you will paste the copied files in the next step, continuing the process of transferring the files from your Mac to the external hard drive.
In the upcoming step, we will guide you through the process of pasting the copied files onto your external hard drive. Stay tuned and let’s continue with the copying process!
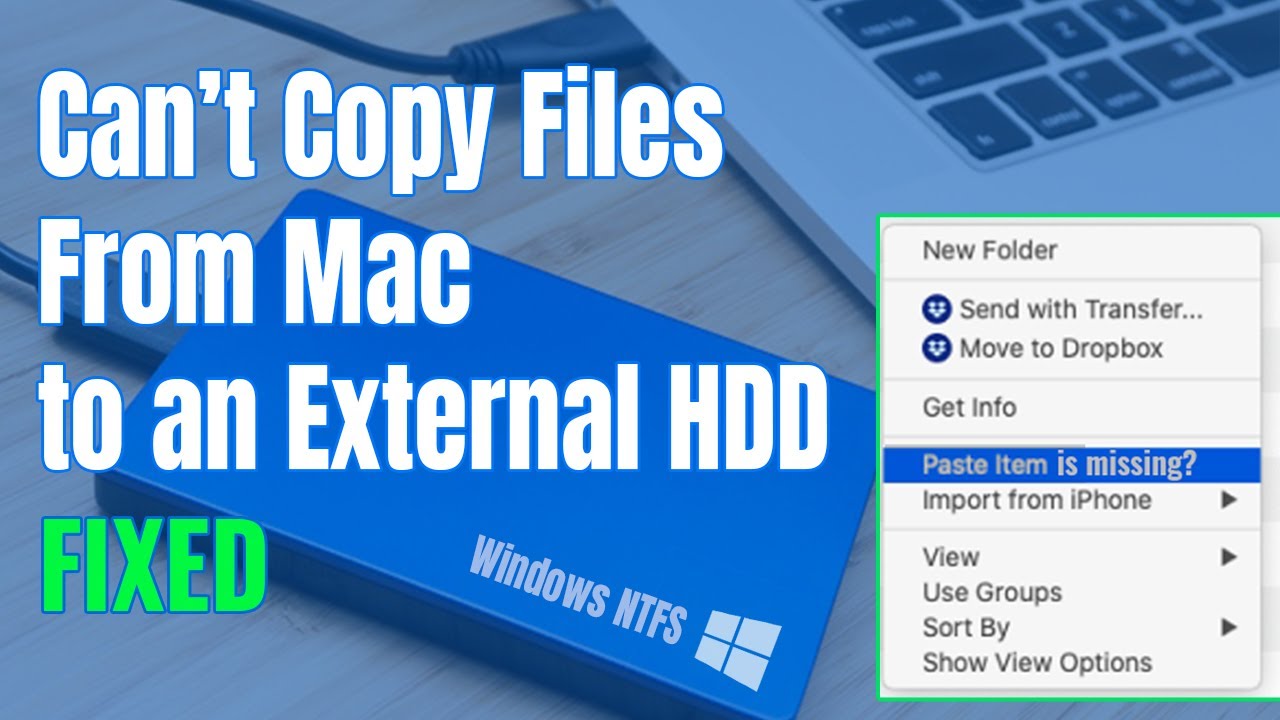
Step 7: Paste the copied files onto your external hard drive
Now that you have navigated to your external hard drive in the Finder application, it’s time to paste the copied files from your Mac onto the external hard drive. This will complete the process of transferring the files. Follow these steps to paste the copied files onto your external hard drive:
- Right-click on an empty space in the Finder window: Place your cursor on an empty area of the Finder window within your external hard drive’s location.
- From the contextual menu, select the “Paste” option: Right-clicking will bring up a menu of options. Hover your mouse over the “Paste” option and click on it.
You can also use the keyboard shortcut by holding down the Command (⌘) key and pressing the V key to paste the copied files onto your external hard drive.
After pasting, the copied files will be transferred to your external hard drive. The time it takes to complete the paste process depends on the number and size of the files you are copying.
Once the paste operation is complete, you will see the copied files appear within the window of your external hard drive. Congratulations! You have successfully transferred the files from your Mac to your external hard drive.
In the following step, we will cover the final aspects of the copying process, including waiting for the copying process to complete and safely ejecting your external hard drive from your Mac. Continue with us to ensure that your files are securely copied.
Step 8: Wait for the copying process to complete
After pasting the copied files onto your external hard drive, it’s important to allow some time for the copying process to complete. The duration of this process depends on the size and number of files being transferred. During this time, it’s crucial to be patient and avoid interrupting the process to ensure that all files are copied successfully. Here are a few things to keep in mind:
- Monitor the progress: If the Finder application provides a progress bar or status indicator, keep an eye on it to track the progress of the copying process. This can give you an estimate of how much time is remaining.
- Avoid interrupting the process: To ensure all files are successfully copied, refrain from moving or disconnecting the external hard drive or shutting down your Mac until the copying process is complete. Interrupting the process could result in incomplete or corrupted file transfers.
- Consider the file size and number: If you are transferring a large number of large files, the copying process may take a significant amount of time. Be patient and allow sufficient time for the process to finish.
While waiting for the copying process to complete, you can use this time to organize your files, clean up your Mac’s storage, or attend to other tasks. Just make sure not to interfere with the ongoing copying process.
Once the copying process is finished, you can proceed to the final step, which involves safely ejecting your external hard drive from your Mac. This step is crucial to prevent data loss or corruption. Let’s move on to the last step of the copying process!
Step 9: Safely eject your external hard drive from your Mac
After the copying process is complete, it’s important to safely eject your external hard drive from your Mac to ensure that all data is written and that the drive can be safely disconnected without any risk of data loss or corruption. Safely ejecting your external hard drive involves following these simple steps:
- Locate the external hard drive icon: Look for the icon representing your external hard drive on the desktop or in the Finder sidebar. It typically appears as a drive icon with the name of the device.
- Right-click on the external hard drive icon: Place your cursor on the external hard drive icon and right-click on it to bring up a contextual menu.
- Select the “Eject” option: From the contextual menu, hover your mouse over the “Eject” option and click on it. Alternatively, you can also click and drag the external hard drive icon to the Trash icon in the Dock to eject it.
Once you have ejected the external hard drive, a notification will appear on your Mac’s screen indicating that it is safe to disconnect the device. At this point, you can unplug the external hard drive from your Mac’s port or disconnect the power source if applicable.
Ejecting your external hard drive ensures that any pending read or write operations are completed, preventing data loss or damage. It also helps protect the integrity of your files and the external hard drive’s file system.
Remember, it is important to always eject your external hard drive before physically unplugging it from your Mac. Skipping this step could result in data corruption or loss, making it difficult to access your files in the future.
Congratulations! By following these steps and safely ejecting your external hard drive, you have successfully completed the process of copying files from your Mac to your external hard drive.
In this guide, we have covered the necessary steps to connect your external hard drive, open Finder, locate and select files, copy them, navigate to your external hard drive, paste the files, wait for the copying process to complete, and safely eject the external hard drive.
We hope this guide has been helpful in demonstrating how to copy files from your Mac to an external hard drive. This process offers a convenient way to free up space on your computer, create backups of important files, and access your data on different devices.
Remember, handling your files with care and following the proper procedures ensures the safety and integrity of your data. Happy file transfers!
Conclusion
Copying files from your Mac to an external hard drive is a simple and effective way to free up space on your computer, create backups, and securely store your important files. By following the step-by-step guide outlined in this article, you can successfully transfer files from your Mac to your external hard drive with ease.
We began by connecting the external hard drive to your Mac and opening the Finder application to navigate through your files. Locating and selecting the files you want to copy, you then proceeded to copy them to the clipboard. Navigating to your external hard drive in Finder, you pasted the copied files onto it, ensuring the successful transfer of your files.
After waiting for the copying process to complete, it is crucial to safely eject your external hard drive from your Mac to prevent any data loss or corruption. This final step ensures that all data has been written and that you can disconnect the device safely.
Remember, it’s important to exercise caution and follow the proper procedures while copying files and ejecting your external hard drive. Taking these precautions guarantees the integrity of your files and minimizes the risk of data loss.
Now that you have mastered the process of copying files from your Mac to an external hard drive, you can enjoy the benefits of extra storage space, data backup, and easy file access across different devices.
We hope that this guide has provided you with the knowledge and confidence to successfully copy files from your Mac to an external hard drive. Whether you are organizing your files, creating backups, or simply managing your data, this skill will prove to be invaluable.
Thank you for reading this guide, and we wish you success in all your file transfer endeavors!