Introduction
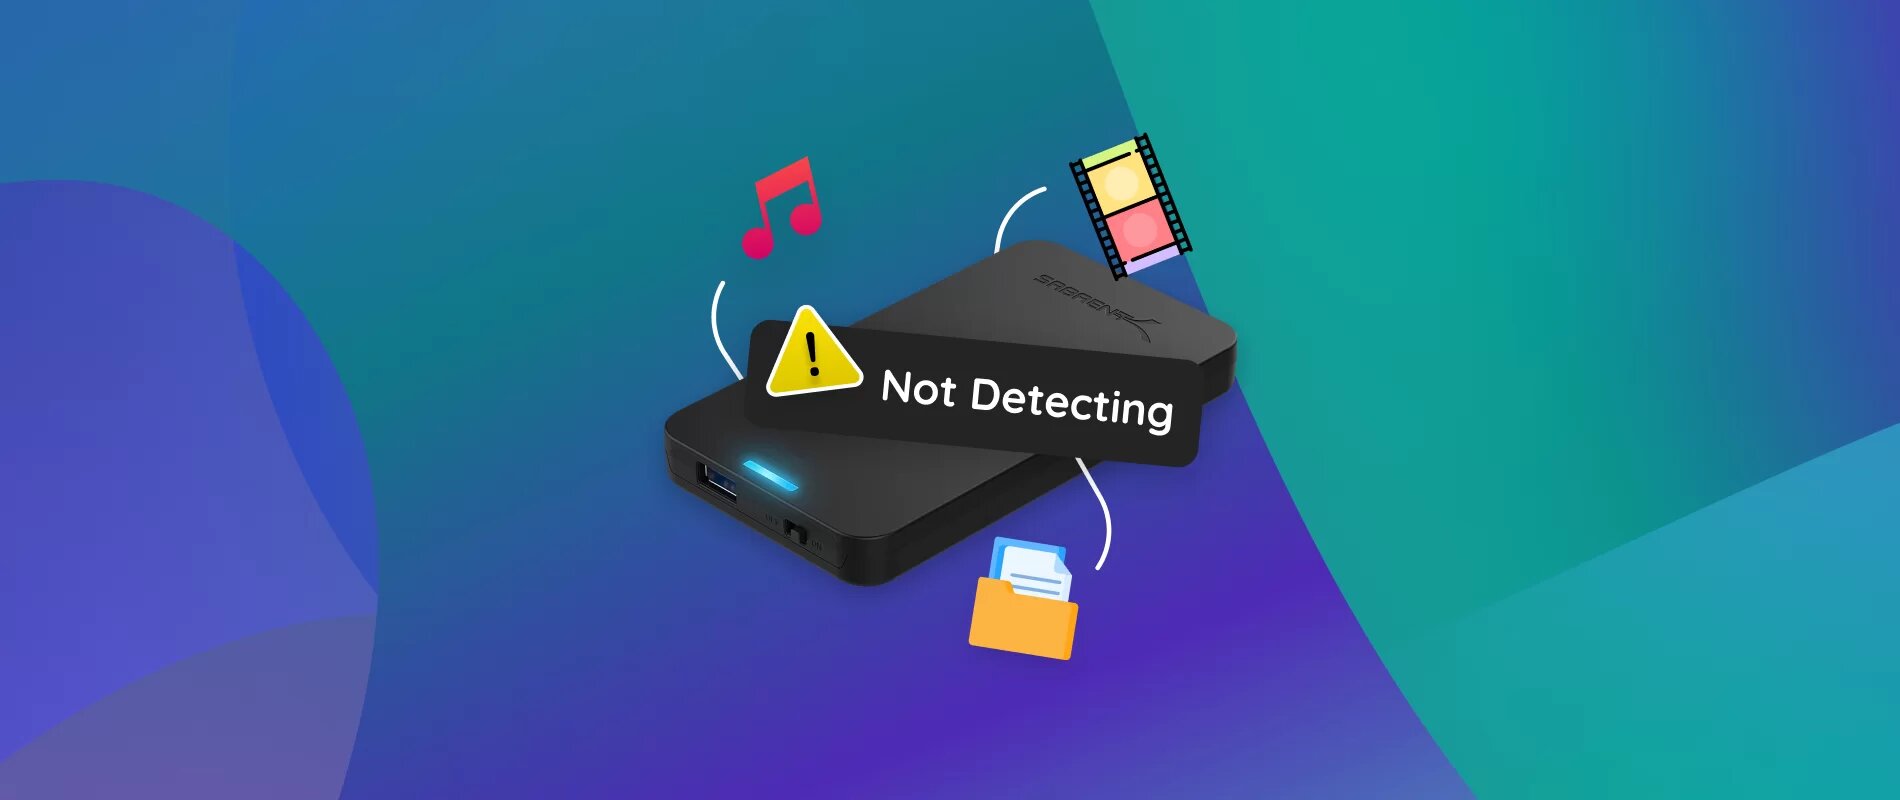
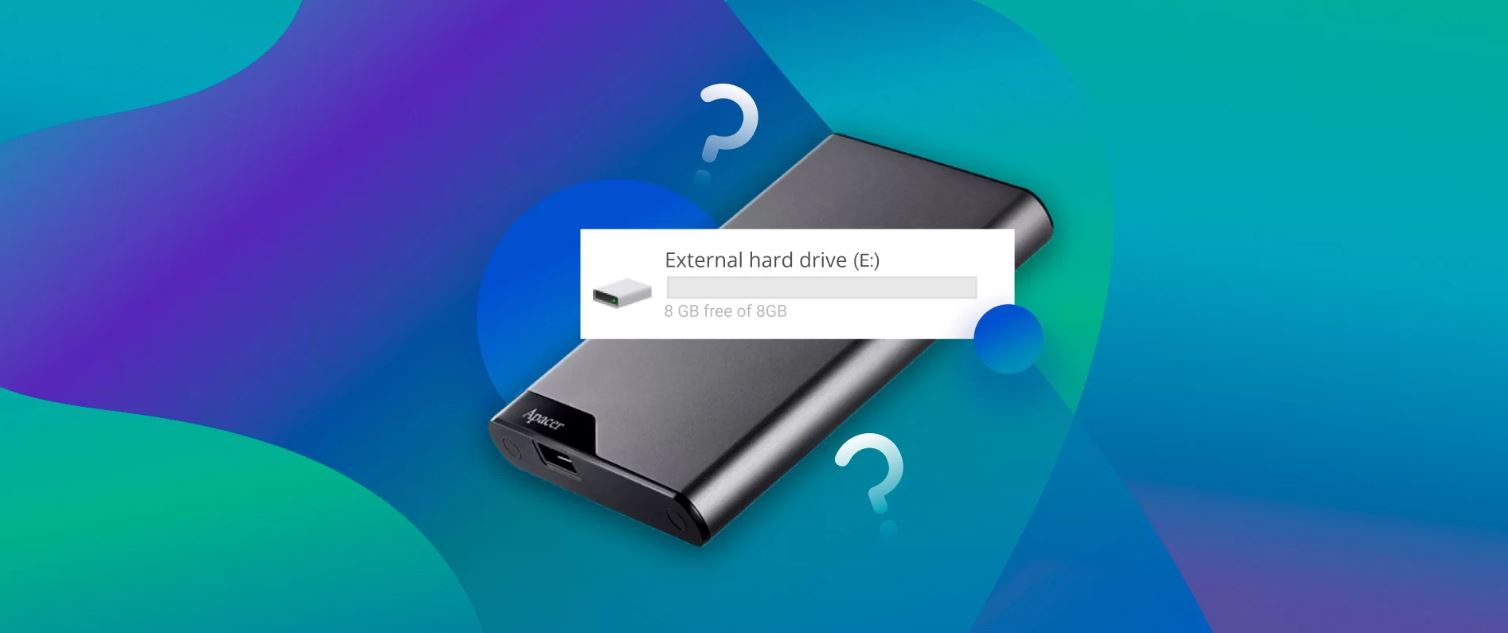
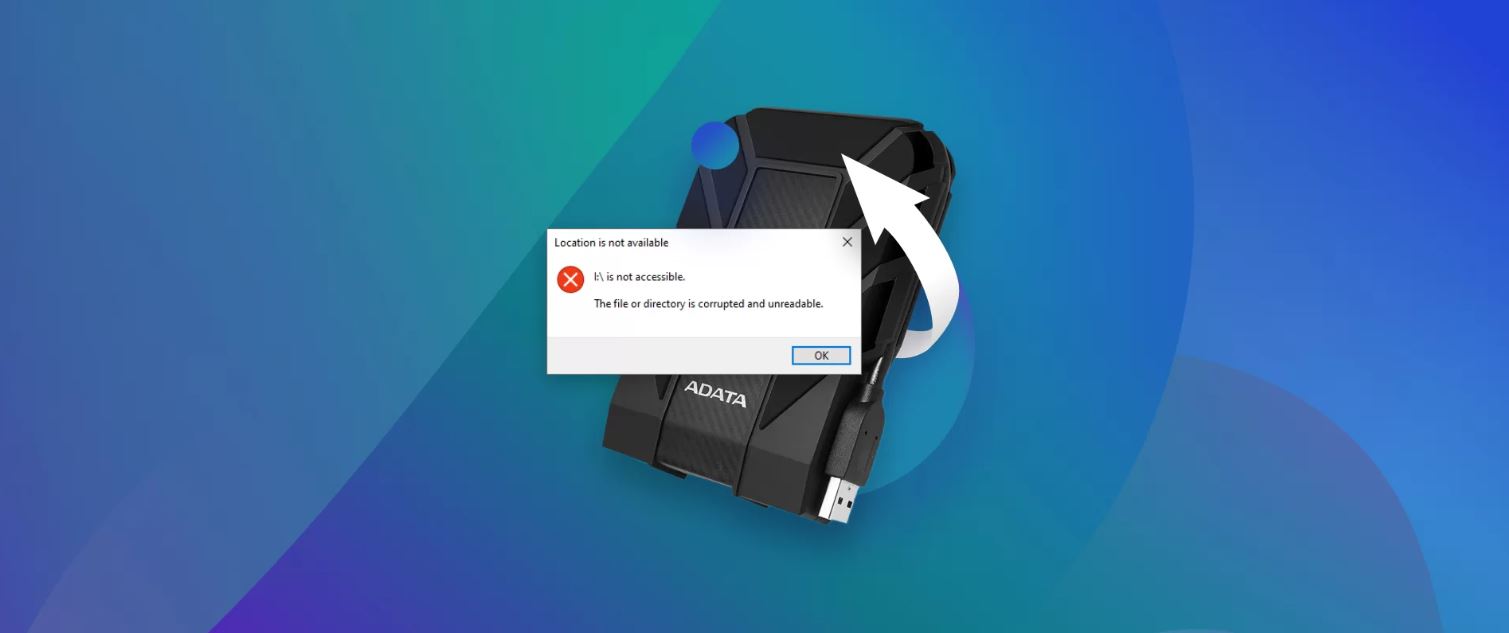
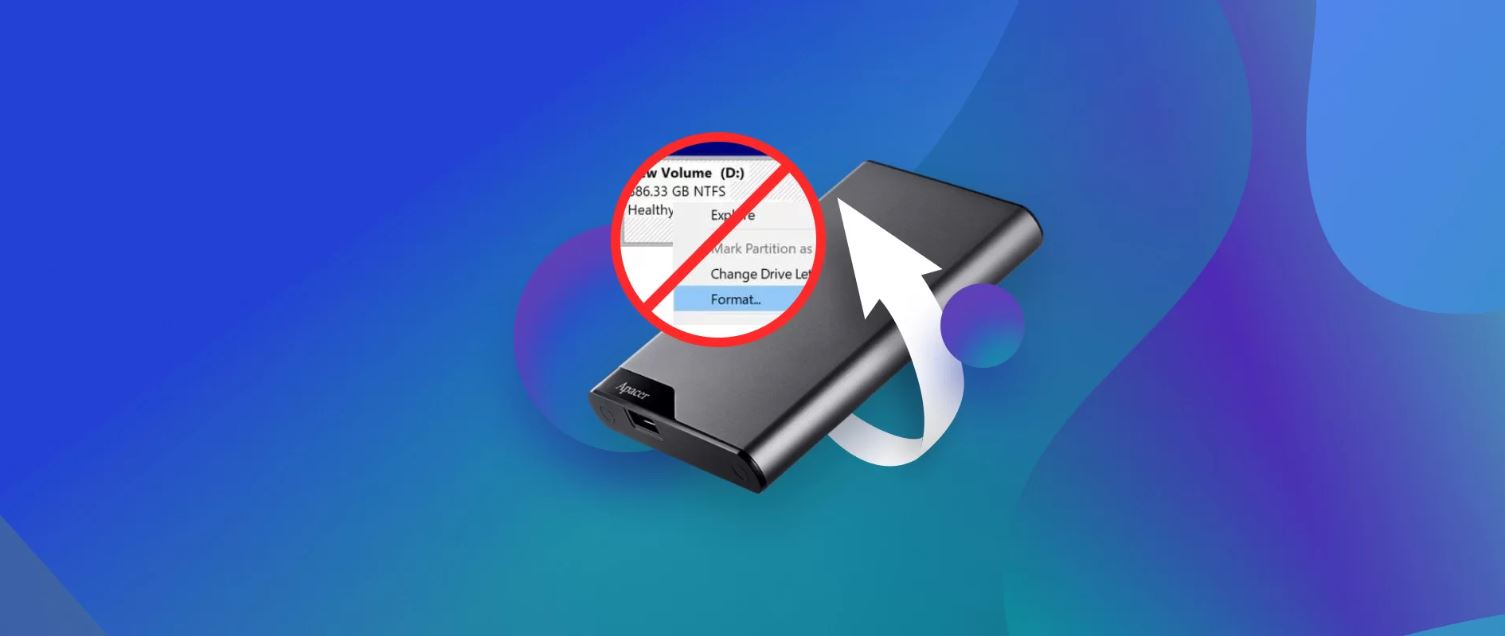
An external hard drive is a valuable device for storing important files and backups. However, there may be instances when your external hard drive starts to encounter issues, making it inaccessible or prompting you to format it. Formatting the drive can lead to data loss, so it’s crucial to explore alternative solutions before taking such a drastic step.
In this article, we will guide you through the process of fixing an external hard drive without formatting it. By following these steps, you can potentially resolve common issues and regain access to your precious data.
Before we delve into the solutions, it’s important to note that these methods are suitable for fixing minor software-related issues. If your external hard drive has undergone physical damage or is experiencing severe hardware malfunctions, it is best to consult a professional data recovery service.
Now, let’s proceed to the first step in fixing your external hard drive without formatting it: checking connections and updating drivers.
Step 1: Check Connections and Update Drivers
The first step in fixing your external hard drive is to ensure that all connections are properly secured. Unplug and reconnect the USB or power cables, making sure they are firmly inserted into the appropriate ports on both the hard drive and your computer. Sometimes, loose connections can cause communication issues between the devices.
Additionally, outdated or incompatible drivers can also lead to problems with your external hard drive. To update the drivers, follow these steps:
- Open the Device Manager by right-clicking on the Start menu and selecting “Device Manager.”
- Expand the “Disk drives” or “Universal Serial Bus controllers” category.
- Right-click on your external hard drive and select “Update driver.”
- Choose the option to search automatically for updated driver software.
- If a new driver is found, follow the on-screen instructions to install it.
Updating the drivers can potentially resolve compatibility issues and improve the performance of your external hard drive. After updating the drivers, disconnect and reconnect the hard drive to see if it is now recognized by your computer. If the issue persists, proceed to the next step.
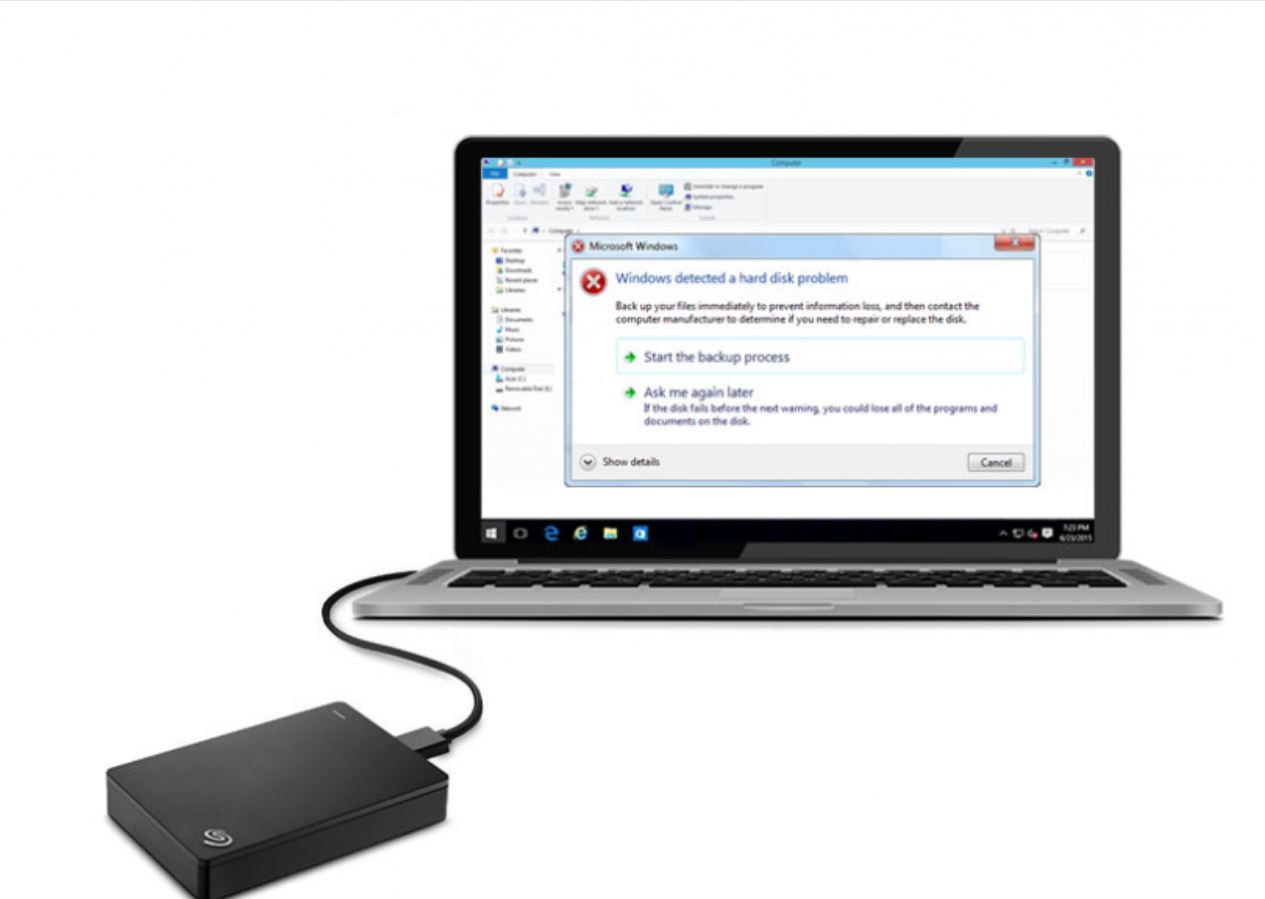
Step 2: Run Disk Check Utility
If your external hard drive is still not working properly, running a disk check utility can help identify and fix any errors on the drive. The disk check utility, also known as CHKDSK (Check Disk), is a built-in tool in Windows that scans and repairs file system issues on storage devices.
Follow these steps to run the disk check utility on your external hard drive:
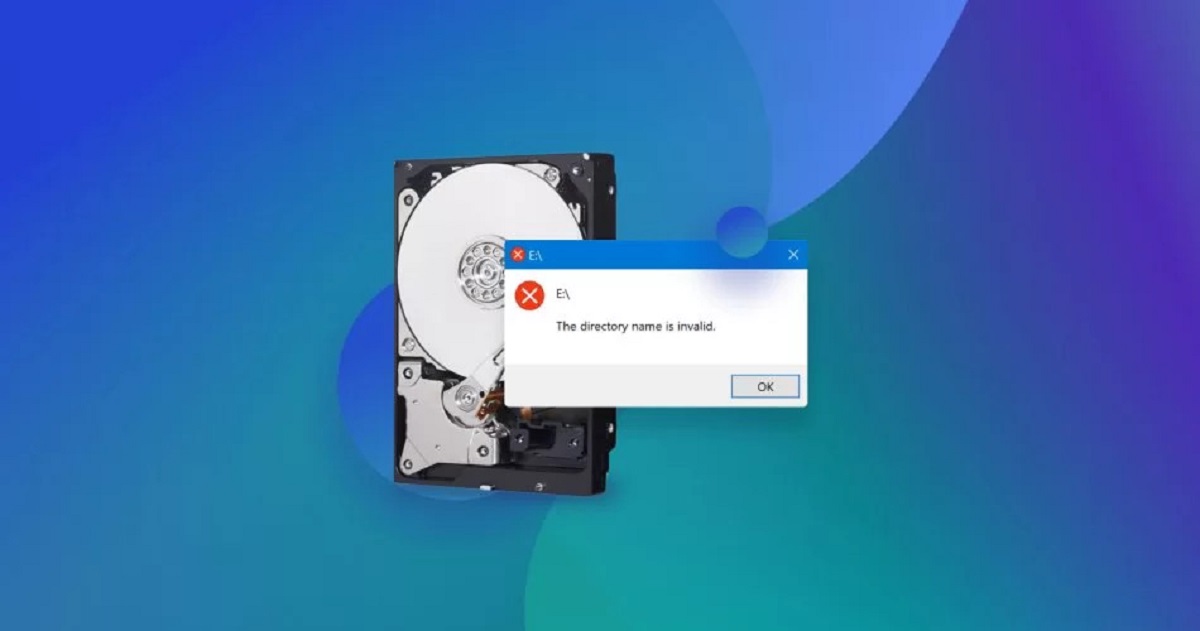
- Open File Explorer by pressing Windows key + E on your keyboard.
- Locate your external hard drive under “This PC” or “My Computer.”
- Right-click on the drive and select “Properties” from the context menu.
- In the Properties window, navigate to the “Tools” tab.
- Under the “Error checking” section, click on the “Check” button.
- A dialog box will appear asking you to schedule the disk check. Select the option to scan and repair the drive.
- Click on “Start” to initiate the disk check process. Depending on the size and condition of your hard drive, this process may take some time.
Once the disk check is complete, check if the issues with your external hard drive have been resolved. If not, proceed to the next step.
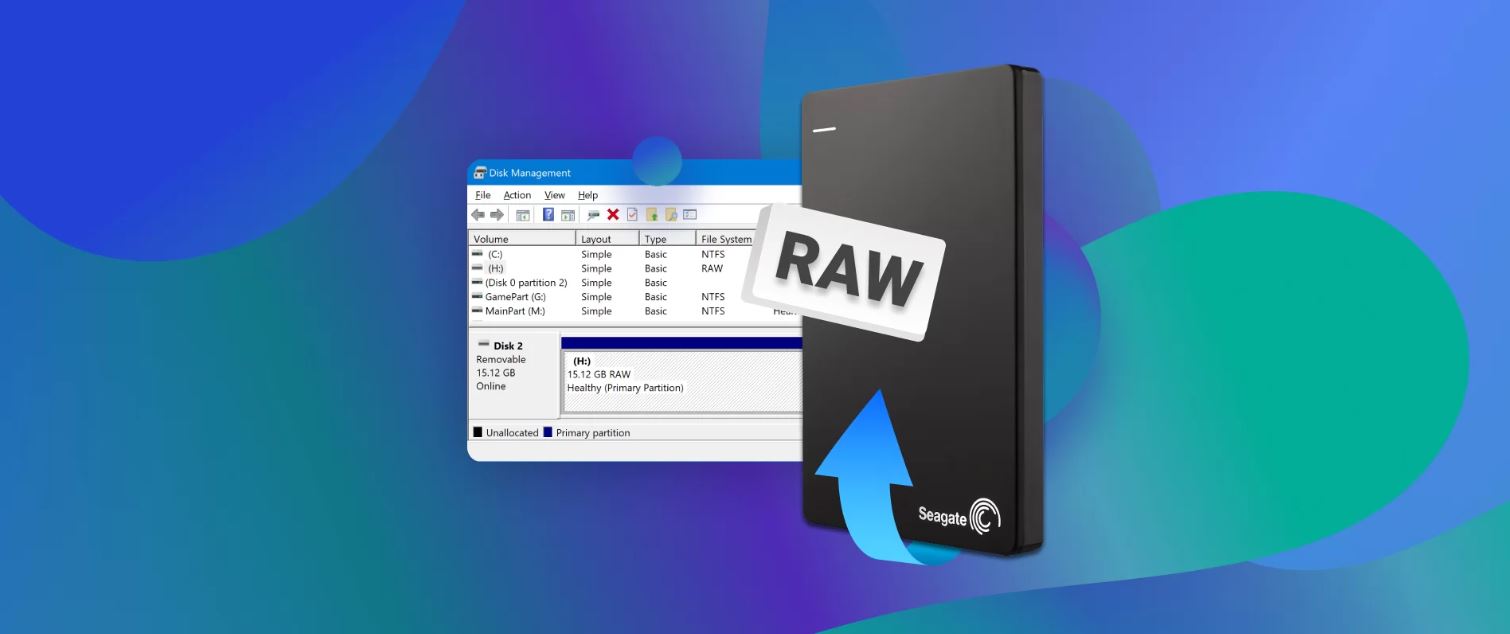
Step 3: Use Disk Management Tool
If your external hard drive is still not functioning properly, using the disk management tool can help diagnose and fix partition-related issues. The disk management tool is a built-in utility in Windows that allows you to manage and modify disk partitions.
Here’s how you can use the disk management tool to fix your external hard drive:
- Press Windows key + X on your keyboard to open the power user menu.
- Select “Disk Management” from the list of options.
- In the Disk Management window, locate your external hard drive. It should be labeled as “Disk X” or “Removable.”
- Check the status of the drive. If it displays as “Not Initialized” or “Unallocated,” this means the disk needs to be initialized or a new partition needs to be created.
- Right-click on the drive and select the appropriate option – either “Initialize Disk” or “New Simple Volume.”
- Follow the on-screen instructions to complete the initialization or partition creation process.
After initializing or partitioning the external hard drive, it should now be recognized by your computer and accessible in File Explorer. If the issue persists, proceed to the next step.
Step 4: Run System File Checker
If your external hard drive is still experiencing issues, running the System File Checker (SFC) can help identify and repair any corrupted system files that may be affecting the functionality of the drive.
Follow these steps to run the System File Checker tool:
- Open the Command Prompt as an administrator. You can do this by typing “Command Prompt” into the search bar, right-clicking on the Command Prompt app, and selecting “Run as administrator.”
- In the Command Prompt window, type the command sfc /scannow and press Enter.
- The System File Checker will start scanning your system for any corrupted or missing files.
- Wait for the scanning process to complete. This may take some time.
- If the System File Checker detects any issues, it will attempt to repair them automatically.
- Once the process is finished, restart your computer.
After the restart, check if the issues with your external hard drive have been resolved. If not, proceed to the next step.
Step 5: Use Data Recovery Software
If all else fails and your external hard drive is still not functioning properly, you can turn to data recovery software as a last resort. Data recovery software is designed to retrieve lost or inaccessible data from damaged storage devices.
Follow these steps to use data recovery software to recover your files:
- Research and choose a reliable data recovery software that is compatible with your operating system and supports external hard drives.
- Download and install the data recovery software on your computer.
- Connect your problematic external hard drive to your computer.
- Open the data recovery software and select the external hard drive as the target location for scanning.
- Start the scan and wait for the software to analyze the drive and locate any recoverable files.
- Once the scan is complete, review the recovered files and select the ones you want to retrieve.
- Choose a safe and accessible location on your computer to save the recovered files.
- Follow the instructions provided by the data recovery software to complete the recovery process.
It’s important to note that data recovery software cannot guarantee a 100% recovery success rate, especially if the external hard drive has suffered severe physical damage. However, it is worth trying in order to salvage any valuable files that may be lost.
Remember to regularly back up your files to prevent data loss and make the recovery process easier in the future.
Unfortunately, if none of the above methods are successful in fixing your external hard drive, it may be necessary to consult a professional data recovery service for further assistance.
Conclusion
Dealing with a malfunctioning external hard drive can be a frustrating experience, especially if you fear losing important data. However, before considering formatting the drive and potentially losing your files, it’s essential to exhaust all possible solutions to fix the issue without formatting.
In this article, we have explored five steps to fix an external hard drive without formatting it. These steps include checking connections and updating drivers, running disk check utility, using the disk management tool, running the system file checker, and utilizing data recovery software as a last resort.
It’s important to remember that these steps are suitable for resolving software-related issues with your external hard drive. If your drive has suffered physical damage or severe hardware malfunctions, it’s best to seek professional assistance from a data recovery service.
Regularly backing up your files is crucial to mitigate the risk of data loss. By maintaining a backup system, you can prevent significant data loss and simplify the recovery process if you do encounter issues with your external hard drive in the future.
Hopefully, by following the steps outlined in this article, you have successfully resolved the problems with your external hard drive and regained access to your valuable data.
Remember to exercise caution and patience throughout the troubleshooting process. If you’re unsure about any step or encounter any difficulties, it’s always recommended to seek assistance from professionals or knowledgeable individuals in the field.