Introduction
Welcome to our guide on how to scan and fix external hard drive issues. External hard drives are incredibly useful storage devices for backing up important data or expanding the storage capacity of your computer. However, like any other technology, they can encounter problems over time. These issues can range from corrupted files to physical damage.
When faced with external hard drive problems, it is essential to take action to prevent data loss and restore the drive’s functionality. One effective way to do this is by scanning and fixing the drive using disk utility tools.
In this article, we will walk you through the step-by-step process of scanning and fixing your external hard drive. Whether you are experiencing slow performance, file system errors, or other issues, following these instructions will help you diagnose and resolve the problem.
Please note that the ability to run a scan and fix external hard drive issues depends on the operating system you are using. We will be focusing on the steps for both Windows and Mac systems. Let’s get started!
Step 1: Connect the External Hard Drive
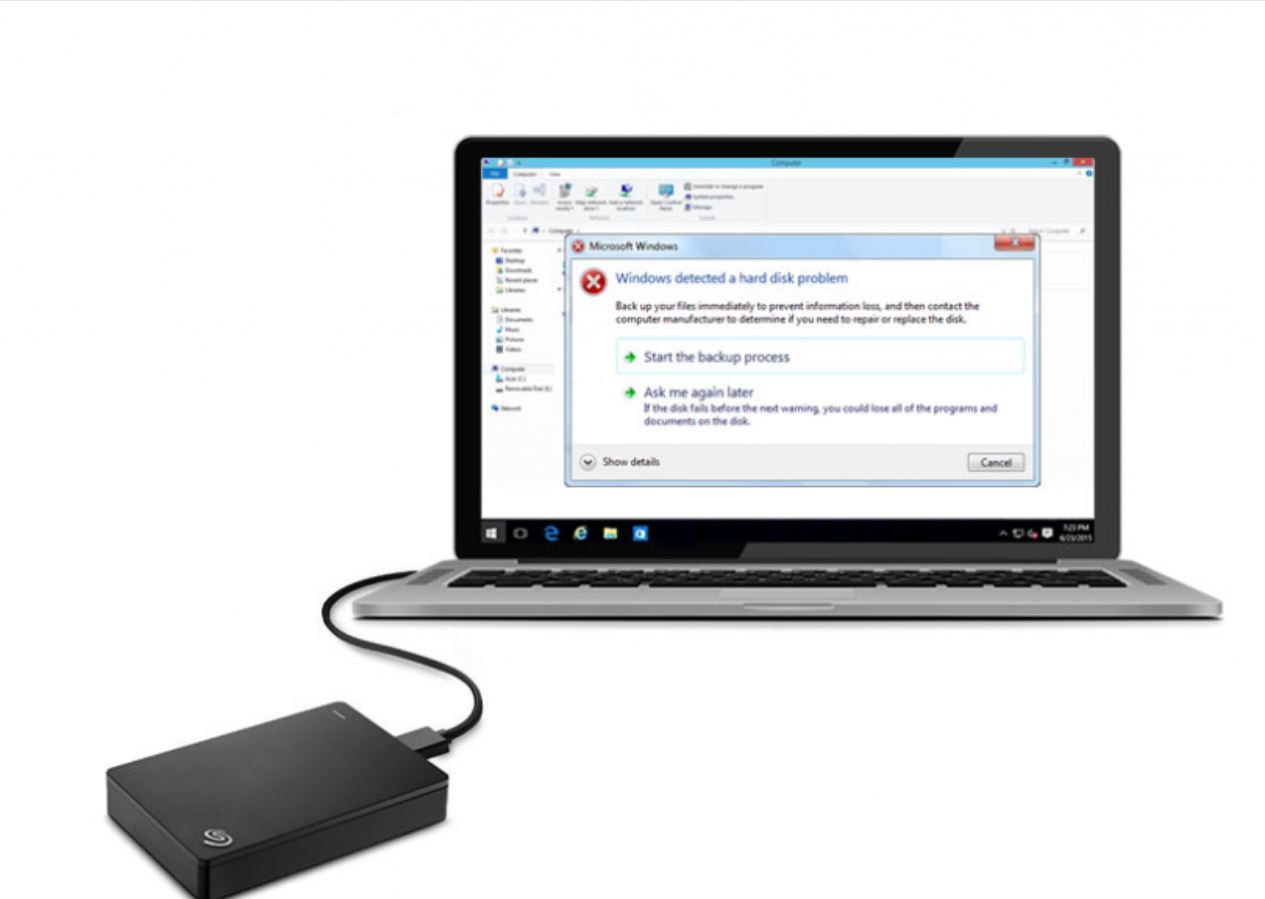
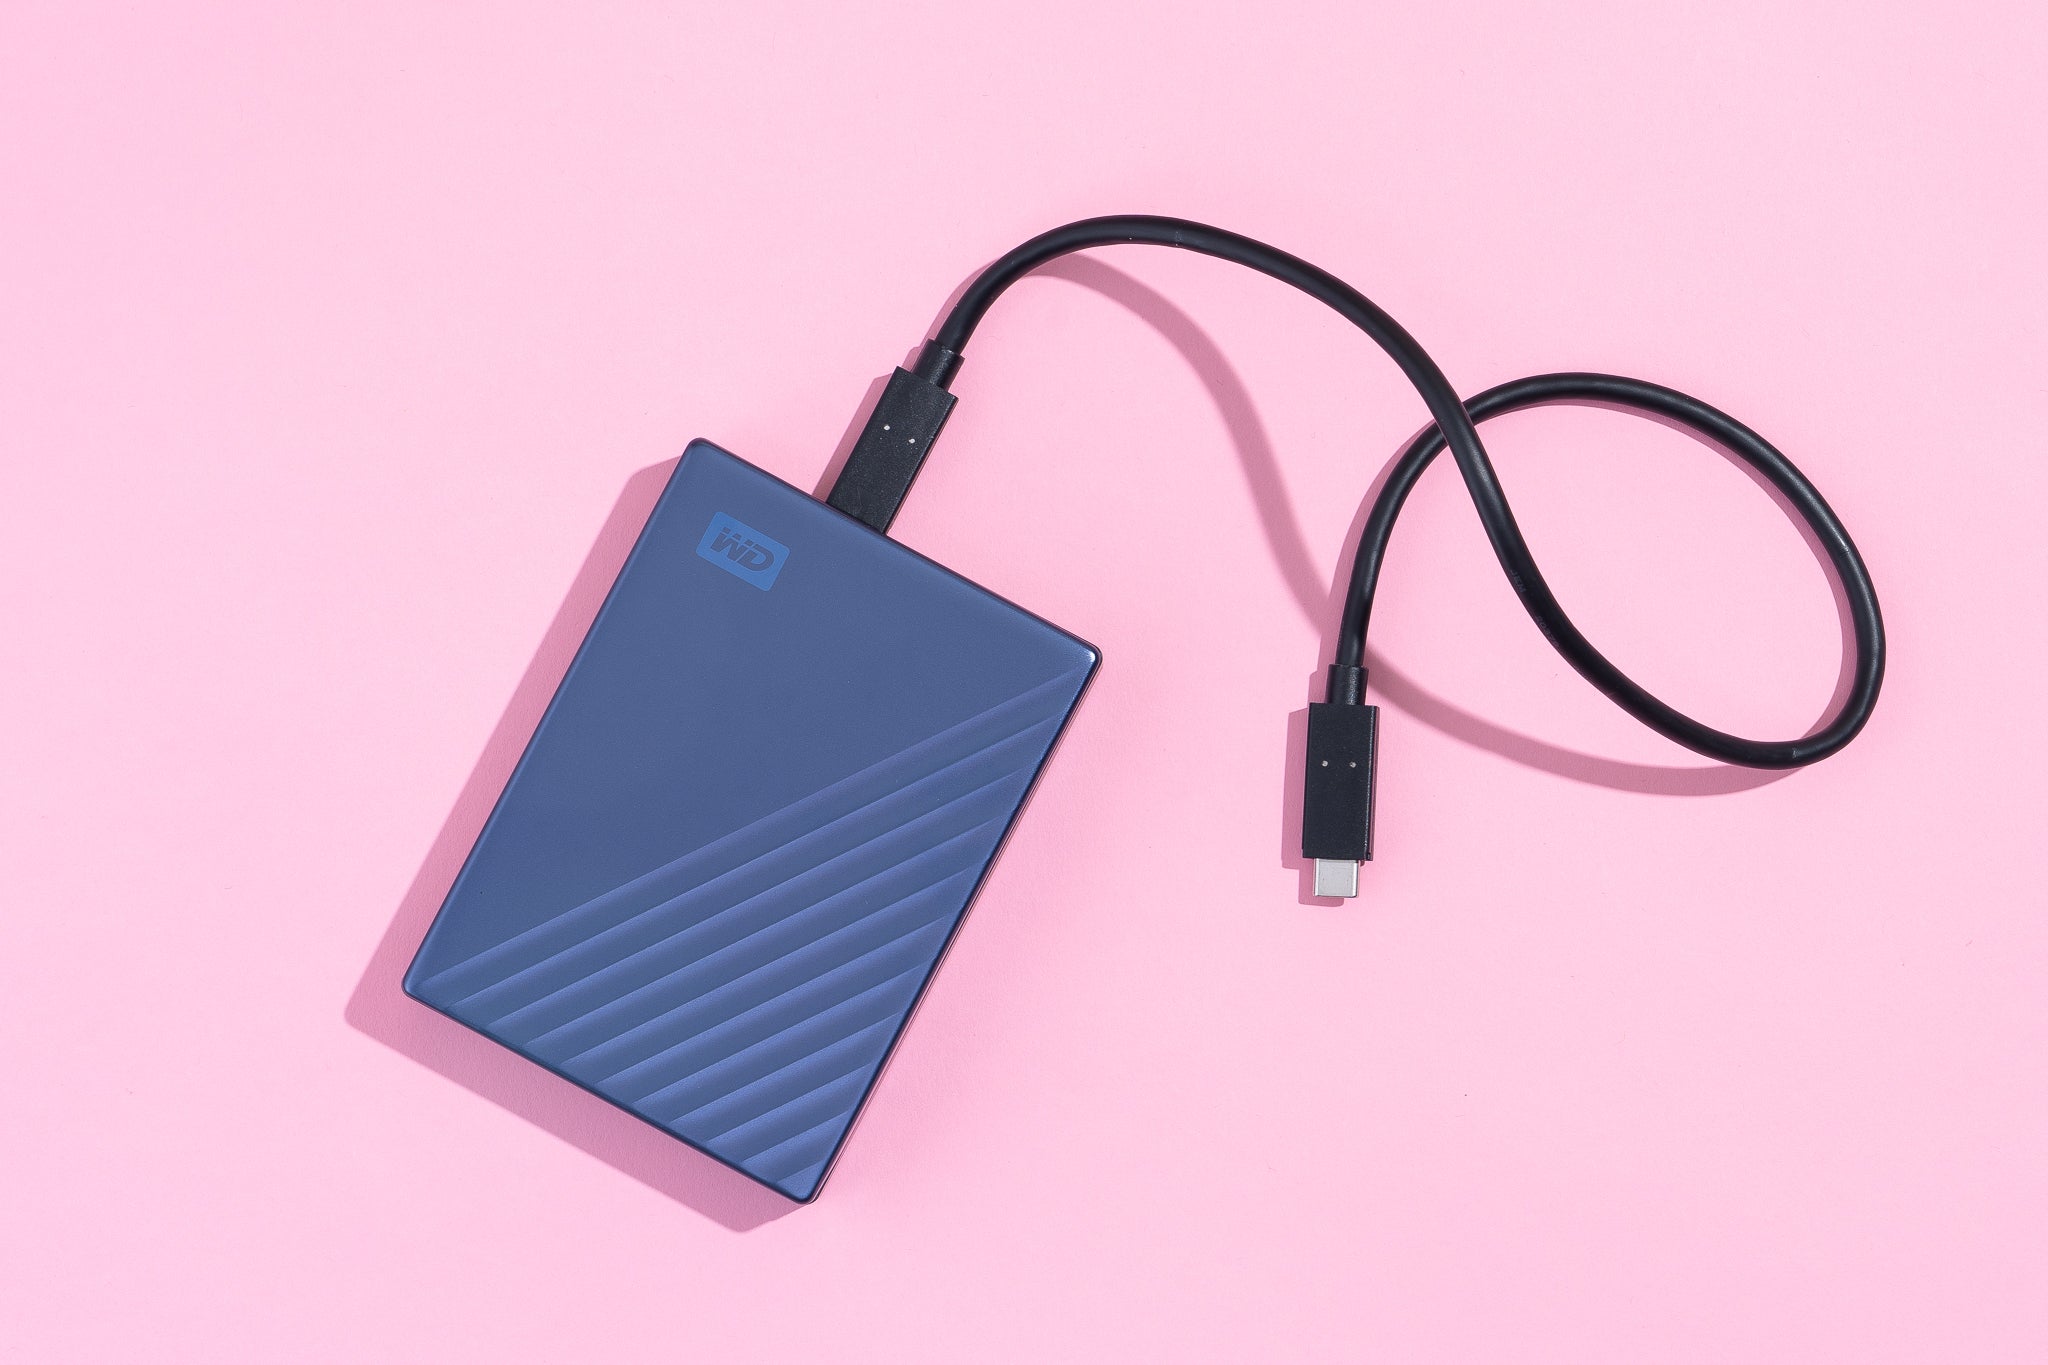
The first step in scanning and fixing your external hard drive is to ensure a proper connection between the drive and your computer. For this, you will need a USB or Thunderbolt cable (depending on the interface of your external hard drive) and an available port on your computer.
1. Locate the USB or Thunderbolt port on your computer. These ports are typically found on the sides or back of laptops and on the back of desktop computers.
2. Plug one end of the cable into the corresponding port on your computer.
3. Now, take the other end of the cable and connect it to the external hard drive. The port on the external hard drive for the cable connection should be clearly marked.
4. Once connected, ensure that the cable is securely attached to both the computer and the external hard drive.
5. Power on the external hard drive. Some drives have a specific power button, while others may power on automatically once connected.
6. Your computer should detect the external hard drive and show an indication that it is connected. This may include a notification sound, a pop-up window, or the drive appearing in the file explorer or desktop.
Now that you have successfully connected the external hard drive, you are ready to proceed to the next step of scanning and fixing any issues that may be present.
Step 2: Open Disk Utility
After connecting the external hard drive to your computer, the next step is to open the Disk Utility application. Disk Utility is a built-in tool that comes with both Windows and Mac operating systems, allowing you to manage and diagnose storage devices.
Follow the instructions below to open Disk Utility:
For Windows:
- Click on the “Start” menu at the bottom left corner of your screen.
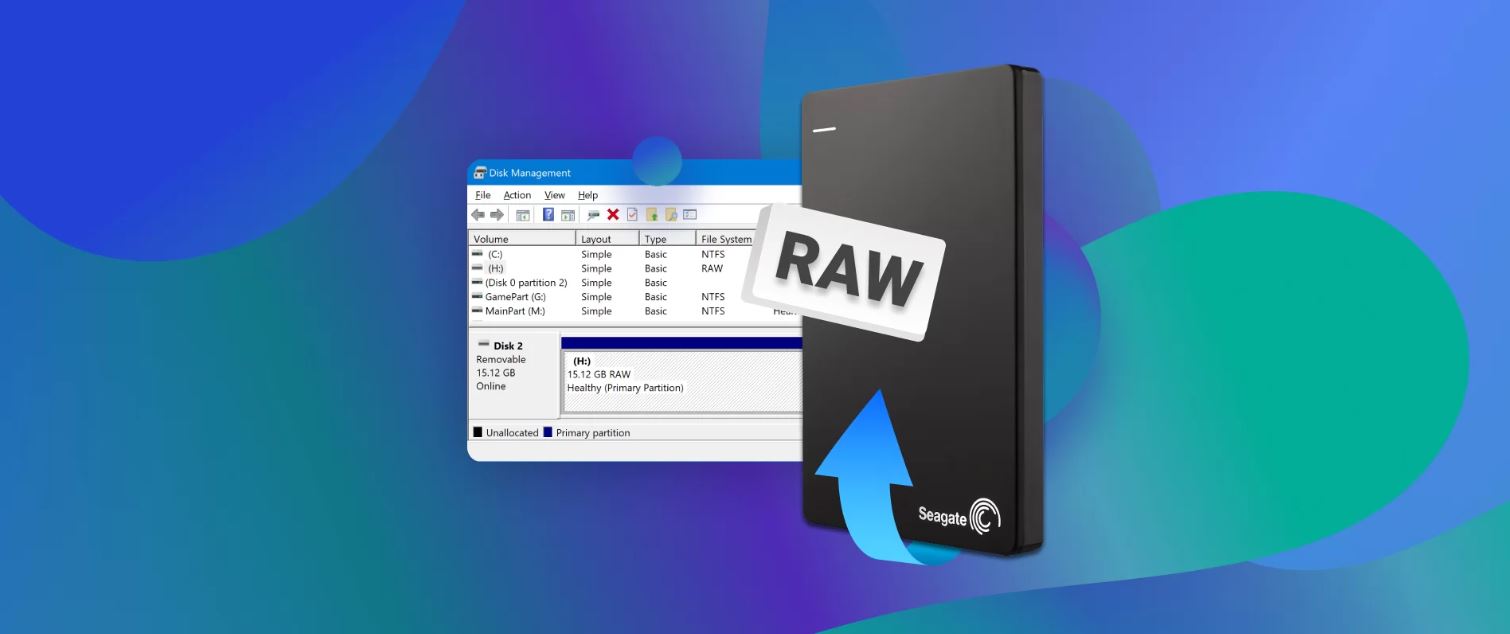
- Search for “Disk Management” and click on the corresponding result.
- The Disk Management window will open, displaying a list of connected storage devices including your external hard drive.
For Mac:
- Click on the “Finder” icon in your dock, which is usually located at the bottom of your screen.
- In the menu bar at the top of the screen, click on “Go” and select “Utilities” from the dropdown menu.
- In the Utilities folder, locate and click on “Disk Utility.”
Once you have opened Disk Utility, you will be presented with a list of drives and volumes connected to your computer. The external hard drive should be listed in this window.
If you are unable to find the external hard drive listed, ensure that it is properly connected and powered on. You may also try reconnecting the drive to a different USB or Thunderbolt port on your computer.
Now that you have successfully opened Disk Utility and located your external hard drive, you are ready to proceed to the next step of selecting the drive for scanning and fixing.
Step 3: Select the External Hard Drive
After opening Disk Utility, the next step is to select your external hard drive for scanning and fixing. This will allow the tool to analyze the drive’s health and detect any issues that may be affecting its performance or data integrity.
- In the Disk Utility window, you will see a sidebar on the left-hand side that lists all connected drives and volumes. Look for the external hard drive in this list.
- Click on the name of the external hard drive to select it. The drive’s name may vary depending on how it is formatted or if you have customized its name.
- The selected drive will be highlighted, indicating that it is ready for further actions.
It is crucial to ensure that you have selected the correct external hard drive before proceeding with any diagnostic or repair processes. Double-check the drive’s name and information to avoid accidentally modifying or formatting the wrong drive.
If you are unsure about the correct drive to select, you can verify the drive’s details by checking its capacity, file system, or other identifying information.
Once you have successfully selected the external hard drive, you are ready to move on to the next step of running a scan and fixing any potential issues found during the process.
Step 4: Run First Aid
With the external hard drive selected in Disk Utility, the next step is to run the “First Aid” tool. First Aid is a disk repair utility that can help identify and fix various issues with your external hard drive, such as file system errors or disk permissions.
- Once your external hard drive is selected, locate and click on the “First Aid” button or tab. This option is usually located at the top of the Disk Utility window.
- A window will appear displaying the available disk repair options. Ensure that your external hard drive is still selected in the sidebar.
- Click on the “Run” or “Start” button to initiate the First Aid process.
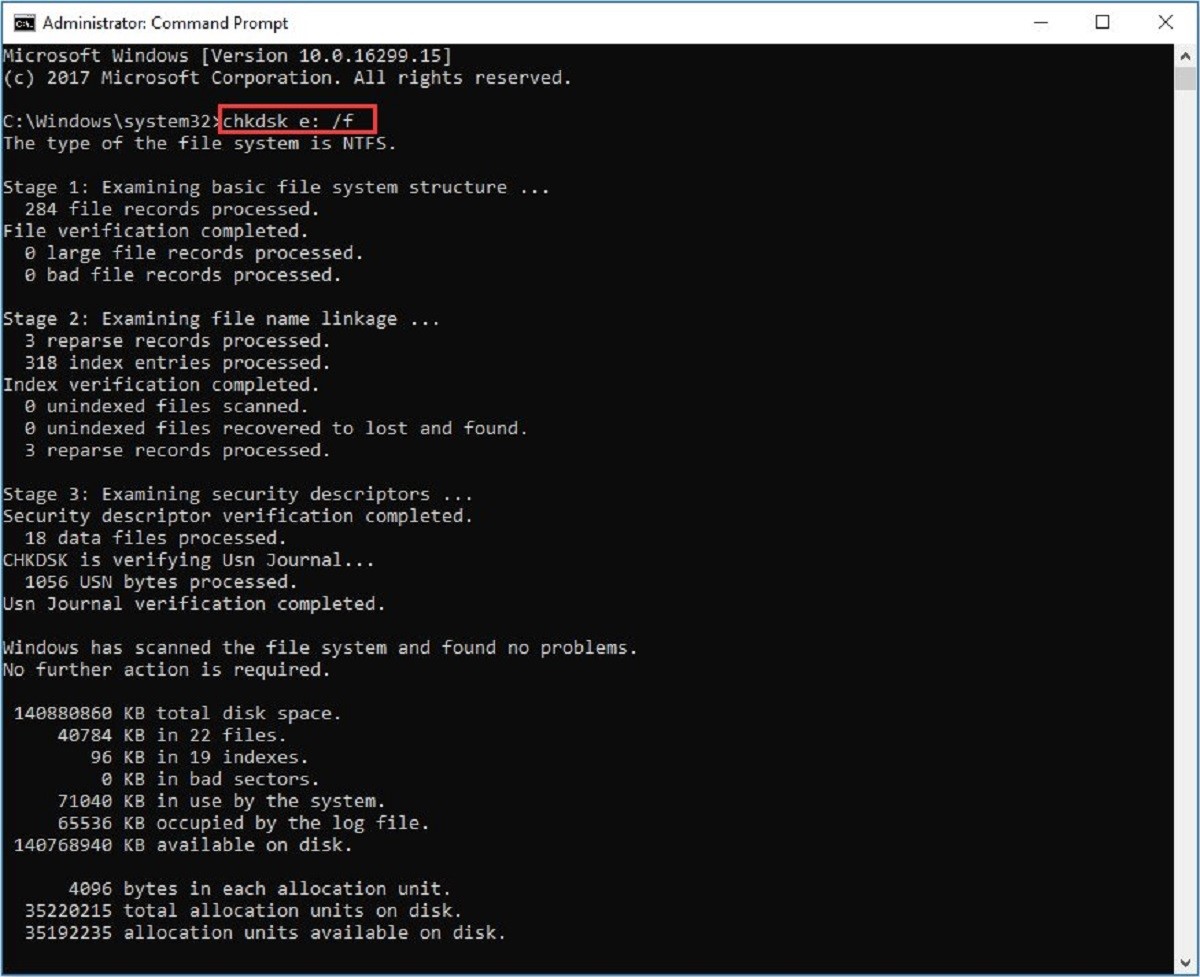
- The tool will now scan your external hard drive for any errors or issues. This may take some time depending on the size and health of your drive.
- During the scanning process, Disk Utility will display information about the progress and any problems it finds. Pay attention to the details provided.
If Disk Utility detects any issues with your external hard drive, it will attempt to fix them automatically. In some cases, however, it may ask for your permission to proceed with certain repairs or modifications.
It is important to note that while First Aid is generally effective in resolving common disk errors, it may not be able to fix severe physical damage or hardware failures. In such cases, professional data recovery services may be required.
Once the First Aid process is complete, Disk Utility will provide a summary of the actions taken and the results of the scan. Review the information provided to determine if further steps are necessary.
Now that you have run First Aid on your external hard drive, you are ready to proceed to the next step of waiting for the scan to complete.
Step 5: Wait for the Scan to Complete
After initiating the scan using the First Aid tool in Disk Utility, the next step is to patiently wait for the scan to complete. The duration of the scan will depend on the size of your external hard drive and the speed of your computer.
During the scanning process, Disk Utility will thoroughly analyze the internal structure of your external hard drive, checking for any errors, inconsistencies, or potential issues that may be affecting its performance or data integrity.
While waiting for the scan to complete, it is important to avoid interrupting the process. Do not disconnect the external hard drive or close the Disk Utility application until the scan has finished. Prematurely terminating the scan can result in incomplete repairs or potential data loss.
Depending on the health and condition of your external hard drive, the scan may take several minutes or longer to complete. It is normal for the progress bar to move slowly or appear to pause at certain stages, especially when addressing complex issues or performing deep scans.
As the scan progresses, Disk Utility may display notifications about any errors or issues found on your external hard drive. These notifications will provide details about the problems detected, giving you an idea of what specific issues are affecting your drive.
Once the scan is complete, Disk Utility will present a summary of the results. If any issues were found, Disk Utility will attempt to repair them automatically. However, if the repairs were unsuccessful or if more severe issues were detected, you may need to take additional steps or seek professional assistance.
Now that you have patiently waited for the scan to complete, you are ready to move on to the next step of repairing any issues found during the process.
Step 6: Repair any Issues Found
After the scan is complete, Disk Utility will provide a summary of the issues discovered during the scanning process. If any errors or inconsistencies were identified, the next step is to proceed with repairing them.
Follow these steps to repair any issues found on your external hard drive:
- Review the summary provided by Disk Utility, which will outline the specific problems detected on the drive.
- If Disk Utility has already performed automatic repairs, check the summary to see if the repairs were successful. In some cases, additional actions may be required.
- If Disk Utility has not automatically resolved the issues, click on the “Repair” or “Fix” button to initiate the repair process.
- Wait for Disk Utility to repair the identified issues. The duration of the repair process will depend on the nature and severity of the problems.
- Observe any messages or notifications displayed by Disk Utility during the repair process. These messages will provide status updates and indicate whether the repairs were successful.
It is important to note that not all issues may be repairable using Disk Utility. In some cases, more severe or complex problems may require advanced data recovery techniques or professional help. If Disk Utility is unable to successfully repair the issues on your external hard drive, consider contacting a data recovery specialist for further assistance.
Once the repair process is complete, it is recommended to run another scan to verify if all the issues have been resolved. This will ensure the overall health and stability of your external hard drive.
Now that you have repaired the issues found by Disk Utility, you are ready to proceed to the next step of ejecting the external hard drive properly.
Step 7: Eject the External Hard Drive
After completing the necessary repairs and ensuring that your external hard drive is in a stable state, the final step is to safely eject the drive from your computer. Ejecting the external hard drive properly helps prevent data loss and ensures that all write operations are completed before disconnecting the drive.
Follow these steps to properly eject your external hard drive:
- Make sure that all pending file transfers or operations involving the external hard drive are completed. Close any open files or applications that are accessing the drive.
- On Windows, locate the “Safely Remove Hardware” icon in the system tray, usually located at the bottom-right corner of the screen. Click on the icon and select your external hard drive from the list that appears.
- On Mac, you can either click on the “Eject” button next to the external hard drive’s name in the Finder sidebar or right-click on the drive and select “Eject” from the context menu.
- Wait for the system to safely eject the external hard drive. You may see a notification or prompt indicating that it is safe to remove the drive. Do not physically disconnect the drive until you receive confirmation.
- Once you have received confirmation or the drive has disappeared from your system’s interface, you can safely disconnect the USB or Thunderbolt cable from the computer and the external hard drive.
Ejecting the external hard drive properly ensures the integrity of your data and helps prevent potential damage to the drive’s file system. It is a crucial step to minimize the risk of data loss or corruption when removing the drive from your computer.
By following these steps to safely eject your external hard drive, you have successfully completed the entire process of scanning and fixing the issues that were affecting its performance or integrity.
Remember to store your external hard drive in a safe and protected location to avoid physical damage or exposure to extreme temperatures or humidity.
Congratulations on successfully scanning and fixing your external hard drive!
Conclusion
Scanning and fixing external hard drive issues is a crucial step in maintaining the performance and reliability of your storage device. By following the steps outlined in this guide, you can address common problems such as file system errors, disk permissions, or other issues that may be affecting the functioning of your external hard drive.
Remember to always start by connecting your external hard drive properly and opening the Disk Utility application specific to your operating system, whether it’s Windows or Mac. Select your external hard drive and run the First Aid tool to scan for any errors or inconsistencies.
Be patient during the scanning process and wait for it to complete without interrupting it. Once the scan is finished, review the summary provided by Disk Utility and proceed with repairing any issues found, ensuring that the repairs are successful.
Once your external hard drive has been repaired, make sure to safely eject the drive from your computer to prevent any data loss or potential damage. Following these steps will help maintain the health and longevity of your external hard drive.
However, it is essential to remember that not all issues may be successfully repaired using the built-in disk utility tools. Severe physical damage or hardware failures may require professional data recovery services. If you encounter persistent problems or suspect a more serious issue with your external hard drive, it is recommended to seek assistance from a professional.
By regularly scanning and fixing your external hard drive, you can ensure that your valuable data is protected and that your drive continues to function optimally. Taking steps to maintain the health of your external hard drive will ultimately contribute to a smoother and more reliable computing experience.