Introduction
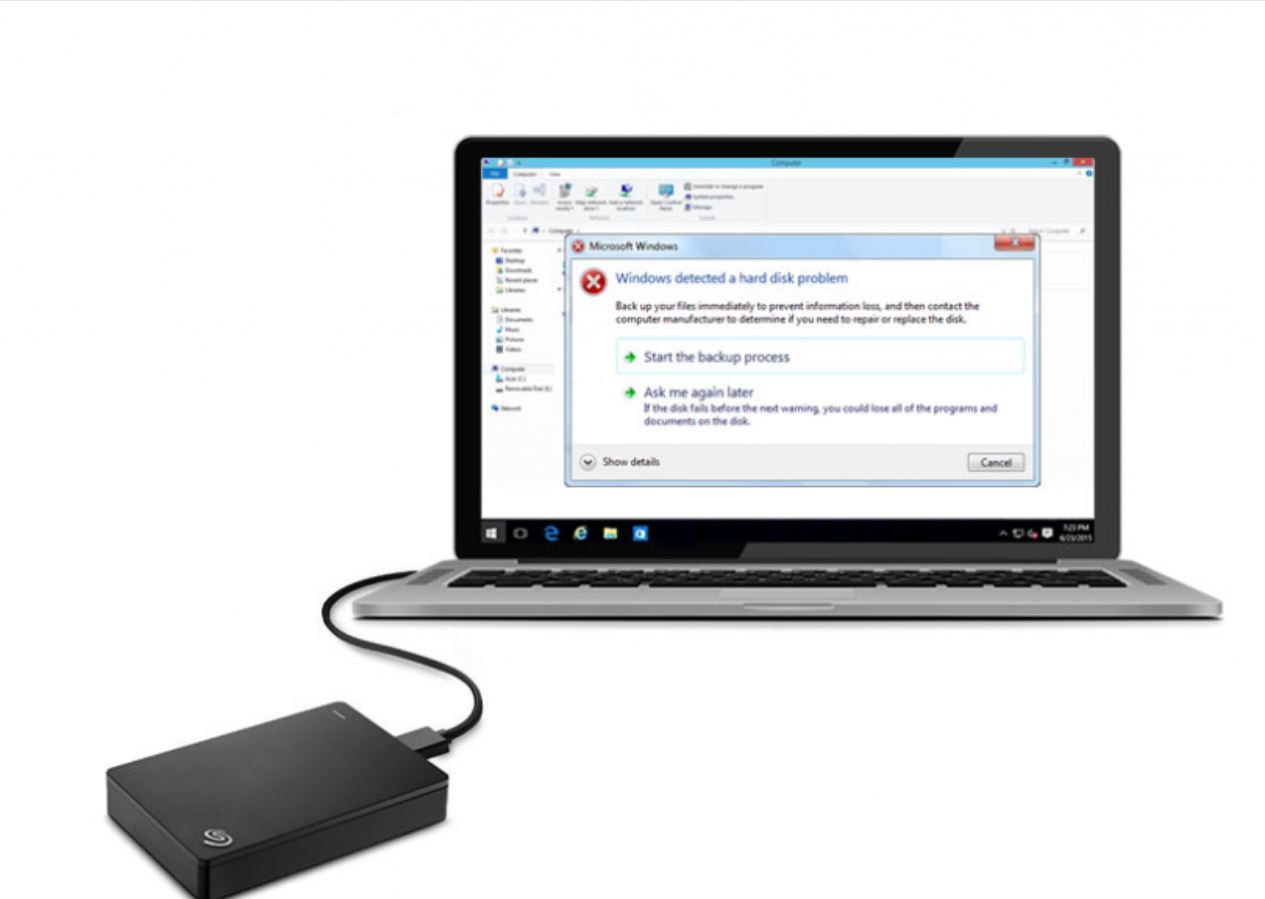
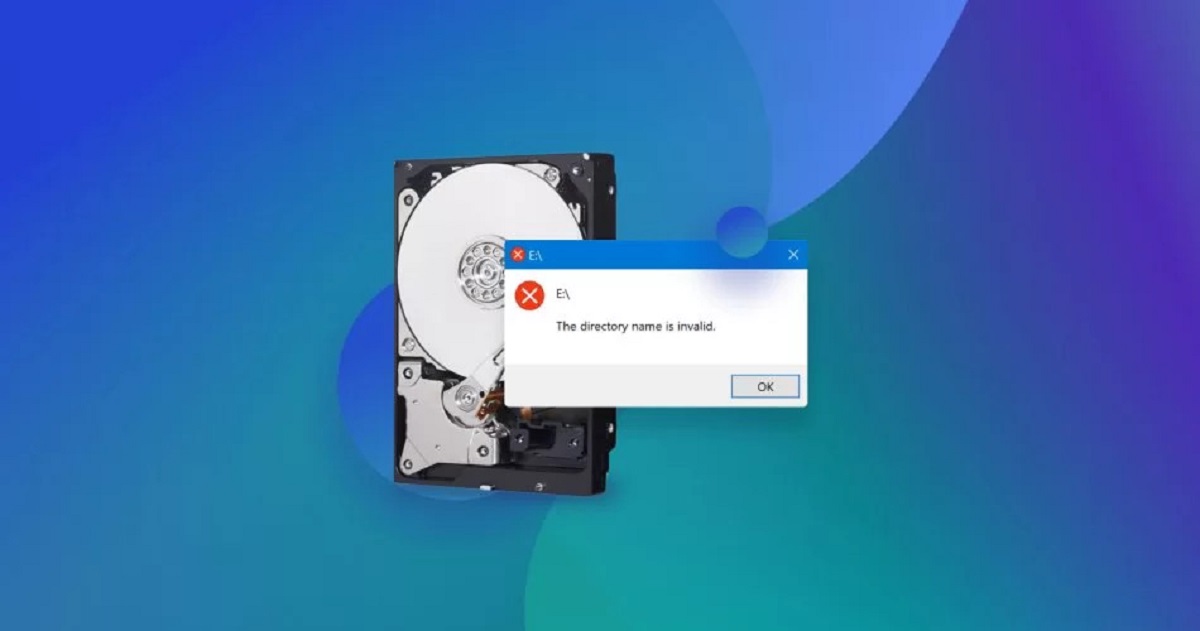
An external hard drive is a handy storage solution for individuals seeking additional space to store their files, whether for personal or professional use. However, just like any other storage device, external hard drives are not immune to errors or issues that can lead to data loss or reduced performance.
Scanning an external hard drive for errors is an essential maintenance task that helps identify and resolve any potential issues, ensuring the longevity and reliability of the device. By conducting regular scans, you can detect and repair errors, recover lost files, and optimize the performance of your external hard drive.
In this article, we will explore why scanning an external hard drive for errors is important and provide you with various methods to accomplish this task. Whether you are using a Windows PC or a Mac, we will discuss the available options, including built-in tools, third-party software, and command prompt methods.
By taking the time to scan your external hard drive for errors, you can proactively safeguard your data and ensure that your device operates at its optimal performance level. So, let’s dive in and discover the different approaches to scan an external hard drive and keep it running smoothly.
Why is it important to scan an external hard drive for errors?
Scanning an external hard drive for errors is a crucial step in maintaining the health and performance of the device. Here are some key reasons why it is vital to regularly scan your external hard drive:
- Data Integrity: External hard drives store valuable data, including documents, photos, videos, and more. Over time, these drives can develop errors and corrupt data, leading to potential loss or inaccessibility. By scanning the drive, you can identify and fix these errors before they cause irreversible data damage.
- Early Detection of Hardware Issues: External hard drives consist of various intricate components that can develop faults over time. By scanning the drive, you can detect any potential hardware problems such as bad sectors, dysfunctional controller boards, or faulty connections. Identifying these issues early on allows for timely repairs or replacements, preventing data loss and further damage to the device.
- Improved Performance: As an external hard drive fills up with files and data, it can become fragmented or develop file system errors, resulting in slower read and write speeds. Regularly scanning your external hard drive helps identify and resolve these issues, optimizing its performance and ensuring faster access to your files.
- Prevention of File Corruption: File corruption can occur due to various reasons, such as sudden power outages, system crashes, or improper ejection of the drive. Scanning for errors helps identify corrupted files and recover them if possible. It also helps prevent further corruption by resolving any underlying issues contributing to file damage.
- Peace of Mind: Knowing that your external hard drive is error-free provides peace of mind, especially if you rely on it for important and sensitive data storage. Regular scanning and maintenance reduce the chances of unexpected data loss and ensure that your valuable files and information remain safe and accessible.
Regularly scanning your external hard drive for errors is a proactive step towards data protection and device longevity. By addressing any issues early on, you can prevent potential data loss, ensure optimal performance, and enjoy a seamless user experience with your external hard drive.
How to prepare your external hard drive for scanning
Before scanning your external hard drive for errors, it is essential to prepare the device properly. Follow these steps to ensure a smooth and effective scanning process:
- Backup your data: Before proceeding with any maintenance task, it is crucial to create a backup of your important files and data. While the scanning process is generally safe, it’s always better to be cautious and have a copy of your files stored elsewhere.
- Disconnect any unnecessary peripherals: To avoid potential conflicts and interference, disconnect any unnecessary devices or peripherals connected to your computer. This includes USB drives, printers, scanners, etc. Keeping only the essential components connected will ensure a more stable scanning process.
- Clean up unnecessary files: Remove any unnecessary files, temporary files, or duplicates from your external hard drive. This helps declutter the drive and improves the efficiency of the scanning process. Consider using disk cleanup tools or manual organization methods to free up space and optimize the drive’s performance.
- Scan for malware: Run a thorough antivirus scan on your external hard drive to ensure that it is free from any malware or malicious programs. Viruses and malware can damage your files and interfere with the scanning process. Make sure your antivirus software is up to date before performing the scan.
- Close any open files or programs: Close all open files and applications that are accessing the external hard drive. Open files or programs can interfere with the scanning process and may cause errors. Save and close any ongoing work before initiating the scan.
- Safely eject the drive: If your external hard drive is currently connected to your computer, ensure that you safely eject it before performing the scan. This prevents any data corruption and ensures that all files are closed properly. Follow the correct procedure to eject the drive depending on your operating system.
By following these preparation steps, you can ensure a smooth and effective scanning process for your external hard drive. Taking the time to prepare the device will help optimize the scanning process, minimize the risk of errors, and ensure the safety of your valuable data.
Option 1: Using Windows built-in tool to scan your external hard drive for errors
If you are using a Windows computer, you can take advantage of the built-in tools provided by the operating system to scan your external hard drive for errors. Here’s how you can use this option:
- Connect your external hard drive: Plug in your external hard drive to your Windows computer using the appropriate USB cable or connection method. Ensure that the drive is properly recognized and accessible.
- Open File Explorer: Open File Explorer on your Windows computer by pressing the “Windows key + E” or by clicking on the File Explorer icon in the taskbar.
- Select your external hard drive: In the left navigation pane of File Explorer, locate and click on “This PC” or “My Computer.” You should see a list of available drives and devices, including your external hard drive. Click on the drive to select it.
- Access the drive properties: With your external hard drive selected, navigate to the “Drive Tools” tab in the toolbar at the top of the File Explorer window. Click on the “Manage” button to access the drive properties.
- Initiate the scan: In the drive properties window, click on the “Check” button under the “Error checking” section. This will open a new window with options for scanning the drive.
- Select the scan options: In the scan options window, you can choose between two options: “Scan for and attempt recovery of bad sectors” or “Automatically fix file system errors.” Select the desired option based on your requirements.
- Start the scan: Once you have selected the scan options, click on the “Start” button to initiate the scanning process. Depending on the size and condition of your external hard drive, the scanning process may take some time to complete.
- Review the scan results: Once the scan is complete, Windows will provide a detailed report on the errors found (if any) and the actions taken or required for resolution. Review the results and take the necessary steps to address any identified issues.
Using the Windows built-in tool to scan your external hard drive for errors is a convenient and effective option for most users. Regularly performing this scan can help detect and resolve potential issues, ensuring the optimal performance and reliability of your external hard drive.
Option 2: Using third-party software to scan your external hard drive for errors
If you prefer to use dedicated software with advanced features and flexibility, you can opt for third-party solutions to scan your external hard drive for errors. Here’s how you can utilize this option:
- Research and choose a reliable software: Start by researching and selecting a reliable third-party software that specializes in disk scanning and repair. Look for options with positive reviews, a user-friendly interface, and compatibility with your operating system.
- Download and install the chosen software: Once you have chosen the software, visit the developer’s website or a trusted software download platform and download the installer. Follow the on-screen instructions to install the software on your computer. Be cautious and only download software from reputable sources to avoid potential malware or security risks.
- Connect your external hard drive: Plug in your external hard drive to your computer using the appropriate cable or connection method. Ensure that the drive is recognized and accessible by your computer.
- Launch the software: Open the third-party software you installed on your computer. Most software will have a clear interface with options specifically designed for scanning and repairing external hard drives.
- Select the external hard drive: Within the software’s interface, locate and select your external hard drive from the list of available drives and devices. The software should provide intuitive options and menus to help you identify and select your target drive with ease.
- Choose the scan options: Depending on the software you chose, you will have various scan options available. These may include quick scans, full surface scans, file system checks, and more. Select the appropriate scan option based on your requirements and the level of thoroughness you desire.
- Initiate the scan: Once you have selected the scan options, click on the “Start” or “Scan” button within the software to begin the scanning process. Sit back and allow the software to thoroughly scan your external hard drive for errors.
- Review and address the scan results: After the scanning process is complete, the software will provide a detailed report on the errors detected, along with steps to resolve or repair them. Review the results and follow the recommended actions to fix any identified issues on your external hard drive.
Using third-party software to scan your external hard drive provides additional features and flexibility compared to built-in tools. These software solutions often offer more comprehensive scans, advanced error detection algorithms, and customization options. Choose a reliable software and regularly perform scans to ensure the health and reliability of your external hard drive.
Option 3: Using command prompt to scan your external hard drive for errors
If you prefer a command-line interface and have some technical knowledge, you can use the Command Prompt utility in Windows to scan your external hard drive for errors. Here’s how you can use this option:
- Connect your external hard drive: Connect your external hard drive to your Windows computer using the appropriate cable or connection method. Ensure that the drive is properly recognized and accessible.
- Open Command Prompt: Open the Command Prompt utility on your computer by pressing the “Windows key + R” to open the Run dialog box. Type “cmd” and press Enter to open the Command Prompt.
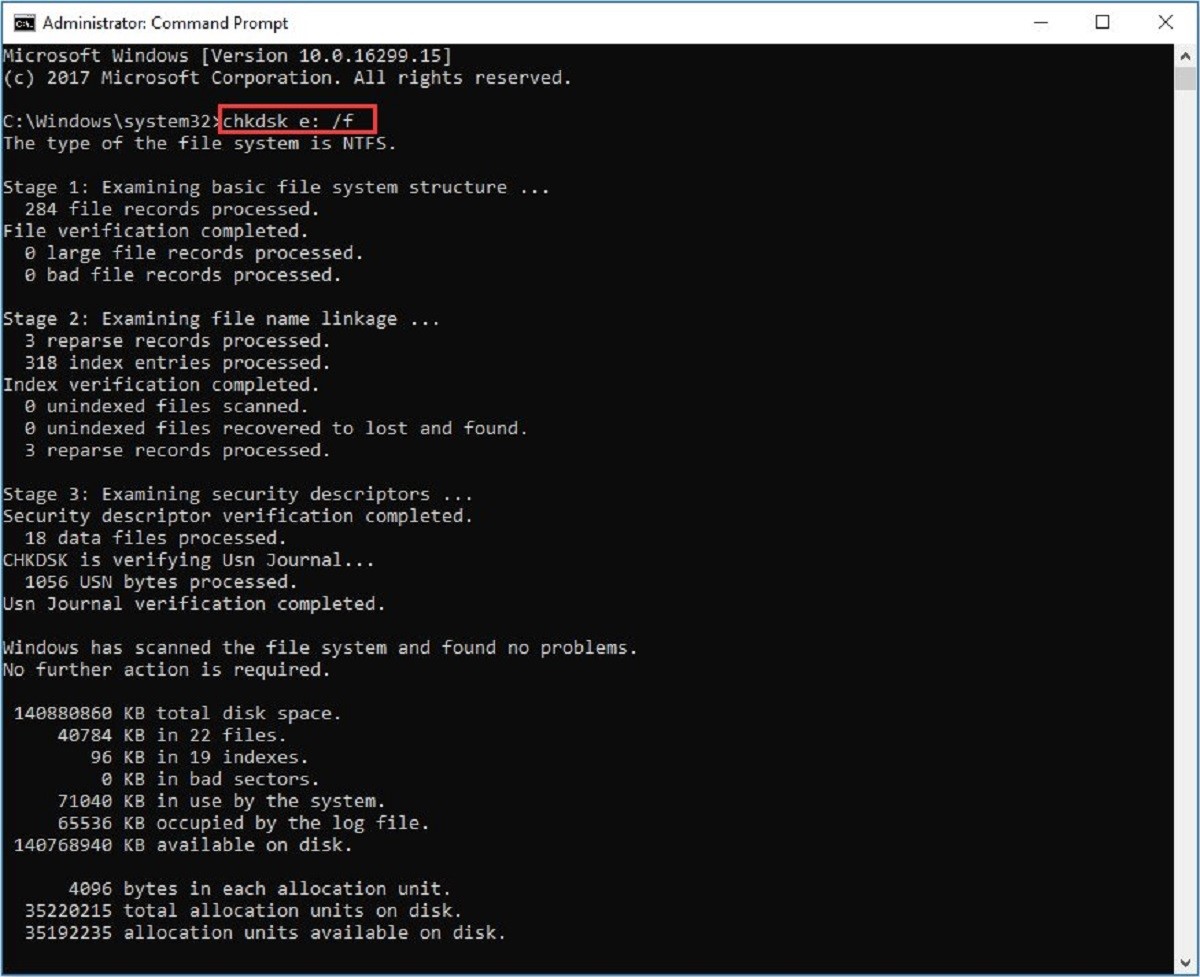
- Execute the chkdsk command: In the Command Prompt window, type the following command and press Enter:
chkdsk [drive letter]: /f. Replace “[drive letter]” with the actual drive letter assigned to your external hard drive. For example, if your external hard drive is assigned the drive letter “E”, the command will bechkdsk E: /f. The “/f” parameter specifies that errors should be fixed. - Allow the scan to complete: The chkdsk command will initiate a comprehensive scan of your external hard drive, checking for errors and attempting to repair them. Depending on the size and condition of your drive, this process may take some time. It is important to let the scan complete without interrupting it.
- Review the scan results: Once the scan is complete, Command Prompt will display a detailed report on the errors found (if any) and the actions taken to fix them. Take the time to review the results and make note of any errors or issues that were resolved.
- Perform another scan if necessary: If the initial chkdsk scan did not completely resolve the errors or if you suspect there are remaining issues, you can rerun the command with additional parameters. For example, you can use
/rto locate bad sectors and recover readable information, or/xto force the drive to dismount before the scan. Consult the chkdsk documentation or usechkdsk /?for a list of available parameters and their descriptions.
Using the Command Prompt utility to scan your external hard drive is an option for advanced users familiar with command-line interfaces. It provides an alternative method to quickly identify and repair errors on your external drive. However, exercise caution while using the command prompt and double-check the drive letter to avoid accidentally formatting or modifying the wrong drive.
Tips for improving external hard drive performance
To ensure the optimal performance and longevity of your external hard drive, consider implementing the following tips:
- Regularly defragment your hard drive: Over time, files on your external hard drive can become fragmented, leading to slower read and write speeds. Use the built-in defragmentation tool on your computer to defragment the drive and optimize file placement for faster access.
- Avoid filling up the entire drive: Keeping some free space on your external hard drive can help maintain its performance. Aim to keep at least 10-15% of the total storage capacity free to ensure efficient operation.
- Keep the drive cool: Excessive heat can degrade the performance and lifespan of your external hard drive. Ensure proper ventilation and avoid placing the drive in direct sunlight or near heat sources. Consider using a cooling pad or fan to maintain optimal operating temperatures.
- Safely eject the drive: Always use the “Safely Remove Hardware” or “Eject” option before disconnecting your external hard drive from the computer. This ensures that all pending read/write operations are completed, reducing the risk of data corruption.
- Protect against power surges: Power surges can damage your external hard drive and result in data loss. Consider using a surge protector or an uninterruptible power supply (UPS) to protect your drive from sudden voltage fluctuations.
- Keep the drive clean: Dust and debris can accumulate on the external hard drive’s external casing and connectors. Regularly clean the drive using a soft, lint-free cloth to prevent dust buildup, which can lead to connectivity issues or overheating.
- Avoid physical shocks: External hard drives are sensitive to physical shocks and impacts. Avoid dropping or mishandling the drive to prevent damage to the internal components. Use a protective case or sleeve when transporting the drive.
- Update your device drivers: Regularly update your computer’s device drivers, including the drivers for the external hard drive itself. Outdated drivers can lead to compatibility issues and decreased performance. Visit the manufacturer’s website or use automatic driver update utilities to ensure you have the latest drivers installed.
- Implement data backup: While not directly related to performance, implementing regular data backups ensures the safety and availability of your files. In the event of a hardware failure or data loss, having a backup will minimize the impact and allow for quick recovery.
By following these tips, you can optimize the performance and reliability of your external hard drive. Regular maintenance, temperature control, and safe handling practices will ensure a longer lifespan for your device and help protect your valuable data.
Conclusion
Scanning an external hard drive for errors is a crucial maintenance task that should not be overlooked. Regularly performing scans helps maintain the health, reliability, and performance of your external hard drive, ensuring that your valuable data remains safe and accessible.
In this article, we explored the importance of scanning an external hard drive for errors and discussed various methods to accomplish this task. Whether you use the built-in tools provided by Windows, opt for third-party software, or utilize the command prompt utility, each approach offers its own advantages and flexibility.
Preparing your external hard drive for scanning, whether it’s by backing up your data, cleaning up unnecessary files, or disconnecting unnecessary devices, sets the stage for a successful scanning process. By following the recommended steps, you can optimize the scan and minimize the risk of errors.
Improving the performance of your external hard drive goes beyond just scanning for errors. Implementing tips such as regular defragmentation, keeping the drive cool, safely ejecting the drive, and protecting against power surges will help enhance the overall user experience and extend the lifespan of your device.
Remember, maintaining the integrity of your data is of utmost importance. Always back up your files before performing any maintenance tasks, and consider implementing a regular backup routine to ensure the safety of your data in case of unexpected events.
By regularly scanning your external hard drive for errors, taking preventive measures, and following best practices, you can maximize the longevity and performance of your device. Stay proactive in maintaining your external hard drive to enjoy a reliable, efficient, and secure storage solution for your valuable data.