Introduction
Welcome to the world of Microsoft Outlook! With the increasing reliance on email for communication, it’s essential to ensure the safety and security of your precious emails. Imagine losing all your important correspondences, attachments, and contacts in the blink of an eye. It could potentially disrupt your work and personal life.
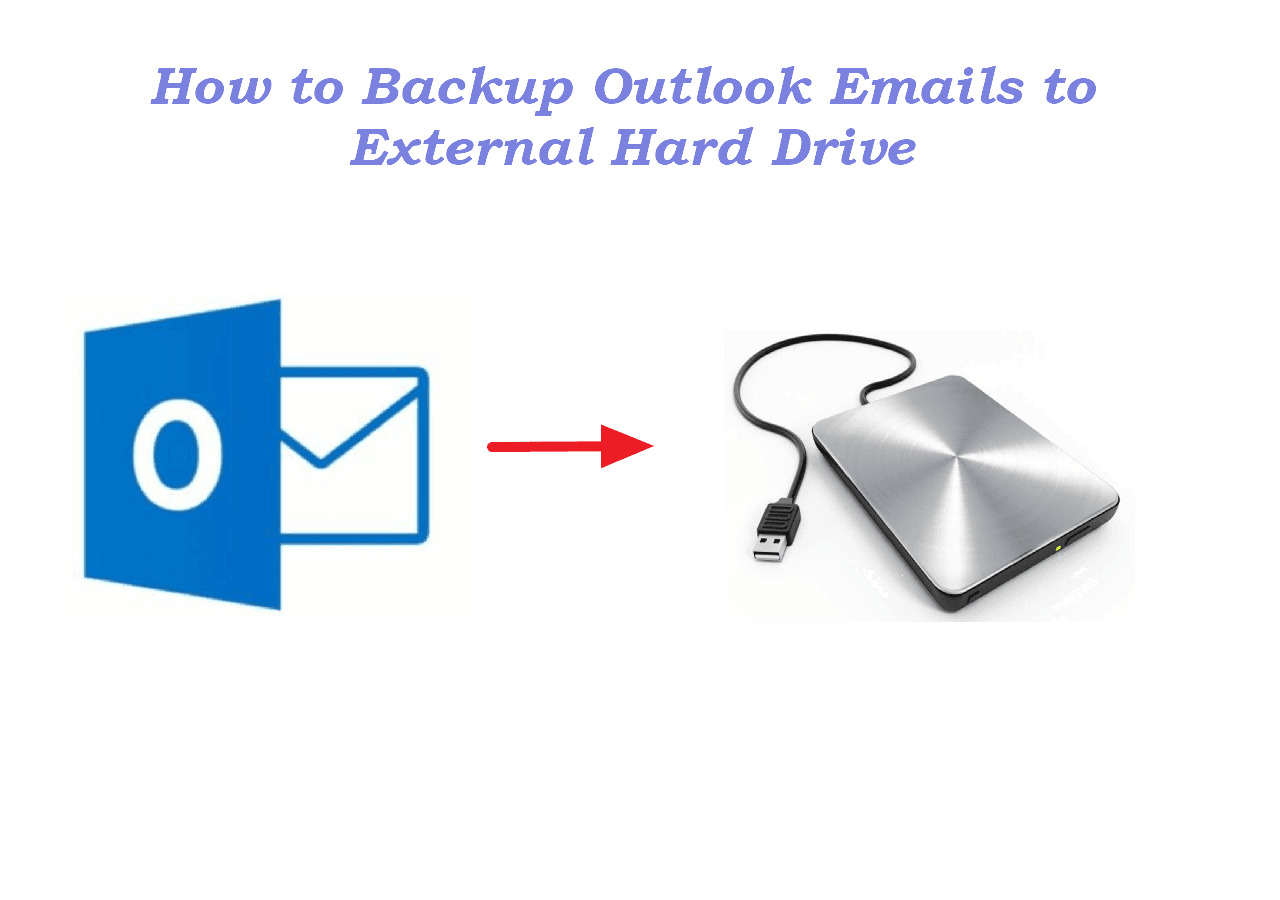
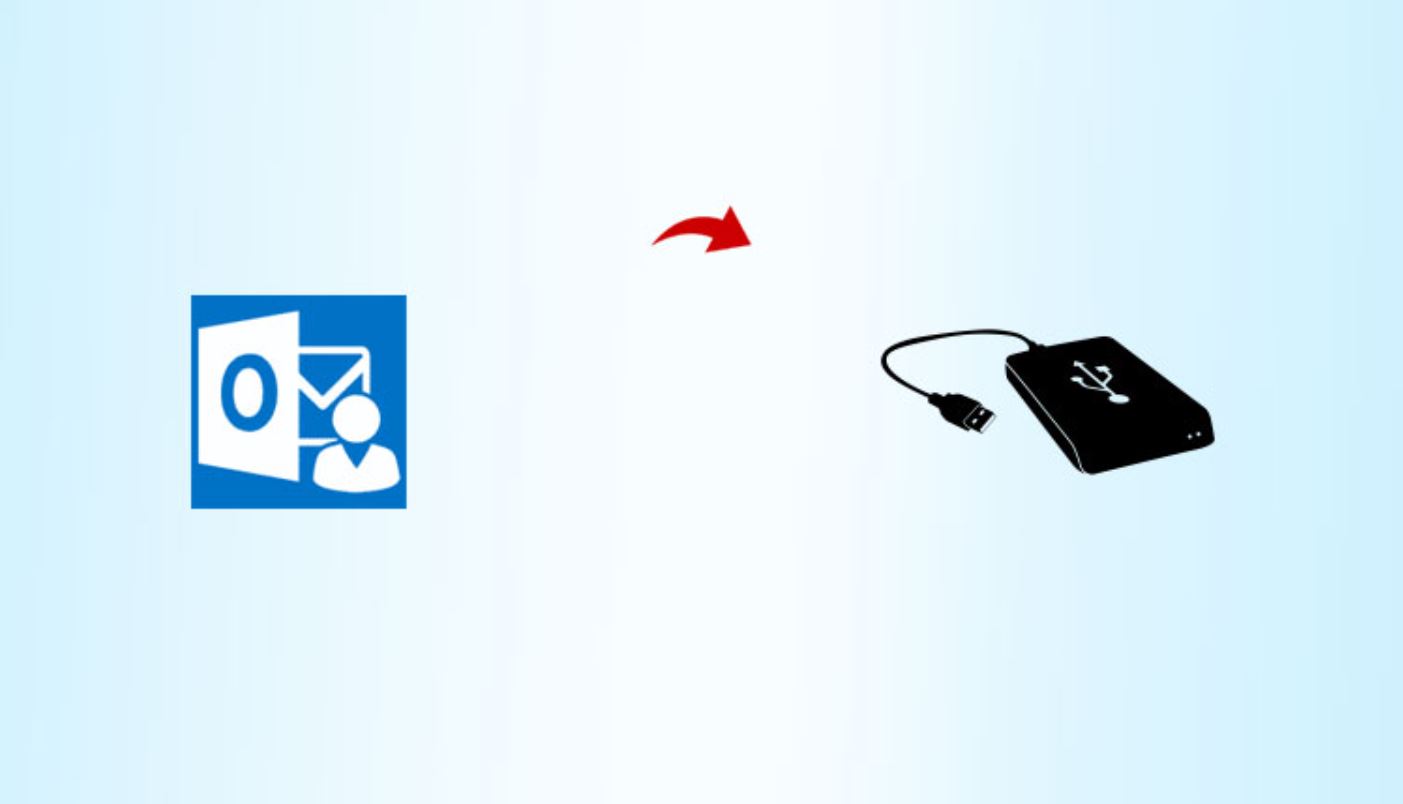
That’s where the concept of backing up your Outlook emails to an external hard drive comes into play. A backup solution provides you with peace of mind, allowing you to recover your emails in case of data loss due to system failures, computer crashes, or accidental deletion.
Backing up your Outlook emails to an external hard drive is a smart move. It not only protects your data but also offers the convenience of accessing your emails on multiple devices or when you’re offline. Plus, it frees up space in your mailbox, keeping your Outlook running smoothly.
In this article, we will explore different methods to back up your Outlook emails to an external hard drive. You’ll learn how to safeguard your important emails and ensure their accessibility whenever you need them. So, let’s dive into the world of email backup and get your Outlook data secured!
Understanding the Need for Backup
It’s a fact of life that technology is not infallible. Despite the advancements in data storage and security, there is always a risk of data loss. This is where the importance of backing up your Outlook emails to an external hard drive becomes evident.
First and foremost, accidental deletion or corruption of files can happen to anyone. Whether it’s a slip of the finger while deleting emails or a software glitch, losing important emails can be devastating. By having a backup of your Outlook emails, you can easily restore any lost or deleted data.
Another reason to back up your Outlook emails is the risk of hardware failure. Computer hard drives can crash or become damaged, leading to permanent data loss. By regularly backing up your emails to an external hard drive, you mitigate the risk of losing valuable data in the event of a hardware failure.
Moreover, external hard drives offer an additional layer of protection against computer viruses and malware. These malicious software can infect and corrupt your files, including your Outlook emails. By keeping a separate backup on an external hard drive, you can isolate your emails from any potential cyberattacks and ensure their integrity.
Furthermore, backing up your Outlook emails to an external hard drive provides the convenience of accessing your emails offline. Sometimes, you may find yourself in a location with limited or no internet connectivity. In such situations, having a local backup on an external hard drive allows you to browse through your emails and retrieve important information even without an internet connection.
Lastly, as your email storage grows, it can significantly impact the performance of your Outlook application. By transferring older or less frequently accessed emails to an external hard drive, you can free up space in your mailbox, ensuring a smooth and efficient operation of Outlook.
Now that we understand the need for backing up Outlook emails, let’s explore the different methods available to achieve this. Whether you prefer a manual approach or an automated solution, there’s a backup method that suits your preferences and requirements.
Choosing the Right External Hard Drive
When it comes to backing up your Outlook emails, selecting the right external hard drive is crucial. With various options available in the market, it’s essential to consider your storage needs, connectivity, and reliability before making a choice.
Firstly, consider the storage capacity of the external hard drive. Outlook emails can accumulate over time, especially if you receive large attachments or have a high volume of correspondence. Therefore, it’s advisable to choose an external hard drive with ample storage capacity to accommodate your current and future email data.
Next, consider the connectivity options. USB 3.0 and USB-C are popular choices for external hard drives due to their fast data transfer speeds. These interfaces ensure that the backup process is quick and efficient. However, if your computer has specific connectivity limitations, such as only supporting USB 2.0, make sure to choose an external hard drive that is compatible with your system.
Another crucial factor to consider is the durability and reliability of the external hard drive. Look for a reputable brand with a good track record of reliability. A rugged and shock-resistant design can also be beneficial if you plan to transport the external hard drive frequently or if you work in an environment where it may be exposed to physical hazards.
Additionally, consider the backup software compatibility. Some external hard drives come with proprietary backup software, which can streamline the backup process and offer additional features such as scheduled backups or incremental backups. Ensure that the external hard drive and software are compatible with your operating system and version of Outlook.
Finally, consider the portability and form factor of the external hard drive. If you need to travel frequently or prefer a compact solution, opt for a portable external hard drive that can easily fit in your bag or pocket. On the other hand, if you require larger storage capacity and don’t plan on moving the external hard drive frequently, a desktop or NAS (Network-Attached Storage) solution may be more suitable.
By considering these factors, you can choose an external hard drive that meets your specific requirements and ensures a reliable and efficient backup solution for your Outlook emails. Once you’ve selected the right external hard drive, it’s time to explore the methods available to back up your Outlook emails effectively.
Method 1: Exporting Outlook Emails Manually
One of the simplest ways to back up your Outlook emails is by manually exporting them from the application. This method allows you to select specific folders or emails to export, giving you more control over the backup process. Follow these steps to export your Outlook emails manually:
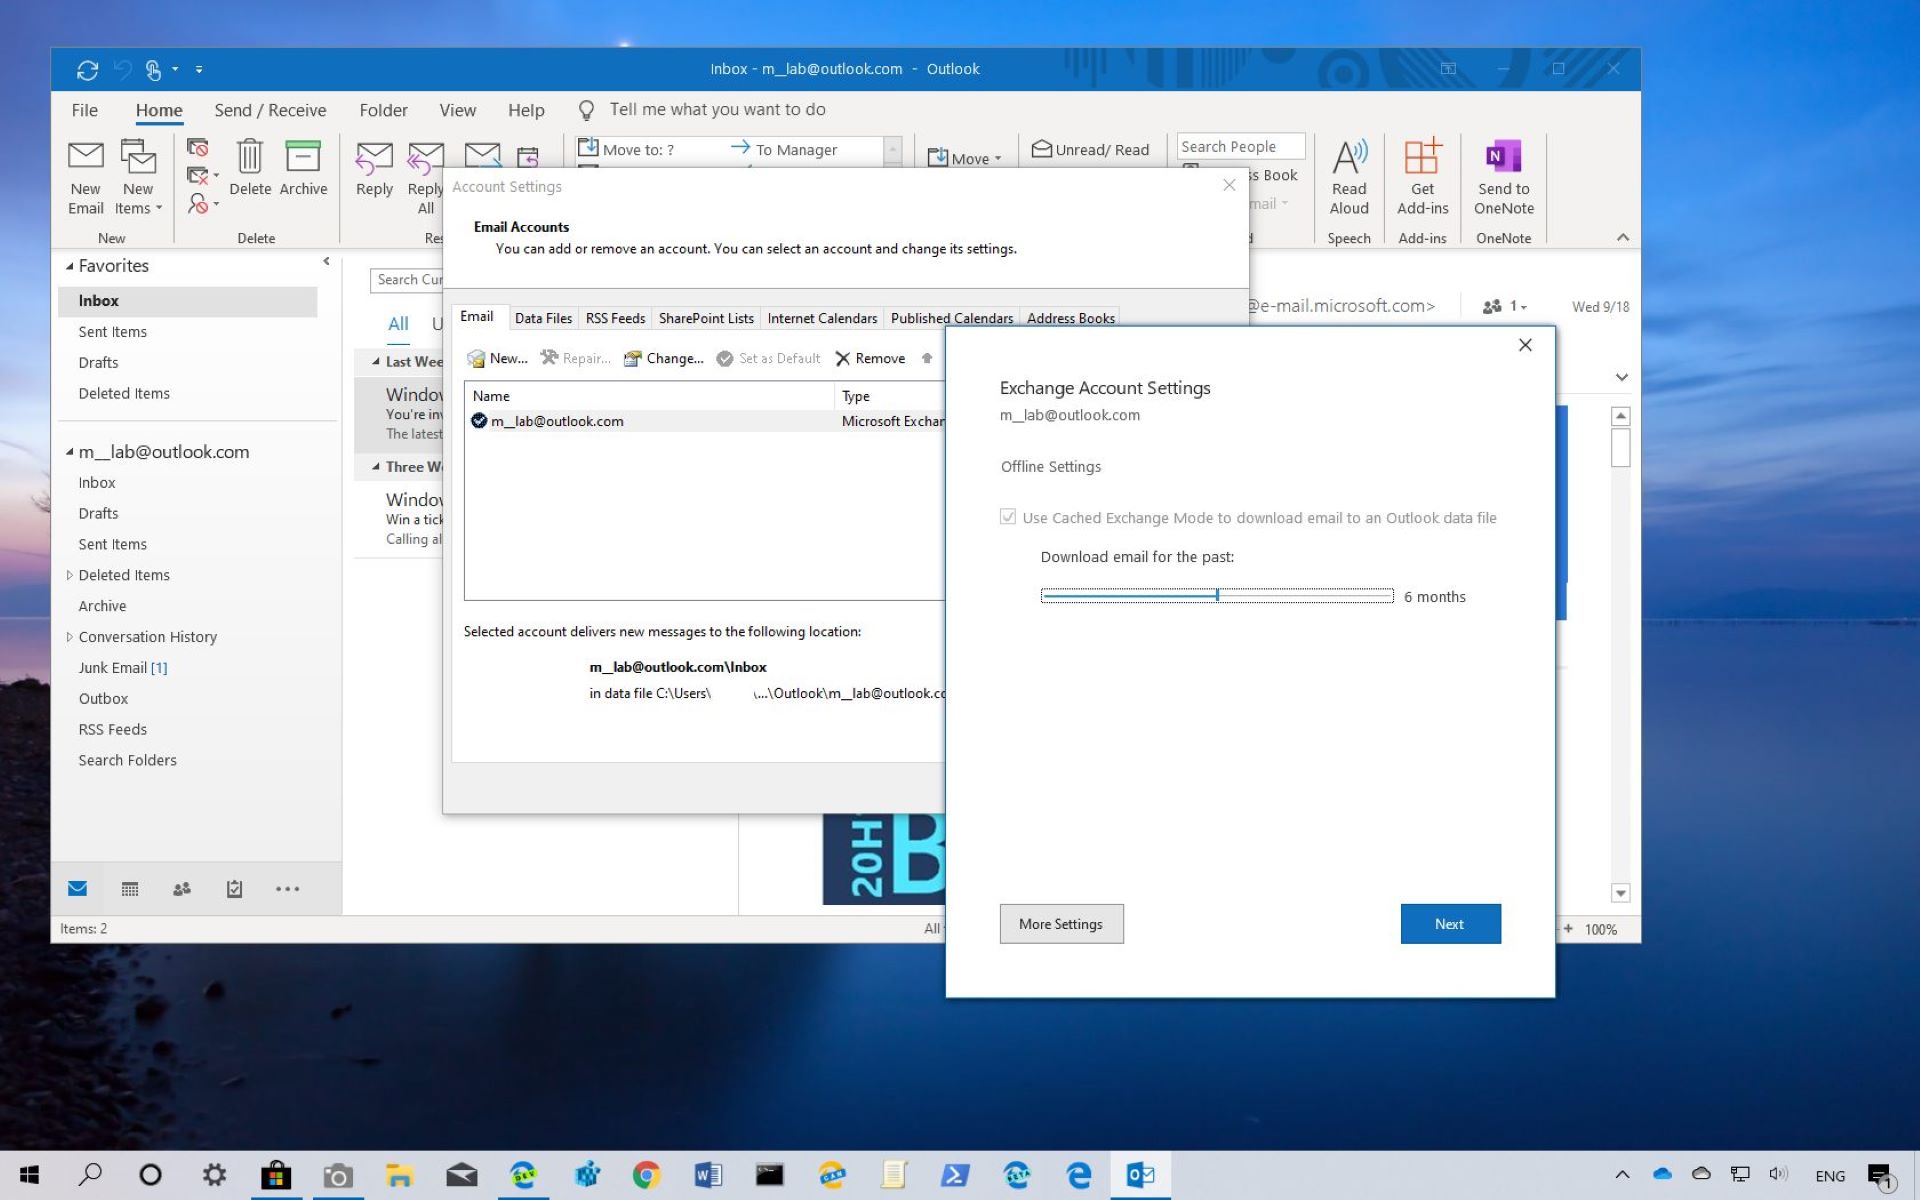
- Open Microsoft Outlook on your computer.
- Click on the “File” tab in the upper-left corner of the Outlook window.
- In the menu options, select “Open & Export” and then click on “Import/Export”.
- A new window will appear. Choose the option “Export to a file” and click “Next”.
- Select “Outlook Data File (.pst)” as the file type to export and click “Next”.
- In the next window, choose the specific folders or emails you want to back up. You can select entire mailboxes, specific folders, or use filters to choose certain emails based on criteria such as date range or sender. Click “Next” when you’re done.
- Browse to choose the location where you want to save the exported file. You can save it to an external hard drive or any other preferred location. Choose a name for the backup file and click “Finish”.
- If you want to password-protect the backup file, you can set a password in the following window. This is optional but provides an extra layer of security for your exported Outlook emails.
- Wait for the export process to complete. The time it takes will depend on the size of the selected emails or folders.
- Once the export is finished, you will have a copy of your Outlook emails saved as a .pst file on your chosen location. This file can be easily transferred to an external hard drive for safekeeping.
By following these steps, you can manually export your Outlook emails and create a backup on an external hard drive. This method provides flexibility in choosing which emails or folders to back up and allows you to easily transfer and access your backup file whenever needed.
Method 2: Using the Outlook Backup Tool
If you prefer a more automated approach to backing up your Outlook emails, you can utilize the built-in Outlook Backup tool. This tool allows you to create regular backups of your Outlook data without the need for manual exporting. Here’s how you can use the Outlook Backup tool:
- Launch Microsoft Outlook on your computer.
- Click on the “File” tab located in the upper-left corner of the Outlook window.
- In the menu options, select “Open & Export” and then click on “Import/Export”.
- A dialog box will appear. Choose the option “Export to a file” and click “Next”.
- Select “Outlook Data File (.pst)” as the file type to export and click “Next”.
- In the next window, select the top-level folder, typically labeled with your email address or “Personal Folders”. This will ensure that all your Outlook data, including emails, contacts, and calendar entries, are included in the backup.
- Browse to choose the location where you want to save the backup file. This can be an external hard drive or any other desired location. Assign a name to the backup file and click “Finish”.
- Now, you will be prompted to set a password for the backup file. This step is optional but adds an extra layer of security to your Outlook data.
- Wait for the backup process to complete. The duration will depend on the size of your Outlook data.
- Once the backup is finished, you’ll have a .pst file saved in your chosen location, containing all your Outlook data.
The Outlook Backup tool simplifies the process of creating regular backups by automating the export and saving it as a .pst file. By utilizing this tool, you can ensure that your Outlook emails and other important data are backed up regularly without the need for manual intervention.
Remember to schedule regular backups using the Outlook Backup tool to stay up-to-date with the latest changes in your Outlook data. This way, you’ll have peace of mind knowing that your emails are consistently protected and easily restorable in case of any unforeseen data loss.
Method 3: Automating the Backup Process
If you want a hands-off approach to backing up your Outlook emails, you can automate the backup process using third-party software or add-ins. This method eliminates the need for manual intervention and ensures that your Outlook data is regularly backed up without any effort. Here’s how you can automate the backup process:
- Research and choose a reputable third-party backup software or add-in that is compatible with your version of Outlook. There are several options available, ranging from simple backup tools to comprehensive backup solutions.
- Install and configure the chosen backup software or add-in on your computer. Follow the provided instructions to set it up correctly.
- Once installed, launch the backup software or add-in and navigate to the settings or preferences section.
- Configure the backup settings according to your preferences. This may include selecting specific folders or email criteria to back up, setting the backup frequency, and choosing the destination folder or external hard drive to store the backups.
- Enable any additional features offered by the backup software or add-in, such as encryption, file compression, or notification settings.
- Save and apply the backup settings to initiate the automated backup process.
- Depending on the selected frequency, the backup software or add-in will automatically create backups of your Outlook data at the specified intervals (daily, weekly, monthly, etc.). It will usually run in the background without interrupting your regular Outlook activities.
- Ensure that the external hard drive or backup destination is connected or accessible during the scheduled backup time to store the backups.
- Regularly check the backup logs or notifications provided by the backup software or add-in to ensure that the backups are being created successfully.
- In case of any issues or changes in your Outlook configuration, review and update the backup settings accordingly.
By automating the backup process, you can eliminate the risk of forgetting to back up your Outlook emails regularly. It provides a convenient and reliable way to ensure that your data is always protected and easily restorable.
Remember to periodically check and verify the backups to ensure their integrity. Test the restoration process using a test environment to ensure that you can fully recover your Outlook data when needed.
Automating the backup process not only saves your time and effort but also gives you the peace of mind that your Outlook emails are continuously protected and backed up.
Tips for a Successful Backup
When it comes to backing up your Outlook emails to an external hard drive, following some best practices can ensure a successful and reliable backup process. Consider the following tips:
- Regular Backup Schedule: Establish a regular backup schedule to ensure that your Outlook emails are consistently backed up. You can choose a weekly, bi-weekly, or monthly frequency depending on the volume of emails and the importance of your data.
- Verify Backup Integrity: Periodically verify the integrity of your backups by testing the restoration process. This will ensure that your backup files are not corrupted and can be easily recovered if needed.
- Password Protection: If your backup files contain sensitive or confidential information, consider password-protecting them. This helps enhance the security of your backup files and prevents unauthorized access.
- Store Backups Offsite: Consider keeping a copy of your backup files in a different physical location. This protects your backups from potential disasters like theft, fire, or natural disasters. Cloud storage or an external hard drive stored in a different location can serve as an offsite backup solution.
- Label and Organize: Clearly label and organize your backup files for easy retrieval. Use descriptive file names and create folders based on dates or categories to keep your backups well-organized.
- Monitor Available Storage Space: Regularly check the available storage space on your external hard drive to ensure that you have sufficient storage capacity for your backups. Consider periodically purging older backups to free up space.
- Test Different Restoration Scenarios: As part of your backup strategy, test different restoration scenarios to ensure that you can successfully recover your Outlook emails from the backup files. This helps identify any potential issues or gaps in the backup process.
- Keep Software Up to Date: If you’re using third-party backup software or add-ins, make sure to keep them updated with the latest versions. Updates often include bug fixes and improvements, ensuring a smooth and reliable backup process.
- Document Your Backup Process: Document the steps involved in your backup process for future reference. This can be helpful when migrating to a new computer or setting up backups on multiple devices.
- Monitor Backup Logs: Regularly check the backup logs or notifications provided by your backup software or add-in. This allows you to stay informed about the status of your backups and any potential errors or issues that may arise.
By following these tips, you can ensure a successful backup of your Outlook emails to an external hard drive. Remember, a well-executed backup strategy not only protects your valuable data but also provides peace of mind for any unexpected data loss scenarios.
Conclusion
Backing up your Outlook emails to an external hard drive is a critical step in safeguarding your important data. Whether you choose to manually export your emails, utilize the built-in Outlook Backup tool, or automate the backup process with third-party software, the key is to ensure consistent and reliable backups.
By having a backup of your Outlook emails, you protect against accidental deletion, hardware failure, and cyber threats. It provides peace of mind knowing that your emails are secure and easily recoverable in case of any unforeseen circumstances.
When choosing an external hard drive, consider factors like storage capacity, connectivity options, reliability, and compatibility with your backup software or add-ins. This ensures that you have enough space to accommodate your backups and that the backup process is efficient and seamless.
Remember to follow best practices for successful backups, such as maintaining a regular backup schedule, verifying backup integrity, password-protecting the backup files, and storing backups offsite. Labeling and organizing backup files, monitoring available storage space, and testing different restoration scenarios also contribute to a robust backup strategy.
By implementing these tips and strategies, you can have the confidence that your Outlook emails are securely backed up to an external hard drive. In the event of any data loss, you can easily retrieve and restore your emails, ensuring minimal disruption to your work and personal life.
Take the necessary steps today to protect your Outlook emails. Choose the method that suits your preferences and needs, and start backing up your valuable data. With a reliable backup solution in place, you can have peace of mind knowing that your Outlook emails are safe and accessible whenever you need them.