Introduction
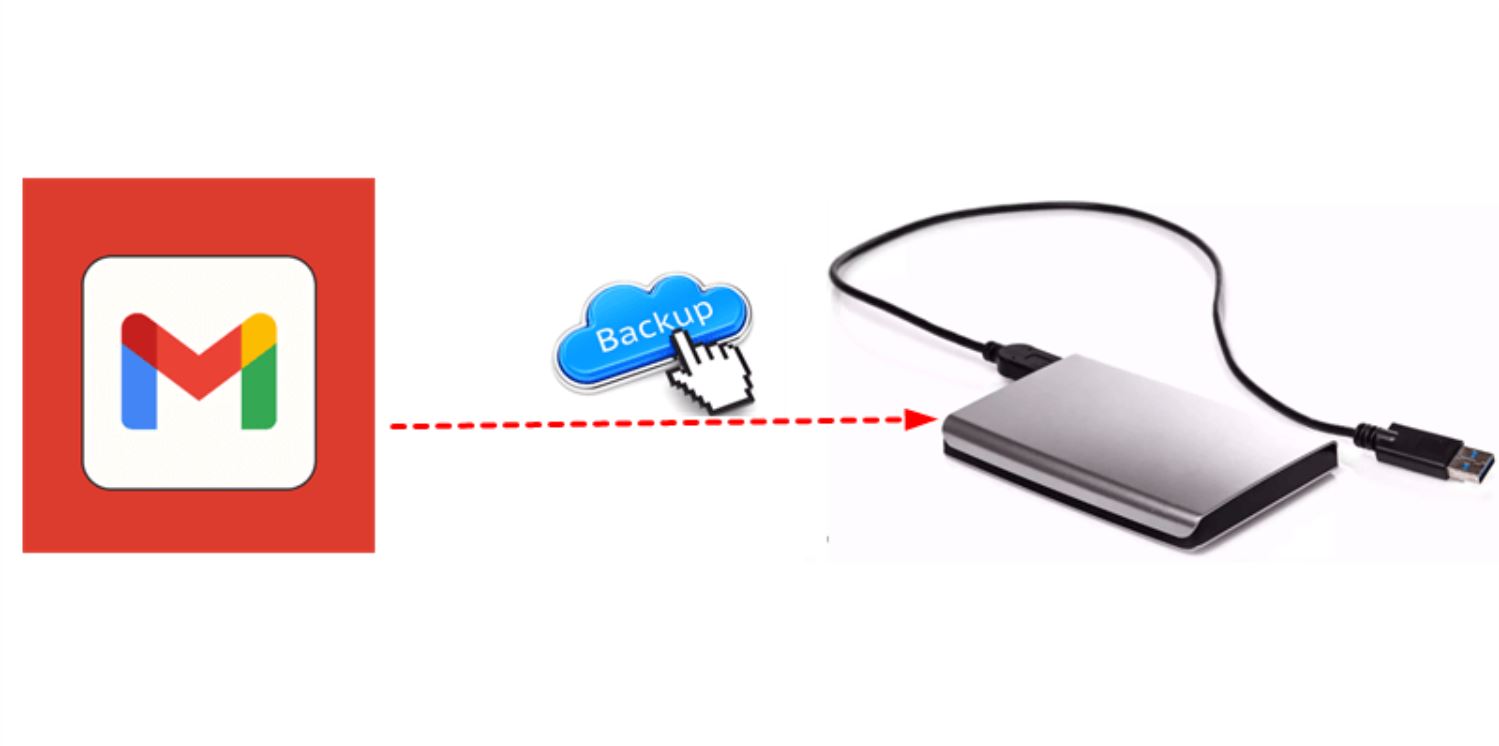
Gmail has become one of the most popular email platforms globally, offering a wide array of features and a generous amount of storage space. However, for those who want to save their Gmail emails to an external hard drive, the process may not be obvious. Whether you are looking to backup important emails for future reference or simply want to free up space in your Gmail account, this tutorial will guide you through the steps to save Gmail emails to an external hard drive.
External hard drives provide a convenient and secure way to store and access your emails offline. Whether you have a large collection of old emails or want to keep a personal archive of important conversations, saving Gmail emails to an external hard drive ensures that you have a backup in case of unexpected data loss or if you need to access your emails without an internet connection.
In this tutorial, we will walk you through the step-by-step process of saving Gmail emails to an external hard drive. From enabling POP access in Gmail to configuring your preferred email client and connecting the external hard drive, we will cover all the necessary steps to ensure a successful backup and easy access to your saved emails.
Before we dive into the technical details, please note that the process may vary slightly depending on the operating system and email client you are using. However, the underlying principles remain the same, and we will provide general guidance that should apply to most scenarios.
Now, let’s get started and learn how to save your precious Gmail emails to an external hard drive!
Step 1: Accessing Gmail settings
The first step in saving Gmail emails to an external hard drive is accessing the Gmail settings. Follow these simple instructions:
- Open your preferred web browser and go to the Gmail website (www.gmail.com).
- Sign in to your Gmail account using your email address and password.
- Once you are signed in, locate the gear icon (“Settings”) in the upper-right corner of the Gmail interface and click on it. A drop-down menu will appear.
- In the drop-down menu, select “Settings.” This will open the Gmail settings page.
It’s important to note that Gmail offers different options and settings to customize your email experience. By accessing the Gmail settings, you can configure various options, including email filters, signature settings, and security settings. For our purpose of saving Gmail emails to an external hard drive, we need to enable POP access, which we will cover in the next step.
Once you have successfully accessed the Gmail settings, you are ready to move on to the next step of enabling POP access. This step is crucial to allow the email client to access and retrieve your Gmail emails for backup and storage on your external hard drive.
Step 2: Enabling POP access in Gmail
In order to save your Gmail emails to an external hard drive, you need to enable POP access in your Gmail account. POP (Post Office Protocol) is an internet standard that allows the email client to retrieve emails from a mail server. By enabling POP access, you grant permission for the email client to access and download your Gmail emails.
Follow these steps to enable POP access in Gmail:
- Go back to the Gmail settings page (as described in Step 1).
- Click on the “Forwarding and POP/IMAP” tab, which is located at the top of the settings page.
- Under the “POP Download” section, select the option “Enable POP for all mail” or “Enable POP for mail that arrives from now on,” depending on your preference. The former option will allow you to download all existing and future emails, while the latter will only download new emails received after enabling POP access.
- Save your changes by scrolling down and clicking on the “Save Changes” button.
Enabling POP access in Gmail is a crucial step to establish a connection between your Gmail account and the email client that will be used to save the emails to an external hard drive. By granting permission for POP access, you ensure that the email client can fetch and download your emails for offline storage.
Now that you have successfully enabled POP access in your Gmail account, you are ready to move on to the next step of choosing the email client that will facilitate the saving of your Gmail emails to an external hard drive.
Step 3: Choosing the email client
Now that you have enabled POP access in your Gmail account, it’s time to choose the email client that will be used to save your Gmail emails to an external hard drive. An email client is a software application that allows you to manage and access your email. There are several email clients available, both free and paid, each with its own features and functionalities.
When it comes to selecting an email client for saving Gmail emails, it’s important to consider compatibility with your operating system, ease of use, and the ability to export emails in a format compatible with external hard drives. Some popular options include Microsoft Outlook, Mozilla Thunderbird, and Apple Mail, but you are not limited to these choices.
Here are a few factors to consider when choosing an email client:
- Compatibility: Ensure that the email client you choose is compatible with your operating system (Windows, macOS, Linux, etc.).
- User Interface: Look for an email client with a user-friendly interface that suits your preferences and workflow.
- Export Options: Check if the email client allows exporting emails in a format that is compatible with external hard drives, such as .pst or .mbox.
- Additional Features: Consider any additional features that may be important to you, such as encryption, advanced search capabilities, or integration with other productivity tools.
Take your time to research and evaluate different email clients based on your specific needs and preferences. Once you have selected the email client that meets your criteria, proceed to the next step to configure it for saving Gmail emails to an external hard drive.
Step 4: Configuring the email client
After choosing the email client that you will use to save your Gmail emails to an external hard drive, the next step is to configure the email client to establish a connection with your Gmail account. Follow these instructions to set up the email client:
- Open the email client software on your computer.
- Locate the option to add a new email account or configure an existing account. This option is usually found in the settings or preferences menu.
- Enter your name and Gmail email address in the provided fields.
- Choose the POP protocol from the available options.
- Enter “pop.gmail.com” as the incoming mail server.
- Enter your Gmail email address as the username.
- Enter your Gmail password in the password field.
- Configure the port number to “995” for a secure connection.
- Choose the option to enable SSL or TLS encryption.
- Save the changes and proceed to the next step.
These instructions may vary slightly depending on the email client you have chosen. If you encounter any difficulties during the configuration process, refer to the email client’s documentation or online support resources for detailed instructions specific to that software.
Configuring the email client allows it to connect to your Gmail account and retrieve your emails using the POP protocol. This connection will enable the email client to download your Gmail emails and save them to your computer’s local storage, ready for transfer to the external hard drive in the next steps.
Once you have successfully configured the email client, you are now ready to connect the external hard drive to your computer and proceed to the next step of saving your Gmail emails.
Step 5: Connecting the external hard drive
With the email client configured to access your Gmail account and retrieve your emails, the next step is to connect your external hard drive to your computer. This will allow you to transfer and save the downloaded emails from the email client to the external hard drive.
Follow these guidelines to connect your external hard drive:
- Locate an available USB port on your computer.
- Plug the USB cable of your external hard drive into the USB port.
- Ensure that the external hard drive is powered on.
- Wait for your computer to recognize the external hard drive and establish a connection.
- You may need to install any necessary drivers or software provided by the manufacturer of the external hard drive. Refer to the manufacturer’s instructions for specific details.
Once the external hard drive is successfully connected to your computer, it should appear as a new storage device. You can verify this by checking the file explorer or finder on your computer, where you will see the external hard drive listed as a separate drive or volume.
Connecting the external hard drive is an essential step to facilitate the transfer of your Gmail emails from the email client to the storage device. It is important to ensure that the external hard drive has enough available space to accommodate the email files you will be transferring.
Now that your external hard drive is properly connected and recognized by your computer, you are ready to move on to the next step of saving your Gmail emails to the external hard drive.
Step 6: Saving emails to the external hard drive
With your email client configured and your external hard drive connected to your computer, you are now ready to save your Gmail emails to the external hard drive. Follow these steps to complete the process:
- Open your email client software.
- Select the folder or label that contains the emails you want to save.
- Highlight the emails you wish to save by selecting them individually or using the “Select All” option.
- Right-click on the selected emails and look for the option to “Export” or “Save As”. This option may vary depending on the email client you are using.
- Choose the preferred format for exporting the emails. Common formats include .pst, .mbox, or .eml.
- Select the external hard drive as the destination for the exported emails.
- Click on the “Save” or “Export” button to begin the process of saving the emails to the external hard drive.
- Wait for the export process to complete. The time required will depend on the number and size of the emails being saved.
- Once the export is finished, you will receive a notification confirming the successful transfer of your Gmail emails to the external hard drive.
Ensure that you have enough available space on the external hard drive to accommodate the size of the exported emails. If necessary, consider organizing the emails into separate folders or compressing them to reduce file size.
Saving your Gmail emails to an external hard drive provides you with a convenient and secure backup solution. It enables you to access your emails offline and ensures that your important conversations and attachments are preserved in case of data loss or accidental deletion.
Now that you have successfully saved your Gmail emails to the external hard drive, you can proceed to the final step of organizing and managing the saved emails to maintain an efficient and easily accessible archive.
Step 7: Organizing and managing saved emails
After saving your Gmail emails to the external hard drive, it’s important to organize and manage them effectively for easy access and retrieval. Follow these steps to keep your saved emails well-organized:
- Create folders or directories on the external hard drive to categorize the emails based on specific criteria. For example, you could create folders for different senders, topics, or time periods.
- Move the saved emails from the default export location to the appropriate folders on the external hard drive. This will help you maintain a systematic structure and make it easier to locate specific emails when needed.
- Consider adding descriptive file names to the exported emails to provide additional context and improve searchability. You can include relevant keywords, dates, or sender names in the file names.
- Implement a naming convention or standardized folder structure to ensure consistency and ease of navigation. This will make it easier to locate and retrieve specific emails in the future.
- Regularly update and maintain your email archive on the external hard drive. Remove any duplicate or irrelevant emails to keep your storage space optimized.
- Periodically back up your external hard drive to another storage device or cloud storage service. This will provide an additional layer of protection and ensure that your saved emails are not at risk of being lost in case of hardware failure or damage.
By organizing and managing your saved emails effectively, you can create a well-structured archive that is easy to navigate and search through. This will save you time and effort when you need to retrieve specific emails or refer back to past conversations or important information.
Remember to keep your external hard drive in a safe and secure location to protect it from physical damage, theft, or loss. Treat it as you would any other valuable storage device to ensure the longevity and reliability of your saved Gmail emails.
With these steps, you have successfully saved, organized, and managed your Gmail emails on an external hard drive, providing you with a secure and accessible backup of your important communications. Make sure to maintain regular backups and periodically review and update your email archive to keep it organized and up to date.
Conclusion
Saving Gmail emails to an external hard drive allows you to create a secure backup of your important communications and frees up space in your Gmail account. By following the step-by-step process outlined in this guide, you can successfully save your Gmail emails to an external hard drive and have them readily accessible offline.
From accessing the Gmail settings to enabling POP access, choosing the right email client, configuring it, and connecting the external hard drive, each step is crucial in ensuring a smooth and efficient backup process. By organizing and managing the saved emails on the external hard drive, you can maintain an organized and easily accessible archive for future reference.
Remember to regularly update and maintain your email archive, delete any duplicate or irrelevant emails, and periodically back up your external hard drive to ensure the safety of your valuable saved emails.
With the convenience of offline access and the security of having a backup stored on an external hard drive, you can have peace of mind knowing that your important Gmail emails are efficiently saved and easily retrievable whenever you need them.
Now that you have the knowledge and tools to save Gmail emails to an external hard drive, you can take control of your email storage and ensure the longevity of your important communications. So, go ahead and start saving your Gmail emails to an external hard drive today!