Introduction
Welcome to the digital age where our lives are filled with photos capturing cherished memories. With the ever-growing popularity of smartphones, it has become easier than ever to snap pictures and store them in the cloud. Google Photos, a cloud-based photo storage service, offers users a seamless way to preserve their precious moments and access them from any device.
However, as our photo collections grow larger, it’s not uncommon to quickly run out of storage space on our devices. This is where transferring Google Photos to an external hard drive comes into play. By doing so, you can free up valuable storage space on your computer or smartphone while still keeping your entire photo library intact.
Transferring Google Photos to an external hard drive offers several advantages. Firstly, it provides a secure backup of your photos in case of accidental loss or device failure. Secondly, it allows you to access your photos offline, even without an internet connection. This can be particularly useful when traveling or in areas with limited connectivity. Lastly, it enables you to easily share your photos with others by having them readily available on a portable drive.
In this step-by-step guide, we will walk you through the process of transferring your Google Photos to an external hard drive, ensuring that your precious memories are safe and accessible whenever you need them. So let’s dive in and get started!
Why Transfer Google Photos to an External Hard Drive?
As mentioned earlier, there are several compelling reasons to consider transferring your Google Photos to an external hard drive. Let’s explore these reasons in more detail:
1. Free Up Storage Space: One of the primary motivations for transferring Google Photos to an external hard drive is to free up storage space on your devices. As your photo collection grows, it can quickly eat up valuable storage on your computer or smartphone. By offloading your photos to an external hard drive, you can reclaim storage space for other important files and applications.
2. Secure Backup: Another crucial reason for transferring Google Photos to an external hard drive is to create a secure backup of your precious memories. Cloud storage is generally reliable, but technical issues, data breaches, or accidental deletions can occur. By having a local backup on an external hard drive, you ensure that your photos are protected and can be easily restored if needed.
3. Offline Accessibility: While cloud storage allows you to access your photos from anywhere with an internet connection, there are times when you may not have reliable internet access. By transferring your Google Photos to an external hard drive, you can still access your entire photo library offline. This can be particularly beneficial when traveling, remote areas, or in situations where an internet connection is not available.
4. Shareability: Transferring Google Photos to an external hard drive also makes it easier to share your photos with others. Rather than relying on internet-based sharing methods, such as shared albums or links, you can simply connect the external hard drive to any compatible device and instantly share your photos. This is especially convenient for sharing memories with friends, family, or colleagues during gatherings or events.
5. Organizational Flexibility: Having your Google Photos stored on an external hard drive provides greater organizational flexibility. You can create custom folders, categorize your photos according to your preferred system, and rearrange them as you wish. This allows for a more personalized and customizable approach to organizing your photo collection.
In summary, transferring Google Photos to an external hard drive offers benefits such as freeing up storage space, creating a secure backup, enabling offline accessibility, facilitating easy photo sharing, and providing organizational flexibility. By taking the time to transfer your photos, you can ensure that your cherished memories are safeguarded, easily accessible, and preserved for years to come.
Step 1: Creating a Folder on Your External Hard Drive
Before transferring your Google Photos to an external hard drive, you need to create a dedicated folder on the drive where you will store your photos. Follow these simple steps to create a folder:
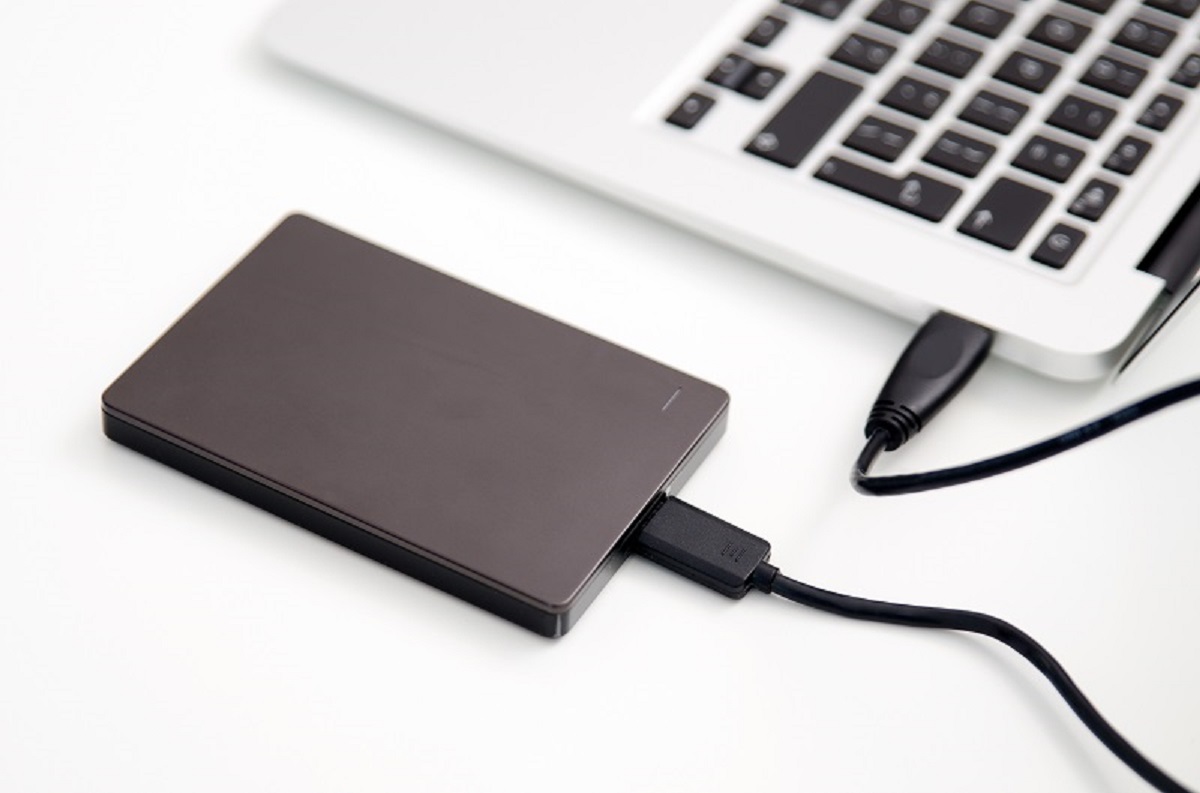
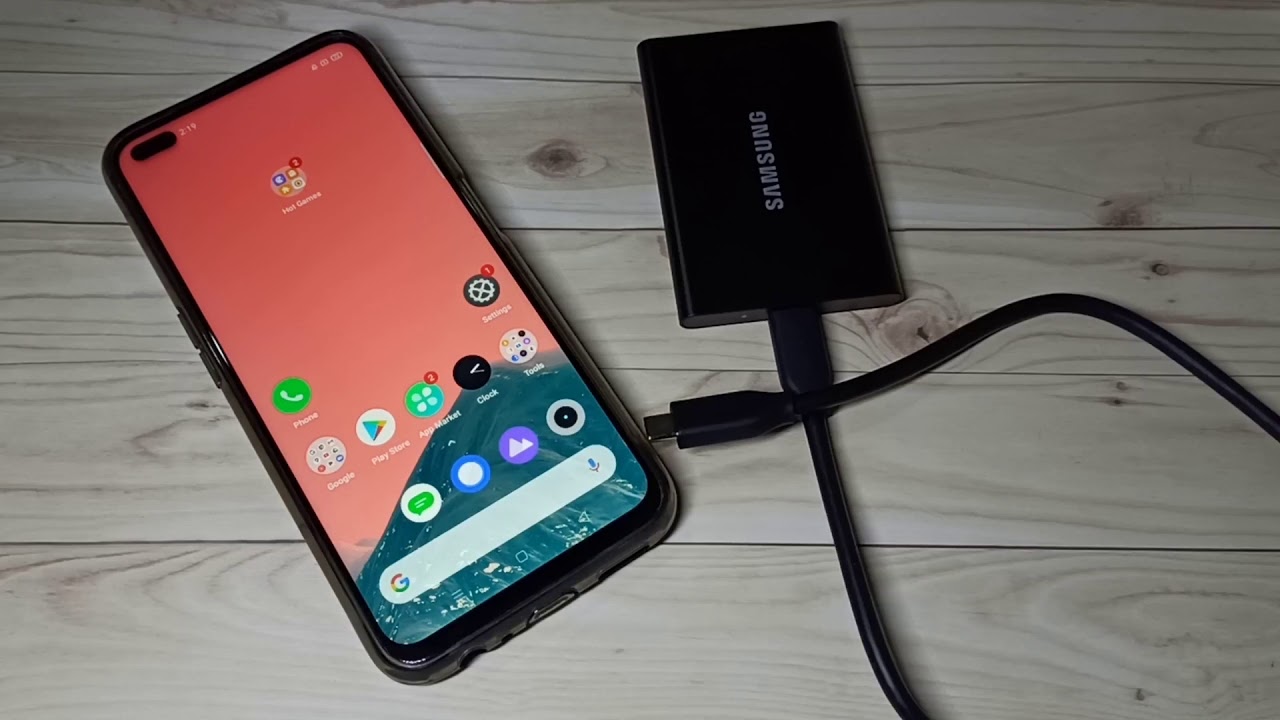
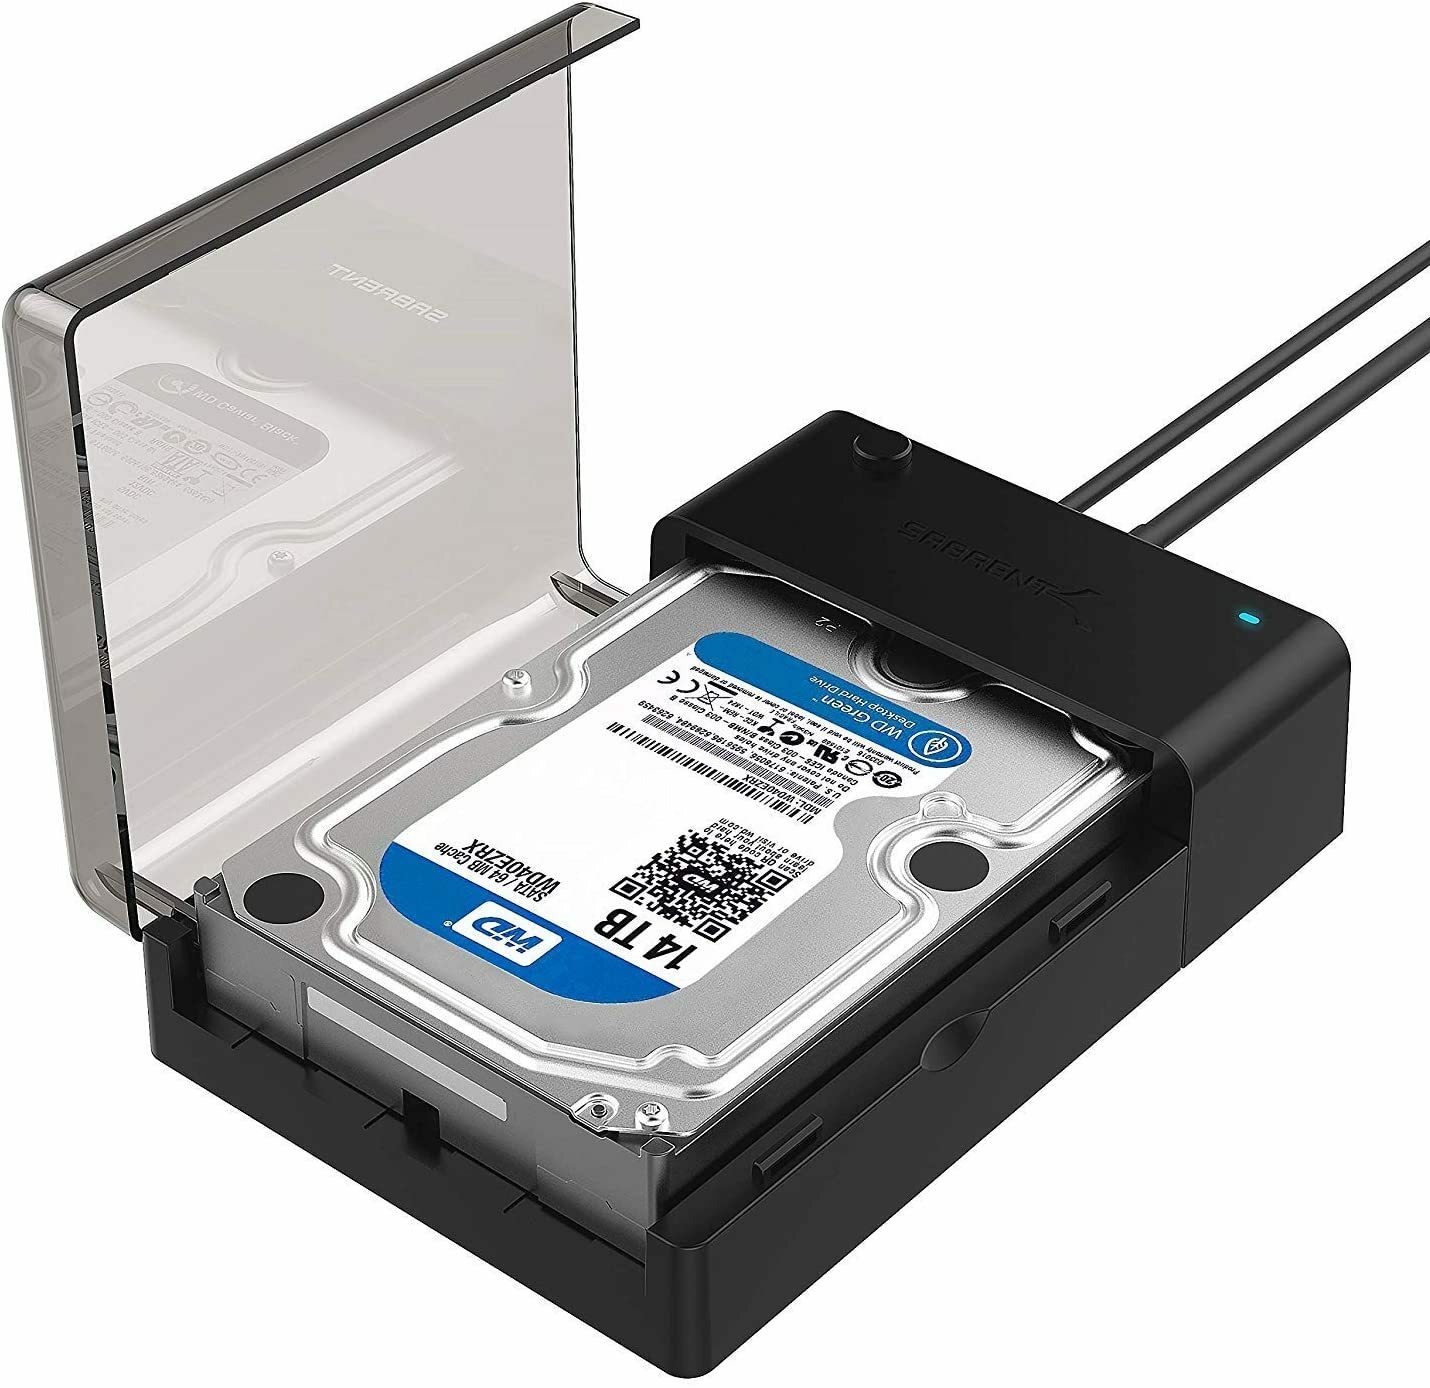
1. Connect Your External Hard Drive: Plug in your external hard drive to your computer’s USB port. Ensure that the drive is properly connected and recognized by your computer.
2. Open File Explorer (Windows) or Finder (Mac): On Windows, open File Explorer by clicking on the folder icon in the taskbar or by pressing the Windows key + E on your keyboard. On Mac, open Finder by clicking on the smiley-faced icon in the dock or by pressing Command + Space and typing “Finder.”
3. Locate Your External Hard Drive: In File Explorer or Finder, you should see a list of drives on the left-hand side. Look for your external hard drive. It is usually labeled with the brand or model name of the drive.
4. Create a New Folder: Once you have located your external hard drive, right-click on it (or control-click on Mac) and select “New Folder” from the context menu. Alternatively, you can click on the “File” menu at the top of the screen and choose “New Folder.”
5. Name Your Folder: Give your folder a descriptive name that represents your Google Photos. Consider using a name that reflects the date range, event, or theme of the photos you plan to transfer. This will make it easier to locate specific photos in the future.
6. Verify the Folder Creation: Double-check that your new folder is created and visible on your external hard drive. You should be able to see it listed alongside any other existing folders on the drive.
7. Repeat if Needed: If you have multiple sets of photos or want to organize them further, you can create additional folders within the main folder you just created. Simply repeat steps 4 to 6 to create as many subfolders as required.
Creating a dedicated folder on your external hard drive ensures that your Google Photos can be easily organized and accessed in the future. It sets the foundation for organizing your photo library efficiently and makes the transfer process smoother. Now that you have your folder ready, it’s time to move on to the next step: exporting your Google Photos to your computer.
Step 2: Exporting Google Photos to Your Computer
Once you’ve created a folder on your external hard drive, the next step is to export your Google Photos to your computer. This process allows you to download your photos from the Google Photos cloud and save them locally for transfer to the external hard drive. Follow the steps below to export your Google Photos:
1. Open your web browser and navigate to Google Photos: Type “photos.google.com” in the address bar of your browser and press Enter. Sign in to your Google account if you’re not already signed in.
2. Select the photos you want to export: Browse through your Google Photos library and select the photos you want to transfer to your external hard drive. You can click on individual photos or use the shift key to select multiple photos at once.
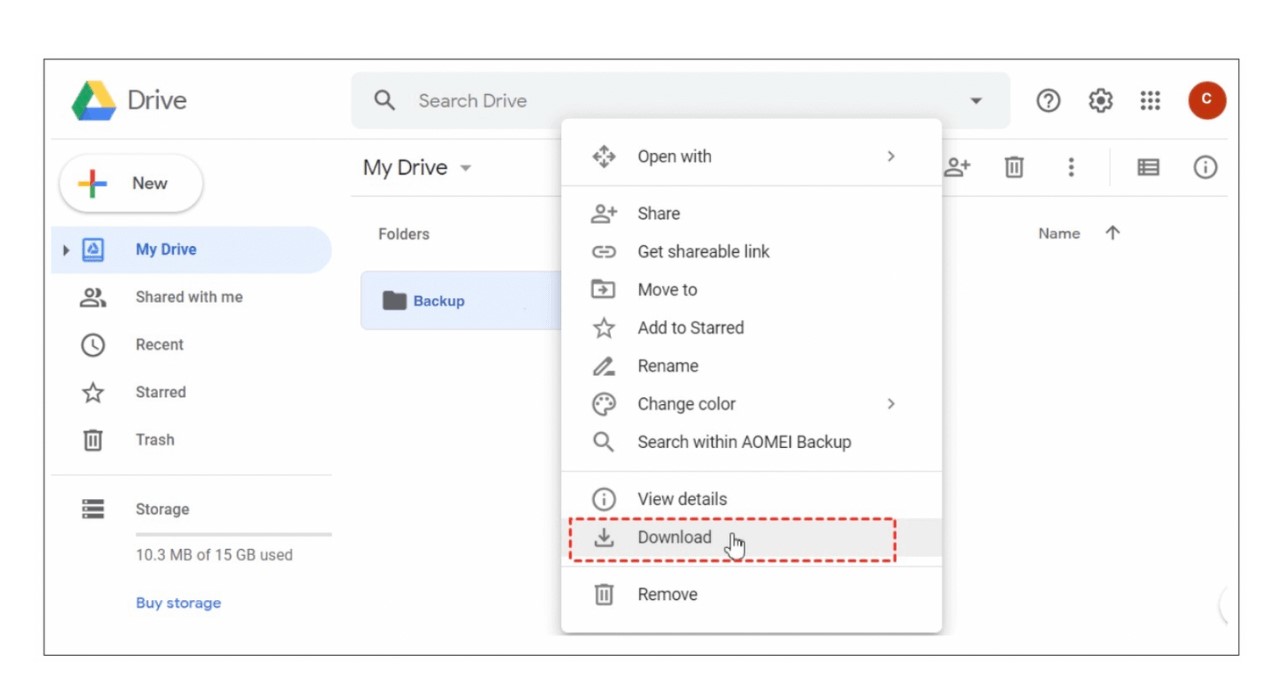
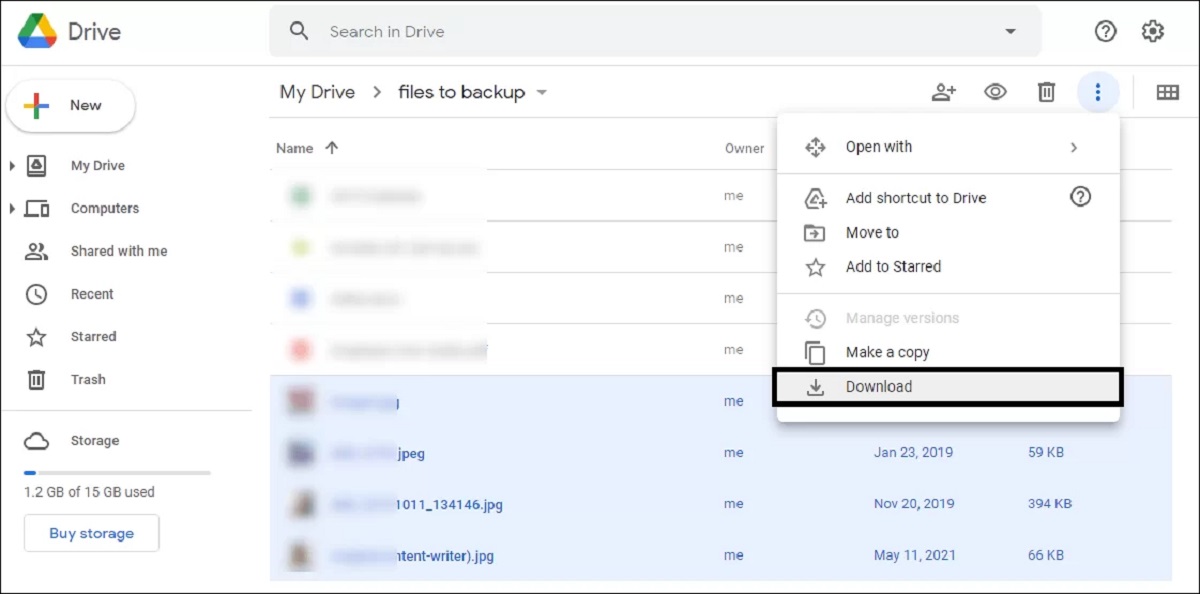
3. Click on the “More Options” menu: Located at the top-right corner of the screen, click on the three-dot icon (vertical ellipsis) to open the More Options menu.
4. Choose “Download”: From the More Options menu, click on “Download.” This will initiate the downloading process and generate a ZIP file containing your selected photos.
5. Wait for the ZIP file to download: The download process might take some time, depending on the size of your selected photos and the speed of your internet connection. Make sure to keep your browser open until the download is complete.
6. Locate the downloaded ZIP file on your computer: Once the download is finished, locate the ZIP file on your computer. By default, it is typically saved in your “Downloads” folder, unless you have specified a different destination.
7. Extract the ZIP file: Right-click on the downloaded ZIP file and select “Extract All” (Windows) or double-click the ZIP file to automatically extract it (Mac). This will create a folder containing the individual photo files.
8. Verify that your photos are successfully exported: Open the extracted folder and ensure that your photos are present. You can open a few random photos to confirm that they have been successfully downloaded.
By following these steps, you have successfully exported your Google Photos and saved them locally on your computer. Next, we will move on to the crucial step of transferring these photos to your external hard drive.
Step 3: Transferring Photos to the External Hard Drive
Now that you have exported your Google Photos and saved them on your computer, it’s time to transfer them to your external hard drive. This step ensures that your photos are securely stored on the external drive for easy access and backup. Follow these simple steps to transfer your photos:
1. Connect your external hard drive to your computer: Ensure that the external hard drive is properly connected to your computer using a USB cable or any other appropriate connection method.
2. Open File Explorer (Windows) or Finder (Mac): Launch File Explorer on Windows by clicking on the folder icon in the taskbar or by pressing the Windows key + E on your keyboard. On Mac, open Finder by clicking on the smiley-faced icon in the dock or by pressing Command + Space and typing “Finder.”
3. Locate the folder containing your exported photos: In File Explorer or Finder, navigate to the folder where you extracted the downloaded ZIP file in the previous step. This is where your exported photos are saved on your computer.
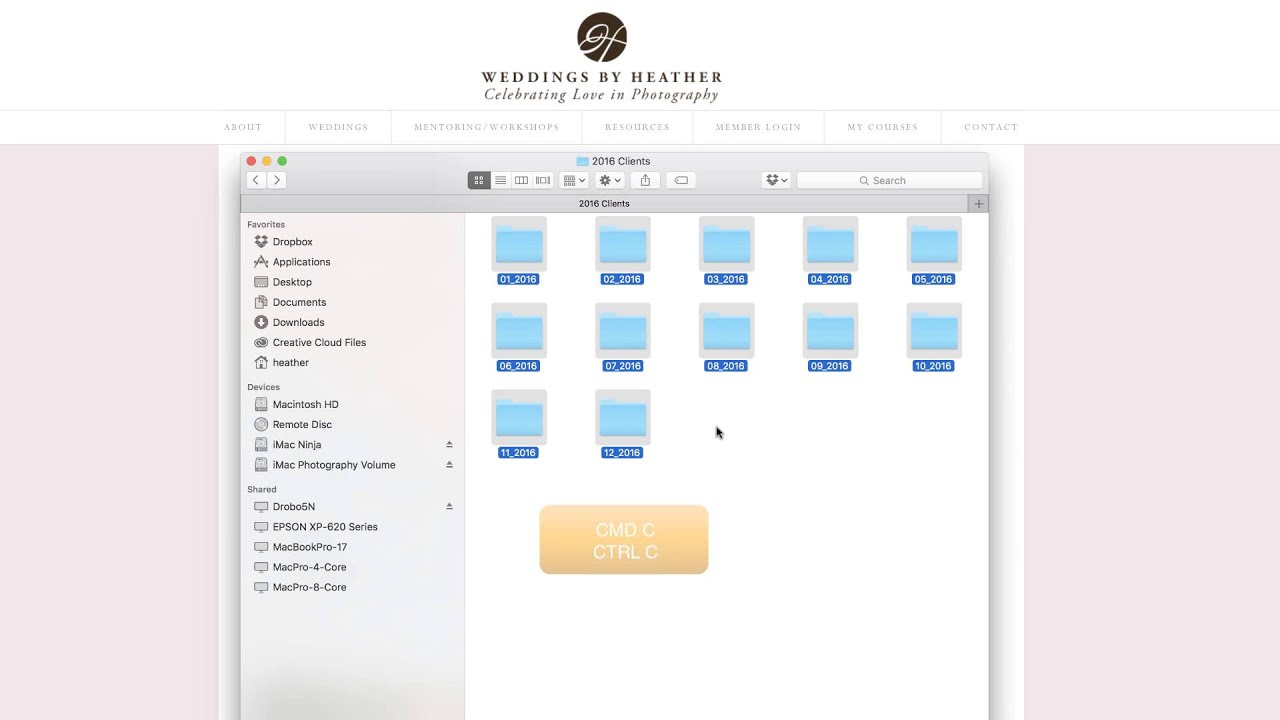
4. Select the photos you want to transfer: Click on the first photo in the folder, hold down the Shift key, and then click on the last photo to select a range of photos. Alternatively, hold down the Ctrl key (Windows) or Command key (Mac) and click on individual photos to select them.
5. Copy the selected photos: Right-click on the selected photos (or control-click on Mac) and choose “Copy” from the context menu. You can also use the shortcut keys Ctrl + C (Windows) or Command + C (Mac) to copy the photos.
6. Navigate to your external hard drive: In File Explorer (Windows) or Finder (Mac), locate your external hard drive in the list of drives on the left-hand side. Click on its icon to access the drive.
7. Paste the copied photos: Right-click anywhere within the external hard drive folder (or control-click on Mac) and select “Paste” from the context menu. You can also use the shortcut keys Ctrl + V (Windows) or Command + V (Mac) to paste the photos into the external hard drive folder.
8. Wait for the transfer to complete: The transfer process may take some time, depending on the size and number of photos being transferred. It is important to let the process finish before ejecting or disconnecting the external hard drive.
9. Verify the transfer: Once the transfer is complete, navigate to the external hard drive folder and verify that your photos have been successfully transferred. Open a few random photos to ensure they are intact and viewable.
By following these steps, you have successfully transferred your exported Google Photos from your computer to the external hard drive. The next step is to sync your Google Photos library to ensure that any future changes or additions are reflected in your external hard drive as well.
Step 4: Syncing Your Google Photos Library
To ensure that your Google Photos library stays up to date and synchronized with your external hard drive, you need to set up a syncing process. This will automatically transfer any new photos or changes made in your Google Photos to the external hard drive. Follow these steps to sync your Google Photos library:
1. Install the Google Backup and Sync tool (optional): Google provides a desktop application called “Backup and Sync” that allows you to sync your Google Photos with a folder on your computer. If you haven’t installed it already, you can download and install it from the Google Photos website.
2. Open the Backup and Sync tool: Once installed, open the Backup and Sync tool on your computer from your desktop or Applications folder.
3. Sign in and configure settings: Sign in with your Google account and follow the prompts to configure the settings. Specify the external hard drive folder you created earlier as the sync folder for your Google Photos.
4. Choose the folders to sync: In the Backup and Sync tool settings, you can specify which folders within your Google Photos library you want to sync with the external hard drive. You can select specific albums, folders, or the entire library.
5. Start the sync process: Once you have configured the settings and selected the folders to sync, click on the “Start” button to initiate the syncing process. The tool will start transferring your Google Photos to the external hard drive, as well as any new photos or changes made in the future.
6. Wait for the initial sync to complete: The initial sync may take some time, depending on the size of your Google Photos library and the speed of your internet connection. Ensure that your computer is connected to the internet and the external hard drive is connected during this process.
7. Monitor the syncing process: The Backup and Sync tool will run in the background and continuously synchronize your Google Photos with the external hard drive. You can monitor the progress by checking the tool’s interface or the file transfer indicators on your computer’s taskbar or dock.
8. Keep the Google Backup and Sync tool running: To ensure that your Google Photos remain synced with the external hard drive, keep the Backup and Sync tool running on your computer. This will automatically detect any changes in your Google Photos and sync them with the external hard drive folder.
By following these steps and keeping the Backup and Sync tool active, you can effortlessly keep your Google Photos library in sync with your external hard drive. This ensures that any new photos, edits, or deletions made in your Google Photos are reflected on the external hard drive, providing you with an updated and reliable backup.
Step 5: Safely Disconnecting Your External Hard Drive
After successfully transferring and syncing your Google Photos to your external hard drive, it is important to safely disconnect the drive to prevent any data loss or corruption. Follow these steps to safely disconnect your external hard drive:
1. Close any open files or applications: Before disconnecting your external hard drive, make sure that you have closed all files and applications that are using or accessing the drive. This prevents any potential conflicts or errors during the disconnection process.
2. Save and close any remaining work: Save any pending work or changes on your computer that may be stored on or affected by the external hard drive. Ensure that you have safely closed any applications or documents related to the drive.
3. Eject or safely remove the external hard drive: On Windows, locate the “Safely Remove Hardware” icon in the system tray on the bottom-right corner of the screen. Click on the icon to open a list of connected devices, and select your external hard drive from the list. Once selected, follow the prompts to eject or safely remove the drive.
On Mac, look for the external hard drive icon on your desktop or in the Finder sidebar. Right-click on the icon and select “Eject” from the context menu. Alternatively, you can drag the external hard drive icon to the Trash in the dock until it changes to an eject symbol, and then release the icon.
4. Wait for the confirmation: After initiating the ejection or removal process, wait for the system to confirm that it is safe to disconnect the external hard drive. On Windows, you will see a notification indicating that it is safe to disconnect the drive. On Mac, the external hard drive icon will disappear from the desktop or Finder sidebar.
5. Physically disconnect the external hard drive: Once you have received confirmation that it is safe to do so, gently unplug the USB cable or disconnect the appropriate connection from your computer. Take care to handle the external hard drive with caution to avoid any accidental drops or damage.
6. Store the external hard drive properly: When not in use, store your external hard drive in a safe and dry location. Consider using a protective case or cover to prevent any physical damage or exposure to dust or liquids.
7. Keep backups of your data: Even after disconnecting your external hard drive, it is always recommended to keep additional backups of your important data. Consider using cloud storage or other backup solutions to ensure the safety and accessibility of your photos.
By following these steps to safely disconnect your external hard drive, you can minimize the risk of data loss or corruption and ensure the longevity of your stored Google Photos. Remember to always handle your storage devices with care to prevent any accidental damage.
Conclusion
Transferring your Google Photos to an external hard drive offers numerous benefits, including freeing up storage space, creating a secure backup, enabling offline access, and providing organizational flexibility. By following the step-by-step process outlined in this guide, you can easily transfer your photos and ensure that your precious memories are safely stored and easily accessible whenever you need them.
Remember to create a dedicated folder on your external hard drive to organize your photos. Export your Google Photos to your computer and then transfer them to the external hard drive. Set up syncing using tools like Google Backup and Sync to keep your Google Photos library up to date with any changes or additions.
Finally, always remember to safely disconnect your external hard drive by closing files and applications, ejecting or removing the drive using the appropriate system tools, and physically unplugging the drive with care. Properly storing the external hard drive and keeping additional backups of your data are crucial for maintaining the security and accessibility of your Google Photos.
By following these steps, you can efficiently manage your Google Photos collection, ensure its safety, and create a seamless experience for accessing and sharing your cherished memories. Take control of your photo library, free up storage space, and enjoy the peace of mind that comes with having your photos securely stored on an external hard drive.