Introduction
Welcome to our comprehensive guide on how to recover Thunderbird from a bad hard disk drive. If you’ve encountered issues with your hard disk drive and fear losing your valuable Thunderbird data, don’t worry! Our step-by-step instructions will help you navigate through the process of recovering your Thunderbird data and ensuring that you don’t lose any important emails, contacts, or settings.
Thunderbird is a popular email client that offers a range of features and functionalities to manage your emails effectively. However, unforeseen circumstances, such as a bad hard disk drive, can lead to data loss and hinder your productivity. Whether it’s due to a physical failure or logical errors, a bad hard disk drive can be a nightmare for Thunderbird users.
In this guide, we will provide you with a detailed roadmap to recover Thunderbird from a bad hard disk drive. We’ll walk you through each step, from understanding the issue and backing up your data to dealing with the bad hard disk drive and recovering Thunderbird data.
By following our instructions, you’ll be able to minimize the risk of permanent data loss and ensure that your Thunderbird installation remains intact. So, if you’re ready to delve into the world of Thunderbird data recovery, let’s get started!
Understanding the Issue
Before we dive into the process of recovering Thunderbird from a bad hard disk drive, it’s essential to understand the nature of the issue at hand. A bad hard disk drive can manifest in several ways, and recognizing the symptoms can help you diagnose the problem and take the necessary steps for recovery.
There are two main types of bad hard disk drives: physical failures and logical errors.
A physical failure occurs when there is a physical damage to the hard disk drive, such as a head crash, motor failure, or circuit board damage. This type of failure often requires professional assistance and may involve manual repair or the need to replace the hard disk drive entirely.
On the other hand, logical errors refer to issues with the file system or software on the hard disk drive. These errors can result from power outages, improper shutdowns, or corrupted system files. While logical errors are generally less severe than physical failures, they can still lead to data loss and prevent access to your Thunderbird data.
To determine whether you are facing a physical or logical issue, look out for common symptoms. Physical failures may result in clicking or grinding noises coming from the hard disk drive, the drive not being recognized by the computer, or the computer freezing during boot-up. Logical errors, on the other hand, may cause the operating system to display error messages, the computer running slowly or crashing frequently, or files and folders becoming inaccessible.
Once you have identified the nature of the problem, you can take the appropriate steps towards recovering your Thunderbird data. In the case of physical failures, it is advisable to seek professional help from a data recovery specialist. If you are faced with logical errors, however, you can attempt to recover the data yourself using the methods we will outline in the following sections.
Backup Your Data
Before proceeding with any data recovery process, it is crucial to back up your existing Thunderbird data. This step is essential to ensure the safety of your information and prevent any further loss. By creating a backup, you will have a copy of your Thunderbird data readily available, which can be used to restore your emails, contacts, and settings.
Here’s a step-by-step guide to help you back up your Thunderbird data:
- Open Thunderbird: Launch the Thunderbird email client on your computer.
- Access the Profile Manager: To access Thunderbird’s Profile Manager, press the “Win + R” keys simultaneously, type “thunderbird.exe -p” (without quotes), and click OK.
- Create a New Profile: In the Profile Manager, click on the “Create Profile” button to initiate the process of creating a new Thunderbird profile.
- Choose a Name: Assign a name to the new profile, such as “Backup Profile,” and select a location for the profile folder.
- Start Thunderbird With the New Profile: Once the profile has been created, select the newly created profile and click on the “Start Thunderbird” button.
- Configure Email Accounts: In the new Thunderbird instance, set up your email accounts, just like you would in the regular Thunderbird installation. Ensure that all your email accounts and settings are accurately configured.
- Copy Thunderbird Data: Now, navigate to the location where your original Thunderbird data is stored on your computer. The default location is usually in the “AppData” folder. Copy all the data from the original Thunderbird profile and paste it into the new profile folder you created.
By following these steps, you will have created a backup of your Thunderbird data in a separate profile. This backup profile can be used to restore your data if anything goes wrong during the recovery process.
It is important to regularly back up your Thunderbird data to ensure that you always have a recent copy of your emails and settings. This precaution can save you from potential data loss in the future and provide peace of mind knowing that your data is securely stored.
Dealing with a Bad Hard Disk Drive
Dealing with a bad hard disk drive can be a challenging and frustrating experience. However, there are a few steps you can take to mitigate the impact and potentially recover your Thunderbird data.
If you suspect that your hard disk drive is the cause of the issue, here are some actions you can take:
- Check the Connections: Ensure that all cables connected to the hard disk drive are securely in place. Sometimes, loose connections can cause malfunctions, and reseating the cables might solve the problem.
- Listen for Unusual Sounds: When the hard disk drive is powered on, listen for any unusual clicking, grinding, or buzzing sounds. These mechanical noises often indicate a physical failure and necessitate professional assistance.
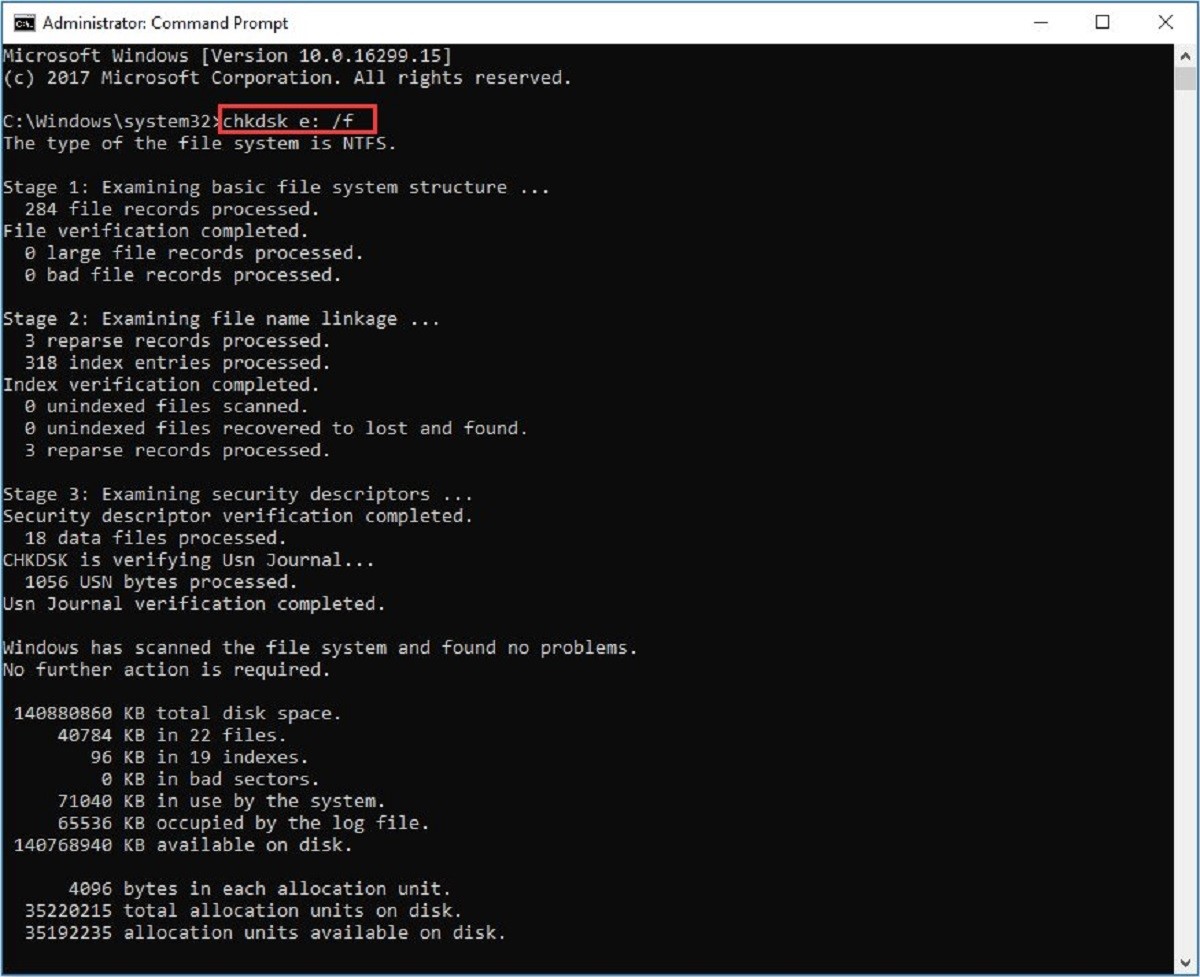
- Run Diagnostic Tools: Many hard disk drive manufacturers provide diagnostic tools that can help diagnose and fix common issues. Download and run these tools to identify any errors or defects in your hard disk drive.
- Use a Different Computer: If possible, connect the problematic hard disk drive to a different computer as a secondary drive. This will help determine if the issue lies with the drive itself or with the original computer’s hardware or software configuration.
- Professional Data Recovery: If you have exhausted all options and still cannot access your data, it is advisable to seek professional data recovery services. These professionals have specialized tools and expertise to recover data from faulty hard disk drives.
Remember that attempting DIY repairs or data recovery methods on a physically failed hard disk drive can further damage the drive and jeopardize data recovery. If you suspect a physical failure, it is best to rely on professional help.
It’s important to note that not all cases of a bad hard disk drive can be resolved, and data recovery may not always be possible. That’s why it’s crucial to have regular backups of your Thunderbird data, as mentioned in the previous section. Prevention is key to minimizing the impact of a bad hard disk drive and avoiding significant data loss.
Recovering Thunderbird Data from the Existing Hard Disk Drive
If you are facing logical errors or minor issues with your hard disk drive, there are several methods you can try to recover your Thunderbird data. Here are some steps to follow:
- Create a Disk Image: Before attempting any data recovery, it is essential to create a disk image of the existing hard disk drive. This image will serve as a backup and protect your data from potential further damage. Use disk imaging software to create a replica of the drive.
- Use Data Recovery Software: Data recovery software can be a useful tool in recovering Thunderbird data from a bad hard disk drive. These programs are designed to scan the drive for lost or deleted files and retrieve them. Some popular data recovery software options include Recuva, EaseUS Data Recovery Wizard, and MiniTool Power Data Recovery.
- Scan for Thunderbird Data: Once you have installed a data recovery software, run a scan on the disk image or the affected drive. Look for Thunderbird-related files, such as mbox files, profile folders, or Thunderbird configuration files.
- Recover the Data: After the scan is complete, the data recovery software will present you with a list of recoverable files. Select the Thunderbird files you want to retrieve and initiate the recovery process. Ensure that you specify a safe location to save the recovered files.
- Verify the Recovered Data: Once the recovery process is complete, verify the integrity of the recovered Thunderbird data. Open Thunderbird and import the recovered files into the profile or configure Thunderbird to point to the recovered files.
It’s worth noting that data recovery success may vary depending on the extent of the damage and the effectiveness of the data recovery software. Additionally, it is possible that some files may be corrupted or partially recovered. Therefore, it’s crucial to back up the recovered files and thoroughly check their integrity before relying on them.
If these methods do not yield satisfactory results, or if you encounter any technical difficulties during the recovery process, it may be necessary to seek professional assistance from a data recovery specialist. These professionals have the expertise and specialized tools to handle complex data recovery scenarios and increase the chances of successful Thunderbird data retrieval.
Remember, the sooner you attempt to recover your Thunderbird data, the better the chances of retrieving it successfully. So, don’t delay in taking action if you suspect that your hard disk drive is causing problems.
Using Backup Files to Restore Thunderbird
If you have previously created a backup of your Thunderbird data, restoring it to your new or repaired hard disk drive is a straightforward process. Here’s how you can use your backup files to restore Thunderbird:
- Locate Your Backup Files: Identify the location where you have stored the backup files of your Thunderbird data. This could be an external hard drive, a cloud storage service, or another computer.
- Create a New Thunderbird Profile: Launch Thunderbird and access Thunderbird’s Profile Manager by pressing “Win + R,” typing “thunderbird.exe -p”, and clicking OK. Create a new profile by clicking on “Create Profile” and giving it a name.
- Copy Backup Files to the New Profile: Navigate to your backup location and copy the Thunderbird data files, such as mbox files, profile folders, or Thunderbird configuration files. Paste these files into the new profile folder that you created in the previous step.
- Open Thunderbird with the Restored Data: Close the Profile Manager and start Thunderbird. It should automatically detect the restored data in the new profile and display your emails, contacts, and settings.
- Verify the Restored Data: Take some time to go through your emails, contacts, and settings to ensure that everything has been restored correctly. Check for any missing or corrupted data and address any issues accordingly.
By following these steps, you can restore your Thunderbird data using your backup files. It’s important to note that the success of this method heavily relies on having a recent and reliable backup. Regularly backing up your Thunderbird data ensures that you can quickly restore it in case of any future issues.
If you don’t have a backup of your Thunderbird data or if the backup files are incomplete or corrupted, you may need to consider alternative recovery methods, such as using data recovery software or seeking professional data recovery services.
Remember to regularly backup your Thunderbird data to avoid data loss and to have a reliable copy of your emails, contacts, and settings. Prevention is always better than cure when it comes to protecting your valuable data.
Syncing Thunderbird Data with Cloud Storage
If you want an automated and convenient way to back up your Thunderbird data and ensure its accessibility across multiple devices, syncing Thunderbird with cloud storage is an excellent option. By syncing your data with a cloud storage service, you can securely store your emails, contacts, and settings, making them easily recoverable in case of a hard disk drive failure or other data loss events.
Here’s how you can sync your Thunderbird data with cloud storage:
- Select a Cloud Storage Service: Choose a cloud storage service that suits your needs and preferences. Popular options include Google Drive, Dropbox, Microsoft OneDrive, and iCloud.
- Sign Up and Install the Cloud Storage Application: Register for an account with your chosen cloud storage service and install the respective application on your computer. Follow the instructions provided by the service to set up the application.
- Locate Your Thunderbird Profile Folder: Thunderbird data is typically stored in a profile folder. Locate the profile folder on your computer. The default location is usually in the “AppData” folder on Windows, the “Library” folder on macOS, or the “.thunderbird” folder on Linux.
- Move the Profile Folder to the Cloud Storage Folder: Copy the entire Thunderbird profile folder and paste it into the cloud storage folder that has been created by the cloud storage application on your computer. This will initiate the syncing process.
- Set Up Cloud Syncing: Open the cloud storage application and ensure that the Thunderbird profile folder is being synced with the cloud storage service. Configure the syncing options as desired, such as choosing which files and folders to sync or setting up automatic syncing.
- Verify the Syncing Process: Allow the cloud storage application to sync your Thunderbird data with the cloud storage service. Check that the syncing process is completed successfully and that your data is visible in the cloud storage account online.
By syncing your Thunderbird data with a cloud storage service, you can enjoy the benefits of automatic backups, real-time syncing, and easy access to your data from any device with an internet connection. This not only provides an additional layer of protection for your Thunderbird data but also ensures that you can quickly restore your data to a new or repaired hard disk drive.
Make sure to regularly check the syncing status and confirm that your Thunderbird data is being successfully uploaded to the cloud storage service. It’s also recommended to perform periodic tests to verify that the syncing process is functioning as intended.
Remember to consider the storage limits and any associated costs when choosing a cloud storage service. Ensure that you have enough storage space to accommodate your Thunderbird data and any future growth.
Restoring Thunderbird with an Email Client
If you find yourself in a situation where you cannot recover Thunderbird data from a bad hard disk drive or backup files, another option is to restore your Thunderbird data using an email client. This method involves configuring an email client, such as Outlook or Windows Mail, to import your Thunderbird data and retrieve your emails, contacts, and settings.
Here’s how you can restore Thunderbird with an email client:
- Choose an Email Client: Select an email client that you would like to use to import the Thunderbird data. Popular options include Microsoft Outlook, Windows Mail, and Mozilla SeaMonkey.
- Install the Email Client: Download and install the chosen email client on your computer. Follow the installation instructions provided by the email client.
- Export Thunderbird Data: Access Thunderbird and navigate to the Tools menu. Select the Export option and choose the data you want to export, such as emails, contacts, and settings. Save the exported data in a compatible format, such as .pst or .csv.
- Import Thunderbird Data: Open the email client and locate the Import feature. Select the option to import data from another program or file. Choose the file format that matches the exported Thunderbird data. Follow the instructions provided to complete the import process.
- Verify the Restored Data: Once the import process is complete, verify that your Thunderbird data has successfully been restored in the email client. Check for any missing or corrupted data and address any issues accordingly.
Restoring Thunderbird data with an email client can be a convenient solution when you cannot restore the data through traditional methods. However, keep in mind that some email clients may have limitations when importing Thunderbird data, and not all data may be fully compatible or transferable.
It’s essential to back up your Thunderbird data regularly to have a recent and reliable copy of your emails, contacts, and settings. This will help prevent any potential loss of data and ensure a smoother restoration process if situations like a bad hard disk drive arise.
Lastly, remember to adjust any necessary settings and familiarize yourself with the features and interface of the email client to ensure a seamless transition from Thunderbird to the new email client.
Conclusion
Dealing with a bad hard disk drive and the potential loss of Thunderbird data can be a stressful and frustrating experience. However, by following the steps outlined in this guide, you can increase your chances of recovering your Thunderbird data and maintaining your productivity.
Understanding the issue at hand, whether it’s a physical failure or a logical error, is crucial in determining the appropriate course of action. Physical failures often require professional assistance, while logical errors can often be resolved with data recovery software or other DIY methods.
Backing up your Thunderbird data is the first line of defense against data loss. Creating regular backups and storing them in a safe location, whether through manual backup processes or utilizing cloud storage services, ensures that your data is protected and can be easily restored if the need arises.
If you encounter a bad hard disk drive, it’s important to take immediate action and seek professional help if necessary. Trying to recover data from a physically damaged drive without proper knowledge or tools can result in further damage and potentially permanent data loss.
Using backup files or syncing Thunderbird data with cloud storage provides additional layers of protection and accessibility. Having a recent and reliable backup allows for a quick restoration process, and syncing with cloud storage ensures that your data is securely stored and accessible from any device.
Lastly, if all else fails, restoring Thunderbird with an email client can be a viable option. Configuring an email client to import your Thunderbird data allows you to retrieve your emails, contacts, and settings even if the original Thunderbird installation is inaccessible.
In conclusion, data recovery from a bad hard disk drive requires careful steps and considerations. By being proactive with backups, seeking professional assistance when needed, and exploring alternative recovery methods, you increase the chances of successful Thunderbird data recovery and lessen the impact of a bad hard disk drive on your productivity.