Introduction
Having a failing hard disk drive can be a frustrating and concerning experience. The hard disk drive is an essential component of any computer system, storing all of your important files, documents, and applications. When it starts exhibiting signs of failure, it’s crucial to take immediate action to prevent the risk of data loss and further damage to your system.
In this article, we will guide you through the steps to repair a failing hard disk drive. From backing up your data to utilizing disk utility tools, we will provide you with effective solutions to resolve common issues and restore the functionality of your hard disk drive.
It’s important to note that while these steps can help repair minor issues and prolong the life of your hard disk drive, there may be instances where the damage is irreparable. In such cases, it may be necessary to replace the hard disk drive entirely.
Let’s dive into the details of each step and begin the process of repairing your hard disk drive.
Common Symptoms of a Failing Hard Disk Drive
Identifying the signs of a failing hard disk drive is crucial for early detection and prompt action. Here are some common symptoms to watch out for:
- Noise: If you notice strange clicking, grinding, or whirring noises coming from your computer, it could be an indication of a failing hard disk drive. These unusual sounds often occur when the drive’s mechanical components are compromised.
- Slow Performance: A significant decrease in the overall speed and performance of your computer, such as slower boot times and file loading, can be an indication that your hard disk drive is failing. The increased response time may indicate issues with reading or writing data.
- Error Messages: If you frequently encounter error messages related to file corruption, inability to access files, or system crashes, it may suggest that your hard disk drive is experiencing issues. These errors are often a result of damaged sectors or failing hardware components.
- Frequent Freezing or Crashing: Random freezes or crashes during regular computer usage can be a sign of a failing hard disk drive. When the drive encounters problems reading or writing data, it can cause the system to become unresponsive or crash altogether.
- Disappearing Files: Missing files or folders, especially if they were accessible before, can indicate a failing hard disk drive. Data loss can occur when the drive’s sectors become unreadable or when files are corrupted due to hardware failure.
If you experience one or more of these symptoms, it’s essential to address the issue promptly to prevent further damage and potential data loss. Now that we’ve discussed the common signs of a failing hard disk drive, let’s move on to the steps to repair it.
Step 1: Backup Your Data
Before attempting any repairs to your failing hard disk drive, it’s crucial to back up your important data. Data loss is a significant risk when dealing with a failing drive, and having a backup ensures that you won’t lose any valuable files or documents.
There are several ways to back up your data:
- External Storage Device: Connect an external hard drive, USB flash drive, or SSD to your computer and manually copy and paste your important files and folders onto the external device. This method is simple and allows you to have a physical copy of your data.
- Cloud Storage: Utilize cloud storage platforms such as Google Drive, Dropbox, or iCloud to upload and store your files online. This method provides the added advantage of accessibility from any device with an internet connection.
- Network Attached Storage (NAS): If you have a NAS device connected to your network, you can back up your data directly to it. This method is ideal for users with large amounts of data or multiple devices that need to be backed up.
Remember to ensure that your backup process is complete and validated before proceeding with any repairs. Once your data is safely backed up, you can proceed to the next steps without the fear of permanent data loss.
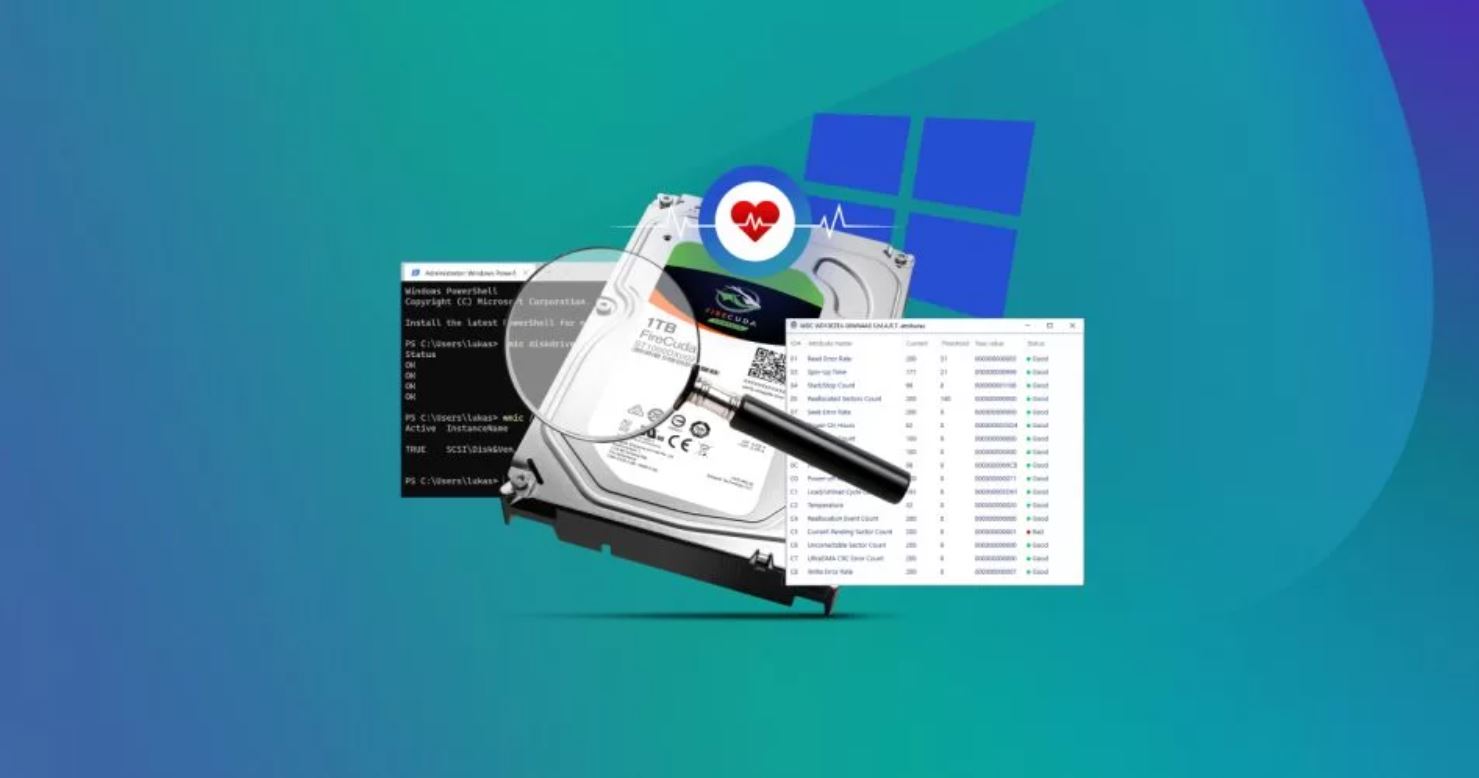
Step 2: Run Disk Utility or CHKDSK
After backing up your data, the next step in repairing a failing hard disk drive is to run a disk utility tool or CHKDSK (Check Disk) utility. These tools can help identify and fix common file system errors that may be causing issues with the drive.
If you’re using a Windows operating system, you can run the CHKDSK utility by following these steps:
- Open Command Prompt: Click on the Start menu, type “cmd” in the search box, and select Command Prompt from the results.
- Run CHKDSK: In the Command Prompt window, type “chkdsk C: /f” (replace “C:” with the drive letter of the failing hard disk drive) and press Enter. The “/f” parameter instructs CHKDSK to fix any errors it encounters.
- Allow the Scan to Complete: CHKDSK will scan the drive for errors and attempt to fix them. This process may take some time, depending on the size and condition of the drive.
If you’re using a Mac, you can use the built-in Disk Utility tool. Follow these steps:
- Open Disk Utility: Go to the Applications folder, then the Utilities folder, and double-click on Disk Utility.
- Select the Failing Drive: In the Disk Utility window, select the failing hard disk drive from the list of available drives.
- Click on “First Aid”: Click on the “First Aid” tab and then click on “Run” to start the disk repair process. Disk Utility will check and attempt to fix any errors it finds.
Running these disk repair utilities can help resolve common file system errors and improve the overall health of your hard disk drive. However, if the problem persists or these tools fail to fix the issues, you may need to proceed to the next steps in the repair process.
Step 3: Repair Bad Sectors
Bad sectors are areas on a hard disk drive where data cannot be read or written due to physical damage or manufacturing defects. Repairing bad sectors can help improve the performance and reliability of your hard disk drive.
Here are the steps to repair bad sectors:
-
Windows:
- Open Command Prompt as Administrator.
- Type “chkdsk C: /r” (replace “C:” with the drive letter of the failing hard disk drive) and press Enter.
- Allow the CHKDSK utility to scan and repair any bad sectors on the drive. This process may take a while, depending on the size of the drive and the number of bad sectors.
-
Mac:
- Open Disk Utility.
- Select the failing hard disk drive from the list of available drives.
- Click on the “First Aid” tab and then click on the “Repair Disk” button to repair any detected bad sectors.
It’s important to note that repairing bad sectors is not always possible, especially in cases of severe physical damage. In such situations, it may be necessary to replace the hard disk drive.
After repairing the bad sectors, it’s recommended to perform another scan using disk utility tools to ensure that the drive is functioning optimally. If the drive continues to exhibit issues, it may be necessary to explore other repair options or consider replacing it.
Step 4: Update or Reinstall the Device Driver
A device driver is a software component that allows your operating system to communicate with the hardware, including the hard disk drive. Outdated or corrupt device drivers can cause issues with the functioning of the hard disk drive. Updating or reinstalling the device driver can help resolve compatibility issues and improve performance.
Here’s how you can update or reinstall the device driver:
-
Windows:
- Press the Windows key + X and select “Device Manager.”
- Expand the “Disk Drives” category and right-click on the failing hard disk drive.
- Select “Update driver” and follow the on-screen instructions to search for and install the latest driver for your hard disk drive.
- If updating the driver doesn’t resolve the issue, you can right-click on the drive again and select “Uninstall device.” Afterward, restart your computer, and Windows will automatically reinstall the driver.
-
Mac:
- Go to the Apple menu and select “About This Mac.”
- Click on “System Report” and select “Storage” from the left panel.
- Look for the failing hard disk drive and note down the “Model Identifier.”
- Visit the manufacturer’s website and search for the latest driver specific to your model.
- Download and install the driver according to the provided instructions.
Updating or reinstalling the device driver can often resolve compatibility issues and improve the performance of your hard disk drive. However, if the problem persists, additional troubleshooting steps may be required to repair the drive.
Step 5: Use Data Recovery Tools
When dealing with a failing hard disk drive, it’s not uncommon to encounter data loss or inaccessible files. In such cases, data recovery tools can be invaluable in recovering your important information.
Here’s how you can use data recovery tools:
- Identify a Reliable Data Recovery Software: Research and choose a reputable data recovery software that is compatible with your operating system and supports the specific file system used by your hard disk drive.
- Install and Launch the Software: Follow the instructions provided by the software developer to install the data recovery tool on your computer. Once installed, launch the software.
- Select the Failing Hard Disk Drive: In the data recovery software, select the failing hard disk drive as the target for the recovery process. Be cautious not to overwrite the data or install the software on the same drive.
- Scan for Lost or Deleted Files: Start the scanning process to search for lost or deleted files on the hard disk drive. The scanning time may vary depending on the size of the drive and the level of corruption.
- Preview and Recover Data: Once the scan is complete, the software will display a list of recoverable files. Preview the files to ensure they are intact, then select the files you want to recover and follow the software prompts to save them to a different storage location.
It’s important to note that data recovery success is not guaranteed, particularly in cases of severe physical damage or extensive file system corruption. In such situations, it’s advisable to seek professional data recovery services to maximize the chances of retrieving your important data.
With the help of data recovery tools, you may be able to recover valuable information from a failing hard disk drive. However, it’s essential to act swiftly and avoid using the drive extensively to prevent further damage and data loss.
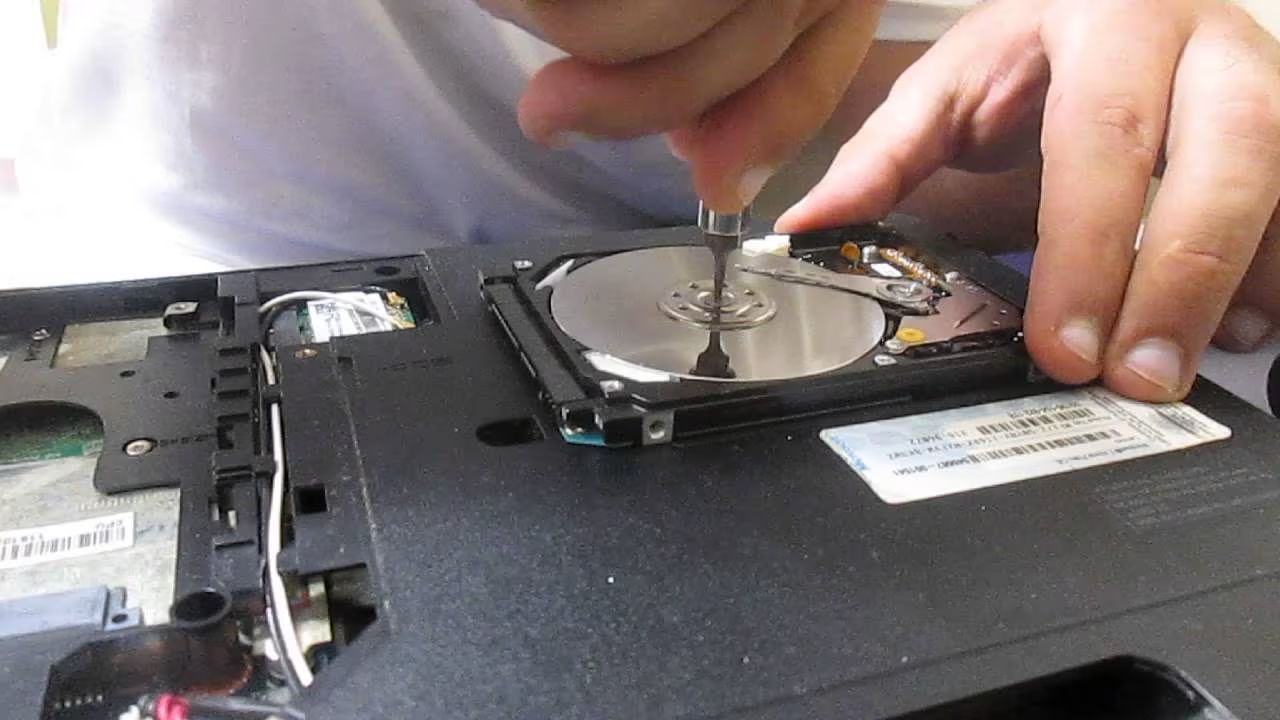
Step 6: Replace the Hard Disk Drive
If none of the previous steps have successfully resolved the issues with your failing hard disk drive, it may be necessary to replace the drive entirely. Replacing the hard disk drive is a more drastic but sometimes necessary solution when the drive is beyond repair.
Here are the steps to replace the hard disk drive:
- Determine the Compatibility: Identify the type and form factor of your current hard disk drive to ensure compatibility with the replacement drive. Common types include SATA (Serial ATA) and IDE (Integrated Drive Electronics).
- Purchase a Replacement Drive: Research and purchase a new hard disk drive that matches the specifications of your old drive. Consider factors such as storage capacity, speed, and brand reliability.
- Power Down Your Computer: Shut down your computer completely and disconnect it from any power source.
- Open the Computer Case: Use proper tools to open the computer case and gain access to the internal components. Follow the manufacturer’s instructions or consult online resources for your specific computer model if needed.
- Remove the Old Drive: Carefully disconnect the cables connected to the failing hard disk drive. Unscrew any mounting screws and gently remove the drive from its slot.
- Install the Replacement Drive: Slide the new hard disk drive into the empty slot and secure it with mounting screws. Reconnect the cables to the appropriate ports, ensuring a secure connection.
- Close the Computer Case: Put the computer case back together, ensuring all screws are tightened securely.
- Reinstall the Operating System and Restore Data: Depending on the circumstances, you may need to reinstall your operating system on the new hard disk drive. Restore your data from the backup you created earlier.
Replacing the hard disk drive can be a more complex task, particularly for inexperienced users. If you are unsure about the process, it’s recommended to seek assistance from a professional or a knowledgeable technician.
Remember to dispose of the old drive properly, taking into consideration data security concerns. If the drive contained sensitive information, consider professionally wiping or destroying it to prevent any potential data breaches.
Conclusion
Dealing with a failing hard disk drive can be a stressful experience, but by following the steps outlined in this guide, you can take proactive measures to repair the drive and mitigate potential data loss. From backing up your data to utilizing disk utility tools, and exploring data recovery options, each step plays a critical role in resolving issues and restoring the functionality of your hard disk drive.
It’s important to remember that these steps may not always be successful, especially in cases of severe physical damage or extensive corruption. If you encounter significant difficulties during the repair process or are unable to recover your data, contacting professional help or data recovery specialists may be necessary. They have the expertise and specialized tools to handle complex situations and maximize the chances of data retrieval.
Additionally, it is essential to be proactive with regular backups and proper maintenance to prevent future issues with your hard disk drive. Keeping your operating system and device drivers up to date, as well as using reliable antivirus software, can greatly reduce the risk of drive failure.
In conclusion, don’t underestimate the importance of addressing a failing hard disk drive promptly. By following the steps outlined in this guide, you have a comprehensive understanding of the actions you can take to repair the drive and safeguard your valuable data. Remember to approach the process with caution, and when in doubt, seek professional guidance to ensure the best possible outcome.