Introduction
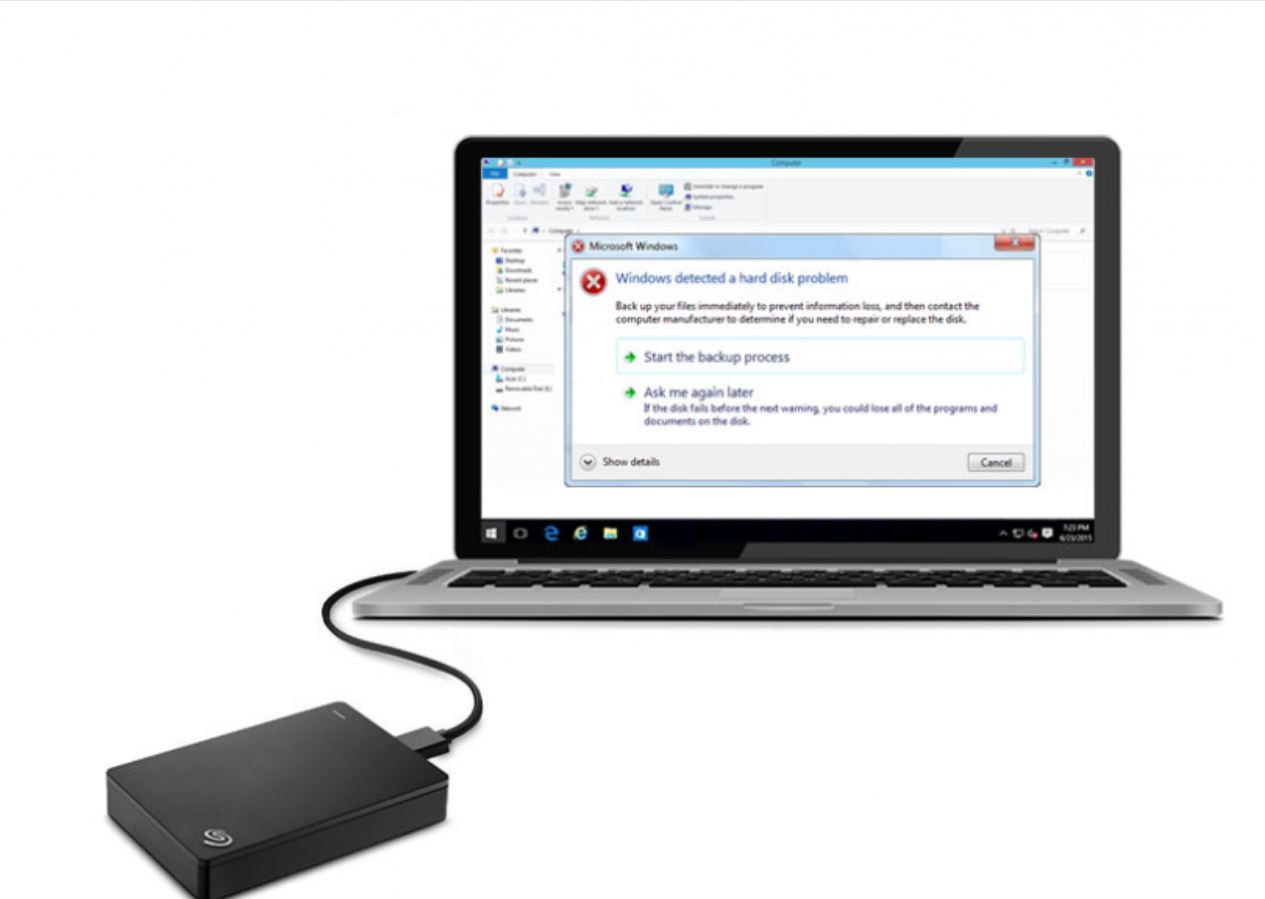
Imagine the frustration of being unable to access your important files and documents stored on an external hard drive connected to your Mac. External hard drive issues can be a significant hindrance, especially when you rely on them for backup or storage purposes. Fortunately, many of these issues can be resolved through simple troubleshooting steps.
In this guide, we will explore various reasons for external hard drive failure on Mac and provide a step-by-step process to repair them. Whether the issue is due to physical damage, corruption, or formatting problems, we’ll cover all the necessary techniques to help you get your external hard drive back in working order.
Before we dive into the solutions, it’s essential to understand the reasons that can lead to external hard drive failure. By identifying the root cause, you’ll be better equipped to handle the problem effectively and prevent it from happening in the future.
So, let’s explore the common reasons for external hard drive failure on Mac.
Reasons for External Hard Drive Failure on Mac
There are several factors that can contribute to external hard drive failure on a Mac. Understanding these reasons will help you diagnose the issue and take appropriate steps to fix it. Here are some common culprits:
- Physical Damage: Accidental drops, improper handling, or exposure to extreme temperatures can lead to physical damage to the external hard drive. This can result in mechanical failures, such as damaged read/write heads or a malfunctioning motor.
- Corrupted File System: Over time, the file system on your external hard drive can become corrupt due to improper ejection, power outages, or software errors. A corrupted file system can prevent your Mac from recognizing or accessing the drive.
- Compatibility Issues: Not all external hard drives are compatible with Mac systems. If you’re using a drive formatted for Windows or another operating system, it may not work properly on your Mac, or you may encounter read/write errors.
- Outdated or Incompatible Drivers: Outdated or incompatible drivers can cause your Mac to have difficulty recognizing and communicating with the external hard drive. This can lead to issues like slow performance or the inability to access data.
- Logical Errors: Logical errors occur when the file structure or directories on the external hard drive become corrupted. This can happen due to improper shutdowns or sudden power outages. Logical errors can cause files to become inaccessible or go missing.
- Malware or Viruses: Although Mac systems are generally less prone to malware and viruses, it’s still possible for external hard drives to become infected. If your drive is infected, it may behave erratically or become inaccessible.
By understanding these common reasons for external hard drive failure, you can now proceed with the necessary steps to repair your malfunctioning drive. Let’s take a look at the step-by-step guide to fixing an external hard drive on a Mac.
Step-by-Step Guide to Repair an External Hard Drive on Mac
When your external hard drive is not functioning properly on your Mac, it’s important to follow a systematic approach to repair it. Here is a step-by-step guide to help you troubleshoot and fix your malfunctioning external hard drive:
- Check for Physical Damage: Inspect your external hard drive for any physical damage such as dents, cracks, or loose cables. If you notice any damage, it’s recommended to seek professional help to avoid further complications.
- Connect the Drive to Another Mac: Sometimes, the issue may not be with the drive itself, but rather with the Mac you’re using. To confirm this, connect the external hard drive to another Mac and check if it works. If it does, then the issue may be with your Mac’s settings or drivers.
- Use Disk Utility: Launch Disk Utility, which is a built-in utility on Mac, designed to manage and repair storage devices. Select your external hard drive from the list, and click on “First Aid” to run a scan and attempt to repair any file system errors.
- Repair Disk using Terminal: If Disk Utility fails to repair the drive, you can use Terminal. Open Terminal and type “diskutil list” to identify your external drive’s identifier. Then, run the command “diskutil repairDisk /dev/[your drive identifier]” to attempt a repair.
- Format the Drive: If repairing the disk doesn’t resolve the issue, formatting the drive might be the only solution. However, keep in mind that formatting will erase all data on the drive. Ensure that you have a backup before proceeding.
- Seek Professional Help if Necessary: If you have tried all the above steps and still haven’t been able to fix the issue, it may be time to consult a professional data recovery service. They have specialized tools and expertise to recover data from faulty external hard drives.
Remember, troubleshooting and repairing an external hard drive can vary depending on the specific issue you’re facing. It’s essential to proceed with caution and have a backup of your data to avoid any data loss during the repair process.
By following these steps, you can increase the chances of repairing your external hard drive and retrieving your valuable data. However, prevention is always better than cure, so make it a habit to regularly back up your important files to avoid any future troubles with your external hard drive.
Check for Physical Damage
The first step in repairing an external hard drive on your Mac is to check for any physical damage. Physical damage can occur due to mishandling, accidental drops, or exposure to extreme temperatures. Here’s what you need to do:
- Inspect the external hard drive visually for any signs of physical damage. Look for dents, cracks, or any visible damage to the casing or connectors.
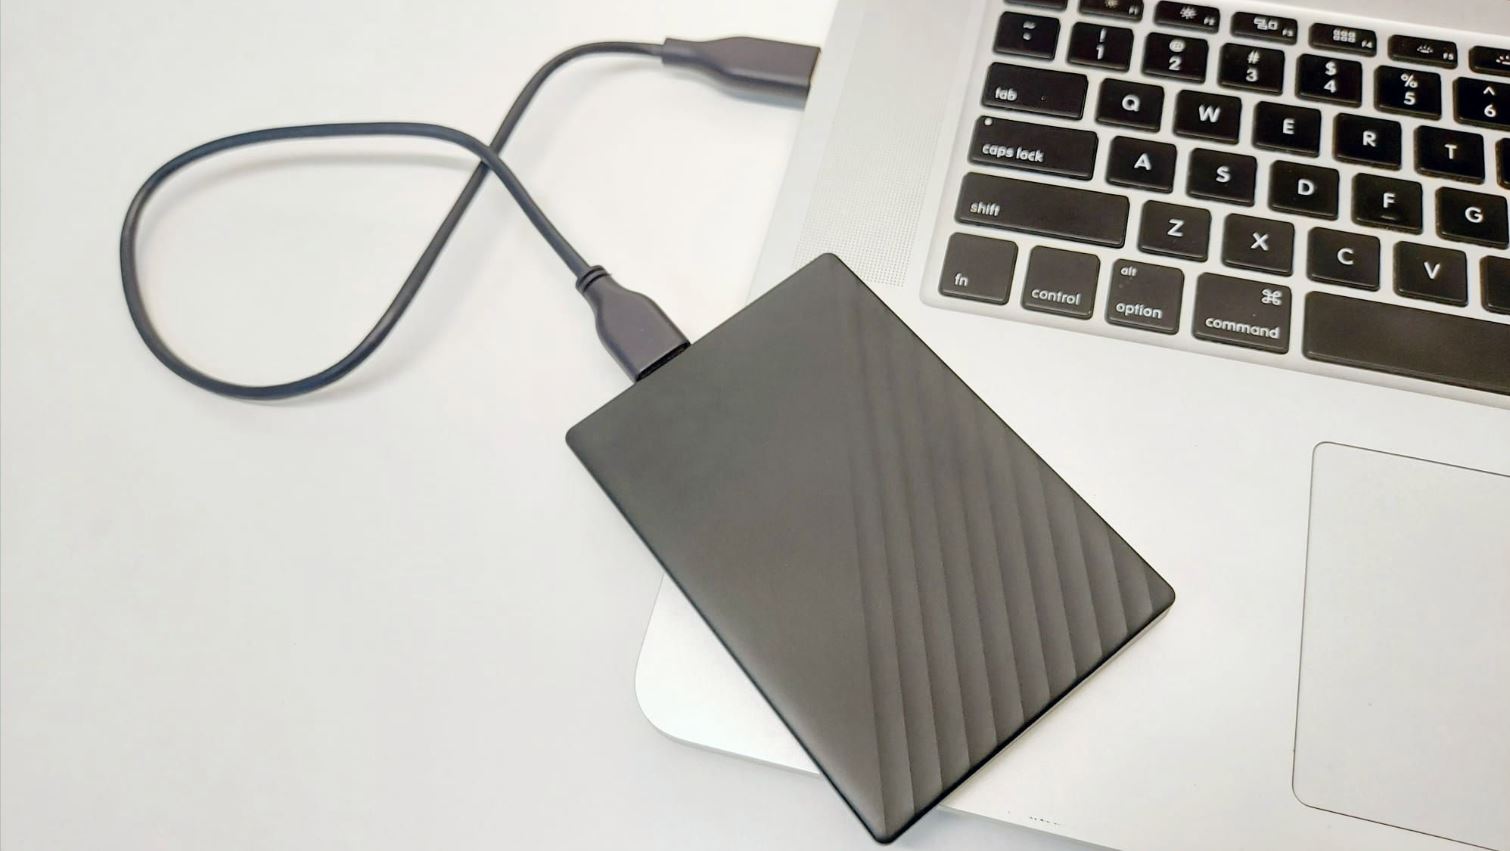
- Check the cables and connections. Ensure that they are properly connected and not loose or damaged. Try using a different USB cable or port to rule out any cable or connection issues.
- If your external hard drive comes with an external power source, make sure that it is securely connected and providing proper power to the drive.
- If you suspect there may be damage to the internal components of the drive, it’s best to seek professional help. Attempting to repair a physically damaged drive on your own may further worsen the problem and result in irreversible data loss.
Checking for physical damage is an essential first step because if the drive is physically damaged, it may require professional repair or data recovery services. However, if you don’t notice any physical damage, you can proceed to the next steps in the troubleshooting process.
Remember to handle your external hard drive with care to prevent any potential damage. Avoid dropping it, exposing it to extreme temperatures, or mishandling it in any way. Taking preventive measures can significantly prolong the lifespan of your external hard drive.
Connect the Drive to Another Mac
If your external hard drive is not functioning properly on your Mac, it’s worth exploring whether the issue lies with the drive itself or with your Mac’s settings or drivers. To determine this, you can try connecting the drive to another Mac to see if it works. Here’s how:
- Disconnect the external hard drive from your current Mac.
- Locate another Mac that is known to be functioning properly.
- Connect the external hard drive to the alternate Mac using a compatible USB cable.
- Wait for the Mac to recognize and mount the external hard drive.
- Once the drive is successfully connected to the alternate Mac, check if you can access the files stored on it.
If the external hard drive functions properly on the alternate Mac, it indicates that the issue may be with your original Mac. In this case, you can proceed with troubleshooting your Mac’s settings or drivers to resolve the issue.
Here are a few steps you can take to troubleshoot your Mac if the external hard drive works on another Mac:
- Make sure your Mac is running the latest version of macOS. Check for available updates and install them if necessary, as updates often include bug fixes and improvements.
- Check for any software conflicts or third-party applications that may be causing issues with external devices. Try disconnecting or uninstalling any recently installed applications or software and see if the external hard drive works.
- Reset the System Management Controller (SMC) on your Mac. The SMC controls various hardware functions, and resetting it can often resolve compatibility issues. The process for resetting the SMC varies depending on the Mac model, so refer to Apple’s official documentation for detailed instructions.
- Reset the NVRAM (Non-Volatile Random-Access Memory) or PRAM (Parameter RAM) on your Mac. NVRAM stores certain settings, and resetting it can sometimes resolve hardware-related issues. Refer to Apple’s official documentation for instructions on resetting the NVRAM or PRAM for your specific Mac model.
By connecting the drive to another Mac and troubleshooting your original Mac, you can narrow down the source of the issue and take appropriate steps to resolve it. If the drive still doesn’t work on the alternate Mac, proceed to the next steps in the troubleshooting process.
Use Disk Utility
Disk Utility is a built-in utility on Mac that allows you to manage and repair storage devices, including external hard drives. It can help diagnose and fix common file system issues. Here’s how to use Disk Utility to repair your external hard drive:
- Connect your external hard drive to your Mac.
- Open “Finder” and navigate to “Applications” > “Utilities” > “Disk Utility.”
- In Disk Utility, you’ll see a list of connected drives on the left-hand side. Select your external hard drive from the list.
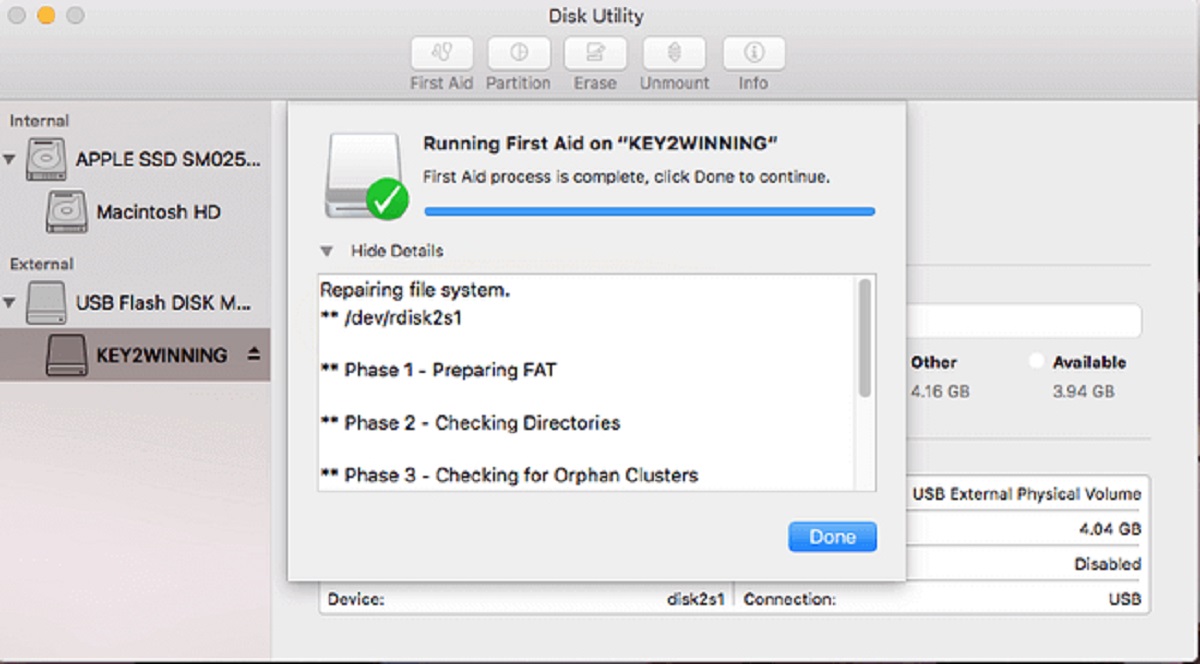
- Click on the “First Aid” button located in the toolbar at the top of the Disk Utility window.
- A new window will open, displaying the available repair options. Click on “Run” to start the repair process.
- Disk Utility will scan and repair any file system errors on your external hard drive. The process may take some time to complete.
- Once the repair process is finished, Disk Utility will display a message indicating whether any issues were found and resolved.
After completing the repair process, eject and reconnect your external hard drive to see if the issue has been resolved. In some cases, Disk Utility may not be able to repair the drive, or the issue may persist after repair. If this happens, move on to the next troubleshooting steps.
It’s important to note that Disk Utility repair process may fix minor file system errors, but it cannot fix physical hardware issues or severe drive corruption. If your external hard drive still fails to function properly, you may need to consider additional troubleshooting methods or seek professional help to recover your data.
Before proceeding, make sure to back up your important data from the external hard drive to prevent any potential data loss during the repair process.
Repair Disk using Terminal
If Disk Utility fails to repair your external hard drive, you can try using Terminal, a command-line interface on Mac, to attempt a repair. Here’s how you can repair your disk using Terminal:
- Connect your external hard drive to your Mac.
- Open “Finder” and navigate to “Applications” > “Utilities” > “Terminal” to launch the Terminal application.
- In the Terminal window, type the command
diskutil listand press Enter. This command will display a list of all connected storage devices, including your external hard drive. - Identify your external hard drive by its name, size, or identifier. It should be listed as something like “/dev/diskX” (replace X with the correct number).
- Once you have identified your external hard drive, run the following command in Terminal:
diskutil repairDisk /dev/diskX(replace X with the correct number). - Press Enter to execute the repair command. Terminal will begin the repair process, checking and repairing the disk as needed.
- Allow the repair process to complete. The duration will depend on the size and condition of your external hard drive.
- After the repair process finishes, Terminal will display a message indicating whether any issues were found and repaired.
Once the repair process is complete, eject and reconnect your external hard drive to see if the issue has been resolved. If the problem persists or if Terminal encounters any errors during the repair process, you may need to consider alternative solutions or seek professional assistance.
It’s important to note that using Terminal for disk repair requires some technical knowledge and should be approached with caution. Make sure to follow the instructions precisely and back up your data before attempting any repairs to avoid potential data loss.
Format the Drive
If repairing the disk using Disk Utility or Terminal doesn’t resolve the issue with your external hard drive, you may need to consider formatting the drive. Formatting the drive will erase all data on it, so it’s crucial to have a backup before proceeding. Here’s how to format your external hard drive:
- Connect your external hard drive to your Mac.
- Open “Finder” and navigate to “Applications” > “Utilities” > “Disk Utility” to launch the Disk Utility application.
- In Disk Utility, select your external hard drive from the list of available drives on the left-hand side.
- Click on the “Erase” tab located at the top of the Disk Utility window.
- In the Erase tab, choose a suitable format for your external hard drive. If you intend to use the drive exclusively on macOS, choose “Mac OS Extended (Journaled).” If you need cross-platform compatibility, consider using “ExFAT” or “FAT32.”
- Enter a name for your formatted drive in the “Name” field. Choose a descriptive name that will help you identify the drive easily.
- Double-check that you have selected the correct drive and format options. Formatting will permanently erase all data on the drive.
- Click on the “Erase” button to begin the formatting process. Disk Utility will format the drive according to your specified settings.
- Once the formatting process is complete, you can eject and reconnect your external hard drive. It should now be ready to use.
Formatting the drive can often resolve issues related to corrupted file systems or compatibility problems. However, keep in mind that formatting will erase all data, so make sure to back up any important files beforehand.
If formatting the drive doesn’t resolve the issue, it may indicate a hardware problem or more severe drive corruption. In such cases, it’s advisable to consult a professional data recovery service for further assistance.
Seek Professional Help if Necessary
If you’ve followed the previous steps and your external hard drive is still not functioning properly, it may be time to seek professional help. Professional data recovery services specialize in recovering data from faulty or damaged storage devices, and they have the necessary tools and expertise to handle challenging situations. Here’s what you can do if you need to seek professional assistance:
- Research reputable data recovery service providers in your area or online. Look for those with positive reviews, experienced technicians, and a high success rate.
- Contact the selected service providers and provide them with detailed information about the issue you’re experiencing with your external hard drive. They may ask questions to gather more information and assess the situation.
- Inquire about the data recovery process, including the estimated cost, turnaround time, and any requirements or policies they have. It’s important to have a clear understanding of what to expect before proceeding.
- If you’re comfortable with the chosen service provider’s approach and pricing, follow their instructions on how to ship or deliver your external hard drive to their facility.
- The data recovery professionals will evaluate the extent of the damage and perform specialized techniques to recover the data from your external hard drive.
- Once the data is recovered, they will provide you with the recovered files and, depending on your preference, transfer them to a new storage device or return them in their original format.
Keep in mind that professional data recovery services can be relatively expensive, especially for complex cases. However, if your data is valuable and irreplaceable, seeking professional help can be the best option to maximize the chances of recovering your files.
Remember to maintain a regular backup of your important files in the future to avoid any potential data loss incidents. Prevention is always better than dealing with data recovery.
By seeking professional assistance, you’re entrusting your external hard drive and data to experts who have the skills and resources to handle the situation effectively. They can provide you with the best possible outcome and peace of mind.
Conclusion
Dealing with a malfunctioning external hard drive on your Mac can be a frustrating experience. However, with the right troubleshooting steps and a systematic approach, you can often repair the drive and retrieve your valuable data.
In this guide, we’ve explored the common reasons for external hard drive failure on Mac and provided a step-by-step process to repair them. We started by checking for physical damage and connecting the drive to another Mac to determine if the issue lies with the drive or the Mac itself.
We then looked at using Disk Utility and Terminal to repair the disk’s file system and troubleshoot any software or driver-related issues. If all else fails, formatting the drive and, if necessary, seeking professional help can provide further solutions.
It’s important to note that some issues may require professional assistance or specialized tools and expertise to resolve. Therefore, don’t hesitate to consult a data recovery service if you’re unable to repair the drive or recover your data on your own.
Remember to back up your important files regularly to prevent data loss and to handle your external hard drive with care to avoid physical damage.
We hope this guide has provided you with the necessary information and steps to repair your external hard drive on your Mac. By following the troubleshooting techniques outlined here, you can increase the chances of fixing the issue and getting your drive back in working condition.
Good luck with repairing your external hard drive, and may you successfully retrieve your important files and data!